
Articles
How To Use Laser Level For Grading
Modified: October 20, 2024
Learn how to efficiently use a laser level for grading with our informative articles. Step-by-step instructions and tips for achieving accurate and professional results.
(Many of the links in this article redirect to a specific reviewed product. Your purchase of these products through affiliate links helps to generate commission for Storables.com, at no extra cost. Learn more)
Introduction
Grading is an essential process in various construction and landscaping projects. Whether you are building a foundation for a new structure or creating a level surface for a garden, achieving accurate grading is crucial. One powerful tool that can help you achieve precise and efficient grading is a laser level.
In this article, we will explore the benefits of using a laser level for grading and provide step-by-step instructions on how to effectively use this tool. So, let’s dive in and discover how you can achieve professional-grade results with a laser level.
Key Takeaways:
- Laser levels offer unparalleled precision, efficiency, and safety for grading projects. Their advanced technology and ease of use make them indispensable tools for achieving accurate and professional-grade results in construction and landscaping.
- Proper preparation, setup, alignment, and utilization of a laser level are crucial for successful grading. By following step-by-step instructions and useful tips, you can maximize the accuracy and effectiveness of your grading tasks.
Read more: How To Use A Laser Level
What is a Laser Level?
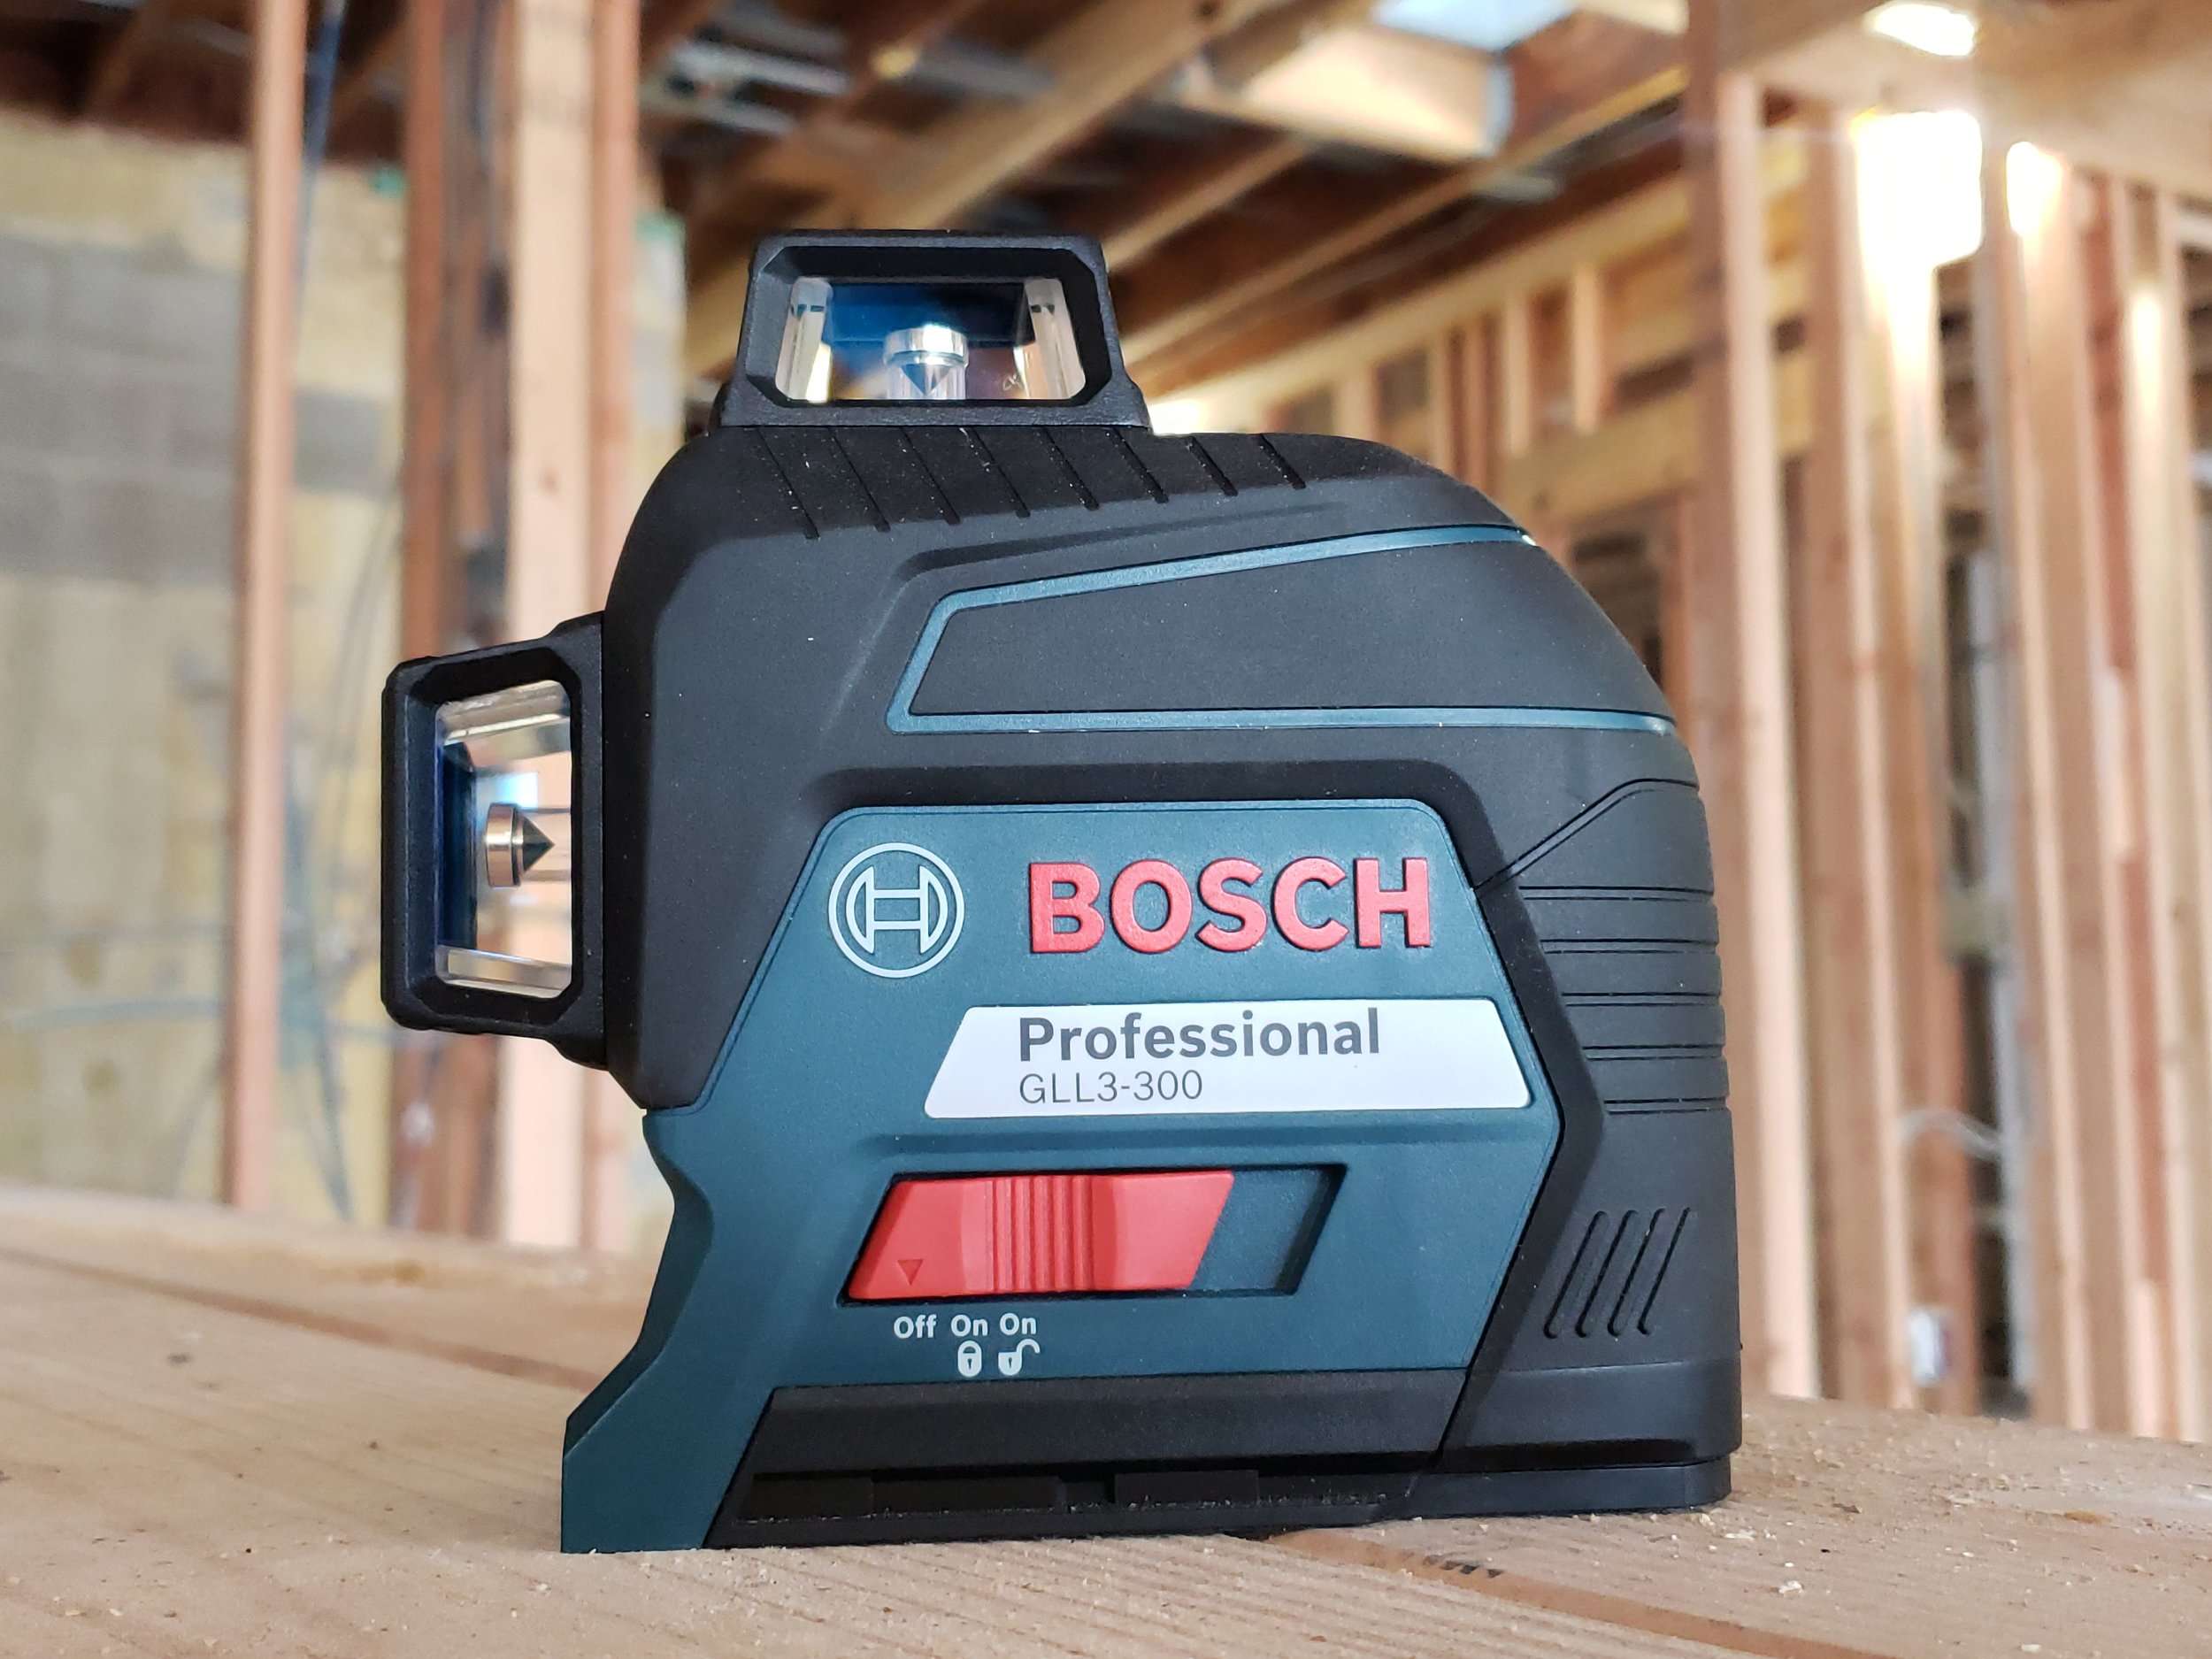
A laser level is a sophisticated and highly accurate tool used in the construction and landscaping industry to measure and ensure level or sloping surfaces. It projects a laser beam onto a surface, providing a visual reference point for grading, alignment, and leveling tasks. Laser levels come in various types, including rotary laser levels, line laser levels, and dot laser levels, each serving a specific purpose in different applications.
Rotary laser levels emit a rotating laser beam in a 360-degree range, making them ideal for large-scale grading projects. Line laser levels project a straight line, perfect for indoor tasks like installing shelves or aligning tiles. Dot laser levels produce multiple laser dots, enabling precise point-to-point leveling.
One of the primary advantages of laser levels is their accuracy. These tools can typically achieve accuracy levels within a fraction of an inch over long distances. Additionally, laser levels offer a high degree of precision and consistency, allowing for efficient and error-free grading:
- Accurate Readings: Laser levels provide clear and precise readings, ensuring that your grading is consistent across the entire surface. This eliminates the guesswork and potential errors associated with traditional leveling methods.
- Easy to Use: Laser levels are designed to be user-friendly, with intuitive controls and simple setup procedures. They eliminate the need for complex manual calculations and measurements, making the grading process much more efficient.
- Time and Cost Savings: By using a laser level for grading, you can complete projects faster and with greater accuracy. This not only saves valuable time but also reduces the costs associated with rework and adjustments.
- Versatility: Laser levels can be used for various grading tasks, including leveling ground for foundations, establishing accurate slopes for drainage systems, and creating even surfaces for landscaping purposes. Their versatility makes them indispensable tools for contractors, landscapers, and DIY enthusiasts alike.
Now that we have a clear understanding of what a laser level is and the advantages it offers, let’s explore why it is particularly useful for grading projects.
Why Use a Laser Level for Grading?
Grading is a critical step in any construction or landscaping project. It involves leveling the ground or creating slopes to ensure proper drainage, stability, and aesthetic appeal. While manual leveling methods, such as using a traditional spirit level or a string line, can be used, they often lack precision and efficiency. This is where a laser level shines, offering several advantages for grading projects:
- Precision: Laser levels provide unbeatable precision when it comes to grading. By projecting a laser beam onto the ground, they ensure accurate leveling and sloping, eliminating the potential for errors and uneven surfaces.
- Visual Clarity: Laser levels offer clear, visible references, making it easier to follow the desired slope or level. The laser beam provides a precise guide for grading, enabling you to achieve consistent results throughout the project.
- Efficiency: With a laser level, the grading process becomes significantly faster and more efficient. You can quickly set up the laser level and begin grading, without the need for extensive manual measurements or adjustments. This time-saving benefit allows you to complete projects more quickly and move on to the next phase.
- Large Coverage Area: Laser levels, particularly rotary laser levels, have a wide range of coverage. This means you can cover large areas in a single setup, minimizing the need for multiple leveling points and reducing overall project time and effort.
- Accuracy Over Long Distances: Laser levels excel in providing precise measurements over long distances. This is especially beneficial for grading projects that require consistent slopes or levels across the entire area. Whether you are working on a small backyard or a vast construction site, a laser level ensures accuracy and reliability.
- Enhanced Safety: Traditional manual leveling methods often require personnel to physically check levels or string lines, which can be time-consuming and potentially hazardous. Using a laser level eliminates the need for constant manual monitoring, providing a safer working environment.
In summary, laser levels offer unparalleled precision, efficiency, and safety when it comes to grading projects. Their advanced technology and ease of use make them an indispensable tool for achieving accurate and professional-grade results. Now that we understand the advantages of using a laser level for grading, let’s move on to preparing for a grading project.
Preparing for Grading
Before you begin any grading project, proper preparation is essential to ensure a smooth and successful process. Here are the key steps to follow when preparing for grading:
- Inspect the Site: Evaluate the area that needs grading. Look for potential obstacles, such as rocks, roots, or debris, that may interfere with the grading process. Clear any obstructions to ensure a clean and even surface.
- Obtain Necessary Permits: Check with your local authorities to determine if any permits are required for your grading project. Depending on the scope of the project and your location, you may need to obtain permits to ensure compliance with local regulations.
- Establish Grading Goals: Determine the desired slope and level for the area you are grading. This will depend on the purpose of the project, whether it’s creating a level foundation, establishing proper drainage, or creating an even surface for landscaping purposes. Clearly define your grading goals before proceeding.
- Gather Tools and Equipment: Ensure that you have all the necessary tools and equipment for the grading project. In addition to a laser level, you may need shovels, rakes, wheelbarrows, and compacting machinery, depending on the size and complexity of the project.
- Survey the Area: Conduct a thorough survey of the area using a laser level or other surveying equipment. This will help you identify any inconsistencies in the existing grade and determine the amount of material needed to achieve the desired level or slope.
- Mark Reference Points: Use stakes or marking spray paint to designate reference points for the desired grade or slope. These reference points will serve as a guide during the grading process, ensuring consistency and accuracy.
- Consider Drainage: Assess the existing drainage patterns and make necessary adjustments to ensure proper water flow away from structures and towards designated drainage areas. If required, incorporate swales or culverts to direct runoff effectively.
- Secure Safety Measures: Prioritize safety during the grading process. Provide proper signage, barricades, or safety cones to alert others to the work area. Ensure that all personnel involved in the project are equipped with appropriate personal protective equipment (PPE).
By following these preparatory steps, you will set yourself up for a successful grading project. With the groundwork laid, you can now move on to setting up the laser level for accurate and efficient grading.
Setting up the Laser Level
Proper setup of the laser level is crucial for achieving accurate and reliable grading results. Here’s a step-by-step guide on how to set up your laser level:
- Choose the Right Location: Select a stable and level location to set up your laser level. A sturdy tripod or mounting bracket is typically used to securely hold the laser level in place.
- Mount the Laser Level: Attach the laser level to the tripod or mounting bracket according to the manufacturer’s instructions. Ensure that it is securely fastened to prevent any movement during operation.
- Check the Battery: Verify that the battery in the laser level is fully charged or replace it with fresh batteries. This ensures uninterrupted operation during the grading process.
- Set the Laser Level Height: Adjust the height of the laser level to the desired elevation or reference point. Use a measuring tape or ruler to ensure accurate positioning.
- Leveling the Laser: Use the built-in leveling mechanism or bubble vials on the laser level to ensure it is perfectly level. Adjust the tripod legs or mounting bracket as needed until the bubble is centered.
- Secure the Laser Level: Once the laser level is level and at the desired height, tighten the tripod or mounting bracket to secure it in place. Double-check that the laser level remains stable and steady.
- Power On the Laser Level: Turn on the laser level and allow it a few moments to self-level. The laser beam should project at the desired height and emit a visible, bright line or dot.
- Verify Laser Level’s Accuracy: To ensure the accuracy of the laser level, compare the projected laser line or dot with a reference point or measured height. Make any necessary adjustments to align the laser level to the desired grading points.
- Calibrate the Laser Level (if required): Depending on the model and manufacturer’s instructions, you may need to calibrate the laser level before use. Follow the provided calibration procedure to ensure accurate measurements.
With your laser level properly set up, leveled, and calibrated, you are now ready to commence the grading process. The laser level will act as your guiding tool to achieve precise and consistent grading results. In the next section, we will explore how to align the laser level for accurate grading.
When using a laser level for grading, make sure to set up the level on a stable surface and adjust the height and angle to match the desired grade. Double check the accuracy before starting any grading work.
Read more: How To Use A Self Leveling Laser Level
Aligning the Laser Level
Aligning the laser level is a critical step in the grading process to ensure accurate and consistent results. Follow these steps to align your laser level effectively:
- Set Up Reference Stakes: Place reference stakes at the desired points where you want to establish the level or slope. These stakes will serve as reference markers during the alignment process.
- Position the Laser Level: Position the laser level near one of the reference stakes, ensuring that it is secure and at the appropriate height. Make sure the laser beam is projected towards the other reference stake.
- Aim the Laser Beam: Adjust the position of the laser level horizontally and vertically to aim the laser beam directly at the second reference stake. Use the leveling and adjustment knobs on the laser level to make precise adjustments.
- Confirm Alignment: Verify that the laser beam aligns with the second reference stake. Check if the laser line or dot falls exactly on the stake or the desired target point. Make any necessary adjustments to get the alignment right.
- Repeat the Process: Once you have aligned the laser level with the second reference stake, move the laser level to align it with other reference stakes as needed. Repeat the same process, ensuring that the laser beam aligns accurately with each stake.
- Check Intermediate Points: For more complex grading projects or when establishing a sloped surface, you may need to check alignment with additional intermediate points between the reference stakes. Use a measuring tape or ruler to confirm that the laser beam is at the desired height at these intermediate points.
- Recheck and Fine-tune: After aligning with all the reference stakes and intermediate points, recheck the alignment one final time. Fine-tune the laser level’s position and adjustments to ensure the laser beam stays aligned with the designated grading points.
Remember, proper alignment is crucial for achieving accurate grading results. Take your time during this step to ensure that the laser level is precisely aligned with the reference stakes and intermediate points. Once you have successfully aligned the laser level, you are now ready to use it for grading. In the next section, we will explore how to utilize the laser level for accurate and efficient grading.
Using the Laser Level for Grading
Now that your laser level is set up and aligned, it’s time to put it to work for your grading project. Follow these steps to effectively use the laser level for grading:
- Choose the Starting Point: Select a starting point for your grading project. This is usually the reference stake closest to the desired grade elevation or slope.
- Mark the Grading Points: Use marking paint or flags to mark the grading points along the desired elevation or slope. These markings will guide you when adjusting the ground surface.
- Use the Laser Line: If your laser level projects a line, position yourself so that you can clearly see the laser line and the marking points. Adjust the ground surface to match the laser line by adding or removing soil as needed.
- Interpret the Laser Dot: If your laser level projects a dot, position yourself at each marking point and observe the position of the laser dot on the surface. Adjust the ground surface to make the laser dot align with the marking point.
- Incrementally Adjust the Surface: Move systematically from one marking point to the next, adjusting the ground surface as you go. Use shovels, rakes, or other tools to add or remove soil as necessary, ensuring that the surface matches the desired grade.
- Check the Grade Frequently: Regularly check the grading progress by comparing the surface with the laser line or dot. Make any necessary adjustments to maintain the desired grade throughout the project.
- Smooth and Compact the Surface: Once you have achieved the desired grade, use a compactor or a roller to smooth and compact the soil surface. This will ensure a stable and even finished grade.
During the grading process, it’s essential to maintain a consistent distance between the laser level and the ground surface. Avoid obstructing the laser beam or casting shadows on the surface, as this could affect the accuracy of the measurements.
Remember to work systematically and methodically, moving from one grading point to the next, to ensure a smooth and even surface throughout the project. Regularly check your progress and make adjustments as needed to maintain the desired grade.
By utilizing the laser level effectively, you can achieve accurate and professional-grade results in your grading projects. However, keep in mind that practice and experience will contribute to improving your proficiency with the laser level.
In the next section, we will provide some useful tips to help you achieve even more accurate grading results with your laser level.
Tips for Accurate Grading with a Laser Level
To ensure the most accurate and efficient grading results with your laser level, consider the following tips:
- Double-Check the Laser Level’s Calibration: Periodically verify that your laser level is properly calibrated to ensure accurate readings. Follow the manufacturer’s instructions for calibration procedures.
- Use a Laser Receiver: If you are working in bright sunlight or over long distances, consider using a laser receiver. This device helps amplify the laser beam’s visibility and extends the working range of the laser level.
- Work in Proper Lighting Conditions: While laser levels are designed to work in various lighting conditions, it’s beneficial to work in moderate lighting conditions. Excessive brightness or darkness may make it more challenging to see the laser beam.
- Maintain Stable Setup: Ensure that your laser level is securely mounted on a stable tripod or bracket. Avoid any potential vibrations or movement, as this can impact the accuracy of the laser level’s measurements.
- Factor in Line-of-Sight: Remember that the laser level projects a straight line or dot, and it requires a clear line-of-sight to base it accurately. Avoid obstacles or obstructions that may hinder the laser beam’s visibility or accuracy.
- Regularly Check the Level and Batteries: Monitor the level bubble or built-in leveling mechanism on your laser level to ensure it remains level throughout the grading project. Additionally, check the battery level regularly and replace it as needed to maintain consistent power.
- Plan for Grade Slopes: If you are establishing slopes, consider the desired slope percentage and calculate the appropriate rise-over-run measurements. Use grade rods and slope stakes to mark and guide your grading process accordingly.
- Communicate and Collaborate: If you are working with a team, ensure clear communication and coordination among team members. Communicate the grading plan, reference points, and any adjustments to maintain consistent results.
- Practice and Refine: Like any skill, using a laser level for grading improves with practice. Take the time to familiarize yourself with the tool and its functions. As you gain experience, you will become more efficient and accurate in achieving your grading goals.
By following these tips, you can maximize the accuracy and effectiveness of your grading tasks with a laser level. Remember, attention to detail, proper setup, and consistent monitoring are key factors in achieving precise and professional-grade results.
Now that we’ve explored various aspects of using a laser level for grading, let’s summarize the main points of what we’ve discussed.
Conclusion
Grading is a vital step in construction and landscaping projects, and using a laser level can greatly enhance the accuracy and efficiency of the process. Laser levels provide unmatched precision, clear visual references, and time-saving benefits that make them indispensable tools for grading tasks.
In this article, we covered the basics of a laser level, the advantages of using it for grading, and provided step-by-step instructions on how to set up, align, and use the laser level effectively. We also shared useful tips to ensure accurate grading results.
By properly preparing the site, setting up the laser level, aligning it with reference points, and carefully using it to adjust the ground surface, you can achieve professional-grade grading results. Remember to frequently check the calibration and batteries of your laser level, work in optimal lighting conditions, and communicate effectively if working within a team.
With practice and experience, you will become more proficient in utilizing the laser level for grading, allowing you to achieve precise and consistent results in your construction and landscaping projects.
So, equip yourself with a laser level, follow the steps outlined in this article, and embark on your grading projects with confidence. With the power of a laser level at your disposal, you can achieve accurate and efficient grading, resulting in a level, sloped, or landscaped surface that exceeds expectations.
Frequently Asked Questions about How To Use Laser Level For Grading
Was this page helpful?
At Storables.com, we guarantee accurate and reliable information. Our content, validated by Expert Board Contributors, is crafted following stringent Editorial Policies. We're committed to providing you with well-researched, expert-backed insights for all your informational needs.


0 thoughts on “How To Use Laser Level For Grading”