Articles
How To Reset A Garage Door Opener Remote
Modified: February 23, 2024
Learn how to reset your garage door opener remote with our informative articles. Discover step-by-step instructions and troubleshooting tips to get your remote working again.
(Many of the links in this article redirect to a specific reviewed product. Your purchase of these products through affiliate links helps to generate commission for Storables.com, at no extra cost. Learn more)
Introduction
Welcome to our guide on how to reset a garage door opener remote. Garage door openers are incredibly convenient but can sometimes encounter issues that require a reset. Whether your remote is no longer working, you’ve recently moved into a new home and need to program a new remote, or you simply want to reset the existing remote to start from scratch, this article will provide you with the necessary steps to get your garage door opener remote back up and running.
Garage door opener remotes are a handy accessory that allows you to open and close your garage door with ease. They work by sending signals to the garage door opener, triggering the motor to activate and move the door accordingly. However, like any electronic device, these remotes can experience problems over time. It could be due to a weak battery, signal interference, programming issues, or other factors.
Before we delve into the details, it is important to note that safety should always be your top priority when working with garage doors. Make sure to follow the manufacturer’s instructions and take the necessary precautions to avoid any accidents or injuries during the reset process. If you are unsure about performing the reset yourself, it is recommended to seek professional assistance.
In the following sections, we will guide you through the steps to troubleshoot common issues that may arise with your garage door opener remote. We will then show you how to reset the remote and program it to your specific garage door opener. We will also provide tips on testing the remote to ensure it is functioning correctly. So, let’s get started and get your garage door opener remote back on track!
Key Takeaways:
- Safety First!
Before attempting to reset a garage door opener remote, prioritize safety by following precautions such as disconnecting power, securing the door, and using protective equipment. Always prioritize safety when working with garage doors. - Troubleshoot Before Resetting
Before jumping into a reset, troubleshoot common issues like weak batteries, signal interference, and obstructions. Addressing these issues may restore your garage door opener remote’s functionality without the need for a full reset.
Safety Precautions
Before attempting to reset a garage door opener remote, it is crucial to prioritize safety. Garage doors are heavy and have powerful mechanisms, so it’s important to take certain precautions to minimize the risk of accidents or injuries.
Here are some safety precautions to keep in mind:
- Read the manufacturer’s instructions: Familiarize yourself with the specific safety guidelines provided by the manufacturer of your garage door opener and remote. Each model may have unique instructions, so make sure to follow them carefully.
- Disconnect the power: Before working on your garage door opener, ensure that the power source is disconnected. This can be done by unplugging it from the power outlet or turning off the circuit breaker that supplies electricity to the opener.
- Secure the door: To prevent accidents, make sure the garage door is fully closed and secure before attempting any troubleshooting or reset procedures. The door can be manually locked or secured with clamps to prevent any accidental movement.
- Use protective equipment: When working with garage doors, it’s advisable to wear safety goggles or glasses to protect your eyes from any debris or moving parts. Additionally, wearing gloves can provide an extra layer of protection.
- Keep tools and fingers clear: Never place your fingers, hands, or any objects near moving parts of the garage door or opener while the reset process is underway. Ensure that any tools you are using are kept a safe distance away from the mechanism.
- Work with a helper: If possible, have someone else present while you are performing the reset. They can provide assistance, offer an extra set of eyes for safety, and help in case of an emergency.
- Do not force components: If you encounter resistance or difficulty during the reset process, do not force any components. Applying excessive pressure can lead to damage and potential malfunctioning of the garage door opener. Consult the manufacturer’s instructions or seek professional help if you encounter any issues.
Remember, it is always better to take precautions and ensure your safety when working with garage door opener remotes. Following these safety measures will help you avoid accidents and ensure a successful and hassle-free reset process.
Understanding Garage Door Opener Remotes
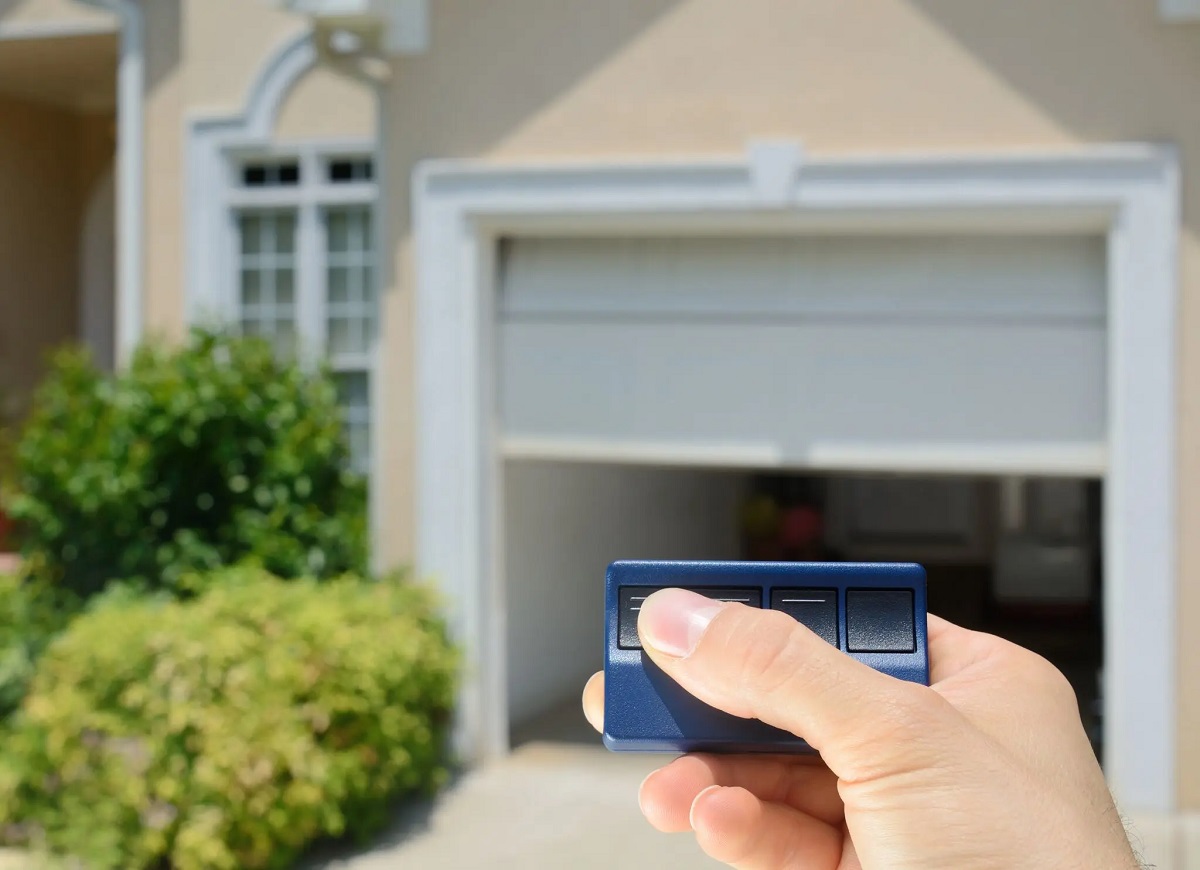
Before diving into the process of resetting a garage door opener remote, it’s helpful to have a basic understanding of how these remotes function. Garage door opener remotes are small devices that allow you to wirelessly control the opening and closing of your garage door.
Here’s a breakdown of the key components of a garage door opener remote:
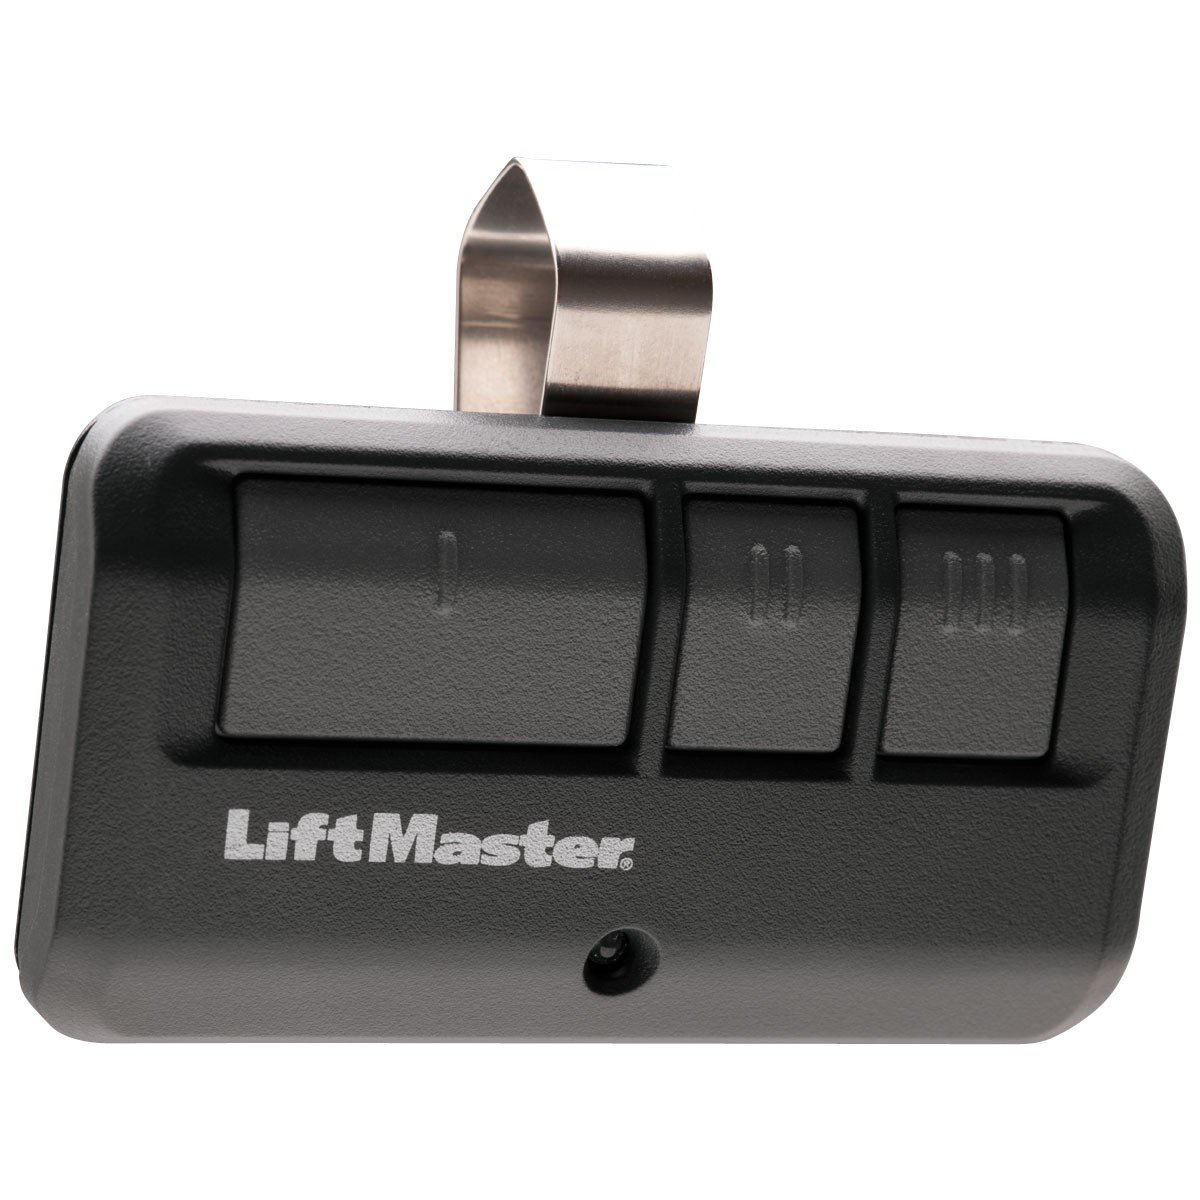
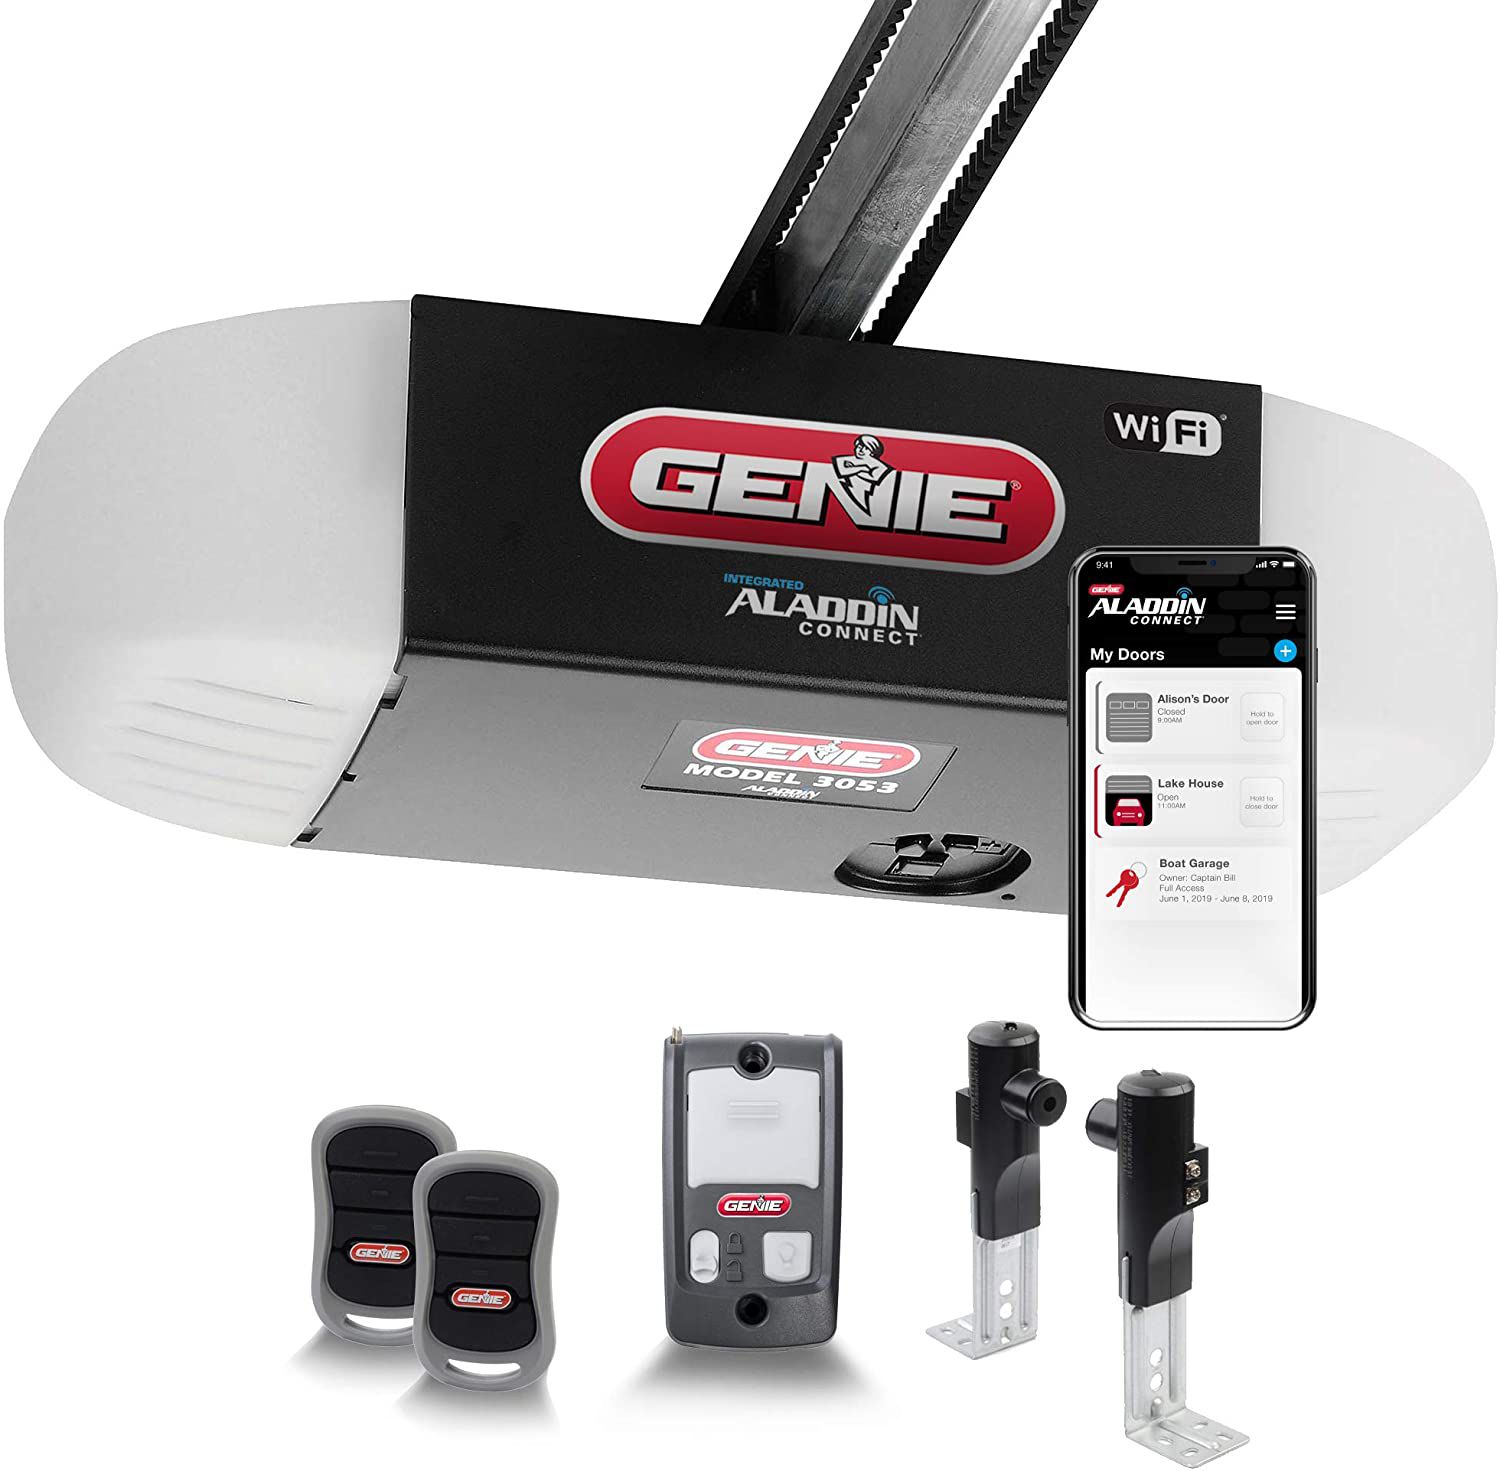
- Transmitter: This is the handheld device that you use to send signals to the garage door opener. It typically contains buttons to open, close, and sometimes even stop the garage door. When you press these buttons, the transmitter emits a radio frequency (RF) signal.
- Receiver: The receiver is located inside the garage door opener unit. It is responsible for receiving the RF signals sent by the remote transmitter. Once it receives the signal, the receiver interprets it and triggers the appropriate action, such as opening or closing the garage door.
- Frequency: Garage door opener remotes operate on specific frequencies, usually in the range of 300-400 MHz or 800-900 MHz. The frequency used depends on the model and manufacturer of your garage door opener. It’s essential to know the frequency of your remote when performing a reset or programming a new remote.
- Code: Each remote is programmed with a unique code that corresponds to the specific garage door opener it is paired with. This code ensures that your remote controls only your garage door and not your neighbor’s. When resetting a remote, you will typically be wiping out the existing code and reprogramming a new one.
- Battery: Most garage door opener remotes operate on batteries, which provide the power to transmit signals. It’s important to periodically check the battery level and replace it if necessary to ensure reliable performance.
- Rolled code vs. fixed code: Some newer garage door opener remotes utilize rolled code technology, also known as hopping code. This means that each time you press a button, the transmitter sends a different code, making it more secure against unauthorized access. Older remotes may use fixed codes, which can be more susceptible to code grabbing or cloning.
Keep these key components and concepts in mind as we move forward with the steps for resetting your garage door opener remote. Understanding how the remote works will give you a better grasp of the reset process and troubleshooting techniques that may be required along the way.
Troubleshooting Common Issues
Before resetting a garage door opener remote, it’s important to identify and troubleshoot any common issues that may be affecting its functionality. By addressing these issues, you may be able to restore the remote’s functionality without the need for a full reset. Here are some common problems you may encounter with a garage door opener remote:
- Weak battery: If the remote is not working or has a limited range, the first thing to check is the battery. Replace the battery with a fresh one and test if the remote starts functioning properly.
- Interference: Signal interferences from nearby devices like cordless phones, Wi-Fi routers, or other electronic devices can disrupt the communication between the remote transmitter and the garage door opener. Try moving away from these devices or eliminating potential sources of interference to see if it resolves the issue.
- Programming issues: If you recently moved into a new home or your remote suddenly stopped working, it’s possible that the remote has become unprogrammed or is not synced with the garage door opener. In such cases, reprogramming the remote may be necessary.
- Obstructions: Check for any obstructions or debris that may be blocking the signal transmission between the remote and the receiver. Clear any obstacles or clean the receiver’s antenna to ensure a clear line of sight and better signal reception.
- Remote damage: Inspect the remote for physical damage such as cracked buttons or a damaged circuit board. If there are visible signs of damage, replacing the remote may be necessary.
- Garage door opener malfunction: There might be an issue with the garage door opener itself, such as a faulty circuit board or motor. In such cases, it is recommended to consult a professional for a thorough inspection and repair.
By troubleshooting these common issues, you may be able to resolve the problem with your garage door opener remote without going through the entire reset process. However, if the troubleshooting steps do not fix the issue, a reset may be required to re-establish the connection between the remote and the receiver. In the next section, we will guide you through the steps to reset your garage door opener remote.
To reset a garage door opener remote, locate the “learn” button on the opener motor, press and hold it until the indicator light blinks, then press the desired button on the remote. This should reprogram the remote to the opener.
Steps to Reset a Garage Door Opener Remote
If troubleshooting doesn’t solve the issue with your garage door opener remote, performing a reset can often help restore its functionality. Here are the steps to reset a garage door opener remote:
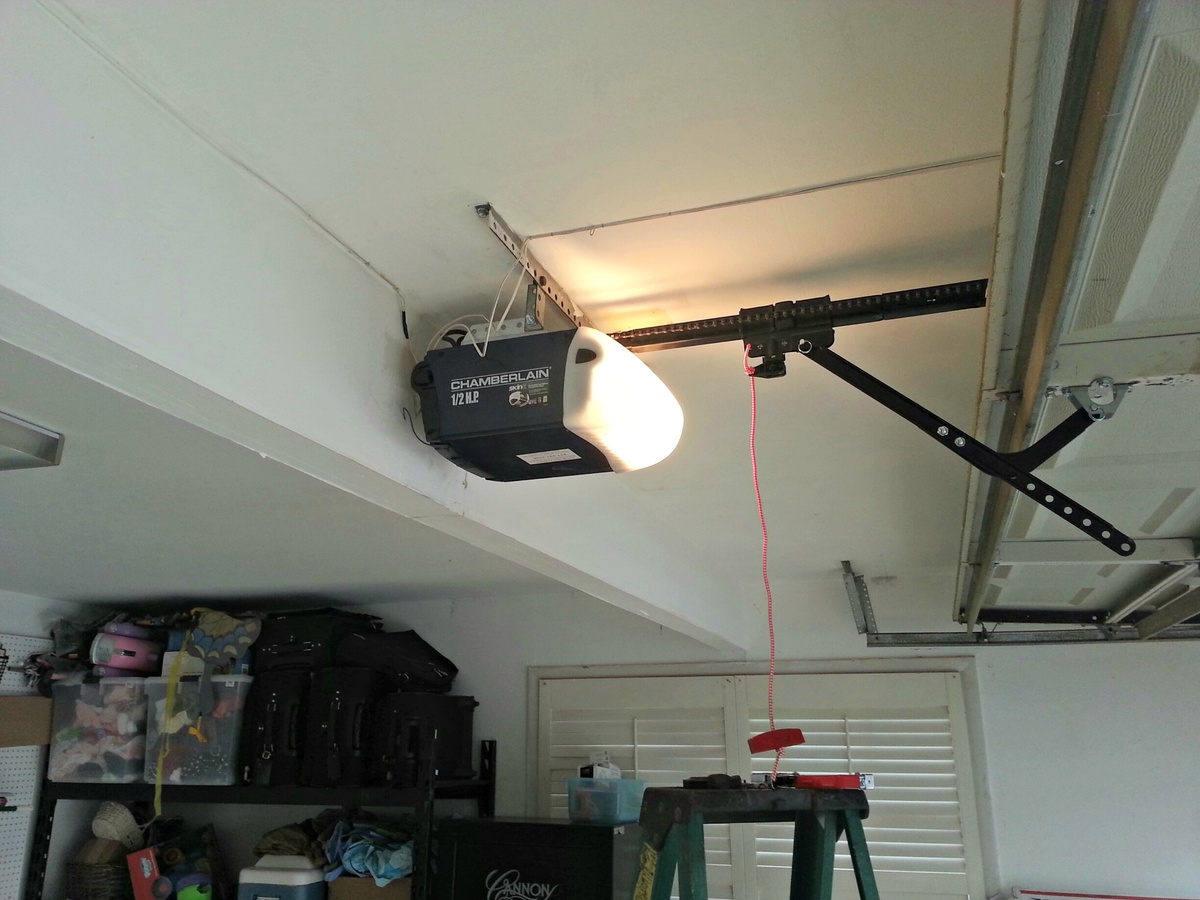
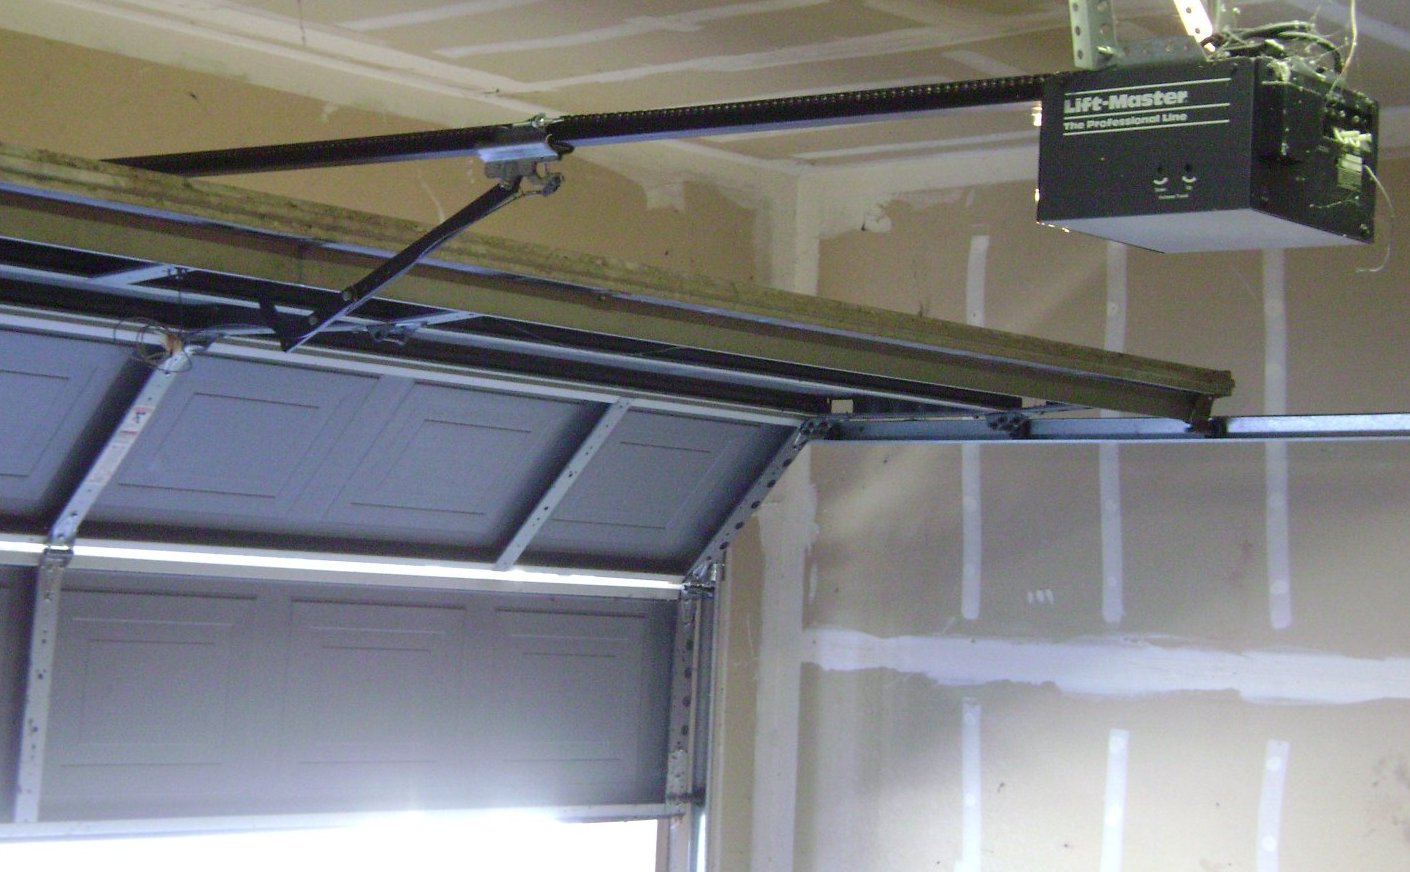
- Locate the “Learn” button: The “Learn” button is usually located on the garage door opener unit itself. It can be found on the back or side of the unit, near the antenna or the light bulb. The button may be labeled “Learn,” “Program,” or have a similar designation.
- Press and hold the “Learn” button: Press and hold the “Learn” button on the garage door opener unit until the indicator light turns on or blinks. The light may remain steady for a few seconds before starting to blink.
- Release the button: Once the indicator light starts blinking, release the “Learn” button. This indicates that the garage door opener is in programming mode and ready to receive the signal from the remote.
- Press the button on the remote: Within 30 seconds of releasing the “Learn” button, press and hold the button on the remote that you want to reset. Hold the button until the indicator light on the garage door opener unit flashes or the garage door briefly moves, indicating that the reset was successful.
- Test the remote: After completing the reset process, test the remote by pressing the buttons to open and close the garage door. Ensure that the garage door responds accordingly to confirm that the reset was successful.
It’s important to note that the exact steps and sequence may vary depending on the brand and model of your garage door opener. Always refer to the manufacturer’s instructions for specific guidelines on resetting your remote.
If you have multiple garage door opener remotes that need to be reset, follow the same procedure for each remote individually. It’s also a good practice to reset all remote controls for your garage door opener at the same time to ensure they are synchronized.
By following these steps, you should be able to successfully reset your garage door opener remote. However, if the issue persists or you encounter any difficulties during the process, it is recommended to refer to the manufacturer’s instructions or consult a professional for assistance.
Programming a New Garage Door Opener Remote
If you’ve purchased a new garage door opener remote or need to program an additional remote to work with your existing garage door opener, you’ll need to follow a specific set of instructions. Here are the general steps to program a new garage door opener remote:
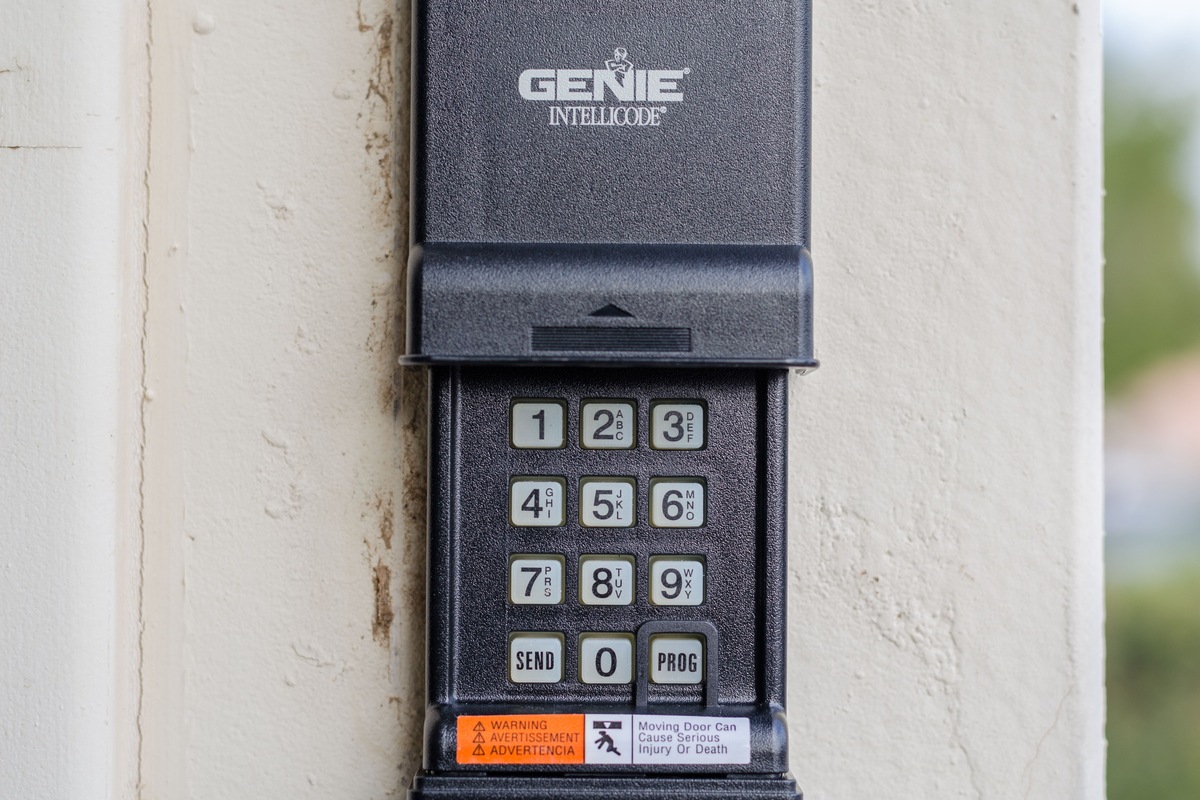
- Locate the “Learn” button: Similar to resetting a remote, you’ll need to find the “Learn” button on the garage door opener unit. Refer to the manufacturer’s instructions to identify the exact location of the button.
- Press the “Learn” button: Press and release the “Learn” button on the garage door opener unit. The indicator light on the unit will typically start to flash or stay lit to indicate it’s ready to receive the programming signal from the remote.
- Press the button on the new remote: Within 30 seconds of pressing the “Learn” button, press and hold the desired button on the new remote that you want to program. Keep holding the button until the indicator light on the garage door opener unit blinks or the garage door moves slightly.
- Release the button: Once the indicator light blinks or the garage door moves, release the button on the remote. This indicates that the programming process was successful. Repeat this step if you have multiple buttons to program on the same remote.
- Test the remote: After programming the new remote, test it by pressing the buttons to open and close the garage door. Make sure the garage door responds accordingly and that the remote now functions as intended.
It’s important to note that the programming process may vary depending on the brand and model of your garage door opener and remote. Always refer to the manufacturer’s instructions for specific guidelines on programming a new remote.
If the garage door opener unit has a limited programming window, it’s essential to complete the programming sequence within the specified time frame. Failure to do so may require you to repeat the process from the beginning.
Additionally, if you’re programming a remote for a new garage door opener installation, make sure to follow the specific instructions provided by the manufacturer. These instructions may involve additional steps, such as setting up the opener itself before programming the remote.
By following these general steps and manufacturer’s instructions, you should be able to successfully program a new garage door opener remote and enjoy the convenience of controlling your garage door from a handheld device.
Testing the Remote
After resetting or programming a garage door opener remote, it’s important to thoroughly test its functionality to ensure it is working correctly. Testing the remote will help you confirm that the reset or programming process was successful and that the remote can effectively open and close your garage door. Here’s how to test your garage door opener remote:
- Stand within range: Position yourself within range of the garage door opener, ensuring you are at a reasonable distance to test the remote’s signal transmission. The recommended range is usually specified in the manufacturer’s instructions.
- Press the button: Press the desired button on the remote to activate the garage door opener. Pay attention to the indicator light on the remote and listen for any sound or movement from the garage door opener.
- Observe the garage door: Watch the garage door to see if it responds to the signal and begins to open or close. It should move smoothly and without any hesitation.
- Check for any issues: As the garage door is in motion, check for any unusual noises, jerky movements, or obstructions that may hinder the door’s operation. If any issues arise, such as the door not fully opening or closing, it may indicate a problem with the remote or the garage door opener.
- Test from different angles: To ensure the remote works from various angles, try pressing the button from different positions around the garage door opener. Verify that the signal is consistently received, and the garage door responds as expected.
- Test the range: Move farther away from the garage door opener and test the remote’s range. Walk around the area and test the remote from different locations to confirm that it can successfully activate the garage door opener from a distance.
- Repeat the test: Perform the testing process multiple times to ensure reliable and consistent operation of the remote. This will help identify any intermittent issues or issues that only occur under specific conditions.
By thoroughly testing the garage door opener remote, you can be confident that it is functioning as intended. If any issues are discovered during testing, refer to the troubleshooting steps mentioned earlier or consult the manufacturer’s instructions for further guidance.
Remember to periodically test your garage door opener remote to ensure it continues to work properly. Routine testing and maintenance are essential to keep your garage door opener system in optimal condition, providing you with convenience, security, and peace of mind.
Conclusion
Resetting a garage door opener remote can be a simple and effective solution to various issues you may encounter. Whether you’re experiencing a malfunctioning remote, need to program a new one, or want to start fresh with a reset, following the proper steps is crucial to restore the functionality of your garage door opener remote.
In this guide, we discussed the safety precautions you should take when working with garage doors and provided an overview of how garage door opener remotes function. We also covered troubleshooting common issues that may arise with the remote and outlined the steps to reset and program a garage door opener remote.
Remember, always refer to the manufacturer’s instructions for your specific garage door opener model when performing a reset or programming a new remote. These instructions may provide additional details or variations for your particular system.
Regular testing of the remote’s functionality is essential to ensure it is working correctly and that your garage door responds as expected. By periodically testing the remote and addressing any issues promptly, you can maintain a smooth and reliable operation of your garage door opener.
If you encounter any difficulties during the reset or programming process, or if the issues persist despite troubleshooting, it is recommended to seek professional assistance. Garage door opener systems can be complex, and a trained technician can provide the expertise needed to diagnose and resolve any problems effectively.
We hope this guide has provided you with the necessary knowledge and steps to reset a garage door opener remote. By following the instructions and taking the appropriate safety measures, you can regain control over your garage door and enjoy the convenience and security that a properly functioning remote provides.
Frequently Asked Questions about How To Reset A Garage Door Opener Remote
Was this page helpful?
At Storables.com, we guarantee accurate and reliable information. Our content, validated by Expert Board Contributors, is crafted following stringent Editorial Policies. We're committed to providing you with well-researched, expert-backed insights for all your informational needs.


0 thoughts on “How To Reset A Garage Door Opener Remote”