Home>Articles>How To Paint A Porch For Upgraded Outdoor Living
Articles
How To Paint A Porch For Upgraded Outdoor Living
Modified: September 1, 2024
Learn how to transform your porch with a fresh coat of paint. Our articles provide step-by-step instructions for a beautiful outdoor living space.
(Many of the links in this article redirect to a specific reviewed product. Your purchase of these products through affiliate links helps to generate commission for Storables.com, at no extra cost. Learn more)
Introduction
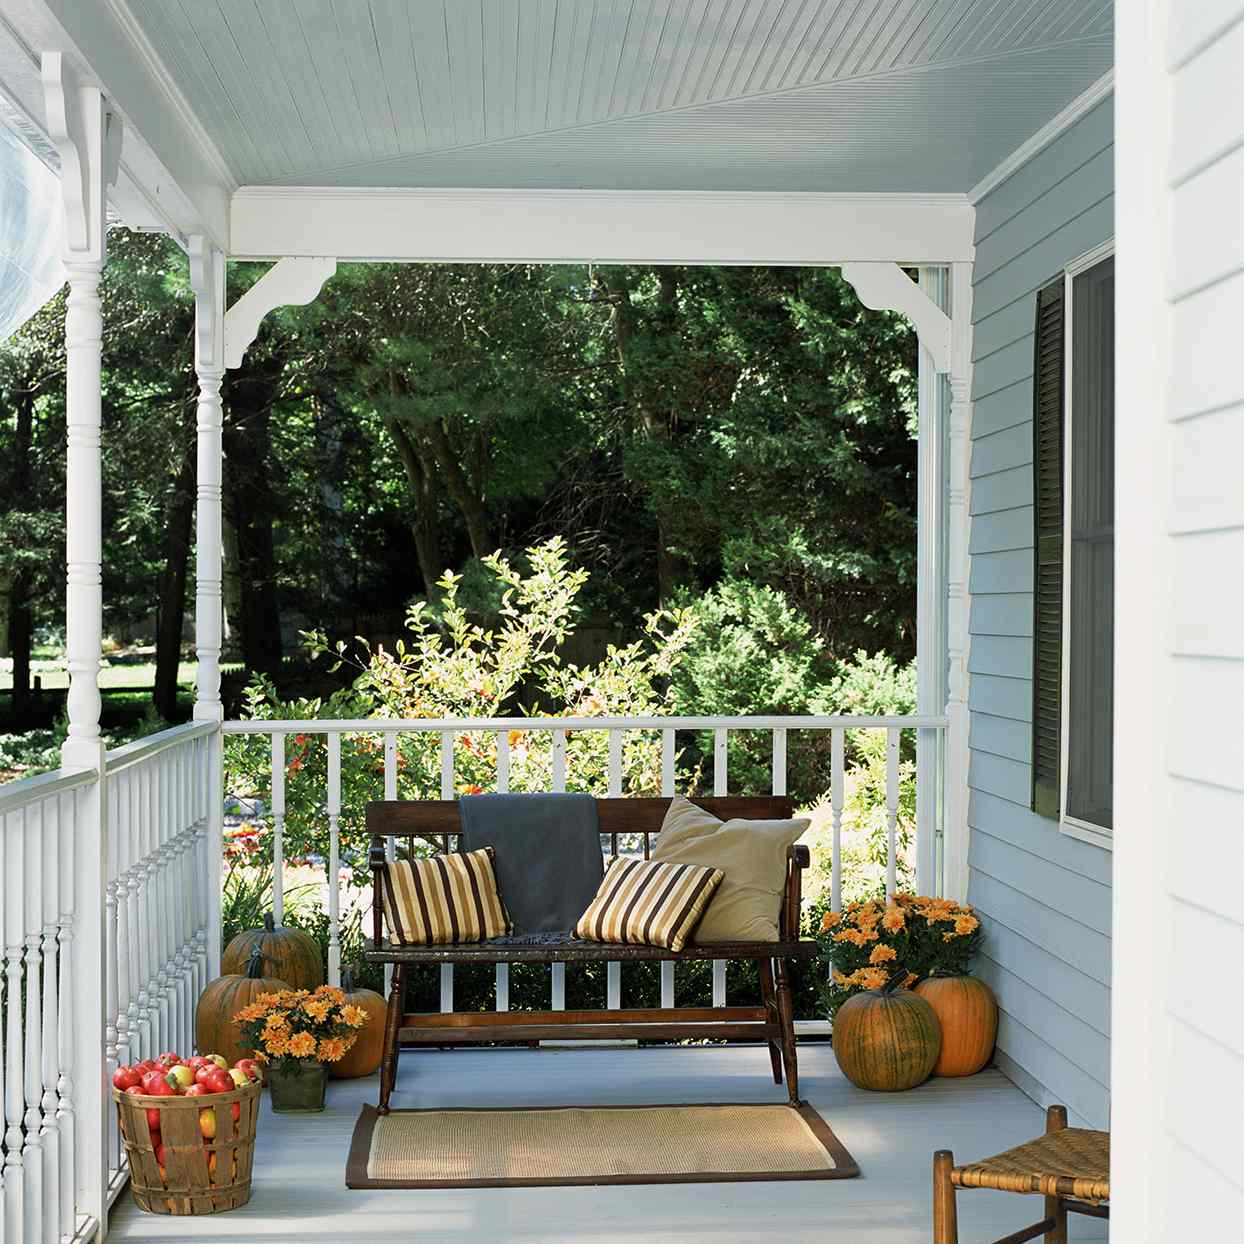
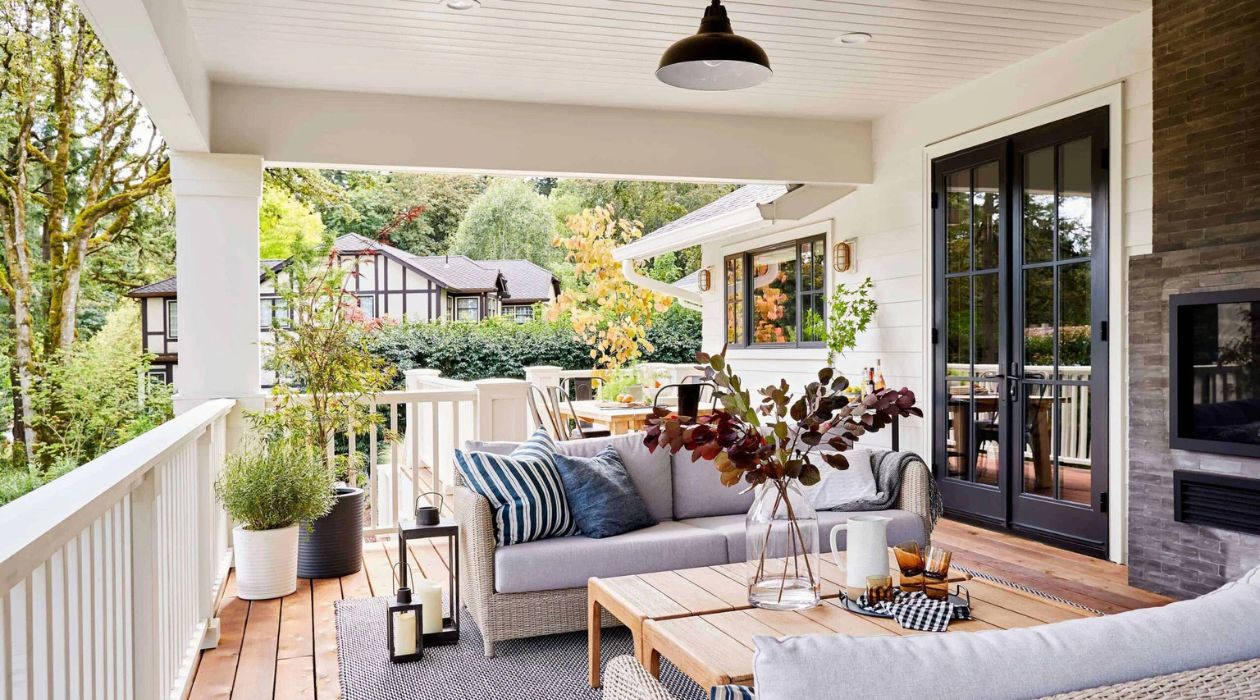
Welcome to the ultimate guide on how to paint a porch for upgraded outdoor living. Your porch is not just a functional space; it’s an extension of your home where you can relax, entertain, and enjoy the outdoors. A fresh coat of paint can transform your porch, giving it a new lease on life and enhancing its overall aesthetic appeal.
Painting a porch may seem like a daunting task, but with the right tools, materials, and techniques, it can be a rewarding and satisfying project. Whether you have a wooden porch, a concrete patio, or a screened-in veranda, this comprehensive guide will take you through each step of the process, from preparation to finishing touches.
By following these steps, you’ll be able to achieve a professional-looking paint job that will not only protect your porch from the elements but also add value to your home. So, let’s dive in and get started on transforming your porch into a welcoming and stylish outdoor space.
Key Takeaways:
- Transform your porch into a stylish and inviting outdoor space by following these steps to achieve a professional and long-lasting paint job. From preparation to finishing touches, enjoy the process of upgrading your porch for enhanced outdoor living.
- Gather the necessary tools and materials, prepare and clean the porch surface, choose the right paint color, and apply multiple coats for a fresh and vibrant appearance. Add final touches and regular maintenance to enjoy an upgraded outdoor living space for years to come.
Read more: How To Paint A Porch Floor
Step 1: Gather the Necessary Tools and Materials
Before you begin painting your porch, it’s important to gather all the tools and materials you’ll need to ensure a smooth and efficient process. Here are the essential items you’ll need:
- Paint brushes or rollers: Choose high-quality brushes or rollers suitable for the type of paint you’ll be using. Brushes are ideal for smaller areas and intricate details, while rollers are great for larger surfaces.
- Paint trays: These will hold the paint as you work, making it easier to dip your brush or roller.
- Drop cloths or plastic sheets: Lay these down to protect the surrounding areas and any furniture or plants on your porch.
- Painter’s tape: Use this to mask off any areas you don’t want to paint, such as windows, door frames, and trim.
- Sanding tools: Depending on the condition of your porch, you may need sandpaper, a sanding block, or an electric sander to smooth out any rough patches.
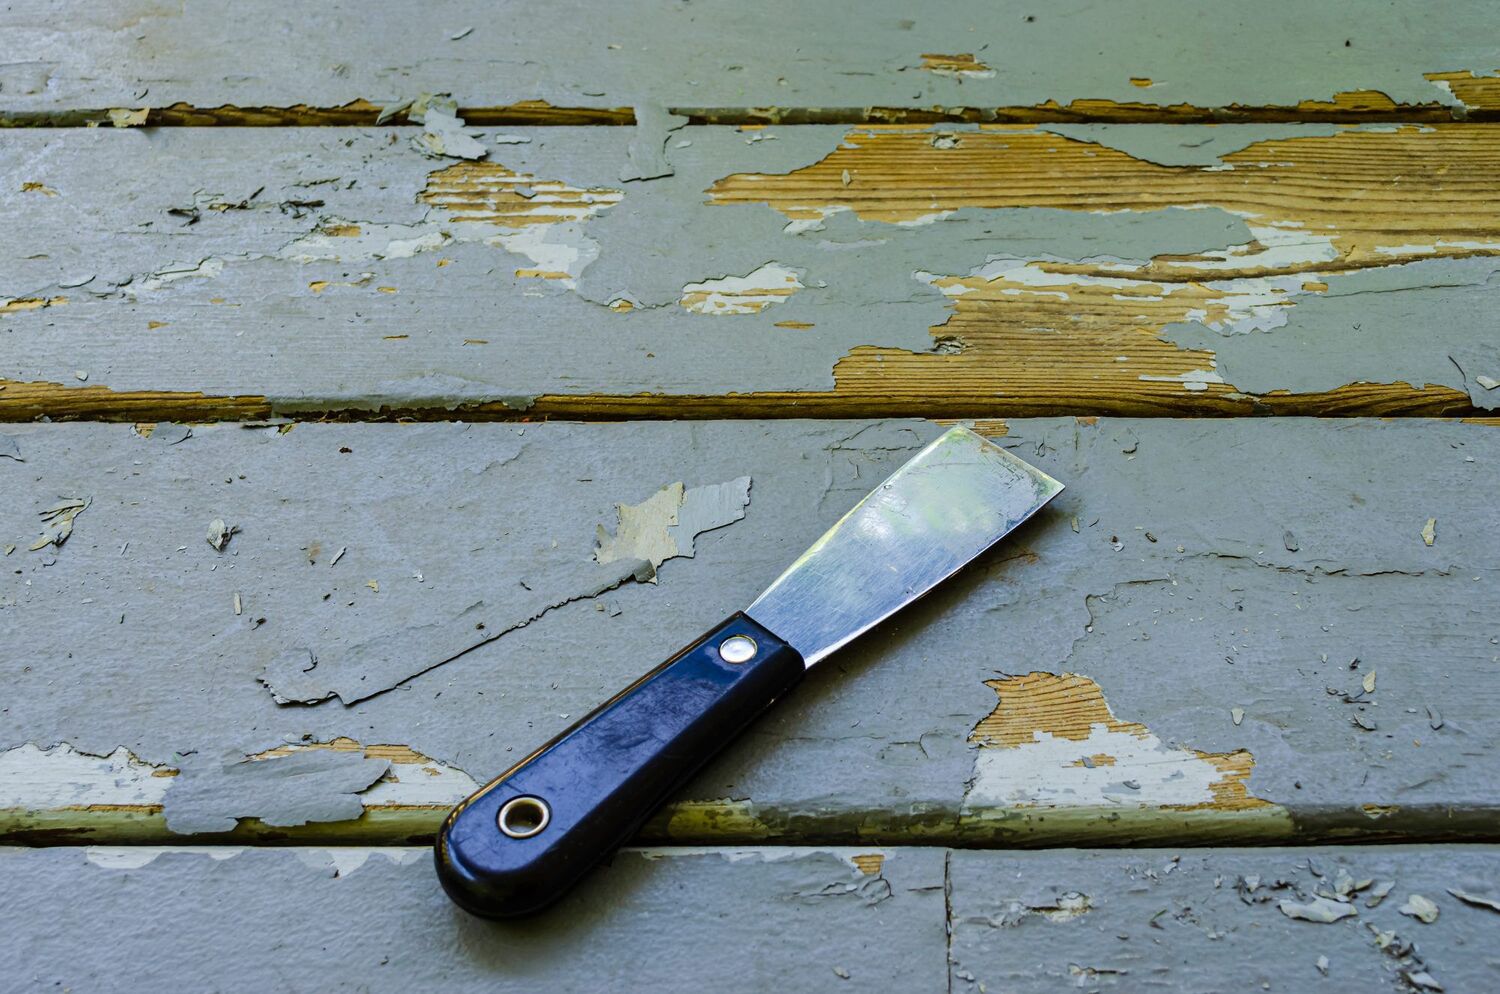
- Scraper or putty knife: These tools are essential for scraping off any loose or flaking paint from your porch surface.
- Primer: Choose a high-quality exterior primer appropriate for the material of your porch.
- Paint: Opt for a durable, weather-resistant exterior paint that is specifically designed for the surface you’re painting.
- Paint additives and cleaners: Depending on the condition of your porch, you may need additives such as mildewcide or cleaners to help remove dirt or stains.
- Safety equipment: Don’t forget to protect yourself with goggles, gloves, and a mask to minimize exposure to fumes or potential hazards.
Gathering these tools and materials beforehand will save you time and ensure that you have everything you need to complete the project without interruptions. Take inventory of what you have and make a shopping list for any items you still need to acquire.
Once you have all your tools and materials ready, you’re one step closer to transforming your porch into a beautiful and inviting space. Let’s move on to the next step: preparing the porch surface.
Step 2: Prepare the Porch Surface
Preparing the porch surface is a crucial step in achieving a successful paint job. Proper surface preparation will ensure that the paint adheres well, resulting in a longer-lasting finish. Follow these steps to prepare your porch surface:
- Clean the surface: Remove any dirt, dust, grime, or debris from the porch using a broom or a leaf blower. You can also use a pressure washer for a more thorough cleaning. Pay attention to corners, crevices, and hard-to-reach areas.
- Remove loose or peeling paint: Using a scraper or putty knife, carefully scrape off any loose or peeling paint from the surface. Make sure to wear goggles and gloves for protection.
- Sand the surface: If there are any rough areas or remaining paint edges, use sandpaper or a sanding block to smooth them out. Sanding will create a better surface for the new paint to adhere to.
- Repair any damaged areas: Inspect the porch for any cracks, holes, or rotting wood. Use an appropriate repair product, such as wood filler or masonry patch, to fill in any gaps or repair the damaged areas. Follow the manufacturer’s instructions for application and drying times.
- Prime the porch: Depending on the condition of your porch and the type of paint you’re using, you may need to apply a primer. Primer helps to seal the surface, improve paint adhesion, and provide a smooth base for your topcoat. Choose a primer specifically designed for your porch’s material.
By thoroughly preparing your porch surface, you’re setting the foundation for a successful paint job. The time and effort you invest in this step will pay off with a longer-lasting and more professional-looking finish. Once you’ve completed the surface preparation, it’s time to move on to the next step: cleaning the porch.
Step 3: Clean the Porch
After preparing the porch surface, it’s important to thoroughly clean it before painting. Cleaning will remove any remaining dirt, dust, or residues, ensuring that the paint adheres properly and provides a smooth and even finish. Follow these steps to clean your porch:
- Sweep the porch: Use a broom or a leaf blower to sweep away any loose dirt or debris from the surface.
- Wash the porch: Fill a bucket with warm water and add a mild detergent or all-purpose cleaner. Using a stiff-bristle brush or a scrubbing sponge, scrub the porch surface to remove any stubborn stains or grime. Pay special attention to areas that may have accumulated dirt or mildew, such as corners, steps, and railings.
- Rinse with water: After scrubbing, rinse the porch surface thoroughly with clean water. You may use a garden hose or a bucket for this step. Make sure to remove all soap residue.
- Allow the porch to dry: Give your porch ample time to dry completely before proceeding to the next step. This will prevent any moisture from being trapped beneath the paint, which can lead to blistering or peeling.
Cleaning your porch not only ensures better paint adhesion but also improves the overall appearance of the surface. By removing dirt, stains, and mildew, you’ll have a fresh canvas to work with. Once your porch is clean and dry, it’s time to move on to the next step: repairing any damaged areas.
Step 4: Repair Any Damaged Areas
Before you start painting your porch, it’s important to inspect the surface for any damaged areas and make necessary repairs. This step will ensure that your porch is structurally sound and that the paint job will be long-lasting. Follow these steps to repair any damaged areas:
- Inspect the porch: Carefully examine the surface of your porch for any cracks, holes, or rotting wood. Pay close attention to areas that are prone to water damage or are exposed to the elements.
- Fill cracks and holes: Use an appropriate filler, such as wood filler for wooden porches or a masonry patch for concrete porches, to fill in any cracks or holes. Follow the manufacturer’s instructions for application and drying times. For deeper cracks or larger holes, a two-part epoxy putty may be required.
- Replace damaged wood: If you have rotted or severely damaged wood on your porch, it’s important to replace it. Remove the damaged section and replace it with a new piece of the same type of wood. Secure the new piece in place with screws or nails.
- Sand and smooth: Once the repairs have dried, use sandpaper or a sanding block to smooth out the filled areas. This will ensure a seamless surface for painting and prevent any noticeable patches.
Repairing any damaged areas on your porch will not only improve its structural integrity but also contribute to a more visually appealing paint job. By taking the time to address these issues, you’ll have a solid foundation for a successful paint application.
Once you’ve completed the necessary repairs and sanded the surface, you’re ready to move on to the next step: priming the porch.
Step 5: Prime the Porch
Priming your porch is an essential step to ensure a smooth and long-lasting paint job. Primer acts as a bonding agent, creating a strong foundation for the paint and improving its adhesion to the surface. Follow these steps to prime your porch:
- Select the right primer: Choose a high-quality exterior primer that is suitable for the material of your porch. For wooden porches, use a wood primer, while for concrete or masonry surfaces, opt for a masonry or concrete primer. Make sure the primer is specifically designed for exterior use and is compatible with the type of paint you’ll be applying.
- Prepare the primer: Follow the manufacturer’s instructions to prepare the primer for application. This may involve stirring or shaking the primer to ensure proper consistency.
- Apply the primer: Use a paintbrush or a roller to apply an even coat of primer to the porch surface. Work in small sections to ensure thorough coverage. If using a roller, use a brush to cut in around edges and corners.
- Allow drying time: Give the primer ample time to dry before moving on to the next step. Check the manufacturer’s instructions for the recommended drying time. It’s important to wait until the primer is completely dry to ensure optimal bonding.
- Inspect the primed surface: Once dry, inspect the primed surface for any missed spots or areas that may require additional priming. Touch up those areas as needed.
Priming the porch is an important step in the painting process. It helps to seal the surface, improves paint adhesion, and provides a uniform base for the topcoat. Skipping this step or using an inadequate primer may result in a paint job that doesn’t adhere properly or lasts as long. Once the primer is dry and the surface is inspected, you’re ready to move on to the next step: choosing your paint color.
When painting a porch for upgraded outdoor living, make sure to thoroughly clean and prep the surface before applying the paint. This will ensure better adhesion and a longer-lasting finish.
Step 6: Choose Your Paint Color
Choosing the right paint color for your porch can greatly impact the overall look and feel of your outdoor space. Consider the style of your home, the surrounding landscape, and your personal preferences when selecting a paint color. Follow these tips to help you choose the perfect paint color:
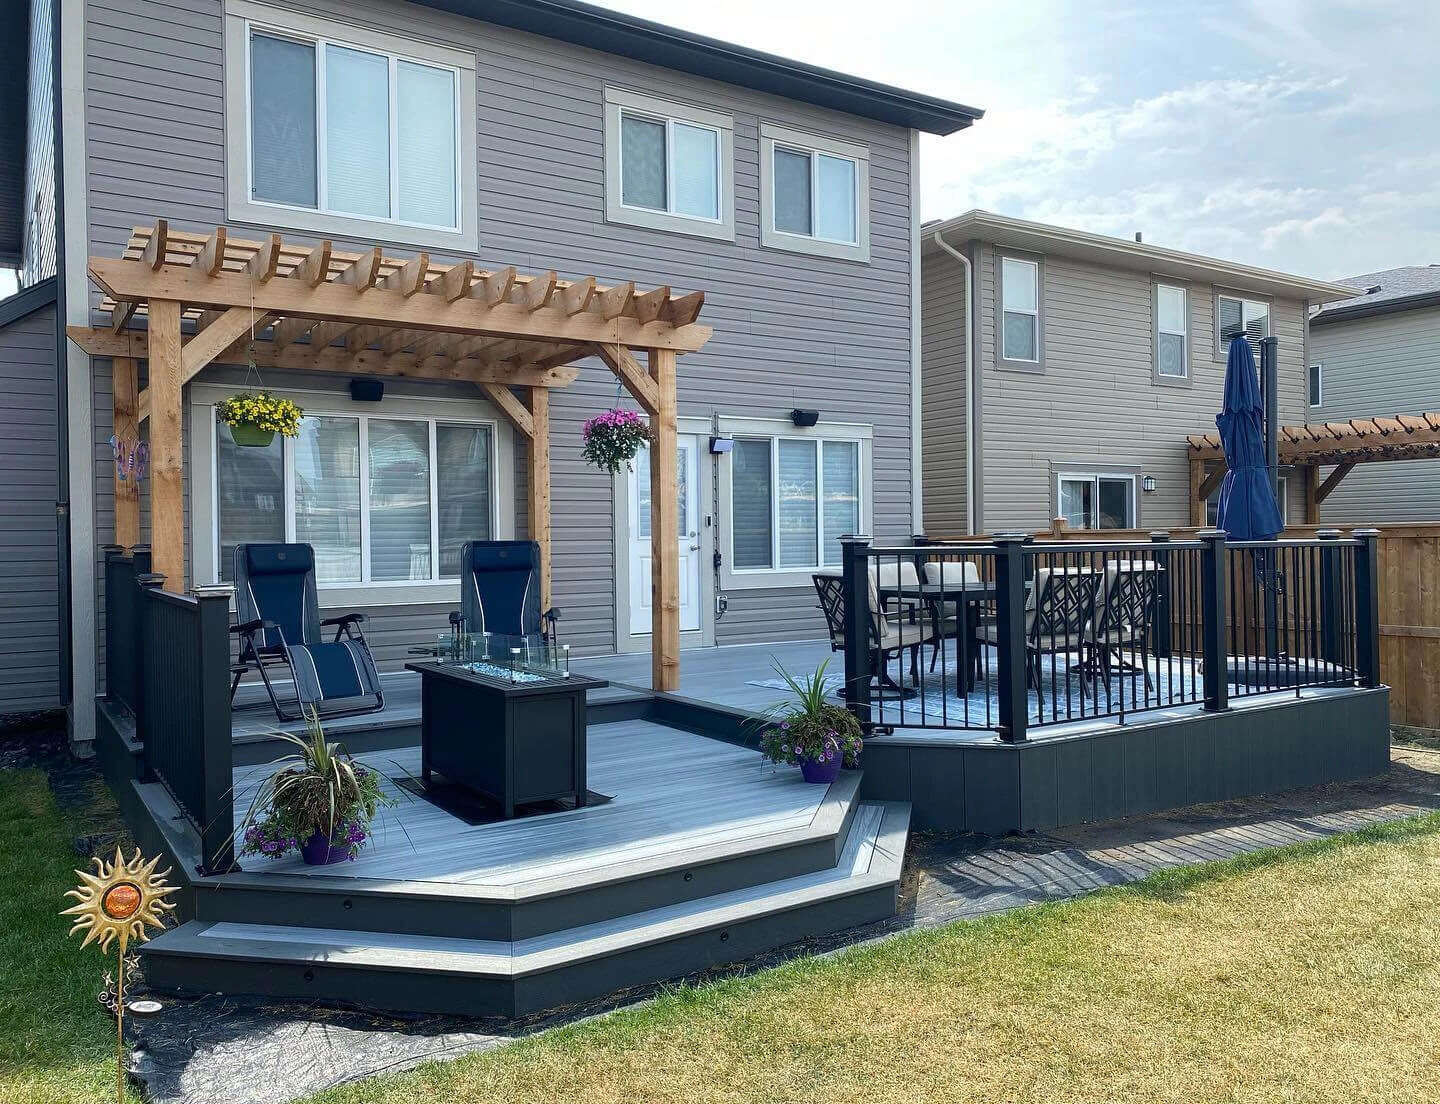
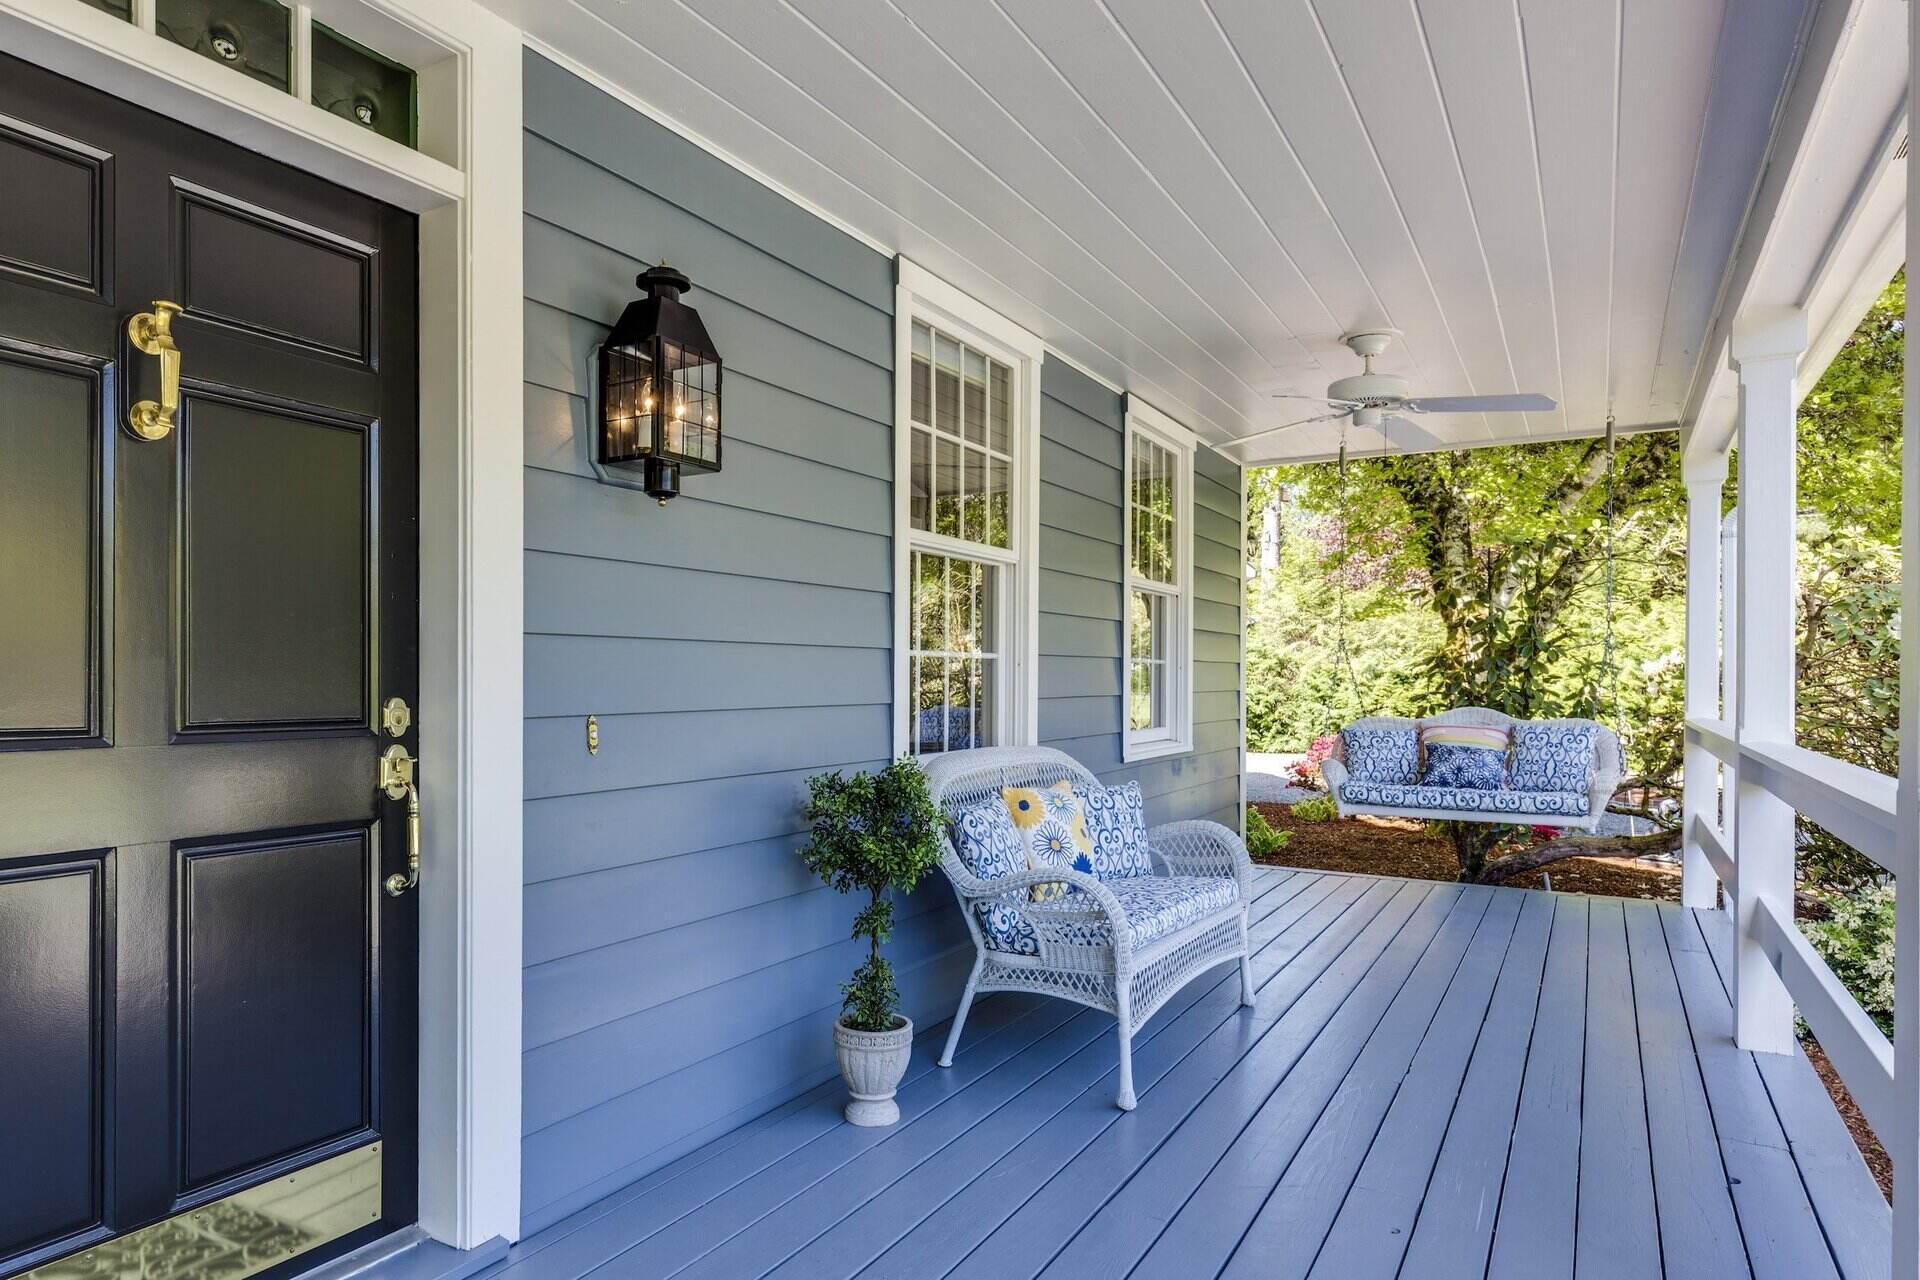
- Consider the architecture: Take into account the architectural style of your home. Traditional homes tend to look great with classic colors like neutral shades or muted pastels, while modern homes may benefit from bolder and more vibrant colors.
- Coordinate with the surroundings: Consider the colors of the surrounding landscape, such as plants, trees, and hardscape elements. You may want to choose a paint color that complements or contrasts with these natural elements for a cohesive and visually appealing look.
- Think about maintenance: Lighter paint colors tend to show dirt and stains more easily, while darker colors may fade over time. Take into consideration the level of maintenance you’re willing to undertake to keep your porch looking its best.
- Experiment with samples: Before committing to a specific paint color, it’s a good idea to test it out. Purchase small samples of your top choices and apply them to a small section of your porch. Observe how the color looks in different lighting conditions and make your decision accordingly.
Remember, the paint color you choose is a reflection of your personal style and taste. It’s your opportunity to add a touch of personality and curb appeal to your home. Once you’ve selected the perfect paint color for your porch, you’re ready to move on to the next step: starting the painting process.
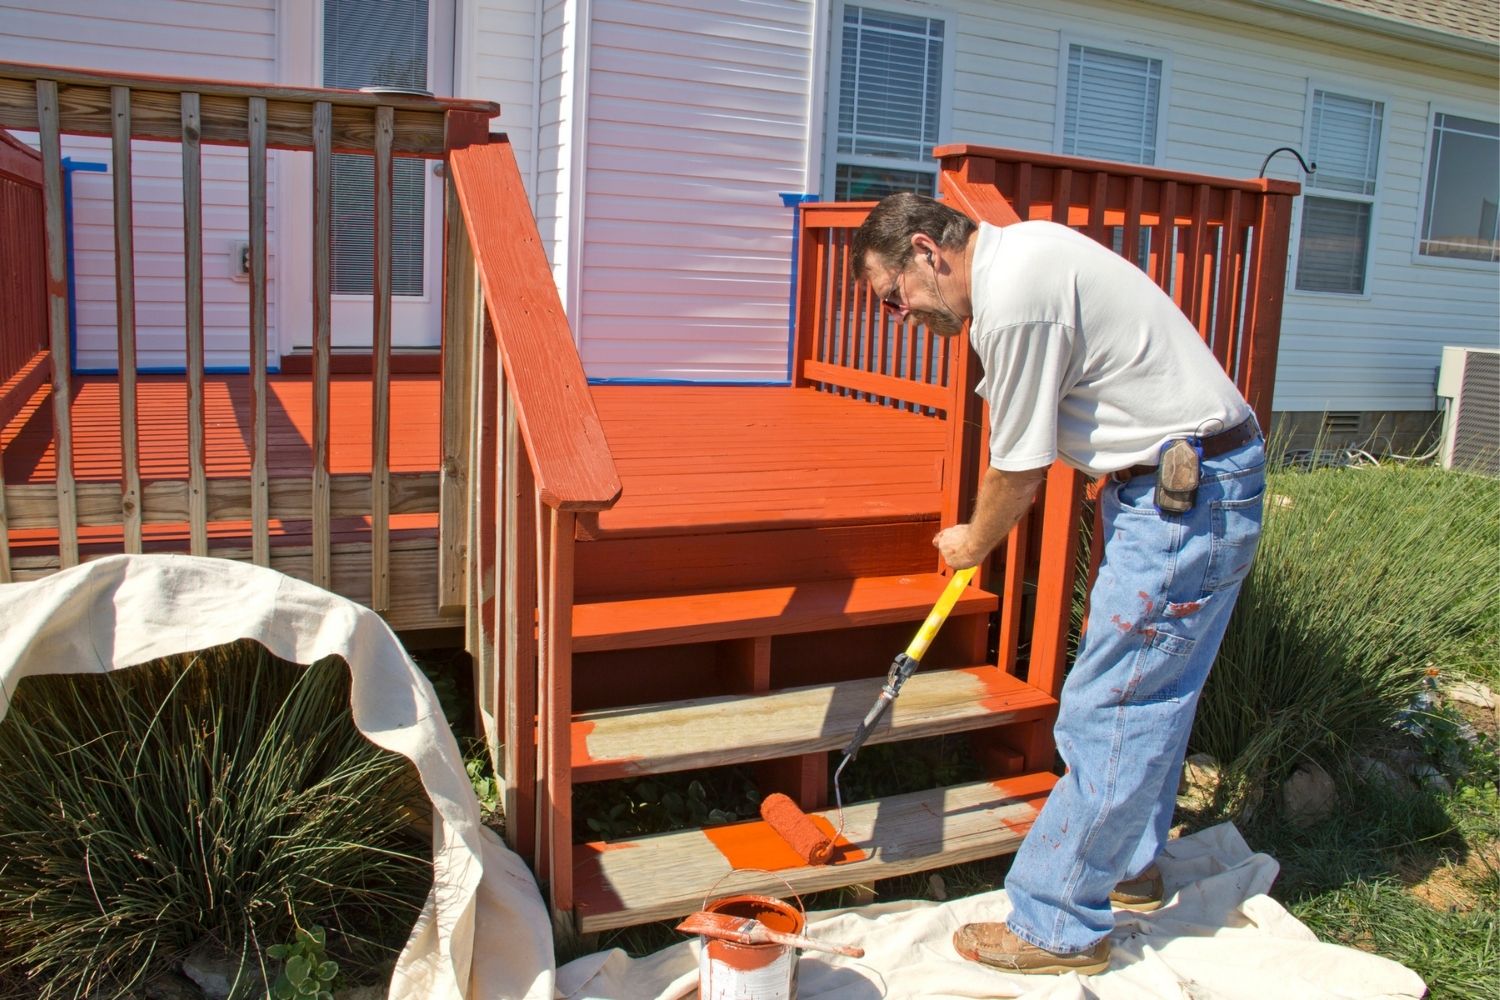
Step 7: Start Painting
Now that you’ve prepared and primed your porch, it’s time to start painting. Follow these steps to ensure a smooth and successful painting process:
- Stir the paint: Before you begin, give the paint can a good stir to ensure a consistent color and proper dispersion of any settling pigment.
- Start with the trim: If your porch has trim or decorative elements, it’s best to paint those first. Use a smaller brush to carefully paint the trim, taking care to be neat and precise.
- Cut in the edges: Using a paintbrush, “cut in” by painting along the edges and corners of the porch surface. This will help create a clean and professional-looking finish.
- Use a roller for larger areas: For larger, flat areas, switch to a roller for faster and more efficient coverage. Use long, smooth strokes to apply an even coat of paint.
- Work in sections: Paint the porch in manageable sections, working from one end to the other. This will help ensure that you maintain a wet edge, preventing visible lines or unevenness in the final result.
- Apply multiple coats if necessary: Depending on the color and the condition of the porch, you may find that multiple coats of paint are needed for full coverage. Allow each coat to dry completely before applying the next one.
- Take breaks: Painting a porch can be a tiring task, so be sure to take regular breaks to rest and hydrate. This will help you maintain focus and achieve a high-quality finish.
Remember to follow the manufacturer’s instructions regarding drying times and any specific recommendations for the paint you’re using. Take your time and be patient, ensuring that each coat is applied evenly and thoroughly.
Once you’ve completed the painting process, step back and admire the transformation of your porch. But don’t stop there – there are a few more steps to complete before your upgraded outdoor living area is complete.
Step 8: Apply Additional Coats, if Needed
After painting your porch, it’s important to assess the coverage and appearance of the first coat. Depending on the color, type of paint, and the condition of the surface, you may find that applying additional coats is necessary to achieve the desired look and durability. Follow these steps to determine if additional coats are needed:
- Allow the first coat to dry: Give the first coat of paint ample time to dry according to the manufacturer’s instructions. This will allow you to accurately assess its coverage and finish.
- Inspect the painted surface: Once the first coat is dry, carefully examine the porch for any areas that may need touch-ups or where the paint coverage is uneven. Look for any inconsistencies or visible brush strokes.
- Assess the color and opacity: Evaluate the color saturation and opacity of the paint. If the color is not as vibrant or rich as you desired, or if you can see the previous color or primer through the paint, applying an additional coat is advisable.
- Consider environmental factors: Take into account the location of your porch and the weather conditions it will be exposed to. If your porch is exposed to harsh sunlight or experiences frequent rain showers, applying an extra coat of paint can provide an added layer of protection.
- Apply additional coats: If you determine that another coat of paint is required, repeat the painting process as outlined in Step 7. Follow the same techniques of cutting in, using a brush for trim and edges, and utilizing a roller for larger areas.
- Allow proper drying time: Ensure that each additional coat of paint is allowed to dry fully before applying the next one. This will result in a more durable and long-lasting finish.
By applying additional coats, if needed, you can achieve a more uniform and attractive appearance for your porch. It’s worth the extra effort to ensure that the finished result meets your expectations and enhances the overall aesthetic of your outdoor living space.
After completing the necessary number of coats of paint, it’s crucial to allow ample time for the paint to dry before moving on to the next step: allowing the paint to dry.
Read more: How To Paint Porch Railing
Step 9: Allow the Paint to Dry
After completing the painting process, it’s important to allow the paint on your porch to dry thoroughly before using the area or adding any additional finishes. Proper drying time ensures that the paint sets and cures properly, resulting in a durable and long-lasting finish. Follow these steps to allow the paint on your porch to dry effectively:
- Refer to the manufacturer’s instructions: Different types of paint have varying drying times, so it’s essential to consult the guidelines provided by the paint manufacturer. These instructions will specify the approximate drying time needed for the paint to fully dry and cure.
- Avoid contact and traffic: During the drying process, it’s crucial to avoid any contact or heavy traffic on the painted porch surface. This includes keeping furniture, plants, and any other objects away from the area. Restricting access to the porch will prevent accidental damage or smudging of the paint.
- Consider environmental factors: Environmental conditions, such as temperature and humidity, can influence the drying time of the paint. Warmer temperatures and lower humidity levels generally lead to faster drying times. Ensure that the porch area is well-ventilated to aid in the drying process.
- Be patient: Drying times can vary, so it’s important to be patient and allow sufficient time for the paint to dry completely. Rushing the drying process can result in a subpar finish or paint that is easily damaged.
- Perform a touch test: Before using the porch or applying any additional finishes, gently touch a small inconspicuous area of the paint. If it feels dry to the touch and does not leave any residue on your finger, it is likely ready for use.
By following these steps and allowing the paint on your porch to dry properly, you ensure that the paint bonds securely to the surface and provides a durable and attractive finish. Once the paint is dry, you can proceed to the final step: adding finishing touches to your painted porch.
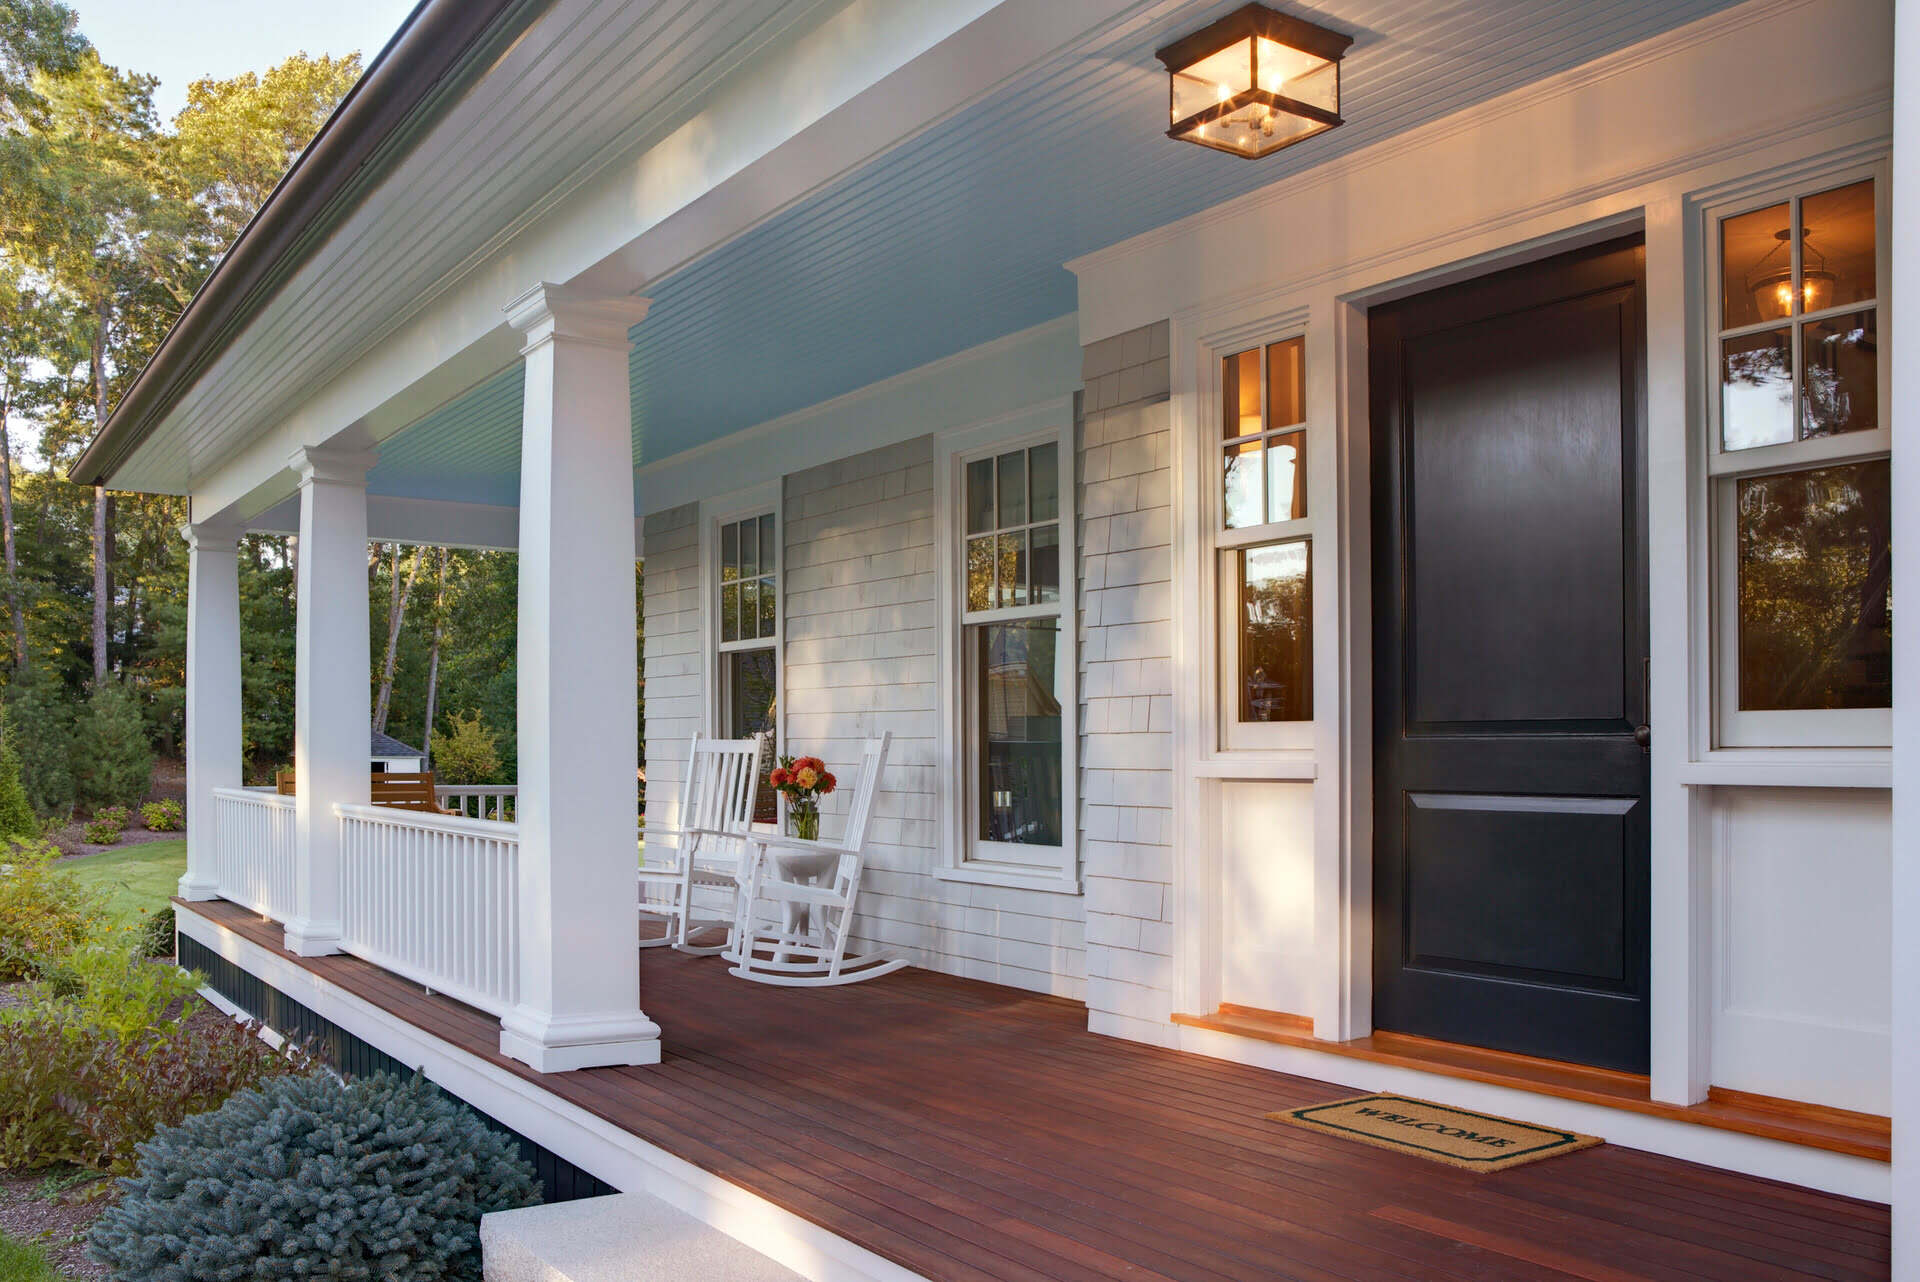
Step 10: Add Finishing Touches
With the paint on your porch fully dry, it’s time to add those final finishing touches to complete the transformation of your outdoor living space. These small details can greatly enhance the overall look and functionality of your painted porch. Consider the following steps to add those final touches:
- Remove protective coverings: If you placed any drop cloths or plastic sheets to protect the surrounding areas during the painting process, now is the time to remove them. Carefully fold or roll them up, ensuring that any paint chips or debris are disposed of properly.
- Reinstall fixtures and hardware: If you removed any porch fixtures or hardware, such as light fixtures or house numbers, carefully reinstall them. Ensure that they are securely fastened and properly aligned.
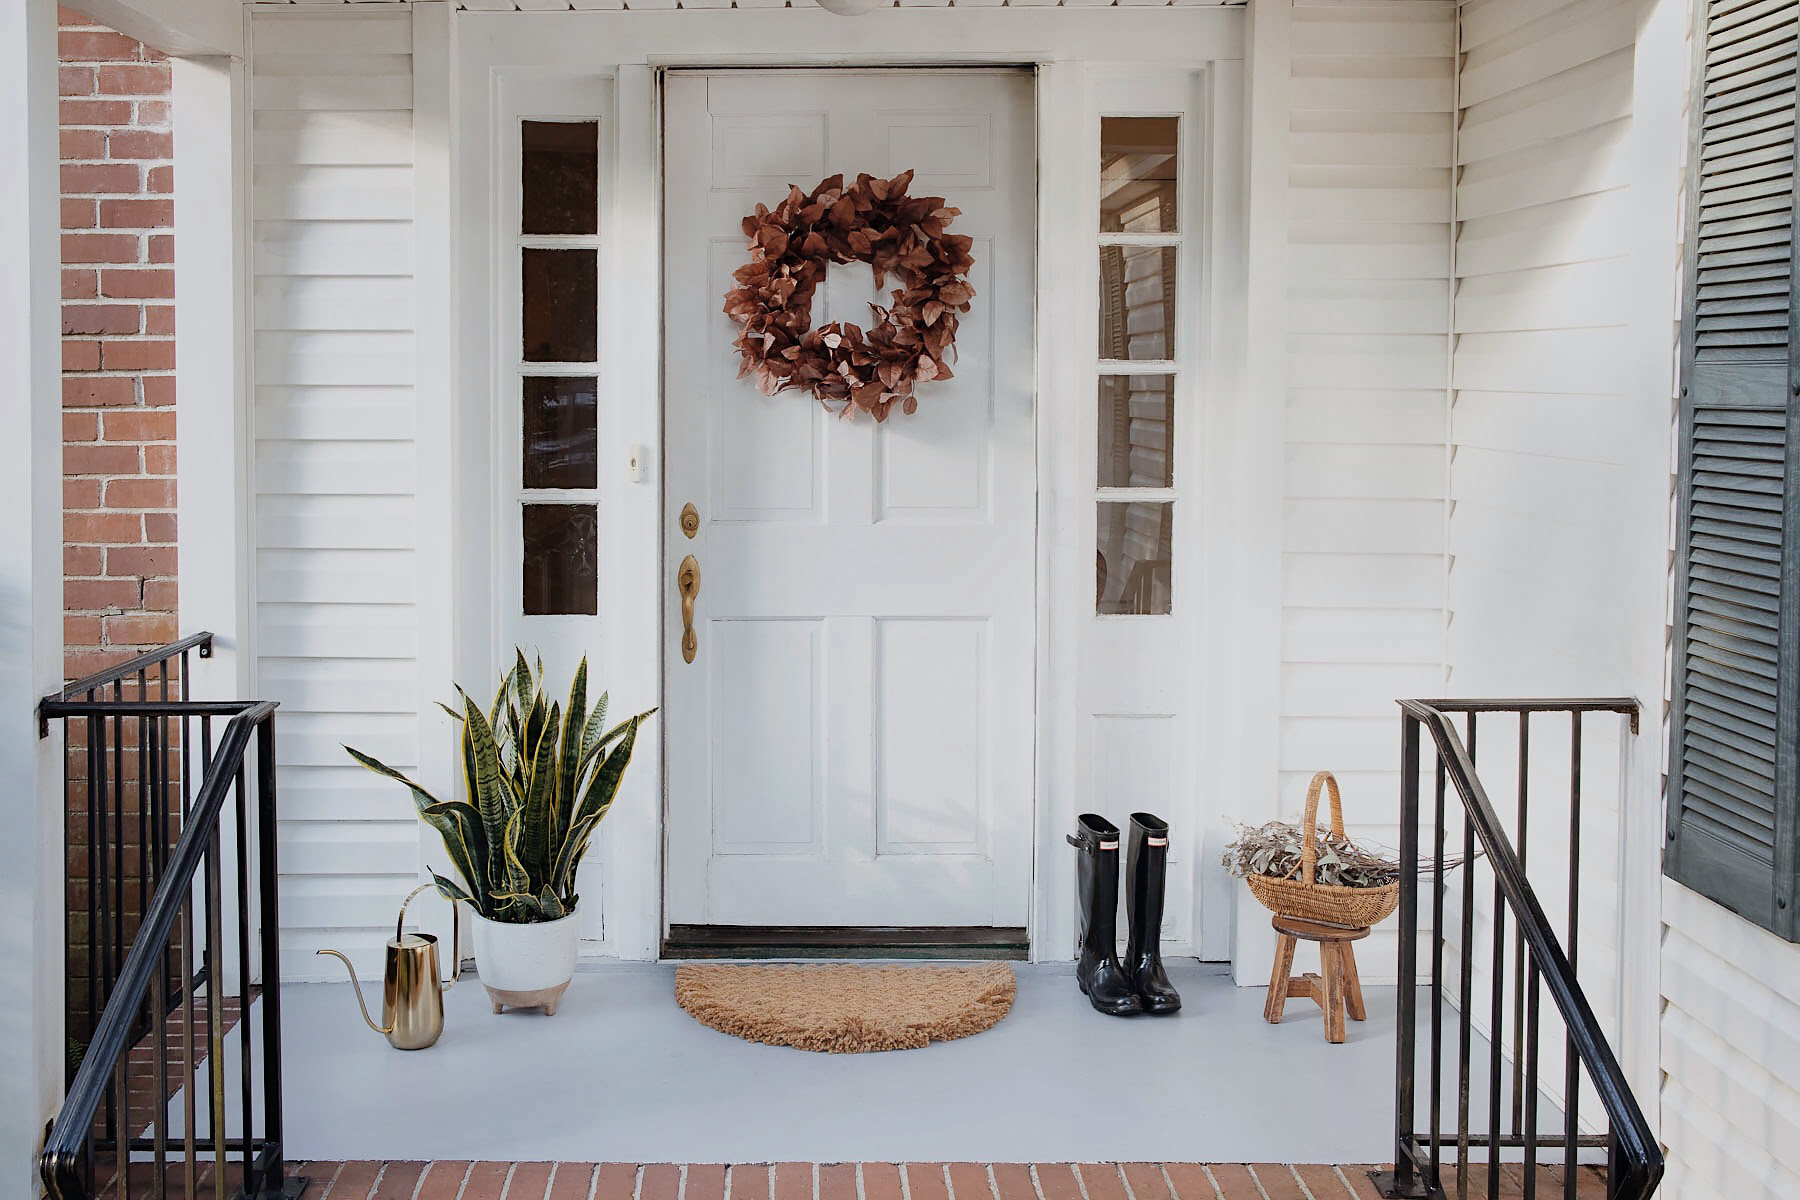
- Add decorative elements: Consider adding decorative elements to your porch to create a visually appealing and inviting space. This could include potted plants, outdoor furniture, cushions, rugs, or outdoor lighting. Choose elements that complement the color and style of your porch.
- Protect and maintain the paint: To prolong the lifespan of your newly painted porch, consider applying a protective sealant or clear coat. This will provide an additional layer of protection against UV rays, moisture, and general wear and tear. Follow the manufacturer’s instructions for application.
- Maintain your painted porch: Regular maintenance is key to preserving the beauty and longevity of your painted porch. Keep the surface clean by regularly sweeping away dirt and debris, and promptly address any stains or spills. Periodically inspect the paint for signs of wear or damage, and touch up as needed.
By adding these final touches and maintaining your painted porch, you can enjoy an upgraded outdoor living space for years to come. The effort you put into these small details will pay off in the form of a beautiful and functional porch that enhances the overall appeal of your home.
Congratulations on successfully completing the process of painting your porch! Sit back, relax, and enjoy your newly transformed outdoor space.
Conclusion
Painting your porch is a rewarding project that can significantly enhance the look and feel of your outdoor living space. By following the steps outlined in this guide, you can achieve a professional and long-lasting paint job for your porch.
It all starts with gathering the necessary tools and materials, preparing the porch surface, and cleaning it thoroughly. After that, you’ll need to repair any damaged areas and apply a coat of primer to ensure proper adhesion. Choosing the right paint color and applying multiple coats, if necessary, will give your porch a fresh and vibrant appearance.
Once the paint has dried, you can add those final finishing touches to complete the overall look of your porch. Reinstall fixtures, add decorative elements, and consider applying a protective sealant to prolong the life of your paint job. Regular maintenance will also be necessary to keep your porch looking its best over time.
With each step, take your time, pay attention to detail, and enjoy the process of transforming your porch into an upgraded outdoor living space. Whether you’re looking to create a cozy retreat or a stylish entertaining area, a freshly painted porch can make all the difference.
So, gather your tools, choose your paint color, and embark on this exciting project to breathe new life into your porch. Get ready to enjoy the outdoor living space of your dreams!
Frequently Asked Questions about How To Paint A Porch For Upgraded Outdoor Living
Was this page helpful?
At Storables.com, we guarantee accurate and reliable information. Our content, validated by Expert Board Contributors, is crafted following stringent Editorial Policies. We're committed to providing you with well-researched, expert-backed insights for all your informational needs.


0 thoughts on “How To Paint A Porch For Upgraded Outdoor Living”