Articles
How To Paint Wood Porch
Modified: September 1, 2024
Learn how to paint your wood porch with these helpful articles. Transform your porch into a beautiful space with our step-by-step guides and expert tips.
(Many of the links in this article redirect to a specific reviewed product. Your purchase of these products through affiliate links helps to generate commission for Storables.com, at no extra cost. Learn more)
Introduction
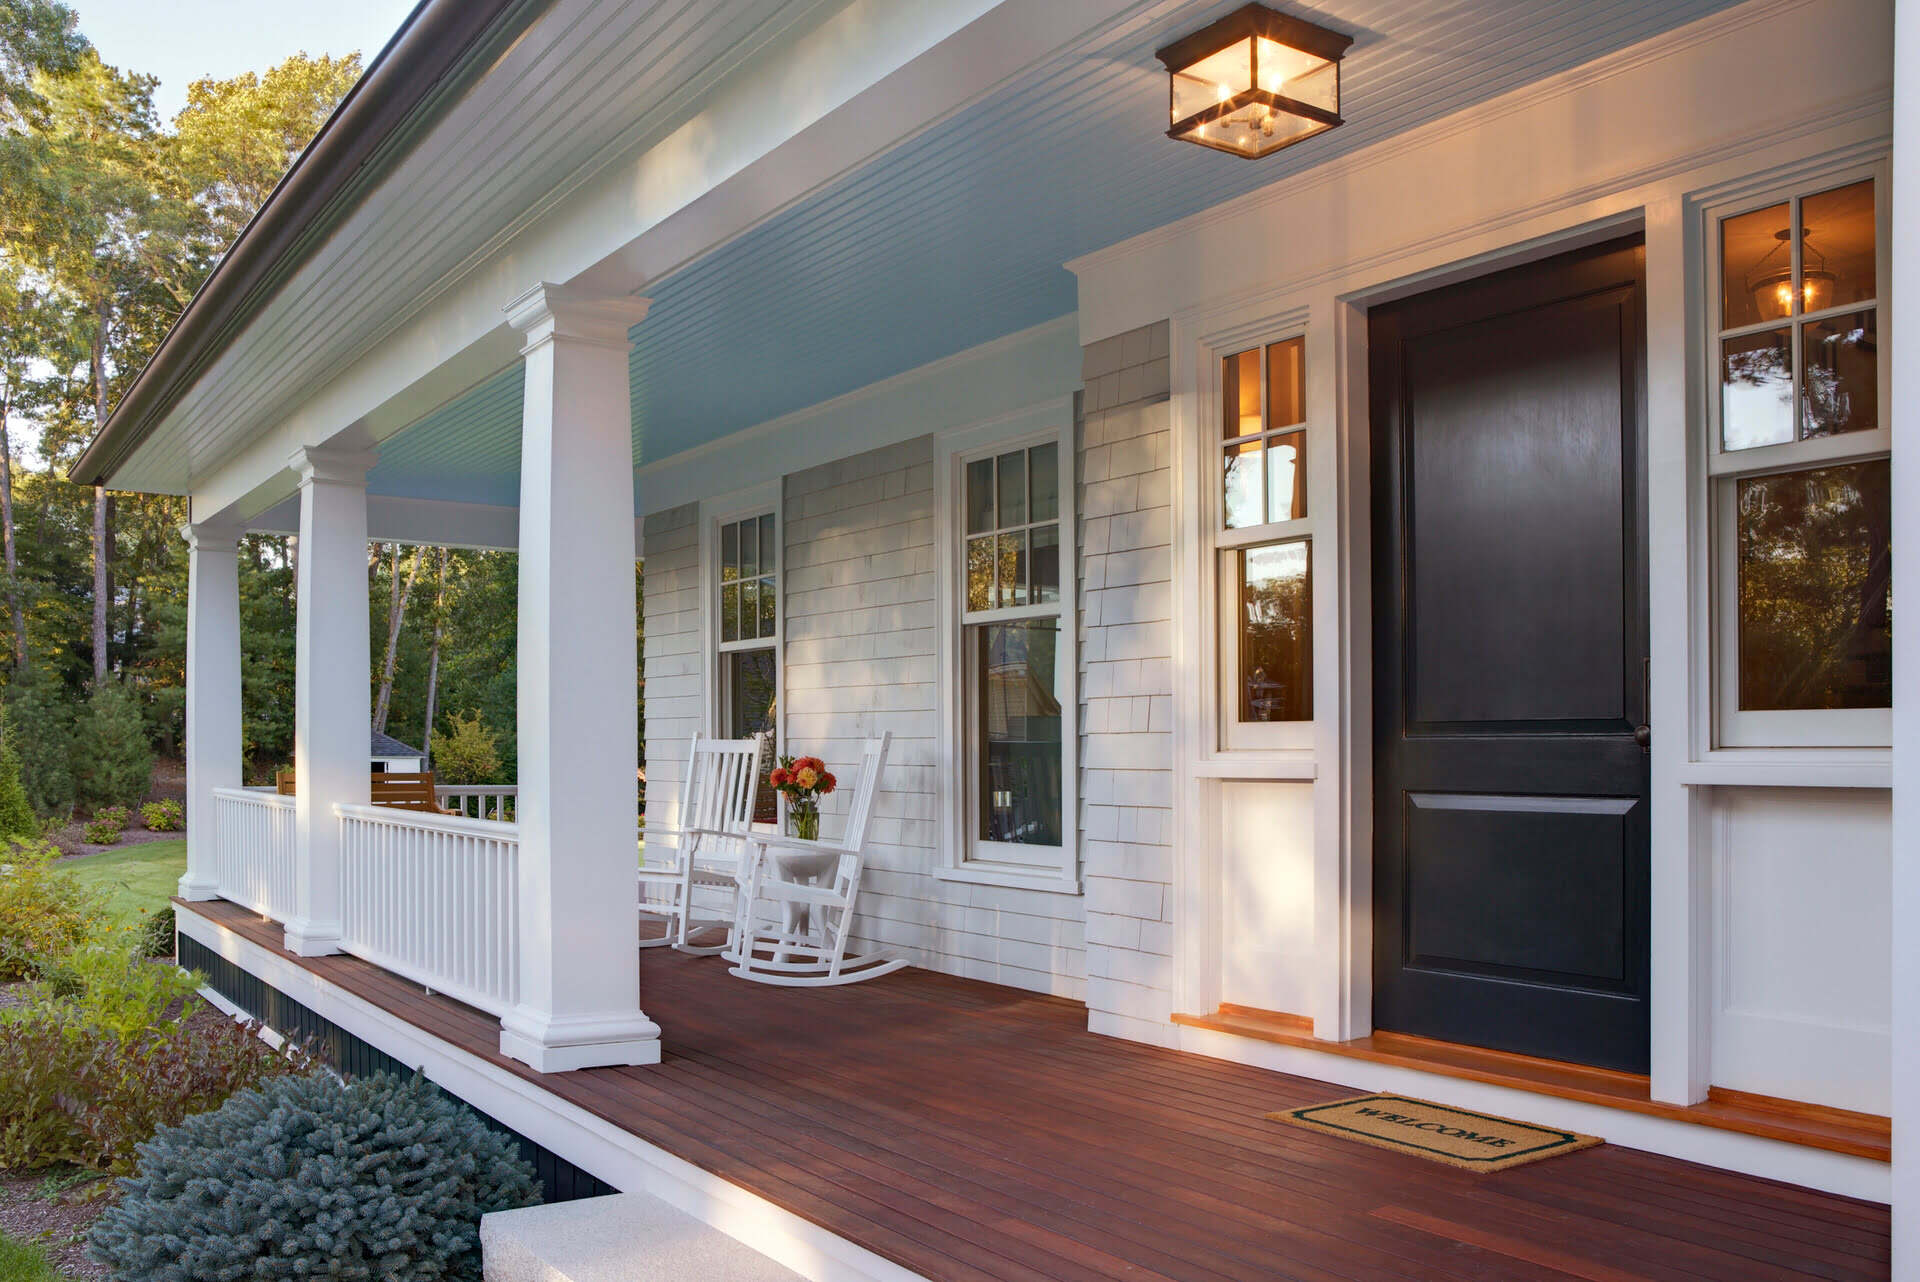
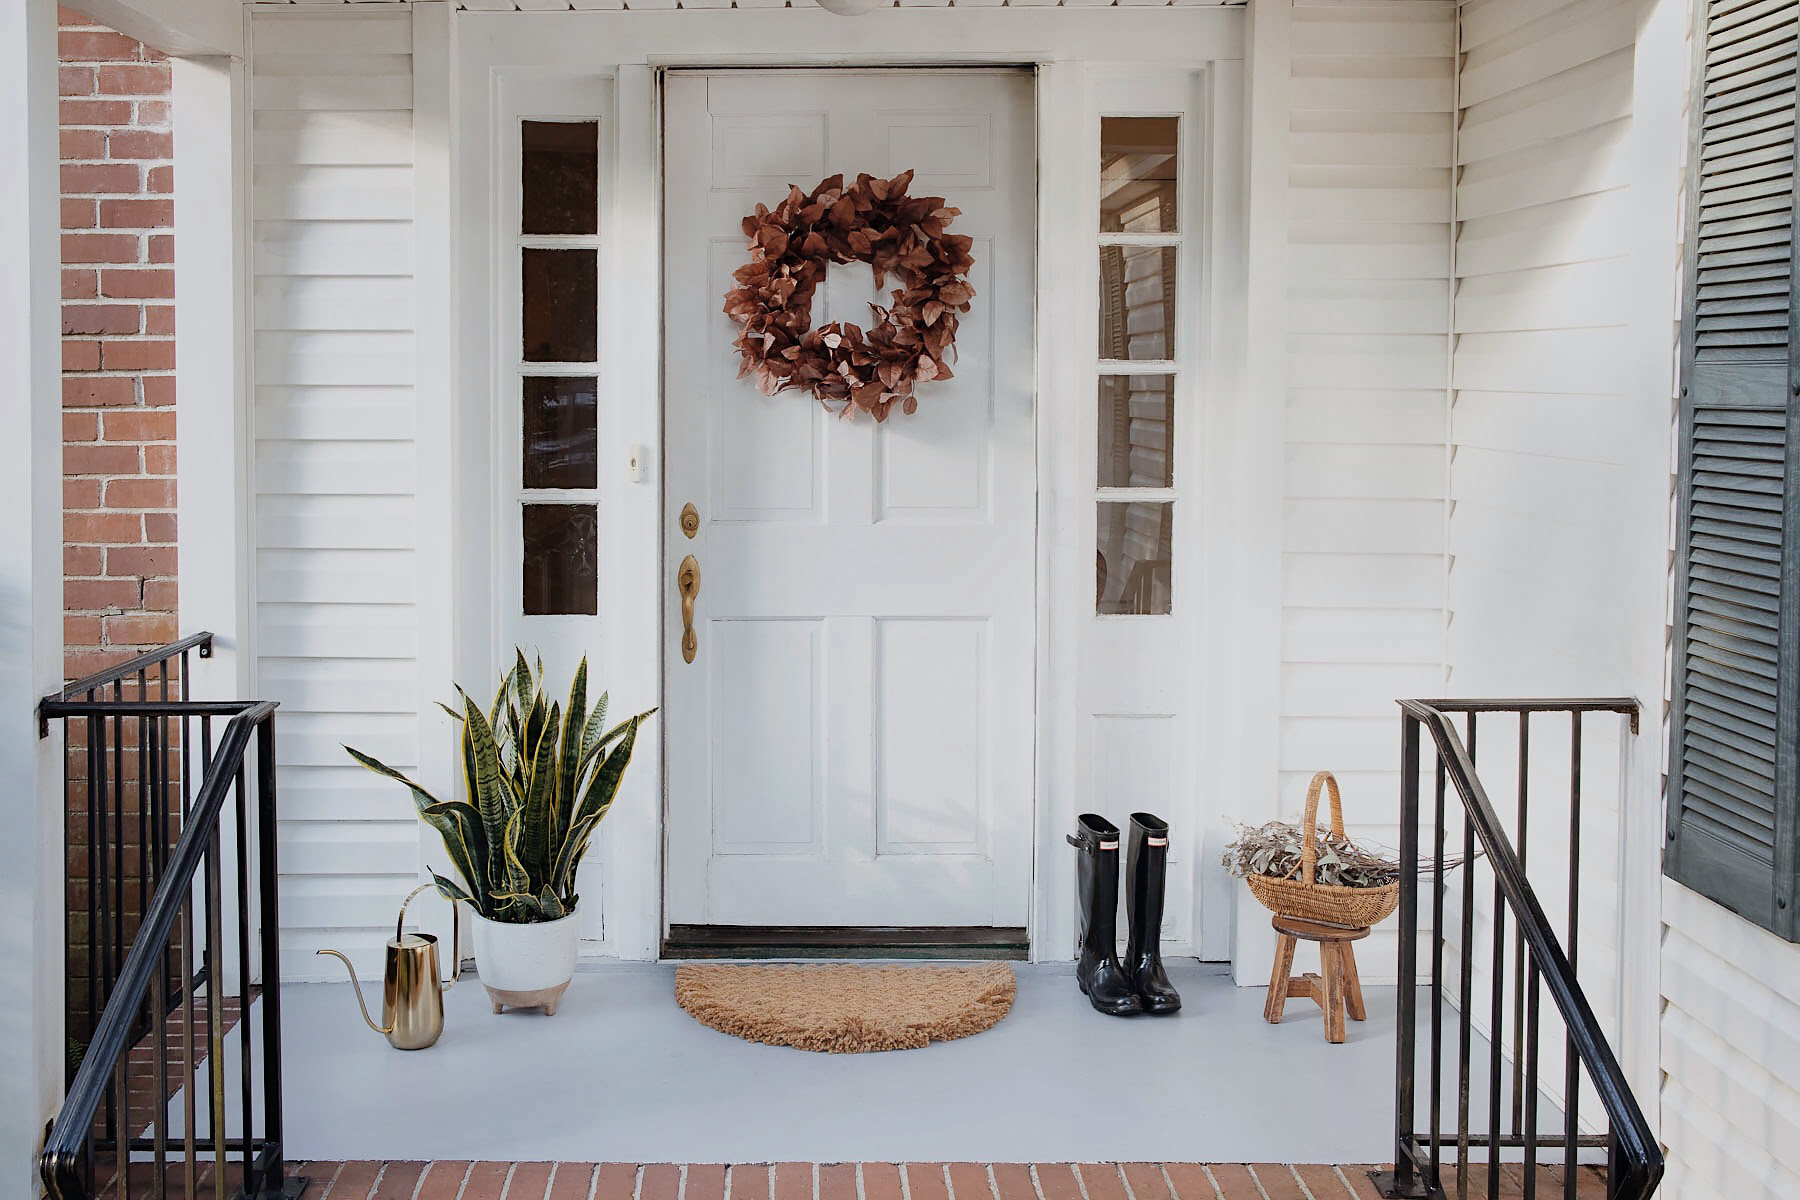
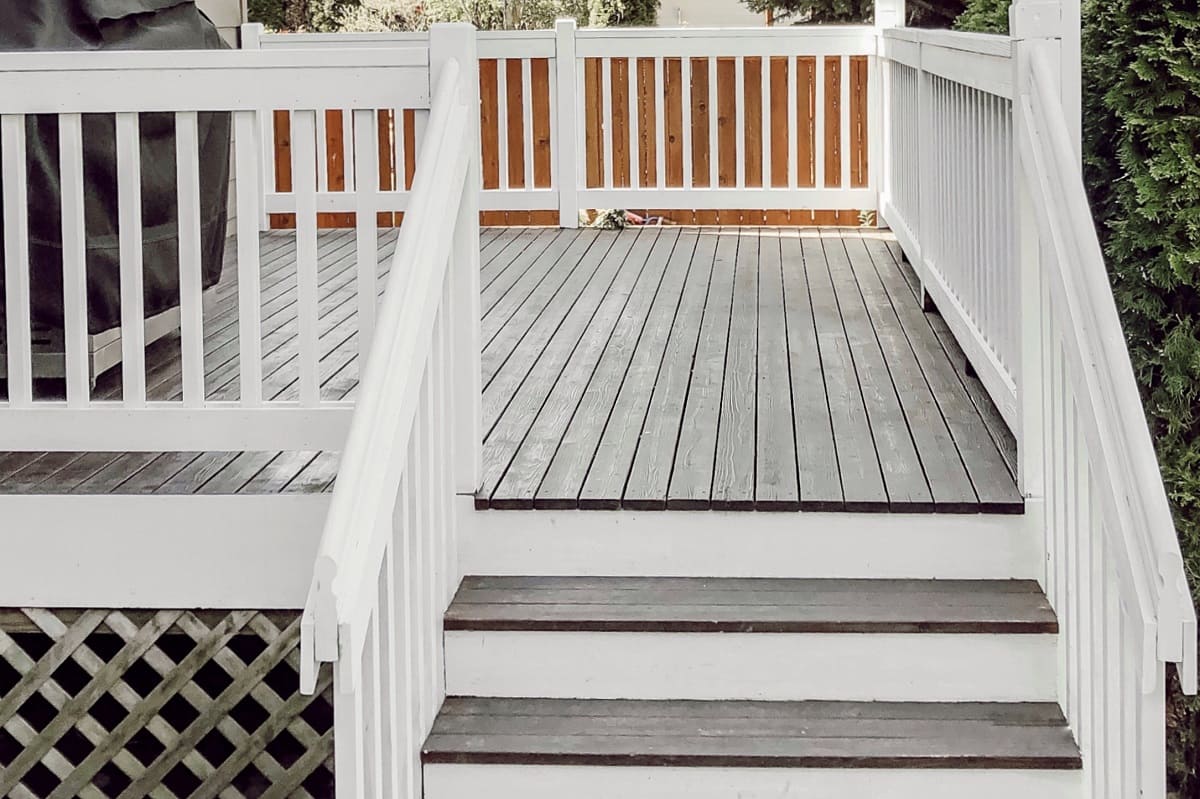
Welcome to our comprehensive guide on how to paint a wood porch. A wood porch is not only a functional space but also a beautiful addition to any home. However, over time, exposure to the elements can take a toll on its appearance, causing the wood to fade or deteriorate. Painting your wood porch is a great way to revive its look and protect it from further damage.
Painting a wood porch may seem like a daunting task, but don’t worry – with the right materials and a little guidance, you can achieve a professional-quality finish. This article will take you through the step-by-step process of prepping your porch, selecting the right paint, and applying it correctly for a long-lasting, beautiful result.
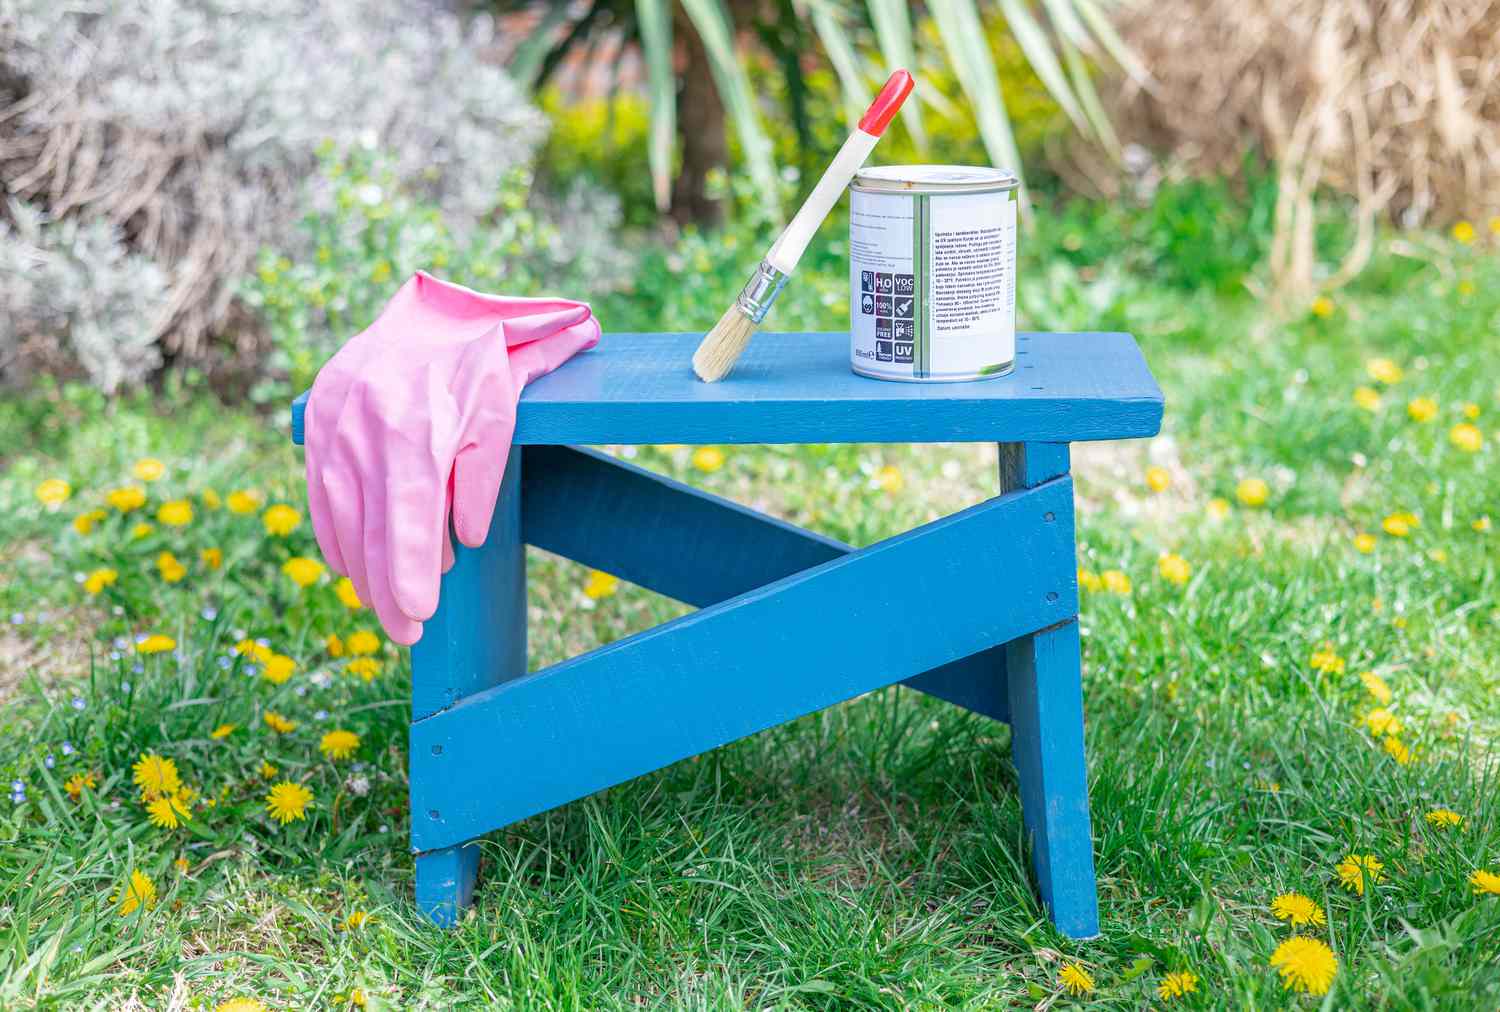
Before we dive into the details, let’s go over some materials you’ll need for this project:
Key Takeaways:
- Proper preparation, including cleaning, sanding, and priming, is essential for achieving a professional-looking and long-lasting paint finish on a wood porch. Invest in quality materials and take your time for optimal results.
- Choosing the right paint, applying it with care, and allowing for proper drying and curing are crucial steps in achieving a beautiful and durable painted wood porch. Regular maintenance and finishing touches will help maintain its appearance over time.
Read more: How To Clean Painted Wood Porch
Materials Needed
- Protective clothing and gear (goggles, gloves, mask)
- Drop cloths or plastic sheeting
- Pressure washer or hose
- Mild detergent or porch cleaner
- Sandpaper or sanding block (medium and fine grit)
- Primer
- Paint roller and brushes
- Exterior paint for wood
- Paint tray and liners
- Painters tape
- Stir sticks and paint can opener
Now that you have gathered all the necessary materials, let’s proceed to the first step: prepping the porch.
Key Takeaways:
- Proper preparation, including cleaning, sanding, and priming, is essential for achieving a professional-looking and long-lasting paint finish on a wood porch. Invest in quality materials and take your time for optimal results.
- Choosing the right paint, applying it with care, and allowing for proper drying and curing are crucial steps in achieving a beautiful and durable painted wood porch. Regular maintenance and finishing touches will help maintain its appearance over time.
Read more: How To Clean Painted Wood Porch
Materials Needed
Before you start painting your wood porch, you’ll need to gather a few essential materials. Having the necessary tools and supplies on hand will help ensure a smooth and successful painting process. Here’s a list of the materials you’ll need:
- Protective clothing and gear: It’s important to protect yourself during the painting process. Wear goggles, gloves, and a mask to shield your eyes, hands, and lungs from paint fumes and potential splatters.
- Drop cloths or plastic sheeting: These will come in handy for protecting surrounding areas, such as the ground or nearby furniture, from paint drips or spills. Lay them down before you start painting to create a designated work area.
- Pressure washer or hose: Cleaning the surface of your wood porch is crucial before painting. Use a pressure washer or a garden hose with a high-pressure nozzle to remove dirt, debris, and any loose paint. This will help ensure proper adhesion of the new paint and a smooth finish.
- Mild detergent or porch cleaner: A gentle detergent or a porch cleaner can be used to remove stubborn stains or mildew from the wood surface. Mix it with water according to the manufacturer’s instructions and scrub the porch with a stiff brush or sponge.
- Sandpaper or sanding block: Sanding the wood porch is an essential step to create a smooth surface for the paint to adhere to. Depending on the condition of your porch, you may need medium or fine-grit sandpaper or sanding blocks to remove any loose or peeling paint and to smooth out rough areas.
- Primer: A good quality exterior primer is necessary for wood surfaces. Primer helps seal the wood, provides a uniform base for the paint, and improves adhesion. Choose a primer that is specifically designed for exterior wood.
- Paint roller and brushes: Invest in high-quality paint brushes and a roller with a medium nap. A brush is ideal for painting smaller or detailed areas, while a roller can cover larger areas more quickly and efficiently.
- Exterior paint for wood: Selecting the right paint is crucial for the longevity and appearance of your wood porch. Opt for a high-quality exterior paint that is formulated specifically for wood surfaces. Look for paint that is durable, weather-resistant, and offers UV protection.
- Paint tray and liners: Pouring the paint into a tray makes it easier to load your roller or brush. Using liners in the tray helps keep it clean and allows for easy disposal and cleanup once you’re done.
- Painter’s tape: Painter’s tape is essential for creating clean, straight lines and protecting areas you don’t want to be painted, such as adjacent walls or trim. Apply the tape carefully to ensure sharp edges and for easy removal once the paint has dried.
- Stir sticks and paint can opener: Make sure you have stir sticks or a paint can opener to thoroughly mix the paint before applying it. This helps distribute any settled pigments and ensures a consistent color throughout.
Now that you have all the necessary materials, you’re ready to move on to the next step: prepping your wood porch for painting.
Step 1: Prep the Porch
Preparation is key when it comes to painting a wood porch. Properly prepping the surface ensures better adhesion of the paint and a longer-lasting finish. Follow these steps to prepare your porch before painting:
- Clear the area: Remove any furniture, decor, or plants from the porch. This will create a clear workspace and prevent any accidental paint splatters or damage to your belongings.
- Inspect the porch: Take a close look at the condition of your wood porch. Identify any areas with rot, excessive damage, or loose boards. These issues should be addressed and repaired before painting. Replace or repair damaged boards and use wood filler to fill in any cracks or gaps.
- Protect surrounding surfaces: Use drop cloths or plastic sheeting to cover the area around the porch, including the ground and any nearby walls or trim. This will help prevent paint drips or spills from causing damage or staining other surfaces.
- Mask off areas: If there are any areas you don’t want to be painted, such as adjacent walls or trim, use painter’s tape to mask them off. Take your time to apply the tape carefully, ensuring straight lines and tight adhesion to prevent paint bleeding.
- Check the weather: Painting your wood porch should ideally be done during a dry spell with mild temperatures. Avoid painting on days with high humidity, extreme heat, or if rain is expected within the next 24 hours. Ideal conditions allow the paint to dry and cure properly.
By thoroughly prepping your wood porch, you’ll create a clean and smooth surface for the paint to adhere to. This will result in a more professional-looking finish and increase the durability of your painted porch. Now that the prep work is complete, it’s time to move on to the next step: cleaning the surface.
Step 2: Clean the Surface
Before you can start painting your wood porch, it’s essential to clean the surface thoroughly. Over time, dirt, grime, and other contaminants can accumulate on the wood, affecting the paint’s adhesion. Follow these steps to clean your porch effectively:
- Remove loose debris: Start by sweeping away any loose dirt, leaves, or debris from the porch. Use a broom or a brush to clear the surface of any loose particles.
- Use a pressure washer or hose: If you have a pressure washer, this is the ideal tool for deep cleaning your porch. Adjust the pressure to a medium setting and spray the surface evenly, working from one end to the other. If you don’t have a pressure washer, a garden hose with a high-pressure nozzle can also be used.
- Add a mild detergent or porch cleaner: For stubborn stains or areas with mold or mildew, mix a mild detergent or a porch cleaner with water according to the manufacturer’s instructions. Apply the solution to the porch using a sprayer or a sponge, and let it sit for a few minutes to loosen the dirt.
- Scrub the porch: Use a stiff brush or a scrub brush to scrub the porch surface thoroughly. Pay close attention to areas with stains or excessive grime. Scrub in a circular motion to effectively remove any dirt or deposits.
- Rinse the porch: After scrubbing, rinse off the porch with clean water. Use the pressure washer or hose to thoroughly rinse away any remaining detergent or cleaner, ensuring that all dirt and soap residue are removed.
- Allow the porch to dry: After cleaning, allow the porch to dry completely before moving on to the next step. Depending on the weather conditions, this can take a few hours to a full day. Make sure the wood is dry to the touch before proceeding.
By cleaning the surface of your wood porch, you’ll remove dirt, grime, and contaminants that could interfere with the paint’s adhesion. This step ensures that you have a clean and smooth surface to work with, resulting in a better-looking and longer-lasting paint job. With the surface thoroughly cleaned, it’s time to move on to step 3: sanding the wood porch.
Read more: How To Paint A Porch Floor
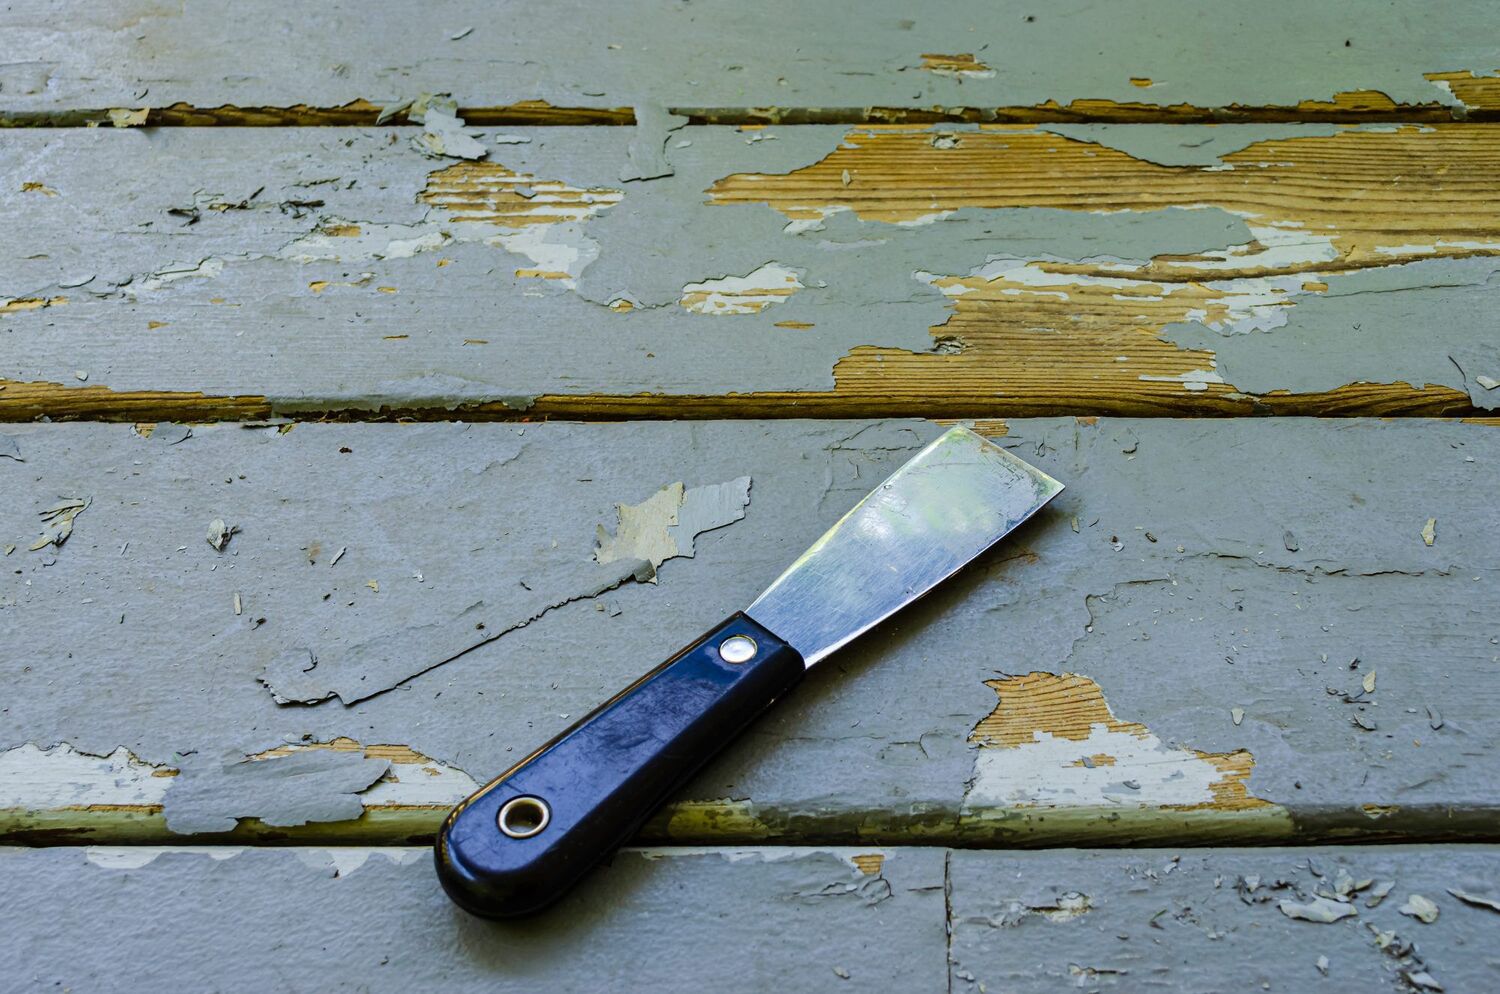
Step 3: Sanding
Sanding is a crucial step in preparing your wood porch for painting. It helps smooth out rough surfaces, removes old paint or stain, and provides better adhesion for the new paint. Follow these steps to effectively sand your wood porch:
- Start with medium-grit sandpaper: Begin by using medium-grit sandpaper or a sanding block to sand the entire surface of the porch. Sand in the direction of the wood grain to ensure a uniform finish. This step will help remove any loose or peeling paint, smooth out rough patches, and create a clean surface for the new paint.
- Focus on problem areas: Pay extra attention to areas that have heavy wear, flaking paint, or rough spots. Use a bit more pressure when sanding these areas to remove any loose paint or rough edges. The goal is to create a smooth and even surface for the paint to adhere to.
- Switch to fine-grit sandpaper: Once you’ve sanded the porch with the medium-grit sandpaper, switch to a fine-grit sandpaper or sanding block. This finer grit will help smoothen the surface and remove any remaining imperfections left by the medium-grit sanding. Sand lightly, making sure to cover the entire deck.
- Clean up the dust: After sanding, use a broom or a vacuum to remove the sanding dust from the porch. Alternatively, you can use a damp cloth or tack cloth to wipe away the dust. Ensuring a clean surface is essential before moving on to the next steps.
- Check for smoothness: Run your hand over the sanded porch surface to check for smoothness. If you feel any rough spots or areas that need more attention, go back and sand them again with the fine-grit sandpaper until everything feels smooth to the touch.
Sanding your wood porch creates a smooth and even surface for the paint to adhere to, resulting in a more professional-looking finish. It also helps remove any loose or peeling paint, ensuring better adhesion of the new paint. With the sanding process complete, you’re now ready to move on to the next step: applying the primer.
Before painting a wood porch, make sure to clean and sand the surface to remove any dirt, debris, and old paint. Use a high-quality exterior paint and apply it in thin, even coats for a smooth and long-lasting finish.
Step 4: Primer Application
Priming your wood porch is an important step that helps seal the surface, improves paint adhesion, and enhances the durability of your paint job. Follow these steps to properly apply the primer:
- Select the right primer: Choose a high-quality exterior primer that is specifically formulated for wood surfaces. Look for a primer that offers excellent adhesion, seals the wood, and provides a good base for the paint.
- Prepare the primer: Stir the primer thoroughly using a stir stick or a paint can opener. This ensures that the primer is well-mixed and ready for application. Follow any additional instructions provided by the manufacturer.
- Apply a thin coat: Use a paintbrush or a roller to apply a thin, even coat of primer to the porch. Work in small sections, starting from one end and moving towards the other. Aim for smooth and consistent coverage, paying attention to edges and corners.
- Allow drying time: Check the product label for the recommended drying time. Typically, it takes a couple of hours for the primer to dry, but this may vary depending on the brand and environmental conditions. Allow the primer to dry completely before applying the paint.
- Sand if necessary: After the primer has dried, inspect the surface for any imperfections or rough spots. If needed, lightly sand those areas with fine-grit sandpaper to achieve a smooth surface before moving on to the next step.
- Clean up: Properly clean your paintbrush or roller immediately after applying the primer. Follow the instructions on the primer can for the specific cleaning method. Dispose of any used materials according to local regulations.
Priming your wood porch helps ensure that the paint adheres properly and provides better protection. It creates a durable base layer that helps prevent peeling, cracking, or blistering. With the primer applied and dried, you’re now ready to choose the right paint for your wood porch, which will be covered in the next step.
Step 5: Paint Selection
Choosing the right paint for your wood porch is crucial to achieve a long-lasting, beautiful finish. Factors such as durability, weather resistance, and compatibility with wood surfaces should be considered when selecting the paint. Follow these guidelines to help you make the best paint selection:
- Exterior paint: Opt for a paint that is specifically formulated for exterior use. Exterior paints are designed to withstand the elements and provide better protection against UV rays, moisture, and temperature changes.
- Acrylic or latex-based: Acrylic or latex-based paints are commonly used for wood porch surfaces. These paints provide excellent adhesion, flexibility, and durability. They also offer easy cleanup with soap and water.
- Semi-gloss or satin finish: Consider using a semi-gloss or satin finish paint for your wood porch. These finishes offer good durability and are easier to clean compared to flat or matte finishes. They also provide a subtle sheen that enhances the appearance of the porch.
- Color selection: When choosing the color for your porch, consider the overall aesthetic of your home and its surroundings. Opt for a color that complements the exterior of your house and blends well with the surroundings. Take into account factors such as architectural style, landscaping, and personal preference.
- Quality and brand: Investing in high-quality paint from a reputable brand is important for a durable and long-lasting finish. Quality paints often have better coverage, color retention, and resistance to fading, ensuring that your painted porch stays vibrant for years to come.
- Read customer reviews: Before making a final decision, read customer reviews or ask for recommendations from friends, neighbors, or professionals who have previously painted their wood porch. Their experiences and insights can help you make an informed choice.
Remember, the paint you choose will not only impact the appearance of your wood porch but also its longevity and protection against the elements. Take your time to select the right paint that suits your needs and preferences. With the paint selected, you’re now ready to move on to the next step: painting your wood porch.
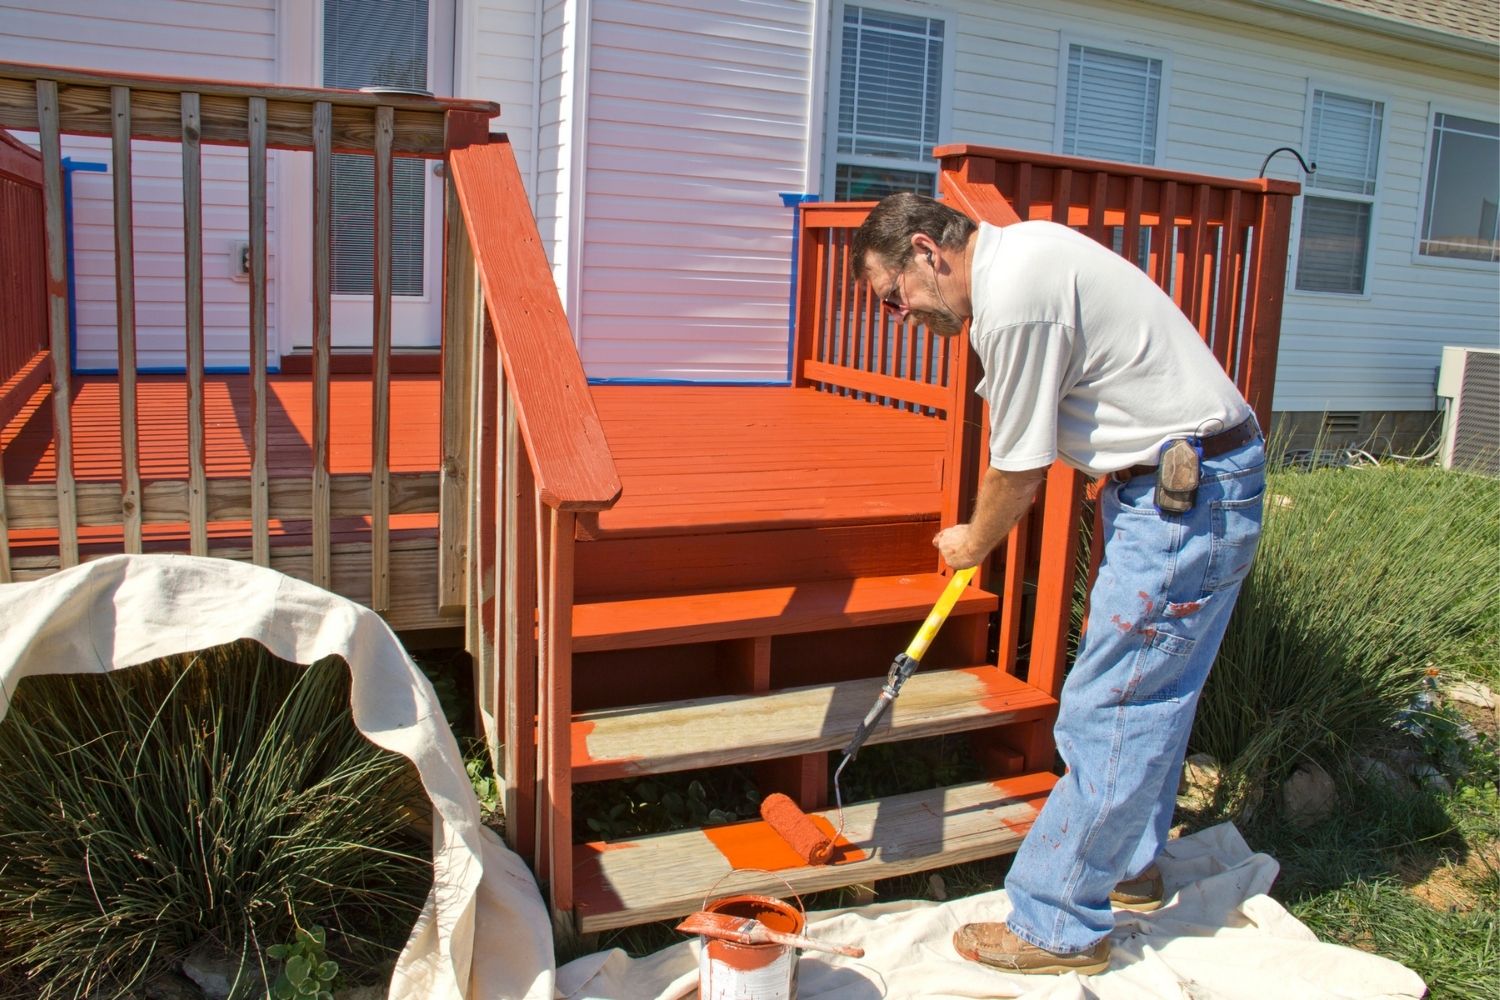
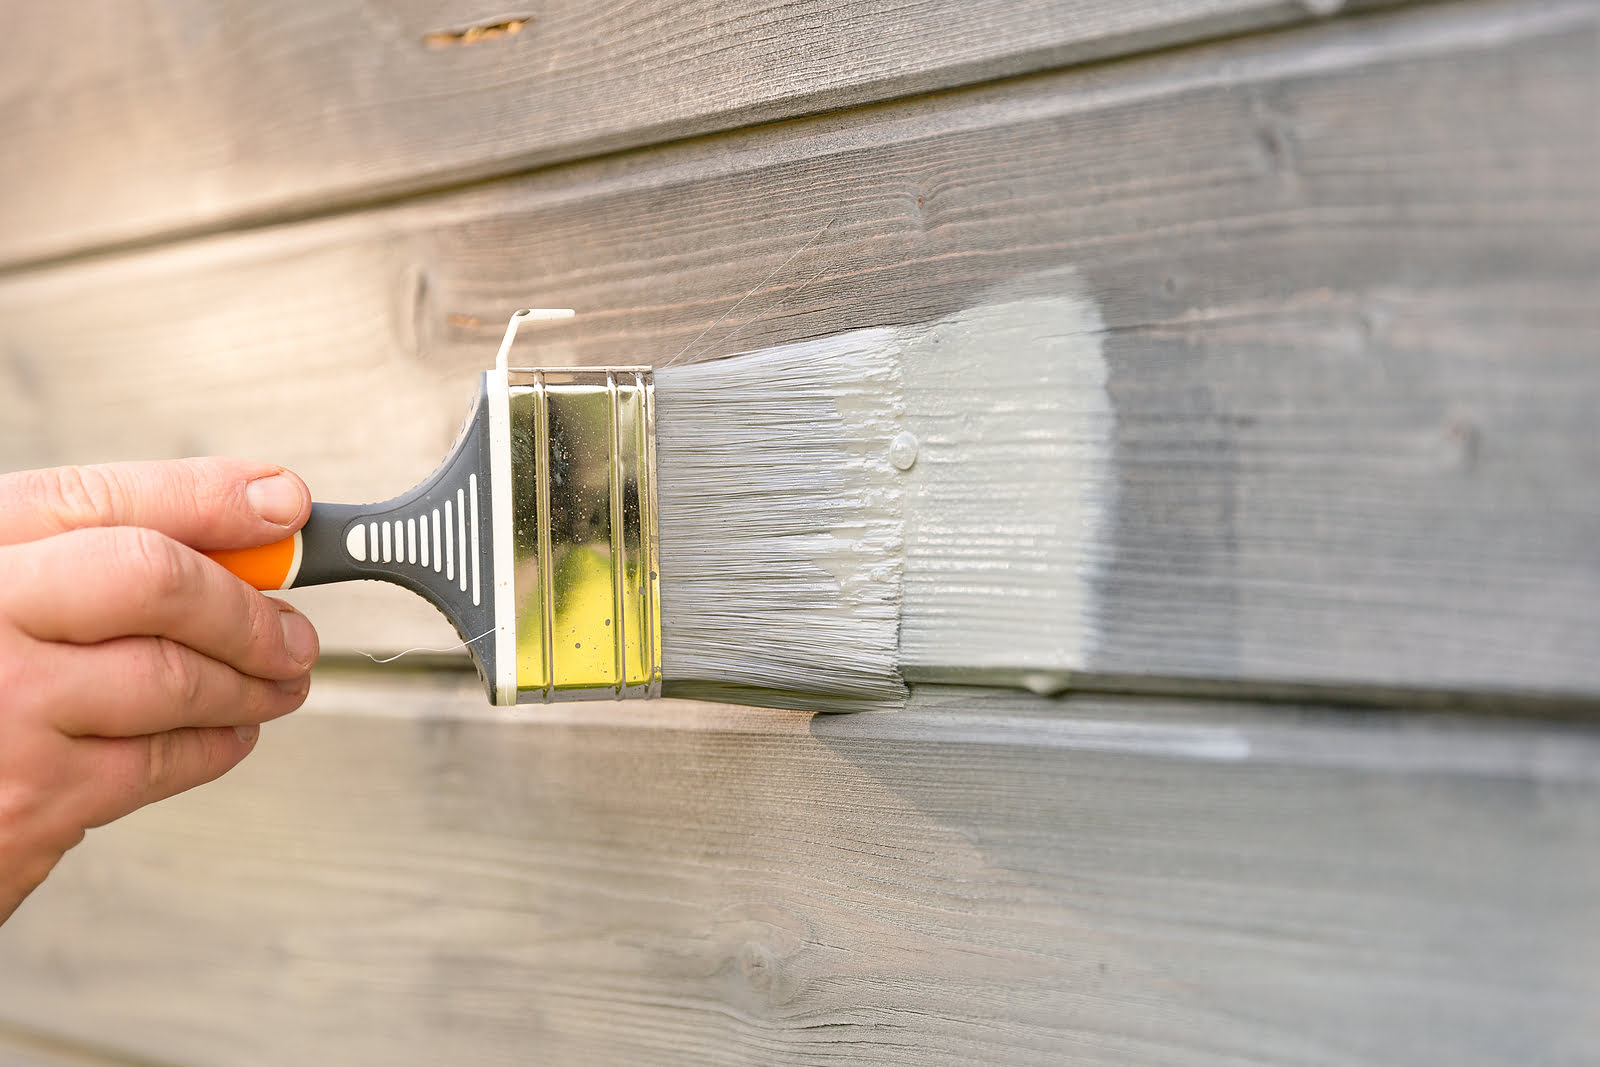
Step 6: Painting the Wood Porch
Now that you have prepped your porch, applied the primer, and selected the right paint, it’s time to start painting your wood porch. Follow these steps for a smooth and successful painting process:
- Prepare the paint: Stir the paint thoroughly with a stir stick or a paint can opener. This ensures that the color pigments are well-mixed and consistent throughout the paint.
- Start from the top: Begin painting from the top of your porch and work your way down. This prevents the paint from dripping onto freshly painted areas. Consider starting at the highest point, such as the railings or posts, and then move on to the floorboards.
- Use a brush for edges and corners: Use a high-quality paintbrush to paint the edges, corners, and hard-to-reach areas of the porch. Apply the paint carefully and evenly, ensuring complete coverage. Pay close attention to any intricate details or trim work.
- Apply paint with a roller: Use a roller with a medium nap to paint larger areas of the porch, such as the floorboards or steps. Load the roller with paint from a paint tray and apply it in smooth, even strokes. Overlap each stroke slightly to ensure consistent coverage.
- Work in small sections: Divide your porch into smaller sections and focus on painting one section at a time. This allows you to maintain a wet edge and ensure that the paint blends smoothly without drying too quickly.
- Apply multiple coats: Depending on the color and the type of wood, you may need to apply multiple coats of paint for optimal coverage and durability. Follow the manufacturer’s instructions regarding drying time between coats. Be patient and allow each coat to fully dry before applying the next layer.
- Watch for drips and mistakes: Keep an eye out for any drips, puddles, or mistakes as you paint. Immediately correct any errors by smoothing them out or using a clean brush or cloth to remove excess paint.
- Allow ample drying time: After you have completed the painting process, allow ample time for the paint to dry and cure. This ensures that the paint fully adheres to the wood and provides optimal protection and longevity.
- Clean up: Properly clean your paintbrushes, rollers, and paint trays according to the paint manufacturer’s instructions. Dispose of paint cans and any leftover materials in accordance with local regulations.
By following these steps, you can achieve a professional-looking paint finish for your wood porch. Take your time, pay attention to detail, and remember to allow for sufficient drying and curing time. With the painting complete, you’re ready to move on to the next step: drying and curing.
Read more: How To Paint Porch Railing
Step 7: Drying and Curing
After painting your wood porch, proper drying and curing are vital to ensure a durable and long-lasting finish. Follow these steps to allow your painted porch to dry and cure effectively:
- Check the paint label: Refer to the paint manufacturer’s instructions to determine the recommended drying and curing time. These times can vary depending on the type of paint used and the environmental conditions.
- Avoid foot traffic: To prevent any accidental damage to the fresh paint, avoid walking on the porch until it has completely dried. This typically takes around 24 hours, but it’s best to follow the specific drying time mentioned on the paint can.
- Avoid putting back furniture and decor: Give the paint ample time to cure and harden before placing furniture, rugs, or decor items back onto the porch. Curing can take up to a week or longer, depending on factors such as temperature and humidity.
- Protect from moisture: During the drying and curing process, it’s essential to keep your painted porch protected from excess moisture or rain. If there is a chance of precipitation, consider covering the porch with a tarp or temporary shelter.
- Allow airflow: Providing adequate airflow to the freshly painted porch can help speed up the drying process. Keep windows and doors open, if possible, or use fans to promote air circulation around the porch.
- Be patient: It’s important to remain patient during the drying and curing phase. Rushing this process may lead to damage, uneven curing, or a compromised finish. Allow the recommended time for the paint to fully dry and cure for optimal results.
Proper drying and curing ensure that the paint on your wood porch bonds securely to the surface, resulting in a durable and long-lasting finish. By following these steps and allowing sufficient time for the paint to dry and cure, you’ll ensure that your painted porch remains beautiful and protected for years to come.
With the drying and curing process complete, you’re ready for the final step: adding the finishing touches to your freshly painted wood porch.
Step 8: Finishing Touches
Now that your wood porch is painted and fully dried, it’s time to add the finishing touches to enhance its appearance and protect your hard work. Follow these final steps to complete your painting project:
- Remove masking tape: If you used painter’s tape to protect certain areas during the painting process, carefully remove it once the paint is thoroughly dried. Slowly peel it back at a 45-degree angle to ensure clean, crisp edges.
- Inspect the porch: Take a close look at your painted porch to ensure that everything is smooth, even, and free of any imperfections. If you notice any touch-ups or areas that require additional attention, now is the time to address them.
- Apply clear coat or sealer (optional): To provide extra protection and longevity to your painted porch, consider applying a clear coat or sealer specifically designed for exterior wood surfaces. This extra layer helps shield the paint from UV rays, moisture, and general wear and tear.
- Replace furniture and decor: Once the clear coat or sealer is dry, you can place your furniture, decor items, and any outdoor accessories back onto your porch. Take care when moving objects to avoid scratching or damaging the newly painted surface.
- Maintain your painted porch: To keep your porch looking fresh and vibrant, regularly clean it using a gentle solution of mild detergent and water. Avoid using abrasive cleaners or brushes that could damage the paint. Periodically inspect your porch for any signs of wear or areas that may need touch-ups.
- Consider future maintenance: Remember that over time, your painted porch may require some maintenance. Depending on the climate and wear and tear, you may need to repaint or touch up areas as needed. Stay proactive in maintaining your porch to ensure its longevity and appearance.
By following these final steps, you’ll add those important finishing touches to your wood porch. Not only will it look beautiful and well-maintained, but it will also be better protected against the elements and daily use.
Congratulations on completing the painting process for your wood porch! With proper care and maintenance, your painted porch will provide you with years of enjoyment and be a standout feature of your home’s exterior.
Thank you for using our comprehensive guide on how to paint a wood porch. We hope you found it helpful and wish you success in your painting project!
Conclusion
Painting your wood porch is a rewarding project that not only improves the appearance of your outdoor space but also protects and extends the life of the wood. By following the steps outlined in this comprehensive guide, you can achieve professional-looking results and enjoy a beautifully painted porch for years to come.
Throughout the process, we covered important steps such as prepping the porch, cleaning the surface, sanding, primer application, paint selection, painting techniques, and final touches. Each step is crucial in ensuring a smooth and successful painting project.
Remember to invest in quality materials and products, such as exterior paint, primer, and brushes, to ensure durability and longevity. Take the time to properly prep the porch, clean the surface, and sand any imperfections for a smooth and even finish. Choosing the right paint and applying it with care is key in achieving a professional result.
Additionally, allow sufficient time for drying and curing between coats and after the final paint application. Follow the recommended guidelines provided by the paint manufacturer for the specific drying and curing times.
Once your wood porch is painted and dried, add those final finishing touches to protect your hard work. Consider applying a clear coat or sealer for extra protection and maintain your painted porch with regular cleaning and upkeep.
Remember, proper maintenance is essential to keep your porch looking its best in the long run. Keep an eye out for any signs of wear or damage and address them promptly to prevent further issues.
By following these steps and practicing regular maintenance, your painted wood porch will continue to be a beautiful and inviting space for years to come. Enjoy the transformation and the satisfaction of a job well done!
Thank you for using our comprehensive guide on how to paint a wood porch. We hope you found it informative and helpful in your painting project. Happy painting!
Frequently Asked Questions about How To Paint Wood Porch
Was this page helpful?
At Storables.com, we guarantee accurate and reliable information. Our content, validated by Expert Board Contributors, is crafted following stringent Editorial Policies. We're committed to providing you with well-researched, expert-backed insights for all your informational needs.


0 thoughts on “How To Paint Wood Porch”