Articles
How To Paint Porch Railing
Modified: October 28, 2024
Learn the step-by-step process of painting your porch railing with our informative articles on how to achieve a flawless finish.
(Many of the links in this article redirect to a specific reviewed product. Your purchase of these products through affiliate links helps to generate commission for Storables.com, at no extra cost. Learn more)
Introduction
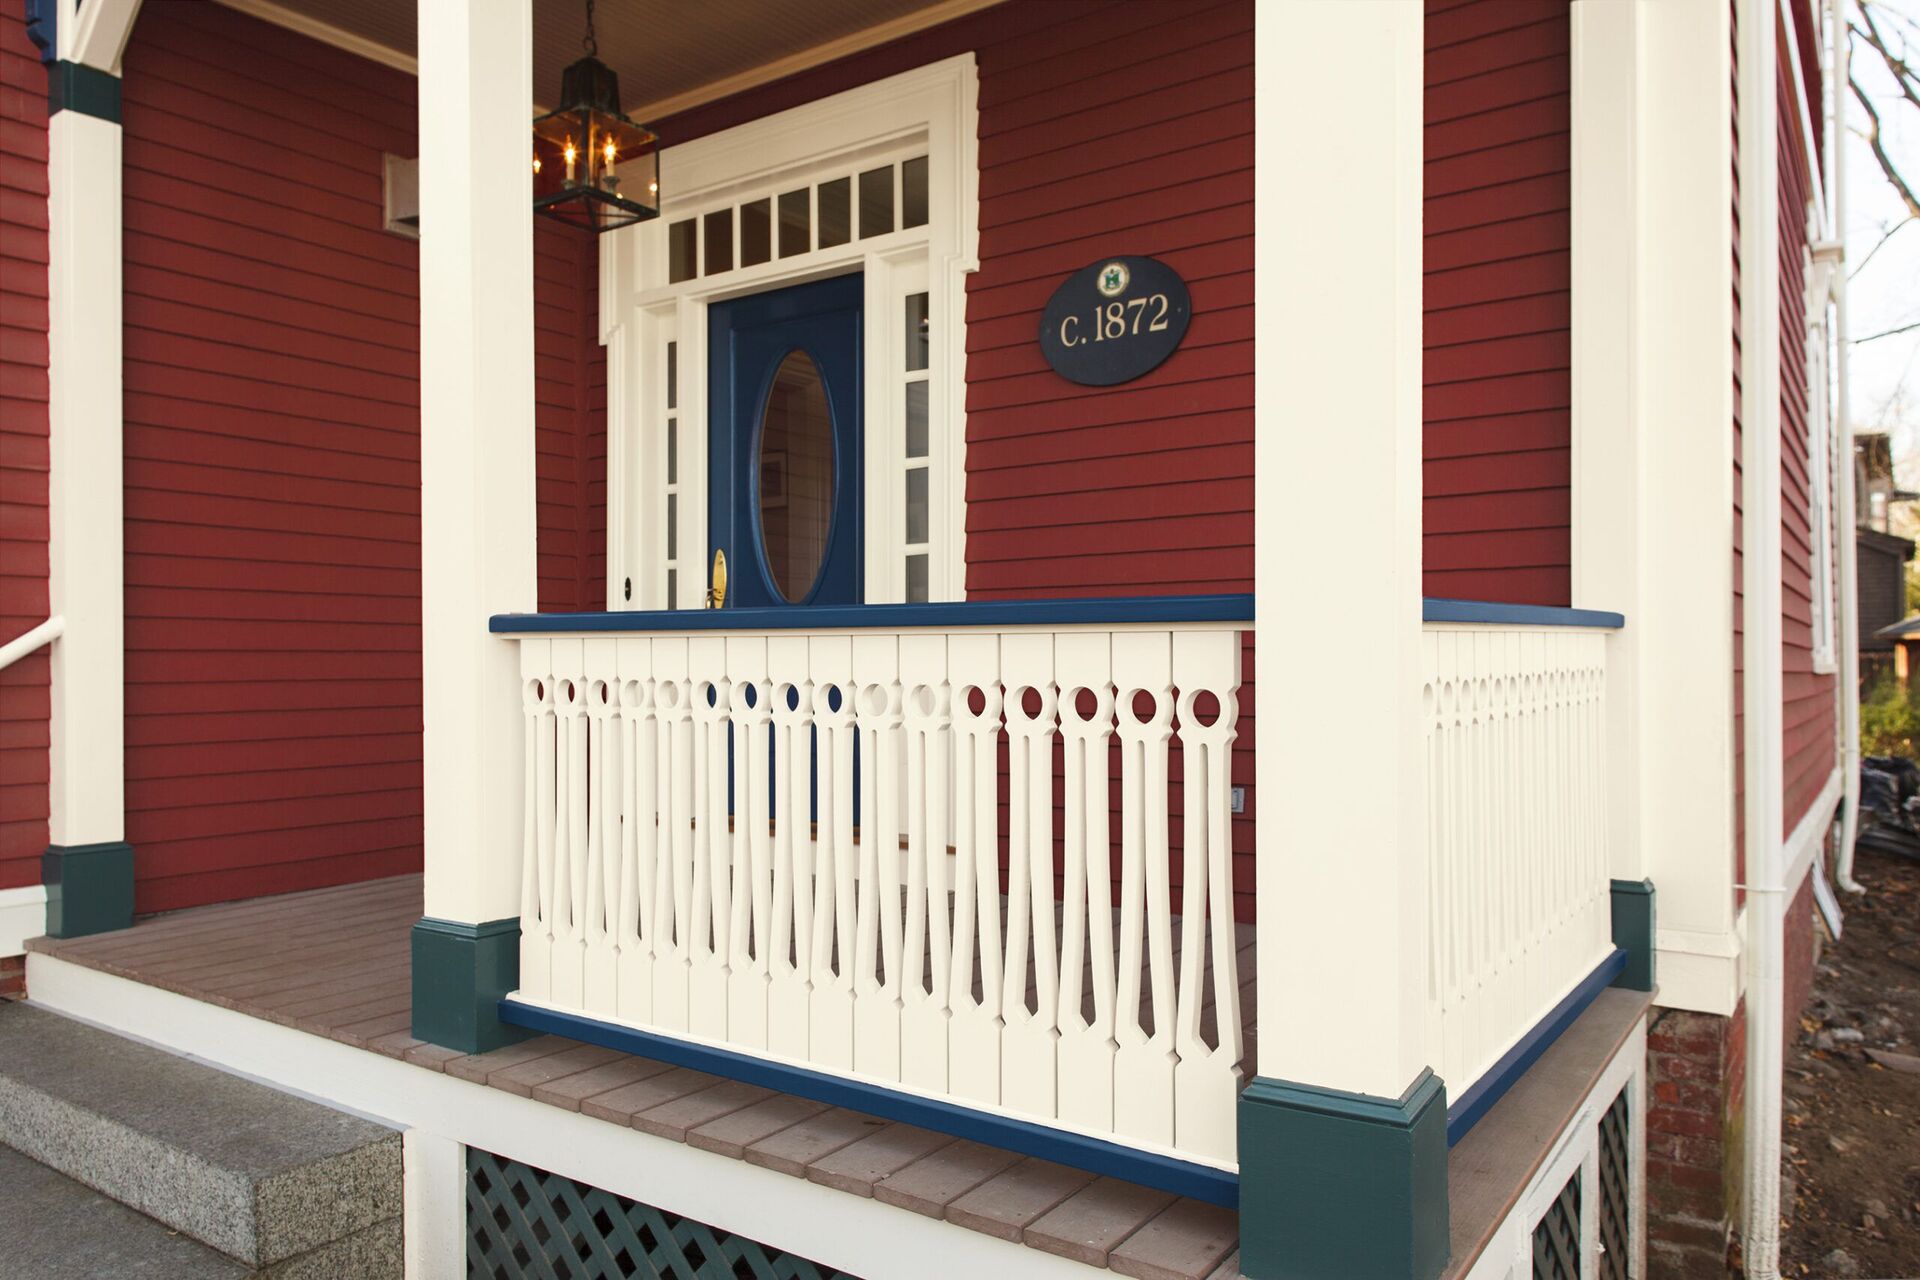
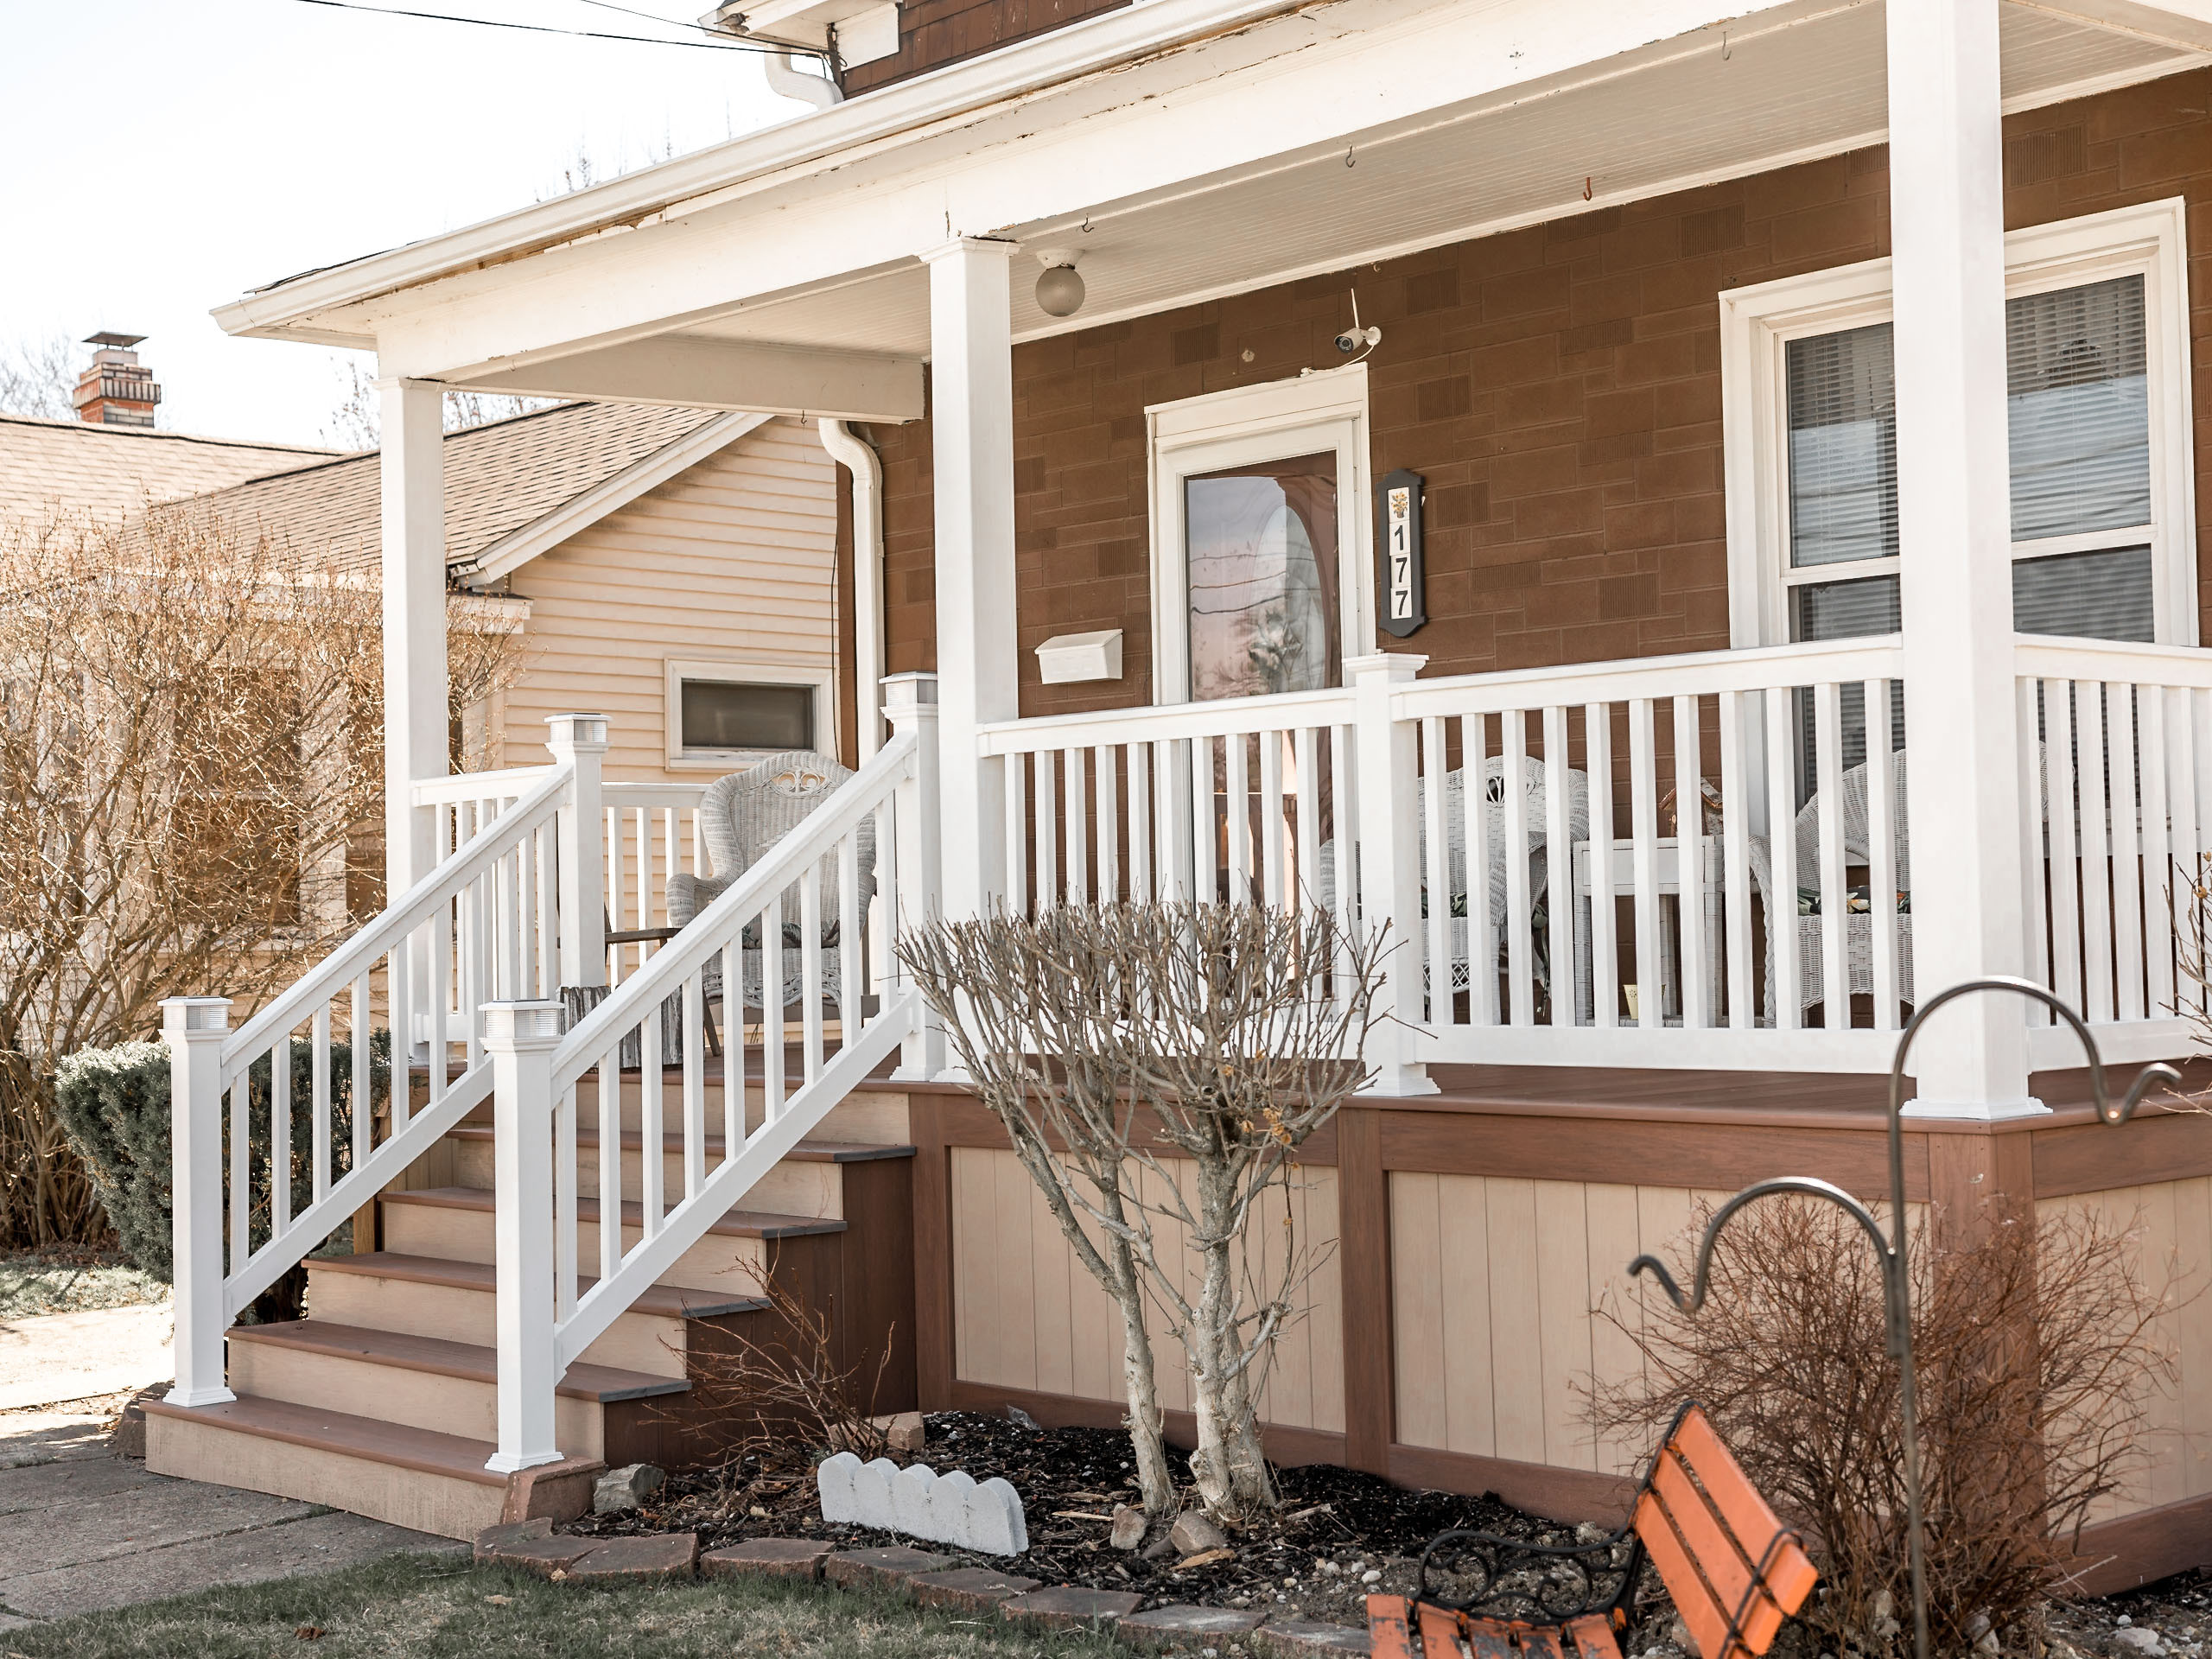
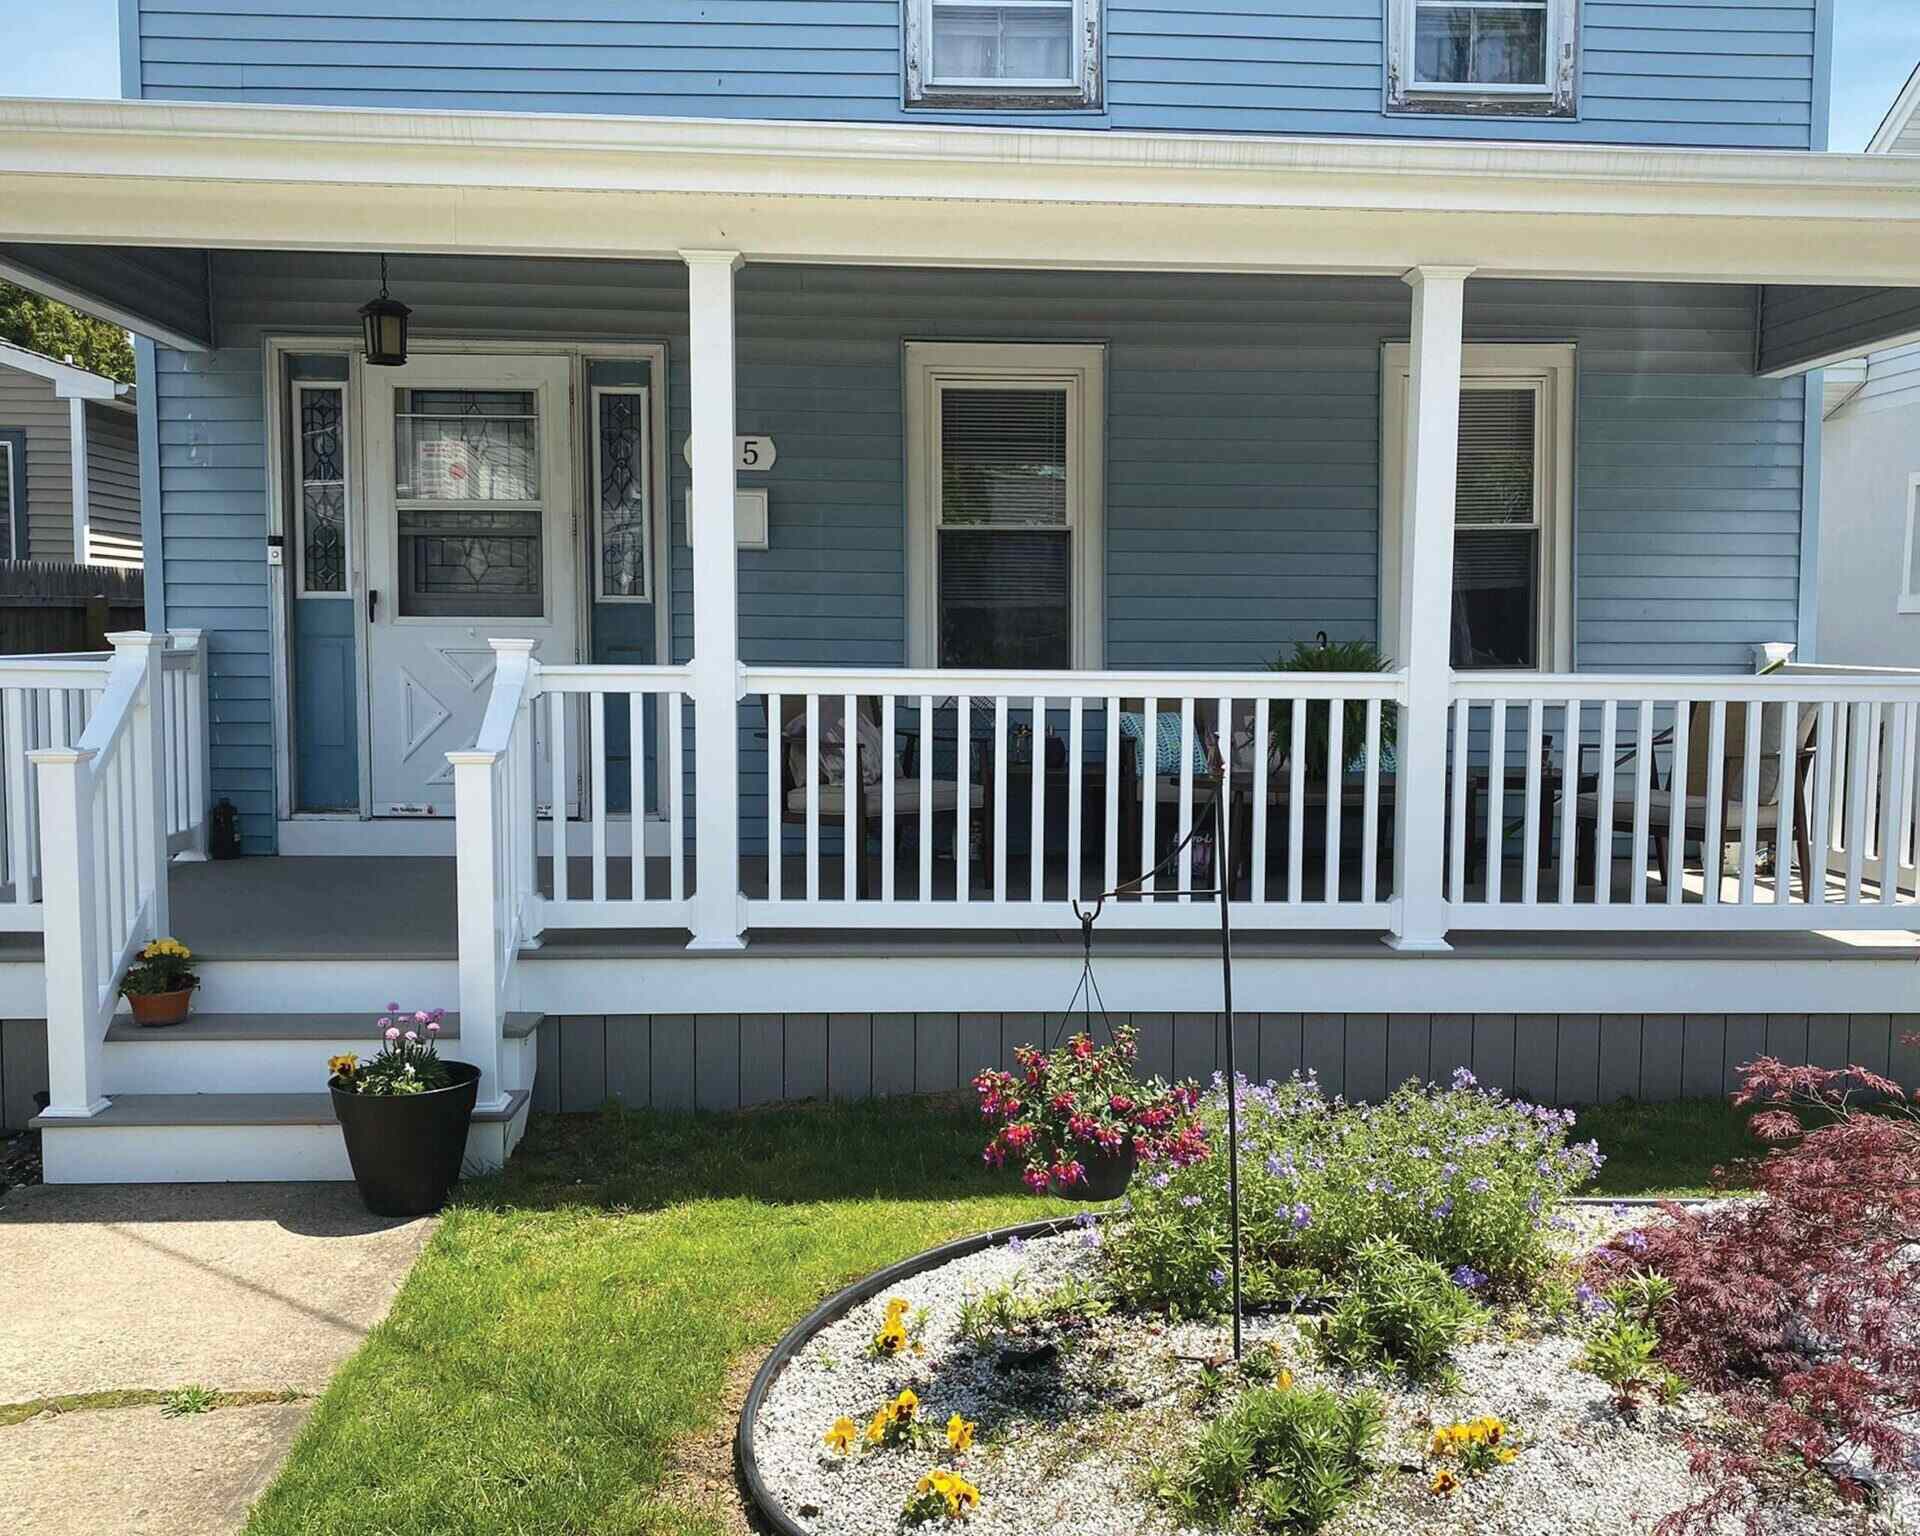
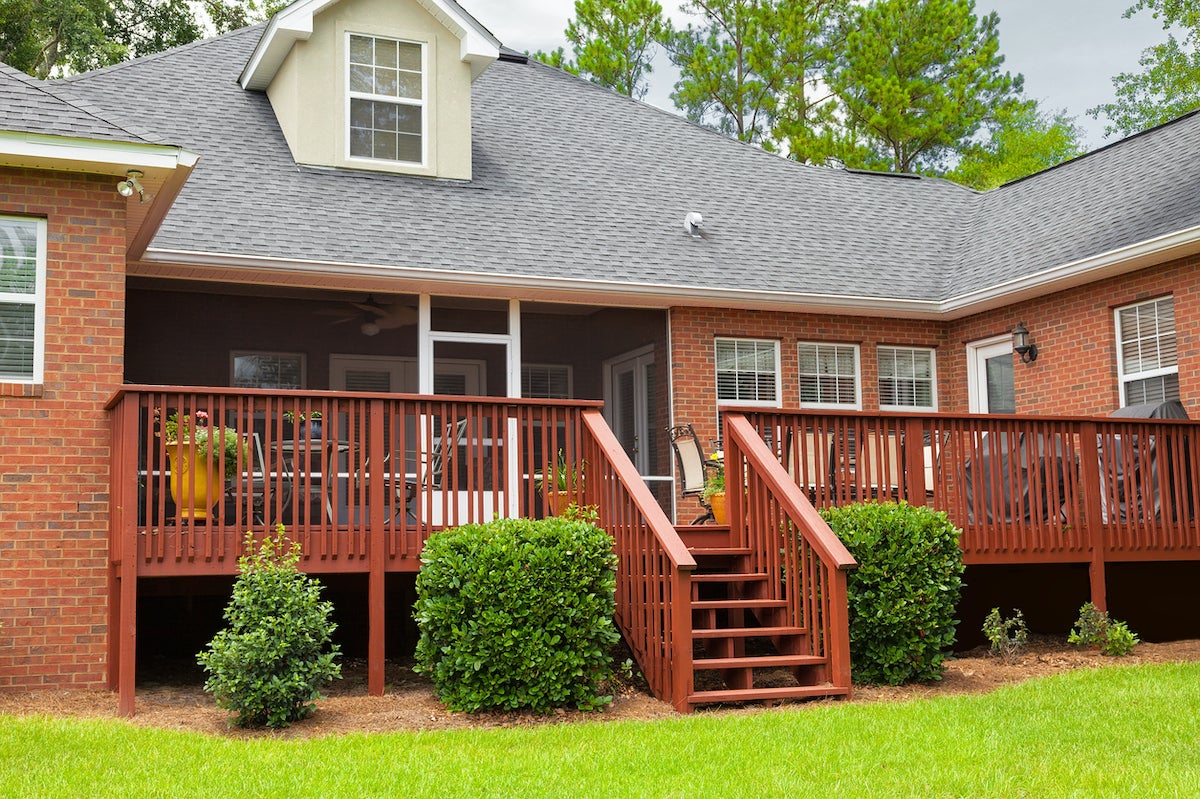
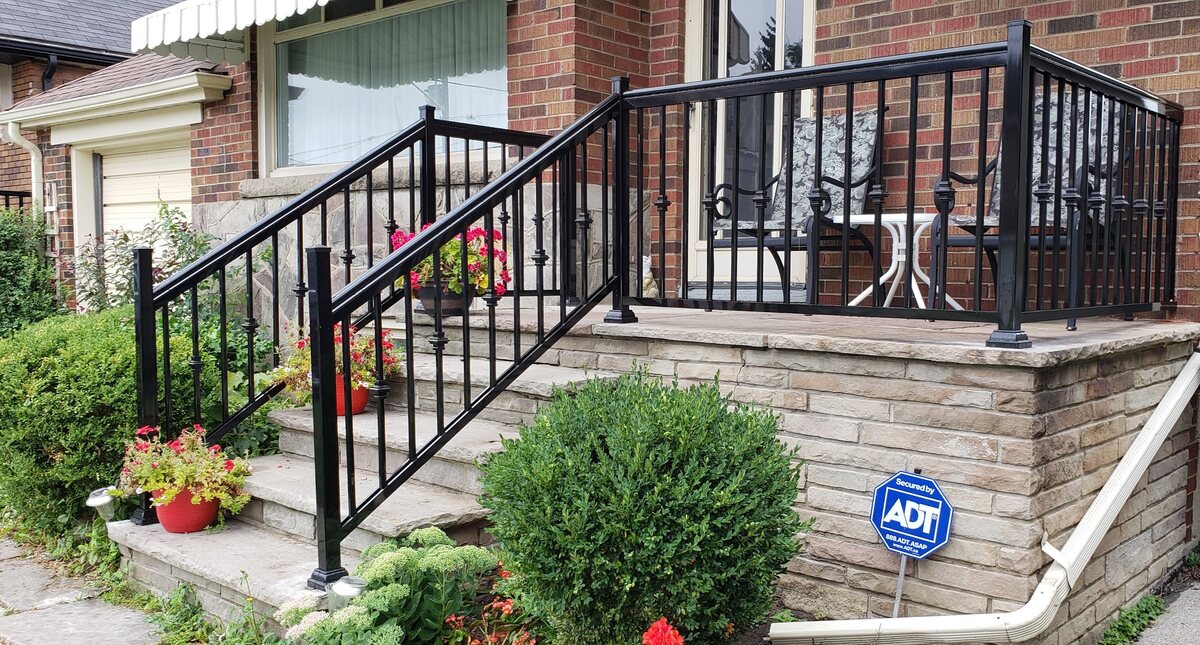
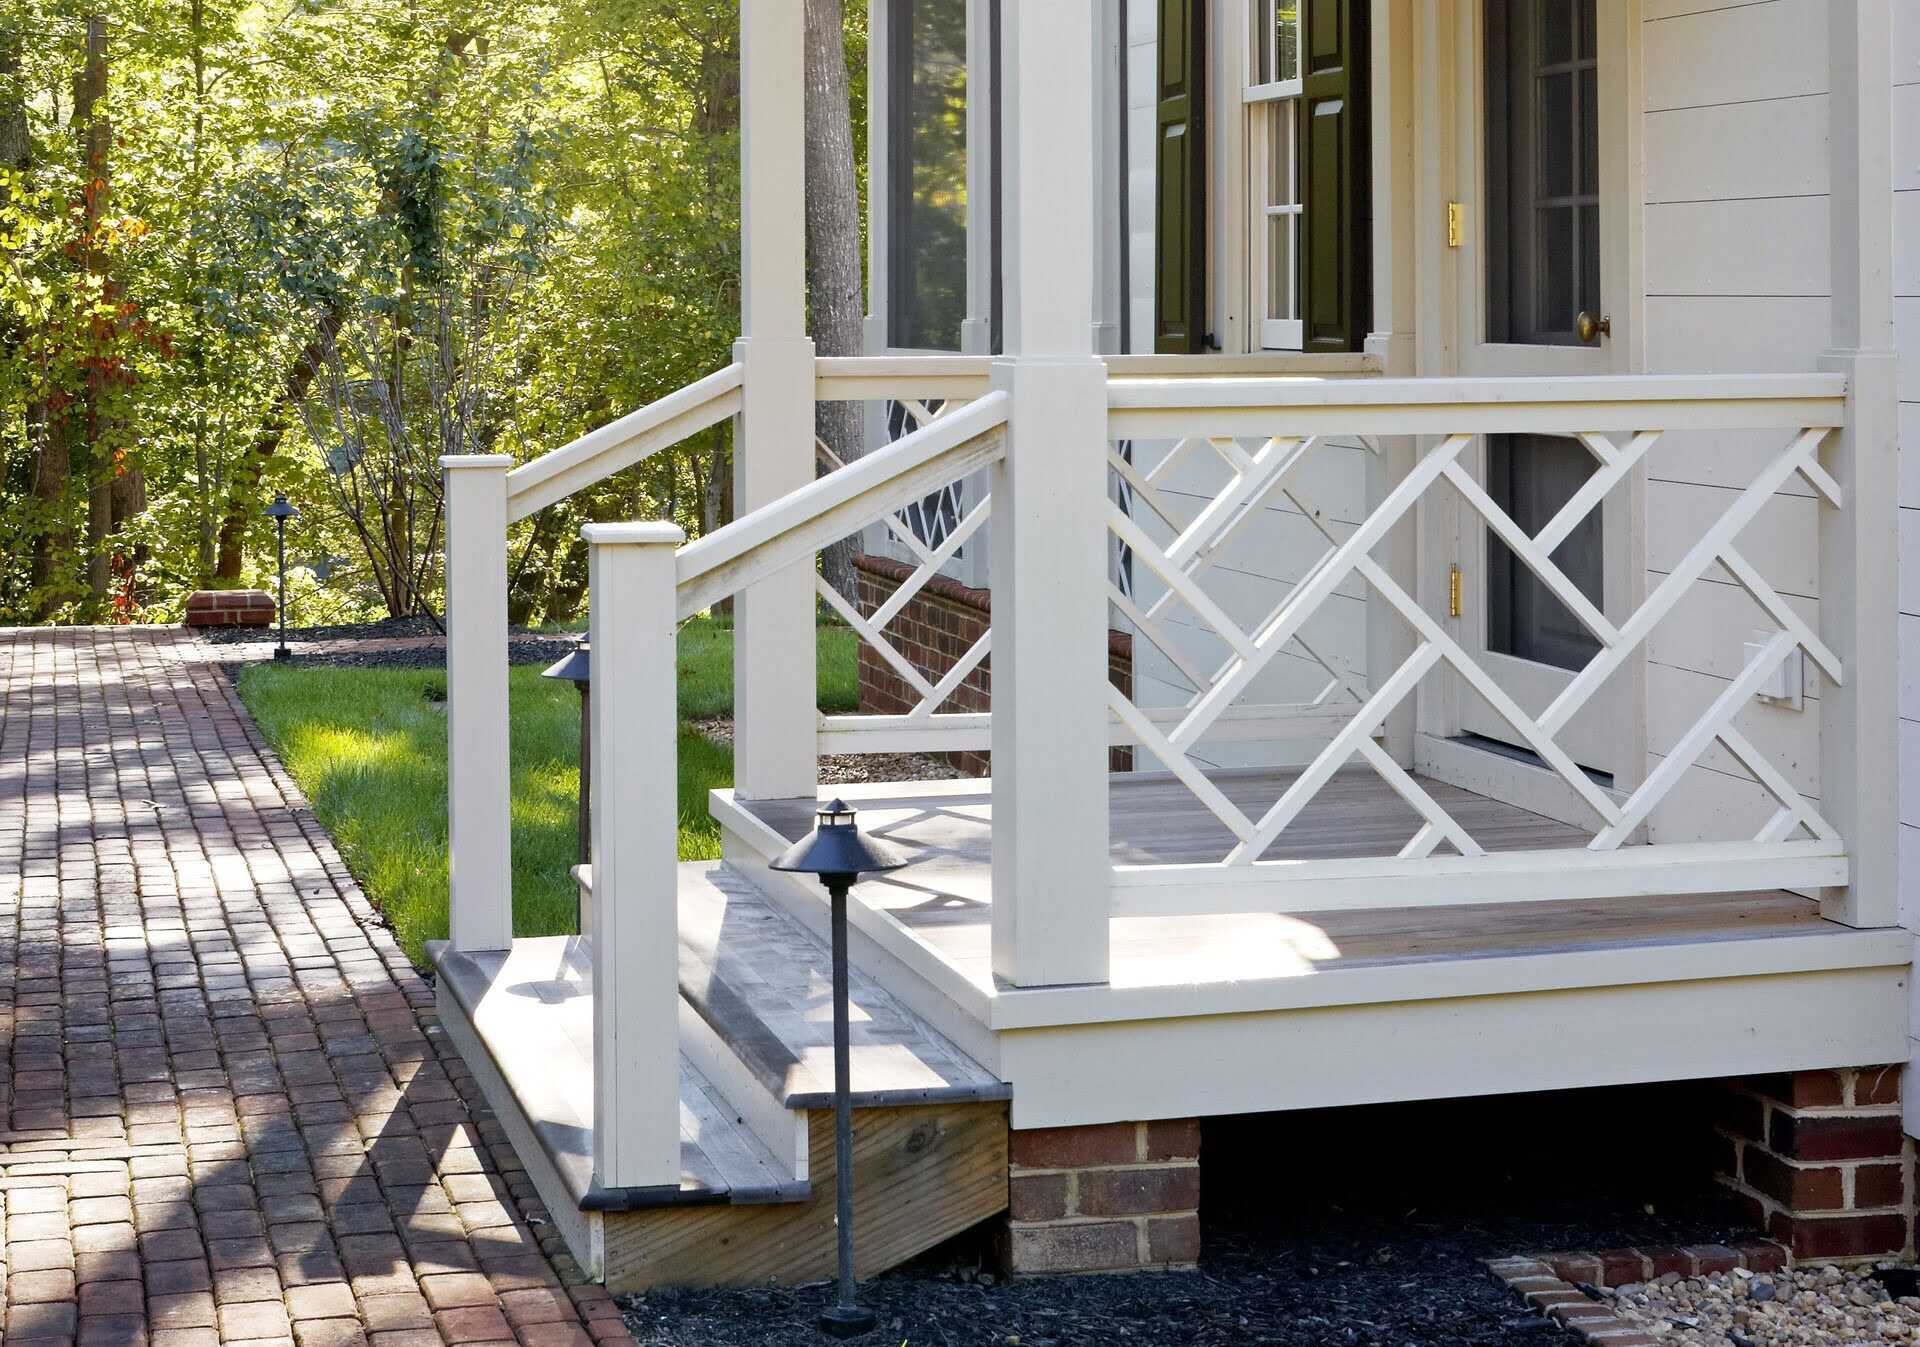
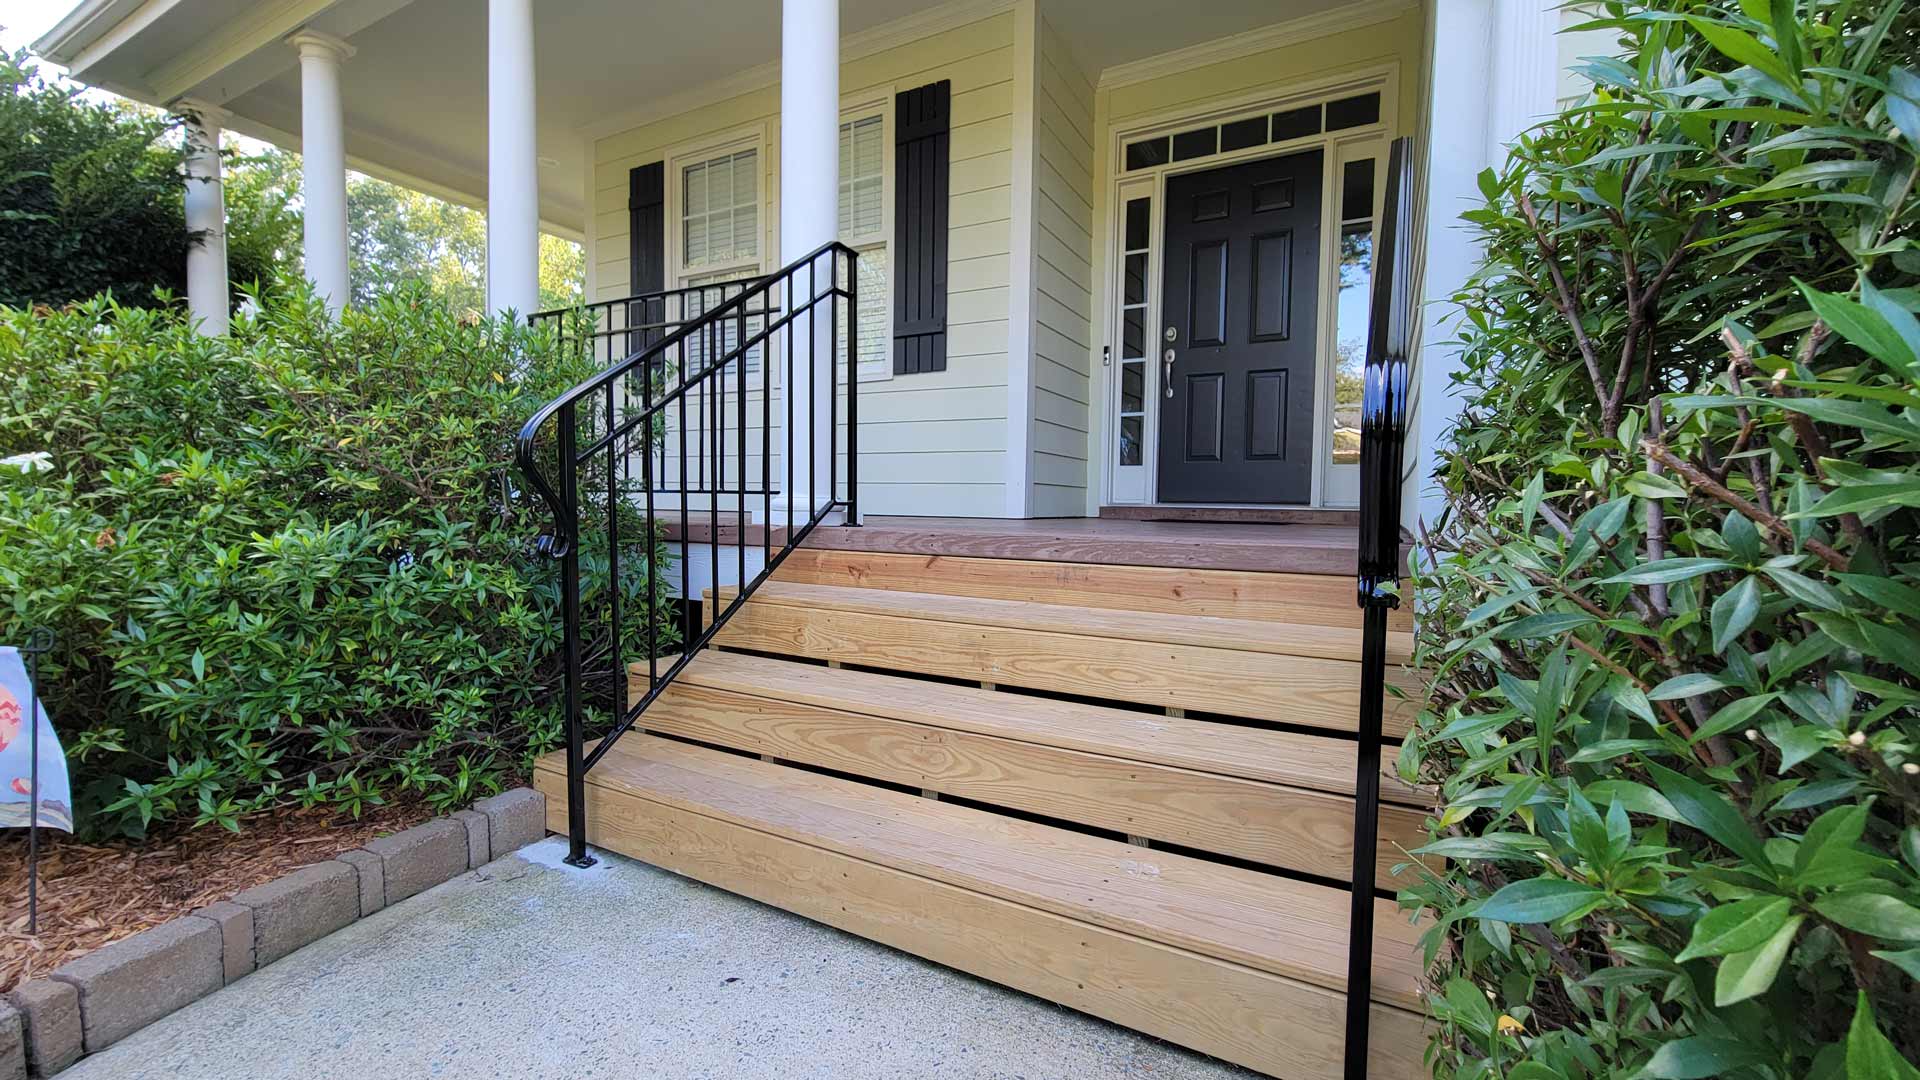
When it comes to enhancing the curb appeal of your home, one element that often gets overlooked is the porch railing. A fresh coat of paint on the porch railing can instantly transform the look of your front porch and give your home a polished and inviting appearance.
In this article, we will guide you through the process of painting your porch railing, from preparation to clean-up. Whether you’re a seasoned DIY enthusiast or a beginner looking to take on a new home improvement project, our step-by-step instructions will help you achieve professional-looking results.
Before getting started, it’s important to gather the necessary materials and tools. Let’s take a look at what you’ll need:
Key Takeaways:
- Elevate your home’s curb appeal by painting your porch railing with high-quality materials and proper preparation for a professional-looking finish that withstands the test of time.
- Consider applying a second coat of paint for improved coverage and durability, and don’t forget to properly clean up to maintain the longevity of your tools and leave the surrounding area neat and tidy.
Read more: How To Build Porch Rails
Materials and Tools Needed
Before you begin painting your porch railing, it’s essential to gather all the necessary materials and tools. Here’s a list of what you’ll need:
- Paint – Choose a high-quality exterior paint that is specifically formulated for outdoor use. Look for a paint that offers good coverage and durability.
- Primer – If your porch railing has never been painted or if it has a glossy finish, it’s advisable to use a primer to ensure good adhesion of the paint.
- Sandpaper – Use sandpaper with a medium grit (around 120-150) to roughen up the surface of the railing and remove any rough spots or peeling paint.
- Paintbrush – A high-quality synthetic bristle brush will give you better control and coverage when painting the railing.
- Paint roller – For larger surfaces or if you prefer a smoother finish, a paint roller can be used instead of or in conjunction with a brush.
- Drop cloth or plastic sheeting – Protect the surrounding area from paint drips and spills by covering it with a drop cloth or plastic sheeting.
- Painter’s tape – Use painter’s tape to mask off any areas you want to protect from paint, such as the wall or the steps leading up to your porch.
- Cleaning solution – Before painting, thoroughly clean the porch railing with a mild detergent or a specialized cleaner to remove dirt, grime, and any existing paint flakes.
- Safety equipment – Remember to wear safety goggles, a mask, and gloves to protect yourself from any potential hazards.
Having these materials and tools on hand will ensure that you have everything you need to successfully complete your porch railing painting project.
Preparing the Porch Railing
Before you start applying paint to your porch railing, it’s important to properly prepare the surface to ensure a smooth and long-lasting finish. Here are the steps to follow:
- Clean the railing: Begin by thoroughly cleaning the porch railing. Use a mild detergent or a specialized cleaner to remove dirt, grime, and any existing paint flakes. Scrub the surface with a brush or sponge and rinse well with water. Allow the railing to dry completely.
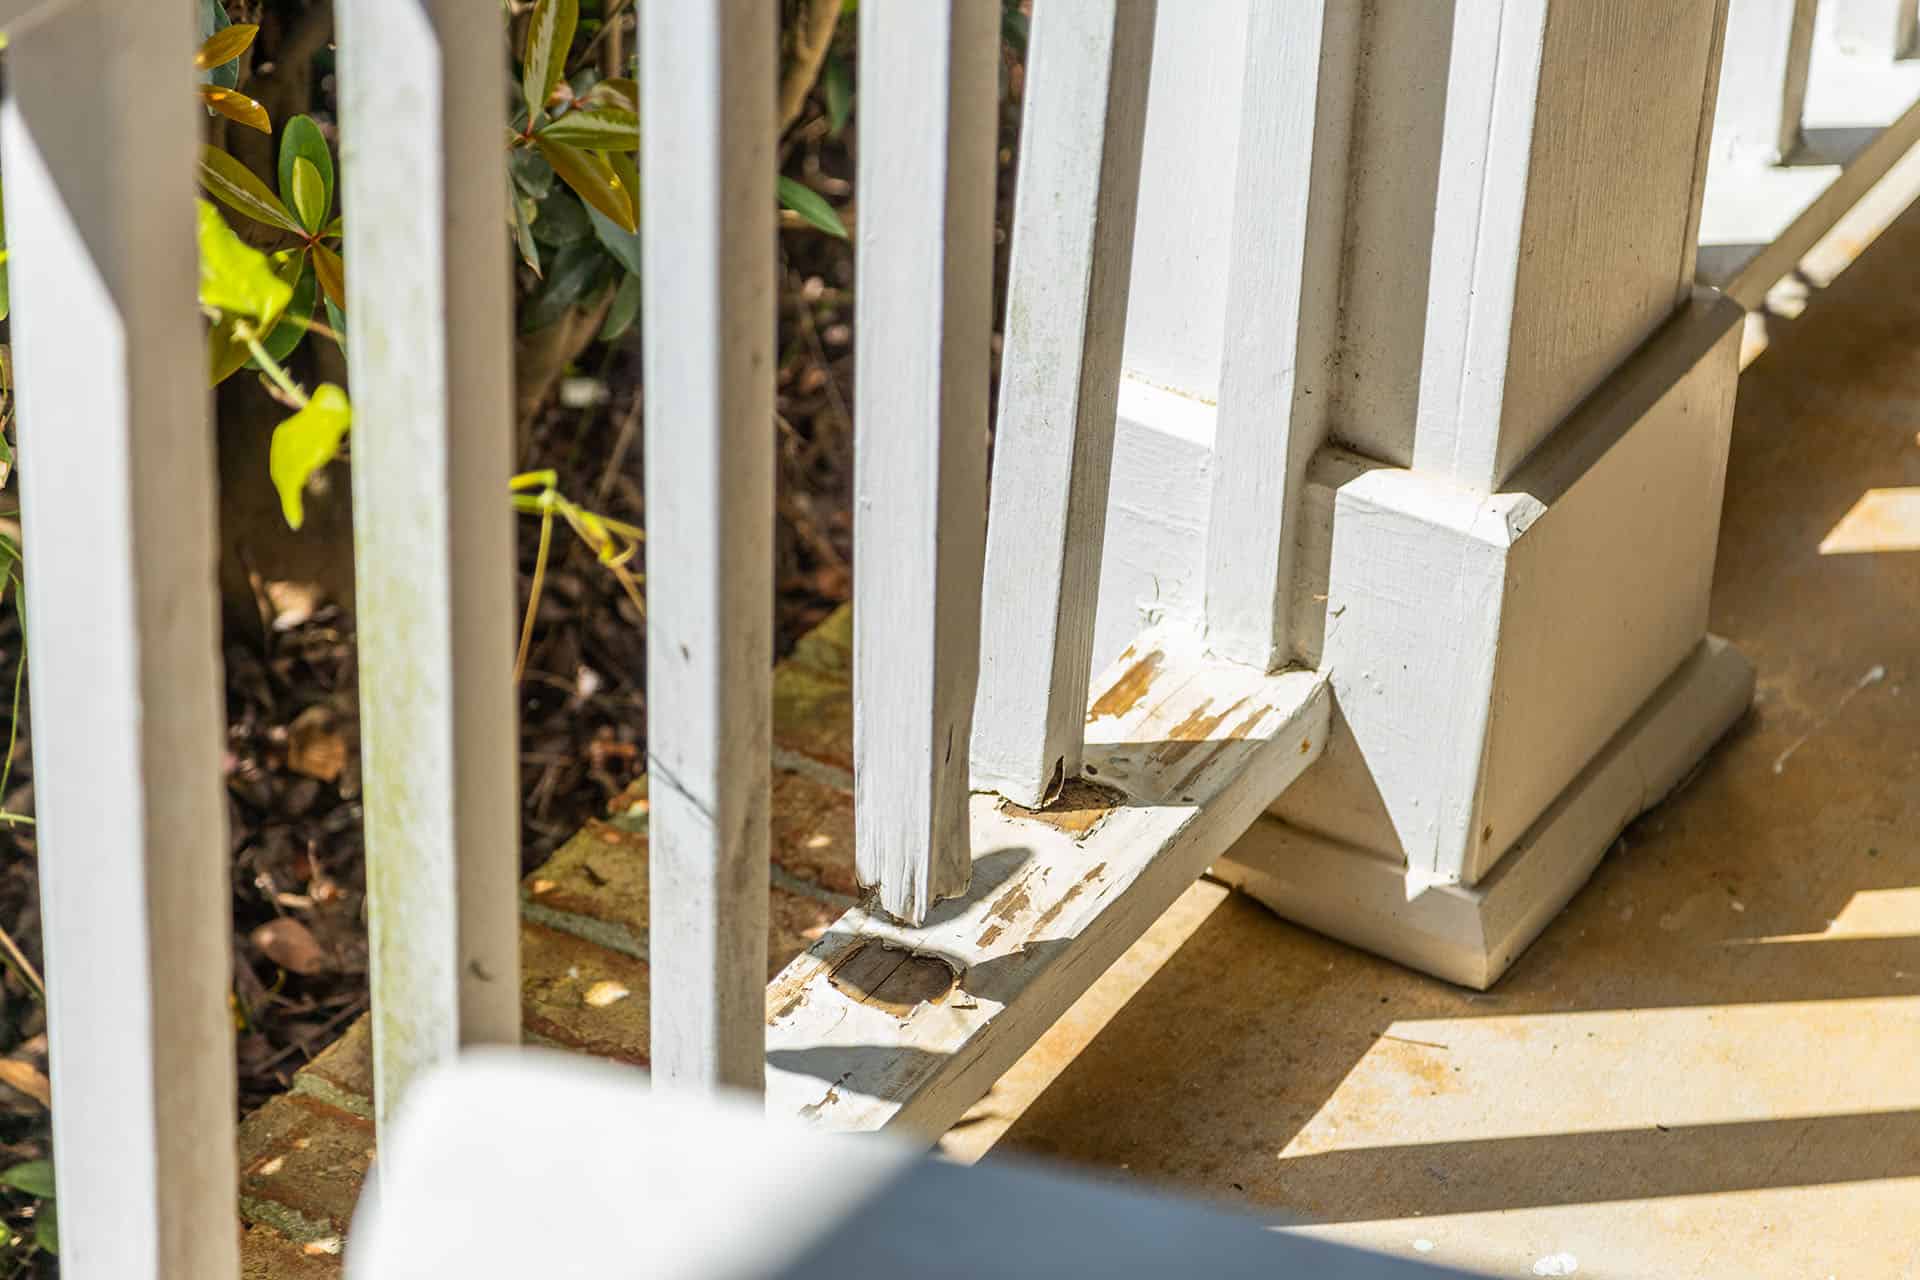
- Inspect for damage: Take a close look at the porch railing to identify any areas that require repair. Check for loose or rotten boards, nails that need hammering, or any structural issues. Fix these problems before moving forward with the painting process.
- Sand the surface: Use sandpaper with a medium grit (around 120-150) to roughen up the surface of the railing. This will create better adhesion for the paint and help remove any rough spots or peeling paint. Be sure to sand in the direction of the wood grain and wipe away any dust or debris afterward.
- Mask off areas: If there are any areas you want to protect from paint, such as windows, door frames, or adjacent walls, use painter’s tape to mask them off. This will create clean lines and prevent accidental paint transfer.
By taking the time to properly prepare the porch railing, you’ll ensure that the paint adheres well and that the finished result looks professional. Once you’ve completed these steps, you’re ready to move on to choosing the right paint for your project.
Choosing the Right Paint
Choosing the right paint for your porch railing is crucial to ensure a durable and long-lasting finish. Here are some factors to consider when selecting the paint:
- Type of paint: Opt for a high-quality exterior paint that is specifically formulated for outdoor use. Look for a paint that offers excellent weather resistance, UV protection, and durability. Acrylic latex or oil-based paints are popular choices for porch railings.
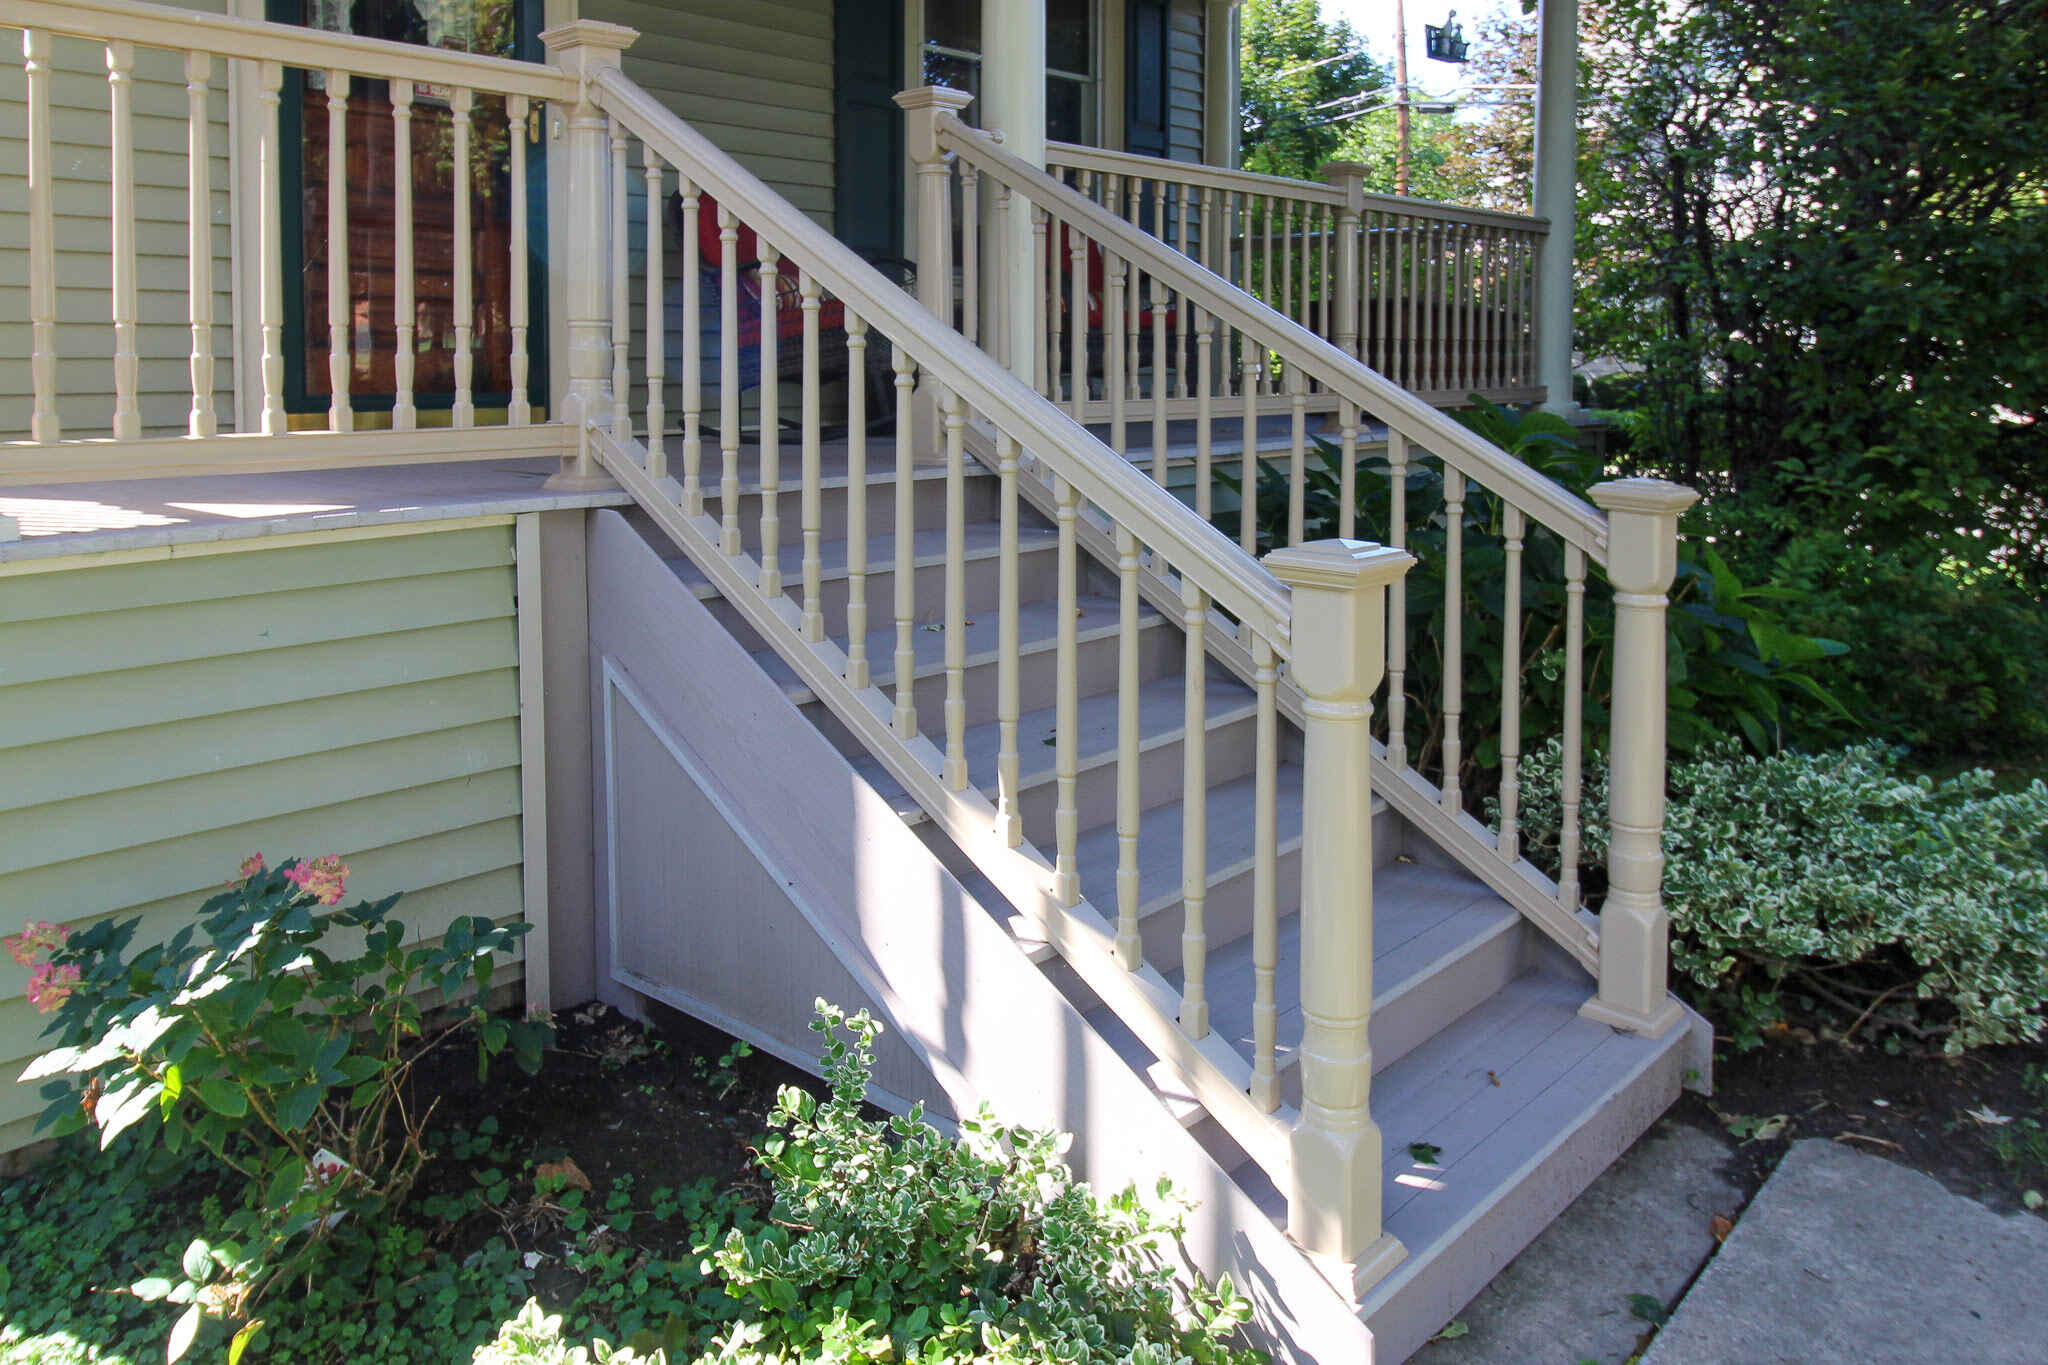
- Color: Select a color that complements the overall look of your home and matches your personal style. Consider the aesthetic of your house, existing exterior colors, and the surrounding environment. Lighter colors can help reflect heat and sunlight, while darker colors may require more maintenance to prevent fading.
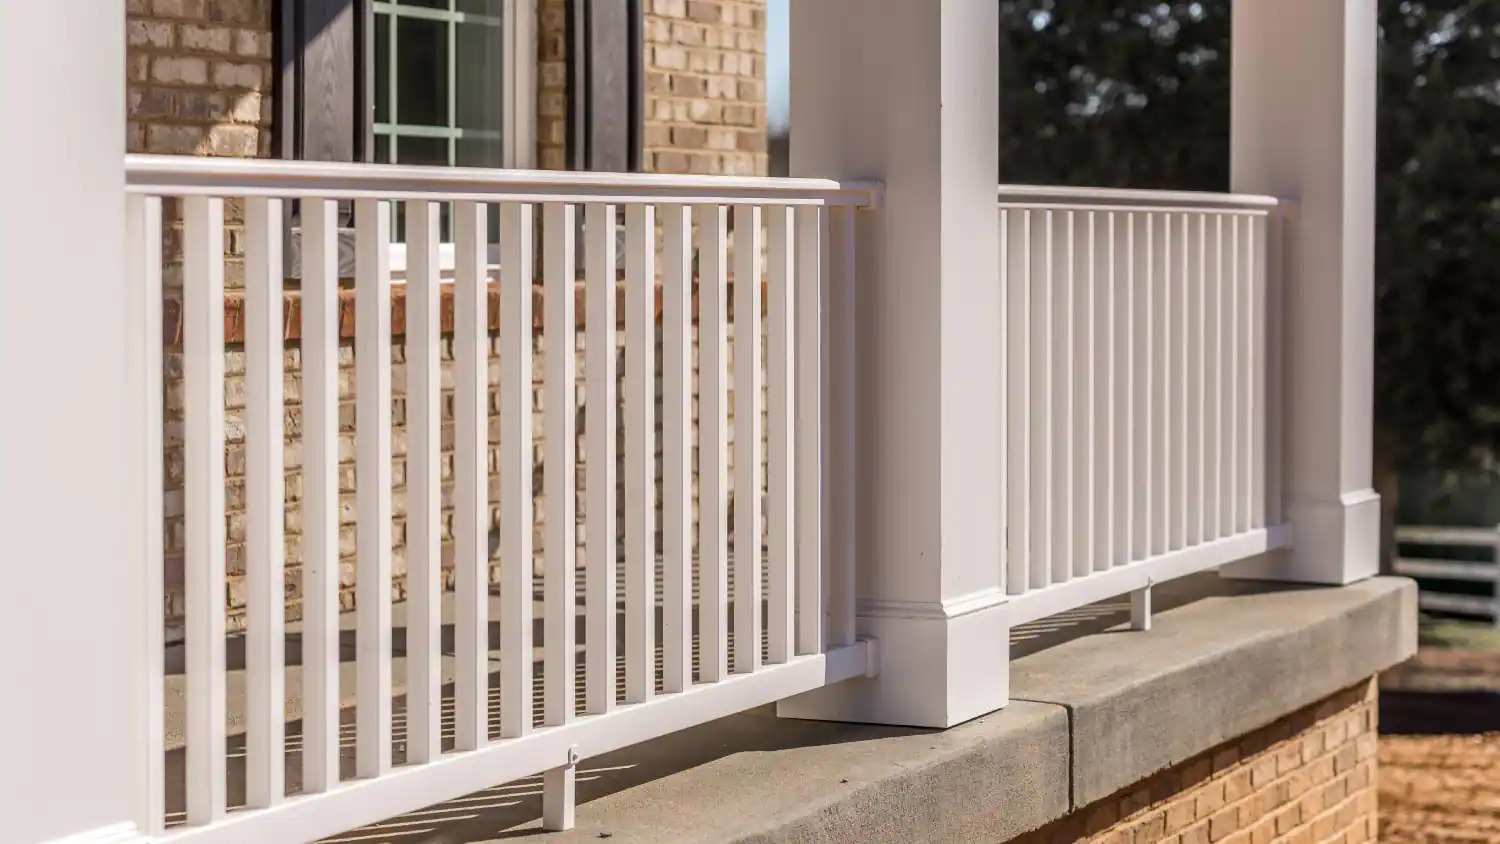
- Finish: Choose the appropriate finish for your porch railing. Satin or semi-gloss finishes are popular for exterior surfaces as they provide a balance between durability and aesthetics. These finishes are resistant to moisture and easy to clean.
- Coverage and number of coats: Check the paint label for information on coverage. Some paints require multiple coats to achieve the desired finish, while others offer better coverage with a single coat. Take this into consideration when calculating the amount of paint needed for your project.
- Environmental impact: If you’re conscious about the environmental impact, consider choosing a paint that is low-VOC (volatile organic compounds) or zero-VOC. These paints have reduced levels of harmful chemicals and are better for the environment.
Before making a final decision, it’s always a good idea to consult with a paint specialist or read product reviews to ensure you’re selecting a high-quality paint that suits your specific needs. Once you’ve chosen the paint, it’s time to move on to the next step: priming the porch railing.
Priming the Railing
Priming your porch railing is an essential step to ensure a smooth and long-lasting paint finish. Priming helps improve paint adhesion, seals the surface, and provides an even base for the topcoat. Follow these steps to prime your railing:
- Choose the right primer: Select a primer that is compatible with your chosen paint type. If you’re using an oil-based paint, choose an oil-based primer; if you’re using a latex paint, choose a latex-based primer.
- Preparation: Make sure the porch railing is clean, dry, and free of any loose paint or debris. If necessary, sand the surface lightly to promote better adhesion.
- Apply the primer: Stir the primer thoroughly and pour it into a paint tray. Use a brush or roller to apply a thin, even coat of primer to the porch railing. Work in small sections, starting at one end and moving systematically to the other side.
- Smooth out brush marks: If you’re using a brush, lightly run a dry brush across the primed surface to smoothen out any visible brush marks. This will result in a more seamless finish.
- Allow drying time: Follow the manufacturer’s instructions for drying time. Typically, primers require a few hours to dry completely. Avoid touching or disturbing the surface while it’s drying.
- Inspect and sand: Once the primer is dry, inspect the railing for any imperfections or roughness. Use fine-grit sandpaper to gently smooth out any uneven areas.
Priming your porch railing not only improves the longevity of the paint job but also helps to achieve a more uniform and professional-looking finish. Once the primer has dried, you’re ready to move on to the main event – painting the railing!
When painting porch railing, start by cleaning the surface thoroughly to remove any dirt or debris. Use a high-quality exterior paint and apply it in thin, even coats to ensure a smooth and long-lasting finish. Don’t forget to protect the surrounding areas with drop cloths or tape.
Read more: How To Paint Railings On Stairs
Painting the Railing
Now that you’ve prepared the porch railing and applied the primer, it’s time to paint! Follow these steps to achieve a beautiful and flawless finish:
- Stir the paint: Ensure that the paint is well-mixed by stirring it thoroughly with a paint stick or stirrer. This will help distribute the pigments evenly throughout the paint.
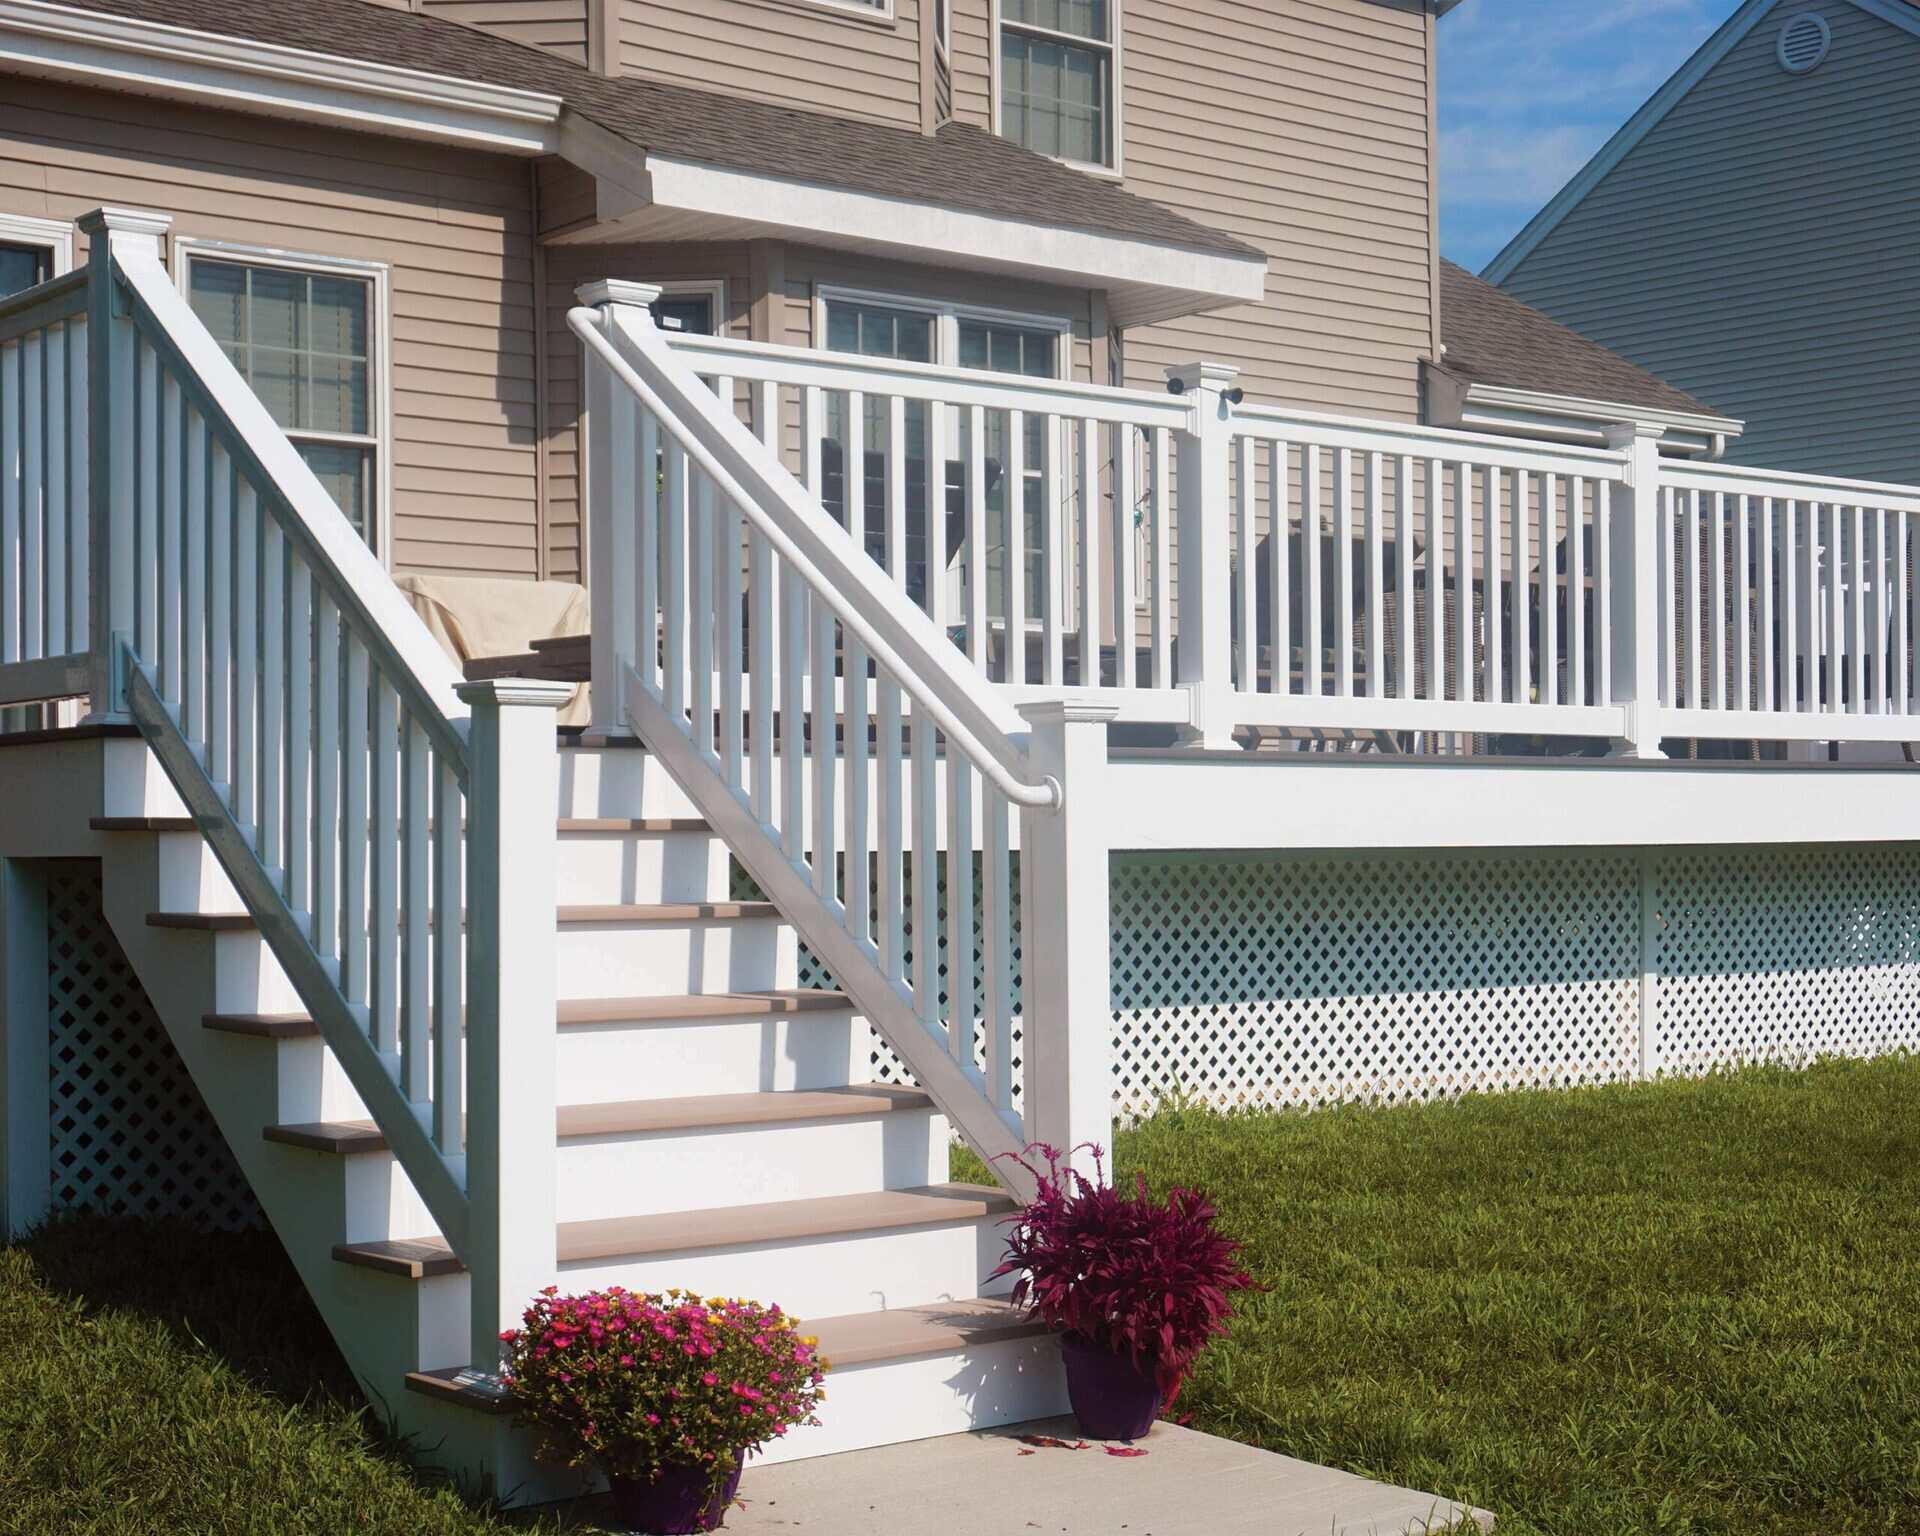
- Start from the top: Begin painting at the top of the railing and work your way down. This will prevent any drips or splatters from ruining the freshly painted areas. Use a brush or roller, depending on your preference and the size of the surface.
- Apply even coats: Dip the brush or roller into the paint, removing any excess on the side of the container. Apply the paint in even strokes, following the natural lines of the railing. Work in small sections, ensuring that you cover the entire surface evenly.
- Smooth out brush marks: If you’re using a brush, lightly run a dry brush over the painted surface to smooth out any visible brush marks. This technique, known as “tipping off,” will result in a more professional-looking finish.
- Overlap wet edges: To prevent visible brush or roller marks, always overlap the wet paint with the previous stroke. This technique helps to create a seamless finish and avoids any noticeable lines or inconsistencies.
- Paint in good weather conditions: Choose a day with mild temperature and low humidity to ensure optimal drying and adherence of the paint. Avoid painting in direct sunlight, as it can cause the paint to dry too quickly and result in an uneven finish.
Remember to take breaks if needed and allow the paint to dry between coats, following the manufacturer’s instructions. Multiple thin coats are generally better than one thick coat as they promote better adhesion and durability of the paint. Once you’ve finished painting, take a step back and admire your beautiful porch railing!
Applying a Second Coat (Optional)
While applying a second coat of paint to your porch railing is optional, it can significantly enhance the overall look and durability of the finish. Here’s why you might consider applying a second coat:
- Improved coverage: Applying a second coat helps ensure complete coverage, especially if your chosen paint color is significantly different from the original railing color. It can help fill in any gaps or thin spots and provide a more uniform appearance.
- Enhanced durability: Adding a second coat of paint can enhance the durability and lifespan of your porch railing. This is particularly important for exterior surfaces that are exposed to the elements, such as wind, rain, and harsh sunlight.
- Smoother finish: A second coat can help to smooth out any minor imperfections or brush strokes that may be more visible after the first coat has dried. It can result in a more flawless and professional-looking finish.
If you decide to apply a second coat, follow these steps:
- Allow proper drying time: Before applying the second coat, ensure that the first coat has dried completely. Refer to the paint manufacturer’s instructions for the recommended drying time.
- Lightly sand the surface: Use fine-grit sandpaper to lightly sand the surface of the first coat. This helps promote better adhesion and creates a smoother base for the second coat. Remember to wipe away any dust or debris before painting.
- Repeat the painting process: Apply the second coat of paint following the same techniques as the first coat. Use even strokes and overlap the wet edges to create a seamless finish.
- Allow sufficient drying time: Once you’ve completed the second coat, allow ample drying time before exposing the porch railing to any potential contact or weather conditions. Follow the paint manufacturer’s instructions for the recommended drying time.
Applying a second coat of paint is an extra step that can add a professional touch to your porch railing project. Whether you decide to apply one or two coats, the key is to strive for a beautiful and even finish that enhances the appearance of your home.
Cleaning Up
After you’ve finished painting your porch railing, it’s important to properly clean up to ensure the longevity of your tools and maintain a tidy workspace. Follow these steps to clean up effectively:
- Clean your brushes and rollers: If you plan on reusing your brushes and rollers, clean them thoroughly to remove any residual paint. For latex-based paint, use warm soapy water to wash the brushes and rollers. For oil-based paint, use mineral spirits or paint thinner for cleaning. Rinse them well and let them dry completely before storing.
- Dispose of paint and other waste: Properly dispose of any leftover paint, empty containers, and other painting-related waste according to local regulations. Avoid pouring unused paint down the drain, as it may harm the environment. Check with your local waste management facility for guidelines on how to dispose of paint properly.
- Remove painter’s tape: Once the paint is dry, carefully remove the painter’s tape from the areas you had masked off. Remove it at a 45-degree angle to ensure clean lines and avoid peeling off any fresh paint.
- Clean the surrounding area: If there are any paint drips or spills on nearby surfaces, clean them promptly with a damp cloth or sponge. For stubborn dried paint, you may need to use a mild paint remover or scrape it gently with a plastic scraper.
- Store leftover paint properly: If you have any remaining paint, seal the container tightly to prevent air exposure and store it in a cool, dry place. Make sure to label the container with the paint color and the date of purchase for future reference.
By following these clean-up guidelines, you’ll maintain the condition of your tools, keep the surrounding area neat, and ensure a hassle-free painting experience for future projects.
Congratulations! With the completion of the cleaning process, you have successfully painted your porch railing and transformed the appearance of your home. Take a moment to step back and admire your handiwork!
Conclusion
Painting your porch railing is a rewarding DIY project that can elevate the appearance of your home and enhance its curb appeal. By following the steps outline above, you can achieve a professional-looking finish that will withstand the test of time.
Starting with proper preparation, such as cleaning and inspecting the porch railing, sets the foundation for a successful paint job. Choosing the right paint and primer ensures durability and a beautiful color. Applying the paint in even coats, using the right techniques and tools, will result in a flawless finish.
If desired, applying a second coat can enhance coverage and durability. And of course, don’t forget to properly clean up after completing the project to maintain the longevity of your tools and leave the surrounding area neat and tidy.
Through each step of the painting process, take the time to ensure quality and attention to detail. A well-painted porch railing not only enhances the overall aesthetic of your home but also protects it from the natural elements.
Now that you have the knowledge and tools to paint your porch railing, it’s time to embark on this exciting DIY adventure. Enjoy the process, and may your freshly painted porch railing bring joy and admiration for years to come!
Frequently Asked Questions about How To Paint Porch Railing
Was this page helpful?
At Storables.com, we guarantee accurate and reliable information. Our content, validated by Expert Board Contributors, is crafted following stringent Editorial Policies. We're committed to providing you with well-researched, expert-backed insights for all your informational needs.

0 thoughts on “How To Paint Porch Railing”