Articles
How To Paint Fiberglass Porch Columns
Modified: May 6, 2024
Learn how to paint fiberglass porch columns with these informative articles. Discover the best techniques and tips for a seamless and long-lasting finish.
(Many of the links in this article redirect to a specific reviewed product. Your purchase of these products through affiliate links helps to generate commission for Storables.com, at no extra cost. Learn more)
Introduction
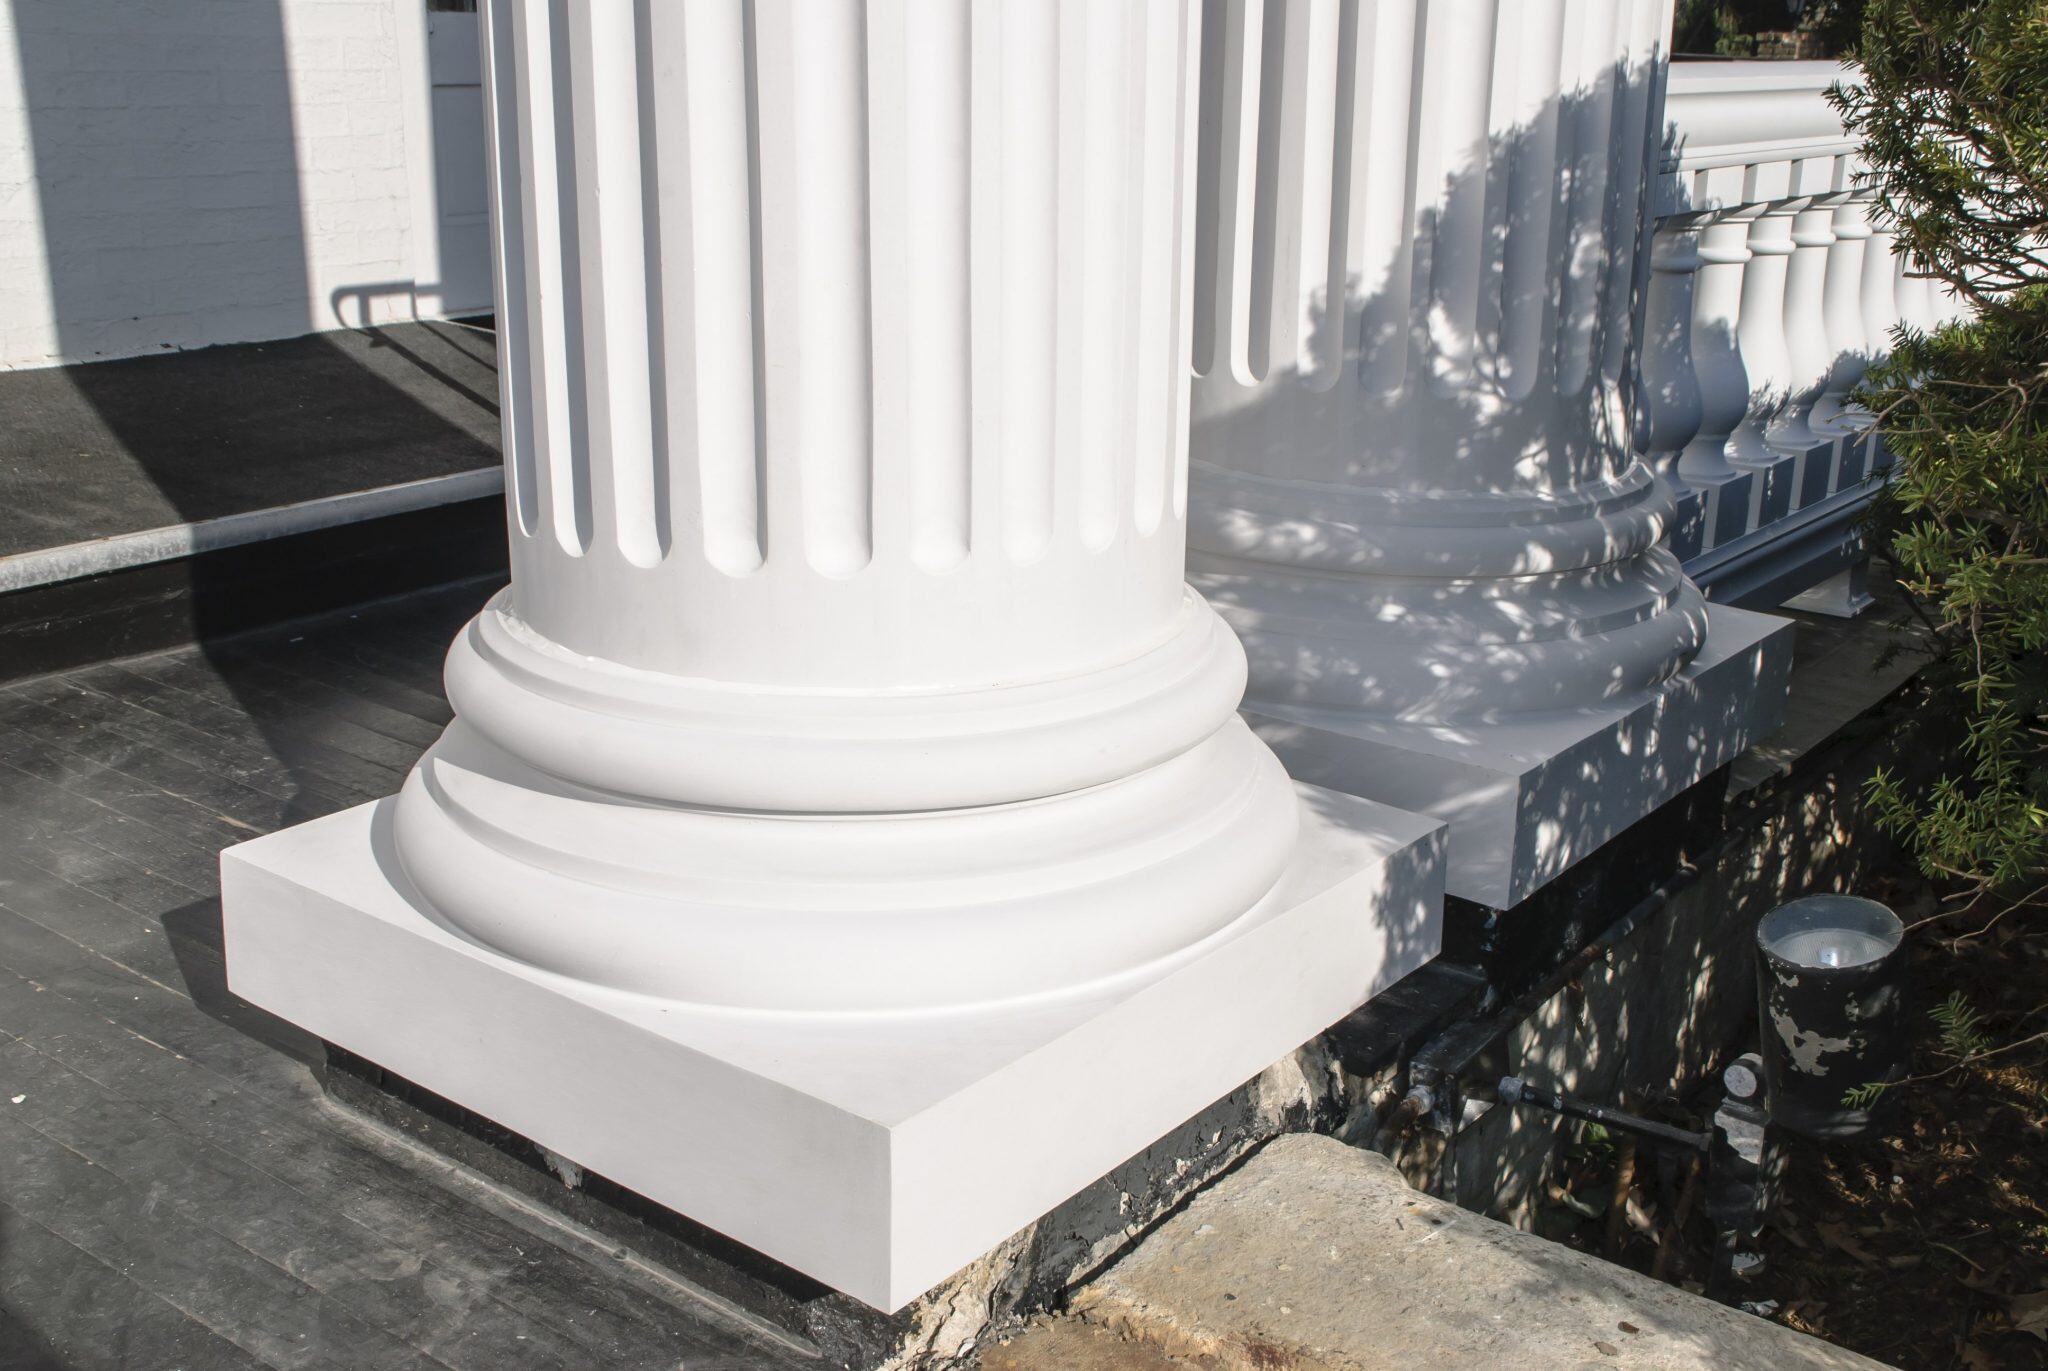
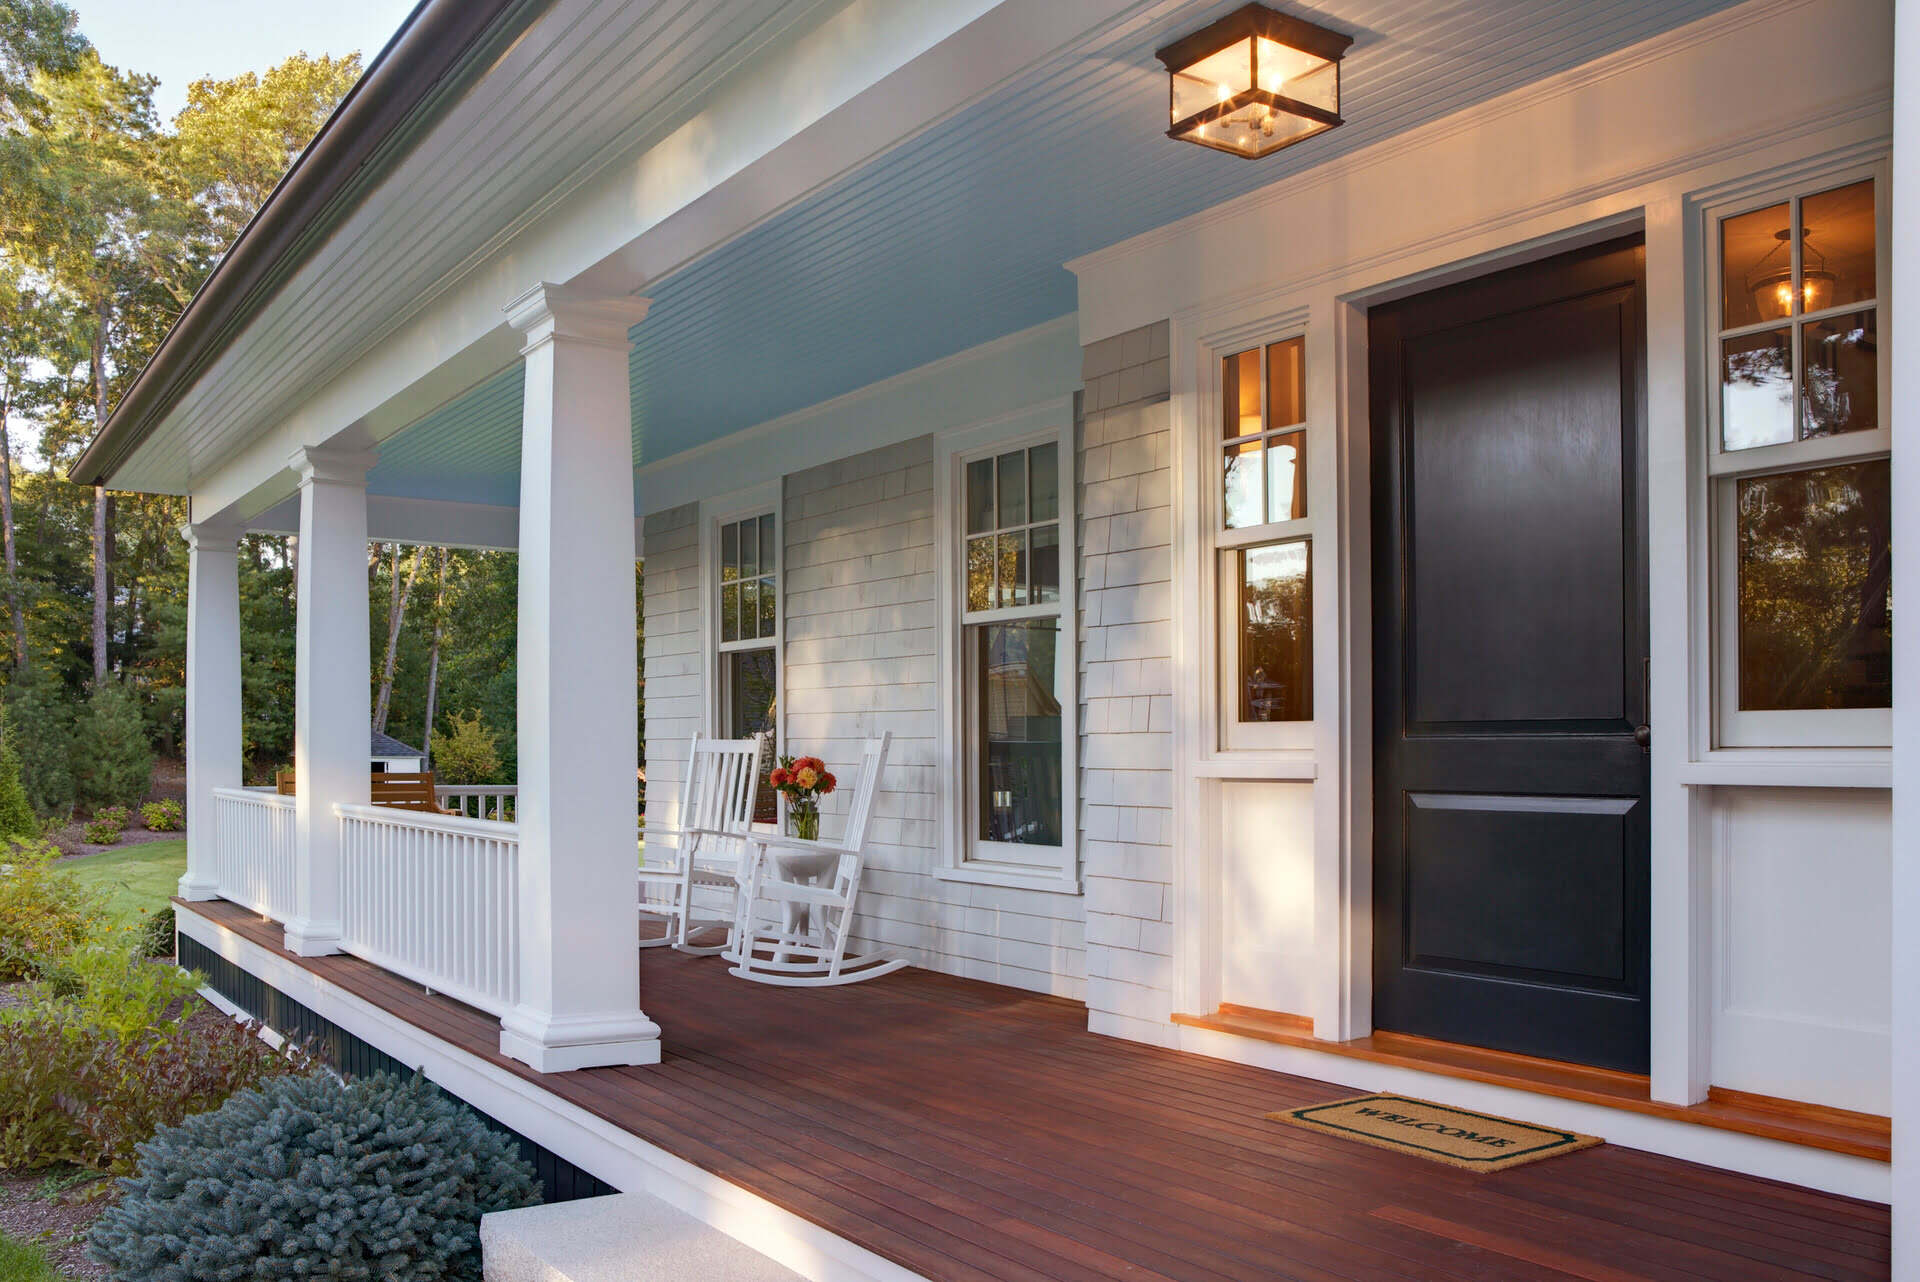
Fiberglass porch columns can be a beautiful addition to your home’s exterior, providing both structural support and aesthetic appeal. However, over time, the paint on these columns may start to chip, fade, or become worn out. Repainting your fiberglass porch columns is a cost-effective way to rejuvenate their appearance and protect them from the elements.
In this article, we will explore the step-by-step process of painting fiberglass porch columns to help you achieve a professional-looking finish. We will discuss how to prepare the columns, choose the right paint, clean and sand the surfaces, apply primer and paint, and seal the newly painted columns. Additionally, we will share some final tips and considerations to ensure your project is a success.
Whether you are a seasoned DIY enthusiast or a beginner, this guide will provide you with the necessary information and techniques to successfully paint your fiberglass porch columns and give them a fresh new look.
Key Takeaways:
- Transform the appearance of your home’s exterior by painting fiberglass porch columns. Follow the step-by-step guide for a professional and long-lasting finish, enhancing curb appeal and adding vibrancy to your property.
- Properly prepare, choose the right paint, and apply multiple coats to achieve a beautiful and resilient finish. Sealing the paint adds extra protection, ensuring your porch columns maintain their fresh look for years to come.
Read more: How To Replace Columns On Porch
Preparing the Porch Columns
Before you begin the painting process, it is crucial to properly prepare the fiberglass porch columns. This involves removing any existing paint, cleaning the surface, and ensuring that it is smooth and free of imperfections. Follow these steps to ensure a solid foundation for your paint job:
- Start by inspecting the porch columns for any signs of damage or decay. Repair or replace any damaged sections before proceeding with the painting process.
- Next, remove any existing paint or finish from the columns. This can be done using a paint stripper or sander. Be sure to follow the manufacturer’s instructions when using these products and take necessary safety precautions such as wearing protective gloves and eyewear.
- Once the paint has been removed, clean the surface of the porch columns thoroughly. Use a mild detergent and water to remove any dirt, grime, or residue. Rinse the surface with water and allow it to dry completely.
- Inspect the columns again and use a putty knife to smooth out any rough patches or imperfections. Fill any cracks or gaps with an appropriate filler and allow it to dry completely. Sand the filled areas until they are smooth and blend seamlessly with the rest of the surface.
- Finally, wipe down the columns with a tack cloth to remove any dust or particles. This will ensure a clean and smooth surface for the paint to adhere to.
By properly preparing the porch columns, you will create an ideal canvas for your paint job. This will help the paint adhere better and result in a more professional and long-lasting finish.
Choosing the Right Paint
Choosing the right paint for your fiberglass porch columns is essential to achieve a lasting and beautiful finish. Consider the following factors when selecting the paint:
- Type of paint: Look for a high-quality exterior paint specifically formulated for use on fiberglass surfaces. These paints are designed to withstand harsh weather conditions and provide excellent adhesion to the fiberglass material.
- Finish: Select a finish that suits your preferences and the style of your home. Satin or semi-gloss finishes are commonly used for porch columns as they offer a good balance between durability and aesthetic appeal. They also make it easier to clean the surface if needed.
- Color: Choose a color that complements the overall color scheme of your home’s exterior. It’s a good idea to consider the existing paint colors on your porch or nearby elements, such as the trim or door, to ensure a cohesive and harmonious look.
- UV protection: Look for a paint that offers UV protection to prevent fading or discoloration caused by prolonged exposure to sunlight. This will help maintain the color and vibrancy of your porch columns over time.
- Durability: Consider the durability of the paint, especially if your porch columns are exposed to high levels of foot traffic or other elements that may cause wear and tear. Opt for a paint that is resistant to chipping, peeling, and cracking.
- Environmentally friendly: If you have concerns about the environmental impact of the paint, look for eco-friendly options that are low in volatile organic compounds (VOCs) and have minimal odor.
Consult with a paint professional or the staff at your local paint store to ensure you choose the right paint for your specific needs and the conditions your fiberglass porch columns will be exposed to. They can provide expert advice and recommend suitable products that will deliver the best results.
Cleaning the Fiberglass Columns
Before you begin the painting process, it is crucial to clean the fiberglass columns thoroughly. This step ensures that there are no dirt, grease, or other contaminants on the surface that could interfere with the paint’s adhesion. Follow these steps to effectively clean your fiberglass columns:
- Gather your supplies: You will need a bucket, mild detergent or dish soap, a soft-bristle brush or sponge, and water.
- Mix the cleaning solution: Fill the bucket with warm water and add a small amount of mild detergent or dish soap. Stir the mixture gently until it becomes frothy.
- Dampen the brush or sponge: Wet the soft-bristle brush or sponge in the cleaning solution. Make sure it is thoroughly dampened but not dripping with water.
- Clean the columns: Begin cleaning the fiberglass columns by gently scrubbing the surface with the brush or sponge. Work in small sections, applying light pressure to remove any dirt, grime, or residue. Pay extra attention to areas that are heavily soiled or have stubborn stains.
- Rinse with water: Once you have cleaned the columns, rinse them thoroughly with clean water. This will remove any soap residue and ensure that the surface is completely clean.
- Dry the columns: Use a clean, dry cloth or towel to dry the fiberglass columns. Make sure there is no moisture left on the surface before proceeding with the next steps of the painting process.
Cleaning the fiberglass columns is an essential step in preparing them for painting. It not only removes dirt and grime but also creates a clean and smooth surface for the paint to adhere to. By taking the time to clean your columns properly, you will ensure better paint adhesion and a more professional-looking finish.
Sanding the Columns
Once the fiberglass columns are clean and dry, the next step in preparing them for painting is sanding. Sanding helps to create a smooth and even surface, removes any remaining paint or finish, and promotes better paint adhesion. Follow these steps to sand your fiberglass columns:
- Gather your supplies: You will need sandpaper (150-220 grit), a sanding block or sanding sponge, and a tack cloth.
- Select the right sandpaper: Choose sandpaper with a grit level between 150 and 220. This range is ideal for gently roughing up the surface without causing damage.
- Wrap the sandpaper around a sanding block: This will provide an even and stable surface for sanding. If you prefer, you can also use a sanding sponge.
- Start sanding: Gently sand the surface of the fiberglass columns in a circular or back-and-forth motion. Be careful not to apply too much pressure, as this can damage the fiberglass material.
- Continue sanding: Work your way around the entire column, paying extra attention to areas where the existing paint or finish is still present. The aim is to create a rough surface that will promote better paint adhesion.
- Inspect the surface: Once you have completed sanding, examine the columns to ensure that the surface is uniformly rough and free from any remaining paint or finish. If necessary, lightly sand any areas that require further attention.
- Clean the columns: Use a tack cloth to remove any dust or debris from the sanded surface. This will ensure a clean and smooth surface for the next steps of the painting process.
Sanding the fiberglass columns is an important step in ensuring a successful paint job. It helps to create a surface that allows the paint to adhere properly, resulting in a smooth and long-lasting finish. Take your time during this process to ensure that the surface is evenly sanded and free from any imperfections.
Read more: How To Install Porch Columns
Applying Primer
After preparing and sanding your fiberglass porch columns, the next step is to apply a primer. Primer helps create an even and smooth surface for the paint to adhere to, enhances paint durability, and improves color consistency. Here are the steps to properly apply primer to your porch columns:
- Gather your supplies: You will need a high-quality primer suitable for use on fiberglass surfaces, a paintbrush or roller, a paint tray, and painter’s tape (if necessary).
- Prepare the columns: Ensure that the columns are clean, dry, and free from any dust or debris. If there are any areas that require masking to protect adjacent surfaces, apply painter’s tape.
- Pour the primer into a paint tray: Pour an appropriate amount of primer into a paint tray, making sure not to overfill it. This will allow you to easily load the paintbrush or roller.
- Start priming: Dip the paintbrush or roller into the primer, removing any excess by tapping it on the sides of the tray. Begin applying the primer to the porch columns, working in smooth and even strokes.
- Work in small sections: It’s best to work in small sections, covering the entire height of one column at a time. This ensures that the primer is applied evenly and does not dry too quickly before you can properly smooth it out.
- Use even strokes: Apply the primer using long, even strokes in the same direction as the column’s length. This will help achieve a consistent look and prevent drips or streaks.
- Allow the primer to dry: Follow the manufacturer’s instructions to determine the drying time needed for the primer. It is crucial to allow the primer to fully dry before moving on to the painting stage.
- Inspect the primed surface: After the primer has dried, closely inspect the columns to ensure that the surface is smooth and evenly coated. If necessary, lightly sand any imperfections before proceeding to the next step.
Applying a primer to your fiberglass porch columns is a crucial step in creating a solid and durable base for the paint. It helps the paint adhere better, enhances the color’s vibrancy, and promotes a longer lifespan for your newly painted columns.
When painting fiberglass porch columns, be sure to clean the surface thoroughly and use a high-quality exterior paint specifically designed for use on fiberglass. This will ensure a long-lasting and professional finish.
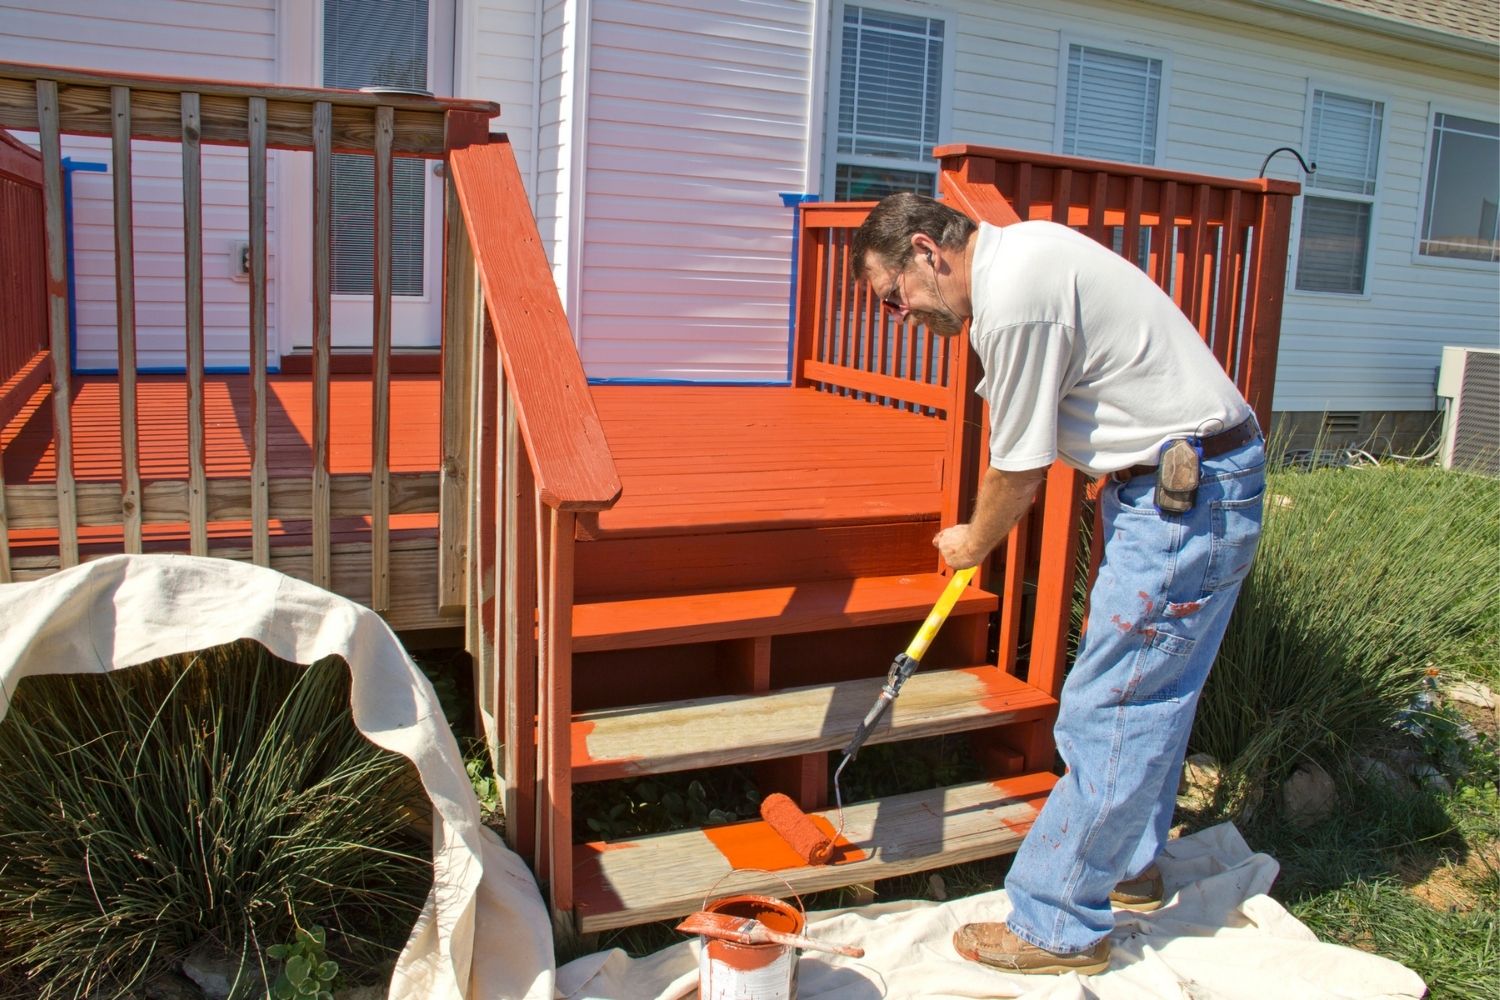
Painting the Porch Columns
Once the primer has dried, it’s time to start painting your fiberglass porch columns. Follow these steps to ensure a smooth and professional finish:
- Gather your supplies: You will need high-quality exterior paint suitable for fiberglass, a paintbrush or roller, a paint tray, and painter’s tape (if necessary).
- Prepare the columns: Ensure that the columns are clean, dry, and free from any dust or debris. If there are any areas that require masking to protect adjacent surfaces, apply painter’s tape.
- Pour the paint into a paint tray: Pour an appropriate amount of paint into a paint tray, making sure not to overfill it. This will allow you to easily load the paintbrush or roller.
- Start painting: Dip the paintbrush or roller into the paint, removing any excess by tapping it on the sides of the tray. Begin applying the paint to the porch columns, starting from the top and working your way down.
- Work in small sections: Similar to the priming step, it’s best to work in small sections, covering the entire height of one column at a time. This ensures that the paint is applied evenly and does not dry too quickly before you can properly smooth it out.
- Use even strokes: Apply the paint using long, even strokes in the same direction as the column’s length. This will help achieve a consistent and smooth finish.
- Blend the paint: As you work on the next section of the column, make sure to blend the paint with the previous section to avoid visible lines or color variations.
- Apply additional coats if needed: Depending on the desired color intensity and coverage, you may need to apply multiple coats of paint. Follow the manufacturer’s instructions regarding drying time between coats.
- Allow the paint to dry: Once you have finished applying the paint, allow it to dry completely according to the manufacturer’s instructions. Avoid touching the painted surface until it has fully cured to prevent any smudging or damage.
By following these steps, you will achieve a well-painted and refreshed appearance for your fiberglass porch columns. Take your time and ensure that the paint is applied evenly and smoothly for the best results.
Applying a Second Coat
Applying a second coat of paint to your fiberglass porch columns is often necessary to achieve a professional and finished look. The second coat helps to enhance the color intensity, improve coverage, and ensure a long-lasting finish. Follow these steps to apply a second coat effectively:
- Check the first coat: Before applying the second coat, examine the first coat of paint to ensure that it has dried completely. It should be dry to the touch and not leave any residue on your fingers.
- Prepare the surface: Ensure that the porch columns are clean and free from any dust or debris. If needed, lightly sand any imperfections or bumps on the surface.
- Gather your supplies: You will need the same high-quality exterior paint that you used for the first coat, a paintbrush or roller, a paint tray, and painter’s tape (if necessary).
- Pour the paint into a paint tray: Pour an appropriate amount of paint into a paint tray, again being careful not to overfill it.
- Apply the second coat: Dip the paintbrush or roller into the paint and remove any excess. Begin applying the second coat to the porch columns using the same techniques as the first coat.
- Work in small sections: As with the previous coats, work in small sections, covering one column at a time to ensure even coverage and prevent the paint from drying too quickly.
- Use even strokes: Apply the paint in long, even strokes, following the same direction as the column’s length. This will help achieve a consistent and smooth finish.
- Blend the paint: Continuously blend the paint with the previous sections to ensure a seamless transition and uniform color.
- Allow the paint to dry and assess: Once the second coat is applied, allow it to dry completely. Evaluate the painted surface to determine if additional coats are needed. If necessary, repeat the same steps for the third coat.
- Remove any painter’s tape: If you used painter’s tape to protect adjacent surfaces, carefully remove it once the final coat is dry. This will ensure clean edges and a professional look.
By applying a second coat of paint, you will achieve a smoother and more vibrant finish for your fiberglass porch columns. Take the time to ensure even coverage and allow each coat to dry thoroughly for the best results.
Sealing the Paint
After applying the final coat of paint to your fiberglass porch columns, it is important to seal the paint to protect it from the elements and ensure its longevity. Sealing the paint creates a protective barrier that prevents fading, discoloration, and damage caused by UV rays, moisture, and other environmental factors. Here’s how you can properly seal the paint on your porch columns:
- Allow the paint to cure: Before applying a sealant, make sure that the paint has dried and cured according to the manufacturer’s instructions. This typically takes a few days but can vary depending on the type and brand of paint used.
- Gather your supplies: You will need a clear exterior sealer or polyurethane specifically designed for use on painted surfaces, a paintbrush or roller, a paint tray, and a clean cloth or sponge.
- Read the sealer instructions: Carefully read and follow the instructions provided by the sealer manufacturer for proper application and drying time.
- Pour the sealer into a paint tray: Pour an appropriate amount of sealer into a paint tray, ensuring that it is not overfilled.
- Apply the sealer: Dip the paintbrush or roller into the sealer, removing any excess. Begin applying the sealer to your porch columns using long, even strokes, following the same direction as the column’s length.
- Work in small sections: Similar to painting, work on one section at a time to ensure even coverage and prevent the sealer from drying too quickly.
- Smooth out any pooling: As you apply the sealer, make sure to smooth out any pooling or excess sealer to achieve an even finish. This can be done with a clean cloth or sponge.
- Allow the sealer to dry and cure: Follow the drying and curing time specified by the sealer manufacturer. Avoid touching or placing any objects on the sealed surfaces until it has fully dried.
- Inspect the sealed surface: Once the sealer has dried, inspect the porch columns to ensure even and proper coverage. If necessary, apply an additional coat of sealer following the same steps as before.
Sealing the paint on your fiberglass porch columns is a crucial step to protect and preserve the paint finish. By properly sealing the paint, you can ensure its longevity and maintain the appearance of your columns for years to come.
Read more: How To Replace Columns On Front Porch
Final Tips and Considerations
As you complete your fiberglass porch column painting project, here are some final tips and considerations to keep in mind:
- Weather conditions: Choose a time to paint when the weather is dry and temperatures are moderate. Avoid painting on extremely hot or humid days, as it can affect the paint’s drying and curing process.
- Protect surrounding areas: Use painter’s tape and drop cloths to cover and protect any adjacent surfaces, such as walls or flooring, from accidental paint drips or splatters.
- Proper ventilation: Ensure the area where you are working is well-ventilated to minimize exposure to fumes or odors from the paint and other products used in the painting process.
- Clean tools properly: Clean your paintbrushes, rollers, and other tools used for painting promptly after each use. Follow the instructions on the paint cans for proper cleaning methods.
- Maintain the painted surface: Regularly clean and inspect your porch columns to ensure that the paint remains in good condition. Remove any dirt or debris and touch up any areas that may require additional attention.
- Consider a professional: If you are unsure about taking on the task of painting your fiberglass porch columns yourself, or if you have a large project, consider hiring a professional painter. They have the experience, equipment, and expertise to deliver a high-quality finish.
- Follow manufacturer’s instructions: Read and follow the instructions provided by the manufacturers of the paint, primer, and sealer to ensure proper usage and achieve the best results.
- Regular maintenance: To extend the life of your freshly painted porch columns, periodically inspect them for any signs of damage or wear. Perform any necessary touch-ups or repainting as needed.
- Consider color trends: If you are looking to update the appearance of your porch columns, consider popular color trends or consult with a design professional for suggestions on suitable color choices.
- Take safety precautions: Always prioritize your safety when working on any painting project. Wear protective clothing, gloves, goggles, and a mask if necessary.
By considering these final tips and taking the necessary precautions, you can ensure a successful and long-lasting paint job for your fiberglass porch columns. Enjoy the refreshed look and enhanced curb appeal they will bring to your home!
Conclusion
Painting your fiberglass porch columns can transform the look of your home’s exterior, providing a fresh and vibrant appearance. By following the step-by-step process outlined in this guide, you can successfully paint your porch columns and achieve a professional and long-lasting finish.
From preparing the columns and choosing the right paint to cleaning, sanding, and applying primer, each step plays a crucial role in ensuring a smooth and durable paint job. Taking the time to properly prepare the surface, select high-quality paint and primer, and apply multiple coats will result in a beautiful and resilient finish that enhances the overall charm of your home.
Sealing the paint adds an extra layer of protection to your porch columns, guarding against fading, discoloration, and environmental damage. Regular maintenance and proper care will help keep your painted porch columns looking their best for years to come.
Whether you are a seasoned DIY enthusiast or a beginner, with the right tools, materials, and techniques, you can accomplish a professional-level paint job on your fiberglass porch columns. However, if you feel unsure or overwhelmed, do not hesitate to seek the assistance of a professional painter who can provide expert guidance and ensure a flawless finish.
Now that you have the knowledge and steps to paint your fiberglass porch columns, it’s time to put these tips into action and enjoy the transformed appearance of your home’s exterior. Get ready to impress your neighbors and guests with your beautifully painted porch columns!
Finished mastering the art of painting fiberglass porch columns? Why stop there? Dive into our next feature, where you'll uncover the joys and rewards of taking on more home projects yourself. Our latest piece on DIY projects highlights why rolling up your sleeves and getting hands-on can transform your living space, save money, and even boost your creativity. Don't miss out on this engaging read that's sure to inspire your next home improvement undertaking!
Frequently Asked Questions about How To Paint Fiberglass Porch Columns
Was this page helpful?
At Storables.com, we guarantee accurate and reliable information. Our content, validated by Expert Board Contributors, is crafted following stringent Editorial Policies. We're committed to providing you with well-researched, expert-backed insights for all your informational needs.


0 thoughts on “How To Paint Fiberglass Porch Columns”