Articles
How To Upgrade Countertops
Modified: January 5, 2024
Learn valuable tips and tricks for upgrading your countertops in our comprehensive articles. Discover the latest trends and expert advice on transforming your kitchen or bathroom spaces.
(Many of the links in this article redirect to a specific reviewed product. Your purchase of these products through affiliate links helps to generate commission for Storables.com, at no extra cost. Learn more)
Introduction
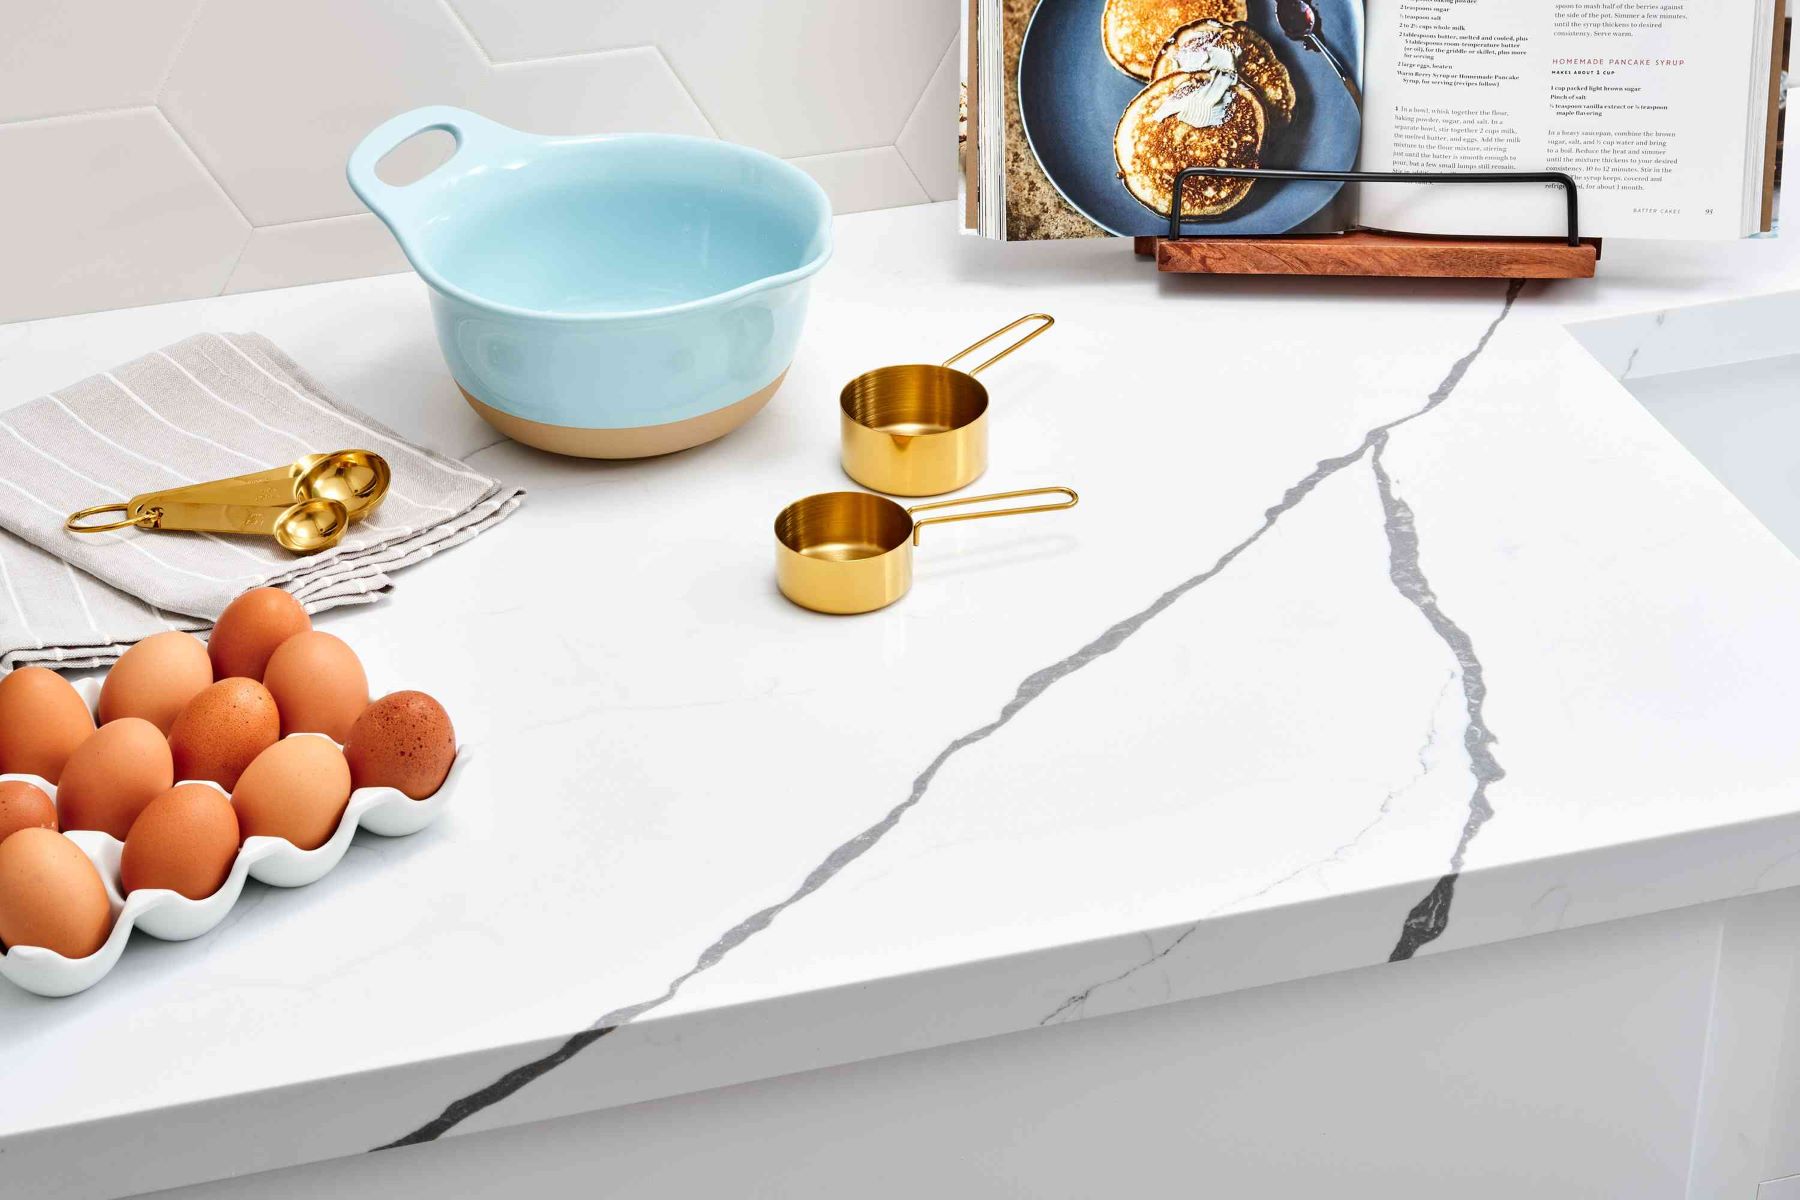
Upgrading your countertops can be a transformative project that not only adds aesthetic appeal to your space but also increases the functionality and value of your home. Whether you’re renovating your kitchen, bathroom, or any other area with countertops, choosing the right material and following a proper installation process is crucial for achieving the desired results.
In this comprehensive guide, we will walk you through the steps to upgrade your countertops successfully. From selecting the ideal material for your needs to measuring the space and removing the old countertops, we’ll cover all the essential aspects of the process. Additionally, we’ll provide valuable tips for maintaining and caring for your new countertops to ensure their longevity.
So, let’s dive in and explore how to upgrade your countertops effectively!
Key Takeaways:
- Choosing the right countertop material is crucial for enhancing functionality and aesthetics. Consider factors like durability, maintenance, and design to make an informed decision.
- Proper surface preparation and careful installation are essential for a successful countertop upgrade. Follow manufacturer’s instructions and take your time for a long-lasting result.
Read more: How To Upgrade Tile Countertops
Choosing the Right Countertop Material
When it comes to upgrading your countertops, the first step is to choose the right material that suits your needs and matches your style preferences. There is a wide range of countertop materials available in the market, each with its own unique characteristics and advantages. Here are some popular options to consider:
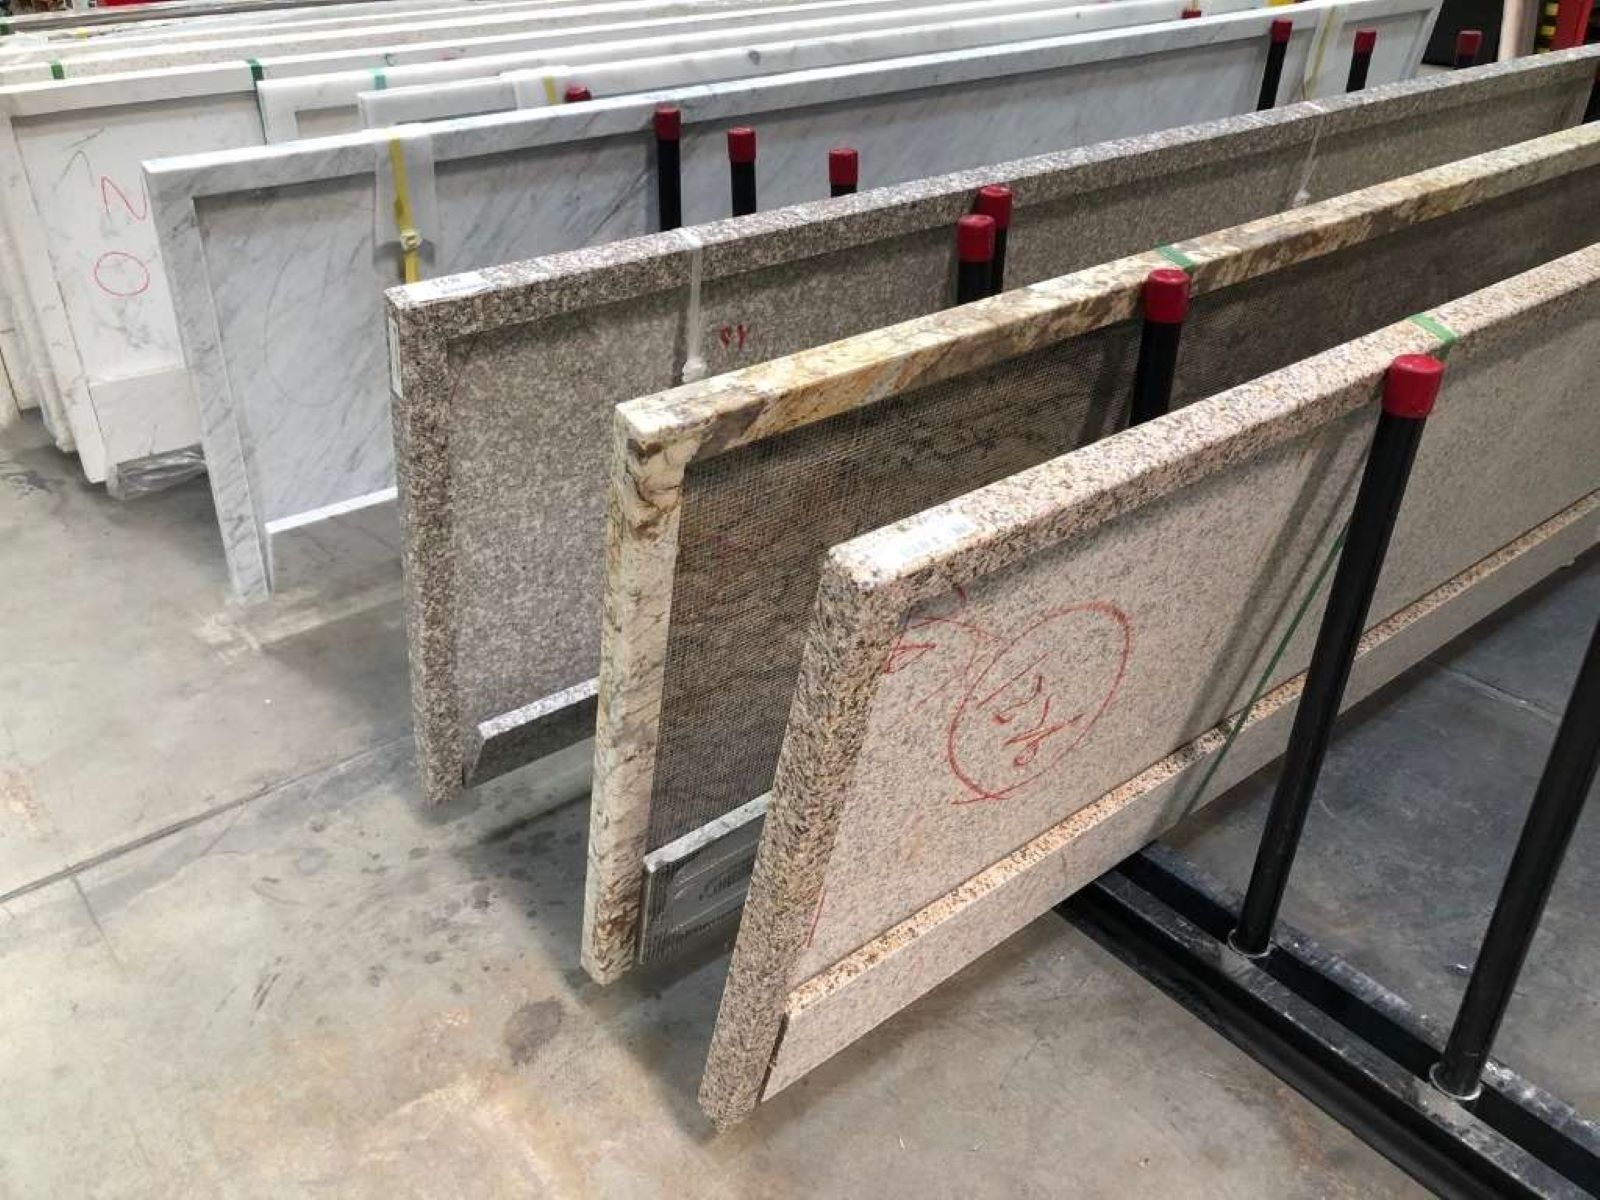
- Granite: Known for its durability and natural beauty, granite countertops are a popular choice for many homeowners. With a wide range of colors and patterns, they can add elegance and sophistication to any space.
- Quartz: Engineered quartz countertops offer a combination of beauty and durability. Made from a mix of natural quartz and resin, they are resistant to stains, scratches, and heat, making them an ideal choice for high-traffic areas like kitchens.
- Marble: For a timeless and luxurious look, marble countertops are a classic choice. However, it’s important to note that marble is softer and more prone to scratches and stains, so proper maintenance is essential.
- Butcher Block: If you prefer a warm and rustic feel, butcher block countertops can be an excellent option. Made from hardwood, they provide a durable and naturally antimicrobial surface that is perfect for food preparation.
- Laminate: Laminate countertops are a cost-effective choice that offers a wide array of colors and patterns. They are low-maintenance and resistant to stains, making them a practical option for many homeowners.
When selecting a countertop material, consider factors such as your lifestyle, budget, and specific needs. Think about the level of maintenance required, resistance to heat and stains, and how well it complements the overall design of your space. Additionally, it’s worth researching the pros and cons of each material to make an informed decision.
Remember, the right countertop material can greatly enhance the functionality, appearance, and value of your space, so take your time to explore all the options and choose wisely.
Measuring and Assessing Your Countertop Space
Accurate measurements are essential when upgrading your countertops to ensure a proper fit and seamless installation. Before you start shopping for new countertops, it’s important to measure and assess your countertop space. Here’s a step-by-step guide to help you do it effectively:
- Clear the countertops: Remove all items, such as appliances, utensils, and decorations, from the existing countertops to get a clear surface for measurement.
- Measure the length and width: Use a measuring tape to measure the length and width of the existing countertops. Take measurements at multiple points to account for any variations in the surface.
- Note the backsplash and edge details: If you have a backsplash or any edge details, be sure to measure their height and width as well. These measurements are crucial for selecting the right-size countertops and ensuring a seamless transition between the countertop and backsplash.
- Assess the condition of the cabinets and support systems: While measuring, also inspect the condition of the cabinets and support systems that hold the countertops. Look for any signs of damage or instability that might require repairs or reinforcement before the installation of new countertops.
- Consider additional features: Take note of any additional features you may want to incorporate, such as sink cutouts, cooktop openings, or custom shapes. These details will be important to discuss with your countertop supplier or installer.
Once you have accurate measurements and a clear understanding of your countertop space, you can move forward with confidence in selecting the right countertops and planning for the installation.
It’s worth noting that if you’re uncomfortable or uncertain about taking measurements on your own, consider consulting a professional to ensure accuracy. They can provide guidance and assistance in measuring your countertop space effectively.
Removing the Old Countertops
Removing the old countertops is a crucial step in the countertop upgrade process. Proper removal ensures a clean and smooth surface for installing the new countertops. Here are the steps to safely and efficiently remove the old countertops:
- Prepare the workspace: Begin by clearing the area around the countertops and ensuring you have enough space to work comfortably. Protect the surrounding cabinets and flooring by covering them with drop cloths or cardboard.
- Turn off utilities: Before starting the removal process, turn off the water supply and disconnect any electrical connections to appliances, sinks, or cooktops that are attached to the countertops.
- Determine the attachment method: Different countertops are attached using various methods such as adhesive, screws, or brackets. Determine the attachment method for your specific countertops to understand how they need to be removed.
- Disconnect the sink and appliances: If your countertops have a sink or appliances attached, disconnect them carefully to avoid any damage. Follow the manufacturer’s instructions or consult a professional if you’re unsure about the process.
- Remove the countertop: Depending on the attachment method, use a pry bar, screwdriver, or wrench to loosen and remove the screws, adhesive, or brackets holding the countertop in place. Work systematically, starting from one end and moving towards the other.
- Work in sections: If your countertops are large or have multiple sections, remove them one section at a time. This will help prevent any unnecessary strain or damage to the structure.
- Dispose of the old countertops: Once the countertops are completely removed, determine the best way to dispose of them. You may need to hire a waste disposal service or consult local regulations for proper disposal methods.
It’s important to approach the removal process with caution and proper safety equipment, such as gloves and eye protection. If you’re unsure about any aspect of the removal process or if you have complex countertop structures, it’s advisable to hire a professional for assistance.
Once the old countertops are removed, you can proceed with the next steps in the countertop upgrade process, such as preparing the surface for installation.
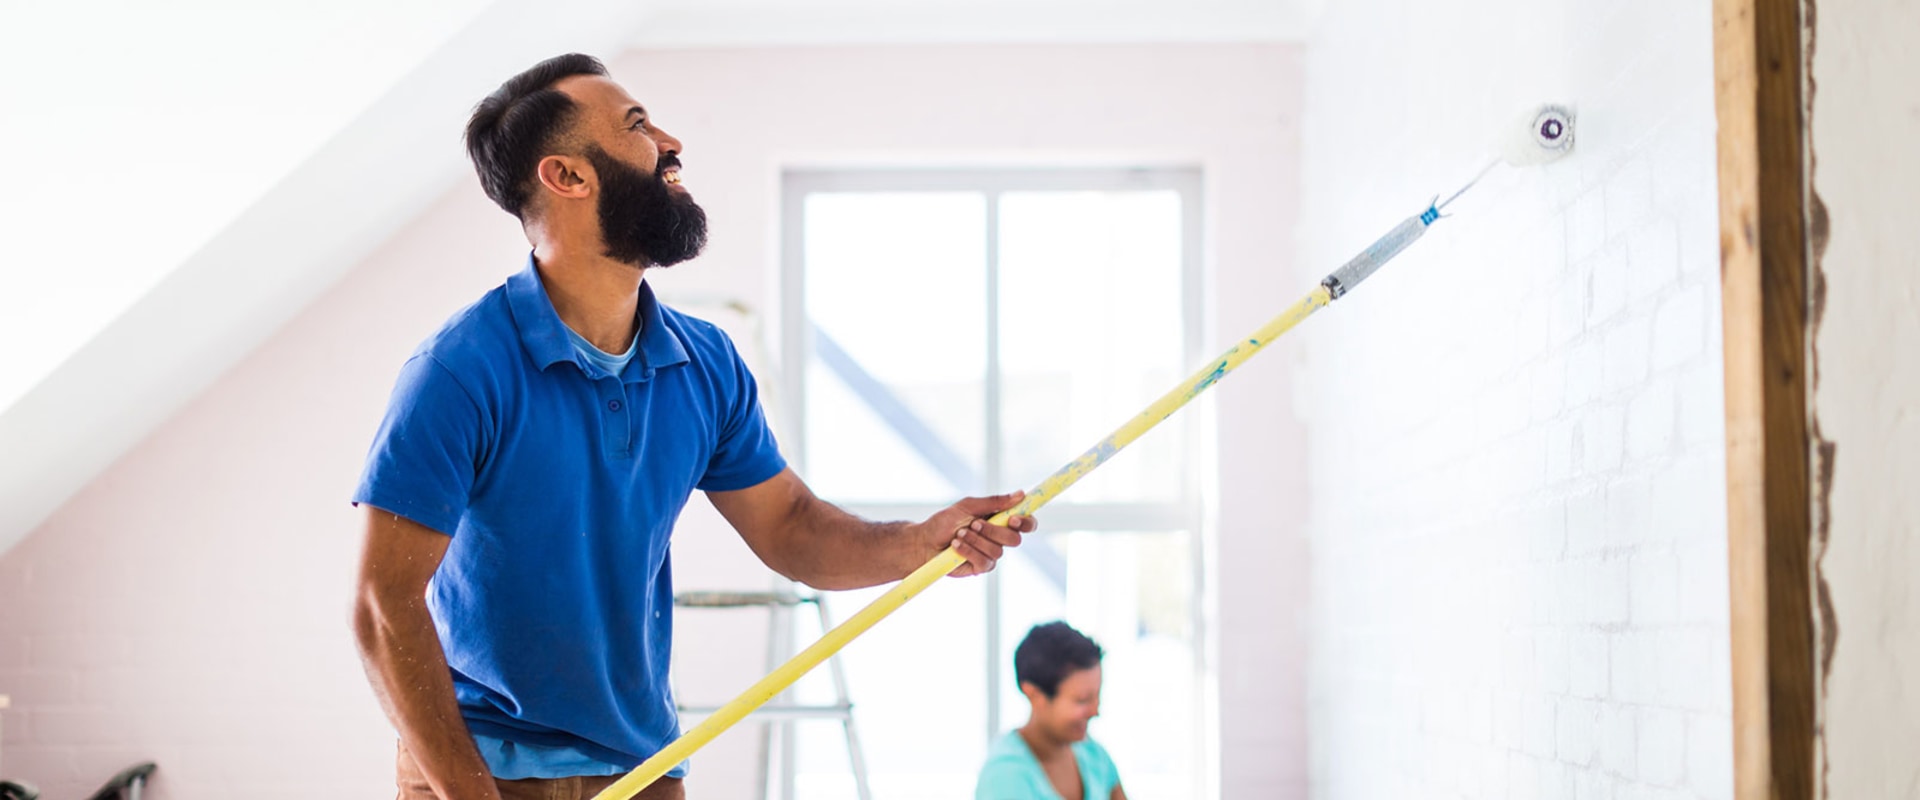
Preparing the Surface for Installation
Preparing the surface for countertop installation is a crucial step that ensures a smooth and successful upgrade. Proper surface preparation is essential for ensuring a secure and long-lasting installation. Here’s a step-by-step guide to help you prepare the surface:
- Clean the area: Start by thoroughly cleaning the countertop area to remove any dirt, dust, or debris. Use a mild detergent or cleaner and a non-abrasive cloth or sponge. Rinse with water and allow the surface to dry completely.
- Repair any damage: Inspect the countertop surface for any damage, such as cracks, chips, or uneven areas. If you come across any issues, repair them before proceeding with the installation. Depending on the material, you may need to use a filler or patching compound to fix minor damages.
- Check for levelness: Use a level to ensure that the countertop area is level and even. If you notice any areas that are uneven, use shims or leveling compounds to achieve a level surface. This step is crucial for the proper installation of the new countertops and prevents any future issues.
- Remove old adhesives: If there are remnants of old adhesives or sealants from the previous countertops, ensure they are completely removed. Use a scraper or a solvent recommended for your specific countertop material to remove any stubborn residue.
- Apply a primer (if necessary): Depending on the material of your new countertops and the recommendation of the manufacturer, you may need to apply a primer to the surface. Follow the instructions provided with the primer for proper application.
- Allow for proper ventilation: If you are using any chemicals during the surface preparation process, ensure that the area is well-ventilated to avoid inhaling any harmful fumes. Open windows and use fans if necessary.
Following these preparatory steps will ensure that the surface is clean, level, and ready for the installation of the new countertops. It’s important to carefully follow the instructions specific to your countertop material for optimal results.
By taking the time to prepare the surface properly, you will create a solid foundation for a successful countertop upgrade, ensuring the longevity and functionality of your new countertops.
Consider the durability, maintenance, and style of different countertop materials before making a decision. Granite, quartz, and laminate are popular choices with varying benefits.
Read more: How To Upgrade Stairs
Installing the New Countertops
Installing the new countertops is an exciting phase of the countertop upgrade process. It’s important to approach the installation carefully and follow the necessary steps to ensure a proper and secure fit. Here’s a step-by-step guide to help you with the installation:
- Prepare the countertops: Before installing, carefully inspect the new countertops for any damages or defects. Make sure they are clean and free from any debris or dust.
- Apply adhesive: Depending on the type of countertops and the manufacturer’s instructions, apply a suitable adhesive to the top of the cabinets or base. Follow the recommended adhesive type and application method for the best results.
- Position the countertops: Carefully lift and position the new countertops onto the adhesive-covered bases. Ensure they are aligned properly and fit snugly in place. Use shims or leveling compounds as needed to ensure an even and level installation.
- Secure the countertops: Once the countertops are in position, use clamps or brackets to secure them firmly to the cabinets or base. Follow the manufacturer’s instructions for the proper placement and tightening of the clamps or brackets.
- Attach sinks and appliances: If your countertops have a sink or appliances that need to be attached, carefully follow the manufacturer’s instructions. Make sure all connections are secure and properly sealed.
- Check for levelness: Use a level to ensure that the countertops are level from all directions. Make any necessary adjustments by adding or removing shims to achieve a perfectly level surface.
- Clean and finish: Once the countertops are securely installed and leveled, clean any excess adhesive or caulk from the seams or edges. Use a suitable cleaner for your specific countertop material. Finish the edges with trim or molding if desired.
It’s important to have a helping hand during the installation process, as countertops can be heavy and hard to maneuver on your own. Additionally, following the manufacturer’s instructions and using the recommended tools and materials will help ensure a successful installation.
Take your time and double-check all the steps to ensure that the countertops are properly installed. A well-executed installation will not only enhance the aesthetics of your space but also provide a functional and durable surface for years to come.
Sealing and Finishing the Countertops
Sealing and finishing the countertops is an essential step to protect the surface and enhance its longevity. This process helps seal the pores of the material, making it more resistant to stains, scratches, and other potential damage. Here’s what you need to know about sealing and finishing your countertops:
- Identify the countertop material: Different countertop materials have varying requirements for sealing and finishing. Some materials, like granite and marble, are more porous and require regular sealing, while others may not need as much attention. Refer to the manufacturer’s recommendations or consult with a professional to determine the specific needs of your countertops.
- Clean the countertops: Before sealing, ensure that the countertops are clean and free from any debris. Use a mild cleaner or specific products recommended for your countertop material to remove any dirt or residue. Allow the surface to dry completely before proceeding.
- Select a suitable sealer: Choose a high-quality sealer that is specifically designed for your countertop material. There are different types of sealers available, such as penetrating sealers and topical sealers. Consider the pros and cons of each type and select the one that best suits your needs and the requirements of your countertops.
- Apply the sealer: Follow the manufacturer’s instructions for applying the sealer. Usually, this involves using a clean cloth or a brush to evenly apply the sealer across the entire surface of the countertops. Pay attention to the edges and seams to ensure thorough coverage. Allow the sealer to penetrate the surface for the recommended amount of time.
- Remove excess sealer: After the recommended time has passed, wipe off any excess sealer from the surface using a clean cloth. Be careful not to disturb the sealer in the process. Allow the countertops to dry for the specified period mentioned on the sealer instructions.
- Apply finishing treatments (optional): Depending on your preferences and the type of countertops, you may choose to apply additional finishing treatments such as polish or wax. These treatments can enhance the appearance and provide extra protection. Follow the product instructions carefully when applying these treatments.
Regular maintenance and resealing, as recommended by the manufacturer, will help preserve the beauty and functionality of your countertops. Avoid using harsh or abrasive cleaners that can damage the sealer and the countertop surface. Instead, use gentle, non-abrasive cleaners and avoid exposing the countertops to excessive heat or sharp objects that can cause scratches or stains.
By properly sealing and finishing your countertops, you can enjoy a beautiful and durable surface that will withstand the test of time.
Maintenance and Care Tips
To keep your newly upgraded countertops looking their best and extend their lifespan, regular maintenance and proper care are essential. Here are some valuable tips to help you maintain and care for your countertops:
- Clean spills immediately: Accidents happen, and spills are inevitable. To prevent stains and damage, clean up any spills promptly. Use a gentle, non-abrasive cleaner and a soft cloth or sponge to wipe away the spills.
- Avoid abrasive cleaners and tools: Harsh and abrasive cleaners can scratch or damage the surface of your countertops. Instead, use mild, non-abrasive cleaners that are specifically designed for your countertop material. Also, avoid using rough scouring pads or abrasive tools that can leave scratches.
- Use cutting boards and trivets: While many countertop materials are heat and scratch-resistant, it’s still advisable to use cutting boards and trivets to protect the surface from direct contact with sharp knives or hot pans. This will minimize the risk of scratches and heat damage.
- Use proper cleaning techniques: Follow the manufacturer’s recommendations for cleaning your specific countertop material. Use appropriate cleaning products and techniques to maintain its condition. Avoid using strong chemicals that can erode the sealer and damage the surface.
- Regularly reseal (if necessary): Some countertop materials, such as granite or marble, may require periodic resealing to maintain their protective barrier. Follow the manufacturer’s instructions or consult a professional to determine the frequency of resealing for your specific countertops.
- Avoid placing hot objects directly on the surface: While some countertop materials are heat-resistant, it’s best to use trivets or hot pads to protect the surface from direct heat. Placing hot pots, pans, or dishes directly on the countertops can cause heat damage or discoloration.
- Prevent scratches: Use cutting boards or mats when working with knives or other sharp objects. Avoid dragging heavy objects or abrasive materials across the countertops to prevent scratches.
- Regularly inspect for any damage: Periodically check your countertops for any signs of damage, such as chips, cracks, or loose edges. Address any issues promptly to prevent further damage or complications.
By following these maintenance and care tips, you can ensure that your countertops stay in pristine condition and maintain their beauty and functionality for years to come. Remember to refer to the specific guidelines for your countertop material and consult a professional if you have any concerns.
Conclusion
Upgrading your countertops can breathe new life into your space, adding style, functionality, and value to your home. By following the steps outlined in this guide, you can successfully navigate through the countertop upgrade process and achieve the desired results. From choosing the right countertop material to measuring the space, removing the old countertops, preparing the surface, and installing the new countertops, each step plays a crucial role in the overall success of the project.
Remember, proper care and maintenance are key to preserving the beauty and functionality of your countertops. Regular cleaning, using appropriate cleaning products and techniques, avoiding harsh chemicals and abrasive tools, and taking preventive measures can help extend the lifespan of your countertops and keep them looking their best.
Whether you opt for the timeless elegance of granite, the durability of quartz, or the warmth of butcher block, selecting the right countertop material that suits your needs and preferences is essential. Take your time to research and consider factors such as durability, maintenance requirements, and the overall aesthetic appeal that complements your space.
By investing in high-quality materials, following proper installation techniques, and maintaining your countertops with care, you can enjoy a beautiful and functional workspace that enhances your daily life and adds value to your home.
We hope this comprehensive guide has provided you with the information and insights you need to successfully upgrade your countertops. Now, let your creativity guide you as you embark on transforming your space with stunning new countertops!
Frequently Asked Questions about How To Upgrade Countertops
Was this page helpful?
At Storables.com, we guarantee accurate and reliable information. Our content, validated by Expert Board Contributors, is crafted following stringent Editorial Policies. We're committed to providing you with well-researched, expert-backed insights for all your informational needs.


0 thoughts on “How To Upgrade Countertops”