Articles
How To Upgrade Stairs
Modified: August 27, 2024
Learn the step-by-step process of upgrading stairs with our informative articles. Get expert tips and advice to give your stairs a fresh and modern look.
(Many of the links in this article redirect to a specific reviewed product. Your purchase of these products through affiliate links helps to generate commission for Storables.com, at no extra cost. Learn more)
Introduction
Welcome to our comprehensive guide on how to upgrade stairs! Whether you’re looking to revamp your staircase for aesthetic purposes or improve its functionality, this article will provide you with the step-by-step instructions you need to upgrade your stairs. From choosing the right materials to ensuring safety measures, we’ll cover everything you need to know to achieve the stairs of your dreams.
Your staircase is not just a functional element of your home; it’s also a key design feature that can significantly enhance the overall aesthetic appeal. By upgrading your stairs, you can transform a dull and outdated staircase into a stunning focal point that adds value to your home.
Before you dive into the stair upgrade project, it’s essential to familiarize yourself with the process and ensure you have the necessary tools and materials. This will help you tackle the project confidently and achieve the best possible results.
In the following sections, we’ll guide you through the steps required to upgrade your stairs, covering everything from the preparation stage to the finishing touches. So let’s get started on this exciting journey of transforming your stairs!
Key Takeaways:
- Upgrade your stairs with confidence by following step-by-step instructions, from preparing and choosing materials to installation and safety measures. Achieve a stunning and functional staircase that adds value to your home.
- Prioritize safety and style when upgrading your stairs. Implement key safety measures, such as handrails and proper lighting, to ensure a secure and aesthetically pleasing staircase for your home.
Preparing for the Stair Upgrade
Before you begin your stair upgrade project, it’s important to take the time to properly prepare. This includes gathering the necessary tools and materials, as well as measuring and assessing your current staircase.
The first step is to gather the tools and equipment you’ll need for the project. This may include a tape measure, a level, a circular saw, a jigsaw, a hammer, a pry bar, a drill, screws, and nails. Additionally, you may need safety equipment such as safety goggles, gloves, and a dust mask.
Next, take accurate measurements of your existing staircase, including the length, width, and height. This will help you determine the amount of materials you’ll need for the upgrade. It’s also important to inspect the condition of your stairs and identify any issues that need to be addressed before proceeding.
Once you have gathered your tools and assessed your staircase, it’s time to plan your stair upgrade. Consider the design and style you want to achieve, whether it’s a modern, traditional, or contemporary look. Research different stair designs and materials to help you make informed decisions.
If you’re unsure about the technical aspects of your stair upgrade, consider consulting with a professional contractor or designer. They can provide valuable insights, help you with the planning process, and ensure that your project meets safety codes and regulations.
Lastly, don’t forget to prepare your workspace. Clear the area around your staircase and remove any obstacles that may hinder the progress of your project. Protect nearby surfaces and furniture with drop cloths or plastic sheets to prevent damage.
By taking the time to properly prepare, you can ensure a smooth and successful stair upgrade project. Planning ahead, gathering the necessary tools, and creating a safe and organized workspace will set the foundation for a job well done.
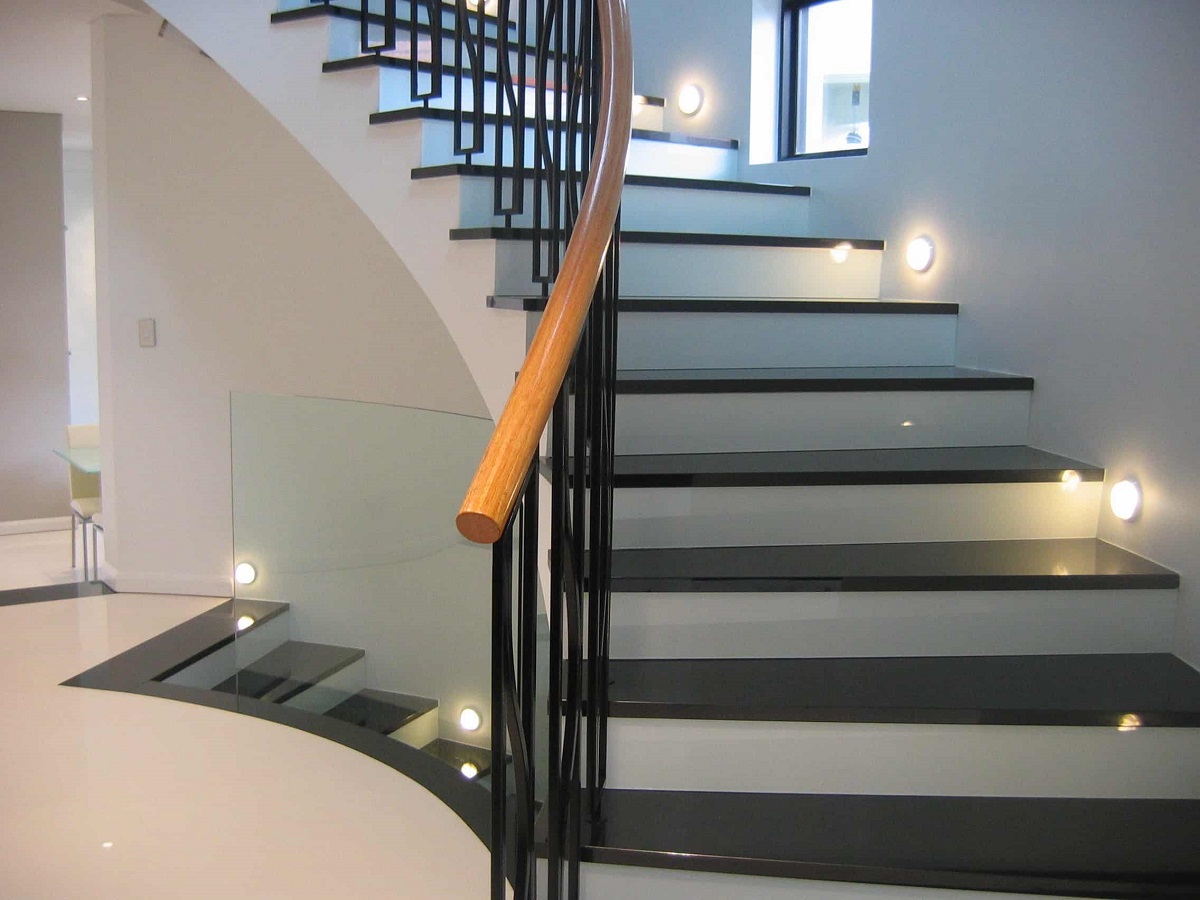
Choosing the Right Materials
When it comes to upgrading your stairs, selecting the right materials is essential for achieving the desired look and longevity of your staircase. The choice of materials will depend on your personal preferences, budget, and the overall style of your home.
One of the most popular materials for stair treads is hardwood, such as oak, maple, or walnut. Hardwood provides durability and a luxurious appearance, making it a timeless choice for stair upgrades. It is available in various finishes and stains, allowing you to match your stairs to the rest of your home’s interior.
If you’re looking for a more budget-friendly option, laminate or engineered wood treads can be a suitable alternative. These materials are designed to mimic the look of real wood while offering cost savings. They are also less prone to warping or shrinking, making them a practical choice in areas with high humidity.
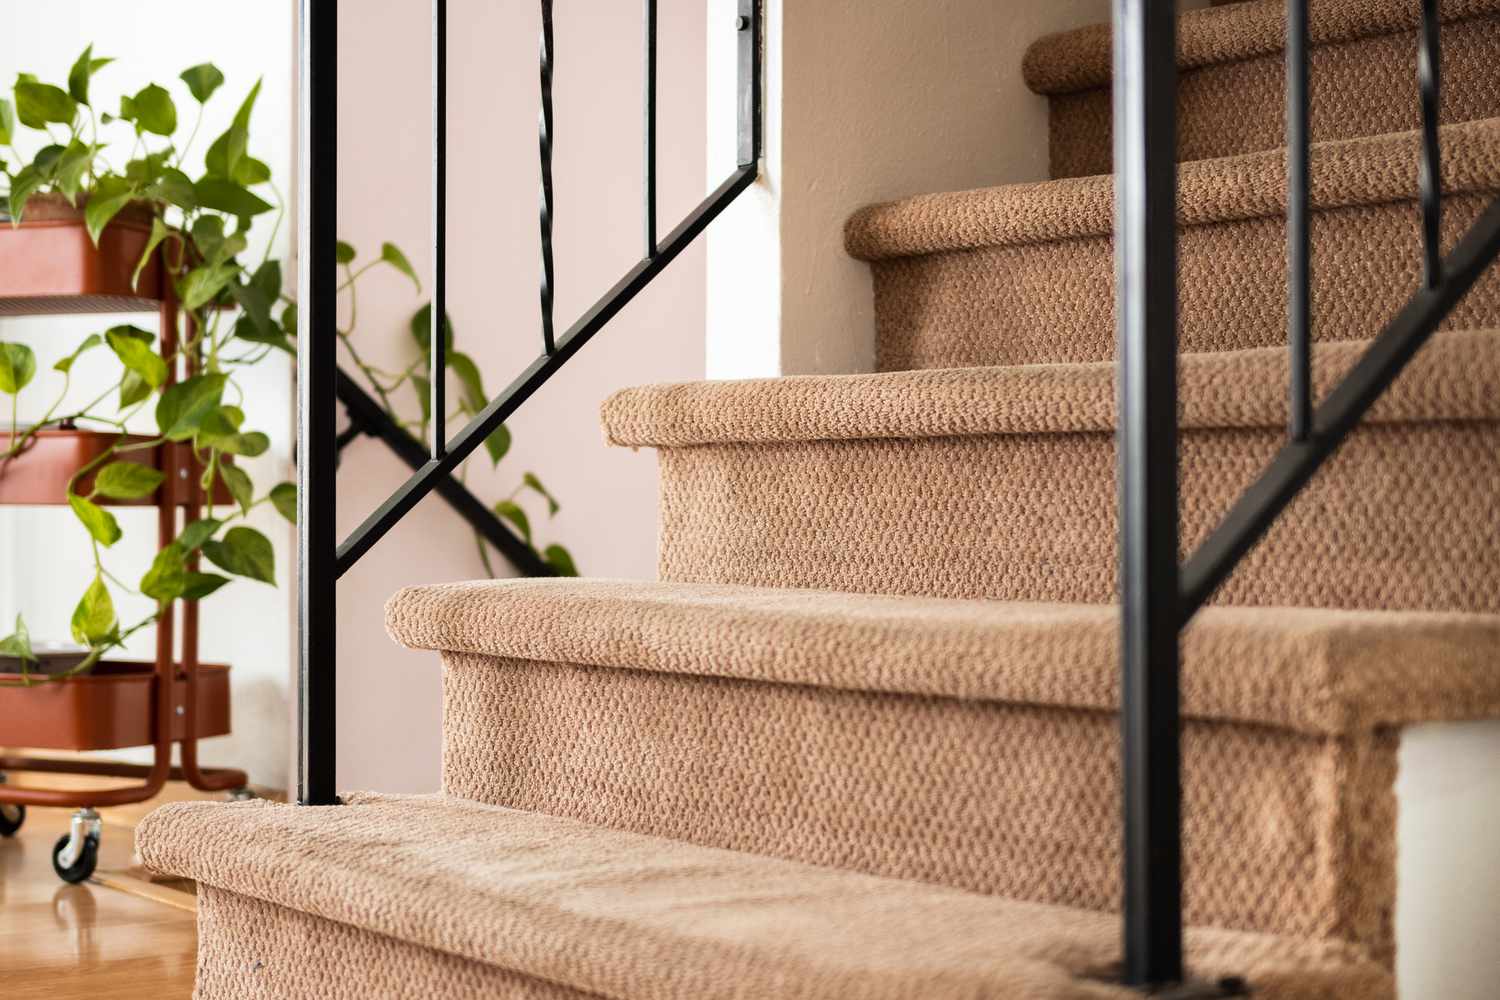
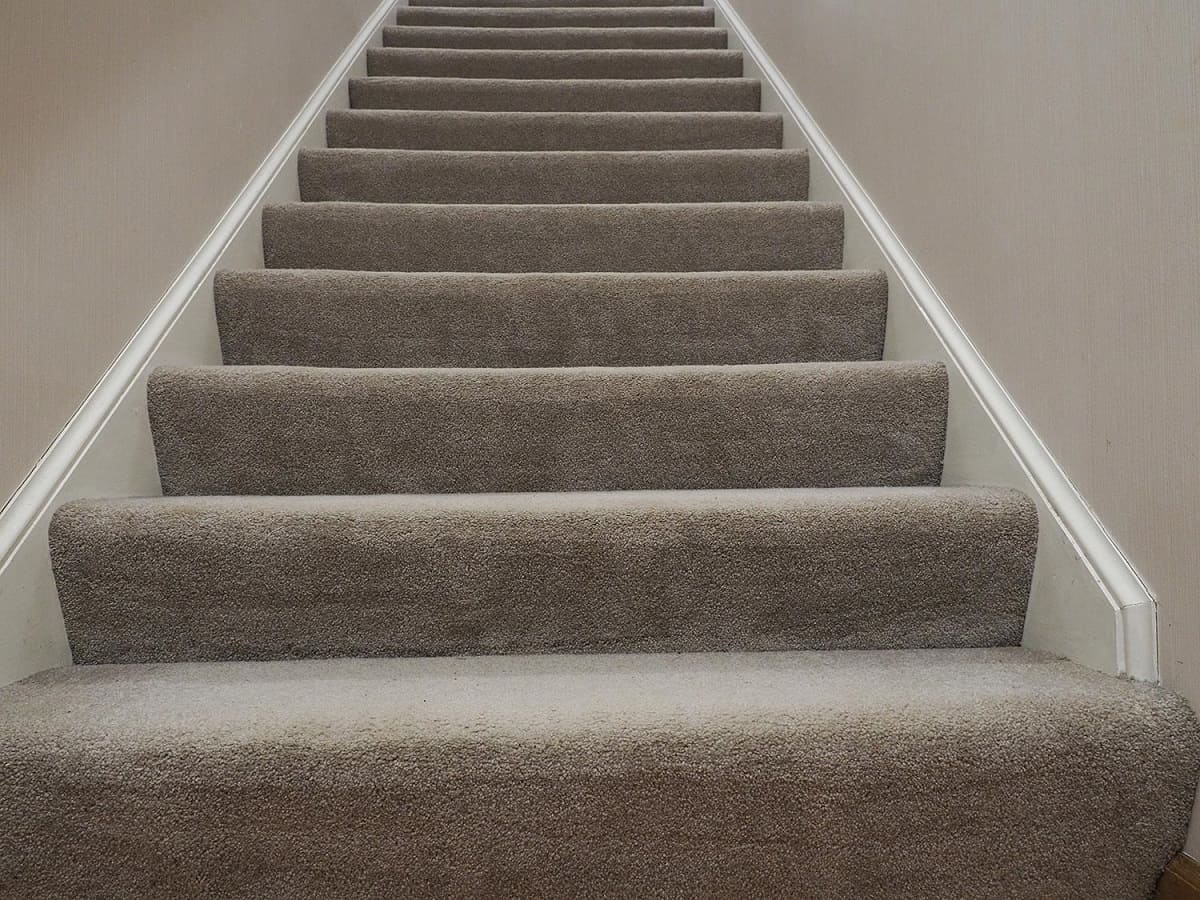
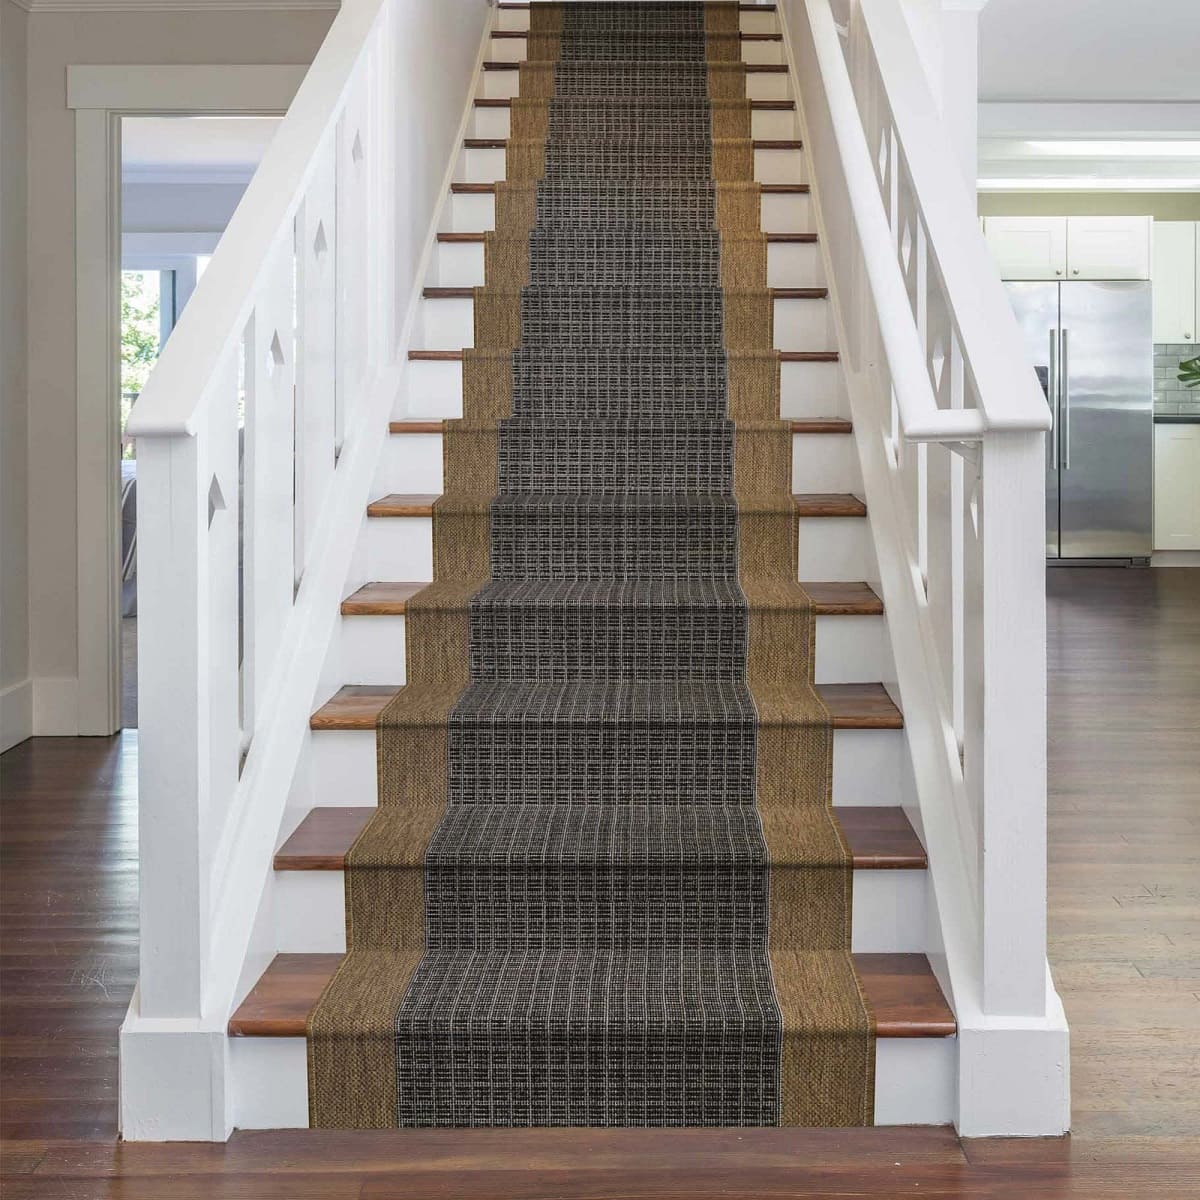
Another option to consider is carpeted stair treads. Carpet adds comfort, warmth, and noise reduction to your stairs. It comes in a wide range of colors, patterns, and textures, allowing you to add a touch of style to your staircase. However, keep in mind that carpet may require more maintenance and cleaning compared to hardwood or laminate treads.
In addition to stair treads, you’ll need to choose the material for your stair risers. Stair risers can be made of the same material as the treads or can be painted for a contrasting look. For a sleek and modern appearance, consider using metal or glass for your stair risers.
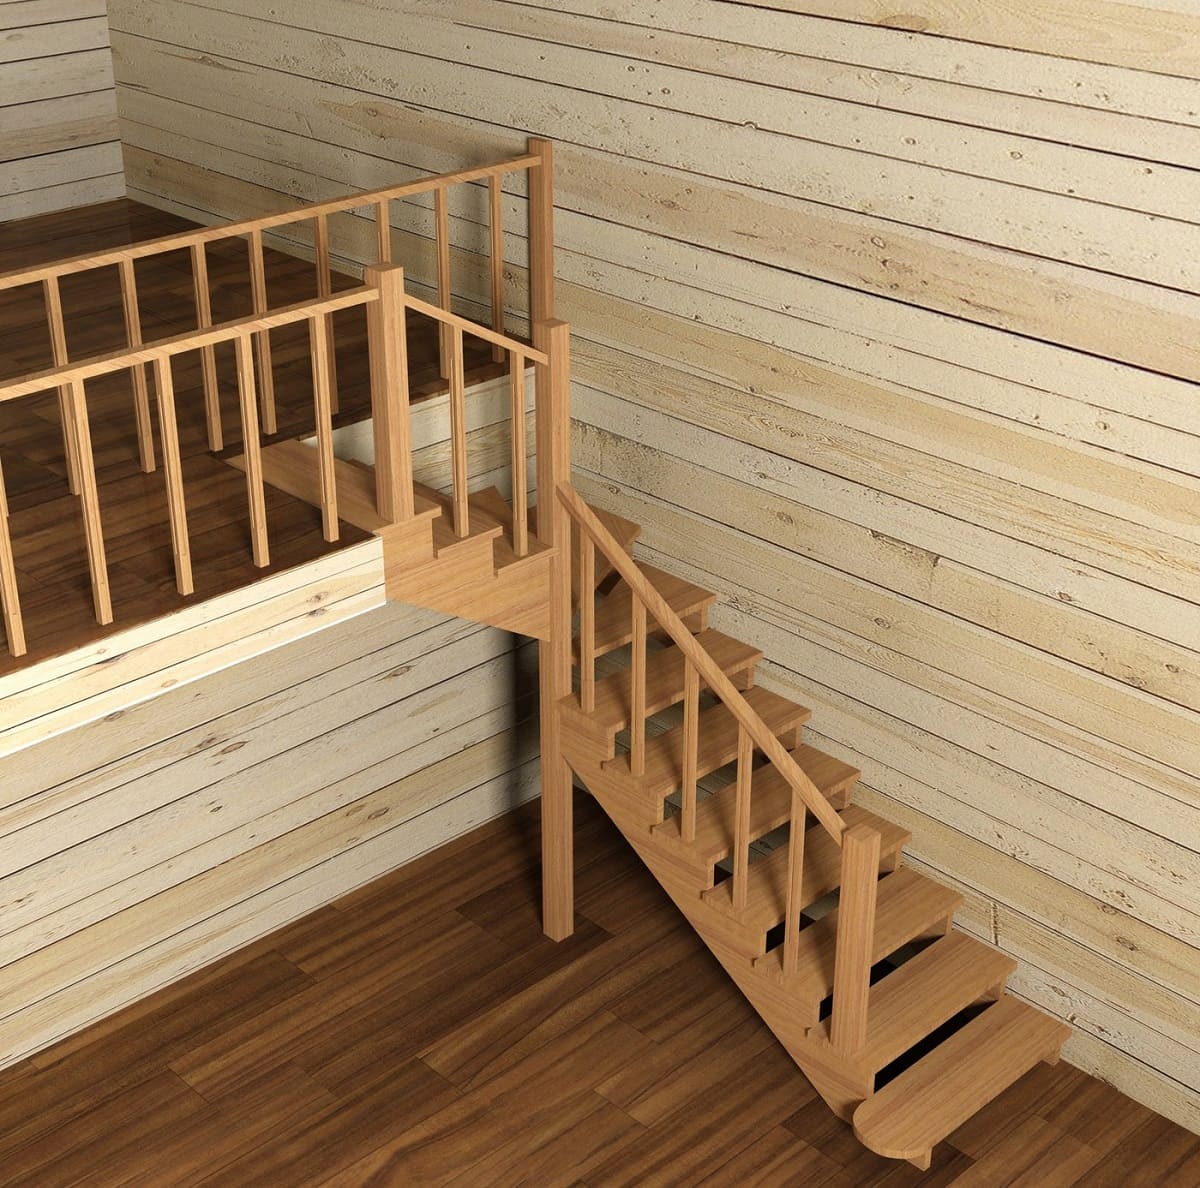
Lastly, don’t forget about the handrail and balusters. These components not only add safety but also contribute to the overall design of your staircase. Wood, metal, or a combination of both can be used to create a visually appealing handrail and baluster system that complements your stair upgrade.
When choosing materials, consider their durability, maintenance requirements, and compatibility with your home’s style. Take the time to explore different options and consult with professionals or suppliers to ensure you make informed decisions that align with your vision for a stunning stair upgrade.
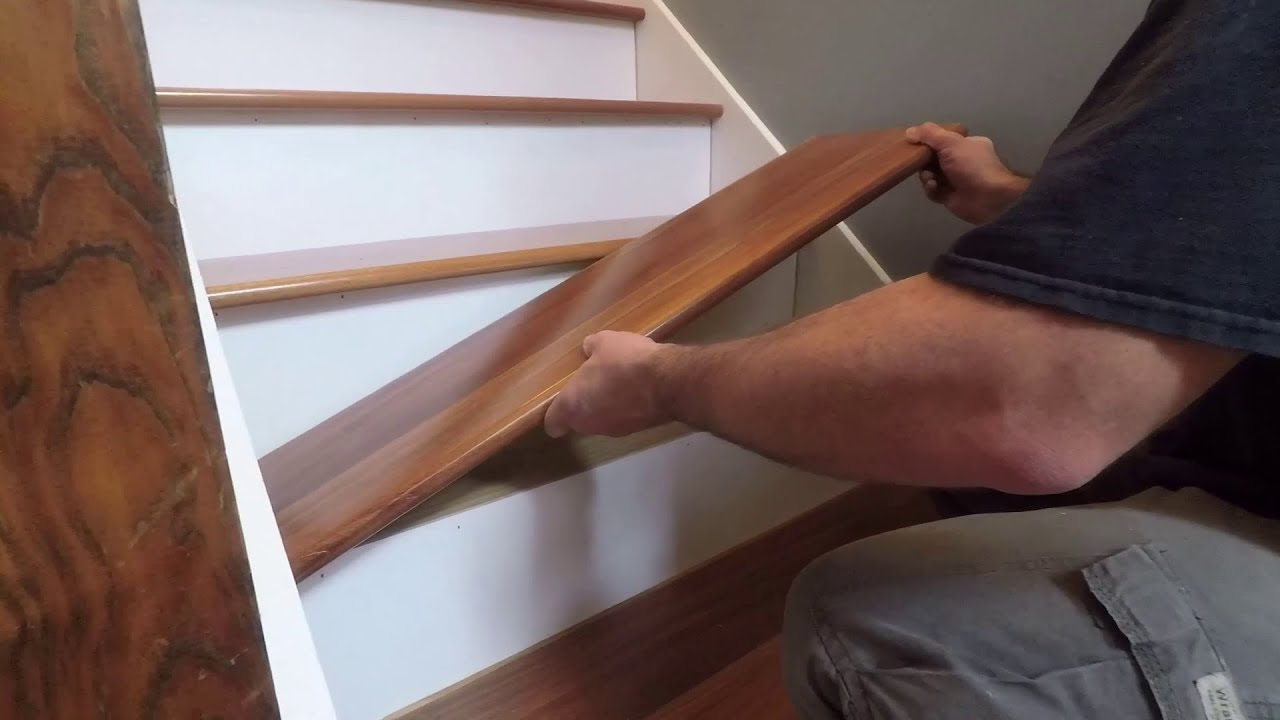
Removing the Existing Stair Treads
Once you have gathered all the necessary tools and selected the materials for your stair upgrade, the next step is to remove the existing stair treads. Removing the old treads is a crucial part of the process as it provides a clean and stable surface for installing the new treads.
Before you begin, ensure you have safety goggles, gloves, and a pry bar or hammer. Safety should always be a top priority when undertaking any home improvement project.
To start, use the pry bar or hammer to carefully remove the nosing or overhang on the existing treads. This is typically a small rounded edge on the front of each step. Gently pry it away from the riser to expose the tread and any screws or nails holding it in place.
Next, locate any screws or nails securing the treads to the stair stringers. This might require some exploration, as they can be hidden beneath carpeting or other materials. Once located, use a drill or hammer to remove them.
With the screws or nails removed, begin to pry up the old treads using the pry bar or hammer. Start at one end and work your way towards the other, being careful not to damage the stair stringers or risers in the process. If the treads are glued in place, apply gentle pressure to loosen them before lifting.
As you remove each tread, inspect the condition of the stair stringers and risers. Look for any signs of damage or wear that may need to be addressed before installing the new treads.
Once all the existing treads are removed, take the opportunity to clean the stair stringers and risers of any debris or adhesive residue left behind. This will provide a clean and smooth surface for the installation of the new treads.
Removing the existing stair treads can be a labor-intensive task, but it is an essential step in the stair upgrade process. By taking the time to carefully remove the old treads, you set the stage for a successful installation of the new treads, bringing you one step closer to your dream staircase.
Prepping the Stair Stringers
After removing the existing stair treads, the next step in upgrading your stairs is to prepare the stair stringers. The stair stringers are the angled supports that hold the treads in place and provide structural stability to the staircase.
Before you begin prepping the stair stringers, ensure that they are clean and free from any dust or debris from the previous step. This will provide a clean surface for any necessary repairs or modifications.
Inspect the stair stringers for any signs of damage, such as cracks or rot. If any issues are found, it’s important to address them before proceeding with the rest of the stair upgrade. Repair or replace any damaged sections to ensure the structural integrity of the staircase.
Next, measure and mark the positions for the new stair treads on the stair stringers. Place a tread on the first step, ensuring that it is centered and level. Use a pencil or marker to outline the edges of the tread onto the stair stringer. Repeat this process for all the remaining steps.
Once the tread positions are marked, it’s time to determine the rise and run of the stairs. The rise is the vertical distance between each step, while the run is the horizontal distance. Check the local building codes or consult with a professional to ensure your stairs comply with safety regulations.
Using a level and a straight edge, mark a guideline for the rise and run on each stair stringer. This will help you ensure that each new tread is properly aligned and that the stairs are comfortable to walk on.
Finally, double-check all measurements and markings before proceeding to install the new stair treads. Accurate preparation of the stair stringers is crucial for a smooth and successful stair upgrade project.
By taking the time to properly prep the stair stringers, you are setting the foundation for a safe and stable staircase. Ensure that any necessary repairs are made and that the rise and run of the stairs are well-planned. With the stair stringers prepped, you’re ready to move on to the next step of installing the new stair treads.
Consider using materials such as hardwood, laminate, or carpet for a durable and attractive stair upgrade. Make sure to measure and cut the materials accurately for a professional finish.
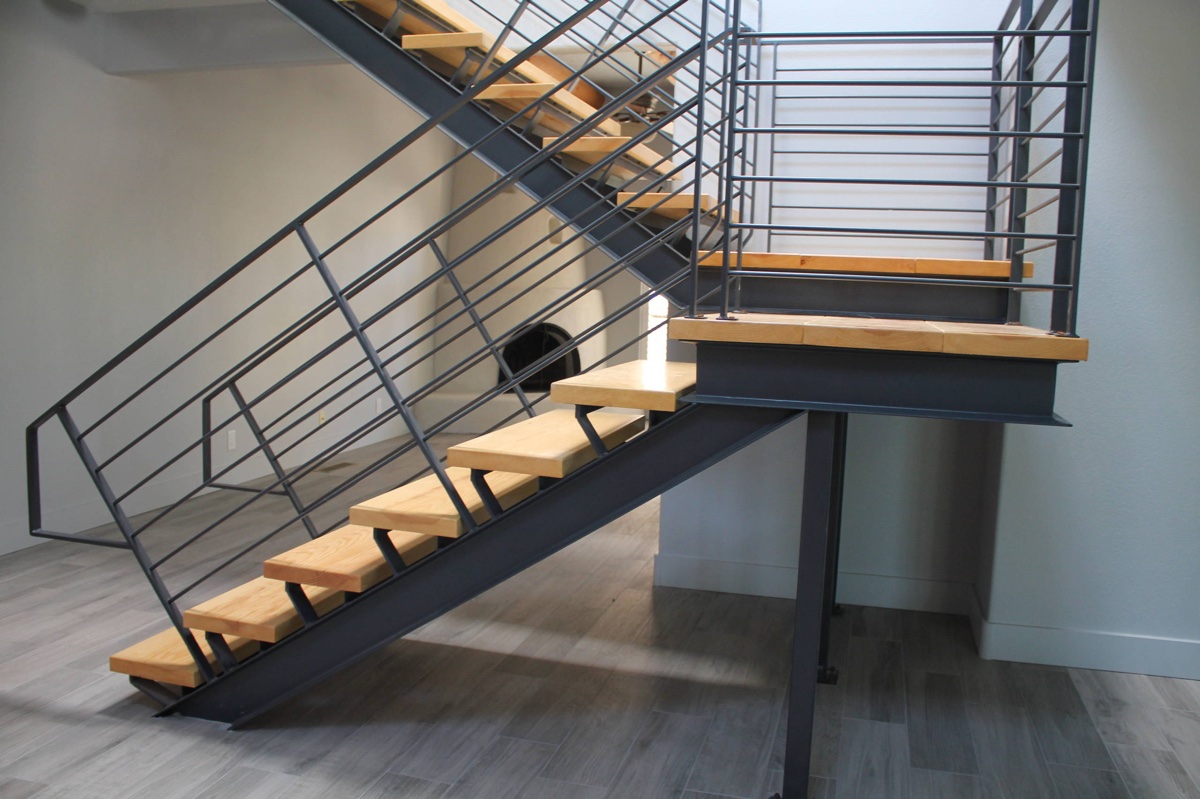
Installing the New Stair Treads
With the stair stringers prepped and ready, it’s time to move on to installing the new stair treads. This is the exciting part where you will see your staircase transformation come to life.
Before you begin, ensure that you have all the necessary materials and tools at hand. This may include the new stair treads, screws or nails, a drill, a circular saw, a tape measure, a level, and a pencil.
Start by placing the first new stair tread on the bottom step, aligning it with the guidelines you marked on the stair stringers. Ensure that it is centered and level. Use a pencil to mark the locations where the tread will be secured to the stringers.
Once marked, use a drill to create pilot holes in the marked locations. This will prevent the wood from splitting when you drive in the screws or nails.
Next, secure the tread to the stair stringers using screws or nails. Make sure they are long enough to go through the tread and into the stringer securely. Use a drill or hammer to drive the fasteners in, ensuring the tread is firmly attached.
Repeat this process for each stair tread, working your way up the staircase. Double-check the alignment and levelness of each tread before securing it in place.
If the new stair treads are larger than the previous ones, you may need to trim them to fit properly. Use a circular saw to trim the treads to the desired size, following the guidelines you marked on the stair stringers.
As you install each new stair tread, ensure that there are no gaps or unevenness between the treads. Use a level to check for any discrepancies and make adjustments as needed.
Continue installing the new stair treads until you reach the top step. Take your time to ensure each tread is securely fastened and aligned correctly.
Once all the new stair treads are installed, step back and admire your work. You’ve successfully completed the installation of the new stair treads, bringing your staircase one step closer to its upgraded and refreshed appearance.
Installing the new stair treads not only enhances the visual appeal of your staircase but also improves its safety and functionality. Take your time during the installation process to ensure accuracy and precision for the best results.
Securing the Stair Risers
After successfully installing the new stair treads, it’s time to secure the stair risers. The stair risers are the vertical boards that go between the steps and provide support and stability to the staircase.
Before you begin, make sure you have the necessary materials and tools ready, including the stair riser boards, screws or nails, a drill, a measuring tape, a level, and a pencil.
Start by placing the first stair riser board against the bottom step, ensuring that it is flush against the tread above it. Use a level to ensure it is plumb and straight. Mark the locations where the riser will be secured to the stringers with a pencil.
Next, use a drill to create pilot holes in the marked locations on the stair stringers. This will prevent the wood from splitting when you drive in the screws or nails.
Secure the stair riser board to the stringers using screws or nails. Make sure they are long enough to go through the riser and into the stringer securely. Use a drill or hammer to drive the fasteners in, ensuring the riser is firmly attached.
Repeat this process for each stair riser, working your way up the staircase. Double-check the alignment and levelness of each riser before securing it in place.
If the stair riser boards are taller than the previous ones, you may need to trim them to fit properly. Use a saw to trim the risers to the desired height, ensuring they align with the treads and create a uniform appearance.
As you secure each stair riser, ensure that there are no gaps or unevenness between the risers and the treads. Use a level to check for any discrepancies and make adjustments as needed.
Continue securing the stair risers until you reach the top of the staircase. Take your time to ensure each riser is securely fastened and aligned correctly.
Once all the stair risers are securely installed, step back and admire your work. You’ve successfully completed the installation of the stair risers, adding another layer of stability and visual appeal to your upgraded staircase.
Securing the stair risers not only improves the overall look of your staircase but also enhances its safety and durability. Take your time during the installation process to ensure each riser is properly aligned and secured for long-lasting results.
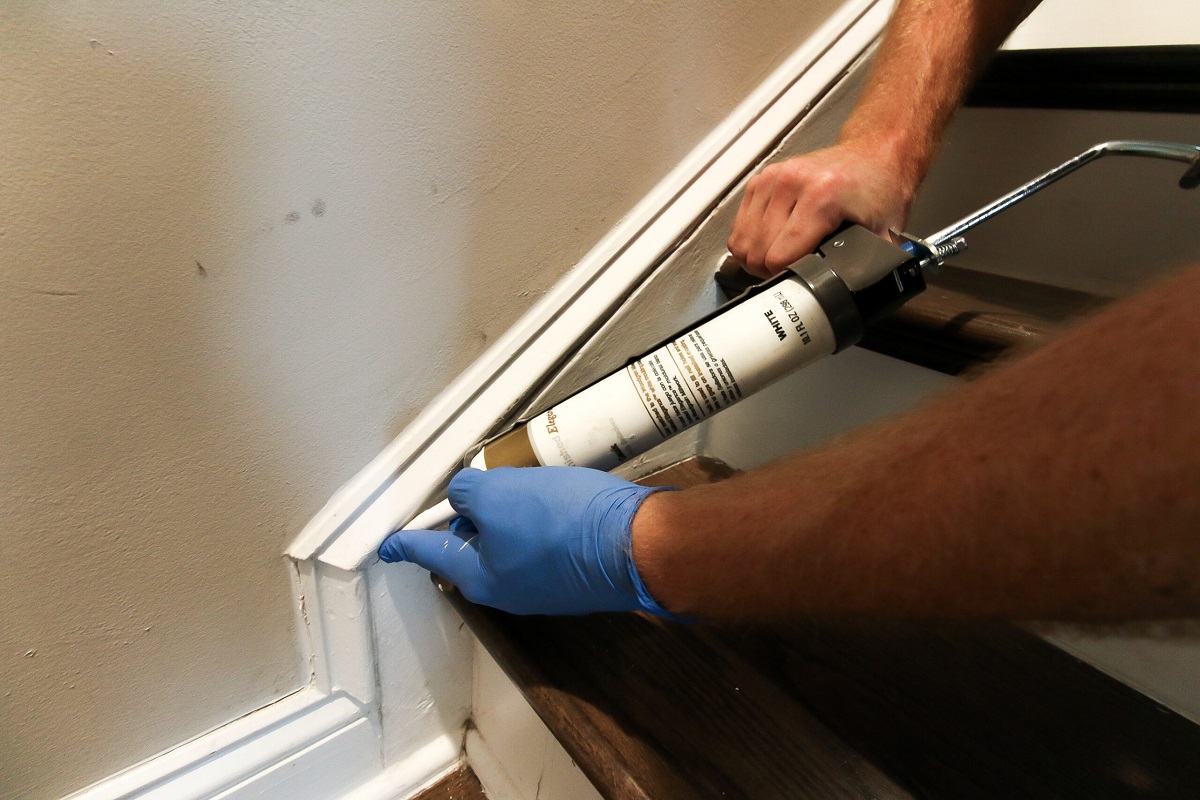
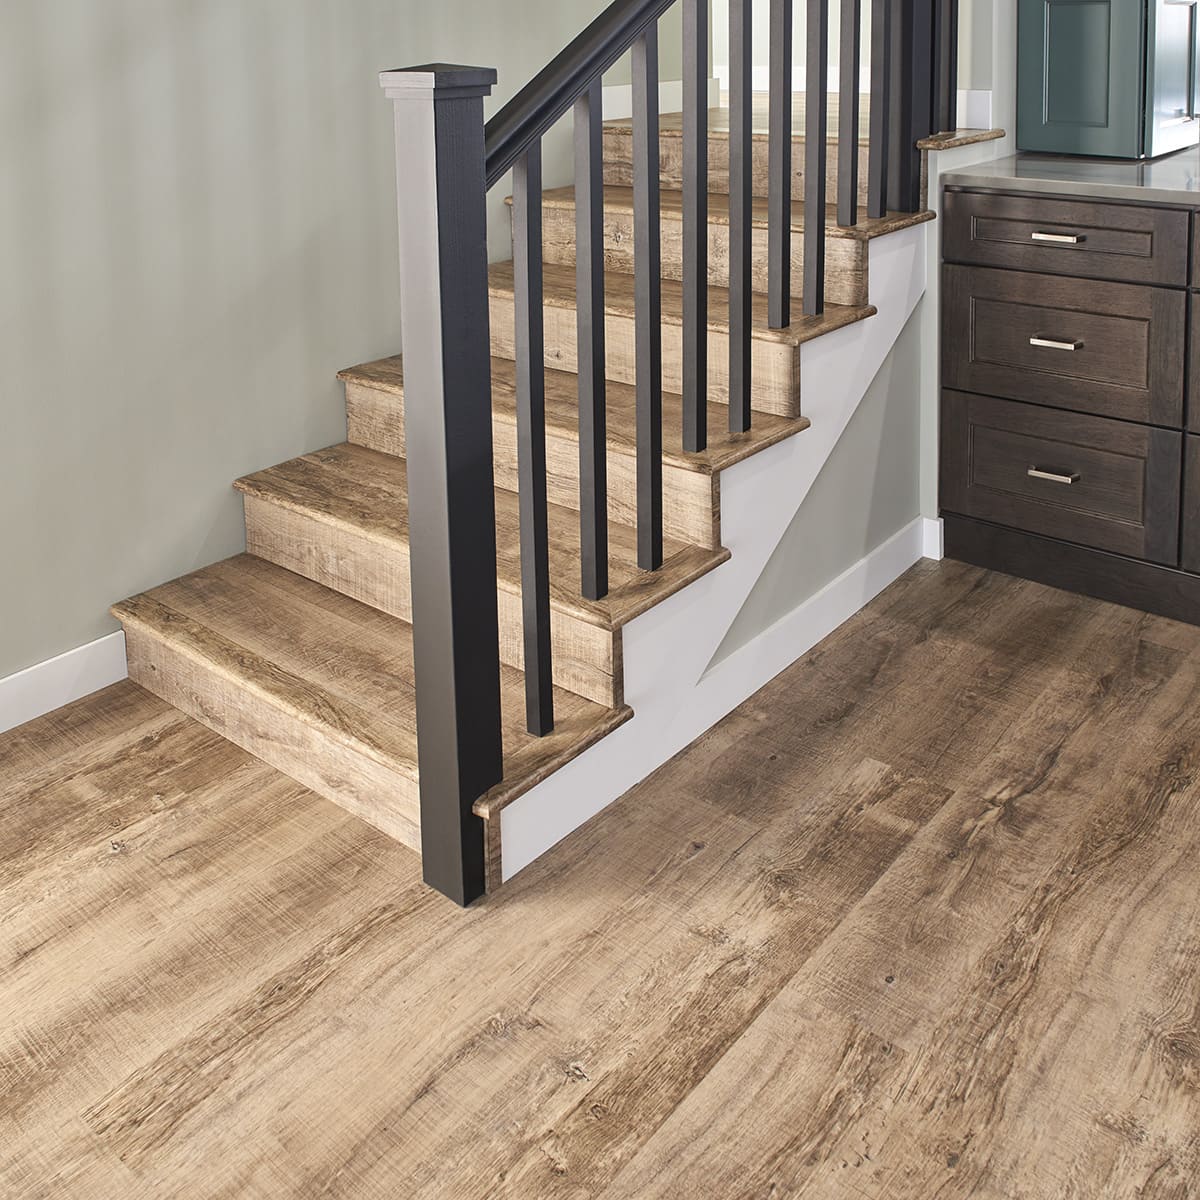
Applying Finish to the Stairs
With the stair treads and risers securely in place, it’s time to apply a finish to your stairs. Applying a finish not only enhances the appearance of the wood but also protects it from wear and tear, ensuring the longevity of your stair upgrade.
Before you begin, make sure you have selected the appropriate finish for your staircase. There are various options to choose from, including wood stain, paint, or clear sealant. Consider the style of your home and the desired look for your stairs when making your selection.
If you choose to apply a wood stain, start by preparing the surface of the stairs. Use sandpaper or a sanding block to smooth any rough edges, ensuring a clean and even surface. Sanding will also help remove any imperfections and provide better adhesion for the stain.
After sanding, remove any dust or debris from the stairs using a vacuum cleaner or a soft brush. This step is crucial to ensure a smooth and flawless finish.
Next, apply the wood stain according to the manufacturer’s instructions. Use a brush or a rag to evenly distribute the stain on the staircase, following the grain of the wood. Allow the stain to penetrate the wood and dry completely before applying additional coats if desired.
If you opt for paint, the process is similar. Prepare the surface of the stairs by sanding and cleaning as mentioned earlier. Apply a primer to ensure good paint adhesion, then follow with the chosen paint color. Use a brush or roller to apply the paint in even strokes, allowing each coat to dry before applying the next.
If you prefer a clear sealant, such as polyurethane, the process is slightly different. Apply the sealant using a brush or a roller, making sure to cover the entire surface of the stairs, including the treads and risers. Allow the sealant to dry between coats, and apply multiple coats as necessary for optimal protection.
Remember to follow all safety precautions when working with stains, paints, or sealants. Ensure adequate ventilation in the area and wear appropriate protective gear such as gloves and a mask.
Once the finish has dried completely, take a step back and admire your beautifully finished stairs. The application of a finish not only adds a touch of elegance but also protects your staircase, making it more resistant to scratches, spills, and everyday wear and tear.
Keep in mind that regular maintenance may be required to keep your stairs looking their best. This may include periodic reapplication of the finish or touch-ups to any areas that may become damaged over time.
By applying a finish to your stairs, you are putting the final touch on your stair upgrade, elevating the overall appearance and ensuring the longevity of your beautiful staircase.
Enhancing Safety Measures
When upgrading your stairs, it’s crucial to prioritize safety to ensure a secure and hazard-free staircase. By taking the necessary precautions and implementing safety measures, you can provide peace of mind for yourself and anyone using the stairs in your home.
Here are some key safety measures to consider when upgrading your stairs:
- Handrails: Install sturdy handrails on both sides of the staircase. Handrails provide stability and support while ascending and descending the stairs. Make sure the handrails are securely fastened and at a comfortable height.
- Balusters: Consider adding balusters or spindles between the handrail and the stair treads. Balusters help prevent falls and keep children and pets from slipping through the gaps.
- Traction: Enhance traction on the stair treads by using materials that reduce the risk of slipping. Consider using non-slip adhesive strips or applying a non-slip stair tread covering.
- Proper Lighting: Ensure that the staircase area is well lit to improve visibility and reduce the risk of tripping or falling. Install sufficient lighting on the stairs themselves and in the surrounding areas.
- Avoiding Clutter: Keep the staircase area clear of any obstructions or clutter. Loose objects, shoes, or personal belongings on the stairs can pose a tripping hazard.
- Consistent Tread Size: Maintain consistent tread size and height throughout the staircase to promote a uniform walking rhythm and reduce the risk of tripping. Irregularly sized stairs can be a safety hazard.
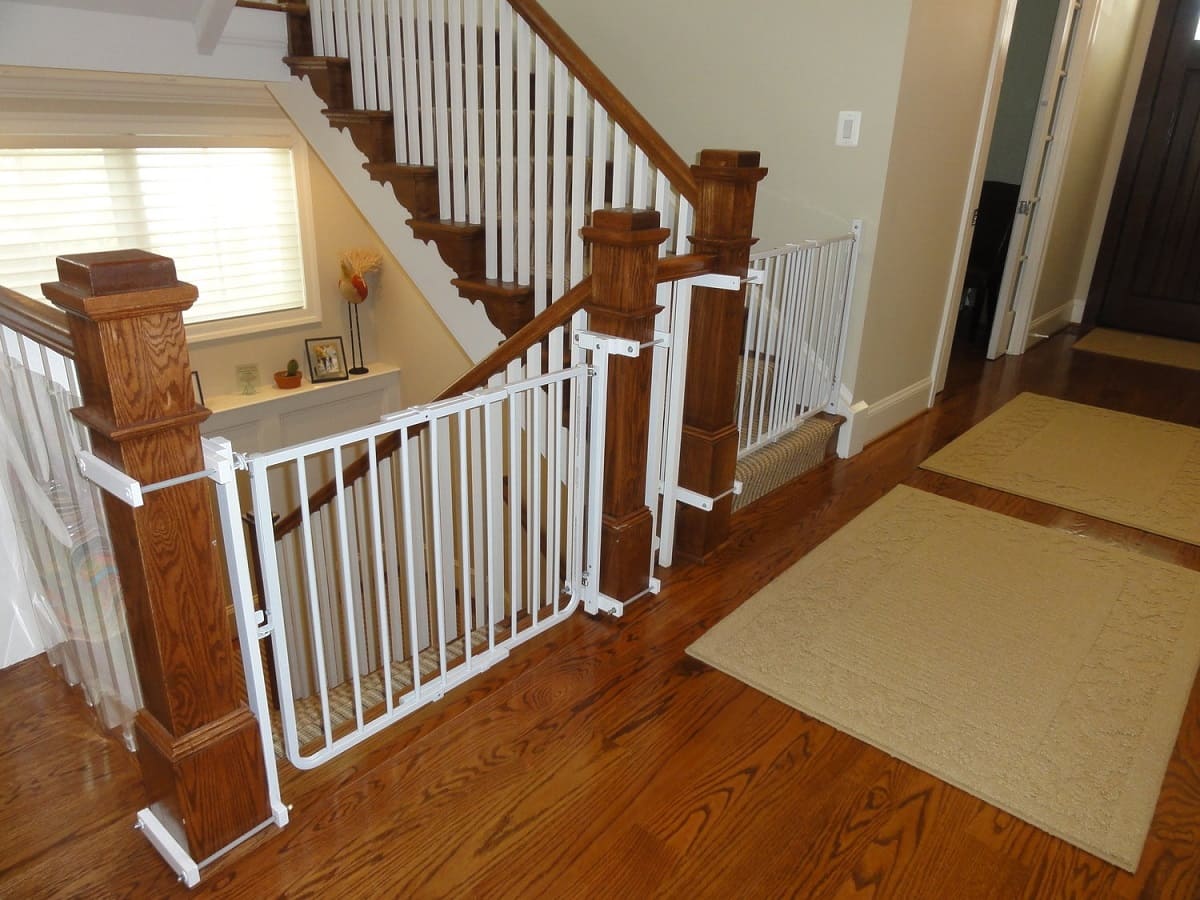
- Childproofing: If you have young children in your home, consider installing child safety gates at the top and bottom of the stairs to prevent accidental falls.
- Regular Maintenance: Regularly inspect and maintain your upgraded stairs to address any potential hazards. Check for loose handrails or balusters, uneven treads, or damaged surfaces, and repair them promptly.
By implementing these safety measures, you can ensure that your upgraded stairs not only look aesthetically pleasing but also provide a safe and secure environment for everyone in your household.
Remember, safety should always be a priority when it comes to stairs. If you have any concerns or questions about the safety of your staircase, consider consulting with a professional for guidance and expert advice.
With proper safety measures in place, you can enjoy your upgraded stairs with confidence, knowing that you have taken steps to create a safe and stylish staircase in your home.
Read more: How To Layout Stairs
Conclusion
Congratulations! You have reached the end of our comprehensive guide on how to upgrade stairs. By following the steps outlined in this article, you have learned how to transform your staircase into a focal point that enhances the overall aesthetic appeal of your home.
From preparing for the stair upgrade to selecting the right materials, removing the existing stair treads, prepping the stair stringers, installing the new stair treads, securing the stair risers, applying a finish, and enhancing safety measures, each stage of the stair upgrade process plays a crucial role in achieving a successful and beautiful staircase.
Remember to strive for a balance between functionality and style when selecting materials and finishes. Prioritize safety by adding handrails, balusters, and non-slip measures to ensure a secure staircase for all users.
Throughout the process, it’s essential to pay attention to detail and take your time to ensure accuracy and precision. If you encounter any challenges or are unsure about certain steps, consider seeking guidance from professionals or experts in the field.
Your stair upgrade is a testament to your creativity and dedication in enhancing the look and functionality of your home. Enjoy the satisfaction of a job well done and the admiration from family and friends as they ascend your beautifully upgraded stairs.
Remember to maintain your upgraded stairs by regularly inspecting and addressing any issues that may arise. With proper care and maintenance, your enhanced staircase will continue to bring joy and add value to your living space for years to come.
Thank you for choosing our guide as a resource for your stair upgrade project. We hope that the information provided has been helpful and that your stair upgrade brings you immense satisfaction and pride. Happy upgrading!
Frequently Asked Questions about How To Upgrade Stairs
Was this page helpful?
At Storables.com, we guarantee accurate and reliable information. Our content, validated by Expert Board Contributors, is crafted following stringent Editorial Policies. We're committed to providing you with well-researched, expert-backed insights for all your informational needs.


0 thoughts on “How To Upgrade Stairs”