Articles
How To Paint A Stove Top
Modified: October 28, 2024
Learn how to paint your stove top with our informative articles. Transform your kitchen and give your stove a fresh new look.
(Many of the links in this article redirect to a specific reviewed product. Your purchase of these products through affiliate links helps to generate commission for Storables.com, at no extra cost. Learn more)
Introduction
Welcome to this comprehensive guide on how to paint a stove top. Over time, stove tops can become worn, discolored, or outdated, making your kitchen look less than desirable. However, instead of investing in a brand new stove, you can give your current stove top a fresh new look by applying a coat of paint. This cost-effective and creative solution allows you to transform your kitchen while staying within budget.
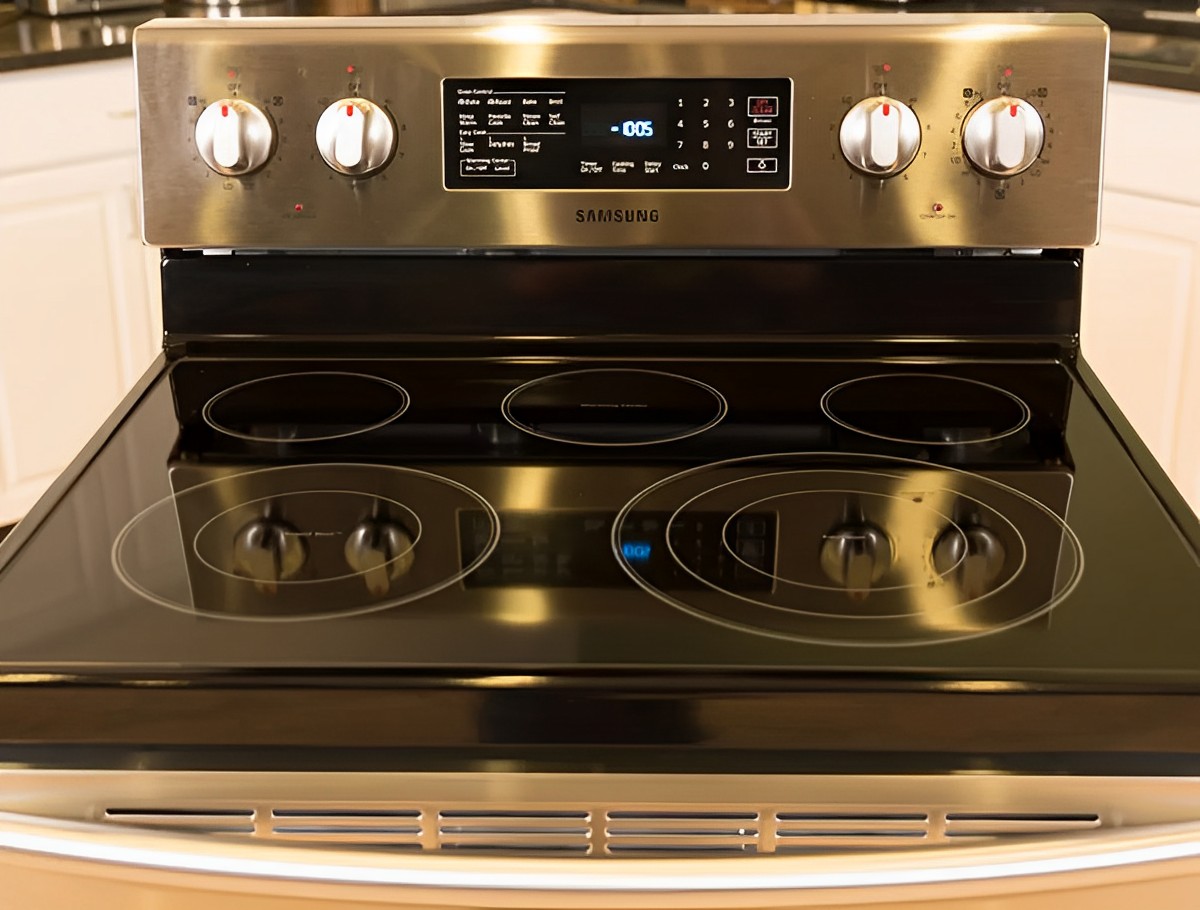
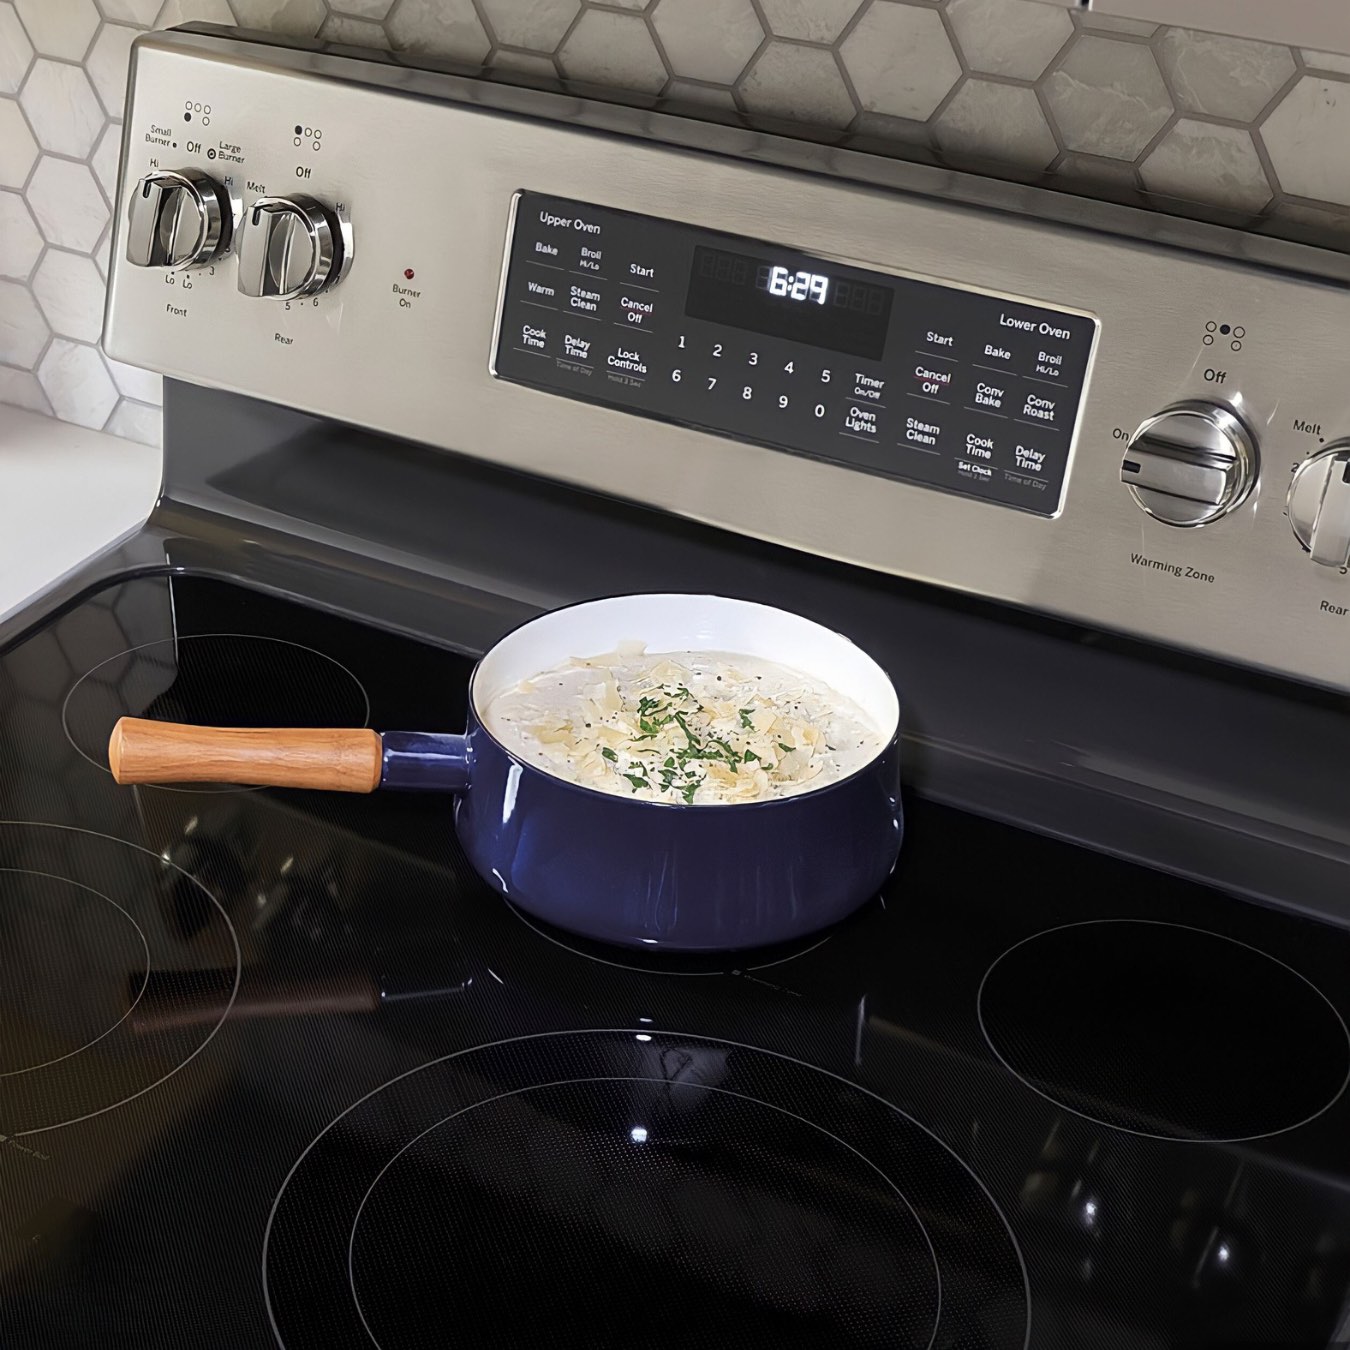
Before we dive into the process of painting a stove top, it’s important to note that this method is suitable for stove tops made of durable materials such as ceramic, porcelain, or enamel. It is not recommended for stovetops made of stainless steel or glass.
Materials Needed:
- Painter’s tape
- Sandpaper (medium and fine grit)
- Clean, lint-free cloth
- Primer specifically formulated for high-temperature surfaces
- Heat-resistant appliance paint
- Paintbrush or foam roller
- A well-ventilated area or a fan for ventilation
- Protective gloves and goggles
Now, let’s get started with the step-by-step process of painting your stove top.
Key Takeaways:
- Transform your kitchen on a budget by painting your stove top with the right materials and techniques. Enjoy a fresh, stylish centerpiece with careful preparation and attention to detail.
- Achieve a durable and attractive stove top finish by following step-by-step instructions, from surface preparation to proper curing. Exercise caution during use and perform regular maintenance for long-lasting results.
Read more: How To Make A Stove Top Distiller
Materials Needed
Before painting your stove top, gather the following materials to ensure a smooth and successful project:
- Painter’s tape: This will be used to mask off the surrounding areas of the stove top that you don’t want to paint. Make sure to choose a tape that is safe to use on painted surfaces.
- Sandpaper (medium and fine grit): Sandpaper will help to create a rough surface on the stove top, allowing the paint to adhere better. Start with a medium grit sandpaper to remove any existing finish or imperfections, and then follow up with a fine grit sandpaper for a smoother surface.
- Clean, lint-free cloth: Use a lint-free cloth to thoroughly clean the stove top before painting. This will ensure that no dirt, grease, or dust particles interfere with the paint application.
- Primer specifically formulated for high-temperature surfaces: It is crucial to use a primer that is designed to withstand high temperatures to prevent the paint from bubbling or peeling off. Look for a primer that is compatible with the type of stove top material you have, such as ceramic or porcelain.
- Heat-resistant appliance paint: Choose a paint that is specially formulated for use on high-temperature surfaces. This type of paint is typically available in a range of colors to suit your kitchen’s aesthetic.
- Paintbrush or foam roller: Use a paintbrush or foam roller to apply the primer and paint onto the stove top. The choice between a brush or roller depends on personal preference and the type of finish you desire.
- A well-ventilated area or a fan for ventilation: Painting in a well-ventilated area is essential to ensure proper air circulation and minimize the inhalation of fumes. If your kitchen doesn’t have good ventilation, consider using a fan to improve airflow.
- Protective gloves and goggles: It is important to protect your hands and eyes while working with paint and chemicals. Wear gloves to avoid skin irritation and goggles to prevent any splatters or drips from affecting your eyes.
By gathering these materials, you’ll be prepared to tackle your stove top painting project successfully. In the following sections, we will guide you through the step-by-step process of preparing and painting your stove top.
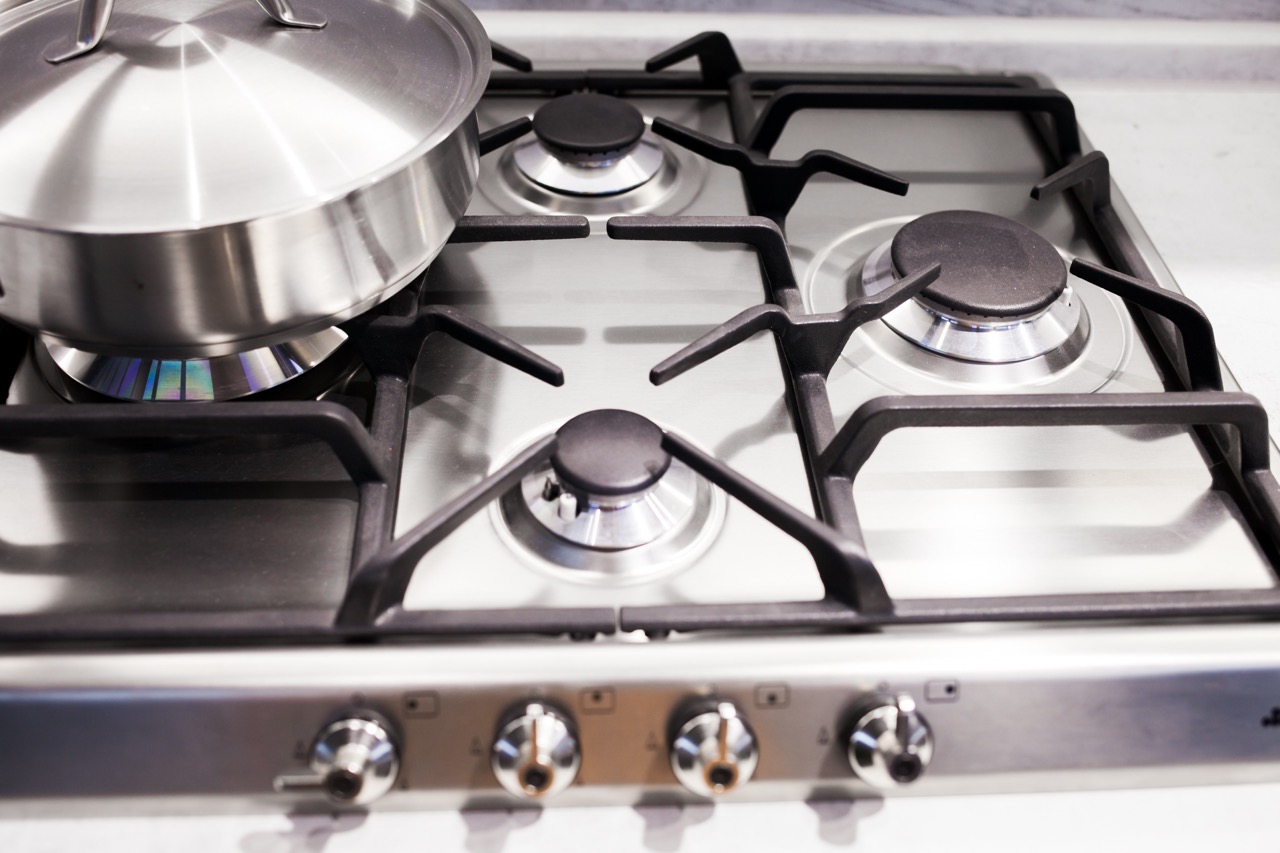
Preparing the Stove Top
Before you begin painting your stove top, it is crucial to properly prepare the surface to ensure the paint adheres well and provides a long-lasting finish. Follow these steps to prepare your stove top:
- Turn off and disconnect the stove: Start by turning off the stove and disconnecting it from the power source. This will ensure your safety during the painting process.
- Remove any removable parts: Take off all removable parts from the stove top, such as burner grates, knobs, and drip pans. This will allow you to have full access to the surface and ensure an even paint application.
- Clean the stove top: Use a clean, lint-free cloth to thoroughly clean the stove top. Remove any dirt, grease, or food residues that might be present. You can also use a mild detergent mixed with warm water for stubborn stains. Make sure to rinse and dry the surface completely.
- Sand the surface: Use medium-grit sandpaper to create a rough surface on the stove top. Gently sand the surface, focusing on areas with existing finishes or imperfections. This step will help the primer and paint adhere better to the stove top. After sanding, wipe away any dust with a clean cloth.
- Inspect for damage: Carefully inspect the stove top for any deep scratches, chips, or cracks. If you notice any significant damage, it is recommended to repair or replace the stove top before proceeding with the painting process.
Properly preparing the surface of your stove top is essential to ensure a successful painting project. By following these steps, you will create a clean, rough surface that allows the primer and paint to adhere correctly. In the next section, we will guide you through masking off the surrounding areas to protect them from paint splatters.
Masking Off the Surrounding Areas
Before you start applying primer and paint to your stove top, it is important to protect the surrounding areas from accidental paint splatters or drips. Follow these steps to effectively mask off the surrounding areas:
- Remove nearby objects: Clear the immediate area around the stove top by removing any objects, utensils, or decorations that could get in the way.
- Use painter’s tape: Apply painter’s tape along the edges of the stove top, covering any areas that you don’t want to paint. This will include the edges of the countertop and backsplash, as well as any controls or buttons on the stove itself. Make sure to press the tape down firmly to ensure it adheres well.
- Cover the stove: To protect the burners and other exposed areas of the stove, cover them with plastic sheets or newspaper. Use painter’s tape to secure the coverings in place, making sure they are completely sealed to prevent any paint from seeping through.
- Protect the floor: Lay down a drop cloth or old sheets on the floor surrounding the stove to catch any potential drips or spills. This will protect your flooring from accidental paint damage.
- Ventilate the area: Ensure that the area is well-ventilated by opening windows and using fans to promote airflow. This will help to dissipate any paint fumes and create a more comfortable working environment.
By masking off the surrounding areas, you can focus on painting the stove top without worrying about getting paint on unintended surfaces. Taking these precautions will maintain the cleanliness and integrity of your kitchen while undertaking this project. Now, let’s move on to the next steps of applying primer and paint to transform your stove top.
Applying Primer
Once you have properly prepared the stove top and masked off the surrounding areas, it’s time to apply a primer. The primer creates a smooth and durable base, ensuring better paint adhesion and a more professional-looking finish. Follow these steps to apply the primer:
- Read the instructions: Carefully read the instructions provided by the manufacturer of the primer to ensure the best results. Different primers may have varying application techniques and drying times.
- Shake the primer: Shake the primer can vigorously for a few minutes to ensure that the contents are well-mixed. This will help to achieve a consistent coverage when applying the primer.
- Apply the primer: Using a paintbrush or foam roller, apply an even coat of primer to the stove top surface. Start from one side and work your way across, ensuring that you cover the entire surface. Apply the primer with smooth and steady strokes, avoiding excessive brushing or rolling to prevent any drips or streaks.
- Allow the primer to dry: Follow the instructions provided by the manufacturer to determine the drying time of the primer. Generally, it takes around 1-2 hours for the primer to dry, but this can vary depending on the product and environmental conditions.
- Sand the dried primer: Once the primer is completely dry, lightly sand the surface using fine-grit sandpaper. This step helps to create a smooth and even surface for the paint application. After sanding, wipe away any dust with a clean cloth.
- Inspect the primed surface: Take a close look at the primed surface to ensure that it is smooth and without any imperfections. If needed, you can apply another coat of primer and repeat the sanding process.
By applying a primer, you create a strong foundation for the paint and ensure a longer-lasting finish on your stove top. Once the primer has dried and been inspected, you are ready to move on to the next step – applying the paint. We’ll cover this in detail in the following section.
When painting a stove top, use high-heat paint specifically designed for this purpose to ensure durability and safety. Clean the surface thoroughly before applying the paint to ensure proper adhesion.
Read more: How To Clean A Smooth Top Range Or Cooktop
Applying Paint
Once the primer has dried and the surface of your stove top has been prepared, it’s time to apply the paint. The paint will give your stove top a fresh new look and protect it from heat and daily wear and tear. Follow these steps to achieve a smooth and professional paint application:
- Choose the right paint: Select a high-quality paint that is specifically formulated for high-temperature surfaces. Look for paints labeled as heat-resistant or appliance paint. These types of paints are designed to withstand the heat generated by stoves.
- Stir the paint: Before you begin, thoroughly stir the paint to ensure an even consistency. This will help avoid any clumps or lumps that may affect the finish.
- Apply the paint: Using a clean paintbrush or foam roller, start applying the paint to the stove top surface. Work in small sections, using long, smooth strokes to ensure an even application. Apply a thin and even coat of paint, avoiding any buildup or drips.
- Allow the paint to dry: Follow the manufacturer’s instructions for the drying time of the paint. This typically ranges from 2 to 4 hours, but it can vary depending on the type of paint and environmental conditions.
- Inspect the painted surface: Once the first coat of paint has dried, inspect the surface for any imperfections or areas that may need touch-ups. If needed, you can lightly sand those areas and apply a second coat of paint to achieve a more even and flawless finish.
- Allow proper curing time: After the final coat of paint has been applied, it’s important to allow proper curing time before using the stove top. Follow the manufacturer’s guidelines for the recommended curing time, which is typically around 24 to 48 hours.
By following these steps, you will be able to apply the paint smoothly and effectively. The paint will not only enhance the appearance of your stove top but also protect it from daily use and high temperatures. Next, we will discuss the curing process and some final steps to ensure a successful stove top painting project.
Curing the Paint
After applying the final coat of paint to your stove top, it is essential to allow the paint to cure properly. Curing refers to the process of drying and hardening the paint, ensuring its durability and longevity. Follow these steps to properly cure the paint on your stove top:
- Avoid using the stove top: During the curing process, it is important to avoid using the stove top for cooking or any activity that may expose it to heat or moisture. This will allow the paint to dry and harden without the risk of damage or imperfections.
- Follow the manufacturer’s instructions: Different paints have varying curing times, so it is important to follow the guidelines provided by the manufacturer. The recommended curing time is typically around 24 to 48 hours.
- Ensure proper ventilation: Keep the area well-ventilated during the curing process to help facilitate the drying and hardening of the paint. Open windows or use fans to promote airflow and assist in the removal of any lingering fumes.
- Avoid touching or cleaning the surface: To prevent any potential damage or smudging of the paint, avoid touching or cleaning the stove top during the curing process. Allow the paint to fully set and harden before cleaning or using the stove top.
- Be patient: It can be tempting to start using the stove top as soon as the paint has dried, but it is crucial to be patient and allow the paint sufficient time to cure. This will ensure a durable and long-lasting finish.
By following these steps and allowing the paint to cure properly, you will ensure that your stove top maintains its pristine appearance and withstands the rigors of daily use. Now, let’s move on to the final steps and precautions to take once the paint has fully cured.
Final Steps and Precautions
Once the paint on your stove top has fully cured, there are a few final steps and precautions to take in order to maintain the newly painted surface and ensure its longevity. Follow these guidelines to complete your stove top painting project:
- Remove the masking tape: Carefully remove the painter’s tape from the edges of the stove top, being cautious not to damage the freshly painted surface. Slowly peel the tape away at a 45-degree angle to achieve clean lines.
- Reassemble the stove top: Put all the removable parts, such as burner grates and knobs, back on the stove top. Ensure that they are properly aligned and securely in place.
- Clean the stove top: Use a mild detergent and warm water to clean the stove top surface. Avoid using abrasive cleaners or scrub brushes that could damage the paint. Wipe the surface gently with a soft cloth or sponge, then dry it thoroughly.
- Exercise caution during use: Although the paint is designed to be heat-resistant, it is still important to exercise caution when using the stove top. Avoid dragging heavy pots or pans across the surface, as this could potentially scratch or damage the paint.
- Regular maintenance: To keep your newly painted stove top looking its best, it is recommended to perform regular cleaning and maintenance. Wipe up spills promptly and avoid using abrasive cleaners or scrubbing pads that could scratch the paint.
- Take note of any issues: If you notice any signs of peeling, bubbling, or discoloration on the painted surface, address the issue immediately. Contact the manufacturer or consult a professional for advice on how to remedy the problem.
By following these final steps and precautions, you can enjoy a beautifully painted stove top that enhances the appearance of your kitchen. Remember to exercise caution during use and perform regular maintenance to preserve the quality of the paint. Congratulations on completing your stove top painting project!
Conclusion
Painting your stove top can be a cost-effective and creative way to breathe new life into your kitchen. By following the step-by-step guide outlined in this article, you can transform your worn, discolored, or outdated stove top into a fresh and stylish centerpiece.
From gathering the necessary materials to properly preparing the surface, masking off the surrounding areas, applying primer and paint, and allowing for proper curing, each step plays a crucial role in achieving a successful stove top painting project. By investing time and effort in the preparation and execution, you will be rewarded with an attractive and long-lasting finish.
It’s important to note that while painting a stove top can be a DIY project, it requires careful attention to detail and adherence to safety precautions. Always read and follow the instructions provided by the manufacturers of the primer and paint, and ensure proper ventilation during the painting process.
Once the paint has fully cured, remember to exercise caution during use and perform regular maintenance to preserve the integrity of the painted surface. Any signs of damage or issues should be addressed promptly to ensure the longevity of your newly painted stove top.
Painting your stove top is a fun and creative way to update your kitchen without breaking the bank. By following the steps and tips in this guide, you can achieve a stunning and durable result that will enhance the overall aesthetic of your kitchen. So, get ready to put on your painting apron and give your stove top a fresh new look!
Frequently Asked Questions about How To Paint A Stove Top
Was this page helpful?
At Storables.com, we guarantee accurate and reliable information. Our content, validated by Expert Board Contributors, is crafted following stringent Editorial Policies. We're committed to providing you with well-researched, expert-backed insights for all your informational needs.


0 thoughts on “How To Paint A Stove Top”