Articles
How To Put Stove Top Back On
Modified: December 7, 2023
Learn the step-by-step process to put your stove top back on with this helpful article. Follow our tips and instructions for a smooth and successful stove installation.
(Many of the links in this article redirect to a specific reviewed product. Your purchase of these products through affiliate links helps to generate commission for Storables.com, at no extra cost. Learn more)
Introduction
Welcome to our comprehensive guide on how to put a stove top back on. Whether you’re a seasoned DIY enthusiast or tackling this task for the first time, we’re here to provide you with step-by-step instructions to successfully reattach your stove top. Putting a stove top back on may be necessary for various reasons, such as cleaning, repairs, or replacing the burners.
While the process may seem daunting at first, with the right tools, materials, and guidance, you’ll be able to complete the task with ease. So, let’s dive in and get your stove top reattached in no time!
Before we begin, it’s important to note that safety should always be a top priority when working with any appliance. Make sure to follow proper safety precautions, such as turning off the power and gas supply to the stove, before starting any work. If you’re unsure about any steps or feel uncomfortable with performing the task yourself, it’s always recommended to seek professional assistance.
In the next sections, we’ll discuss the tools and materials you’ll need, as well as provide a detailed step-by-step guide on how to put the stove top back on. So, let’s gather our supplies and get ready to bring back the functionality and aesthetic appeal to your kitchen!
Key Takeaways:
- Ensure safety by turning off power and gas supply before reattaching the stove top. Proper alignment, secure attachment, and testing functionality are crucial for a successful DIY stove top restoration.
- Gather necessary tools and materials in advance for efficient reattachment. Take your time, prioritize safety, and enjoy the satisfaction of a fully functional stove after completing the process.
Read more: How To Put Electric Stove Burners Back On
Tools and Materials Needed
Before you begin the process of putting your stove top back on, it’s essential to gather all the necessary tools and materials. By having everything prepared in advance, you can complete the task efficiently without any interruptions. Here’s a list of what you’ll need:
- Screwdriver
- Adjustable wrench
- Plastic putty knife
- Clean cloth or sponge
- Mild detergent or stove cleaner
- New burners (if necessary)
- Replacement gasket (if necessary)
Make sure to choose the appropriate screwdriver based on the type of screws used to secure the stove top. Additionally, an adjustable wrench will come in handy for any plumbing or gas connections that might need adjustment during the process. A plastic putty knife will help in removing any old gasket or adhesive residue without damaging the stove top surface.
If you’re planning to clean the stove top before reattaching it, you’ll need a clean cloth or sponge and a mild detergent or stove cleaner. Following the manufacturer’s instructions, you can safely remove any dirt, grease, or stains from the surface.
In case your stove top requires new burners due to damage or wear and tear, it’s advisable to have them ready beforehand. Similarly, if the gasket between the stove top and the counter needs replacement, ensure you have a new one on hand.
Once you have all the necessary tools and materials gathered, let’s move on to the step-by-step process of putting the stove top back on.
Step 1: Preparation
Before we begin reattaching the stove top, it’s important to prepare the work area and ensure that everything is in order. Proper preparation will make the process smoother and more efficient. Follow these steps to get ready:
- Turn off the power and gas supply: To ensure your safety, locate the electrical panel and switch off the power to the stove. Additionally, locate the gas valve and shut off the gas supply. This step is crucial to prevent any accidents or injuries during the process.
- Clear the stove top: Remove any items or debris from the stove top. This includes pots, pans, utensils, and any loose items. Wipe down the surface with a clean cloth or sponge to remove any dirt or spills.
- Disconnect the gas connection (if applicable): If you have a gas stove, use an adjustable wrench to disconnect the gas line from the stove. Make sure to follow the manufacturer’s instructions and exercise caution while handling the gas connection.
By following these preparation steps, you’ll create a safe and clean work environment, allowing for a smooth transition into the next steps of reattaching your stove top.
Now that the preparation is complete, we can move on to aligning the stove top in the next step.
Step 2: Aligning the Stove Top
Now that the preparation is done, it’s time to align the stove top in its designated space. Proper alignment ensures that the stove top fits securely and functions properly. Follow these steps to align the stove top:
- Clean the area underneath: Use a plastic putty knife to gently scrape off any old adhesive residue or gasket material from the counter surface. Wipe it clean with a cloth or sponge.
- Locate the alignment pins: Look for the alignment pins on the stove top and corresponding holes on the counter. These pins and holes help in aligning the stove top properly.
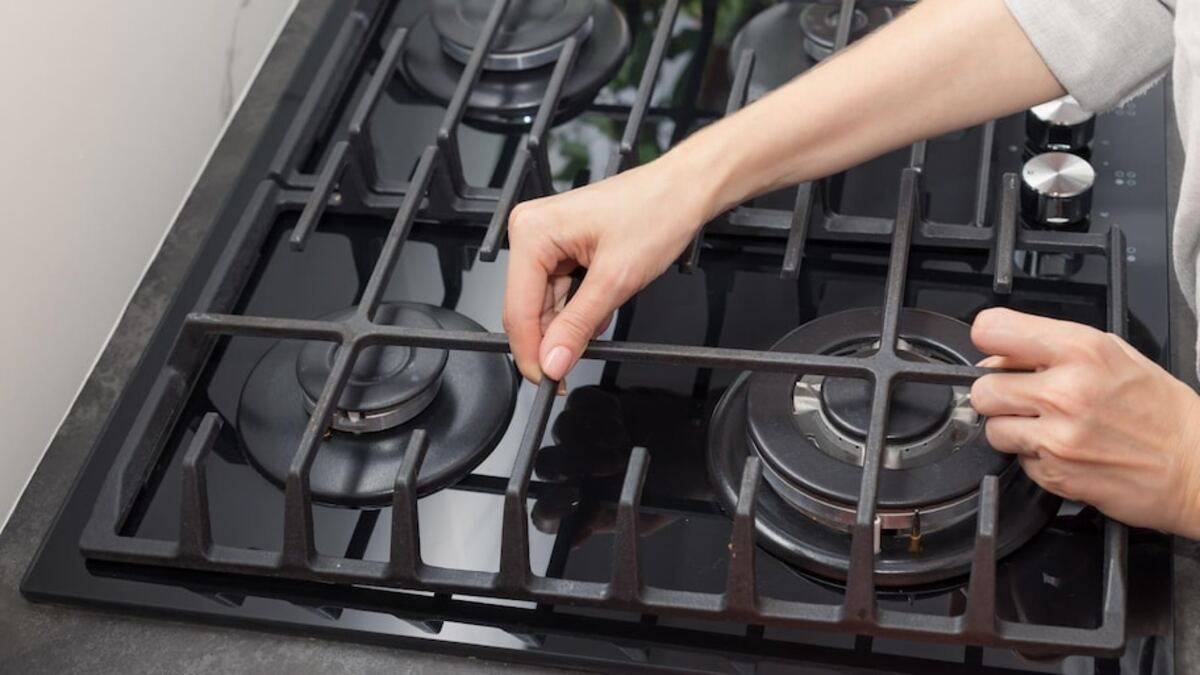
- Lower the stove top: Carefully lower the stove top onto the counter, ensuring that the alignment pins fit into the corresponding holes. Take your time to make sure it is properly aligned.
- Check for even placement: Once the stove top is in position, check that it is evenly placed on the counter surface. Ensure that there are no gaps or uneven edges. Adjust if necessary.
It’s essential to take your time and ensure proper alignment. This will prevent any issues or complications during the reattachment process. If you encounter any difficulties or the stove top doesn’t align correctly, double-check the alignment pins and holes, and make any necessary adjustments before proceeding to the next step.
With the stove top properly aligned, we can now move on to reattaching it securely in the next step.
When putting the stove top back on, make sure to align the burners with the corresponding openings on the stove top. Carefully lower the stove top into place and secure it with the screws or clips provided. Double-check for a secure fit before using the stove.
Step 3: Reattaching the Stove Top
With the stove top properly aligned, it’s time to secure it in place. Follow these steps to reattach the stove top:
- Locate the screws: Look for the screw holes around the perimeter of the stove top. These holes are where the screws will be inserted to secure the stove top.
- Insert the screws: Using the appropriate screwdriver, carefully insert the screws into the screw holes. Start with one corner and gradually work your way around, tightening each screw securely.
- Follow the manufacturer’s instructions: It’s important to refer to the manufacturer’s instructions for the specific tightening torque required for the screws. Over-tightening can damage the stove top, so exercise caution and follow the guidelines provided.
Ensure that you tighten the screws evenly to maintain a secure and stable attachment. Take your time to ensure that each screw is properly tightened, but be careful not to overtighten them.
If your stove top has a separate gas connection, follow the manufacturer’s instructions to reconnect it. Use an adjustable wrench to carefully tighten the gas line back onto the stove.
Double-check that all the screws are securely tightened, and the stove top is firmly attached to the counter. Any loose screws could cause instability or potential hazards, so it’s crucial to ensure a tight fit.
With the stove top securely reattached, we’re almost done! The next step involves securing the stove top to prevent any movement during use.
Read more: How To Put Out Stove Top Fire
Step 4: Securing the Stove Top
After reattaching the stove top, it’s important to secure it in place to prevent any movement or instability during use. Follow these steps to ensure a secure stove top:
- Check for a gasket: Some stove tops have a gasket or adhesive strip that helps create a seal between the stove top and the counter. If your stove top has a gasket, make sure it is in good condition and properly aligned.
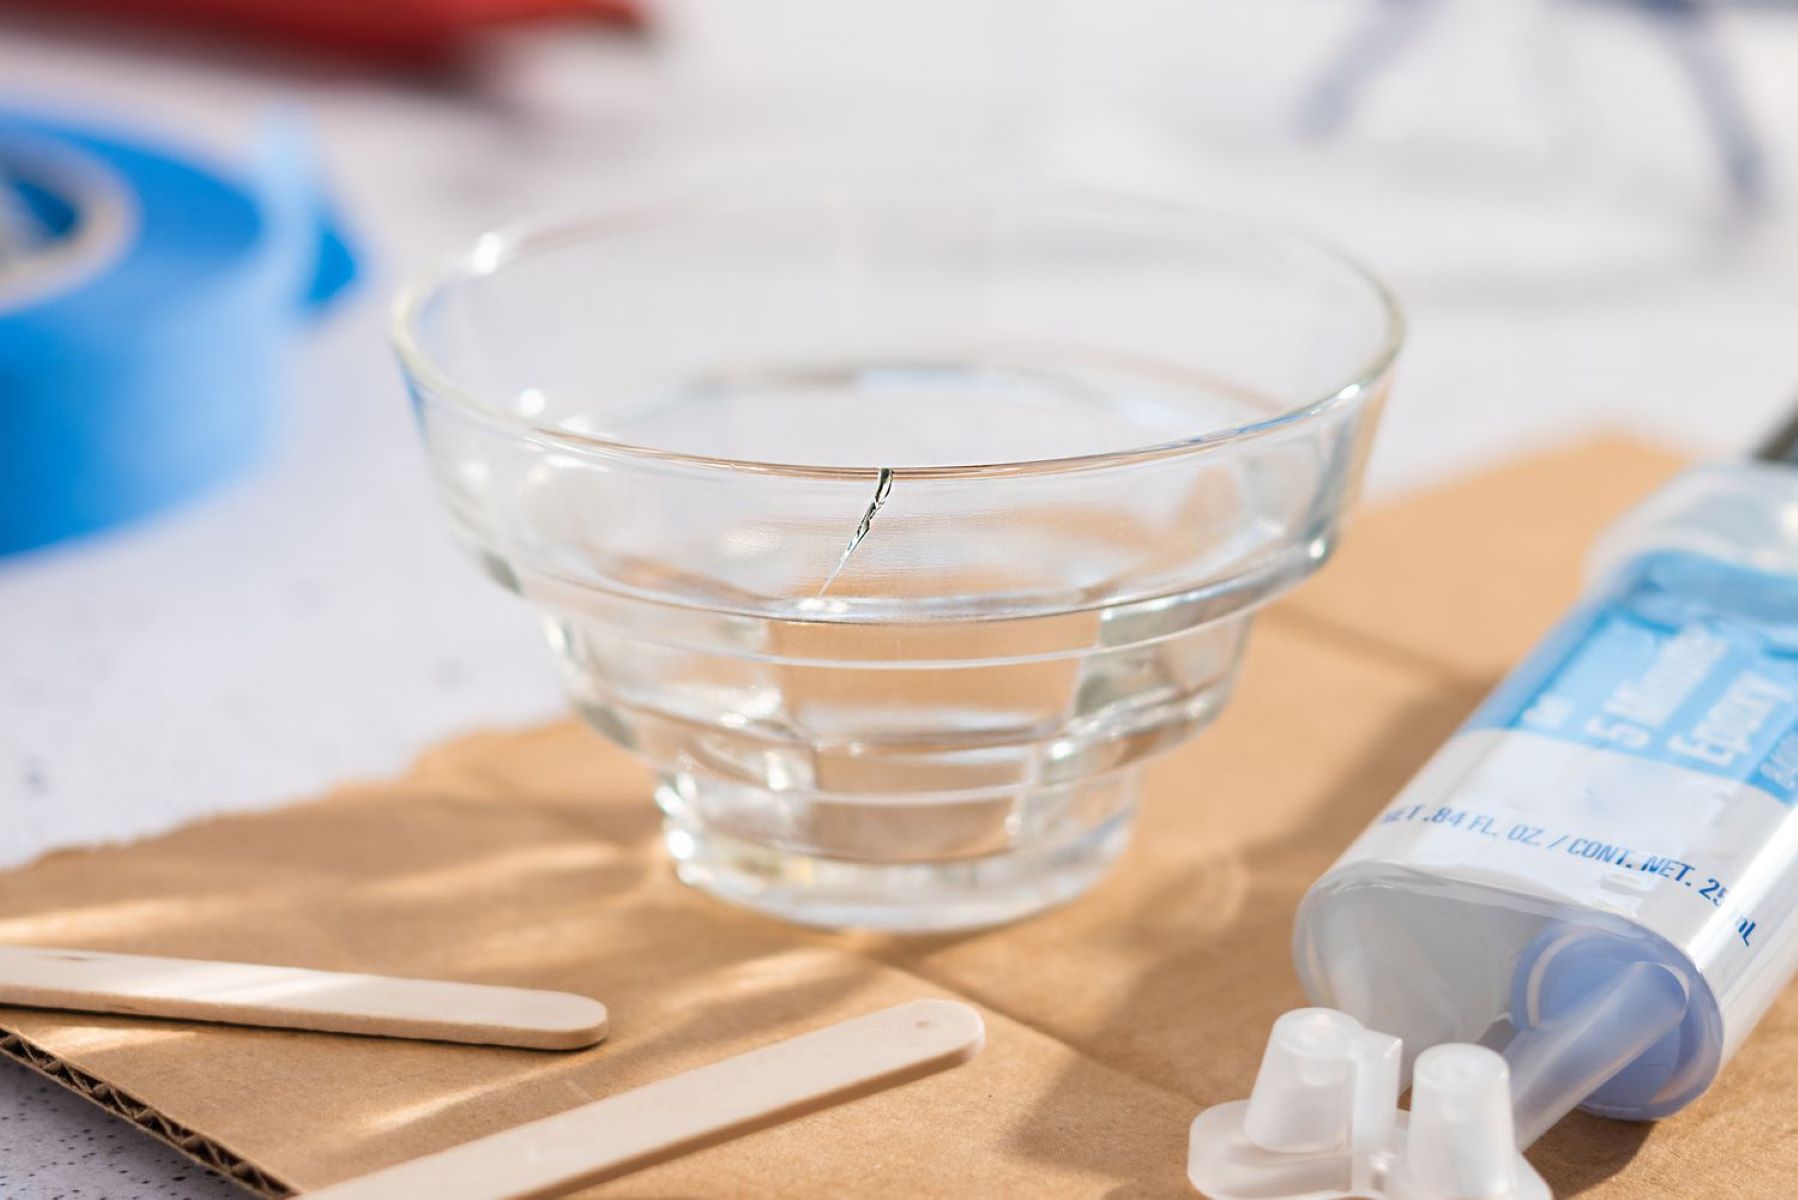
- Apply adhesive (if necessary): If your stove top requires an adhesive strip or silicone sealant, follow the manufacturer’s instructions to apply it. This will create a secure bond between the stove top and the counter.
- Tighten any additional fasteners: Some stove tops may have additional fasteners or clips that need to be tightened. Check for any such components and make sure they are securely fastened.
- Test for stability: Before using the stove top, gently shake it to ensure that it is stable and firmly attached. If you notice any movement or looseness, double-check the screws and fasteners to make sure they are tightened properly.
Securing the stove top is essential for safe and efficient cooking. It ensures that the stove top stays in place and doesn’t move or shift during use, reducing the risk of accidents or damages.
Once you have ensured the stove top is securely fastened and stable, we can move on to the final step: testing the stove top to ensure it functions properly.
Step 5: Testing the Stove Top
With the stove top reattached and secured, it’s time to test its functionality. Follow these steps to ensure that everything is in working order:
- Turn on the power and the gas supply: Make sure the power and gas supply to the stove are turned back on. Follow the proper safety procedures and guidelines to restore the power and gas.
- Ignite the burners: Turn the burner knobs to the ignition position and try igniting each burner. Check for a steady flame and make sure all the burners are working correctly.
- Adjust the flame: If necessary, use the burner knobs to adjust the flame height on each burner. This will allow you to control the heat output while cooking.
- Check for gas leaks (if applicable): If you have a gas stove, it’s crucial to check for any gas leaks. Apply a mixture of water and dish soap around the gas connection to look for any bubbles. If you spot bubbles, it indicates a gas leak, and you should immediately turn off the gas supply and seek professional help.
- Test other stove features (if applicable): If your stove has additional features such as an oven or grill, make sure to test them to ensure they are functioning properly.
By testing the stove top and all its features, you can ensure that it is in optimal working condition. This final step is crucial to ensure safety and avoid any potential issues while using the stove.
If you notice any problems during the testing phase, such as uneven flames, malfunctioning burners, or gas leaks, it’s important to address the issues immediately. Consult the manufacturer’s instructions or reach out to a professional for assistance and necessary repairs.
Congratulations! You have successfully put your stove top back on and verified that it is functioning properly. Enjoy your renewed cooking space and the convenience of a fully functional stove!
Conclusion
Putting a stove top back on may seem like a daunting task, but with the right tools, materials, and guidance, it can be accomplished smoothly and efficiently. By following the step-by-step instructions outlined in this guide, you can successfully reattach your stove top and restore its functionality to your kitchen.
Throughout the process, it’s important to prioritize safety by turning off the power and gas supply before beginning any work. Take your time during each step, ensuring proper alignment, secure attachment, and stability. Double-check all the screws, fasteners, and connections to ensure everything is tightened properly.
Once the stove top is reattached and secured, test its functionality by igniting the burners and checking for even flames. Adjust the flame height if necessary, and test any additional features your stove may have, such as an oven or grill. This final step ensures that the stove top is in optimal working condition before regular use.
If you encounter any difficulties or are unsure about any steps during the process, it’s always recommended to seek professional assistance. Safety should be your top priority when working with any appliance.
By successfully putting your stove top back on, you’ve not only restored the functionality of your kitchen, but you’ve also gained the satisfaction of completing a DIY task. Enjoy your renewed cooking space and the convenience of a fully functional stove.
Thank you for choosing our comprehensive guide on how to put a stove top back on. We hope this article has been helpful and informative. Happy cooking!
Frequently Asked Questions about How To Put Stove Top Back On
Was this page helpful?
At Storables.com, we guarantee accurate and reliable information. Our content, validated by Expert Board Contributors, is crafted following stringent Editorial Policies. We're committed to providing you with well-researched, expert-backed insights for all your informational needs.


0 thoughts on “How To Put Stove Top Back On”