
Articles
How To Paint Exterior Conduit
Modified: November 1, 2024
Learn everything you need to know about painting exterior conduit with informative articles. Achieve a professional finish and protect your electrical system.
(Many of the links in this article redirect to a specific reviewed product. Your purchase of these products through affiliate links helps to generate commission for Storables.com, at no extra cost. Learn more)
Introduction
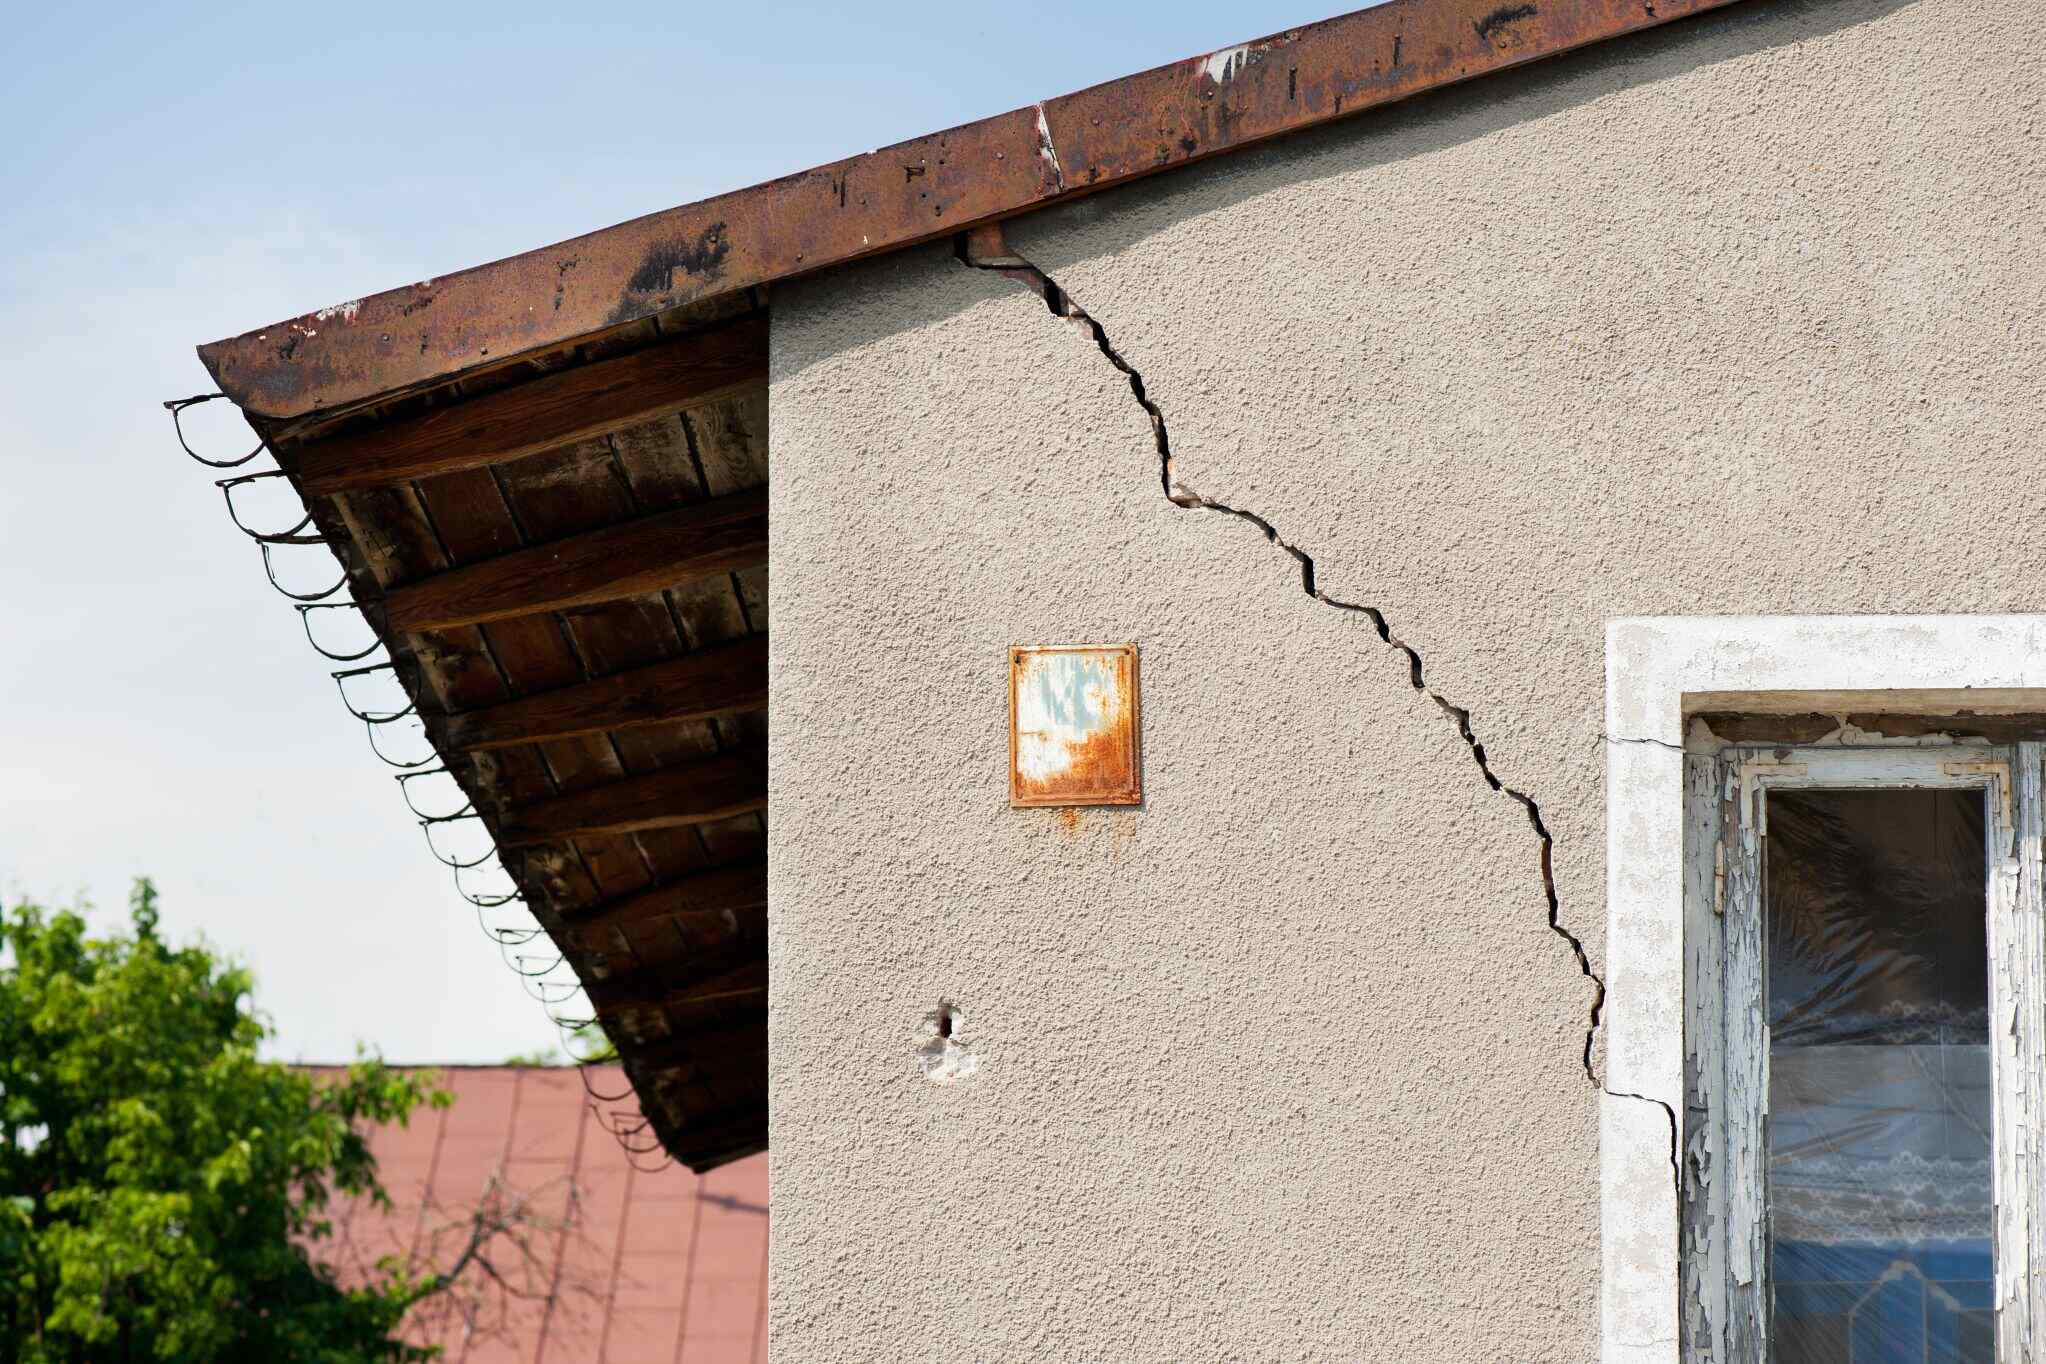
Painting the exterior conduit of a building is not only essential for protection against rust and corrosion but also adds a visually appealing touch to the overall aesthetics of the structure. Whether you are a homeowner looking to spruce up the exterior of your house or a property manager responsible for maintaining the appearance of a commercial building, knowing how to paint exterior conduit is a valuable skill.
In this article, we will guide you through the step-by-step process of painting exterior conduit. We will cover safety precautions, gathering materials and tools, preparing the conduit surface, choosing the right paint, applying primer, painting the conduit, and adding the finishing touches. By following these instructions, you will be able to achieve a professional-looking finish and protect your conduit from weathering and damage in the long run.
Before we dive into the details, it’s important to note that safety should always be your top priority when working on any painting project. Make sure to wear appropriate protective gear, such as gloves, safety goggles, and a dust mask, to safeguard yourself from any potential hazards.
Now, let’s get started with the materials and tools you’ll need for painting exterior conduit.
Key Takeaways:
- Prioritize safety and gather the right materials and tools before painting exterior conduit. Properly prepare the surface, choose the right paint and primer, and apply it with care to achieve a professional and durable finish.
- Painting exterior conduit is a rewarding process that enhances the building’s aesthetics and provides long-lasting protection. Follow the step-by-step guide, enjoy the transformation, and maintain the painted surface for years to come.
Read more: How To Paint A Shed Exterior
Safety Precautions
Before you begin painting the exterior conduit, it is crucial to follow safety precautions to prevent any accidents or injuries. Here are some essential safety tips to keep in mind:
- Ensure a stable work platform: Before starting the painting process, make sure you are standing on a stable surface. Use a sturdy ladder or scaffolding if needed, and always position it on a level ground.
- Protective gear: Wear appropriate protective gear, including gloves, safety goggles, and a dust mask, to protect yourself from any potential hazards, such as paint particles, fumes, or chemical splashes.
- Ventilation: Ensure proper ventilation in the area where you’ll be working. If you’re painting in an enclosed space, open windows and use fans to improve airflow and minimize exposure to fumes.
- Use safe working techniques: When working on a ladder or scaffolding, maintain three points of contact at all times. Avoid overreaching and ensure that the ladder or scaffolding is secure and stable.
- Protect the surrounding area: Cover nearby objects, plants, or surfaces with drop cloths or plastic sheets to prevent any accidental paint splatters or spills. This will help to minimize cleanup and ensure that the paint is only applied to the intended surface.
- Avoid working in extreme weather conditions: Painting in extreme heat, cold, or high humidity can affect the drying process and the quality of the finish. Choose a day with moderate weather conditions for the best results.
- Handle paint and chemicals with care: Read and follow the instructions and warning labels on paint cans and other chemical products carefully. Avoid contact with skin or eyes, and dispose of empty containers and unused paint properly.
- Keep children and pets away: Ensure that children and pets are kept away from the work area to prevent accidents or exposure to harmful substances. Store paint and tools out of their reach.
By following these safety precautions, you can minimize the risks associated with painting exterior conduit and ensure a safe working environment for yourself and others around you. Now that we have covered the safety aspect, let’s move on to the next step – gathering the materials and tools you’ll need for the painting process.
Gathering Materials and Tools
Before you can begin painting the exterior conduit, it’s important to gather all the necessary materials and tools. Having everything at hand will make the painting process smooth and efficient. Here are the materials and tools you’ll need:
Materials:
- Exterior paint: Choose a high-quality paint specifically designed for outdoor use. Look for paints that offer durability, weather resistance, and UV protection.
- Primer: Use a primer specially formulated for metal surfaces. This will help improve paint adhesion and ensure a long-lasting finish.
- Sandpaper: Select sandpaper with a medium grit to remove any existing flaking paint, rust, or debris from the conduit’s surface.
- Cleaner/degreaser: Use a mild detergent or specialized metal cleaner to thoroughly clean the conduit before painting. This will remove dirt, oil, and other contaminants that could affect the paint’s adhesion.
- Drop cloths or plastic sheets: Protect the surrounding area from paint drips and splatters by covering nearby objects and surfaces.
- Painter’s tape: Use painter’s tape to mask off any areas you don’t want to paint, such as nearby walls or windows.
- Paintbrushes: Have a variety of paintbrush sizes on hand, including larger brushes for broad areas and smaller brushes for detailed work.
- Roller and tray: A paint roller is ideal for applying paint to large, flat surfaces, while a tray will hold the paint for easy access.
- Paint sprayer (optional): If you have a large area to cover or prefer a quicker application, a paint sprayer can be used instead of brushes or rollers.
Tools:
- Sandpaper block or electric sander: Use a sanding block or electric sander to make the surface smooth and ready for painting.
- Scraping tool: A scraping tool will be needed to remove any stubborn paint or rust that cannot be sanded off.
- Cleaning brushes or rags: Have brushes or rags dedicated to cleaning the conduit surface, ensuring it is free of dirt and debris.
- Ladder or scaffolding: Depending on the height of the conduit, you may need a ladder or scaffolding to reach the desired areas safely.
- Extension pole: An extension pole can be attached to a paint roller to help reach higher areas without having to use a ladder.
- Bucket and water: Prepare a bucket of water for cleaning brushes and tools during and after the painting process.
- Paint can opener: A paint can opener is essential for opening paint cans without damaging the lids.
Ensure that all materials and tools are in good condition before you start painting. Having everything organized and ready will save you time and effort during the process. With your materials and tools gathered, you are now ready to prepare the conduit surface for painting.
Read more: How To Paint Exterior Stucco
Preparing the Conduit Surface
Properly preparing the conduit surface is crucial for achieving a smooth and long-lasting paint finish. Here are the steps to follow when preparing the conduit surface:
Step 1: Clean the Surface
Start by cleaning the conduit surface to remove any dirt, dust, or grease that may prevent proper paint adhesion. Use a mild detergent or specialized metal cleaner and a cleaning brush or rag to scrub the surface. Rinse the conduit thoroughly with water and allow it to dry completely.
Step 2: Remove Loose Paint and Rust
Inspect the surface for any loose or peeling paint and areas of rust. Use a scraping tool or sandpaper to remove the loose paint, taking care not to damage the conduit surface. To remove rust, gently sand the affected areas with sandpaper until the surface is smooth and rust-free. Wipe away the dust with a clean cloth.
Step 3: Smooth the Surface
If there are any rough or uneven areas on the conduit surface, use sandpaper or an electric sander to smooth them out. This will help create a uniform surface for the paint to adhere to. Once the surface is smooth, wipe away any sanding dust with a clean cloth.
Read more: How To Paint Exterior Stucco With A Roller
Step 4: Mask Off Adjacent Surfaces
If there are any adjacent surfaces or areas you don’t want to paint, use painter’s tape to mask them off. This will ensure clean lines and prevent accidental paint splatters. Take your time to apply the tape carefully, making sure it adheres firmly to the surfaces.
Step 5: Protect the surrounding area
Lay down drop cloths or plastic sheets to protect the surrounding area from paint drips and spills. Secure the coverings to the ground or nearby surfaces to prevent them from moving during the painting process.
By following these steps, you will have a clean, smooth, and properly prepared conduit surface ready for painting. This preparation stage is essential for achieving a professional-looking finish and ensuring the paint adheres properly to the surface. Now that the conduit surface is ready, it’s time to choose the right paint for the job.
Choosing the Right Paint
Choosing the right paint for your exterior conduit is essential to ensure a durable and long-lasting finish. Here are some factors to consider when selecting the paint:
1. Paint Type:
Opt for paint specifically formulated for exterior use, as it is designed to withstand the elements and provide protection against moisture, UV rays, and temperature changes. Look for paints labeled as “exterior” or “all-weather”.
Read more: How To Prepare Exterior Walls For Painting
2. Paint Finish:
Consider the desired finish for your conduit. Flat or matte finishes can help conceal surface imperfections, while satin or semi-gloss finishes offer better durability and are easier to clean.
3. Color Selection:
Choose a color that complements the overall aesthetics of your building or blends well with the surrounding environment. Keep in mind that darker colors can absorb heat, so consider the climate and sun exposure when making your selection.
4. Quality and Brand:
Invest in a high-quality paint brand known for its durability and longevity. Quality paints may be more expensive initially, but they tend to provide better coverage, adhere well to surfaces, and last longer, resulting in cost savings in the long run.
5. Paint Compatibility:
Ensure that the paint you choose is compatible with the metal or material of your conduit. Some paints may require a specific primer or surface preparation to enhance adhesion and prevent peeling or flaking over time.
Read more: How To Paint High Exterior Walls
6. Environmental Impact:
If you are concerned about the environmental impact of your paint choice, look for low-VOC (volatile organic compounds) or zero-VOC options. These paints have lower levels of harmful emissions and are safer for you and the environment.
7. Application Method:
Consider the size of the conduit and the most practical application method. Brushes and rollers work well for smaller or intricately detailed areas, while paint sprayers are more efficient for large, flat surfaces.
Remember to consult with paint professionals or refer to product specifications for specific recommendations based on your needs and the characteristics of the exterior conduit. Once you have chosen the right paint, the next step is applying primer to the conduit surface to ensure proper paint adhesion and longevity.
Applying Primer
Applying primer to the exterior conduit is an important step in the painting process. The primer helps create a smooth and even surface, promotes better paint adhesion, and enhances the durability of the final coat. Here’s how to apply primer to the conduit:
Step 1: Choose the Right Primer
Select a primer specifically formulated for metal surfaces. Look for a primer that is rust-resistant and provides excellent adhesion. Consider whether your conduit is made of ferrous or non-ferrous metal, as this may impact the type of primer required.
Step 2: Prepare the Primer
Follow the manufacturer’s instructions to prepare the primer for application. This may include stirring the primer or thinning it with a recommended solvent if necessary. Ensure that the primer is well-mixed before proceeding.
Step 3: Clean the Conduit Surface
Before applying primer, make sure the conduit surface is clean and free of dust, debris, and grease. Thoroughly clean the surface using a mild detergent or metal cleaner and wipe it dry with a clean cloth.
Step 4: Mask off Adjacent Surfaces
Use painter’s tape to mask off any adjacent surfaces or areas that you do not want to primer. This will ensure clean edges and prevent the primer from spreading onto unwanted areas.
Step 5: Apply the Primer
Dip a high-quality paintbrush or use a roller to apply the primer to the conduit surface. Begin with the larger areas, using long, even strokes. Pay close attention to any crevices, joints, or hard-to-reach areas, ensuring that they are adequately coated with primer.
Read more: Tips For Choosing Exterior Paint Colors
Step 6: Allow the Primer to Dry
Follow the manufacturer’s instructions regarding drying time. Ensure that the primer is completely dry before applying the paint. This may take anywhere from a few hours to overnight, depending on the product and environmental conditions.
Step 7: Inspect the Primed Surface
Once the primer has dried, inspect the primed surface for any imperfections or areas that may require additional coats. Sand and smooth out any rough spots if necessary, and wipe away the dust before moving on to the next step.
Applying primer to the conduit helps create a solid foundation for the paint and ensures a professional-looking finish. It also improves the paint’s adhesion, enhances durability, and provides an added layer of protection against rust and corrosion. With the primer applied and dried, you’re now ready to move on to the exciting part – painting the exterior conduit!
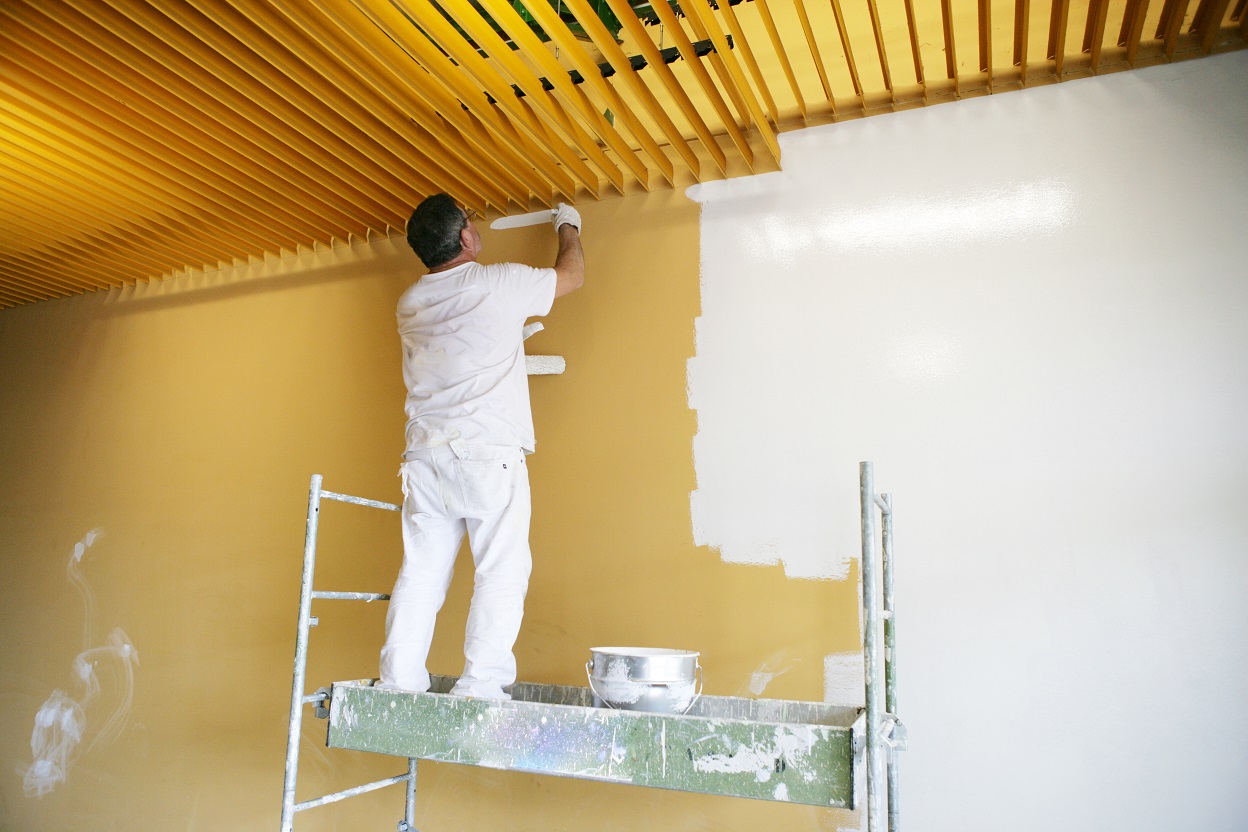
Painting the Conduit
Now comes the fun part – painting the exterior conduit! Properly applying paint to the conduit will not only enhance its appearance but also provide protection against the elements. Follow these steps to ensure a successful painting process:
Step 1: Stir the Paint
Before starting, stir the paint thoroughly to ensure an even consistency. This will help distribute any settling pigments and provide a smooth finish.
Read more: What Color To Paint Exterior Chimney
Step 2: Choose the Right Application Method
Consider the size and shape of the conduit when deciding on the application method. For larger, flat surfaces, use a paint roller or sprayer for quick and even coverage. Brushes are ideal for detailed areas and hard-to-reach spots.
Step 3: Apply the First Coat
Dip the roller or brush into the paint and start applying the first coat to the conduit. Work in small sections, moving from top to bottom or from one end to the other. Use long, smooth strokes to ensure an even application.
Step 4: Watch for Drips and Runs
Pay attention to any drips or runs that may occur while applying the paint. Use a dry brush or roller to quickly smooth them out before they dry, ensuring a clean and professional-looking finish.
Step 5: Allow the First Coat to Dry
Follow the manufacturer’s instructions for drying time. Depending on the paint type and environmental conditions, it may take anywhere from a few hours to overnight for the first coat to dry. Avoid touching or disturbing the painted surface during this time.
Step 6: Apply Additional Coats
If necessary, apply additional coats of paint for optimal coverage and a more vibrant finish. Follow the same technique of applying the paint in small sections with smooth, even strokes. Allow each coat to dry fully before applying the next.
Step 7: Inspect and Touch Up
Once the final coat has dried, inspect the painted conduit for any missed spots or areas that require touch-ups. Use a brush or roller to address any imperfections and ensure a seamless and thorough finish.
By following these steps, you can achieve a beautifully painted exterior conduit that adds value and aesthetics to your building. Remember to clean your brushes and tools promptly after finishing the painting process. With the conduit painted, it’s time for the final touches!
Finishing Touches
As you near the completion of painting the exterior conduit, there are a few finishing touches you can add to enhance the overall appearance and ensure a professional finish. Here are some final steps to consider:
1. Remove Painter’s Tape:
Carefully remove the painter’s tape that was used to mask off adjacent surfaces. Take your time to ensure clean edges and prevent any peeling or damage to the freshly painted areas.
2. Inspect and Touch Up:
Thoroughly inspect the painted conduit for any missed spots, drips, or imperfections. Use a small brush or roller to touch up these areas and ensure a seamless finish. Step back and observe the paint job from different angles to ensure uniform coverage.
3. Clean Up:
Properly clean and store your painting tools and materials. Rinse brushes and rollers with water or the recommended cleaning agent to remove any remaining paint. Dispose of paint cans and other containers according to local regulations.
4. Enjoy and Maintain:
Take a moment to appreciate the transformation of your exterior conduit. The fresh coat of paint not only adds beauty but also provides protection against the elements. Regularly inspect the painted surface to address any signs of wear or damage. Clean the conduit as needed to maintain its appearance.
5. Proper Disposal:
Dispose of any leftover paint and paint cans at a local recycling center or in accordance with local guidelines. Follow environmentally-friendly practices when handling and disposing of paint-related waste.
Read more: DIY Guide: Painting Your Home’s Exterior
6. Document Your Project:
Consider documenting your painting project with before and after photos. Not only is it satisfying to see the transformation, but it can also serve as a reference for future touch-ups or maintenance.
With these finishing touches completed, you can step back and admire the beautifully painted exterior conduit. The time and effort you invested in the painting process will not only enhance the overall aesthetics of your building but also provide long-lasting protection against the elements.
Congratulations on successfully painting your exterior conduit! Remember, proper maintenance and periodic inspections will help ensure the longevity of your painted surface. Enjoy the results and take pride in your accomplishment!
Conclusion
Painting the exterior conduit of your building is a worthwhile endeavor that not only elevates its visual appeal but also provides essential protection against rust and corrosion. By following the step-by-step process outlined in this article, you can achieve professional-looking results while ensuring the longevity of your conduit’s finish.
Begin by prioritizing safety and taking necessary precautions, such as wearing appropriate protective gear and working in a well-ventilated area. Gather the materials and tools needed for the painting process, including high-quality exterior paint, primer, cleaning supplies, brushes, rollers, and masking tape.
Thoroughly prepare the conduit surface by cleaning it and removing any loose paint or rust. Smooth out any rough areas to create an even surface, and protect adjacent surfaces with masking tape and drop cloths.
Choosing the right paint is crucial for achieving a durable and aesthetically pleasing finish. Consider factors such as paint type, finish, color, quality, compatibility, and environmental impact when making your selection.
Applying primer to the conduit surface is an essential step to improve paint adhesion and enhance durability. Take your time to apply the primer evenly and allow it to dry completely before moving on to the painting process.
When painting the conduit, use the appropriate application method based on the size and shape of the surface. Apply the paint in thin, even coats, and allow each coat to dry before applying additional layers. Take care to avoid drips and runs, and inspect the painted surface for any touch-ups or corrections.
Finally, remove the masking tape, inspect the painted surface for any imperfections, and ensure a thorough clean-up of all tools and materials. Admire the beautifully painted exterior conduit and remember to maintain its appearance through regular inspections and necessary touch-ups.
By following these guidelines, you can successfully paint the exterior conduit of your building and achieve a stunning transformation. Enjoy the enhanced visual appeal and the added protection that a fresh coat of paint brings.
Remember, painting can be a creative and fulfilling endeavor. With each stroke of the brush or pass of the roller, you are not only improving the aesthetics of your property but also making a lasting impact on its overall maintenance and value.
Congratulations on taking the initiative to paint your exterior conduit, and may your building showcase its new and refreshed look for years to come!
Frequently Asked Questions about How To Paint Exterior Conduit
Was this page helpful?
At Storables.com, we guarantee accurate and reliable information. Our content, validated by Expert Board Contributors, is crafted following stringent Editorial Policies. We're committed to providing you with well-researched, expert-backed insights for all your informational needs.


0 thoughts on “How To Paint Exterior Conduit”