Home>Articles>How To Repair Cracks In Exterior Walls Before Painting
Articles
How To Repair Cracks In Exterior Walls Before Painting
Modified: October 28, 2024
Learn the best techniques for repairing cracks in exterior walls before painting with our informative articles. Improve the aesthetics and longevity of your home with our expert tips.
(Many of the links in this article redirect to a specific reviewed product. Your purchase of these products through affiliate links helps to generate commission for Storables.com, at no extra cost. Learn more)
Introduction
When it comes to painting the exterior of your house, properly repairing any cracks in the walls is crucial. Cracks not only affect the aesthetic appeal of your home, but they can also lead to more significant structural issues if left untreated. Repairing these cracks before painting ensures a smooth and durable surface that will enhance the overall finish and longevity of your paint job.
In this article, we will guide you through the process of repairing cracks in exterior walls before painting. We will cover everything from assessing the cracks to preparing the wall, filling small cracks, tackling larger cracks, sanding, priming, and finally painting, ensuring that you have all the necessary steps to achieve a professional-looking and long-lasting paint job.
So, let’s dive into the details of each of these steps to ensure that your exterior walls are in top shape before you start painting.
Key Takeaways:
- Properly repairing cracks in exterior walls before painting is crucial for both aesthetic appeal and structural integrity. Assess, gather tools, fill small cracks, repair larger cracks, sand, prime, and paint for a professional and long-lasting finish.
- Thoroughly preparing the exterior wall, using the right tools and materials, and following a systematic process are key to achieving a beautifully refreshed exterior wall that enhances the curb appeal and value of your home.
Assessing the Cracks
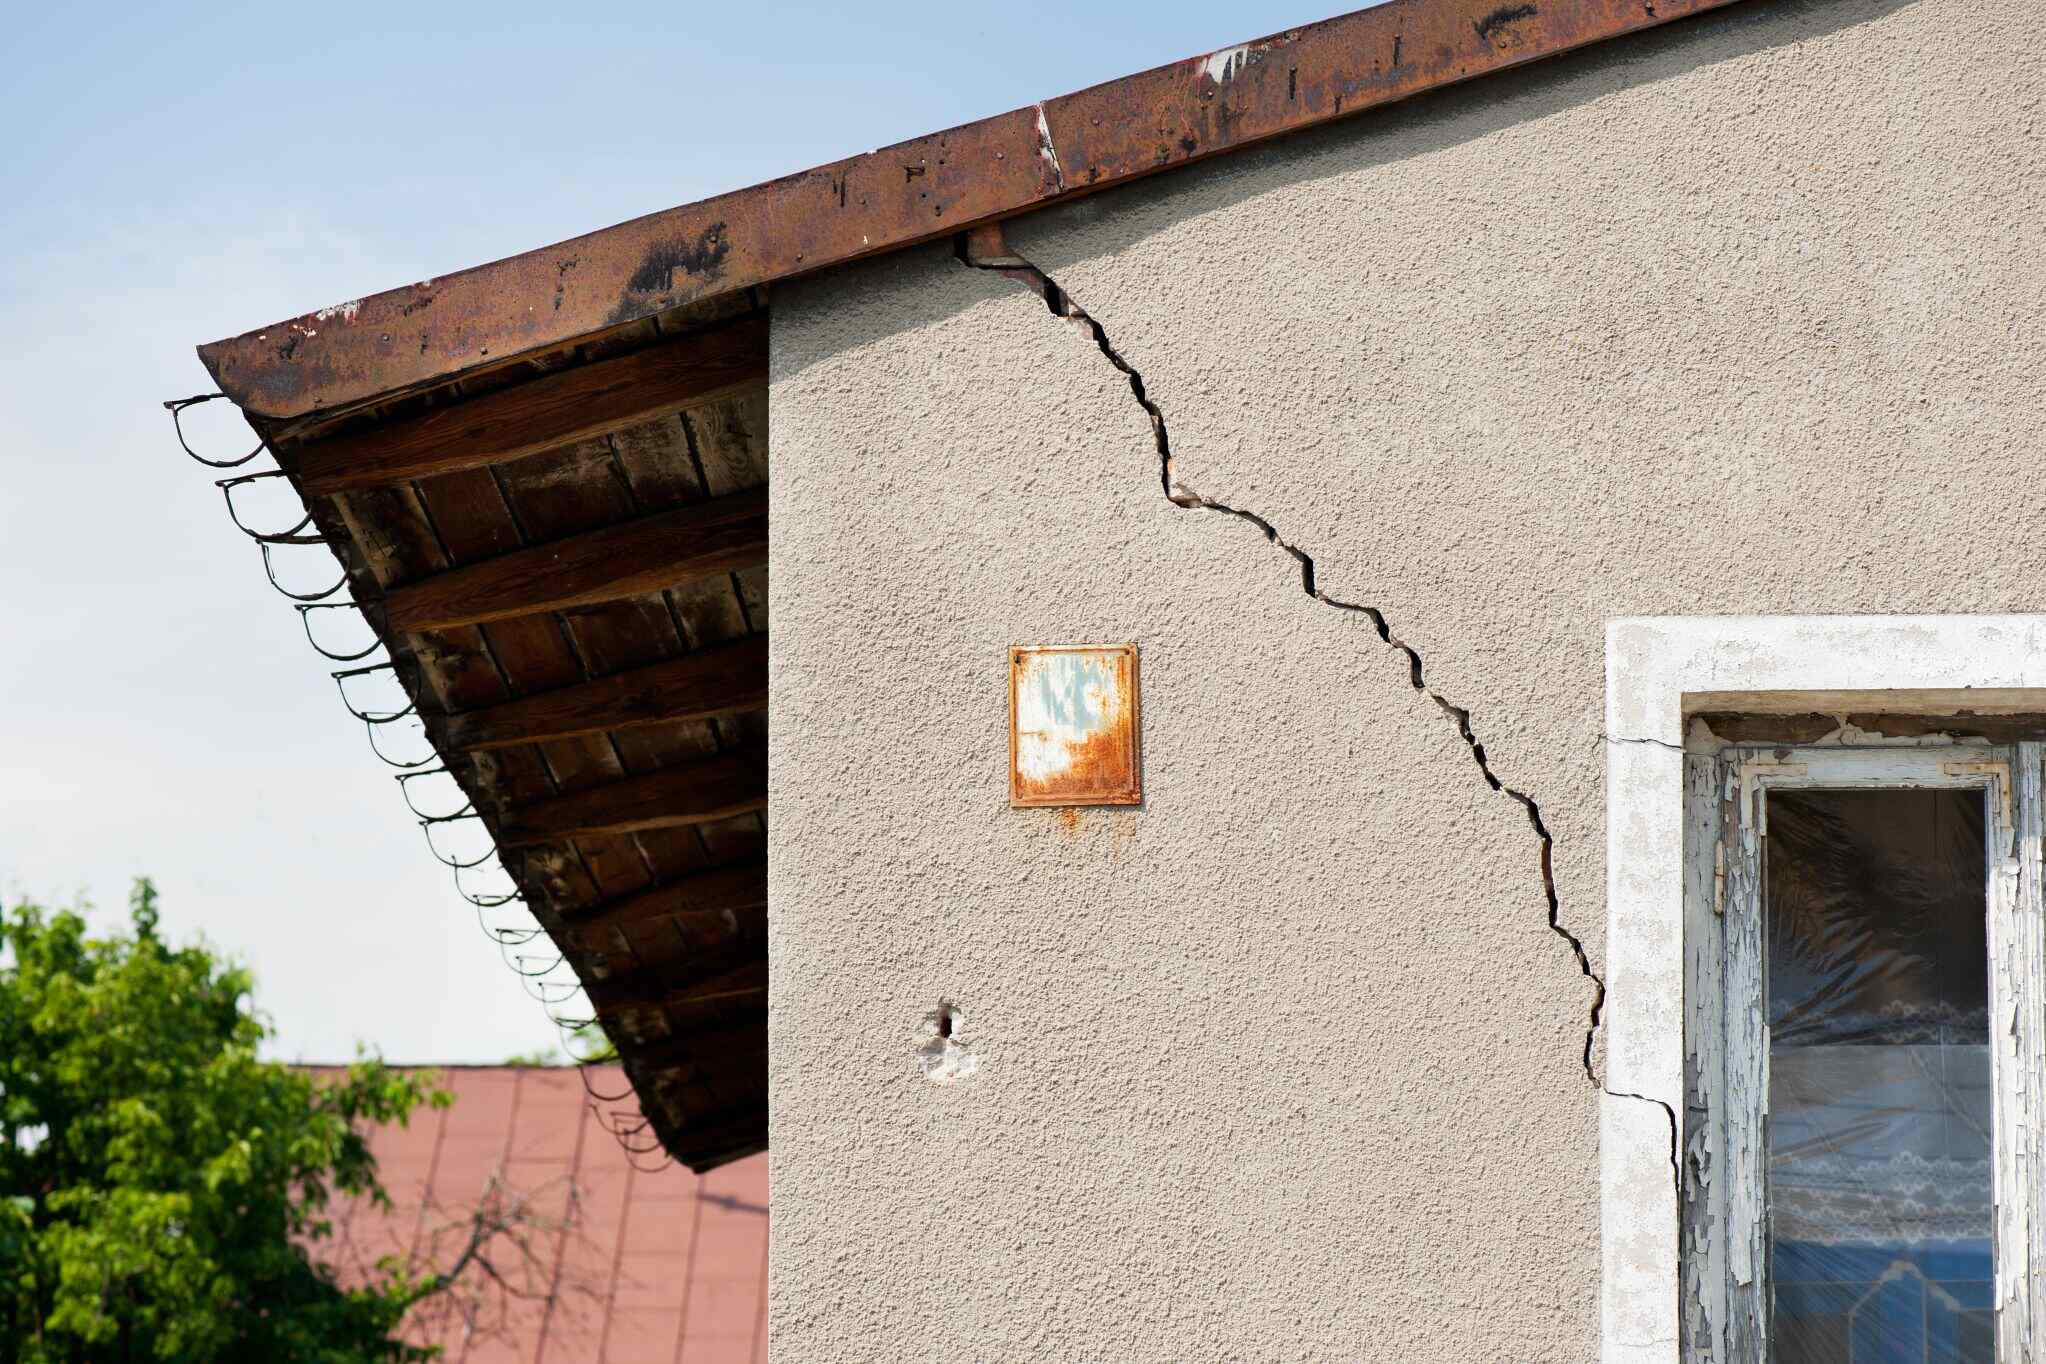
Before you begin the process of repairing cracks in your exterior walls, it’s important to assess the severity and extent of the damage. This will help you determine the appropriate repair method and materials needed.
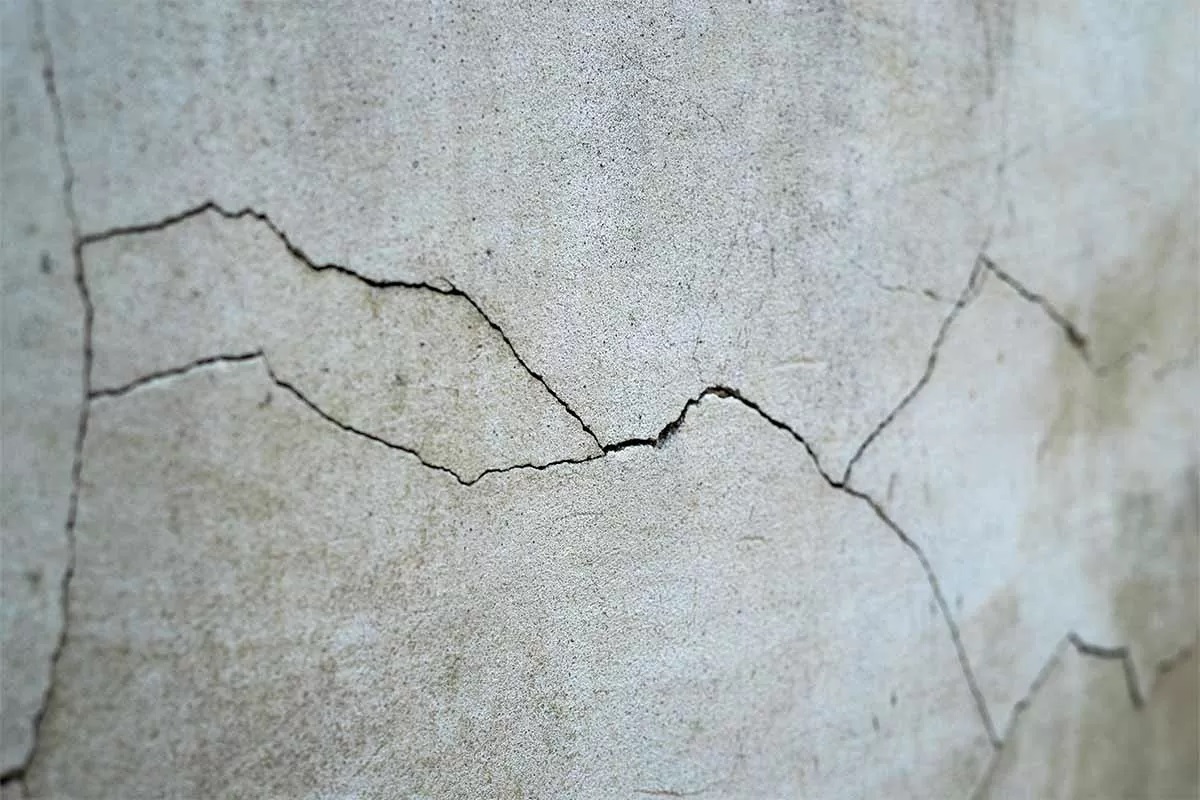
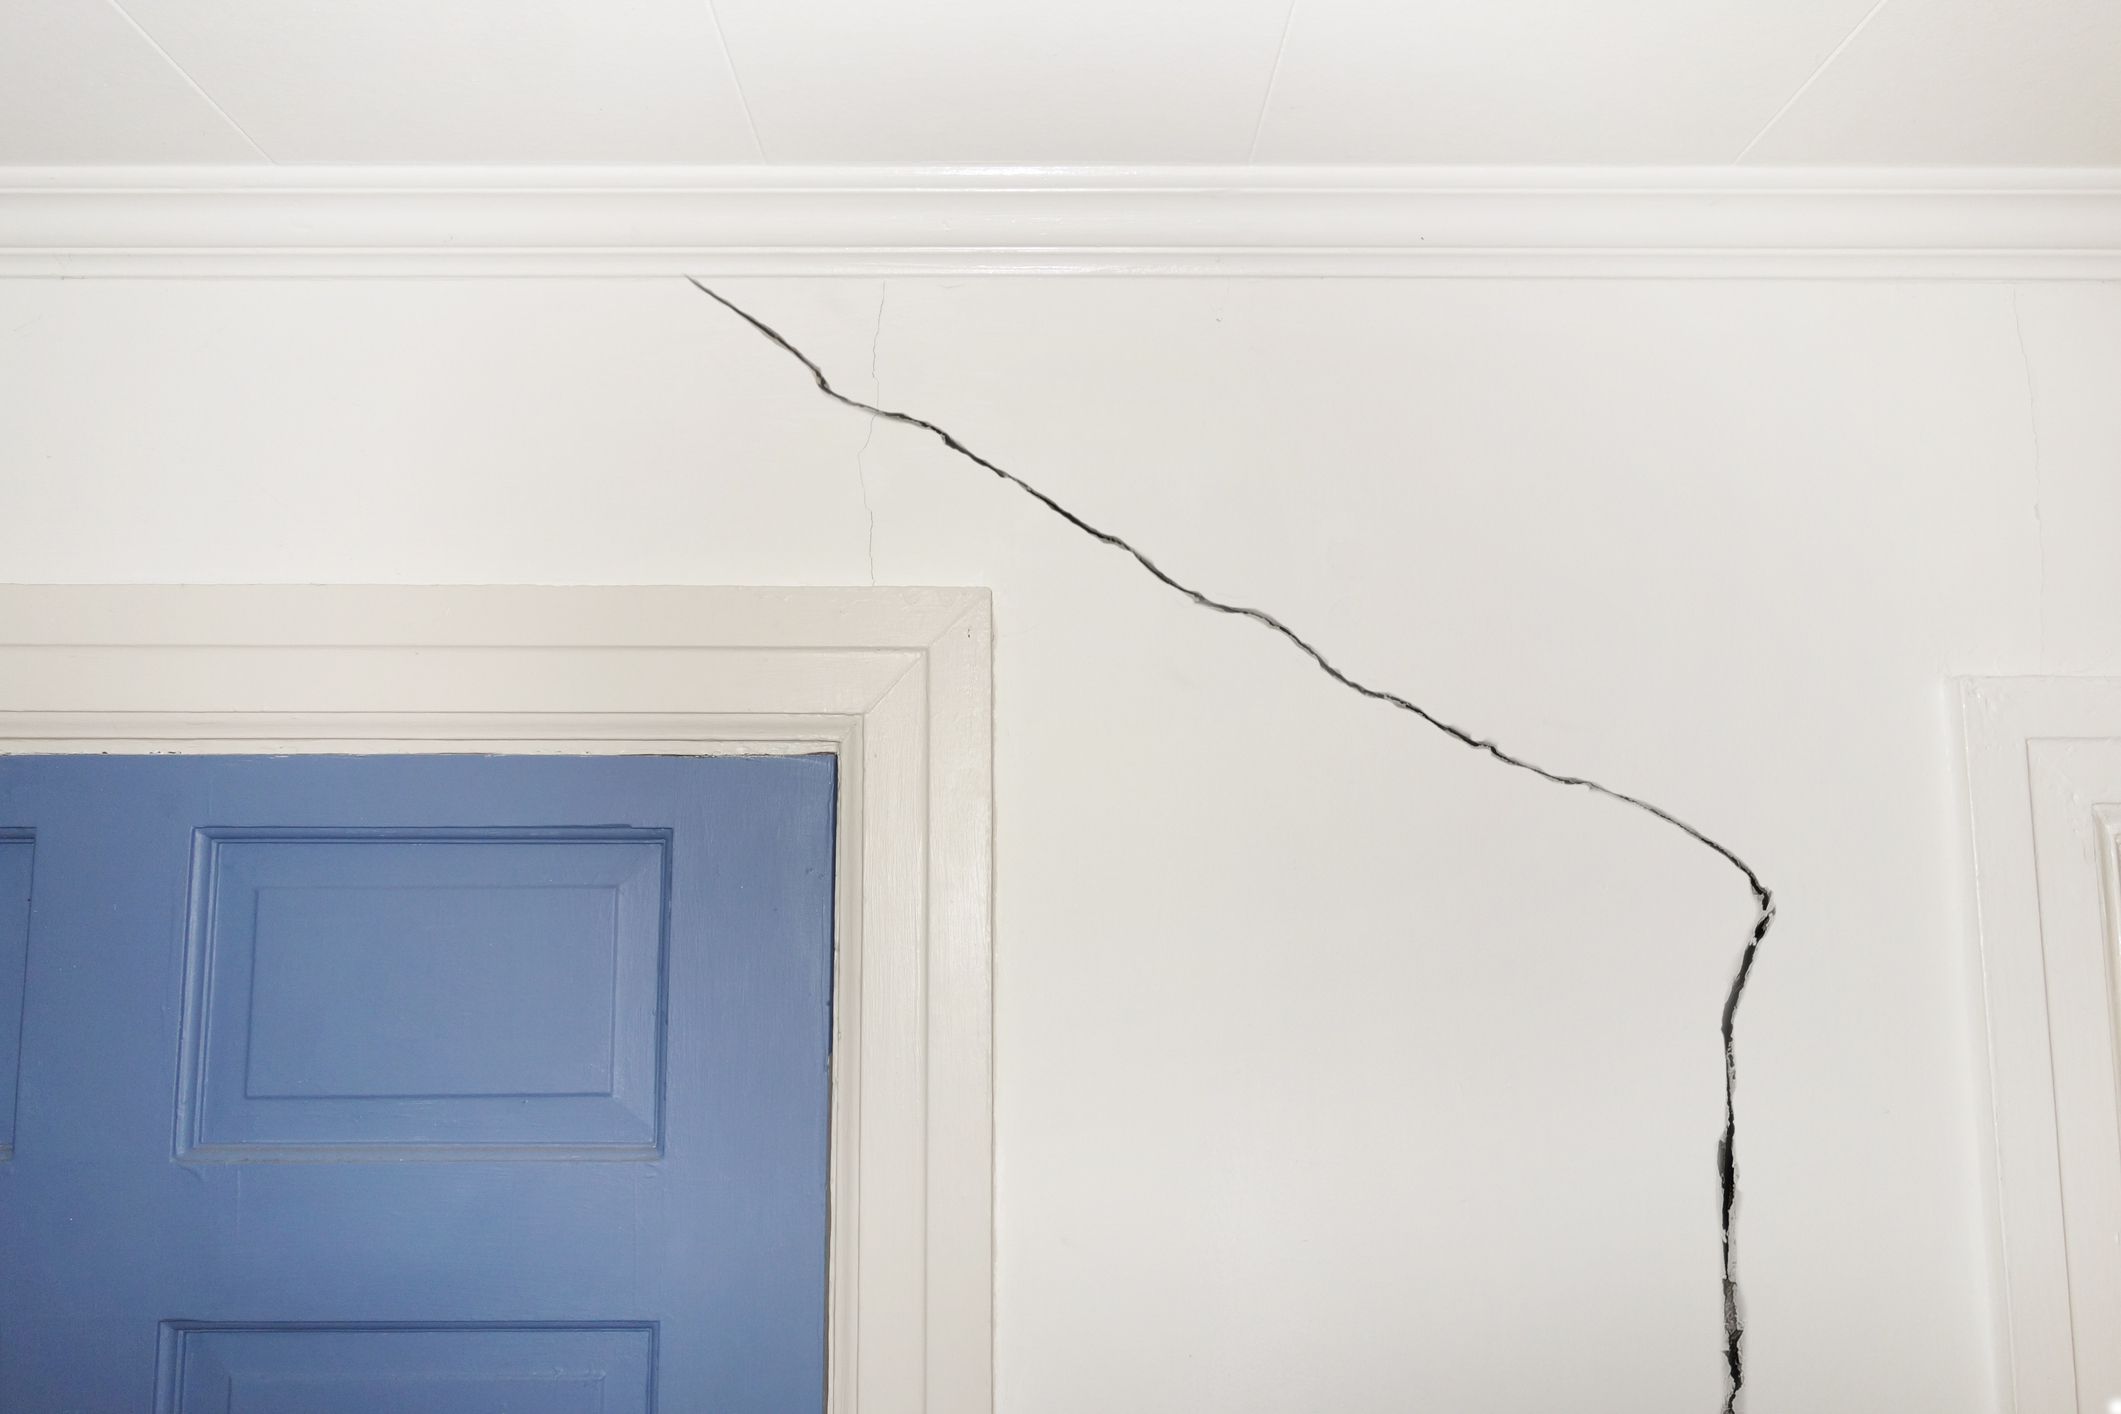
Start by inspecting your walls for any visible cracks. Check for cracks in the mortar joints, as well as cracks that may be present in the bricks or other materials used in your wall construction. Use a flashlight to examine the cracks closely and note their size, location, and whether they are active or stable.
Active cracks are those that are still expanding or moving, while stable cracks remain unchanged. It’s essential to differentiate between the two, as active cracks may require additional measures to prevent further damage over time.
Measure the width and depth of the cracks using a ruler or tape measure. Note down these measurements as they will help determine the appropriate filling material to use later on.
Additionally, consider the direction and pattern of the cracks. Horizontal cracks may indicate more serious structural issues and may require professional attention. Vertical or diagonal cracks are often easier to repair and can be addressed using the methods discussed in this article.
By thoroughly assessing the cracks, you will have a clearer understanding of the scope of the repairs needed and can proceed with confidence in choosing the right materials and techniques for the job.
Gathering the Necessary Tools and Materials
Now that you have assessed the cracks in your exterior walls, it’s time to gather the necessary tools and materials to complete the repair. Having everything on hand before you start will save you time and ensure a smoother process.
Here is a list of the tools and materials you will need:
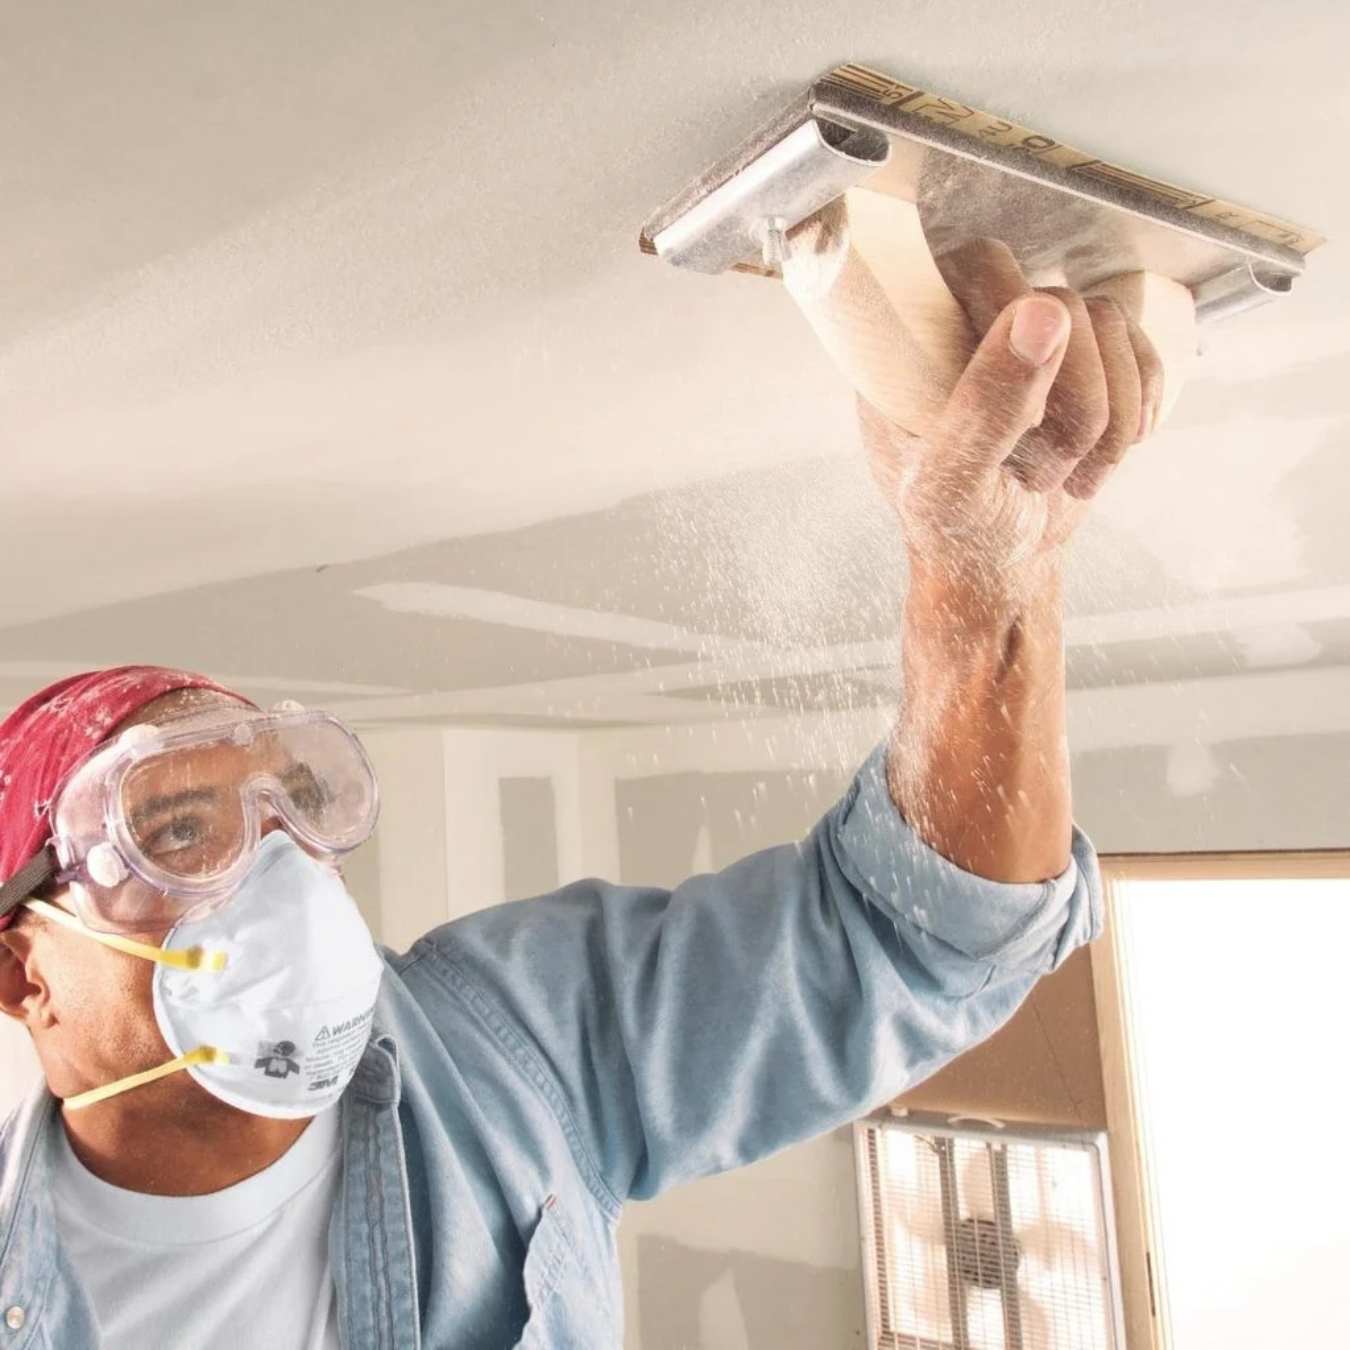
- 1. Safety gear: Before you begin any repair work, it’s important to prioritize safety. Wear gloves, safety goggles, and a dust mask to protect yourself from any harmful substances.
- 2. Cleaning supplies: Start by cleaning the area around the cracks. This may include a wire brush, scraper, or a power washer to remove debris, loose paint, and any other contaminants.
- 3. Filling compound: Depending on the size of the cracks, you will need an appropriate filling compound. For smaller cracks, a flexible exterior caulk or patching compound will suffice. For larger cracks, you may need a mortar mix or a specialized crack repair product.
- 4. Putty knife or trowel: Use a putty knife or trowel to apply the filling compound to the cracks. Choose a size that is appropriate for the width and depth of the cracks.
- 5. Sandpaper or sanding block: After the filling compound has dried, you will need sandpaper or a sanding block to smooth the surface and ensure a seamless finish.
- 6. Primer: Applying a primer to the repaired area before painting is essential. Choose a high-quality exterior primer that is suitable for your wall material.
- 7. Paint: Finally, gather the paint color of your choice. Opt for a high-quality exterior paint that is durable and formulated for outdoor use.
Make sure to read the instructions and labels on the products you purchase to ensure they are suitable for the specific repairs you need to make. Having all the necessary tools and materials ready will make the repair process more efficient and allow for smoother progress.
Preparing the Exterior Wall
Before you can start repairing the cracks in your exterior walls, it’s essential to properly prepare the surface for the best results. The preparation stage helps ensure that the filling compound adheres well and that the repaired area blends seamlessly with the rest of the wall.
Follow these steps to prepare the exterior wall:
- Clean the surface: Begin by thoroughly cleaning the area around the cracks. Use a wire brush, scraper, or a power washer to remove any loose paint, dirt, dust, or debris. Clean the entire wall surface to ensure that the repaired area integrates smoothly with the rest of the wall.
- Repair any loose or damaged sections: If there are any sections of the wall that are crumbling or severely damaged, it’s important to address those issues before proceeding with the crack repairs. Use a chisel and hammer to remove any loose or deteriorated material and make any necessary repairs.
- Smooth the surface: Use sandpaper or a sanding block to smooth the area around the cracks. This will create a clean and even surface for the filling compound to adhere to.
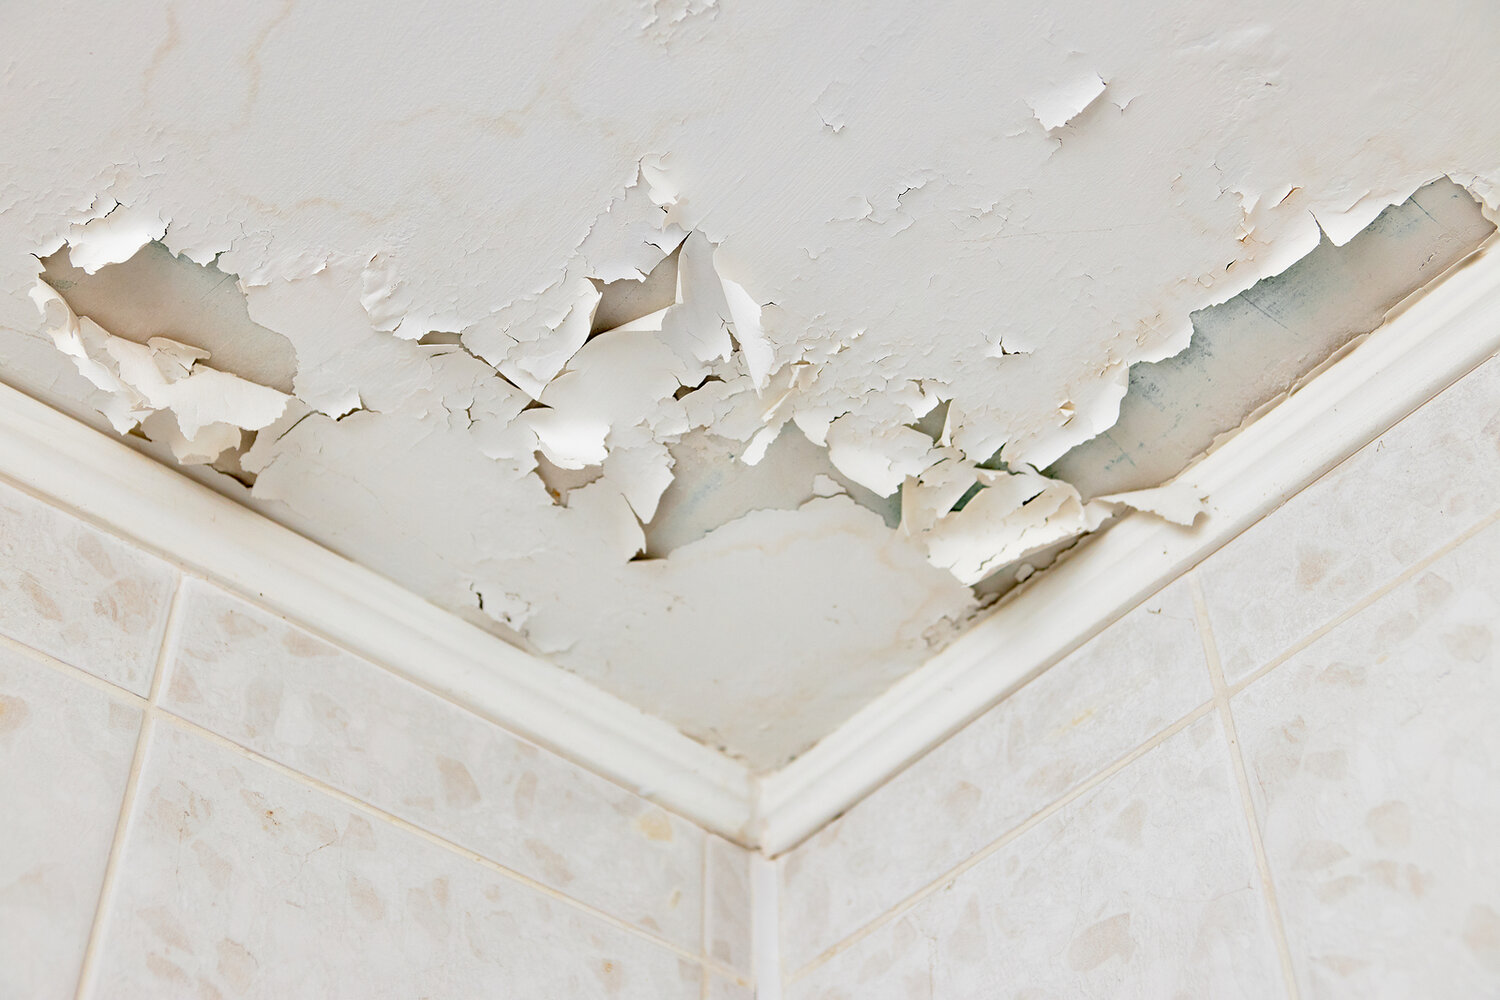
- Remove old paint: If the area you are repairing has old paint that is peeling or flaking, it’s important to remove it. Use a paint scraper or a power sander to remove the old paint, taking care not to damage the underlying surface. Smooth out any rough edges left behind.
- Apply a bonding agent (if necessary): In some cases, especially for larger or more significant cracks, it may be necessary to apply a bonding agent to ensure a stronger bond between the filling compound and the wall surface. Consult the instructions of the specific product you are using for guidance on applying the bonding agent.
By properly preparing the exterior wall, you create the ideal foundation for the crack repairs. This will result in a more stable and durable repair that seamlessly blends with the surrounding wall surface once completed.
Filling Small Cracks
Now that you have assessed the cracks, gathered the necessary tools and materials, and prepared the exterior wall, it’s time to start filling the small cracks. Small cracks are typically less than 1/8 inch wide and can be easily addressed with a flexible exterior caulk or patching compound.
Follow these steps to fill small cracks:
- Clean the crack: Before applying the filling compound, make sure the crack is clean and free from any dust or debris. Use a brush or a vacuum to remove any loose particles.
- Load the caulk gun: If you are using a flexible exterior caulk, load it into a caulk gun following the manufacturer’s instructions. Ensure the caulk is properly inserted and ready for application.
- Apply the caulk: Start at one end of the crack and slowly squeeze the caulk gun, applying a consistent and even bead of caulk along the length of the crack. Use a smooth, steady motion to ensure an even application.
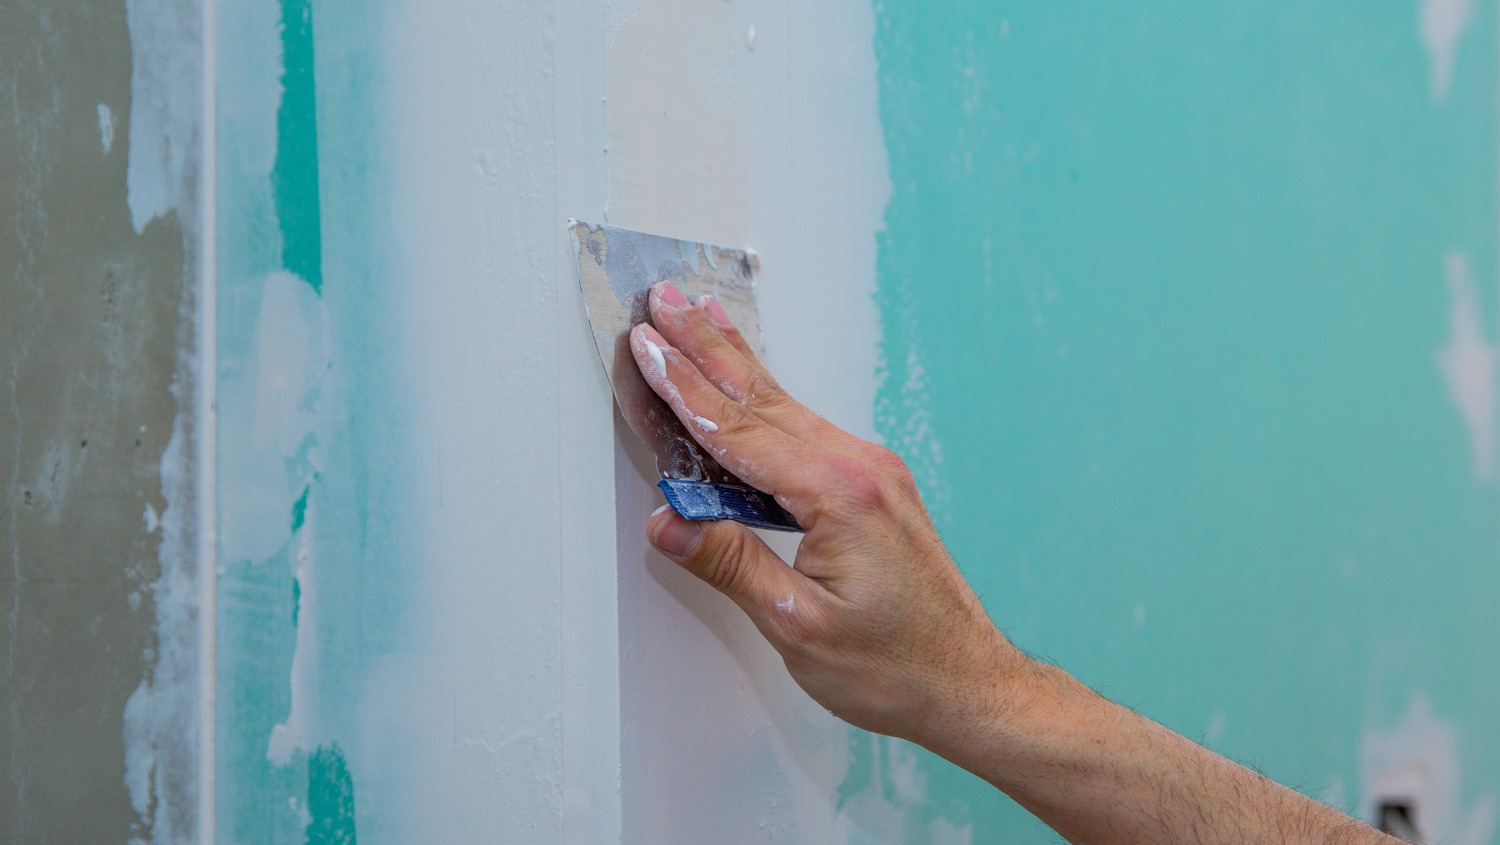
- Smooth the caulk: Once the caulk is applied, use a putty knife or a wet finger to smooth and level the caulk, blending it with the surrounding wall surface. This will create a seamless finish.
- Let it dry: Allow the caulk to dry according to the manufacturer’s instructions. This typically takes a few hours or overnight.
- Sand the surface: After the caulk has dried, use sandpaper or a sanding block to gently sand the surface, ensuring that it is smooth and level with the surrounding wall. Wipe away any dust or residue.
By following these steps, you can effectively fill small cracks in your exterior walls. The flexible caulk will accommodate any slight movement in the wall, preventing future cracks from forming and providing a seamless repair that blends with the rest of the wall surface.
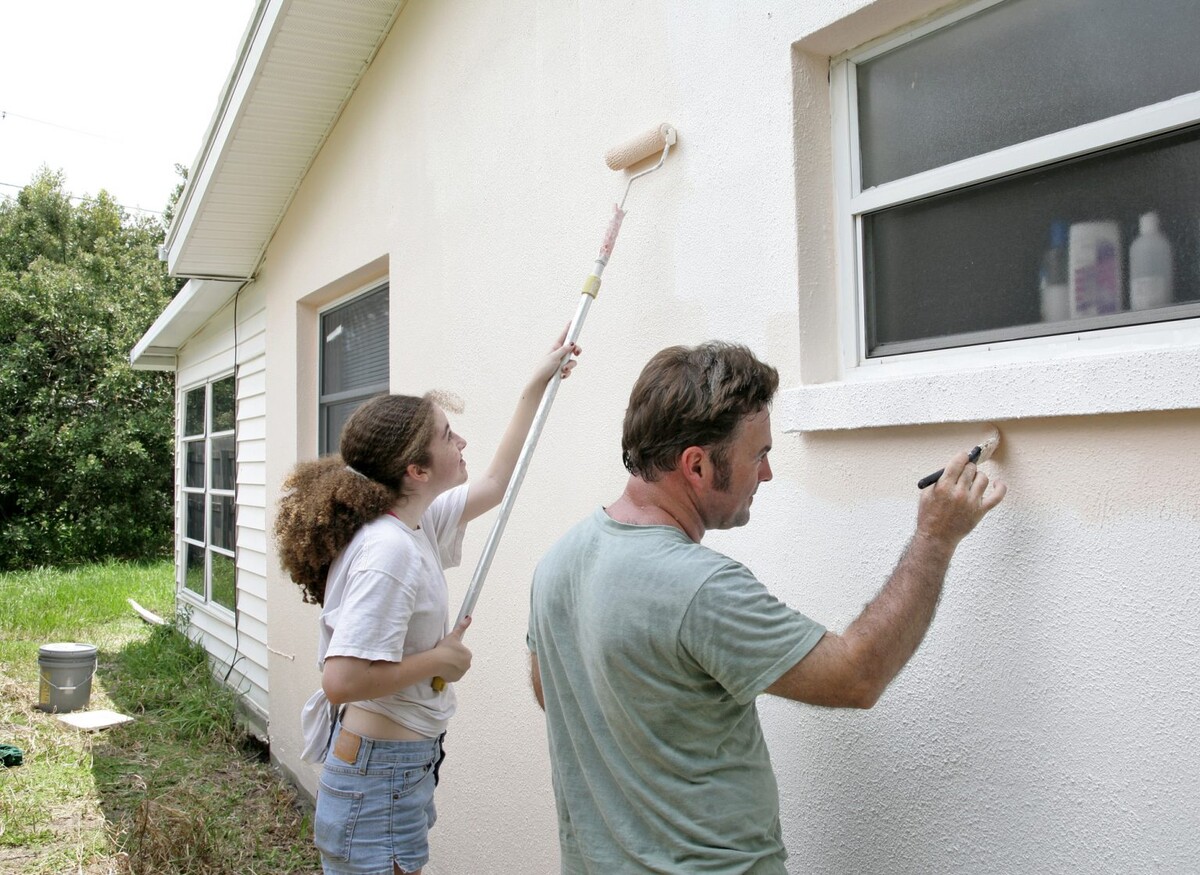
Before painting exterior walls, repair cracks by cleaning the area, applying a flexible exterior caulk, and smoothing it with a putty knife. This will prevent water damage and ensure a smooth paint finish.
Read more: How To Prepare Exterior Walls For Painting
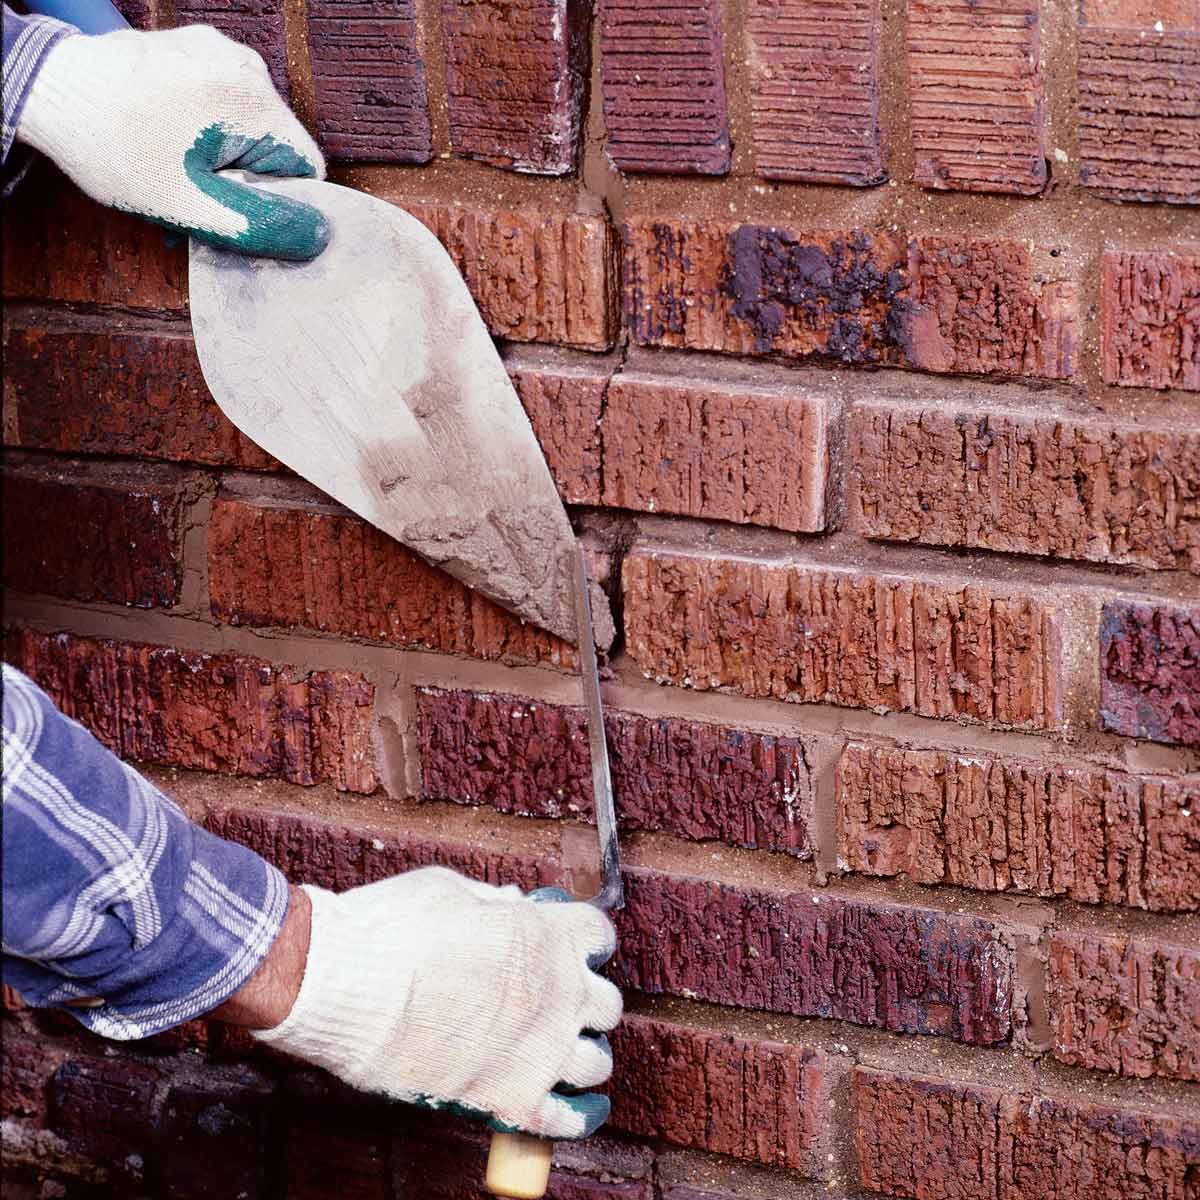
Repairing Larger Cracks
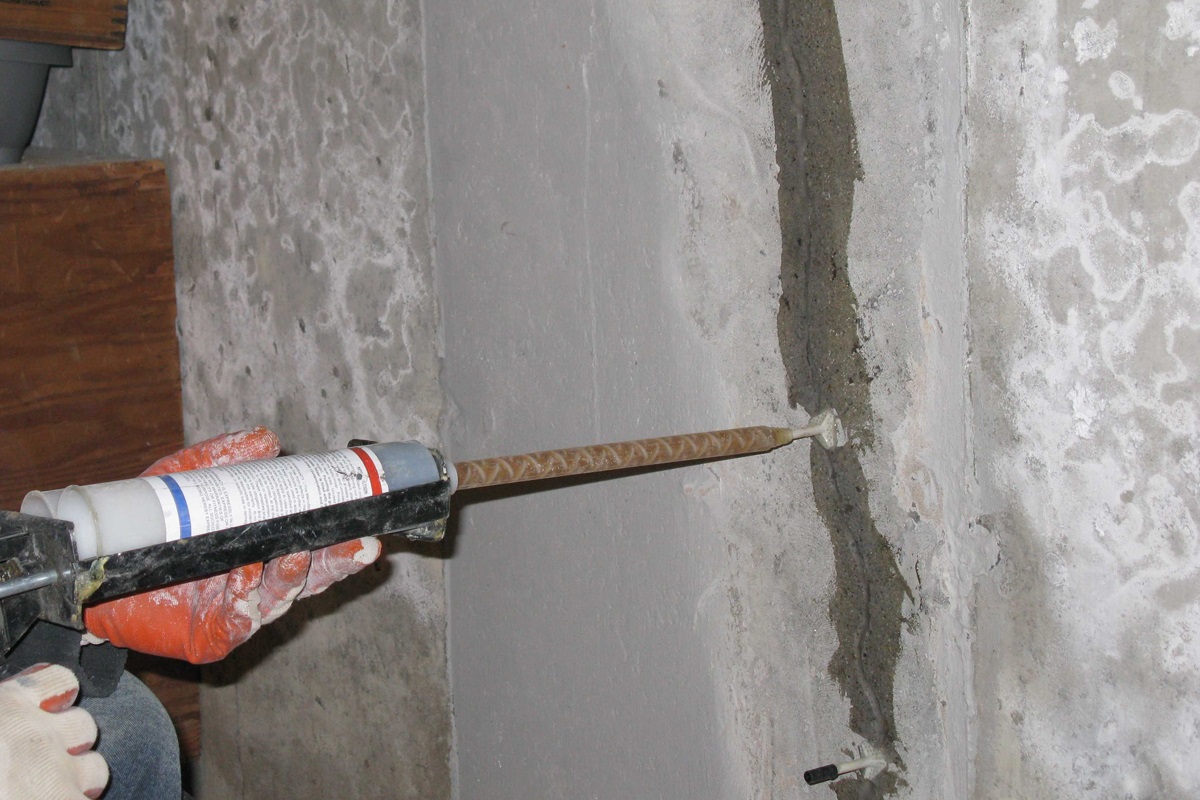
For larger cracks that exceed 1/8 inch in width, a different approach is needed. These cracks require more substantial repair methods, such as using a mortar mix or a specialized crack repair product.
Follow these steps to repair larger cracks:
- Clean the crack: Before starting the repair, clean the crack and remove any loose debris or old filler material. Use a brush or a vacuum to ensure the crack is thoroughly cleaned.
- Mix the repair material: If you are using a mortar mix, follow the instructions on the packaging to mix it to the appropriate consistency. If you are using a specialized crack repair product, follow the manufacturer’s instructions.
- Apply the repair material: Using a putty knife or a trowel, fill the crack with the repair material. Make sure to push the material into the crack, ensuring it fills the entire depth and width of the crack. Smooth the surface with the putty knife or trowel, leveling it with the surrounding wall.
- Allow it to dry: Depending on the product used, the repair material may take several hours or overnight to dry completely. Follow the manufacturer’s instructions for the recommended drying time.
- Sand the surface: Once the repair material is dry, use sandpaper or a sanding block to smooth the surface, ensuring a seamless blend with the surrounding wall. Wipe away any dust or residue.
Repairing larger cracks requires a more robust approach to ensure a lasting and effective repair. By following these steps and using the appropriate repair material, you can address the larger cracks in your exterior walls and restore their structural integrity.
Sanding the Repaired Cracks
After filling and repairing the cracks in your exterior walls, sanding is a crucial step to achieve a smooth and seamless finish. Sanding helps blend the repaired area with the surrounding wall and prepares it for priming and painting.
Follow these steps to sand the repaired cracks:
- Inspect the repaired area: Take a close look at the repaired cracks to ensure they are fully dry. Make sure there are no rough or uneven patches.
- Choose the right sandpaper: Select a fine-grit sandpaper to gently smooth the surface of the repaired cracks. A 120-150 grit sandpaper is usually a good choice for this task.
- Sand the repaired area: Using light pressure, sand the repaired area in a circular motion. Be careful not to sand too aggressively, as you may remove too much of the repair material or damage the surrounding wall surface.
- Keep the surface smooth: Continually check the surface as you sand to ensure it remains smooth and level with the rest of the wall. Sanding should be done cautiously and gradually to achieve the desired result.
- Remove dust and debris: After sanding, wipe away any dust or debris using a clean cloth or a tack cloth. This will ensure a clean surface for the next step.
By sanding the repaired cracks, you create a seamless transition between the repair material and the surrounding wall surface. This helps achieve a professional-looking finish and ensures that the repaired area is indistinguishable from the rest of the wall when painted.
Priming the Wall
After repairing the cracks in your exterior walls and sanding the repaired areas, it’s time to apply a primer. Priming is an important step in the painting process as it helps to create a smooth and even surface, improves adhesion of the paint, and enhances the overall durability of the paint job.
Follow these steps to prime the wall:
- Select the right primer: Choose a high-quality exterior primer that is compatible with the type of wall surface you have. Consult the manufacturer’s instructions or seek professional advice if needed.
- Prepare the primer: Stir the primer thoroughly before use to ensure that any settled pigments are well mixed. If necessary, thin the primer according to the manufacturer’s instructions.
- Apply the primer: Use a paintbrush or a roller to apply a thin, even coat of primer to the repaired cracks and the surrounding wall surface. Apply the primer in smooth and overlapping strokes, working from top to bottom.
- Allow it to dry: Follow the manufacturer’s instructions regarding the drying time of the primer. It typically takes a few hours for the primer to dry, but it’s best to wait overnight for optimal results.
- Inspect the primed surface: After the primer has dried, inspect the wall surface for any imperfections or areas that may require additional priming. If necessary, apply a second coat of primer to ensure complete coverage.
- Sand and clean (optional): If you notice any rough spots or drips on the primed surface, lightly sand them using fine-grit sandpaper. Wipe away any dust or debris before proceeding to the painting stage.
Priming the wall provides an excellent foundation for the paint to adhere to and ensures a more even, long-lasting paint job. It also helps to seal the repaired cracks, preventing moisture penetration and extending the life of the paint.
Painting the Exterior Wall
After completing the steps of repairing cracks, sanding, and priming your exterior walls, it’s time to finally paint and give your home a fresh and renewed look. Painting the exterior wall requires careful planning and attention to detail to ensure a professional and long-lasting finish.
Follow these steps to paint the exterior wall:
- Select the right paint: Choose a high-quality exterior paint that is specifically formulated for the type of surface you have. Consider the color, finish, and durability of the paint. Opt for weather-resistant and UV-resistant paint to ensure it withstands the elements.
- Prepare the paint: Thoroughly stir the paint to ensure an even distribution of pigments. If necessary, thin the paint according to the manufacturer’s instructions.
- Protect surrounding areas: Cover surrounding areas, windows, and fixtures with drop cloths or tape to prevent accidental paint splatters or drips.
- Start from the top: Begin by painting the highest part of the wall, such as the eaves or the highest course of bricks. This allows the paint to flow downwards without creating visible streaks or drips on the lower areas.
- Use the right tools: Use a paintbrush or a roller that is suitable for your wall surface. A brush can be used for accurate cutting-in around edges and corners, while a roller is efficient for covering larger areas.
- Apply the paint: Start by cutting-in around windows, doors, and any other detailed areas using a brush. Then, use a roller to apply the paint to the rest of the wall in smooth and even strokes. Work in small sections, overlapping each stroke for consistent coverage.
- Allow for drying time: Follow the recommended drying time specified by the paint manufacturer. Typically, it takes a few hours for the paint to dry, but it’s best to wait overnight before applying a second coat.
- Apply additional coats (if needed): If the first coat does not provide sufficient coverage, apply a second coat of paint to ensure a uniform finish. Remember to follow the recommended drying time between coats.
- Clean up: Clean your paint tools and brushes according to the paint manufacturer’s instructions. Dispose of any leftover paint or paint containers responsibly.
When painting your exterior wall, take your time and work systematically. Pay attention to detail, ensuring that the paint is applied evenly and smoothly. Remember that the quality of your paint job will greatly contribute to the overall appearance and longevity of your home’s exterior.
By following these steps and using high-quality paint, you can achieve a beautifully refreshed exterior wall that enhances the curb appeal and value of your home.
Read more: How To Paint High Exterior Walls
Conclusion
Repairing cracks in exterior walls before painting is an essential step to ensure a durable and visually appealing finish. By following the proper techniques and using the right tools and materials, you can successfully restore the integrity of your walls and achieve a professional result.
Start by assessing the cracks, identifying their size, direction, and stability. Gather all the necessary tools and materials, including cleaning supplies, filling compounds, sandpaper, primer, and paint. Properly prepare the exterior wall by cleaning, repairing any loose or damaged sections, and smoothing the surface.
For small cracks, use a flexible exterior caulk or patching compound, applying it carefully and smoothing it for a seamless finish. Larger cracks require a mortar mix or specialized crack repair product for a more substantial repair. Sand the repaired cracks to create a smooth surface that blends with the rest of the wall.
Before painting, apply a primer to the repaired area to enhance adhesion and create a uniform surface. Finally, select high-quality exterior paint and carefully apply it, working from top to bottom and using the appropriate tools. Apply additional coats if needed, allowing proper drying time between each coat.
By following these steps and taking the time to properly repair and prepare your exterior walls, you can achieve a beautifully renovated look that enhances the aesthetic appeal and longevity of your home. Remember to prioritize safety, read manufacturer instructions, and seek professional assistance if needed.
So now, armed with the knowledge and techniques provided in this article, it’s time to put them into action and transform your exterior walls with a fresh coat of paint! Enjoy the process and the satisfaction of a job well done, knowing that your efforts will result in a more attractive and well-maintained home.
Frequently Asked Questions about How To Repair Cracks In Exterior Walls Before Painting
Was this page helpful?
At Storables.com, we guarantee accurate and reliable information. Our content, validated by Expert Board Contributors, is crafted following stringent Editorial Policies. We're committed to providing you with well-researched, expert-backed insights for all your informational needs.

0 thoughts on “How To Repair Cracks In Exterior Walls Before Painting”