Home>Articles>What To Use To Wash Exterior Walls Before Painting

Articles
What To Use To Wash Exterior Walls Before Painting
Modified: January 9, 2024
Find out the best articles on what to use to wash exterior walls before painting. Discover effective methods and products for a clean and smooth painting surface.
(Many of the links in this article redirect to a specific reviewed product. Your purchase of these products through affiliate links helps to generate commission for Storables.com, at no extra cost. Learn more)
Introduction
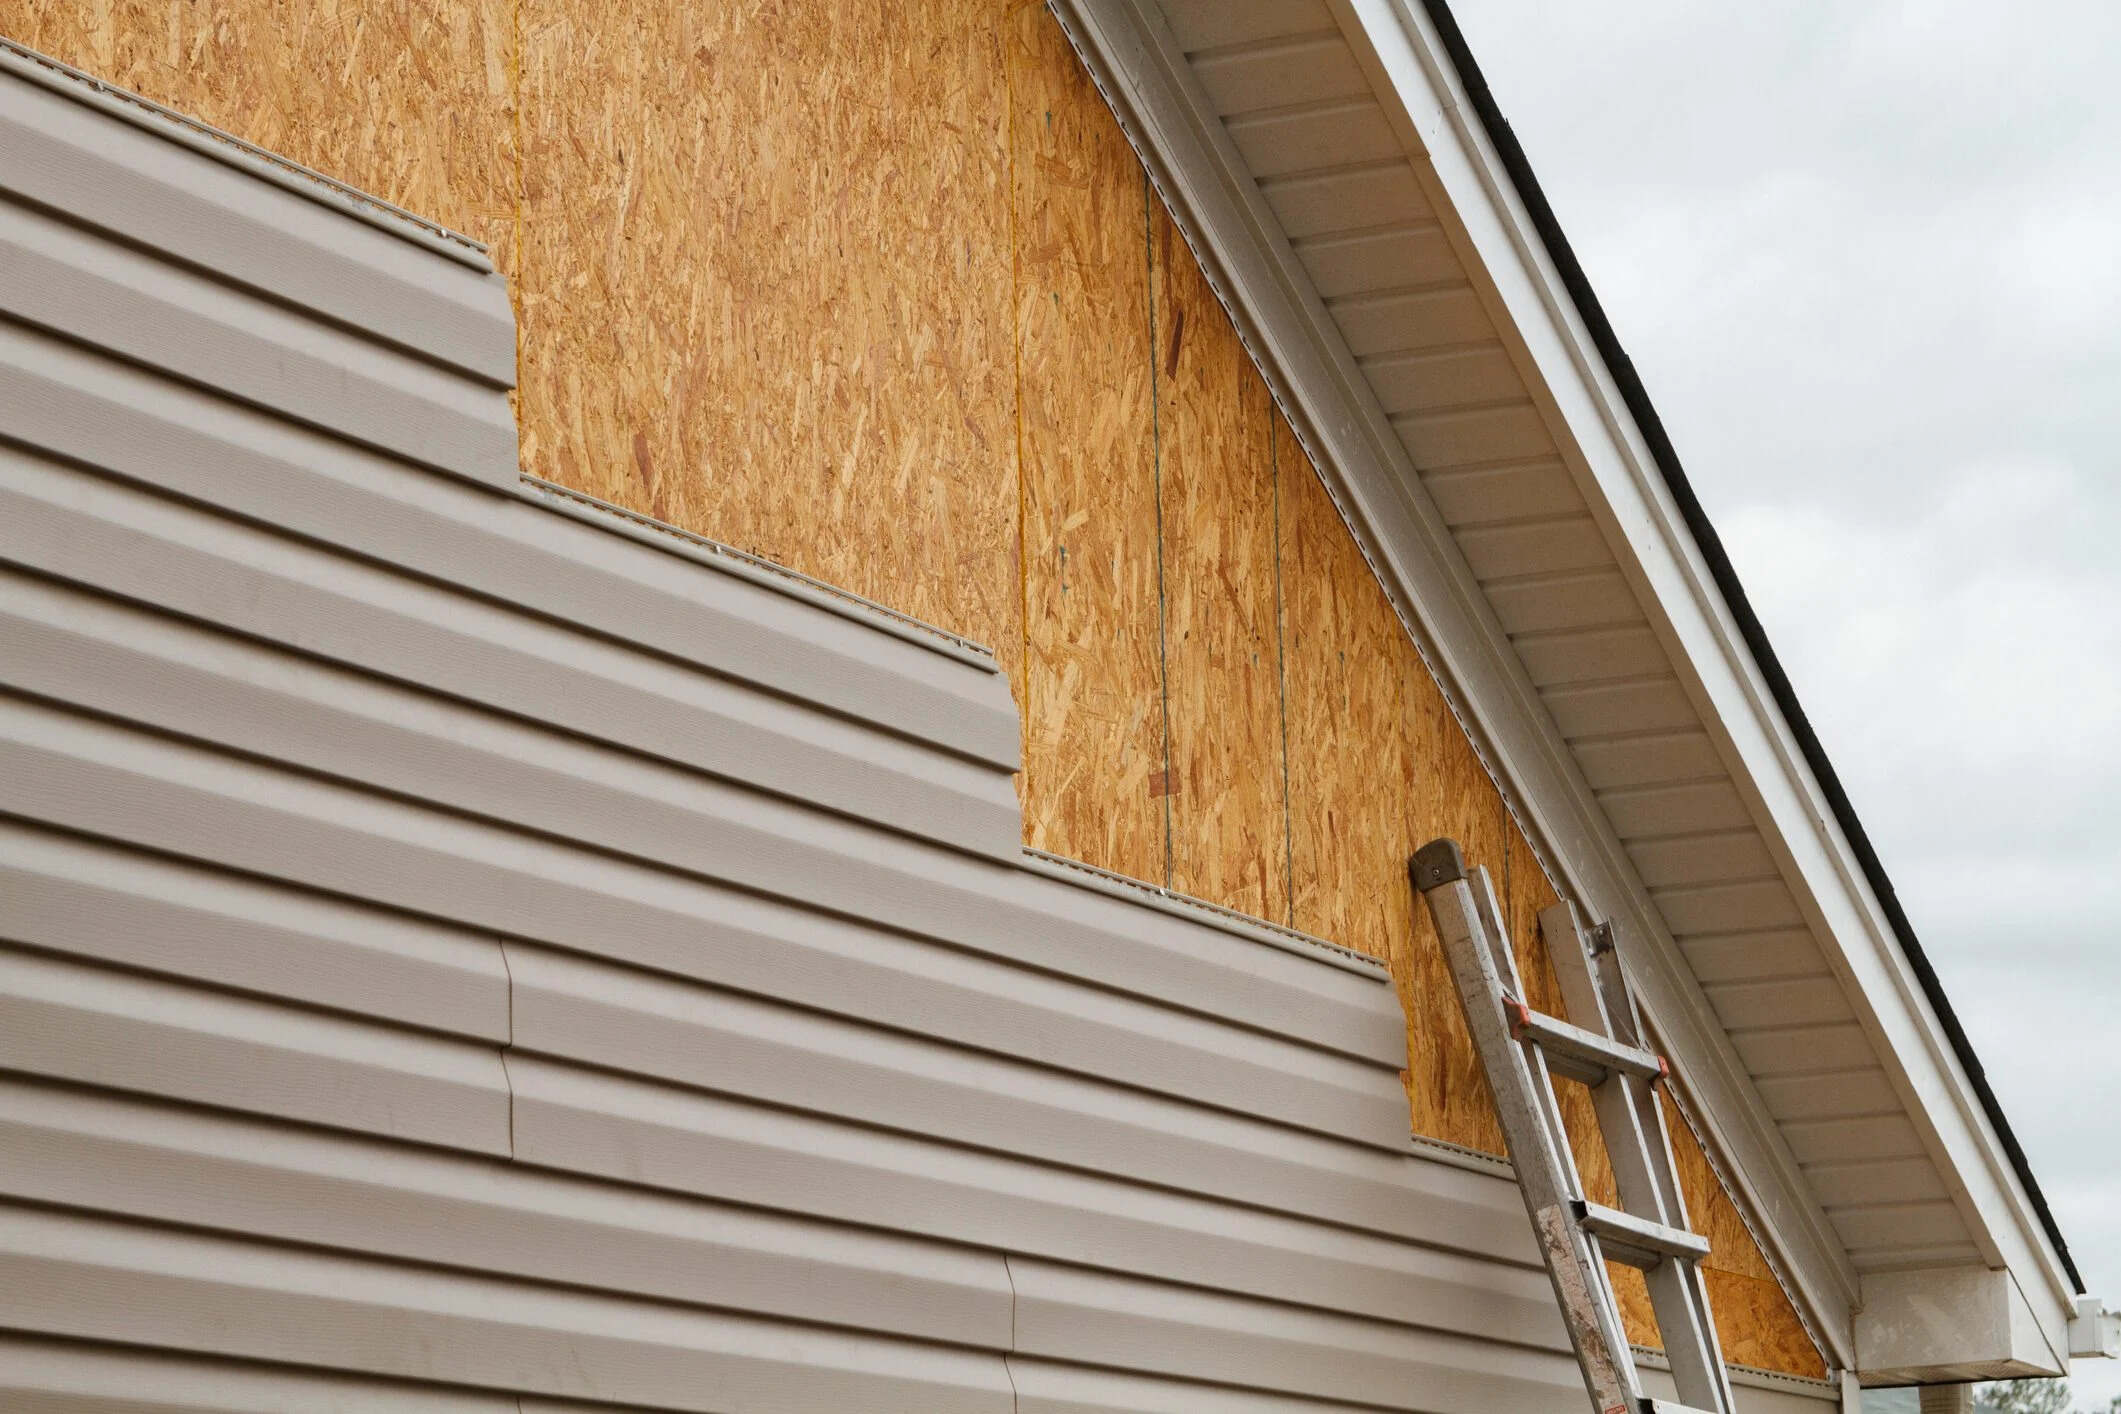
When it comes to painting the exterior of your home or building, proper preparation is essential to ensure a long-lasting and visually appealing finish. One crucial step in the preparation process is cleaning the exterior walls before painting. Cleaning the walls helps to remove dirt, grime, mold, mildew, and other contaminants that can interfere with the adhesion and durability of the paint.
Cleaning the exterior walls not only enhances the appearance of your property but also helps to protect it from further damage and deterioration. By removing dirt and pollutants, you create a clean and smooth surface that allows the paint to adhere properly. This helps to prevent premature peeling, cracking, or flaking of the paint, ultimately extending the life of your paint job.
In this article, we will explore the importance of cleaning exterior walls before painting and discuss the various types of cleaners that you can use for this task. We will also touch on important considerations and safety precautions that you should keep in mind during the cleaning process.
Key Takeaways:
- Properly cleaning exterior walls before painting is crucial for a long-lasting and visually appealing finish. It enhances adhesion, prevents damage, and ensures a vibrant and well-maintained exterior.
- Choosing the right cleaning method, considering safety precautions, and prioritizing surface preparation are essential for achieving a successful and satisfying paint job. Properly cleaned and prepared walls lead to a professional and long-lasting finish.
Importance of Cleaning Exterior Walls before Painting
Before you dive into the exciting task of painting your home’s exterior, it is crucial to understand the importance of thoroughly cleaning the walls first. Here are some key reasons why cleaning the exterior walls is an essential step in the painting process:
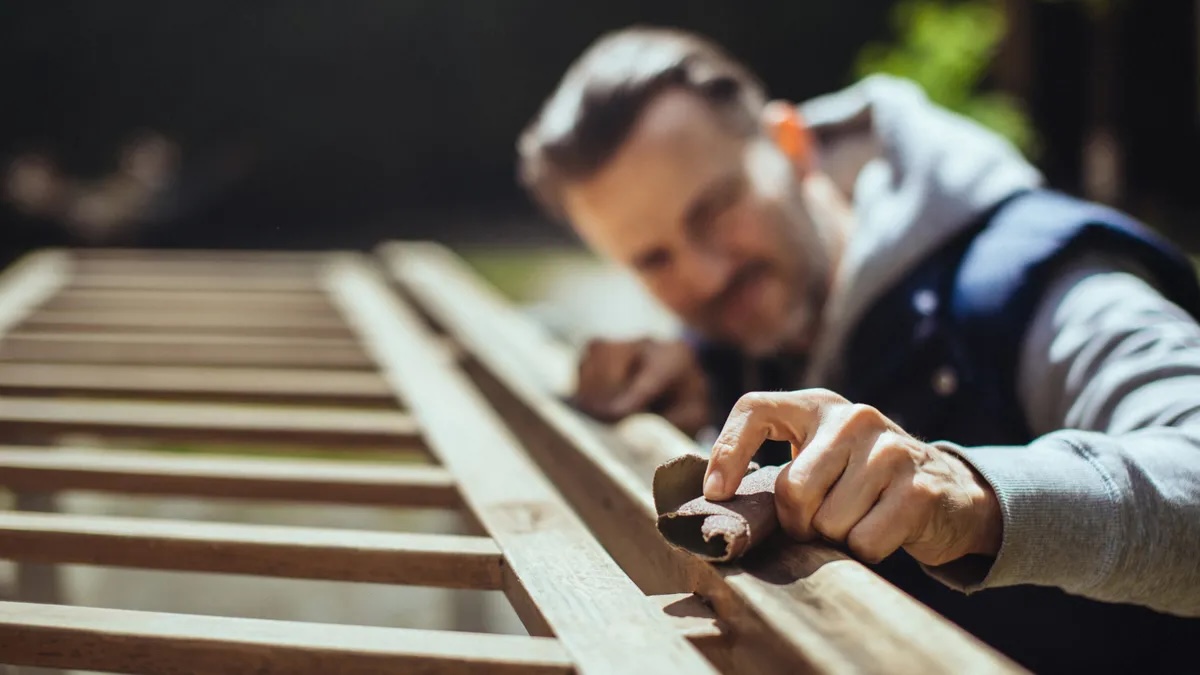
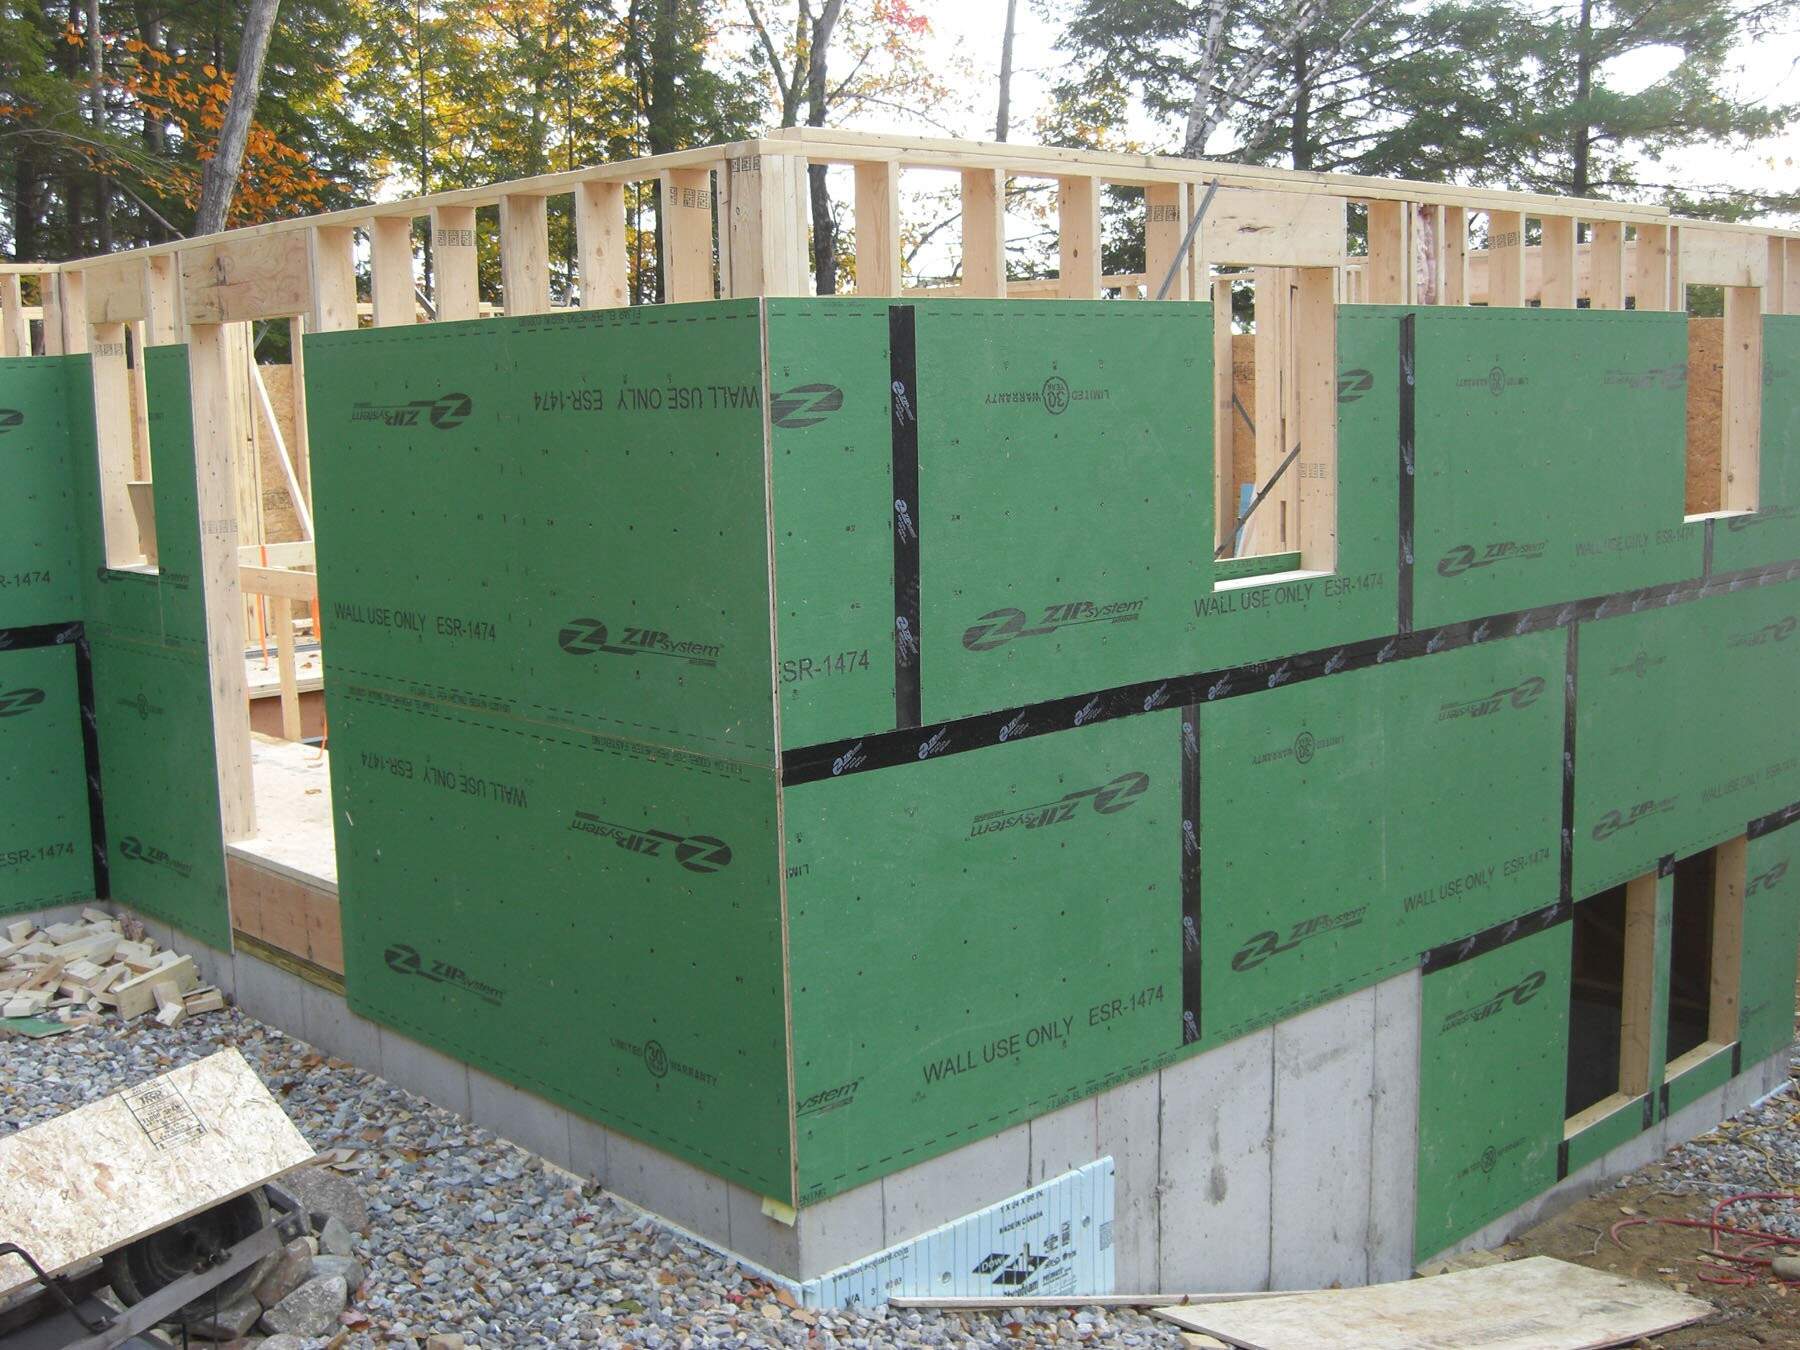
- Surface Preparation: Cleaning the walls removes accumulated dirt, dust, and debris, ensuring a smooth and clean surface for the paint to adhere to. By removing these contaminants, you provide a better foundation for the paint, allowing it to adhere evenly and prevent any imperfections.
- Improved Adhesion: Dirt, grime, and mold can create a barrier between the paint and the wall surface, hindering proper adhesion. By cleaning the walls, you remove these barriers, allowing the paint to bond effectively and increasing its longevity.
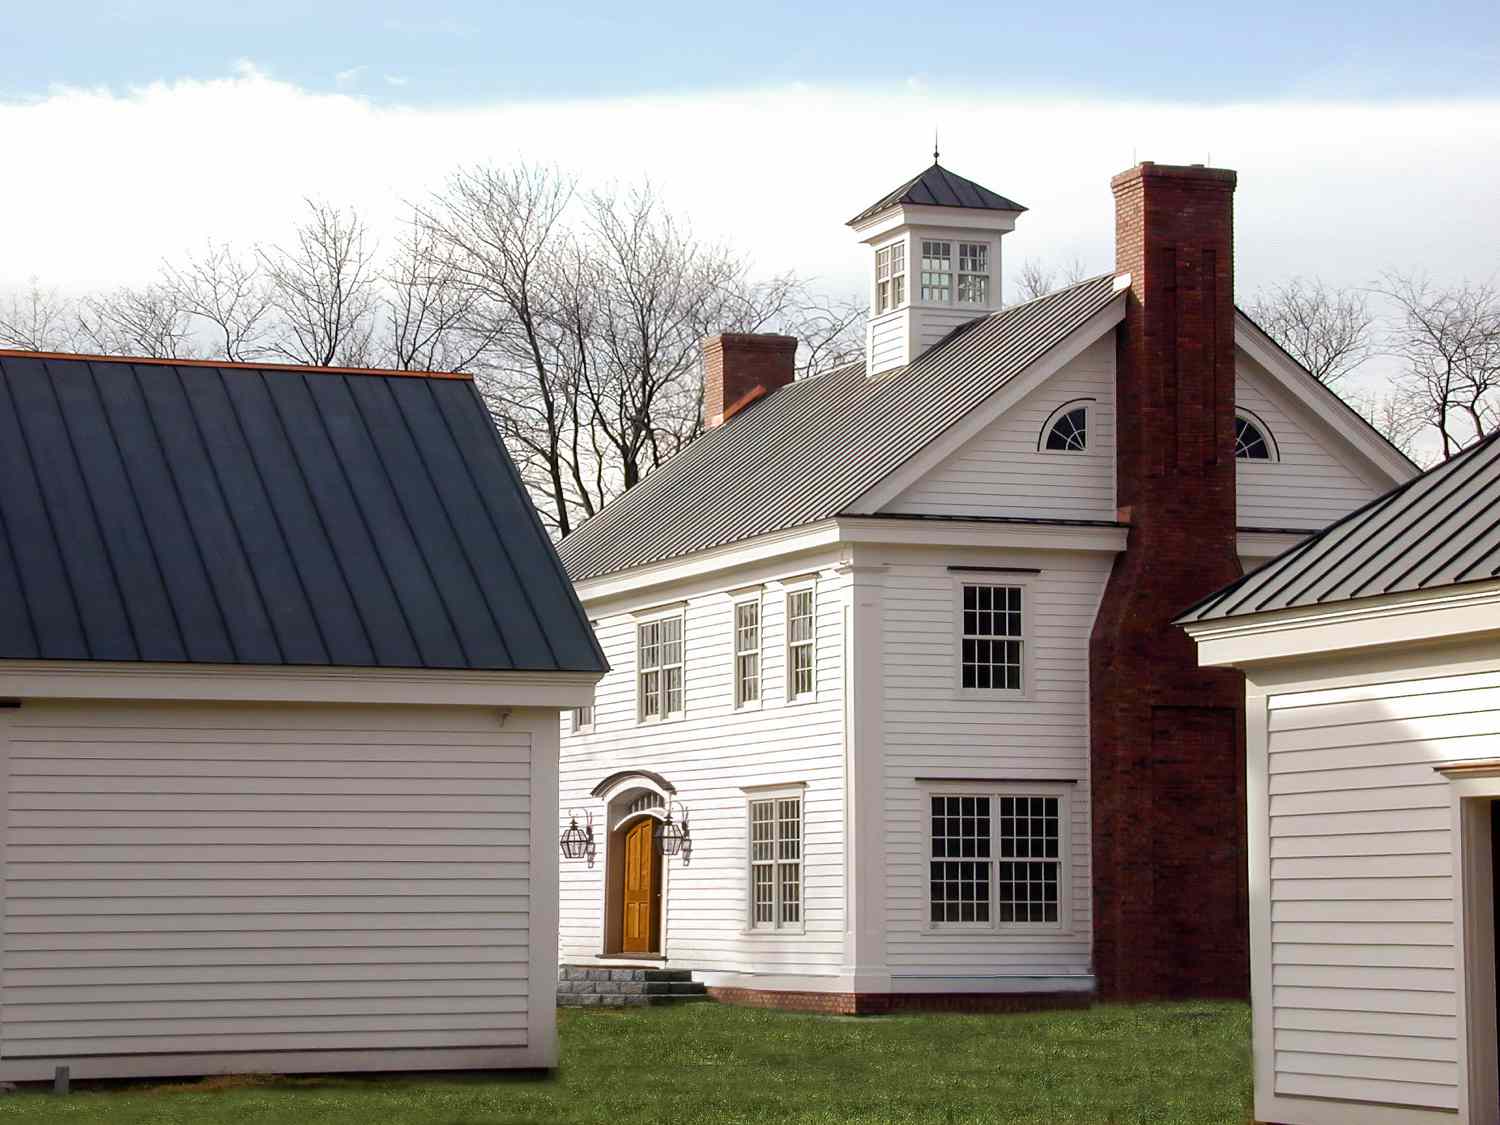
- Enhanced Appearance: Over time, exterior walls can accumulate stains, mildew, and discoloration due to environmental factors. Cleaning the walls helps to restore their original appearance, giving your home a fresh and appealing look.
- Mold and Mildew Prevention: If your walls have any traces of mold or mildew, painting over them without addressing the issue can lead to further growth and damage. Cleaning the walls thoroughly helps to eliminate these fungi, ensuring a healthy and safe environment for both you and your home.
- Longer Lasting Paint Job: A clean surface ensures better paint adhesion, which in turn leads to a longer-lasting paint job. By investing the time and effort into cleaning the walls before painting, you can enjoy the benefits of a well-maintained and vibrant exterior for years to come.
By understanding the importance of cleaning exterior walls before painting, you can set the stage for a successful and satisfying paint job. Skipping this crucial step could lead to costly and time-consuming issues in the future, such as peeling, cracking, or premature paint failure.
Types of Cleaners for Washing Exterior Walls before Painting
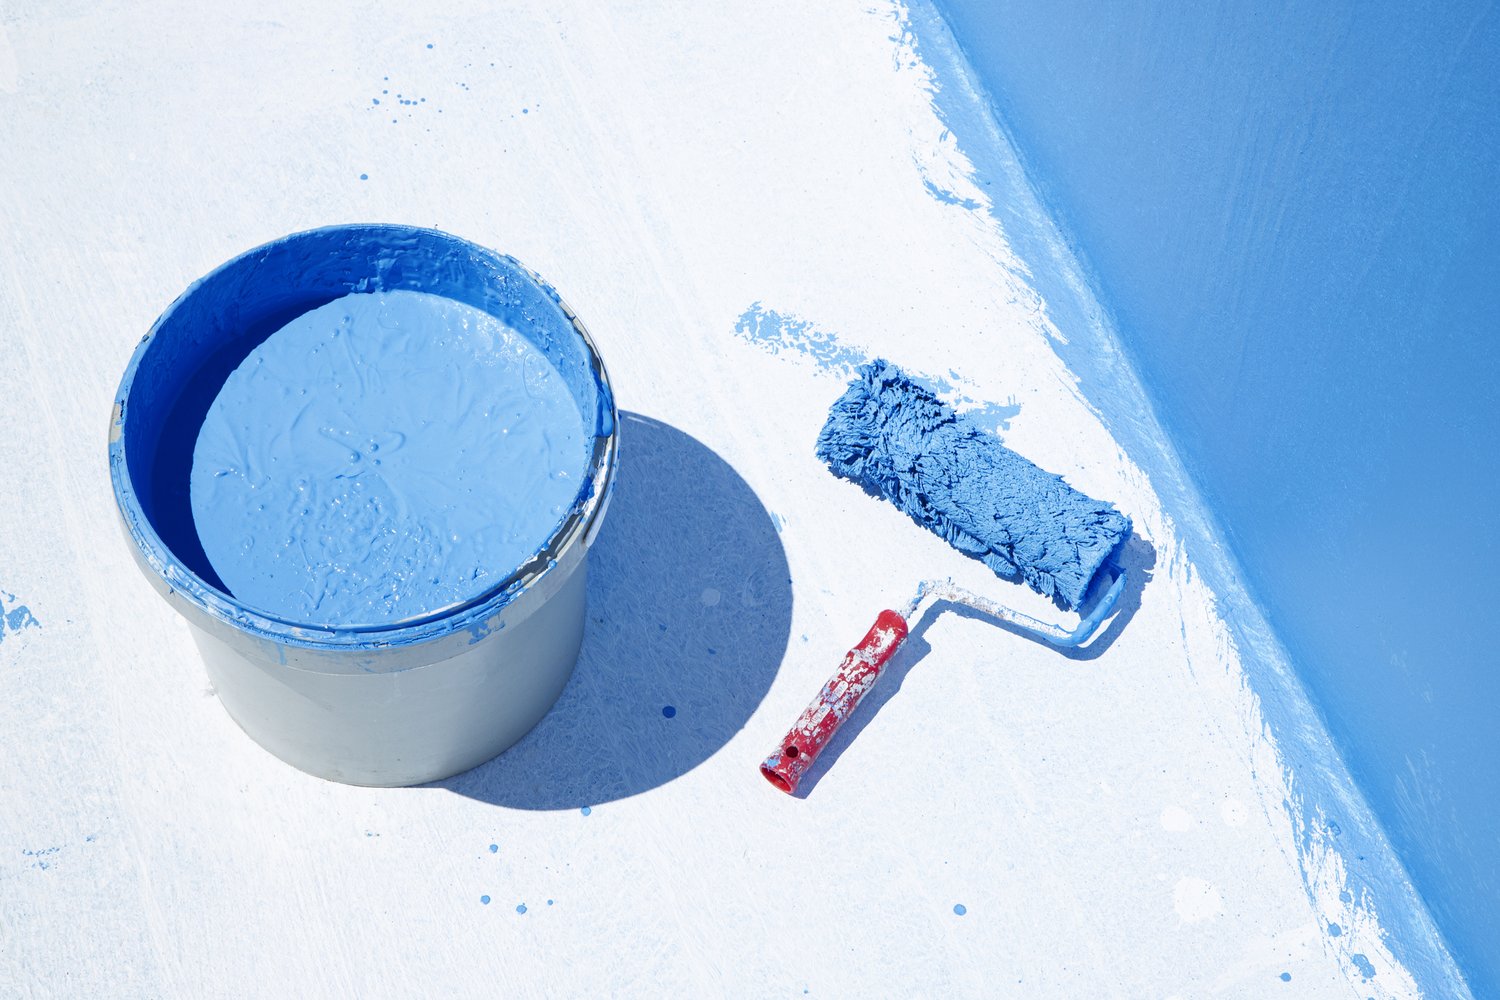
When it comes to choosing the right cleaner for washing your exterior walls before painting, there are several options available. The choice of cleaner will depend on factors such as the type of wall surface, the degree of dirt and grime buildup, and any specific concerns you may have. Here are some common types of cleaners that you can use:
- Water and Soap: This basic combination is effective for removing light dirt and debris from most wall surfaces. Using a bucket of warm water and a mild dish soap, gently scrub the walls using a soft-bristle brush or sponge. Rinse thoroughly with clean water to remove any soap residue.
- Trisodium Phosphate (TSP): TSP is a powerful cleaner commonly used for deep cleaning exterior surfaces. It effectively removes grease, mildew, and heavy stains. However, TSP can be harsh, so it is recommended to wear protective gear and follow the instructions carefully when using it.
- Bleach: Bleach is useful for removing mold, mildew, and tough stains from the walls. Mix a solution of one part bleach to three parts water, and apply it to the affected areas using a sprayer or brush. Leave it on for about 10-15 minutes, then rinse thoroughly with water.
- Pressure Washer: Pressure washing is an efficient method for cleaning large areas and heavily soiled walls. It uses a strong stream of water to remove dirt, grime, and loose paint. However, caution must be exercised as excessive pressure can damage the wall surface or force water into cracks and crevices.
- Vinegar Solution: Vinegar is a natural and environmentally friendly cleaner that can be used for light to moderate dirt and grime. Mix equal parts of vinegar and water and apply it to the walls using a sponge or brush. Rinse thoroughly with water after cleaning.
- Oxygen Bleach: Oxygen bleach is a non-toxic and eco-friendly alternative to chlorine bleach. It effectively removes stains and mold without damaging the surfaces. Follow the manufacturer’s instructions for mixing the solution and apply it using a sprayer or brush. Allow it to sit for some time before rinsing with water.
- Commercial Cleaners: There are numerous commercial cleaners available specifically formulated for cleaning exterior walls. These cleaners are designed to tackle various types of dirt, stains, and contaminants. Always read and follow the instructions on the product for the best results.
When choosing a cleaner, it’s important to consider the condition of your walls, the level of cleaning needed, and any specific concerns, such as environmental impacts or allergies. It’s a good idea to test the cleaner on a small, inconspicuous area before proceeding with the entire wall surface.
Remember, regardless of the cleaner you choose, always prioritize safety by wearing appropriate protective gear and following the manufacturer’s instructions. By using the right cleaner, you can ensure that your exterior walls are clean, properly prepared, and ready for a flawless paint job.
Water and Soap
Water and soap are one of the simplest yet effective cleaning solutions for washing exterior walls before painting. This basic combination can effectively remove light dirt and debris from most wall surfaces without causing any damage. Here’s how you can use water and soap to clean your exterior walls:
- Gather Supplies: To start, gather the necessary supplies, including a bucket, warm water, mild dish soap, a soft-bristle brush or sponge, and clean towels.
- Mix Cleaning Solution: Fill the bucket with warm water and add a small amount of mild dish soap. Stir well to create a soapy solution.
- Wet the Walls: Before applying the cleaning solution, wet the walls with clean water using a garden hose or a spray bottle. This helps loosen any loose dirt or debris and prepares the surface for cleaning.
- Scrub the Walls: Dip the soft-bristle brush or sponge into the soapy solution and start scrubbing the walls gently. Work in small sections, starting from the bottom and moving upwards. Use a circular motion to lift away dirt, grime, and any stains that may be present.
- Rinse with Clean Water: After scrubbing, rinse the walls thoroughly with clean water. Use a hose or clean sponge to remove the soap residue, ensuring that all the soap is completely washed away.
- Dry the Walls: After rinsing, use clean towels or allow the walls to air dry. This will prevent streaks or water spots from forming on the surface.
Water and soap are suitable for regular maintenance cleaning or for light dirt and debris on exterior walls. However, for more stubborn stains or heavily soiled walls, you may need to use stronger cleaning solutions or techniques.
It’s important to note that when using water and soap, it’s always best to use a mild dish soap or a cleaner specifically designed for wall surfaces. Avoid using harsh or abrasive cleaners, as they can damage the paint or the wall surface.
Before applying any cleaning solution, it’s a good idea to test it on a small, inconspicuous area of the wall to ensure that it doesn’t cause any discoloration or damage. Additionally, always follow safety guidelines, wear protective gloves, and consider using a ladder or scaffolding if necessary to reach higher areas.
By using a water and soap solution to clean your exterior walls before painting, you can ensure that the surface is free from dirt and grime, providing a clean and smooth canvas for your paint to adhere to. This simple and affordable cleaning method can make a significant difference in the overall quality and longevity of your paint job.
Trisodium Phosphate (TSP)
Trisodium Phosphate (TSP) is a powerful cleaner commonly used for deep cleaning exterior surfaces, including walls, before painting. TSP is highly effective in removing grease, grime, mildew, and heavy stains that may be difficult to eliminate using milder cleaning solutions. Here’s how you can use TSP to clean your exterior walls:
- Gather Supplies: To begin, gather the necessary supplies, including trisodium phosphate (TSP), a bucket, warm water, protective gloves, safety goggles, a stiff-bristle brush or sponge, and a garden hose.
- Mix TSP Solution: Follow the manufacturer’s instructions to mix the TSP solution in a bucket of warm water. Be sure to wear protective gloves and safety goggles to prevent any potential skin or eye irritation.
- Wet the Walls: Before applying the TSP solution, wet the walls with clean water using a hose or spray bottle. This helps to loosen any loose dirt or debris on the surface.
- Apply the TSP Solution: Dip the stiff-bristle brush or sponge into the TSP solution and start scrubbing the walls. Work in small sections, starting from the bottom and moving upwards. Apply gentle pressure to dislodge any dirt, grime, or stains on the surface.
- Rinse Thoroughly: After scrubbing, rinse the walls thoroughly with clean water. Use a hose or a clean sponge to remove any TSP residue. It’s crucial to ensure that all the TSP solution is completely rinsed off the walls to prevent any adverse effects on the paint or surface.
- Dry the Walls: After rinsing, allow the walls to air dry or use clean towels to dry them. This will prevent any streaks or water spots from forming on the surface.
When using TSP, it’s essential to follow safety guidelines and manufacturer’s instructions. TSP is a potent cleaner that can cause skin and eye irritation. It’s recommended to wear protective gloves, safety goggles, and clothing that covers your arms and legs. Also, ensure proper ventilation during the cleaning process.
While TSP is highly effective in deep cleaning exterior walls, it’s important to note that it can be harsh on certain surfaces. Avoid using TSP on delicate materials like wood or surfaces that are sensitive to chemical cleaners. Always test the TSP solution on a small, inconspicuous area of the wall to ensure it doesn’t cause any damage or discoloration.
By using Trisodium Phosphate (TSP) to clean your exterior walls before painting, you can effectively remove stubborn dirt, grime, and stains, providing a clean and properly prepared surface for your paint application. This powerful cleaner can help ensure a successful and long-lasting paint job for your home’s exterior.
Bleach
Bleach is a potent cleaning agent that can be highly effective in removing mold, mildew, and tough stains from exterior walls. It is especially useful for surfaces that have been affected by biological growth or discoloration. Here’s how you can use bleach to clean your exterior walls before painting:
- Gather Supplies: Collect the necessary supplies, including bleach, a bucket, warm water, protective gloves, safety goggles, a scrub brush or sponge, and a garden hose.
- Mix Bleach Solution: Create a bleach solution by mixing one part bleach with three parts warm water. Be sure to wear protective gloves and safety goggles to protect your skin and eyes from any potential irritation.
- Wet the Walls: Before applying the bleach solution, wet the walls with clean water. This helps to loosen any loose dirt and debris on the surface.
- Apply the Bleach Solution: Dip the scrub brush or sponge into the bleach solution and start scrubbing the walls. Work in small sections, starting from the bottom and moving upwards. Apply gentle pressure to target areas with mold, mildew, or stubborn stains.
- Allow Dwell Time: After scrubbing, allow the bleach solution to sit on the wall surface for approximately 10-15 minutes. This gives the bleach time to penetrate and effectively kill any mold or mildew present.
- Rinse Thoroughly: Rinse the walls thoroughly with clean water using a hose or sponge to remove any bleach residue. It’s crucial to ensure that all bleach is completely rinsed off the walls to avoid any potential damage to the paint or surface.
- Dry the Walls: After rinsing, allow the walls to air dry or use clean towels to dry them. This will prevent any streaks or water spots from forming on the surface.
While bleach is effective in killing mold and mildew, it’s important to remember that it is a strong chemical and should be used with caution. It may cause skin and eye irritation, so always wear protective gloves and safety goggles. Additionally, bleach can have a discoloring effect on certain surfaces, so it’s advisable to test the bleach solution on a small, inconspicuous area of the wall before applying it to the entire surface.
It’s also worth noting that bleach should not be used on certain types of surfaces, such as wood or colored surfaces, as it can cause damage or fading. Always refer to the manufacturer’s instructions and guidelines for the specific application of bleach.
By using bleach to clean your exterior walls before painting, you can effectively eliminate mold, mildew, and tough stains, creating a clean and sanitized surface for your paint job. This method can help ensure a fresh and long-lasting paint finish on your home’s exterior.
Pressure Washer
A pressure washer is a powerful tool that utilizes high-pressure water to effectively clean exterior walls before painting. It is particularly useful for large areas and heavily soiled surfaces. Here’s how you can use a pressure washer to clean your exterior walls:
- Gather Supplies: Collect the necessary supplies, including a pressure washer, clean water, a suitable detergent or cleaning solution, protective goggles, gloves, and appropriate clothing.
- Prepare the Pressure Washer: Familiarize yourself with the equipment and its controls. Ensure that the pressure washer is in good working condition and that the nozzle is suitable for the task at hand. If needed, attach the detergent application accessory.
- Protect Surrounding Areas: Before you begin, cover any delicate plants, electrical outlets, or outdoor furniture near the walls to protect them from the high-pressure water.
- Wet the Walls: Using a low-pressure setting, wet the walls with clean water. This helps to loosen any loose dirt and debris on the surface and prepares it for cleaning.
- Apply Detergent: If your pressure washer has a detergent application accessory, follow the manufacturer’s instructions to apply the suitable detergent or cleaning solution. Allow the detergent to sit on the walls for a few minutes to help break down dirt and grime.
- Pressure Wash the Walls: Begin pressure washing the walls, working in small sections at a time. Hold the pressure washer nozzle at a slight downward angle and keep a distance of around 12 to 18 inches from the surface. Move the nozzle in a sweeping motion, ensuring even coverage across the entire area.
- Rinse Thoroughly: Once you have finished pressure washing, thoroughly rinse the walls with clean water to remove any residual detergent or debris. Ensure that you rinse from top to bottom to prevent streaking.
- Dry the Walls: After rinsing, allow the walls to air dry completely before starting the painting process. This will ensure that the surface is dry and free from moisture, promoting proper paint adhesion.
When using a pressure washer, it’s important to prioritize safety. Always wear protective goggles and gloves to shield yourself from potential debris and water splatter. Additionally, be cautious with the pressure setting, as excessive pressure can damage the wall surface or force water into cracks and crevices. Follow the manufacturer’s instructions and guidelines for the specific model of pressure washer you are using.
It’s worth noting that pressure washing is best suited for more durable surfaces like brick, concrete, or stucco. Avoid using a pressure washer on delicate surfaces like wood or siding, as it may cause damage. For such surfaces, consider using gentler cleaning methods.
By utilizing a pressure washer to clean your exterior walls before painting, you can quickly and efficiently remove dirt, grime, and loose paint, creating a clean and prepared surface. This method is particularly beneficial for large or heavily soiled areas, helping you achieve an optimal paint result for your home’s exterior.
Use a mixture of trisodium phosphate (TSP) and water to wash exterior walls before painting. TSP is effective at removing dirt, grease, and mildew, ensuring a clean surface for paint adhesion. Always follow safety precautions when using TSP.
Vinegar Solution
Vinegar is a natural and environmentally-friendly cleaner that can be used to effectively clean exterior walls before painting. It is particularly useful for light to moderate dirt and grime. Here’s how you can use a vinegar solution to clean your exterior walls:
- Gather Supplies: Collect the necessary supplies, including white vinegar, a bucket, warm water, a sponge or soft-bristle brush, protective gloves, and a garden hose.
- Mix Vinegar Solution: In a bucket, mix equal parts of white vinegar and warm water to create a vinegar solution. This will serve as your cleaning solution.
- Wet the Walls: Before applying the vinegar solution, wet the walls with clean water using a hose or spray bottle. This helps to loosen any loose dirt or debris on the surface.
- Apply the Vinegar Solution: Dip the sponge or soft-bristle brush into the vinegar solution and start scrubbing the walls. Work in small sections, starting from the bottom and moving upwards. Apply gentle pressure to remove any dirt, grime, or stains on the surface.
- Rinse Thoroughly: Once you have finished scrubbing, rinse the walls thoroughly with clean water. Use a hose or clean sponge to remove any vinegar residue. It’s important to ensure that all the vinegar is completely rinsed off the walls to prevent any potential effects on the paint or surface.
- Dry the Walls: After rinsing, allow the walls to air dry or use clean towels to dry them. This will prevent any streaks or water spots from forming on the surface.
Vinegar is known for its natural cleaning properties, including its ability to remove dirt, grime, and some stains. It is also effective in neutralizing odors. The acidity of vinegar helps to break down grease and residue, leaving your exterior walls clean and refreshed.
It’s important to note that vinegar may not be as effective on heavy or stubborn stains or heavily soiled walls. In such cases, you may need to consider using stronger cleaning solutions or techniques.
Additionally, it’s always recommended to test the vinegar solution on a small, inconspicuous area of the wall before applying it to the entire surface. This will ensure that it doesn’t cause any discoloration or damage.
Using a vinegar solution to clean your exterior walls before painting offers a natural and cost-effective alternative. By harnessing the cleaning power of vinegar, you can effectively remove dirt and grime, preparing the surface for a smooth and successful paint application.
Oxygen Bleach
Oxygen bleach is a non-toxic and environmentally-friendly cleaner that can be used to effectively clean exterior walls before painting. It is particularly useful for removing stains, mold, and mildew without causing damage to the surface. Here’s how you can use oxygen bleach to clean your exterior walls:
- Gather Supplies: Collect the necessary supplies, including oxygen bleach, a bucket, warm water, a soft-bristle brush or sponge, protective gloves, safety goggles, and a garden hose.
- Mix Oxygen Bleach Solution: Follow the manufacturer’s instructions to mix the appropriate amount of oxygen bleach with warm water in a bucket. Ensure that you wear protective gloves and safety goggles during the mixing process.
- Wet the Walls: Before applying the bleach solution, wet the walls with clean water using a hose or spray bottle. This helps to loosen any loose dirt or debris on the surface.
- Apply the Oxygen Bleach Solution: Dip the soft-bristle brush or sponge into the oxygen bleach solution and start scrubbing the walls. Work in small sections, starting from the bottom and moving upwards. Apply gentle pressure to target any stains, mold, or mildew.
- Allow Dwell Time: After scrubbing, allow the oxygen bleach solution to sit on the wall surface for the recommended time specified by the manufacturer. This allows the bleach to penetrate and effectively remove stains, mold, and mildew.
- Rinse Thoroughly: Rinse the walls thoroughly with clean water to remove any residual oxygen bleach. Use a hose or a clean sponge to ensure that all the bleach solution is completely rinsed off the walls.
- Dry the Walls: After rinsing, allow the walls to air dry or use clean towels to dry them. This will help to prevent any streaks or water spots from forming on the surface.
Oxygen bleach is a safe and effective alternative to chlorine bleach. It works by releasing oxygen molecules that help to break down stains and remove dirt and grime from the surface without causing harm or discoloration.
It’s important to note that oxygen bleach may not be as effective on heavily soiled walls or extremely stubborn stains. In such cases, you may need to consider using stronger cleaning solutions or techniques.
Always follow the manufacturer’s instructions when using oxygen bleach, as different products may have specific recommendations regarding the mixing ratio and application process.
By utilizing oxygen bleach to clean your exterior walls before painting, you can safely and effectively remove stains, mold, and mildew, providing a clean and prepared surface for your paint job. This method ensures that your paint will adhere properly, resulting in a beautiful and long-lasting finish.
Read more: What Insulation To Use For Exterior Walls
Commercial Cleaners
Commercial cleaners are specifically formulated cleaning solutions that are designed to tackle various types of dirt, stains, and contaminants on exterior walls. They are available in a wide range of options to cater to different cleaning needs. Here’s how you can use commercial cleaners to clean your exterior walls before painting:
- Gather Supplies: Collect the necessary supplies, including the commercial cleaner of your choice, a bucket, warm water, a soft-bristle brush or sponge, protective gloves, safety goggles, and a garden hose.
- Read the Instructions: Start by carefully reading and following the instructions provided on the commercial cleaner’s packaging. Different cleaners may have specific guidelines, mixing ratios, or application methods.
- Mix the Cleaning Solution: If required, prepare the cleaning solution by following the instructions provided. This may involve diluting the commercial cleaner with water in a bucket. Make sure to wear protective gloves and safety goggles during this process.
- Wet the Walls: Before applying the commercial cleaner, wet the walls with clean water. This helps to loosen any loose dirt or debris on the surface.
- Apply the Cleaning Solution: Dip the soft-bristle brush or sponge into the cleaning solution, and gently scrub the walls starting from the bottom and working your way up. Apply the cleaner to small sections at a time, ensuring even coverage.
- Rinse Thoroughly: Once you have finished scrubbing, thoroughly rinse the walls with clean water to remove any residual cleaner. Use a hose or a clean sponge to ensure that all the cleaner is completely rinsed off the walls.
- Dry the Walls: After rinsing, allow the walls to air dry or use clean towels to dry them. This will help prevent any streaks or water spots from forming on the surface.
Commercial cleaners are specifically formulated to provide effective results, taking into account different types of stains and contaminants on exterior walls. They offer convenience and efficiency in the cleaning process and can often provide superior cleaning power when compared to homemade or generic solutions.
When choosing a commercial cleaner, consider factors such as the specific needs of your exterior walls, the type of contaminants you are dealing with, and any environmental or safety concerns you may have. Read product reviews and seek recommendations from professionals or other users to ensure that you select a reputable and reliable brand.
Ensure that you carefully follow the instructions provided by the manufacturer regarding mixing, application, and safety precautions. Some commercial cleaners may require specific dwell times on the surface before rinsing, so it’s important to adhere to these guidelines to achieve the best results.
By using a commercial cleaner suitable for your specific cleaning needs, you can effectively remove stubborn stains, dirt, and contaminants from your exterior walls, providing a clean and prepared surface for your paint application. This will contribute to a professional, long-lasting paint job that enhances the overall appearance of your property.
Considerations before Choosing a Cleaning Method
Before you decide on a cleaning method for washing your exterior walls before painting, it’s important to consider several factors. These considerations will ensure that you choose the most appropriate cleaning method for your specific needs. Here are some key factors to keep in mind:
- Type of Wall Surface: The type of wall surface plays a significant role in determining the suitable cleaning method. Different surfaces, such as brick, stucco, wood, vinyl, or concrete, may require different cleaning techniques and solutions. For example, a gentle cleaning method may be more suitable for delicate surfaces like wood, while tougher methods may be needed for concrete or brick.
- Extent of Dirt and Grime Buildup: The degree of dirt and grime buildup on your exterior walls will influence the cleaning method you choose. For surfaces with light to moderate buildup, simple methods like water and soap or vinegar solution may be sufficient. However, heavily soiled walls may require stronger cleaners or techniques, such as pressure washing or commercial cleaners.
- Presence of Stains or Discoloration: If your walls have stubborn stains or discoloration, it’s essential to select a cleaning method that can effectively address these issues. Consider using cleaners specifically formulated for stain removal, such as oxygen bleach or commercial stain removers, to achieve optimal results.
- Environmental and Health Considerations: Take into account any environmental or health concerns you may have when choosing a cleaning method. If you prefer eco-friendly options, consider using natural cleaners like vinegar or oxygen bleach. Additionally, if anyone in your household has sensitivities or allergies to certain chemicals, make sure to choose cleaning solutions that are safe and non-toxic.
- Safety Precautions and Equipment: Some cleaning methods, such as pressure washing or using strong chemical cleaners, may require specific safety precautions and equipment. Ensure that you have the necessary protective gear, such as gloves, safety goggles, and appropriate clothing, to protect yourself during the cleaning process. Also, consider the availability and feasibility of any equipment required for the chosen method, such as a pressure washer or specific brushes.
- Time and Effort: Consider the time and effort involved in each cleaning method. Some methods, like water and soap or vinegar solution, may require more manual labor and time to achieve desired results. On the other hand, using a pressure washer or commercial cleaners may expedite the cleaning process, but they may require additional setup and cleanup time.
By carefully considering these factors, you can make an informed decision about the most suitable cleaning method for your exterior walls. It’s also important to note that in some cases, a combination of different cleaning methods may be needed to effectively address various cleaning challenges that may be present on the surface.
Ultimately, choosing the right cleaning method will ensure that your exterior walls are properly cleaned and prepared for painting, resulting in a smooth and successful paint application that enhances the overall appearance and longevity of your property.
Safety Precautions while Cleaning Exterior Walls
While cleaning the exterior walls of your home before painting, it’s important to prioritize safety to ensure a smooth and accident-free process. Here are some essential safety precautions to keep in mind:
- Protective Gear: Wear proper protective gear, including goggles, gloves, and appropriate clothing, to shield yourself from any potential hazards. This will protect your eyes, skin, and body from chemicals, debris, and water splatter.
- Ladder and Scaffolding Safety: If you need to reach higher areas, use a stable ladder or scaffolding. Ensure that your ladder is on a flat and stable surface, and do not overreach while working. Follow ladder safety guidelines, such as maintaining three points of contact and using a spotter if possible.
- Electrical Hazards: Be cautious around electrical outlets, light fixtures, and power lines. Avoid spraying water directly at electrical components to prevent electric shock. If necessary, turn off the power supply to any outdoor electrical outlets before cleaning.
- Chemical Handling: When using cleaning solutions or chemicals, carefully read and follow the manufacturer’s instructions. Some substances may have specific usage guidelines, dilution ratios, or safety precautions that need to be adhered to. Ensure proper ventilation in the work area to prevent the accumulation of fumes.
- Surface Stability: Before climbing ladders or scaffolding, inspect the wall surface for any signs of instability, such as loose or crumbling areas. Avoid working on unstable or damaged surfaces, as they could pose a safety risk. Seek professional assistance if significant repairs are required before cleaning and painting.
- Slip and Fall Prevention: Take precautions to prevent slips and falls. Avoid working on wet surfaces by allowing them to dry thoroughly before proceeding. Use non-slip shoes to maintain a secure footing, and be cautious of any tripping hazards, such as tools, hoses, or cords.
- Chemical Compatibility: Be aware of the compatibility of cleaning solutions with different surface materials. Certain chemicals may cause damage or discoloration to specific surfaces like wood or certain types of siding. Test the cleaning solution on a small, inconspicuous area first to ensure it doesn’t have any unwanted effects before applying it to the entire surface.
- Water Pressure: If using a pressure washer, exercise caution with water pressure settings. High pressure can damage the wall surface or force water into cracks and crevices, leading to potential water damage. Start with lower pressure levels and gradually increase as needed, keeping a safe distance from the surface.
- Environmental Considerations: Consider the impact of your cleaning methods on the environment. Avoid disposing of cleaning solutions or rinsing off chemicals directly into storm drains or natural water sources. Follow local regulations and guidelines for proper waste disposal.
By following these safety precautions, you can minimize the risk of accidents, injuries, and damage while cleaning the exterior walls of your home. Safety should always be the top priority during any home improvement project, ensuring that both you and your property are protected throughout the process.
Conclusion
Cleaning the exterior walls before painting is a critical step that should not be overlooked. It not only enhances the appearance of your property but also ensures the longevity and durability of your paint job. By removing dirt, grime, mold, and other contaminants, you create a clean and smooth surface for the paint to adhere to, preventing issues like peeling or cracking in the future.
In this article, we explored various methods for cleaning exterior walls before painting. From simple solutions like water and soap or vinegar to more powerful options such as trisodium phosphate (TSP), bleach, pressure washers, oxygen bleach, and commercial cleaners, each method offers unique advantages and is suited for different cleaning needs.
Before choosing a cleaning method, it’s important to consider factors such as the type of wall surface, the degree of dirt and grime buildup, the presence of stains or discoloration, and any environmental or health considerations. Additionally, following the necessary safety precautions, such as wearing protective gear and being cautious around electrical hazards, is essential to ensure a safe cleaning process.
By taking the time to clean your exterior walls properly before painting, you set the foundation for a successful and long-lasting paint job. A clean and properly prepared surface allows the paint to adhere better and ensures a smooth and professional finish. Not only will your property look more visually appealing, but it will also be better protected against the elements, extending its overall lifespan.
Remember, when in doubt, it’s always a good idea to consult with professionals or seek guidance from experts in the field. They can provide valuable insights and recommendations based on their experience and expertise.
In conclusion, investing the time and effort into cleaning your exterior walls before painting is crucial for achieving optimal results. By selecting the appropriate cleaning method, following safety precautions, and considering specific needs, you can ensure a clean and well-prepared surface that sets the stage for a stunning and durable paint job, enhancing the overall beauty and value of your property for years to come.
Ready to get more hands-on with your home's upkeep? Dive deeper into maintaining your property by learning how to effectively clean siding using a pressure washer. For those who prefer a more personal touch in home projects, our guide on DIY home improvement offers practical steps to enhance your living space yourself. Lastly, ensure your home stays in top shape by checking out essential home maintenance tasks that should never be overlooked. Each piece offers valuable insights, ensuring your home not only looks its best but also functions flawlessly.
Frequently Asked Questions about What To Use To Wash Exterior Walls Before Painting
Was this page helpful?
At Storables.com, we guarantee accurate and reliable information. Our content, validated by Expert Board Contributors, is crafted following stringent Editorial Policies. We're committed to providing you with well-researched, expert-backed insights for all your informational needs.

0 thoughts on “What To Use To Wash Exterior Walls Before Painting”