Articles
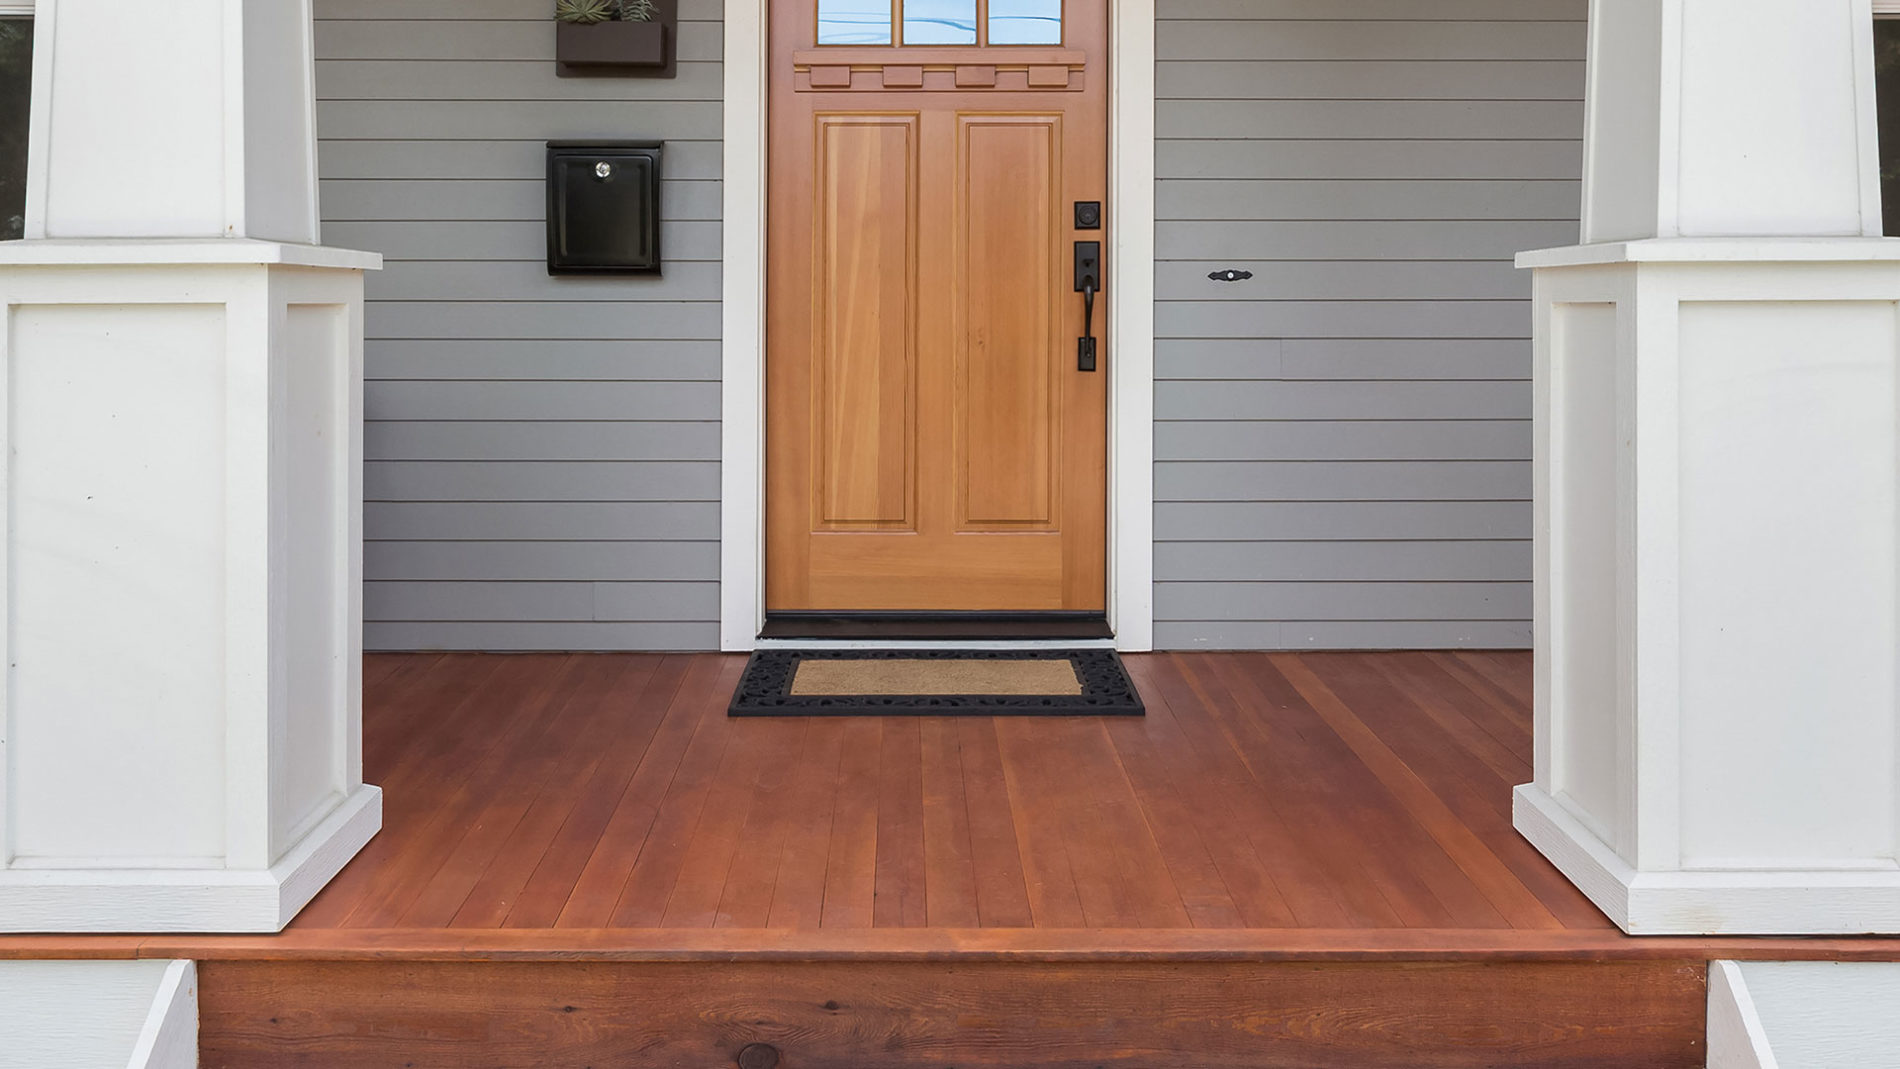
How To Replace Columns On Porch
Modified: August 27, 2024
Learn how to replace columns on your porch with our informative articles. Find step-by-step instructions and expert tips for a successful renovation project.
(Many of the links in this article redirect to a specific reviewed product. Your purchase of these products through affiliate links helps to generate commission for Storables.com, at no extra cost. Learn more)
Introduction
Welcome to our comprehensive guide on how to replace columns on a porch. Over time, porch columns can deteriorate due to weather conditions, pests, or general wear and tear. It is important to identify and address any damaged or weakened columns to ensure the structural integrity and aesthetic appeal of your porch.
In this article, we will walk you through the process of assessing the condition of your porch columns, gathering the necessary tools and materials, removing the old columns, preparing the area for installation, installing the new columns, securing them in place, and finally adding the finishing touches. By following these steps, you’ll be able to replace your porch columns and restore the beauty and functionality of your outdoor space.
Before we begin, it’s worth noting that this guide assumes you have basic knowledge of tools and construction techniques. If you’re unsure about any step in the process, it’s always a good idea to consult a professional contractor or builder.
Now, let’s get started and learn how to replace columns on your porch!
Key Takeaways:
- Revitalize your porch by replacing old columns with the right tools, materials, and careful installation. Ensure safety, stability, and aesthetic appeal for a welcoming outdoor space.
- Assess, prepare, and secure your porch columns for a successful replacement. Follow step-by-step guidelines, prioritize safety, and add finishing touches for a renewed and beautiful porch.
Read more: How To Replace Columns On Front Porch
Assessing the Condition of the Porch Columns
The first step in replacing porch columns is to assess their condition. This involves carefully inspecting the columns to determine if they are damaged, deteriorating, or no longer providing adequate support.
Start by visually examining each column. Look for signs of rotting or decay, such as cracks, splits, or areas that appear soft or discolored. Check for any insect infestation, such as termites or carpenter ants, which can weaken the wood. Additionally, look for any structural issues, such as leaning or sagging columns.
Next, gently press or tap on the columns to check for stability. If they feel wobbly or give under pressure, it’s a clear indication that they need to be replaced. Inspect the base of the columns, as this is often the area that deteriorates first due to moisture exposure.
If your porch has decorative trim or molding, inspect these elements as well. Look for any damage, warping, or loose pieces, as these may also require replacement or repair.
Aside from the visual inspection, it’s important to consider the age of the columns. Porch columns that are several decades old may be more prone to deterioration and may not meet modern structural codes. It’s a good idea to replace older columns even if they still appear to be in relatively good condition.
Keep in mind that assessing the condition of porch columns can be more challenging if they are covered by siding or other materials. In such cases, you may need to remove the covering to fully inspect the columns.
Once you have assessed the condition of the porch columns, you will have a better understanding of whether they need to be replaced and what type of replacement is required. In the next section, we will discuss the tools and materials you’ll need for the replacement process.
Gathering the Necessary Tools and Materials
Before you start replacing the porch columns, it’s essential to gather all the necessary tools and materials. Having everything prepared ahead of time will help streamline the process and ensure a smoother installation.
Here is a list of the tools and materials you’ll likely need:
- Safety equipment: Safety should always be a priority. Make sure to have gloves, safety glasses, and a dust mask to protect yourself during the process.
- Tape measure: This will be used to measure the dimensions of the existing columns and determine the length and width of the replacement columns.
- Saw: Depending on the material of your porch columns, you may need a handsaw or a power saw to cut them to the appropriate length.
- Hammer: A hammer will come in handy for removing nails and securing the new columns in place.
- Screwdriver or drill: Depending on the type of fasteners used, you may need a screwdriver or drill to remove screws or secure the new columns.
- Level: This tool will help ensure that the new columns are installed straight and plumb.
- Shims: Shims are used to provide additional support and adjust the level of the columns if needed.
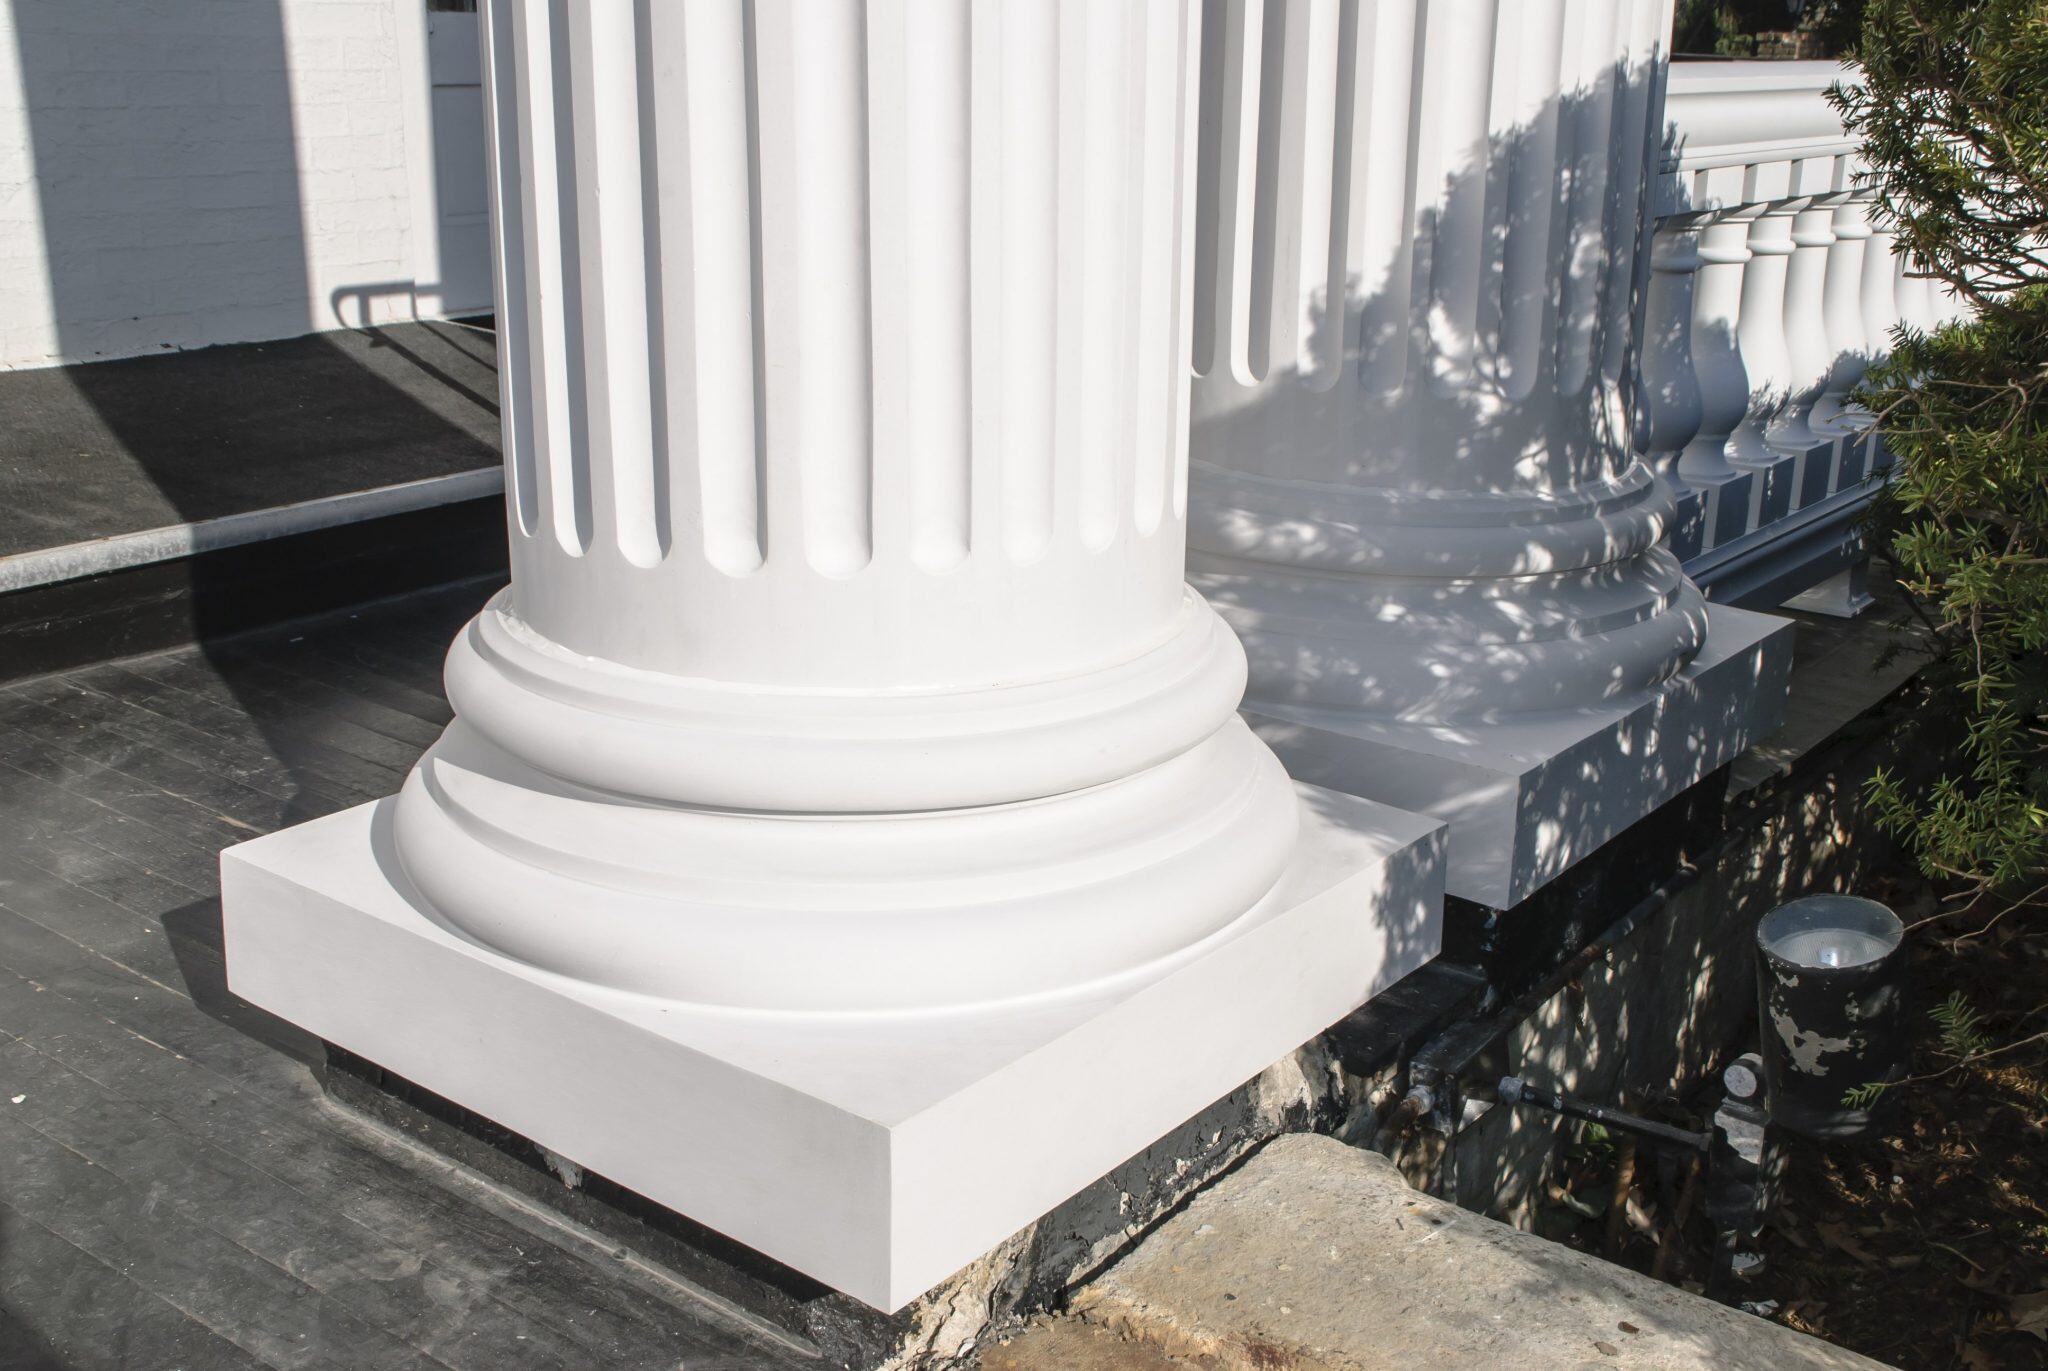
- Replacement columns: Choose columns made from a durable material such as wood, fiberglass, or PVC. Consider the style and design that matches your porch’s aesthetic.
- Fasteners: Select appropriate nails or screws for securing the columns, ensuring they are compatible with the materials and provide sufficient strength.
- Primer and paint: If your replacement columns are made of wood, you may need primer and paint to protect them from weather elements and enhance their appearance.
Take inventory of the tools and materials you already have and make a list of what needs to be purchased or borrowed. It’s always a good idea to have some extra fasteners and shims on hand in case they are needed.
By gathering all the necessary tools and materials before starting the replacement process, you’ll be well-prepared and able to work efficiently. In the next section, we’ll guide you through the steps of removing the old porch columns.
Removing the Old Columns
Once you have assessed the condition of your porch columns and gathered the necessary tools and materials, the next step is to remove the old columns. This process requires careful attention to ensure the safe and efficient removal of the existing columns.
Follow these steps to remove the old porch columns:
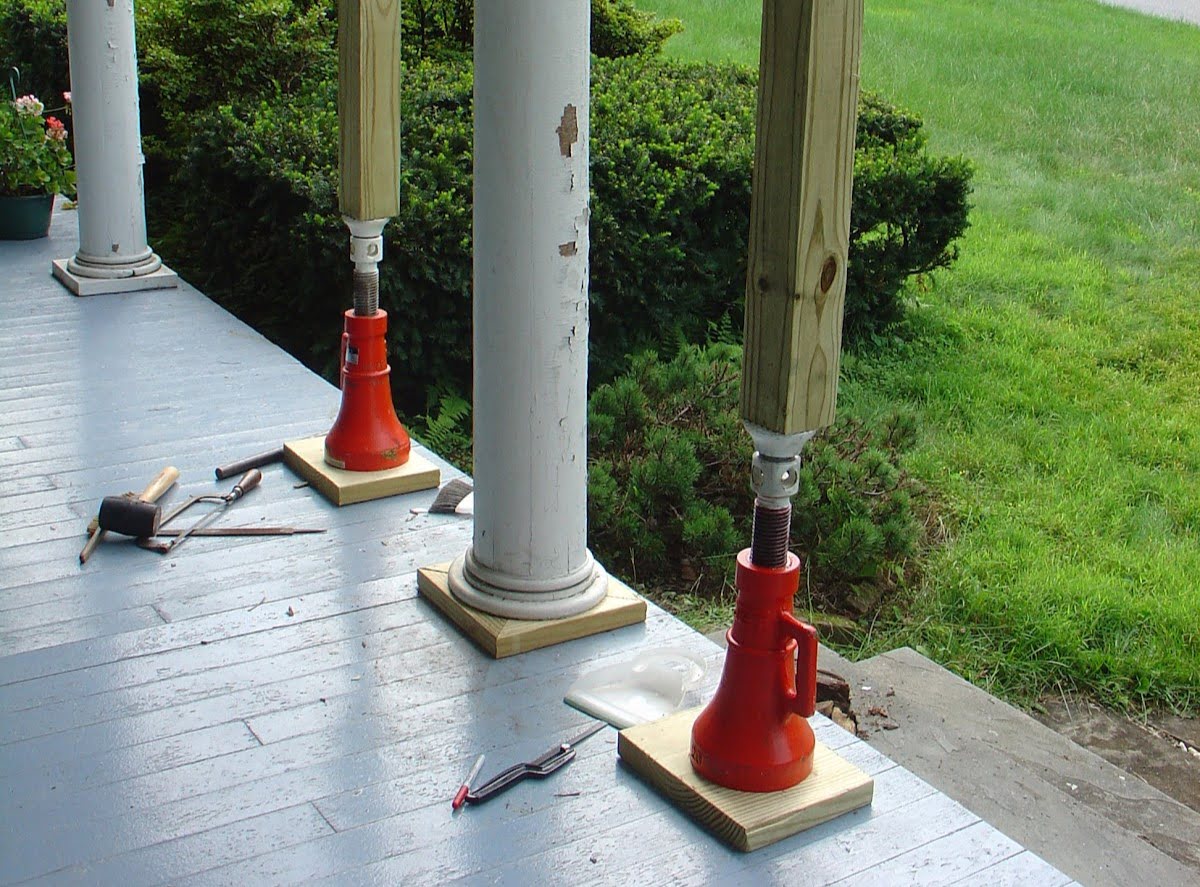
- Start by providing temporary support: Before removing any columns, it’s important to provide temporary support to the porch roof. Use sturdy props such as adjustable support jacks or 2×4 lumber to secure the roof in place.
- Remove any trim or decorative elements: If there is trim or decorative molding around the columns, carefully remove it using a pry bar or a trim removal tool. Take caution not to damage the surrounding materials.
- Detach the columns from the porch base: Depending on the way the columns are attached, you may need to use a saw or a screwdriver to disconnect them from the porch base. Cut through any nails or screws that are securing the columns.
- Prop the columns for safe removal: Once the columns are detached from the base, use additional temporary supports to prop them up. This will prevent them from falling and causing damage during the removal process.
- Remove the columns: Carefully lift and remove the old columns from their position. Enlist the help of a friend or family member to ensure a safe and controlled removal. If the columns are too heavy or awkward to handle, consider using a mechanical lift or hiring professionals for assistance.
- Inspect the surrounding area: With the old columns removed, inspect the porch base and surrounding areas for any damage or rot. If necessary, make any necessary repairs or treatments to ensure a solid foundation for the new columns.
Throughout the removal process, take care to avoid damaging any surrounding structures or materials. Keep in mind that the columns may be heavier than expected, especially if they are made of a dense material like wood or stone. Always prioritize safety and seek assistance when needed.
Once the old columns have been carefully removed, you can proceed to the next steps of preparing the area for installation. We will cover these steps in the next section.
Preparing the Area for Installation
With the old porch columns successfully removed, it’s time to prepare the area for the installation of the new columns. This step is crucial to ensure a solid and secure foundation for the replacement columns.
Follow these guidelines to prepare the area for the installation:
- Clean the porch base: Thoroughly clean the porch base and remove any debris, dirt, or old caulking. Use a broom or a vacuum to sweep away loose particles.
- Inspect for damage: Carefully inspect the porch base for any signs of damage, rot, or deterioration. If any issues are found, address them before proceeding with the installation. Fill any cracks or holes with appropriate filler or perform necessary repairs.
- Measure and mark the installation points: Use a tape measure to determine the exact placement of the new columns. Measure the distance from the porch base to the desired height of the columns. Mark these points with a pencil or masking tape for reference during installation.
- Prepare the column bases: Depending on the type of columns you are installing, you may need to attach bases or platforms to provide a stable surface for the columns to rest on. Follow the manufacturer’s instructions for attaching these bases securely to the porch base.
- Apply appropriate sealants: Before installing the new columns, it’s advisable to apply appropriate sealants or waterproofing treatments to the porch base and the column bases. This will provide added protection against moisture damage.
- Ensure proper alignment: Use a level to ensure that the marked installation points are level and plumb. Adjust as necessary to ensure an even and straight installation.
By taking the time to properly prepare the area for installation, you’ll ensure a stable foundation and optimize the longevity of your new porch columns. With the area prepared, you can now proceed to the exciting step of installing the replacement columns!
When replacing columns on a porch, make sure to properly measure and choose columns that are the correct size and style for your porch. Consider materials such as wood, vinyl, or fiberglass for durability and maintenance. Always consult a professional if you are unsure about the installation process.
Installing the New Columns
Now that you’ve prepared the area, it’s time to install the new porch columns. This is an exciting step that will bring your porch one step closer to being revitalized. Follow these guidelines to ensure a successful installation:
- Place the new columns: Carefully position the new columns onto the prepared bases or platforms. Ensure that they align with the marked installation points and are level and plumb.
- Secure the columns: Use screws or nails to attach the columns to the porch base or platform. Make sure to use appropriate fasteners that are suitable for the material of your columns and provide sufficient strength.
- Check for stability: Once the columns are secured, gently test their stability by applying slight pressure. They should feel firm and not wobble. If needed, use shims to provide additional support and ensure the columns are level.
- Adjust the height: If necessary, trim the columns to the desired height using a saw. Take caution and measure carefully to achieve an even and symmetrical appearance.
- Double-check alignment: Use a level to confirm that the newly installed columns are still level and plumb. Make any adjustments as needed to ensure proper alignment.
During the installation process, it’s important to handle the new columns with care to avoid any damage or dents. Take extra precautions when attaching them to the porch base or platforms to prevent splitting or cracking.
Once you have successfully installed the new porch columns, you are now ready to move on to the next step of securing them in place to ensure their long-term stability. We’ll cover this important step in the following section.
Securing the Columns in Place
After installing the new porch columns, the next crucial step is to secure them in place to ensure their stability and longevity. Properly securing the columns will provide structural support and prevent any shifting or movement over time. Follow these guidelines to securely fasten the columns:
- Use appropriate fasteners: Select high-quality screws or nails that are suitable for the material of your columns and the porch base. Make sure they are long enough to penetrate both the columns and the base securely.
- Space the fasteners evenly: Space the fasteners evenly around the circumference of each column to distribute the load evenly. This will help prevent any stress concentrations and ensure the columns are properly secured.
- Drive the fasteners securely: Use a drill or a hammer to drive the fasteners into place. Take care not to overtighten them, as this can cause damage to the columns or the base. Instead, tighten them until they are snug and provide a firm hold.
- Check for stability: After securing all the fasteners, check the stability of the columns by applying gentle pressure. They should feel solid and not move or wobble. If any movement is detected, adjust the fasteners or add additional support as necessary.
- Consider additional support options: Depending on the design and weight of your columns, you may need to consider additional support options. This could include installing L-brackets or metal reinforcement plates to provide extra stability and prevent any future shifting.
It’s important to follow the manufacturer’s recommendations and guidelines when securing the columns in place. These guidelines will vary depending on the material of the columns, so be sure to refer to the specific instructions for your chosen columns.
Once the columns are securely fastened, double-check their alignment and make any necessary adjustments. It’s essential to ensure they are straight and level to maintain the overall aesthetic appeal and structural integrity of your porch.
Now that your porch columns are firmly in place, it’s time to add the finishing touches to complete the replacement process. We’ll discuss these final steps in the next section.
Adding Finishing Touches
Congratulations! You’ve successfully installed and secured your new porch columns. Now it’s time to add the finishing touches to complete the replacement process and enhance the overall appearance of your porch. These final touches will help blend the new columns seamlessly with the rest of your porch and create a polished, cohesive look. Follow these guidelines to add the finishing touches:
- Fill any gaps or seams: Inspect the gaps between the columns and the porch base, as well as any seams or joints. Use an appropriate caulking or filler to fill in these gaps and create a smooth, finished surface. Choose a color that matches or complements the color of your columns for a seamless look.
- Paint or stain the columns: If your columns are made of wood, consider applying a coat of primer and paint or stain to protect them from the elements and enhance their appearance. Follow the manufacturer’s instructions and choose a paint or stain that suits the style and aesthetic of your porch.
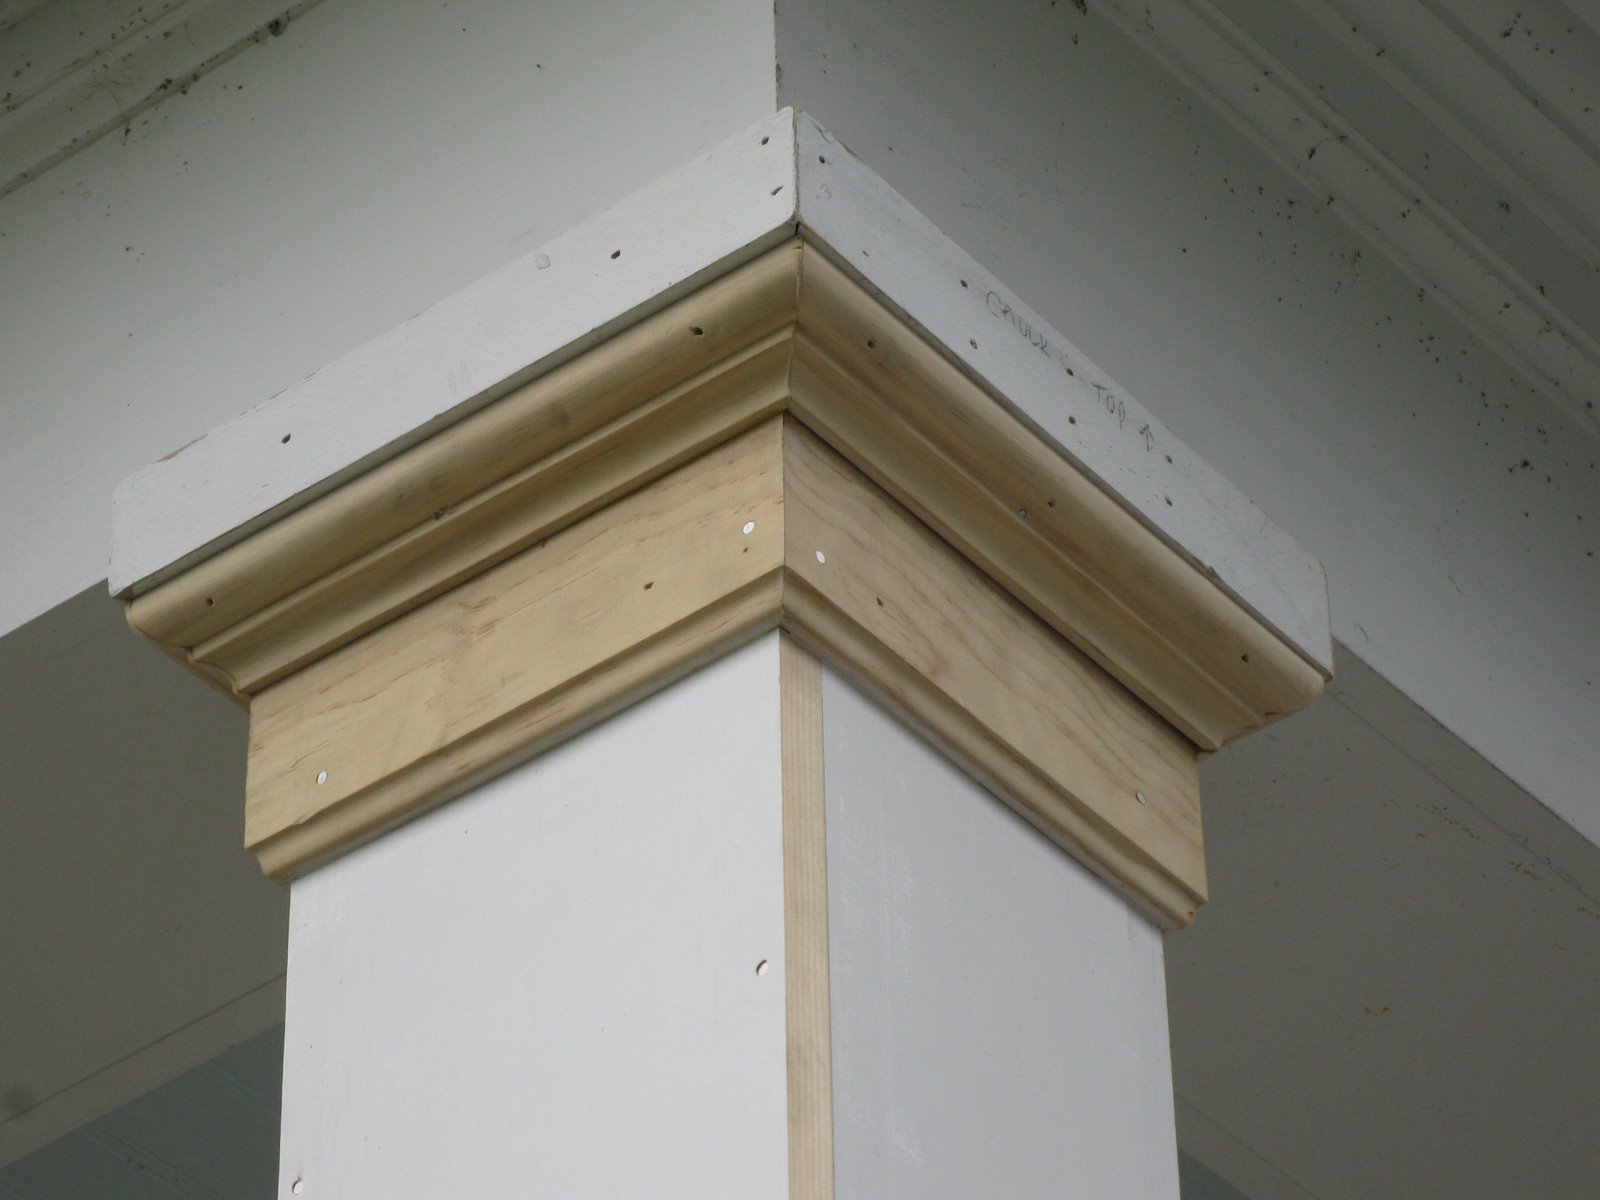
- Reattach trim or decorative elements: If you had to remove any trim or decorative molding during the replacement process, now is the time to reinstall them. Use appropriate screws or nails to securely attach the trim, ensuring it aligns properly with the columns and porch base.
- Clean up the area: Give your porch a thorough cleaning to remove any dust, debris, or construction residue that may have accumulated during the replacement process. Use a broom, vacuum, or hose to clean the area, paying attention to the base of the columns and the surrounding surfaces.
- Consider additional embellishments: Depending on your personal preference and the style of your porch, you may want to add additional embellishments to enhance the overall appearance. This could include decorative brackets, corbels, or architectural accents that complement the columns and add visual interest.
By paying attention to these finishing touches, you’ll elevate the look of your porch and ensure a seamless transition from old to new columns. Take your time to complete these final steps with care and attention to detail for the best results.
With the installation, securing, and finishing touches complete, you can now step back and admire your renewed porch. The replacement of the columns not only improves the structural integrity but also adds visual appeal to your outdoor space.
Remember to perform regular maintenance and inspections to keep your porch columns in excellent condition for years to come. Enjoy your newly replaced porch columns and the beauty they bring to your home!
If you have any further questions or need additional assistance, don’t hesitate to seek the help of a professional contractor or builder to ensure the longevity and safety of your porch.
Conclusion
Replacing columns on a porch can seem like a daunting task, but with the right guidance and preparation, it can be a rewarding and achievable project. By following the steps outlined in this comprehensive guide, you can successfully assess the condition of your porch columns, gather the necessary tools and materials, remove the old columns, prepare the area for installation, install the new columns, secure them in place, and add the finishing touches.
Remember, safety should always be a priority throughout the process. Use appropriate safety equipment, seek professional assistance if needed, and take your time to ensure each step is done correctly.
By replacing old, damaged, or deteriorating porch columns, you not only improve the overall aesthetics of your outdoor space but also ensure the structural integrity of your porch. Strong and durable columns provide essential support and stability, enhancing the longevity and safety of your porch.
Regular maintenance and inspections are key to extending the lifespan of your new porch columns. Keep an eye out for signs of damage or wear, and address any issues promptly to prevent further damage and costly repairs down the line.
Whether you choose wood, fiberglass, or PVC columns, take pride in the transformation you’ve achieved by replacing your porch columns. Your renewed porch will be a welcoming and beautiful space that you can enjoy for years to come.
We hope this comprehensive guide has provided you with the knowledge and confidence to successfully replace the columns on your porch. Remember to consult professional contractors or builders if you are unsure about any aspect of the process or need additional guidance.
Now, it’s time to get started and bring new life to your porch by replacing those old columns. Best of luck with your project!
Frequently Asked Questions about How To Replace Columns On Porch
Was this page helpful?
At Storables.com, we guarantee accurate and reliable information. Our content, validated by Expert Board Contributors, is crafted following stringent Editorial Policies. We're committed to providing you with well-researched, expert-backed insights for all your informational needs.


0 thoughts on “How To Replace Columns On Porch”