
Articles
How To Build Front Porch Columns
Modified: October 20, 2024
Learn how to build beautiful front porch columns with our informative articles. Increase your home's curb appeal and add a touch of elegance to your entryway.
(Many of the links in this article redirect to a specific reviewed product. Your purchase of these products through affiliate links helps to generate commission for Storables.com, at no extra cost. Learn more)
Introduction
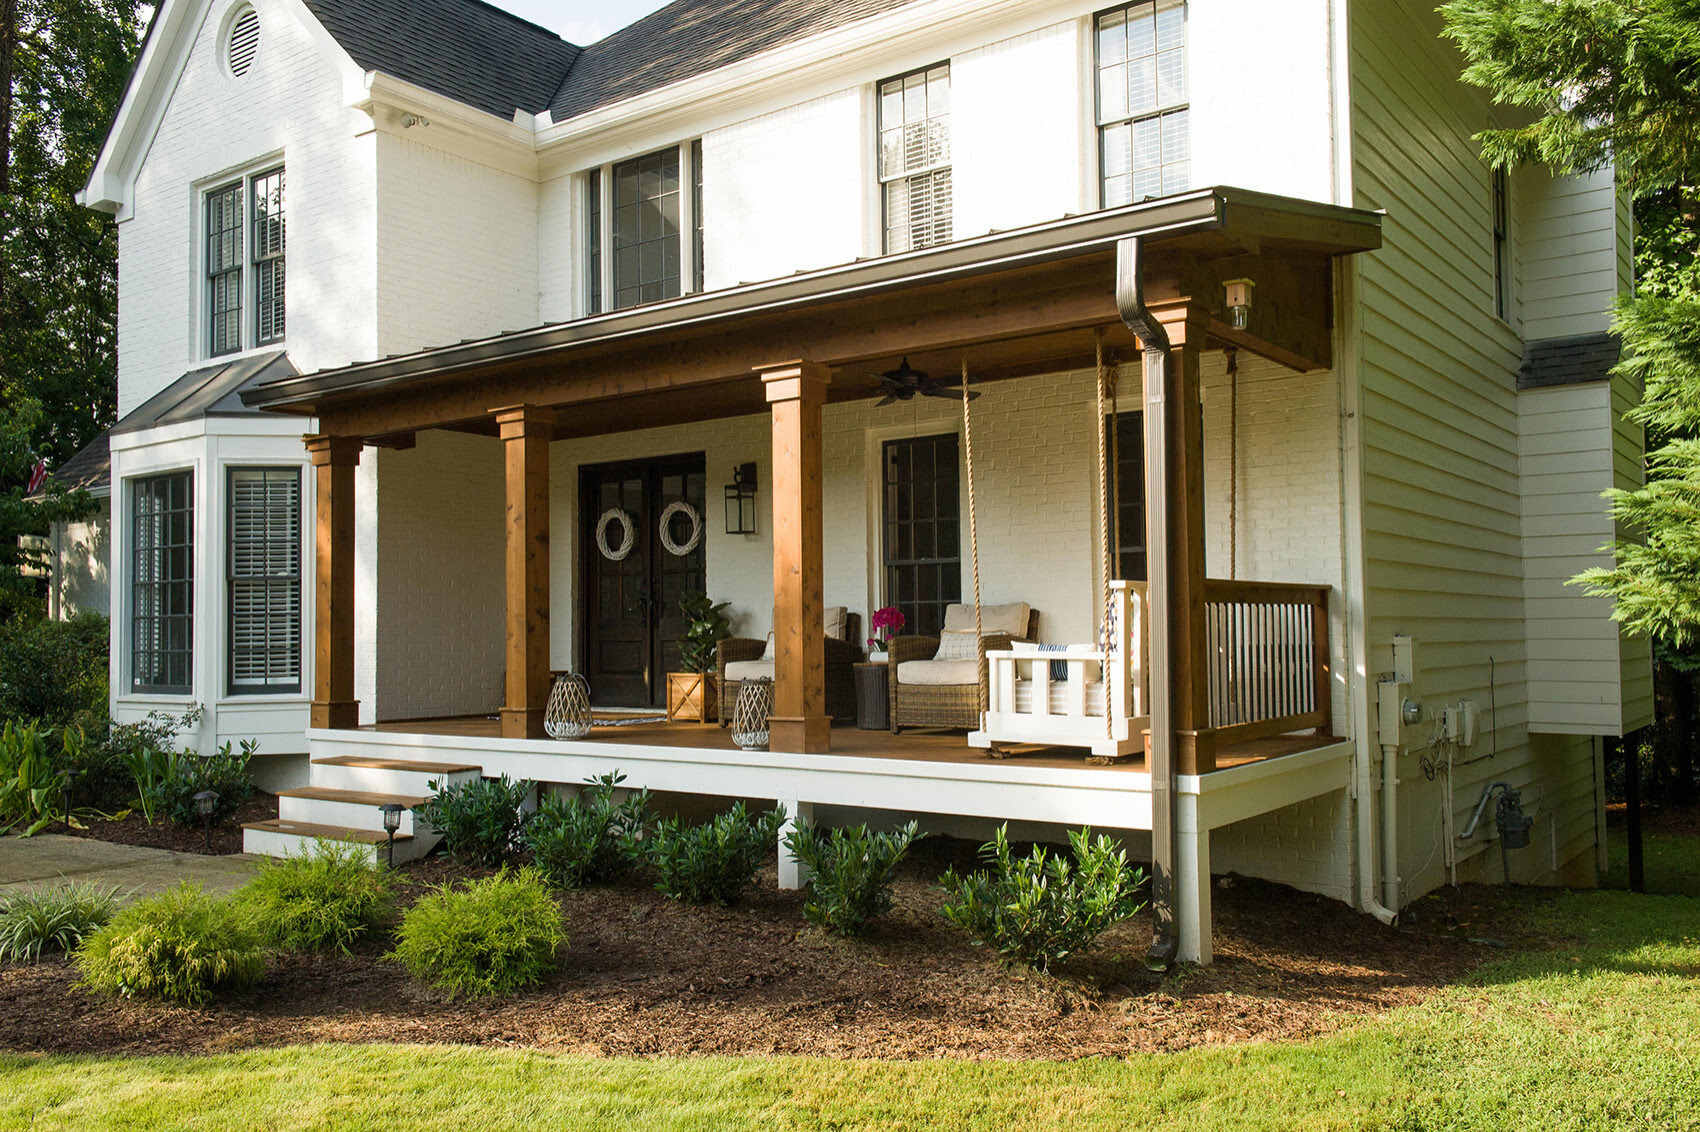
Building front porch columns is a wonderful way to enhance the architectural appeal of your home. Not only do these columns add a touch of grandeur and sophistication, but they also serve as functional support structures for your porch. Whether you are looking to replace your existing columns or starting from scratch, this article will guide you through the process of building front porch columns.
Before you start this project, it is important to have a clear plan in mind. This includes not only the size and style of the columns but also the materials needed and the safety precautions to be taken. With careful preparation and the right tools, you can create beautiful and sturdy porch columns that will elevate the overall look of your home.
In this article, we will cover the step-by-step process of building front porch columns. From measuring and planning to attaching the columns to the porch, we will walk you through each stage of the construction. Additionally, we will discuss the materials required for the project and provide tips and guidance along the way.
So, roll up your sleeves and get ready to embark on a rewarding DIY project. By the end of this article, you will have the knowledge and confidence to build front porch columns that will not only increase your home’s curb appeal but also stand the test of time.
Key Takeaways:
- Building front porch columns requires careful planning, precise measurements, and attention to detail. By following this step-by-step guide, you can create stunning columns that enhance your home’s curb appeal and architectural charm.
- From preparing the base to adding decorative details and applying finishing touches, constructing front porch columns is a rewarding DIY project. With the right materials, tools, and creativity, you can elevate the look of your home’s exterior.
Read more: How To Install Porch Columns
Materials Needed
Before you dive into building front porch columns, it’s important to gather all the necessary materials. Having everything you need on hand will save you time and ensure a smooth construction process. Here’s a list of materials you will need:
- Lumber: Choose a durable and weather-resistant wood, such as cedar or pressure-treated pine. The amount of lumber you need will depend on the size and number of columns.
- Post Base: Select a sturdy post base that will provide a stable foundation for your columns.
- Concrete: You will need concrete to create a solid base for your columns. Make sure to choose high-quality concrete mix.
- Metal Reinforcement: Reinforce the columns with metal rebar or metal mesh to add strength and durability.
- Fasteners: Use screws, nails, or bolts to secure the different components of the columns.
- Primer and Paint: Once the columns are built, you will need primer and exterior paint to protect and beautify the wood.
- Decorative Trim: Consider including decorative trim pieces to add character and style to your columns.
- Tools: Ensure you have the necessary tools, including a measuring tape, circular saw, drill, level, hammer, and safety equipment such as goggles and gloves.
It’s important to note that these materials are general recommendations. The specific materials needed may vary depending on the design and specifications of your columns. Before purchasing any materials, carefully measure and plan your columns to determine the exact quantity required.
It is also advisable to consult local building codes or regulations to ensure compliance with any specific requirements or restrictions. Additionally, consider factors such as weather conditions and the overall aesthetic of your home when selecting materials.
With all the materials on hand, you will be well-prepared to start constructing your front porch columns. Let’s move on to the next step: measuring and planning.
Step 1: Measure and Plan
The first step in building front porch columns is to carefully measure and plan the dimensions and design of your columns. This is a crucial stage that will ensure your columns fit properly and complement the overall aesthetics of your home.
Start by assessing the space where the columns will be installed. Measure the height and width of the porch area, as well as the distance between any existing columns or other architectural features. This will help you determine the appropriate size for your new columns.
Consider the style and design of your home when planning the columns. Do you want a traditional, decorative look or a more modern, minimalist design? Take inspiration from the existing architectural elements of your home or browse home improvement websites for ideas. Sketch out a rough plan or use design software to visualize how the columns will look.
Once you have determined the dimensions and style of your columns, make a detailed materials list. This includes the amount and size of lumber needed, as well as any additional materials such as post bases, concrete, or decorative trim.
Take this opportunity to also check local building codes or regulations. Some areas may have specific requirements for the dimensions and design of porch columns. Ensure that your plans meet these regulations to avoid any issues during construction.
By measuring carefully and planning thoroughly, you will lay a solid foundation for the construction of your front porch columns. With a clear plan in place, you can move on to the next step: gathering the necessary tools and safety equipment.
Step 2: Gather Tools and Safety Equipment
Before you start building your front porch columns, it’s important to gather all the necessary tools and safety equipment. Having the right tools will make the construction process smoother and more efficient, while safety equipment will help protect you from potential hazards.
Here are some tools you will need:
- Measuring tape: A measuring tape is essential for accurate measurements.
- Circular saw: This tool will be used to cut the lumber to the required dimensions.
- Drill: A drill is necessary for creating holes, attaching components, and securing fasteners.
- Level: Use a level to ensure that your columns are vertical and properly aligned.
- Hammer: A hammer will be used for driving in nails, particularly for attaching decorative trim pieces.
- Screwdriver: Depending on the fasteners you choose, you may need a screwdriver to tighten screws.
In addition to these tools, it’s important to have the proper safety equipment on hand:
- Goggles: Protect your eyes from debris and dust with a pair of safety goggles.
- Gloves: Wear gloves to keep your hands safe from sharp edges and splinters.
- Dust mask: When cutting or sanding wood, a dust mask will prevent you from inhaling harmful particles.
- Ear protection: If you are using power tools, consider wearing ear protection to reduce noise levels.
Before you begin working, ensure that all the tools are in good condition and functioning properly. Check that any power tools are fully charged or have a power source nearby.
Remember to follow safety guidelines and use caution while working with tools and equipment. If you are unsure about how to use a particular tool or have concerns about safety, consult the manufacturer’s guidelines or seek advice from a professional.
With all the necessary tools and safety equipment assembled, you are ready to move on to the next step: preparing the base for your front porch columns.
Step 3: Prepare the Base
In this step, you will prepare the base for your front porch columns. A solid and level base is essential for the stability and longevity of the columns.
Start by clearing the area where the columns will be installed. Remove any debris, plants, or obstacles that may interfere with the construction process. Ensure that the ground is level and free from excessive moisture, as this can affect the stability of the columns.
If your porch already has existing footings or a concrete slab, you can skip this part and move on to the next step. However, if you are starting from scratch or need to create new footings, follow these steps:
- Mark the locations of the base for each column. Use a measuring tape to ensure that the spacing between columns is consistent and aligns with your original plan.
- Dig holes for the footings. The depth and diameter of the holes will depend on the size and weight-bearing capacity of your columns. Check local building codes or guidelines for specific requirements.
- Ensure that the bottoms of the holes are level. Use a level and a straight-edged board to check for any unevenness.
- Add a layer of gravel or crushed stone to the bottom of each hole. This will improve drainage and prevent the wood from direct contact with the soil.
- Mix and pour concrete into each hole. Follow the manufacturer’s instructions for mixing the concrete properly. Use a level to ensure that the tops of the footings are even and aligned.
- Allow the concrete to cure for the recommended amount of time. This typically takes about 24 to 48 hours, but it may vary depending on the type of concrete used.
Once the footings are ready, you have a solid base to work with. This not only provides stability but also protects the columns from moisture damage. Now you can move on to the next step: building the column frame.
When building front porch columns, make sure to use pressure-treated lumber for durability and resistance to rot and insects. This will ensure that your columns last for many years to come.
Read more: How To Replace Columns On Porch
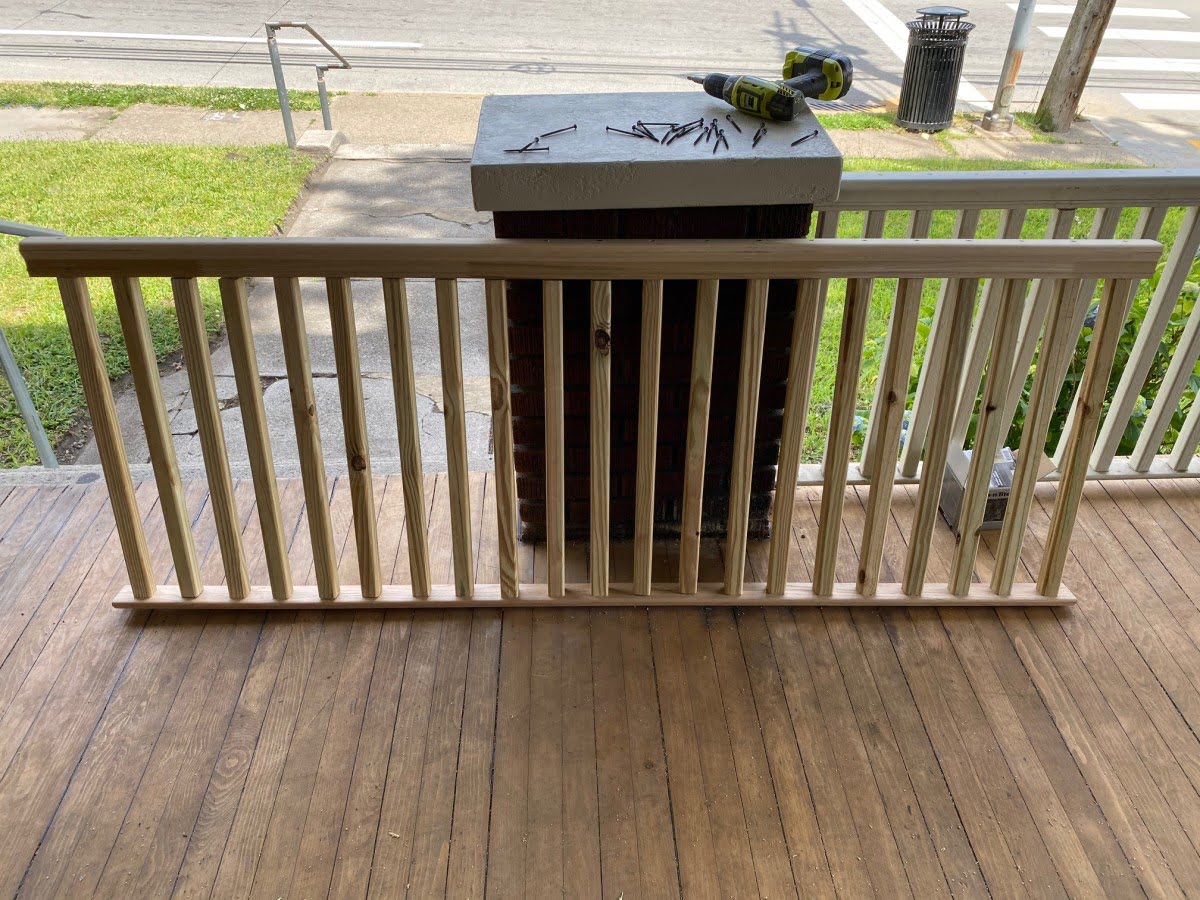
Step 4: Build the Column Frame
In this step, you will construct the frame for your front porch columns. The frame will serve as the structural support and shape for the columns.
Here’s how to build the column frame:
- Cut the lumber to the desired height of your columns. Use a circular saw to make precise cuts according to your measurements.
- Create two rectangular frames for each column. The dimensions of these frames should match the width and depth of your desired columns.
- Position the frames on top of each other to create a hollow column structure. Ensure that they are aligned and square by using a level and measuring tape.
- Connect the frames together using screws, nails, or bolts. Make sure the connection is secure to provide stability to the columns.
- Attach metal reinforcement, such as rebar or metal mesh, to the inside of the column frames. This will add strength and prevent sagging over time.
As you build the column frame, periodically check for proper alignment and stability. Adjust as necessary to ensure that the frame is straight and level.
It’s important to note that the specific dimensions and construction details may vary depending on your design preferences and the size of your columns. Always refer to your initial measurements and plans to ensure the frame is built according to the intended specifications.
Once the column frames are constructed, you have the basic structure in place. The next step is to add decorative details to enhance the appearance of the columns.
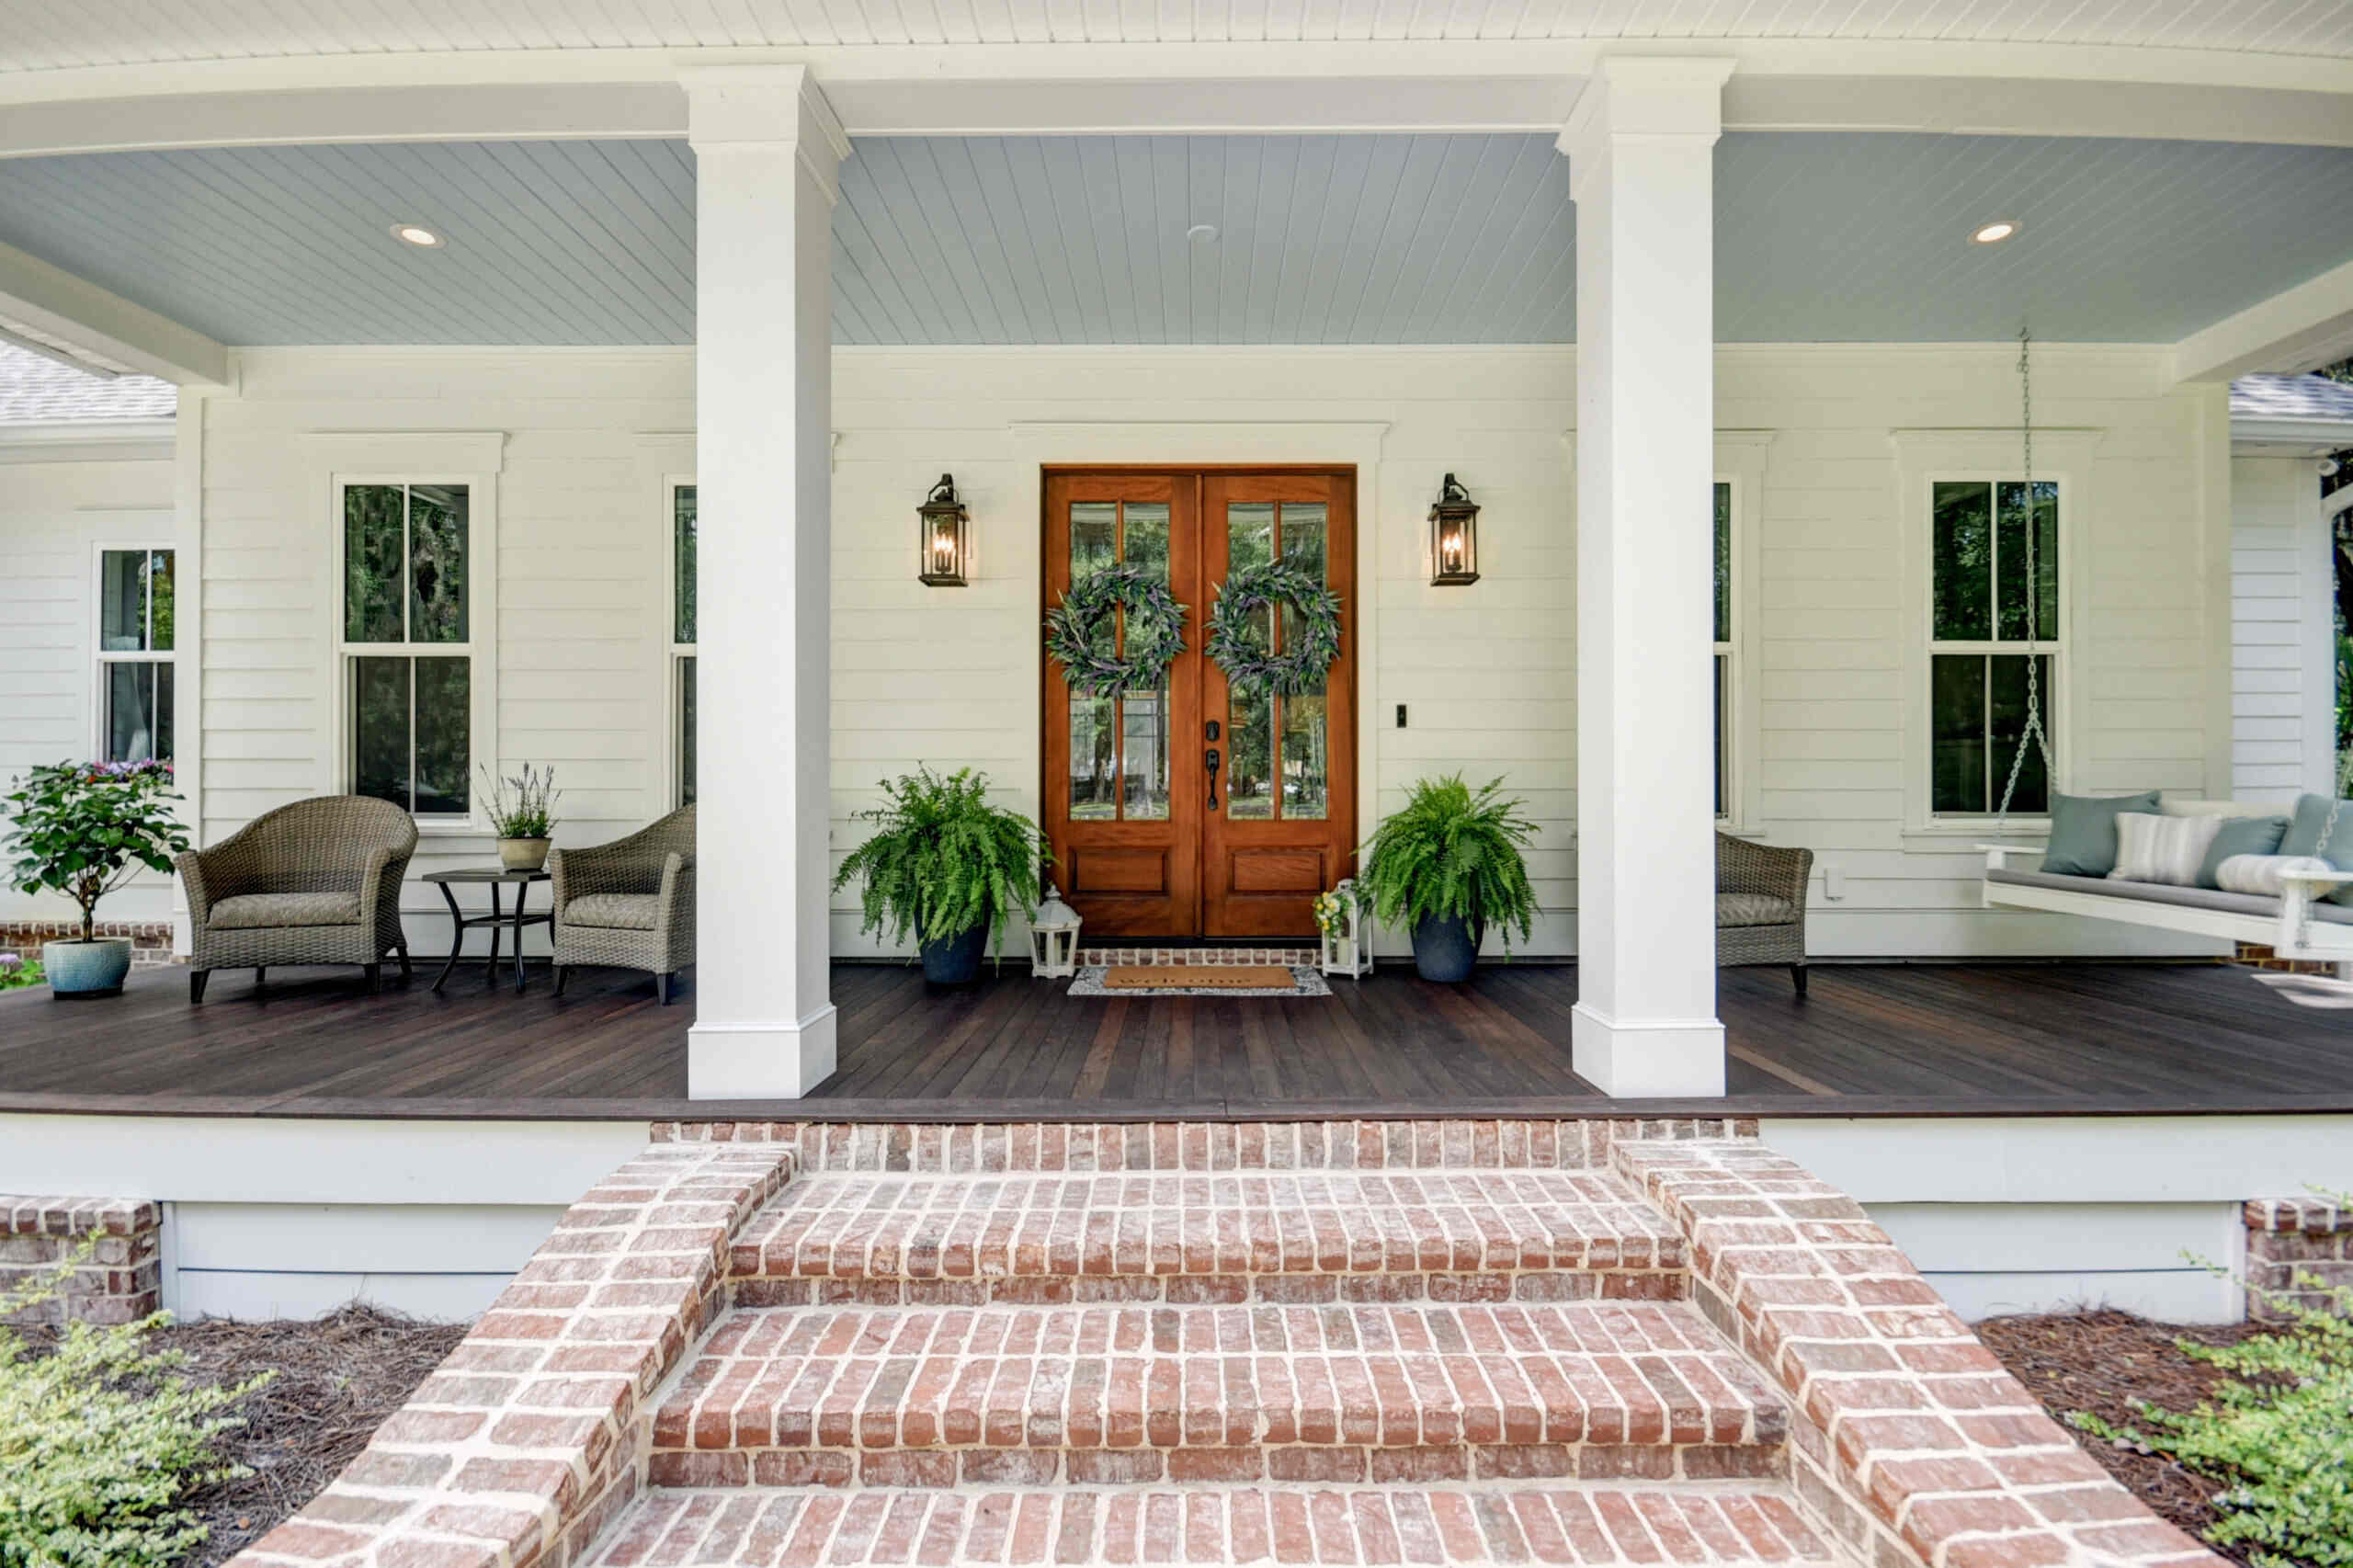
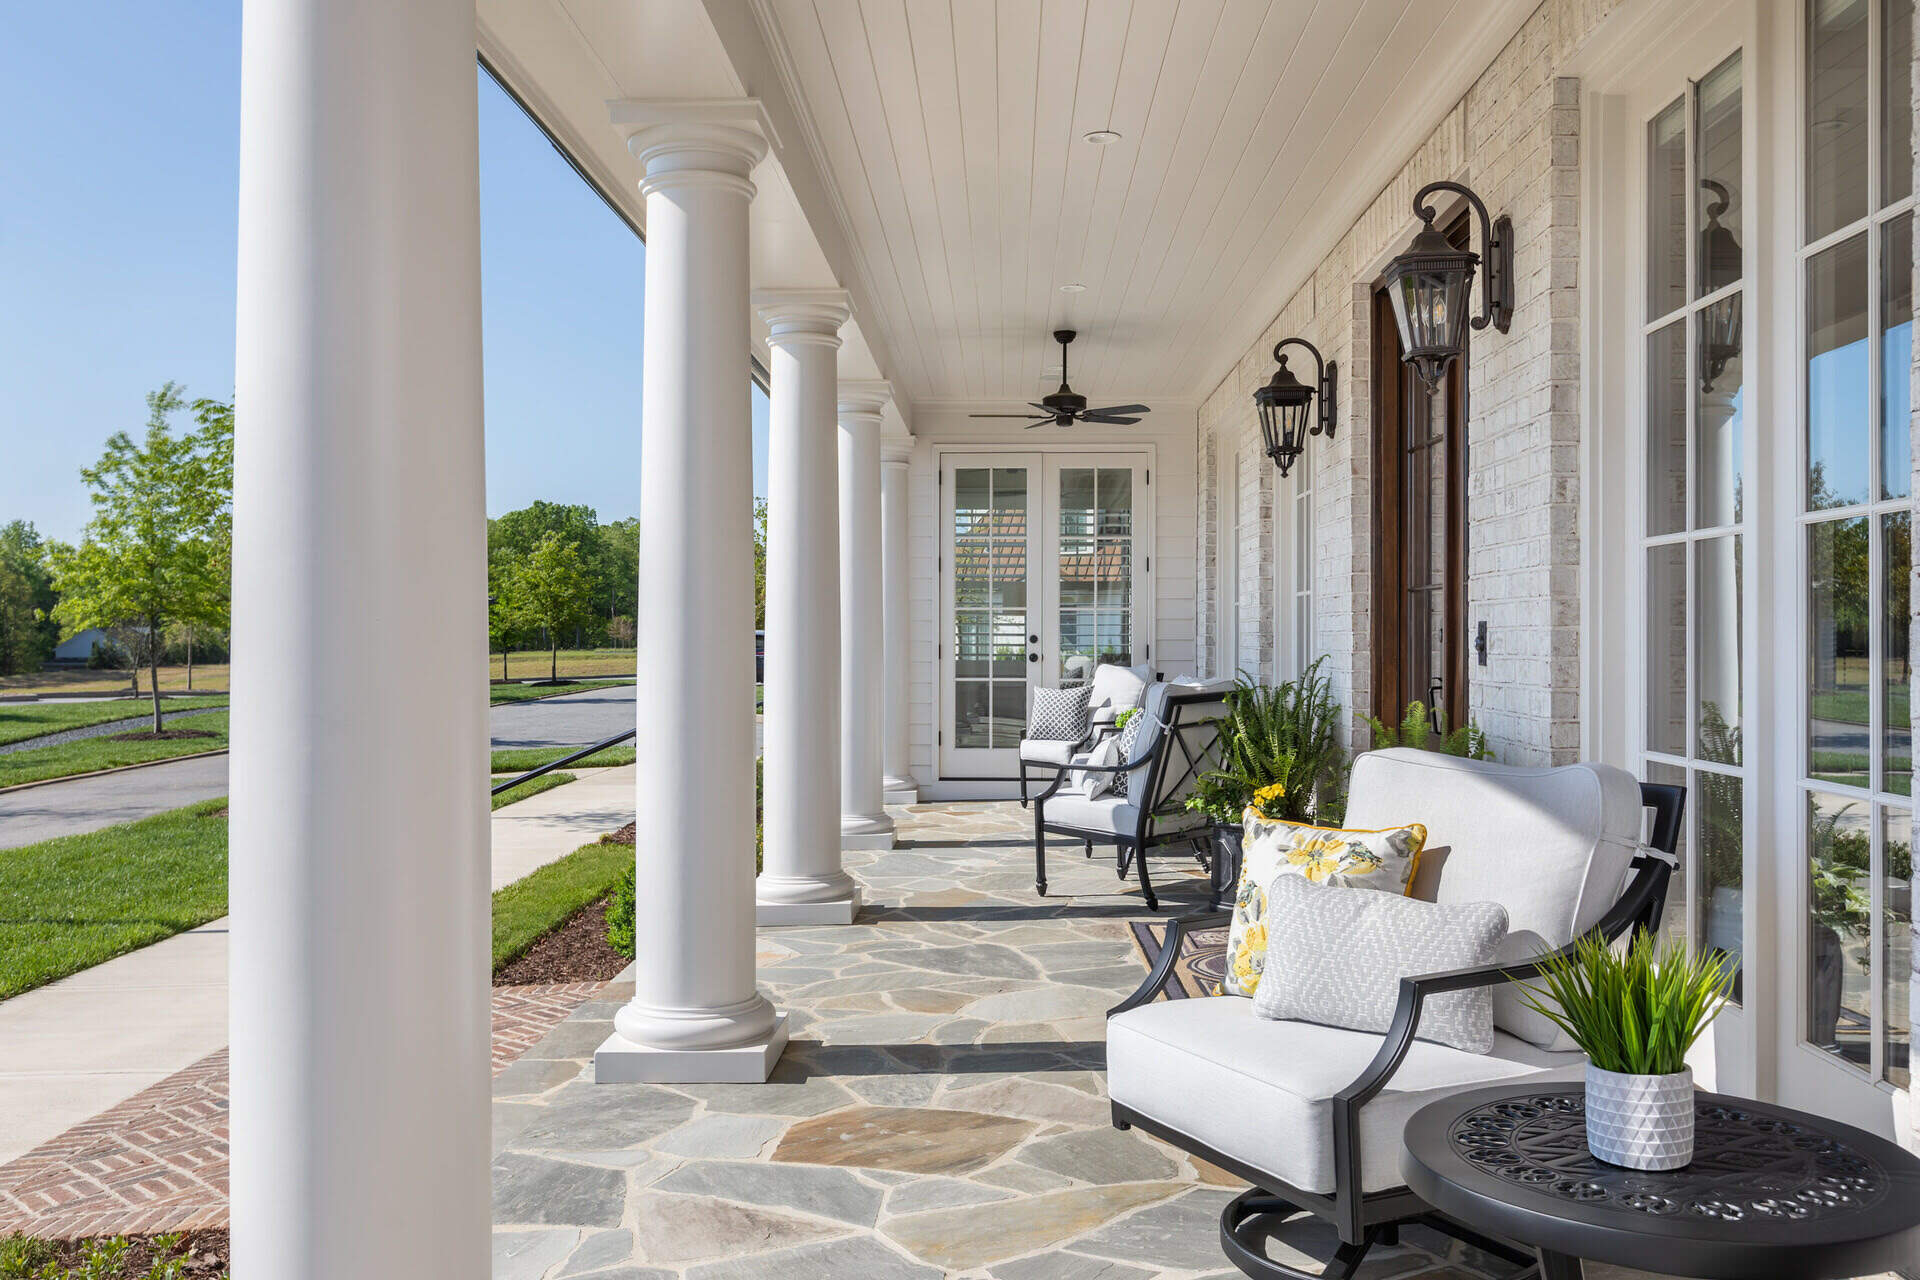
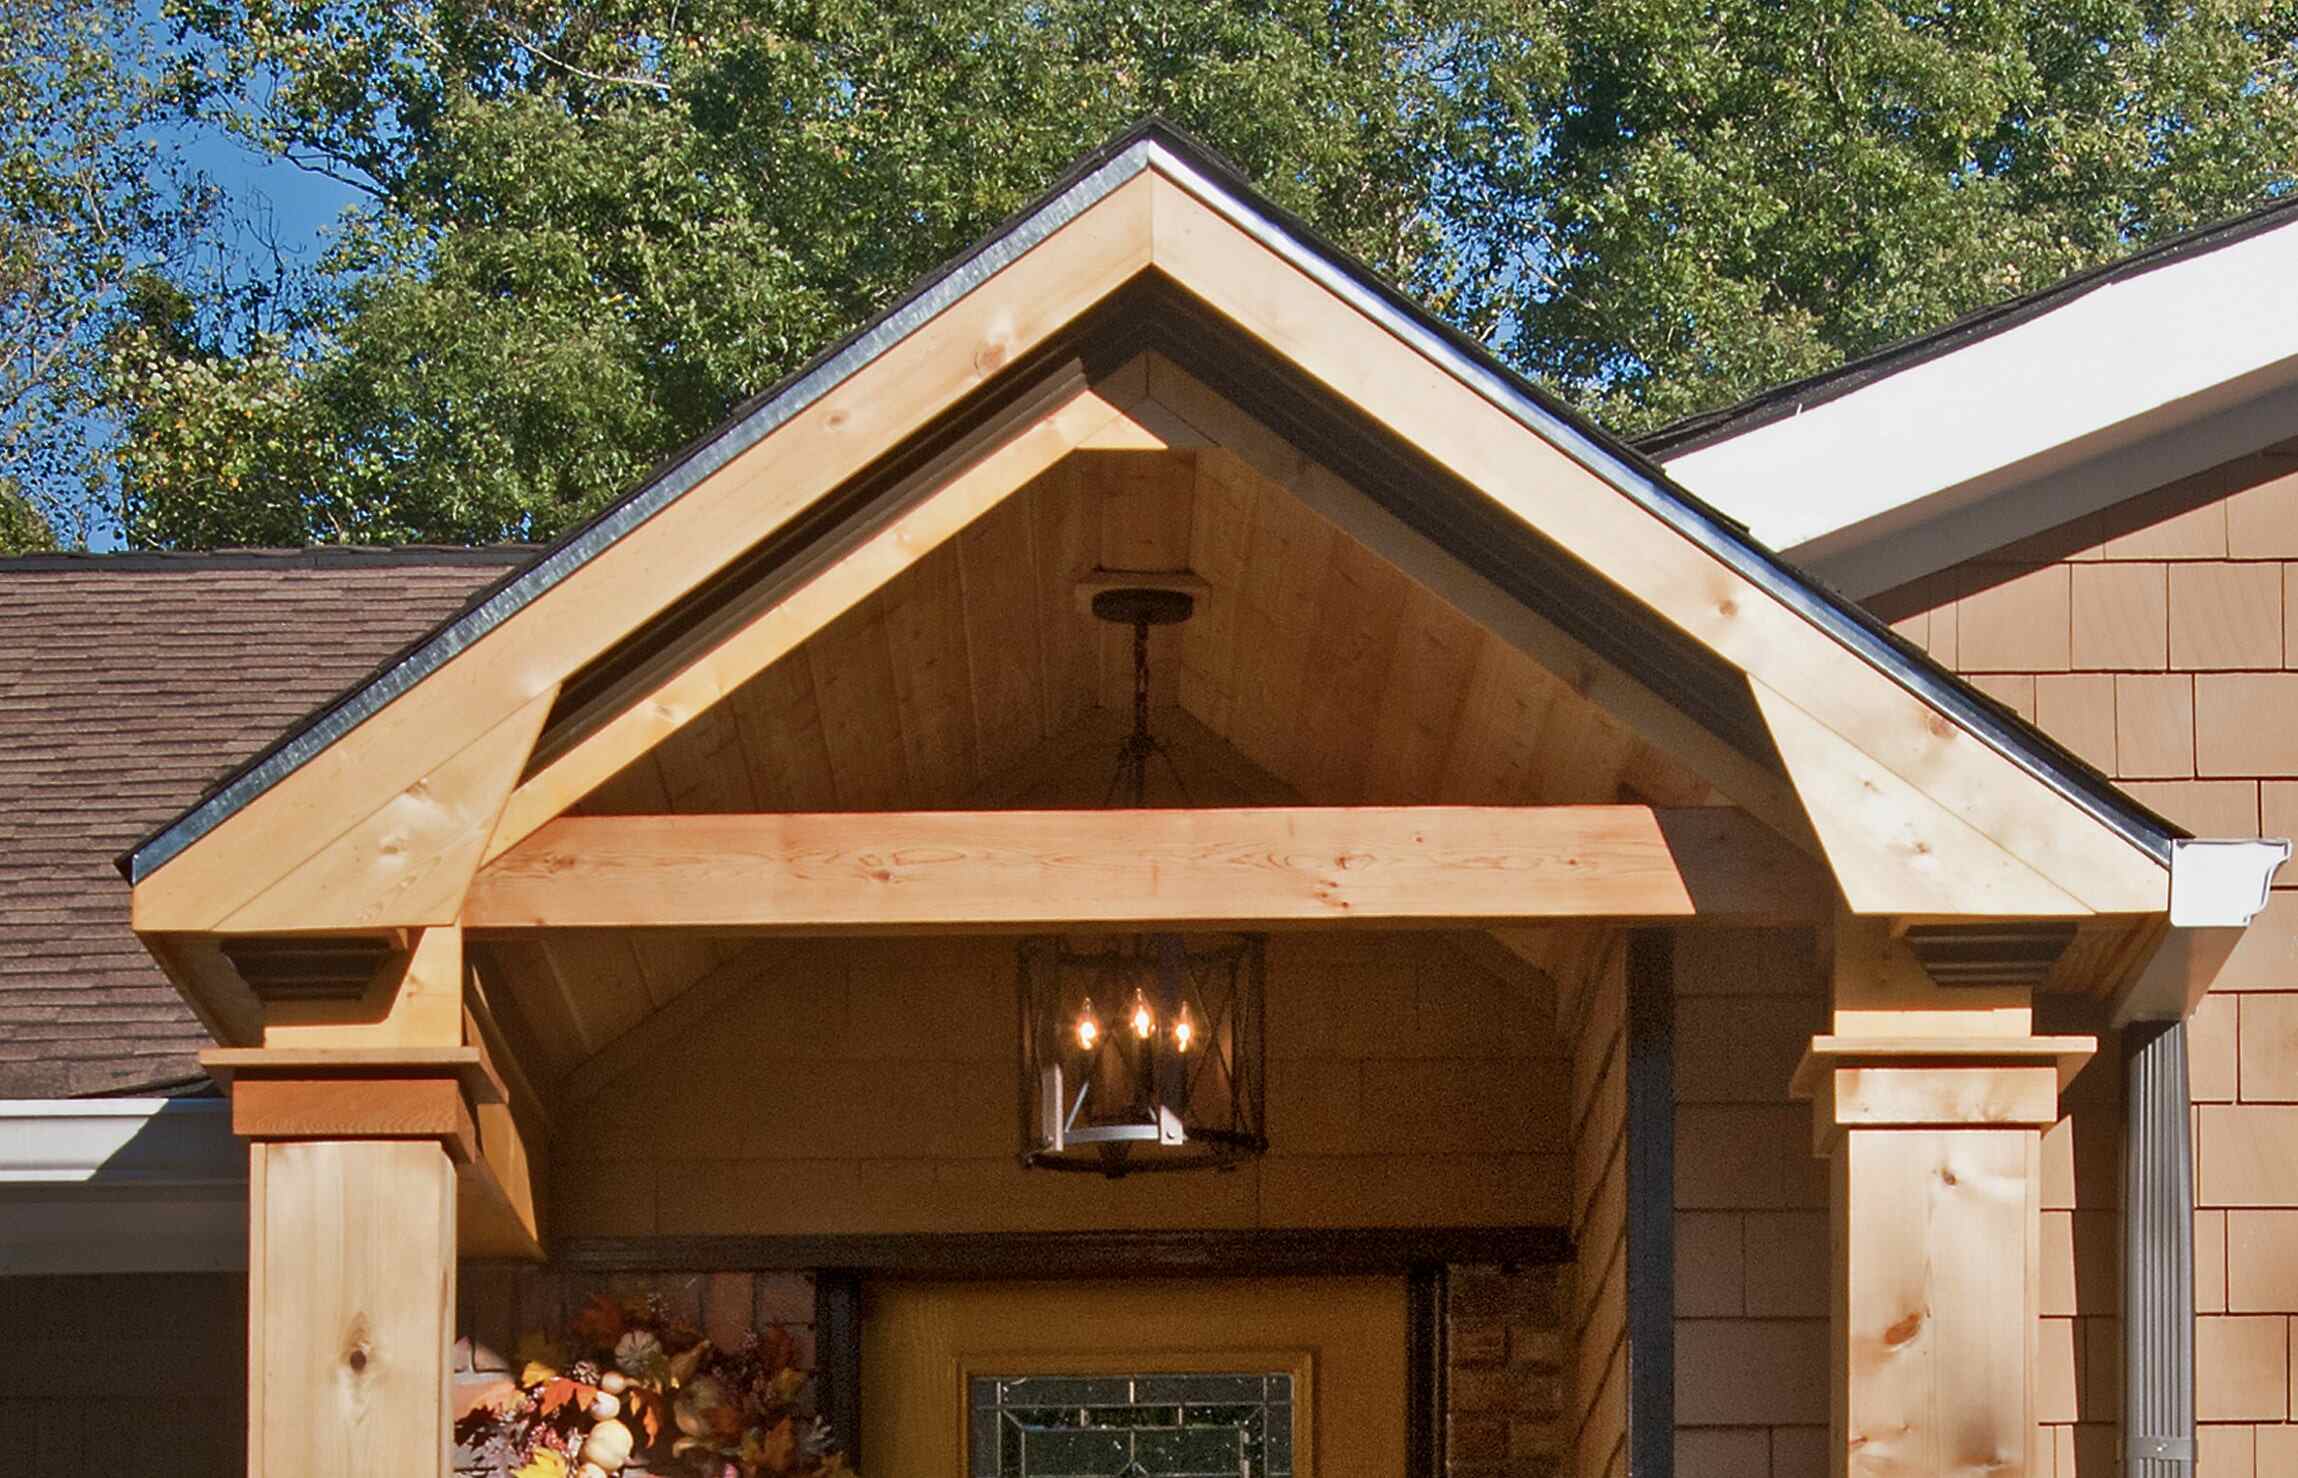
Step 5: Add Decorative Details
Now that you have built the basic frame for your front porch columns, it’s time to add decorative details to enhance their visual appeal. These details will add character and style to your columns, making them a standout feature of your home’s facade.
Here are some decorative details you can consider:
- Trim: Attach decorative trim pieces to the exterior of the column frame. This can include crown molding, baseboard trim, or any other architectural details that match the style of your home.
- Carvings or Embellishments: If you have woodworking skills or access to decorative accents, you can add carvings or embellishments to the column frame. These can be intricate designs, patterns, or even simple motifs that reflect your personal taste.
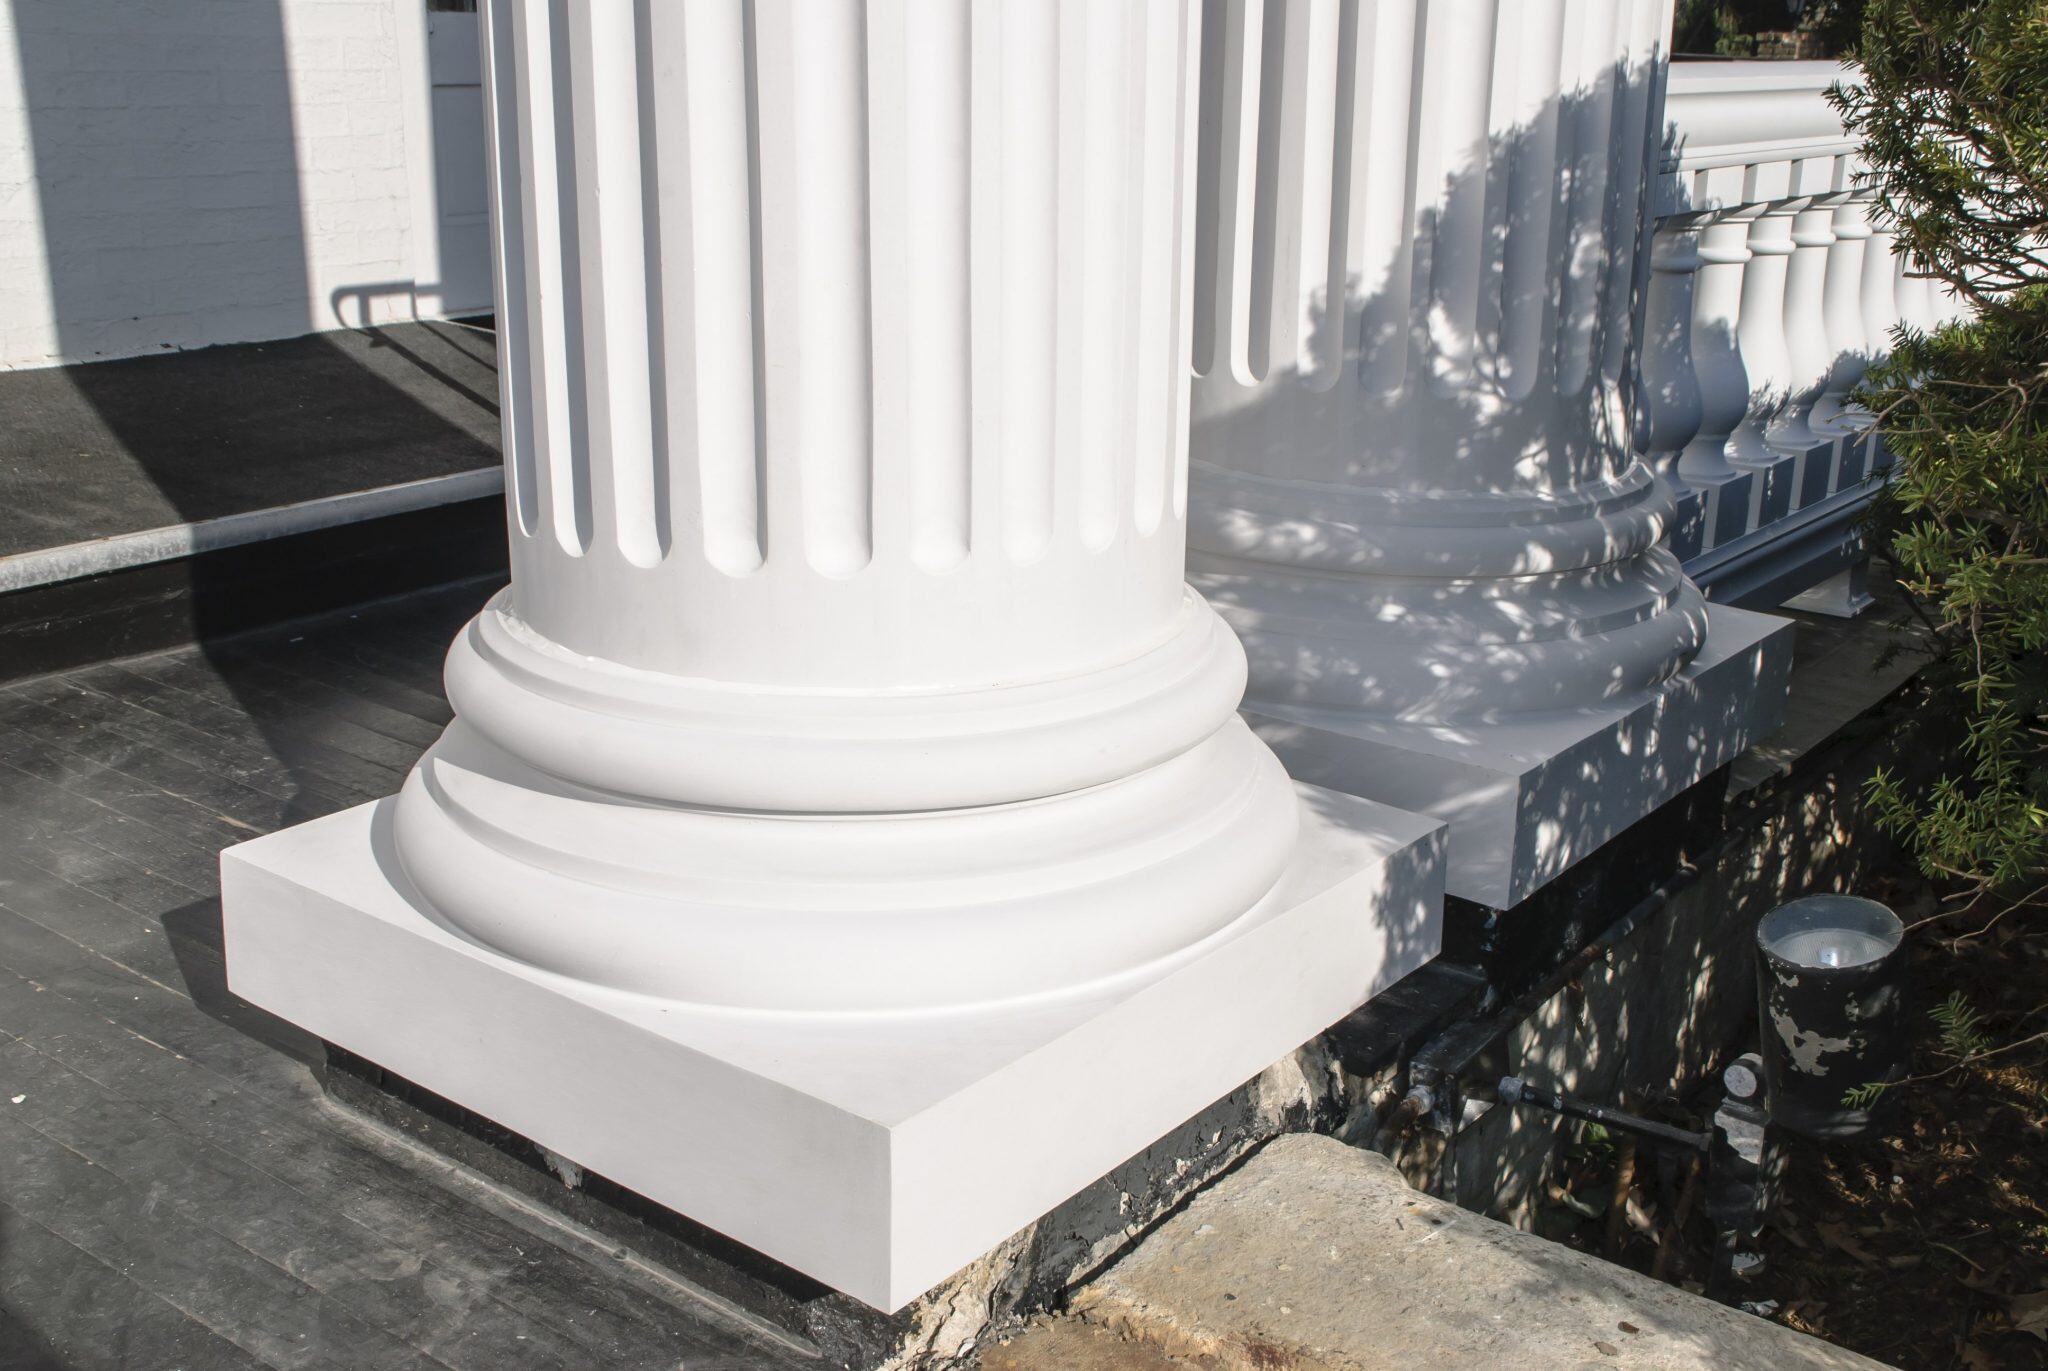
- Column Caps: Consider adding ornamental caps to the top of your columns. Column caps come in various styles, such as flat tops, pyramid shapes, or even decorative finials. These caps give a polished and finished look to your columns.
- Pilasters: For a more elaborate look, you can incorporate pilasters alongside your columns. These vertical rectangular or square elements add depth and visual interest to the overall design.
- Faux Stone or Brick: If you prefer the look of stone or brick, you can use faux stone or brick panels to cover the surface of your column frame. These panels create the illusion of masonry, giving your columns an elegant and timeless appearance.
When adding decorative details, ensure that they are securely attached to the column frame. Use suitable fasteners, adhesive, or brackets to ensure stability and durability.
The choice of decorative details will depend on your personal style, the architectural design of your home, and the overall aesthetic you wish to achieve. Take inspiration from other homes in your neighborhood or consult with a professional to determine which decorative elements will best enhance the appearance of your front porch columns.
With the decorative details in place, your front porch columns will truly become a focal point of your home’s exterior. Now, let’s move on to the next step: attaching the columns to the porch itself.
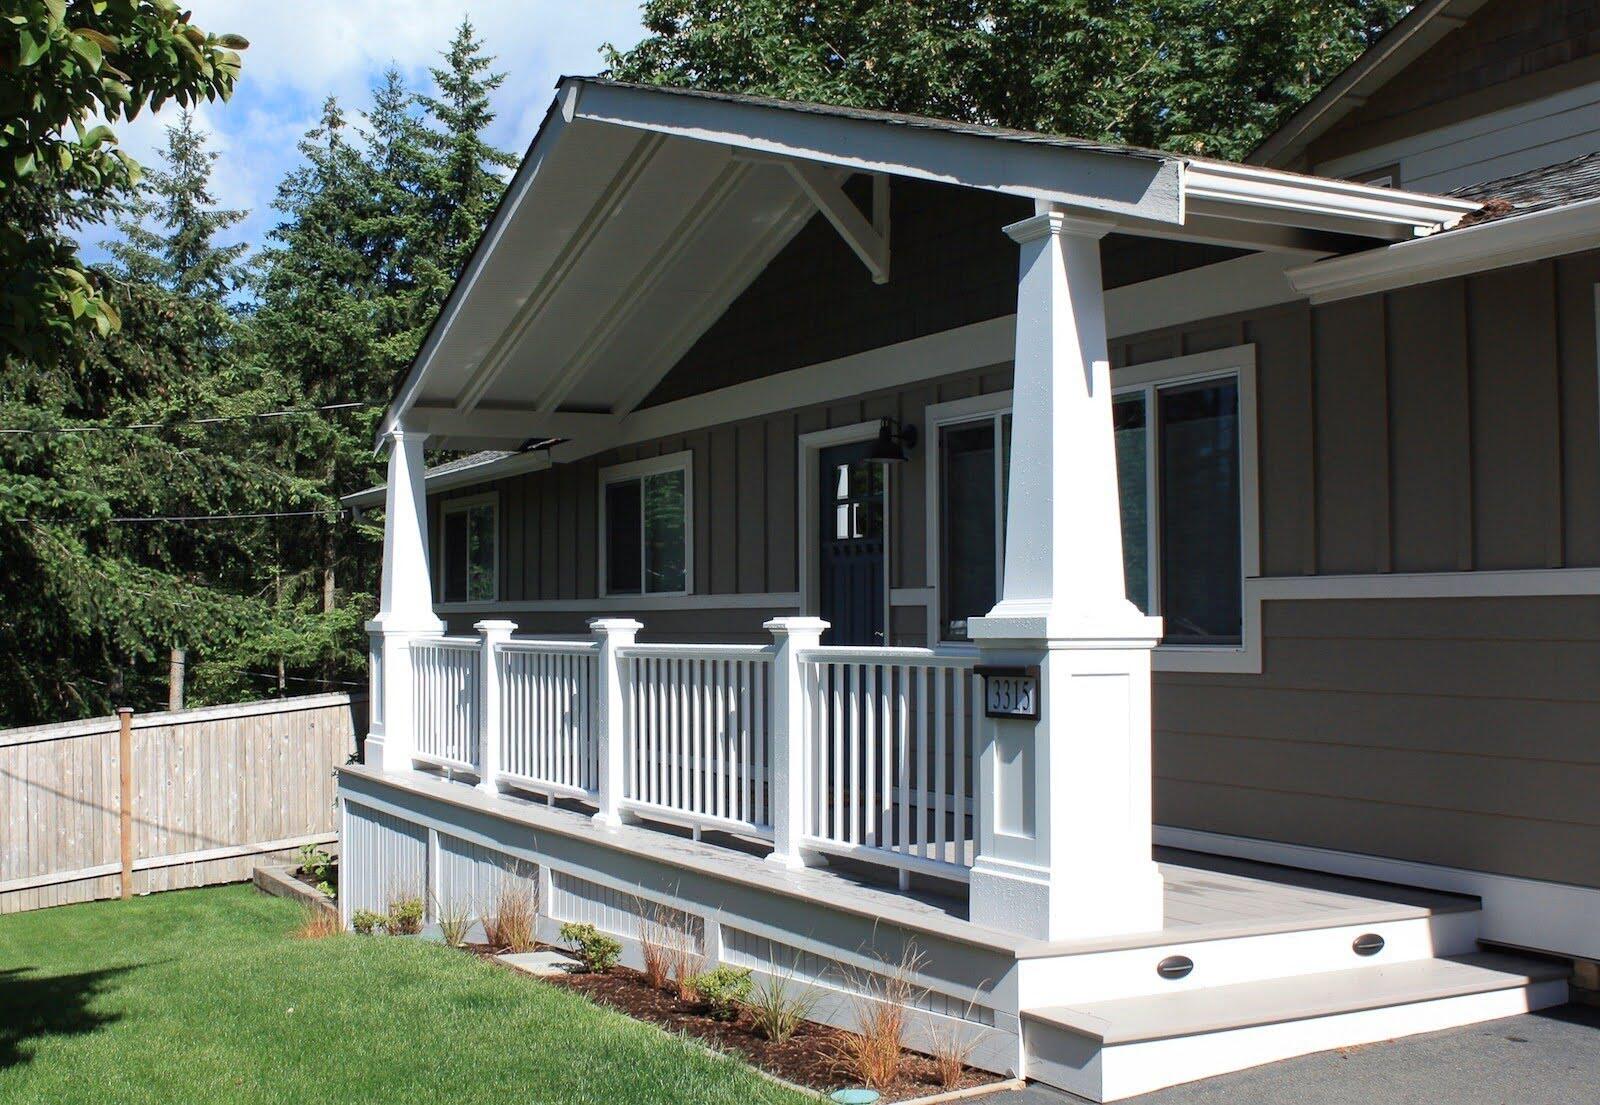
Step 6: Attach Columns to the Porch
Now that you have built and decorated your front porch columns, it’s time to attach them to the porch itself. This step will ensure that the columns are securely in place and provide the necessary support for your porch.
Here’s how to attach the columns to the porch:
- Position the columns in their designated locations on the porch. Make sure they are aligned with your original plan and leave enough space for any other architectural features, such as railings or stairs.
- Use a level to ensure that the columns are plumb, vertically straight, and level from side to side.
- Secure the columns to the porch by using appropriate fasteners or brackets. The type and size of fasteners will depend on the construction of your porch and the materials used.
- Check the stability of the columns by applying gentle pressure and ensuring they do not wobble or shift. If needed, add additional support, such as braces or brackets, for added stability.
When attaching the columns, it’s essential to follow any local building codes or regulations. These codes may specify the required method of attachment and provide guidelines for the structural integrity of porch columns.
Take your time during this step to ensure that the columns are securely attached and provide a solid foundation for your porch. It’s also a good idea to periodically check the stability and alignment as you progress, making any necessary adjustments before moving on.
With the columns successfully attached to the porch, you are almost done with the construction process. There’s just one final step remaining: putting the finishing touches on your front porch columns.
Step 7: Finishing Touches
Congratulations on reaching the final step of building your front porch columns! Now it’s time to add the finishing touches that will complete the look and make your columns stand out.
Here are some ideas for the finishing touches:
- Sanding and Smoothing: Use sandpaper to smooth out any rough edges or surfaces of the columns. This will give them a polished and professional finish.
- Priming and Painting: Apply a coat of primer to the columns to seal the wood and ensure better paint adhesion. Once the primer is dry, choose an exterior paint color that complements your home’s exterior and apply it to the columns. This will protect the wood from moisture, sunlight, and other environmental factors.
- Decorative Accents: Consider adding additional decorative elements, such as brackets, corbels, or planters, to enhance the overall aesthetic of the columns. These additions can bring charm and personality to your front porch.
- Lighting: Install outdoor lighting fixtures near your columns to illuminate them and enhance their visual appeal during the evening hours. This can include wall-mounted lights, lanterns, or even integrated LED strips.
- Landscaping: Enhance the beauty of your front porch columns by adding landscaping elements around them. This could include flower beds, potted plants, or shrubs that complement and highlight the columns.
These finishing touches will add the final layer of detail and make your front porch columns truly shine. Take your time to ensure proper application of paint and placement of decorative elements, as attention to detail can make a significant difference in the overall outcome.
Remember to consider the overall design and style of your home when choosing the finishing touches. Aim for a cohesive look that seamlessly integrates the columns into your home’s architecture and enhances its overall curb appeal.
With the finishing touches complete, step back and admire your beautifully constructed front porch columns. They will not only add elegance and sophistication to your home but also create a warm and inviting entrance for you and your guests.
Now that you have completed all the steps, it’s time to enjoy the fruits of your labor and take pride in the accomplishment of building your front porch columns.
Thank you for following this step-by-step guide, and we hope it has been helpful in your journey to build stunning front porch columns for your home.
Read more: How To Replace Columns On Front Porch
Conclusion
Building front porch columns is a rewarding DIY project that can greatly enhance the overall appearance and functionality of your home’s exterior. By following the step-by-step guide outlined in this article, you have gained the knowledge and confidence to successfully construct beautiful and sturdy porch columns.
Throughout the process, we started with measuring and planning, ensuring you had the right materials and tools on hand. We then moved onto preparing the base, building the column frame, adding decorative details, attaching the columns to the porch, and applying the finishing touches.
Each step was carefully explained, allowing you to approach the project with precision and attention to detail. We emphasized the importance of safety and provided suggestions for adding creativity and personal style to your columns.
Remember, building front porch columns requires patience, careful measurement, and thorough planning. It’s important to consult local building codes and regulations to ensure compliance and to make any necessary adjustments accordingly.
By the end of this journey, your front porch columns will not only enhance the architectural appeal of your home but will also add value and create a warm and welcoming entrance that reflects your personal style.
Now that you have completed your front porch columns, we encourage you to take a step back and admire your craftsmanship. Enjoy the satisfaction of a job well done and take pride in the transformation you have brought to your home’s exterior.
Thank you for embarking on this DIY project with us. We hope this guide has been informative and helpful in your quest to build front porch columns. Remember, with careful planning, attention to detail, and the right amount of creativity, you can create stunning columns that will make a lasting impression.
Now that you've mastered building front porch columns, why not dive deeper into the world of crafting with your own hands? If you're curious about the benefits of creating and fixing things yourself, our article on the allure of DIY projects is a must-read. For those with a passion for crafting from wood, don't miss our guide on the top woodworking trends for the upcoming year. Both pieces are packed with tips and insights to fuel your next project!
Frequently Asked Questions about How To Build Front Porch Columns
Was this page helpful?
At Storables.com, we guarantee accurate and reliable information. Our content, validated by Expert Board Contributors, is crafted following stringent Editorial Policies. We're committed to providing you with well-researched, expert-backed insights for all your informational needs.


0 thoughts on “How To Build Front Porch Columns”