Articles
How To Cover Wrought Iron Porch Columns
Modified: December 7, 2023
Learn how to cover wrought iron porch columns with these informative articles. Transform the look of your porch with our step-by-step guides and tips.
(Many of the links in this article redirect to a specific reviewed product. Your purchase of these products through affiliate links helps to generate commission for Storables.com, at no extra cost. Learn more)
Introduction
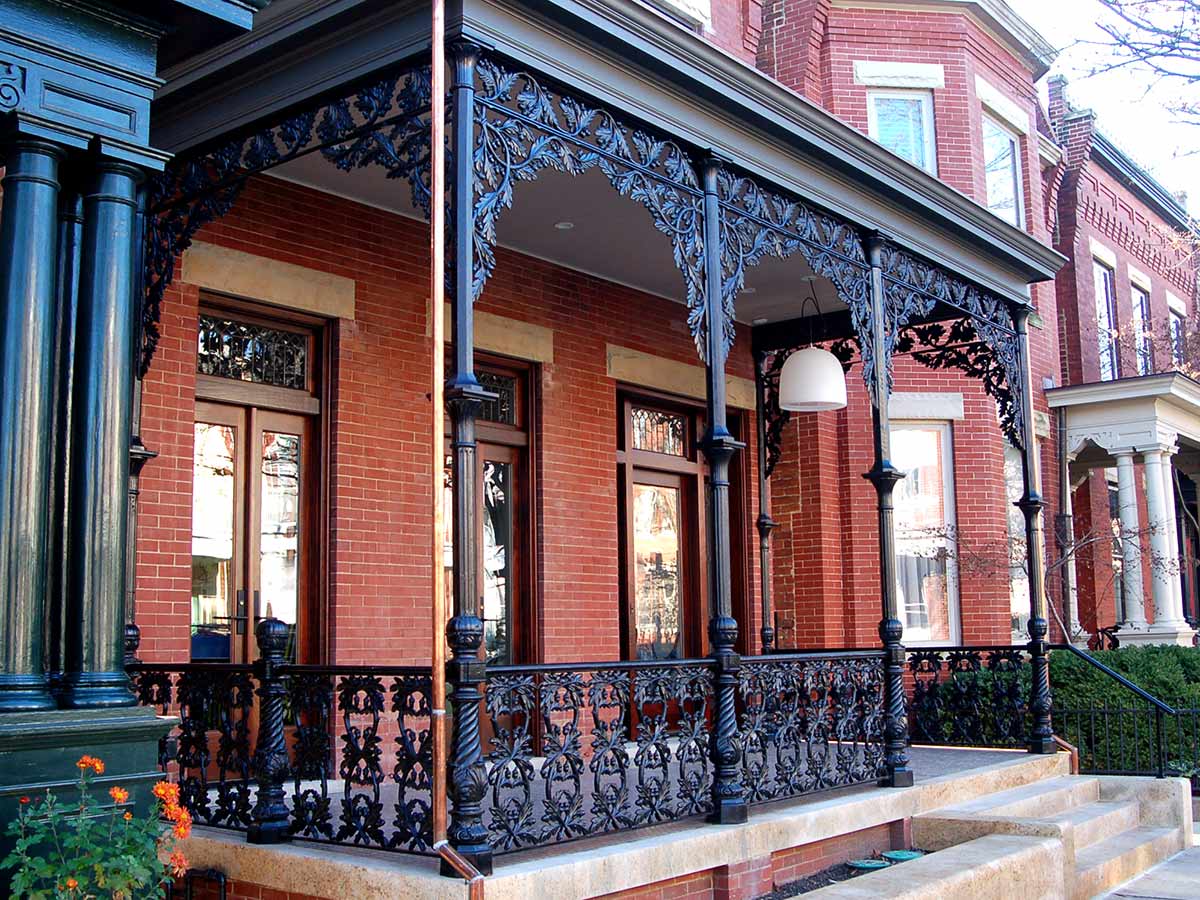
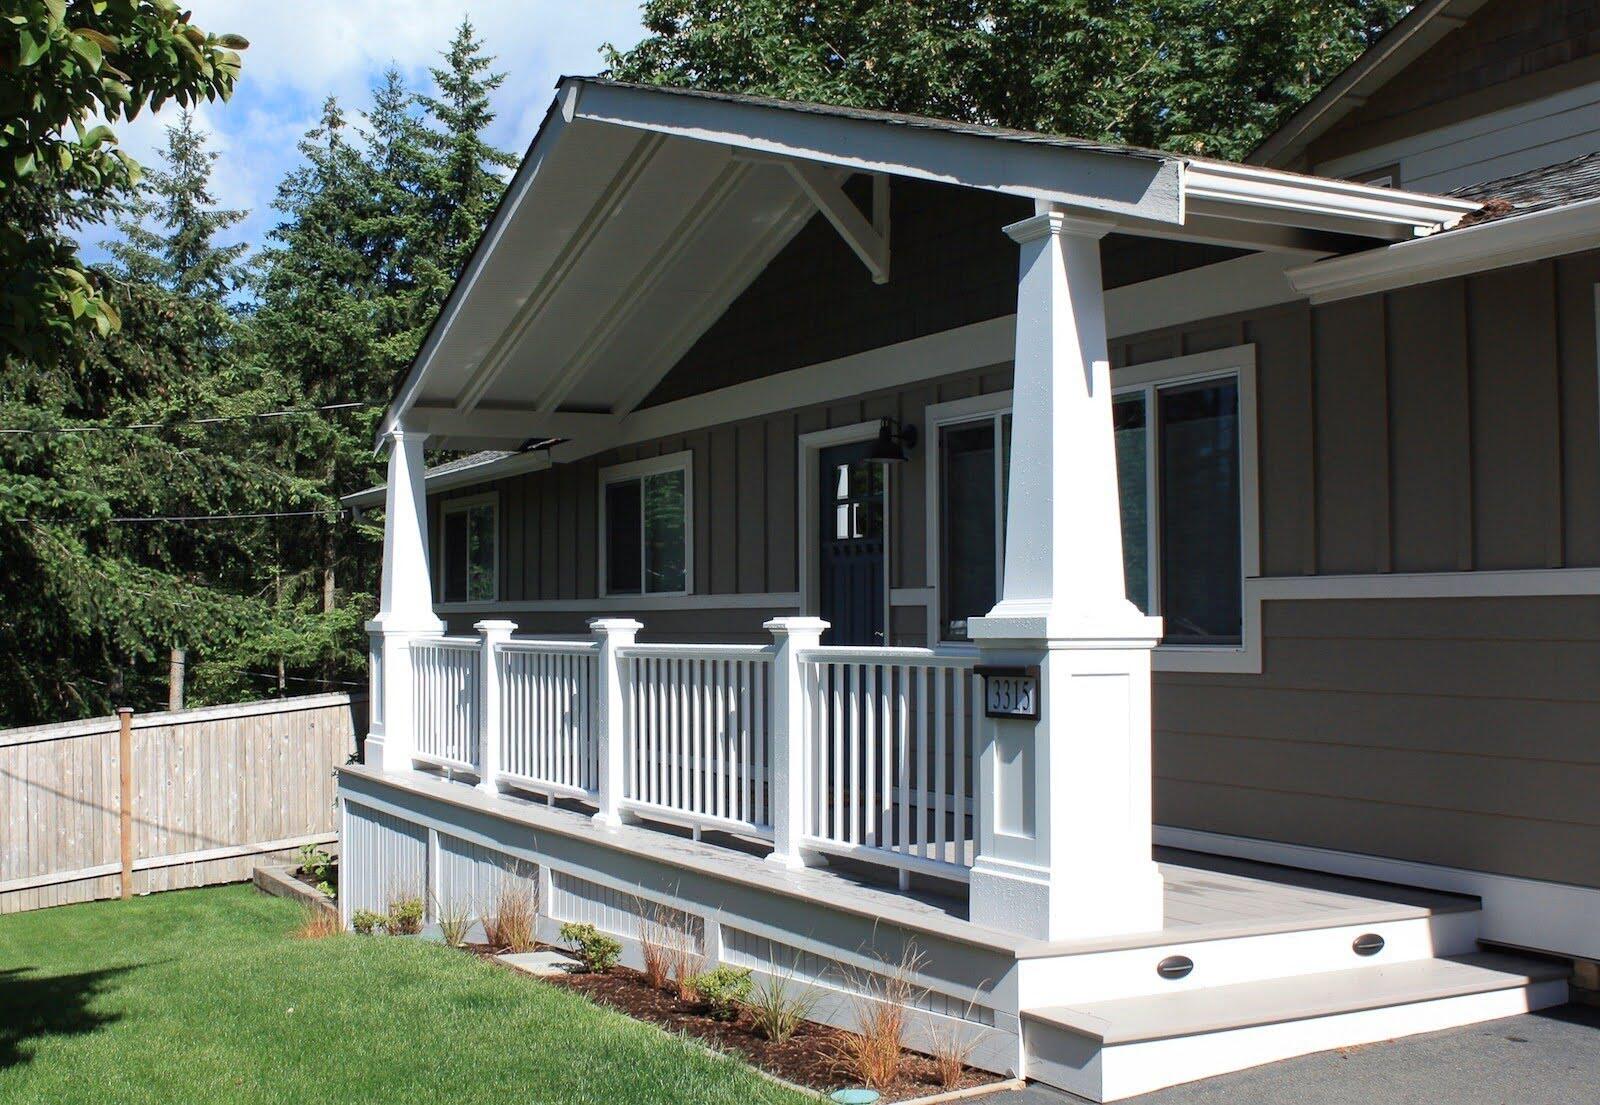
Having a porch adds a charming and welcoming touch to any home. However, over time, the wrought iron columns on your porch may start to show signs of wear and tear. Whether they have become rusty or their paint has begun to chip, covering them with a fresh coat of paint can not only revive their appearance but also protect them from further damage.
In this article, we will guide you through the step-by-step process of covering your wrought iron porch columns. We will provide you with a list of materials you’ll need, along with detailed instructions to ensure a successful and long-lasting finish. So grab your paintbrush and let’s get started!
Key Takeaways:
- Revive and protect your porch columns by following a step-by-step process, from measuring and preparing to choosing the perfect finish. Proper maintenance ensures long-lasting beauty and durability.
- Transform your porch with a fresh coat of paint on your wrought iron columns. From cleaning and priming to reattaching hardware, achieve stunning results and enjoy a renewed outdoor space.
Read more: How To Replace Wrought Iron Porch Railing
Materials Needed
Before you begin the process of covering your wrought iron porch columns, make sure you have the following materials on hand:
- Primer specifically designed for metal surfaces
- Paint suitable for exterior use
- Paintbrushes or rollers
- Sandpaper (medium and fine grit)
- Detergent or mild soap
- Clean cloth or sponge
- Drop cloths or plastic sheets to protect surrounding areas
- Tape or painter’s tape
- Masking paper or plastic to cover any hardware or accessories
- Safety goggles
- Respirator mask
- Gloves
Gather all these materials before you begin, as they will ensure a smooth process and allow you to achieve the best possible finish on your porch columns.
Step 1: Measure and Prepare the Porch Columns
Before you start covering your wrought iron porch columns, it’s essential to measure them to determine the amount of paint and primer you’ll need. Use a measuring tape to measure the height and circumference of each column. This will help you estimate the quantity of paint required to cover them.
Next, prepare the columns for painting. Start by removing any loose or chipping paint using sandpaper. Sanding the surface will create a smooth and clean base for the new paint to adhere to. Be sure to remove any rust spots as well, as this can impact the final finish.
Once you have sanded the columns, clean them thoroughly with a mixture of mild soap or detergent and water. Use a clean cloth or sponge to scrub away any dirt, grime, or debris. Rinse thoroughly and allow the columns to dry completely before moving on to the next step.
Additionally, if there are any hardware or accessories attached to the columns, such as house numbers or light fixtures, consider removing and covering them for easier painting. Use masking paper or plastic and painter’s tape to protect these areas, ensuring they don’t get unintentionally painted.
By measuring and preparing your porch columns, you will ensure a more efficient and precise painting process, leading to a better overall result.
Step 2: Clean and Prime the Wrought Iron Columns
After you have measured and prepared your porch columns, the next step is to clean and prime the wrought iron surface. This is an important step as it helps to remove any residual dirt, rust, or old paint, and prepares the surface for the new paint to adhere properly.
Start by using a wire brush to remove any loose rust or paint flakes from the columns. Scrub gently in a circular motion to ensure you cover all areas. Once you have removed the loose debris, use a damp cloth or sponge to wipe down the columns and remove any remaining dust.
Next, apply a coat of primer specifically designed for metal surfaces. Using a brush or roller, evenly cover the entire surface of the columns. Be sure to apply the primer in thin, even layers and follow the manufacturer’s instructions for drying times.
Priming is crucial because it creates a seal on the surface of the wrought iron, preventing moisture from reaching the metal and causing rust. It also provides a smooth and adhesive surface for the paint to adhere to, ensuring a long-lasting and professional-looking finish.
Allow the primer to dry completely before moving on to the next step. This may take a few hours or overnight, depending on the specific product and environmental conditions. Make sure the surface is dry to the touch before proceeding.
By cleaning and priming your wrought iron columns, you are setting the foundation for a successful and durable paint job. Take your time and pay attention to detail, as this step will greatly impact the final outcome of your porch columns’ appearance.
Step 3: Apply the Base Coat
With the columns cleaned and primed, it’s time to apply the base coat of paint. The base coat will serve as the foundation for the final color and provide additional protection for your wrought iron columns.
Before you start painting, make sure to stir the paint thoroughly to ensure consistency. Using a brush or roller, begin applying the base coat to the columns. Work in smooth, even strokes, covering the entire surface with a thin layer of paint. Take care to avoid drips or clumps of paint, as they can affect the final finish.
If necessary, you may need to apply multiple coats of base paint to achieve full coverage. Allow each coat to dry completely before applying the next one. Refer to the manufacturer’s instructions for drying times as they may vary depending on the type of paint and environmental conditions.
When applying the base coat, it’s important to maintain a steady and consistent application method. Pay attention to any intricate details or decorative elements on the columns to ensure they are fully covered. Take your time and be patient, as a well-applied base coat will contribute to the overall quality of the finished project.
Once you have applied the base coat, allow it to dry completely. This may take several hours or overnight. Ensure that the paint is dry to the touch before moving on to the next step. Avoid touching or placing any objects on the columns during this drying period to prevent smudges or marks.
By applying the base coat of paint, you are well on your way to transforming your wrought iron porch columns. This step provides a solid foundation and sets the stage for the final finish.
When covering wrought iron porch columns, consider using vinyl sleeves for a low-maintenance and durable option. They are easy to install and come in a variety of styles and colors to match your porch aesthetic.
Read more: How To Replace Columns On Porch
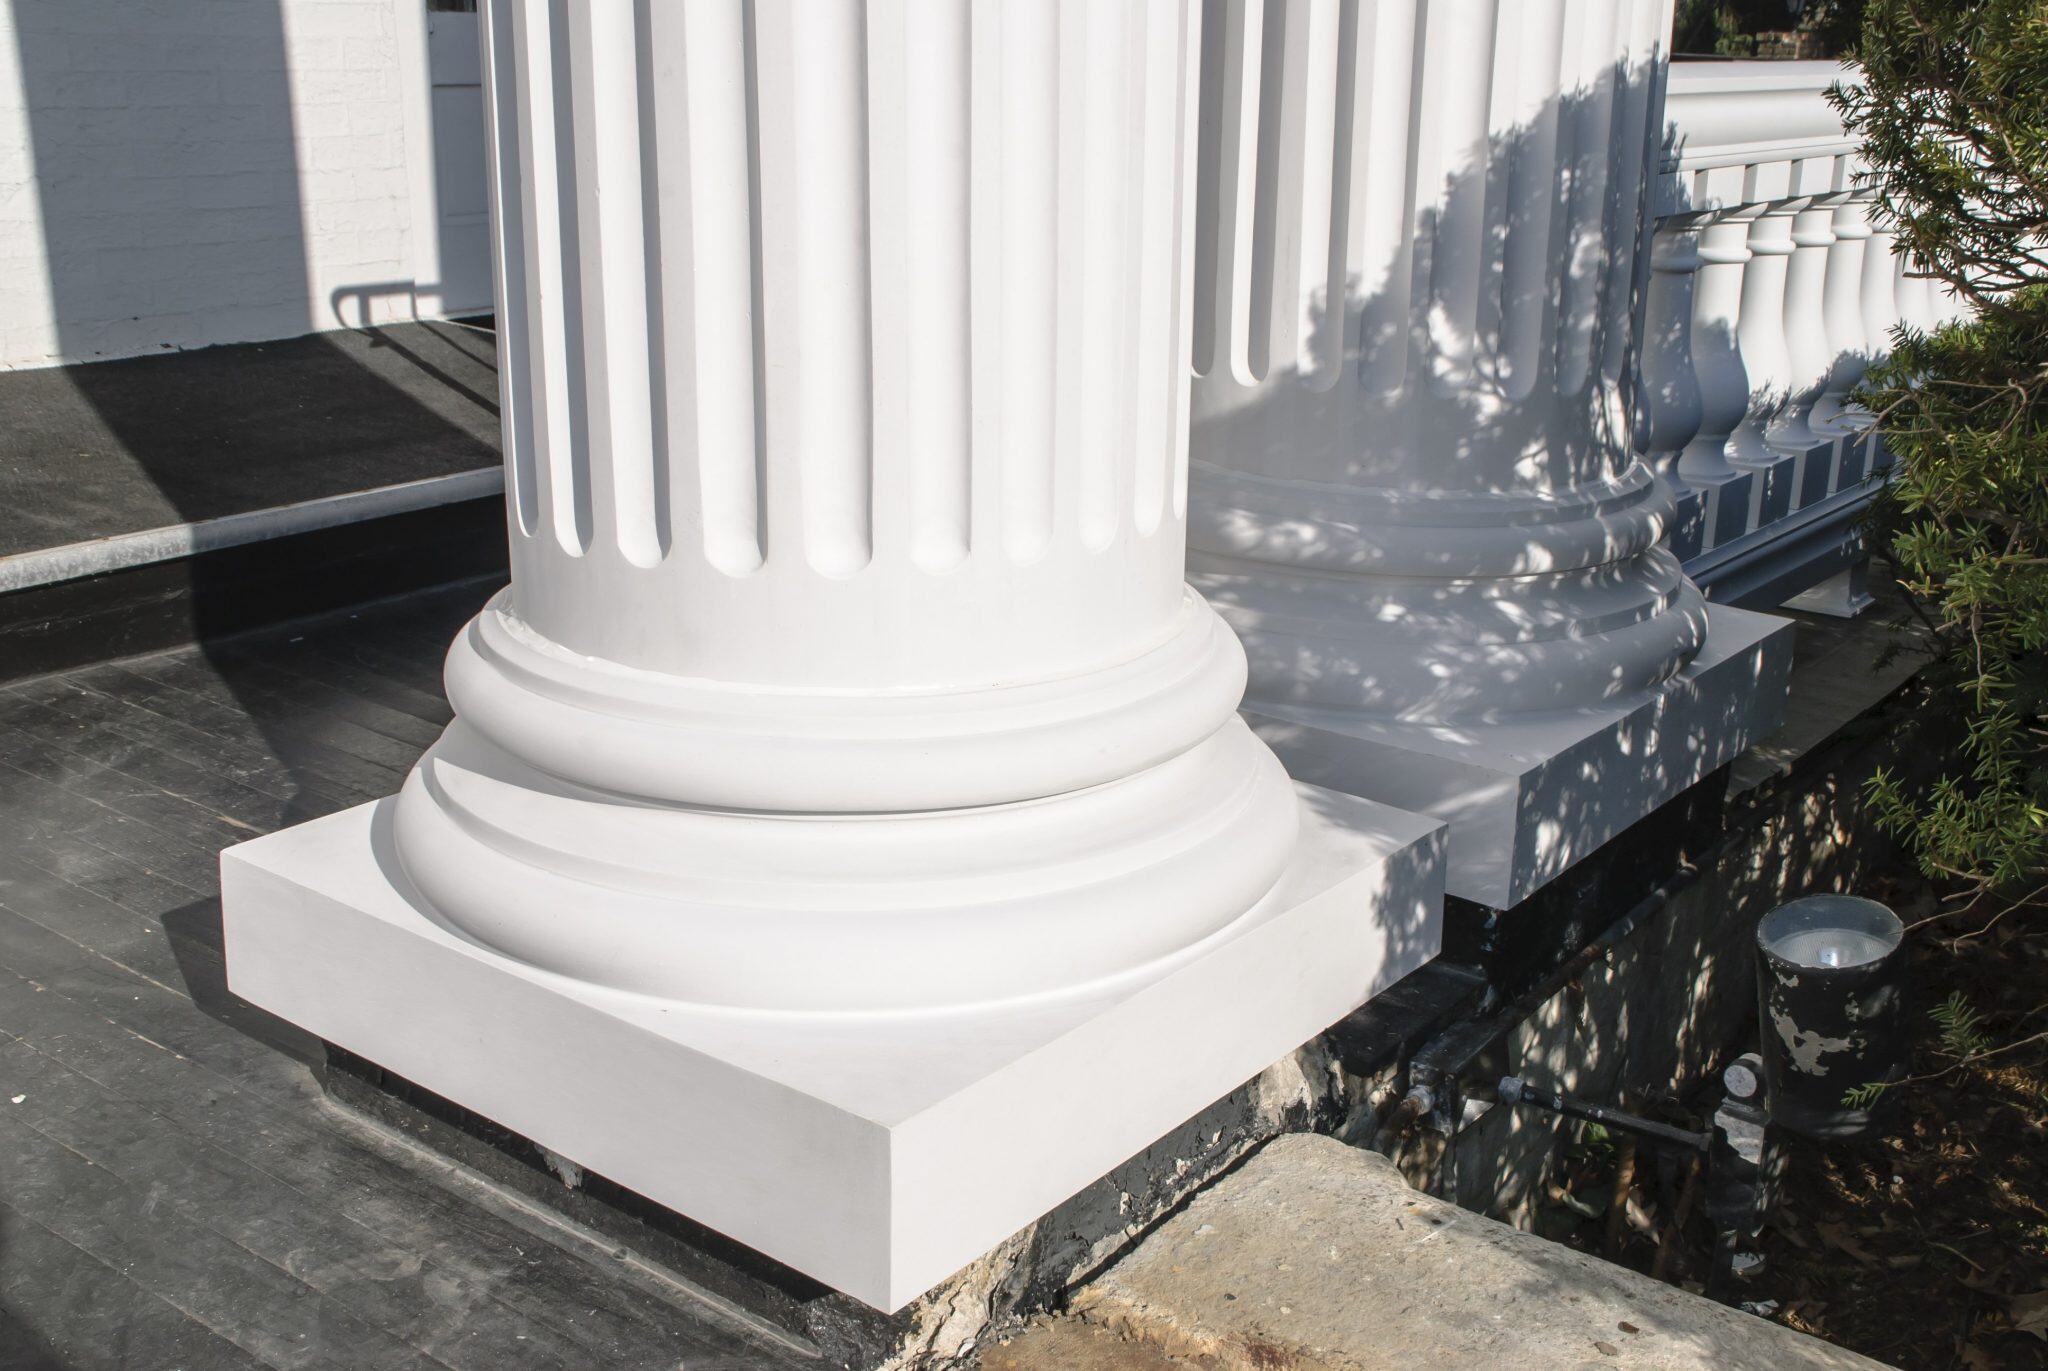
Step 4: Choose and Apply the Desired Finish
Now that the base coat is dry, it’s time to choose and apply the desired finish to your wrought iron porch columns. The finish you select will greatly impact the overall appearance and style of your columns, so it’s important to choose one that matches your aesthetic preferences.
When selecting a finish, consider both the look you want to achieve and the level of durability required for your specific environment. There are various options available, including glossy, satin, matte, or textured finishes. Each finish has its own unique look and characteristics, so take the time to research and select the one that best suits your needs.
To apply the desired finish, follow the same technique used for the base coat. Use a clean brush or roller to evenly apply the paint, ensuring smooth and consistent coverage. Take care to avoid drips or smudges while working, as they can affect the final appearance of the columns.
If you prefer a more artistic touch, you can consider adding decorative accents or patterns to your columns. Stencils or tape can be used to create designs or stripes, adding visual interest and uniqueness to your porch columns.
Remember to allow each coat of paint to dry completely before applying additional layers. This will help prevent any accidental smudging or marring of the finish. Refer to the manufacturer’s instructions for recommended drying times between coats.
Once you have achieved the desired finish, step back and evaluate the overall appearance of your porch columns. Make any necessary touch-ups or corrections to ensure a flawless and professional finish.
Choosing and applying the desired finish is a key step in the process of covering your wrought iron porch columns. It allows you to personalize the appearance of your columns and create a look that complements your home’s style.
Step 5: Allow the Columns to Dry
After applying the desired finish to your porch columns, it’s crucial to allow them to dry completely. This step is essential to ensure that the paint has cured properly and that the columns have a durable and long-lasting finish.
Check the manufacturer’s instructions for the recommended drying time for the specific type of paint you used. Typically, it may take anywhere from a few hours to a few days for the paint to fully dry, depending on factors such as temperature and humidity.
During the drying process, it’s important to avoid touching or placing objects on the columns to prevent smudging or damaging the paint. If you’re concerned about accidental contact, you can create a temporary barrier around the columns using caution tape or markers.
While waiting for the columns to dry, it’s also important to ensure proper ventilation in the area. Open windows or doors to allow air circulation, which will help speed up the drying process and minimize any lingering paint odors.
Use this time to clean up your painting supplies and dispose of any waste materials properly. Store any leftover paint according to the manufacturer’s instructions to ensure it remains usable for future touch-ups or projects.
By allowing the columns to dry thoroughly, you’re ensuring a strong and durable finish that will withstand the elements and maintain its beauty over time.
Step 6: Reinstall any Hardware or Accessories
Once the paint on your porch columns has dried completely, it’s time to reattach any hardware or accessories that were previously removed or covered. This step adds the finishing touches to your project and ensures that your columns are fully functional and ready to showcase their new look.
Begin by removing any masking paper or plastic that was used to protect the hardware or accessories during the painting process. Carefully peel off the tape and discard it, ensuring that no adhesive residue is left behind.
If any of the hardware or accessories were thoroughly cleaned or lightly sanded before painting, give them a final wipe down to remove any dust or debris. This will ensure a clean and seamless reinstallation.
Using the appropriate tools, reinstall the hardware or accessories onto the porch columns. Take your time and ensure they are securely fastened in place. Double-check that all screws or bolts are tightened properly to avoid any loose or wobbly attachments.
If any of the hardware or accessories are damaged or worn out, this is an excellent opportunity to replace them with new ones that complement the fresh look of your porch columns.
Once the hardware or accessories have been reinstalled, step back and admire the transformation of your porch columns. This final step adds the finishing touches and completes the overall aesthetic of your porch.
Remember to take care when handling any sharp objects or tools during the reinstallation process, and always prioritize safety by wearing appropriate gloves or eye protection if necessary.
By reattaching any hardware or accessories, you’re adding the final details that will enhance the overall appearance and functionality of your porch columns.
Step 7: Maintenance and Care Tips
Now that you have successfully covered your wrought iron porch columns, it’s important to implement proper maintenance and care techniques to ensure their longevity and continued beauty. By following these tips, you can protect your columns against the elements and minimize the need for frequent touch-ups or repairs.
1. Regular Cleaning: Schedule regular cleaning sessions to remove dirt, dust, and debris from your porch columns. Use a mild soap or detergent and a soft cloth or sponge to gently scrub the surface. Rinse thoroughly with water and allow the columns to dry completely before proceeding.
2. Inspect for Damage: Periodically inspect your columns for any signs of damage, such as chips, scratches, or rust spots. Address these issues promptly by applying touch-up paint or addressing rust by sanding and applying a rust-resistant coating.
3. Protective Coating: Consider applying a protective coating, such as a clear sealant or wax, to further protect the painted surface of your columns. This additional layer will provide an extra barrier against UV rays, moisture, and other environmental factors that can cause damage over time.
4. Avoid Harsh Chemicals: When cleaning or maintaining your porch columns, avoid using harsh chemicals or abrasive cleaners. These can strip away the paint or cause damage to the surface. Stick to mild soaps or detergents and gentle cleaning methods to ensure the longevity of your columns’ finish.
5. Regular Inspections: Regularly inspect the hardware or accessories attached to your porch columns, such as house numbers, light fixtures, or decorations. Ensure that they are securely fastened and replace any damaged or worn-out components as needed.
6. Seasonal Touch-ups: Depending on your climate, the paint on your porch columns may experience wear and tear over time. Consider scheduling seasonal touch-ups to refresh the appearance and ensure the columns always look their best.
7. Protective Measures: If you live in an area with harsh weather conditions, consider using additional protective measures during extreme weather events. For example, cover the columns with a tarp or protective covering during heavy snow or storms to prevent damage.
By implementing these maintenance and care tips, you can keep your porch columns looking beautiful and well-protected for years to come.
Read more: How To Install Porch Columns
Conclusion
Covering your wrought iron porch columns can breathe new life into your outdoor space, enhancing its visual appeal and protecting the columns from potential damage. The step-by-step process outlined in this article has provided you with the necessary guidance to transform your porch columns with ease.
By measuring and preparing the columns, cleaning and priming the surface, applying the base coat, choosing the desired finish, allowing for proper drying time, reattaching hardware or accessories, and implementing maintenance and care practices, you can achieve stunning results.
Remember, taking the time to properly prepare your columns and select high-quality materials will ensure a professional and long-lasting finish. Regular maintenance and care will help preserve the beauty, protect against damage, and extend the lifespan of your porch columns.
So, whether you’re looking to revamp the appearance of your porch or simply want to give your wrought iron columns a fresh and protective coating, following these steps will help you achieve the desired results.
Now, armed with the knowledge and techniques shared in this article, it’s time to start your project and enjoy the renewed beauty of your porch columns for years to come!
Frequently Asked Questions about How To Cover Wrought Iron Porch Columns
Was this page helpful?
At Storables.com, we guarantee accurate and reliable information. Our content, validated by Expert Board Contributors, is crafted following stringent Editorial Policies. We're committed to providing you with well-researched, expert-backed insights for all your informational needs.


0 thoughts on “How To Cover Wrought Iron Porch Columns”