
Articles
How To Repair Rotted Porch Column
Modified: May 6, 2024
Learn how to repair rotted porch columns with our helpful articles. Find step-by-step guides and expert tips to fix and restore your porch columns.
(Many of the links in this article redirect to a specific reviewed product. Your purchase of these products through affiliate links helps to generate commission for Storables.com, at no extra cost. Learn more)
Introduction
A porch is a wonderful addition to any home, providing a comfortable and inviting space to relax and enjoy the outdoors. However, over time, porch columns can become rotted and compromised, posing potential safety hazards and detracting from the aesthetic appeal of your home. If you’ve noticed signs of rot in your porch columns, it’s essential to address the issue promptly to prevent further damage and ensure the structural integrity of your porch.
In this article, we will guide you through the process of repairing rotted porch columns. We will provide step-by-step instructions and highlight the necessary tools and materials you’ll need to complete the project. By following these guidelines, you can restore your porch columns to their former glory and ensure a safe and beautiful space for your family and guests to enjoy.
Before we delve into the repair process, it’s crucial to understand why porch columns rot in the first place. Porch columns are often exposed to the elements, making them vulnerable to moisture, decay, and insect damage. Factors such as improper installation, lack of maintenance, and poor ventilation can also contribute to the deterioration of porch columns.
By identifying the causes of column rot and taking proactive steps to address them, you can extend the lifespan of your porch columns and minimize the need for future repairs. Additionally, regular inspections and maintenance will help you spot early signs of damage, enabling you to take prompt action and prevent further deterioration.
It’s important to note that while this article provides a general overview of the repair process, specific steps and requirements may vary depending on the materials used in your porch columns and the extent of the damage. It’s always advisable to consult with a professional or seek expert advice if you have any concerns or questions during the repair process.
Now, let’s explore the necessary safety precautions and the tools and materials you’ll need before you begin repairing your rotted porch columns.
Key Takeaways:
- Regular maintenance and preventative measures, such as annual inspections, trimming vegetation, and applying protective finishes, are crucial for preventing porch column rot and extending their lifespan. Prioritizing safety and following proper repair techniques will ensure a successful restoration.
- By following the step-by-step instructions outlined in this article, you can confidently repair rotted porch columns, ensuring the safety, stability, and aesthetic appeal of your porch. Remember to consult professionals for specific variations and expert advice when needed.
Read more: How To Replace Columns On Porch
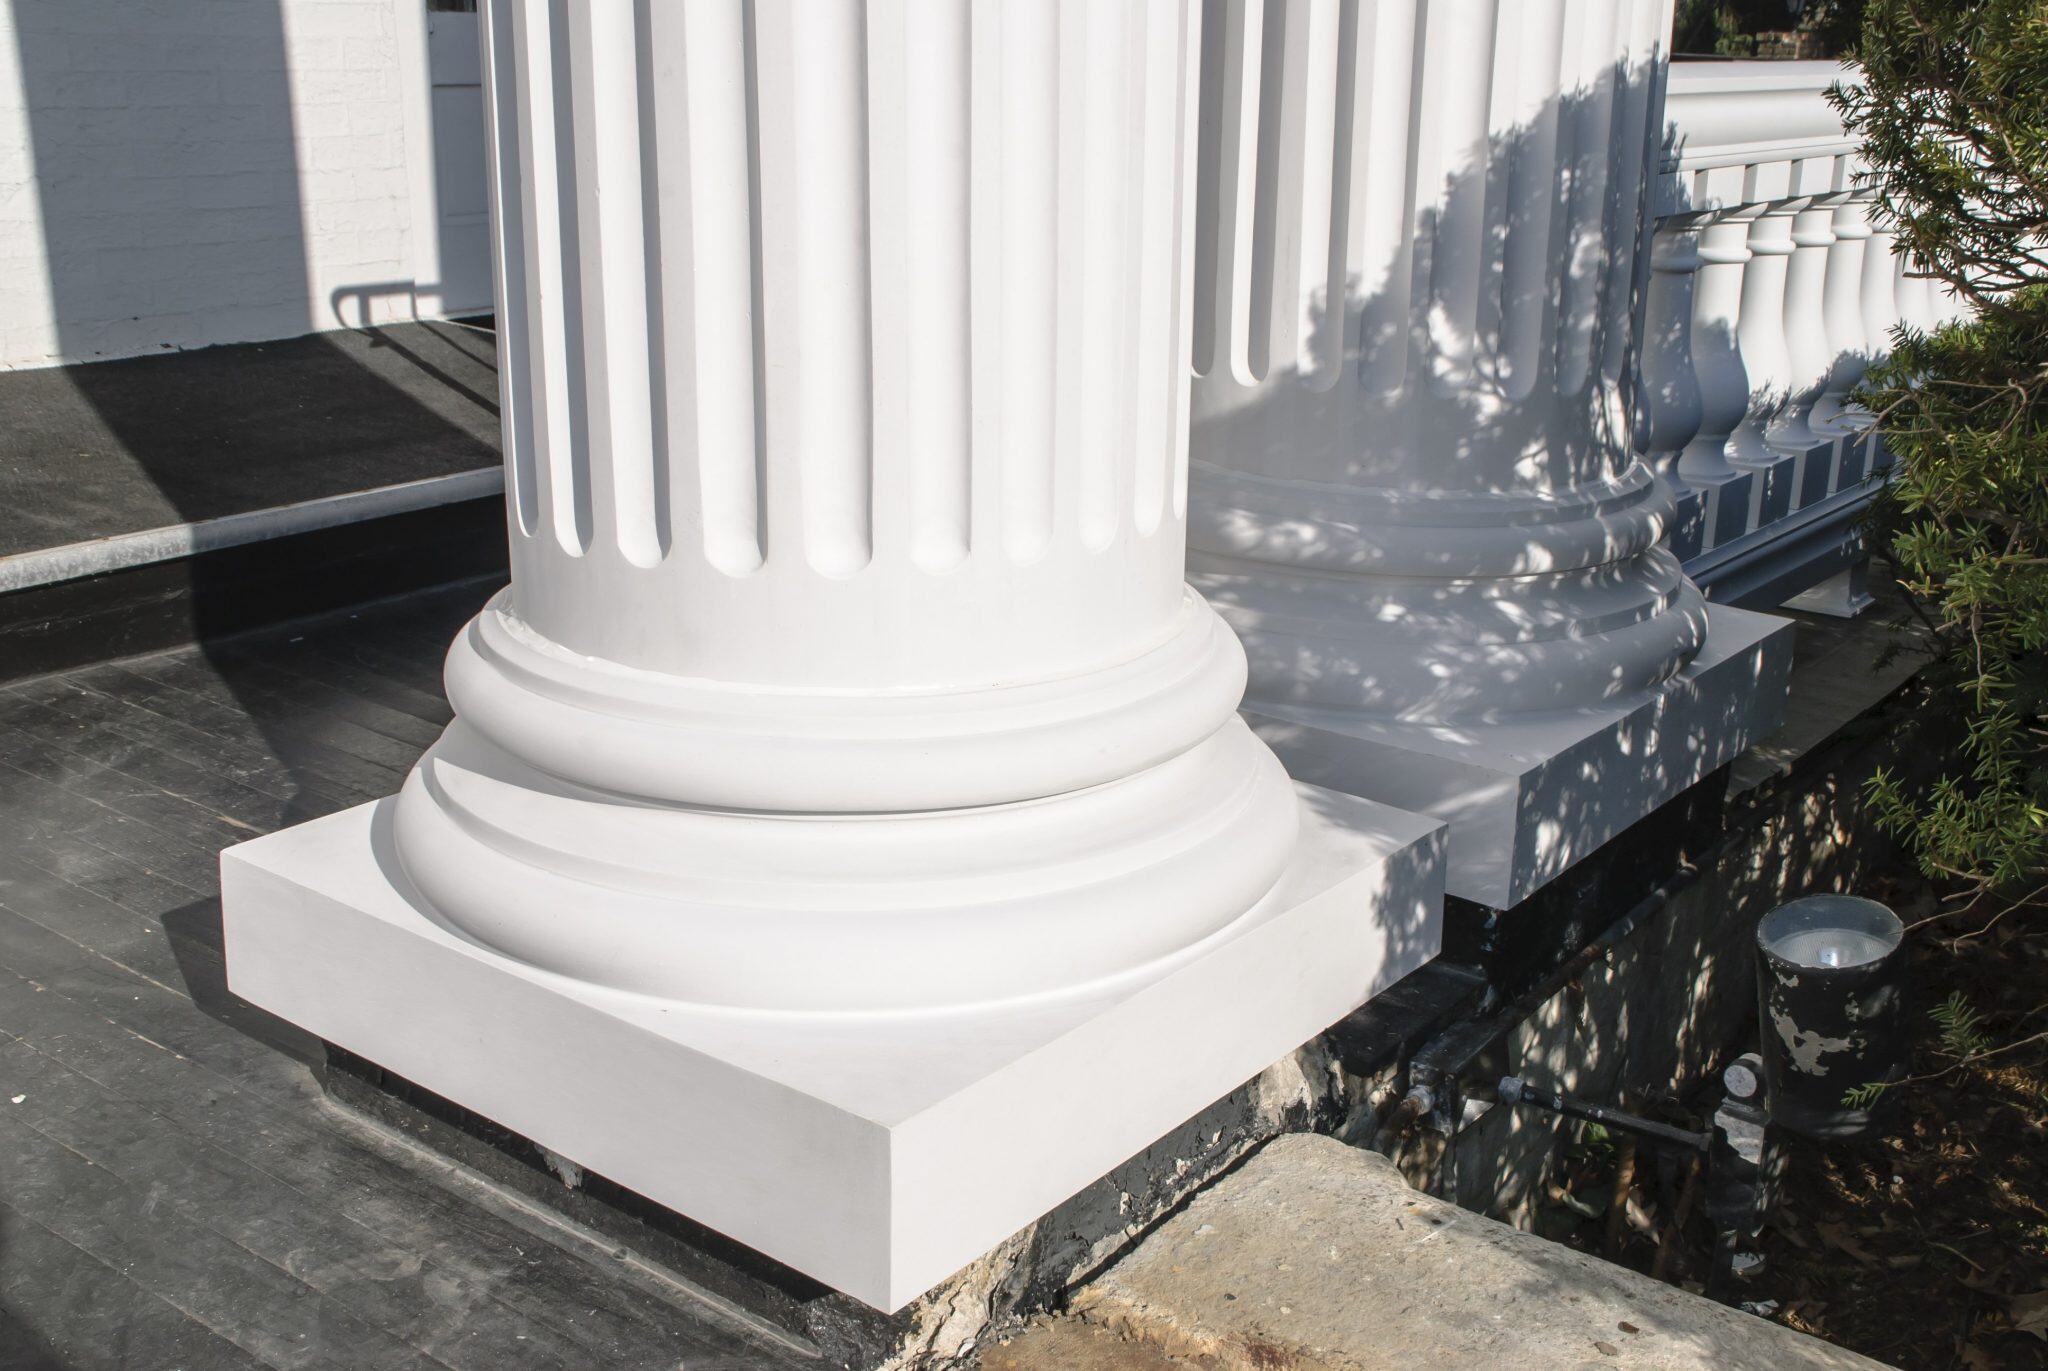
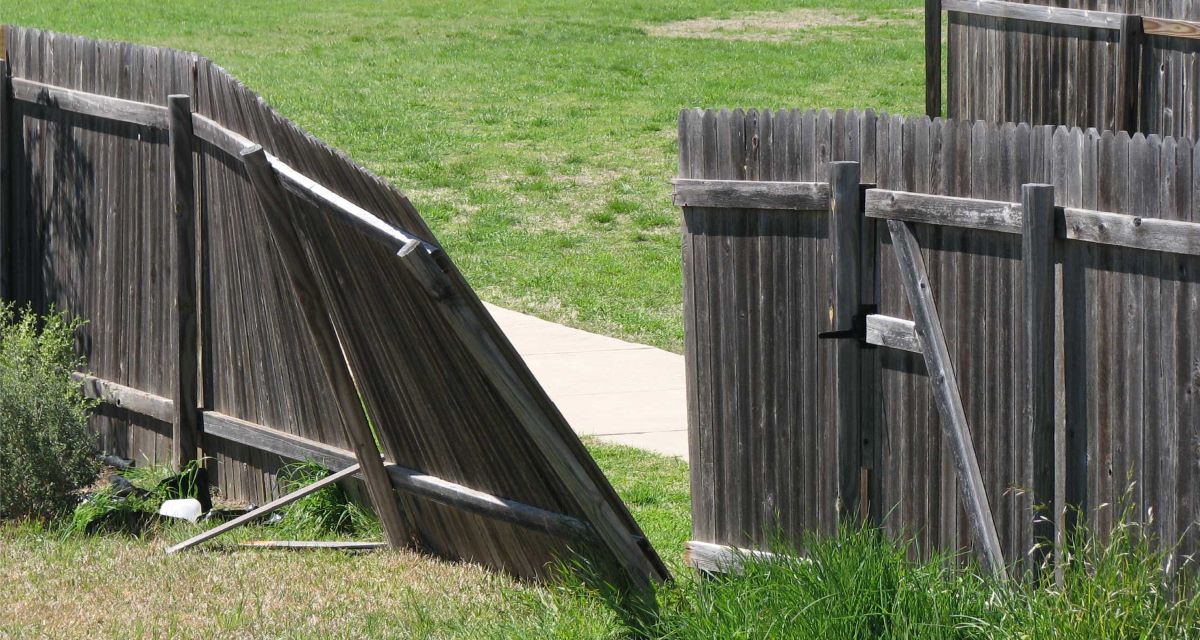
Understanding Rotted Porch Columns
Rotted porch columns can be a serious issue that compromises the stability and safety of your porch. Understanding the causes and signs of column rot is essential for effective repair and prevention.
One of the primary causes of column rot is moisture infiltration. Porch columns are typically exposed to rain, snow, and humidity, which can seep into the wood over time. When moisture accumulates within the column, it creates an ideal environment for rot-causing fungi and bacteria to thrive.
Lack of proper ventilation is another factor that contributes to column rot. Without adequate airflow, moisture gets trapped within the column, leading to increased dampness and decay.
In addition to moisture, insects such as termites, carpenter ants, and wood-boring beetles can also contribute to column rot. These pests invade the wood, nesting within the column and causing significant damage.
Signs of rotted porch columns are often noticeable and should be addressed promptly. Common indicators include:
- Soft, mushy or crumbly wood when touched
- Visible cracks, splits, or holes in the column
- Discoloration or dark patches on the surface
- Musty or earthy odor emanating from the column
- Sagging or instability of the porch
If you notice any of these signs, it’s essential to take immediate action to prevent further deterioration and potential collapse of the porch. Ignoring rotted porch columns can lead to extensive damage and costly repairs down the line.
Regular maintenance and preventative measures can help extend the lifespan of your porch columns and minimize the risk of rot. Some of these measures include:
- Inspecting porch columns annually for signs of decay or damage
- Trimming nearby shrubs and trees to reduce moisture and pest activity
- Keeping the area around the porch clean and free from debris
- Applying a protective finish or sealant to the column
Understanding the causes and signs of rotted porch columns is crucial in maintaining the structural integrity and safety of your porch. In the next section, we will discuss the necessary safety precautions you should take before starting the repair process.
Safety Precautions
Before you start repairing rotted porch columns, it’s important to prioritize safety to avoid any accidents or injuries. Taking necessary precautions will help ensure a smooth and secure repair process.
Here are some essential safety guidelines to follow:
- Wear appropriate protective gear: When working with tools and materials, it’s crucial to protect yourself. Wear safety goggles to shield your eyes from debris and dust. Additionally, use gloves to safeguard your hands and a respiratory mask if you’ll be working with chemicals or in a confined area with poor ventilation.
- Secure the work area: Clear the porch and surrounding area of any obstacles or tripping hazards. Make sure the workspace is well-lit and free from clutter. Close off the area to children and pets to prevent accidental injuries.
- Use stable ladders or scaffolding: If you’ll be working at an elevated height, use a secure and stable ladder or scaffolding system. Ensure that the ladder is in good condition and placed on a level surface. Never stand on the top rung of a ladder or overreach to maintain your balance.
- Work with a helper: Repairing rotted porch columns can be a challenging task, and having a helper can make the process safer and easier. They can assist in holding materials, providing support, or calling for help in case of emergencies.
- Power tool safety: If you’ll be using power tools, follow the manufacturer’s instructions carefully. Wear appropriate safety gear, such as ear protection when using loud power tools, and keep a firm grip on the tools at all times. Disconnect power tools when not in use, and keep them away from the reach of children.
- Handle chemicals responsibly: If you’ll be working with chemical treatments or solvents, read and follow the instructions on the labels. Use them in a well-ventilated area and avoid inhaling fumes. Dispose of any hazardous materials properly.
- Know your limitations: If you’re unsure about any aspect of the repair process or if it seems beyond your capabilities, consider hiring a professional. They have the expertise and experience to handle the job safely and effectively.
Remember, safety should always be your top priority when repairing rotted porch columns. By following these precautions, you can reduce the risk of accidents and injuries, ensuring a successful and injury-free repair process. In the next section, we’ll explore the essential tools and materials you’ll need to complete the project.
Tools and Materials
Before you begin repairing rotted porch columns, it’s important to gather all the necessary tools and materials. Having the right equipment on hand will make the process smoother and more efficient. Here’s a list of the essential tools and materials you’ll need:
Tools:
- Pruning saw or reciprocating saw: Use a pruning saw or reciprocating saw to remove any rotted or damaged portions of the porch column.
- Chisel and hammer: These tools will come in handy for chiseling away any remaining rotted wood and preparing the area for repair.
- Circular saw or table saw: If you need to cut replacement pieces for the porch column, a circular saw or table saw will be necessary.
- Drill and wood screws: You’ll need a drill to secure the replacement pieces and reinforce the porch column structure with wood screws.
- Pry bar: A pry bar will help you remove any trim or molding around the porch column without causing damage.
- Clamps: Clamps are essential for holding pieces in place while you secure them with screws or adhesive.
- Paintbrushes: Choose paintbrushes appropriate for the type of paint or stain you’ll be using to finish the porch column.
- Sanding tools: Sandpaper or a power sander will be necessary to smooth the repaired areas and ensure a seamless finish.
Read more: How To Install Porch Columns
Materials:
- Replacement wood: Depending on the extent of the damage, you may need to replace a portion of the porch column with new wood. Choose a durable and rot-resistant wood species.
- Epoxy wood filler: Epoxy wood filler is ideal for repairing smaller areas of rotted wood. It hardens quickly and provides a strong and durable repair.
- Wood preservative: A wood preservative helps protect the repaired areas against further rot and decay. Look for a preservative that is specifically designed for outdoor use.
- Exterior grade adhesive: An exterior grade adhesive is useful for bonding new wood pieces together or securing them to the existing column.
- Primer and paint or stain: Once the repairs are complete, you’ll need primer and paint or stain to finish the porch column and protect it from the elements.
Make sure to gather all the necessary tools and materials before you start the repair process. This will save you time and ensure that you have everything you need to complete the job successfully. In the next section, we’ll dive into the step-by-step instructions for repairing your rotted porch columns.
Step 1: Inspect the Damage
The first step in repairing rotted porch columns is to thoroughly inspect the extent of the damage. This will help you determine the scope of the repairs needed and guide you in planning the best course of action.
Here’s how to inspect the damage:
- Visually examine the porch columns: Take a close look at the porch columns for any visible signs of rot or damage. Look for soft or crumbly wood, cracks, splits, and discoloration.
- Probe the wood: Use a sharp object, like a screwdriver or awl, to gently probe the areas that appear damaged. If the wood easily yields or you can push the tool into the column, there is likely rot present.
- Check the stability: Test the stability of the porch column by pushing or gently shaking it. If there is excessive movement or it feels unstable, it may be compromised by rot.
- Inspect the base: Pay particular attention to the base of the porch column. This area is often more susceptible to moisture and rot due to its proximity to the ground.
- Look for signs of pests: Keep an eye out for any signs of insect infestation, such as small holes or sawdust residue. Termites, carpenter ants, and wood-boring beetles can cause significant damage to porch columns.
Once you have assessed the damage, take note of any areas that require immediate attention. This will help you prioritize the repairs and plan the necessary steps to restore the porch columns.
If the damage is extensive or beyond your level of expertise, it’s advisable to consult with a professional contractor or structural engineer. They will be able to provide a thorough assessment and guide you in the best course of action for repairing or replacing the porch columns.
By carefully inspecting the damage, you will have a clear understanding of the condition of your porch columns and will be prepared to move on to the next steps in the repair process. In the following sections, we will guide you through the necessary actions to fix your rotted porch columns and restore their structural integrity.
Step 2: Remove the Rotted Portion
Once you’ve inspected the damage and identified the areas that require repair, it’s time to remove the rotted portion of the porch columns. Removing the affected wood will allow you to create a stable foundation for the repair and prevent further decay.
Follow these steps to safely remove the rotted portion:
- Safety first: Before you begin, make sure you are wearing appropriate protective gear, such as safety goggles and gloves, to protect yourself from any debris.
- Support the porch: If the affected porch column provides support to the porch, it’s crucial to create a temporary support system before removing any wood. Use sturdy braces or jacks to ensure the porch remains stable throughout the repair process.
- Identify the rotted area: Locate the section of the porch column that is affected by rot. You may notice discolored, soft, or crumbly wood in this area.
- Make a clean cut: Use a pruning saw or a reciprocating saw to cut through the porch column above and below the rotted portion. Make precise cuts to ensure a clean removal.
- Carefully remove the rotted wood: With the damaged section of the porch column now separated, use a chisel and hammer to carefully remove the rotted wood. Take your time and work in small portions, removing any soft or decayed material until you reach solid, healthy wood.
- Smooth the edges: After removing the rotted wood, use sandpaper or a power sander to smooth the edges of the remaining column. This will help create a clean surface for the next steps of the repair process.
Once you have removed the rotted portion, inspect the remaining column for any signs of additional damage or pest activity. If you notice any further issues, take note of them and plan to address them in the subsequent steps.
Remember to exercise caution when removing the rotted portion of the porch column. It’s essential to work carefully to avoid causing any further damage or weakening the structure. If you’re unsure about any aspect of this step, consult with a professional for guidance and assistance.
With the rotted portion removed, you’re now ready to move on to the next step: treating and protecting the surrounding area to prevent future decay and ensure long-lasting repairs.
Step 3: Treat and Protect the Surrounding Area
After removing the rotted portion of the porch column, it’s important to treat and protect the surrounding area to prevent future decay and ensure the longevity of your repairs. This step will help safeguard the newly exposed wood and create a barrier against moisture and pests.
Follow these steps to treat and protect the surrounding area:
- Inspect for remaining rot: Before proceeding, carefully examine the adjacent wood surfaces for any remaining signs of rot. If you notice any soft or deteriorating wood, use a chisel and hammer to remove it, ensuring that only solid and healthy wood remains.
- Apply a wood preservative: Use a brush or applicator to apply a wood preservative to the exposed wood. The preservative helps protect against decay, moisture, and insect infestation. Follow the manufacturer’s instructions for the application, ensuring you cover all exposed surfaces thoroughly.
- Allow the preservative to penetrate: Give the wood preservative enough time to penetrate the wood and dry. This will typically take a few hours or as directed by the manufacturer. Avoid any contact with the treated surfaces during this time.
- Apply epoxy wood filler (if necessary): If there are small voids or gaps in the surrounding area, you can fill them with epoxy wood filler. Epoxy is a durable and water-resistant material that will help fill in the gaps and provide additional protection. Follow the manufacturer’s instructions for mixing and applying the epoxy filler.
- Smooth and sand the repaired area: Once the epoxy filler has cured, use sandpaper or a power sander to smooth the repaired area. This will create a seamless transition between the repaired area and the surrounding wood surface.
- Clean the work area: Remove any debris or dust resulting from the repair process. This will ensure a clean and well-prepared surface for the next steps of the repair.
By treating and protecting the surrounding area, you’re helping to strengthen the repaired section of the porch column while also preventing future damage and decay. The wood preservative and epoxy filler act as valuable defenses against moisture, rot-causing organisms, and pests.
Once you’ve treated and protected the surrounding area, you’re ready to move on to the next step: creating a temporary support system to ensure the stability of your porch during the repair process.
Read more: How To Replace Rotted Porch Railing
Step 4: Create a Temporary Support System
Before proceeding with the repair of your rotted porch column, it’s essential to create a temporary support system. This will ensure the stability of your porch during the repair process and prevent any potential accidents or damage.
Follow these steps to create a temporary support system:
- Assess the load-bearing requirements: Consider the weight and load that the porch column supports. This will help you determine the type and number of temporary supports needed.
- Gather sturdy braces or jacks: Use adjustable, sturdy braces or jacks to support the porch during the repair. Position them strategically to evenly distribute the weight and provide adequate support.
- Place the temporary supports: Carefully position the braces or jacks under the porch, ensuring they are stable and level. Adjust them to the appropriate height to match the original position of the porch column.
- Ensure proper alignment: Use a level to check the alignment of the temporary supports and make any necessary adjustments. Proper alignment will help prevent any structural issues and maintain stability.
- Secure the temporary supports: Once the braces or jacks are in position, secure them firmly to prevent any movement or shifting. Use clamps or other suitable fasteners to keep them in place.
- Test the stability: Gently test the stability of the temporary supports by applying light pressure. Ensure they can withstand the weight and remain in place without any wobbling or shifting.
Creating a temporary support system is crucial for the safety and stability of your porch during the repair process. It will prevent any potential collapse or damage to the surrounding structure.
Remember, the temporary supports are not intended to be a permanent solution. They are meant to provide stability during the repair process. Once the repairs are complete, the original porch column or a suitable replacement will be secured in place, and the temporary supports can be removed.
With the temporary support system in place, you’re now ready to move on to the next step: preparing the replacement column for installation.
When repairing a rotted porch column, start by removing the damaged wood and treating the area with a wood hardener. Then, fill the void with an epoxy filler and sand it smooth before painting or staining.
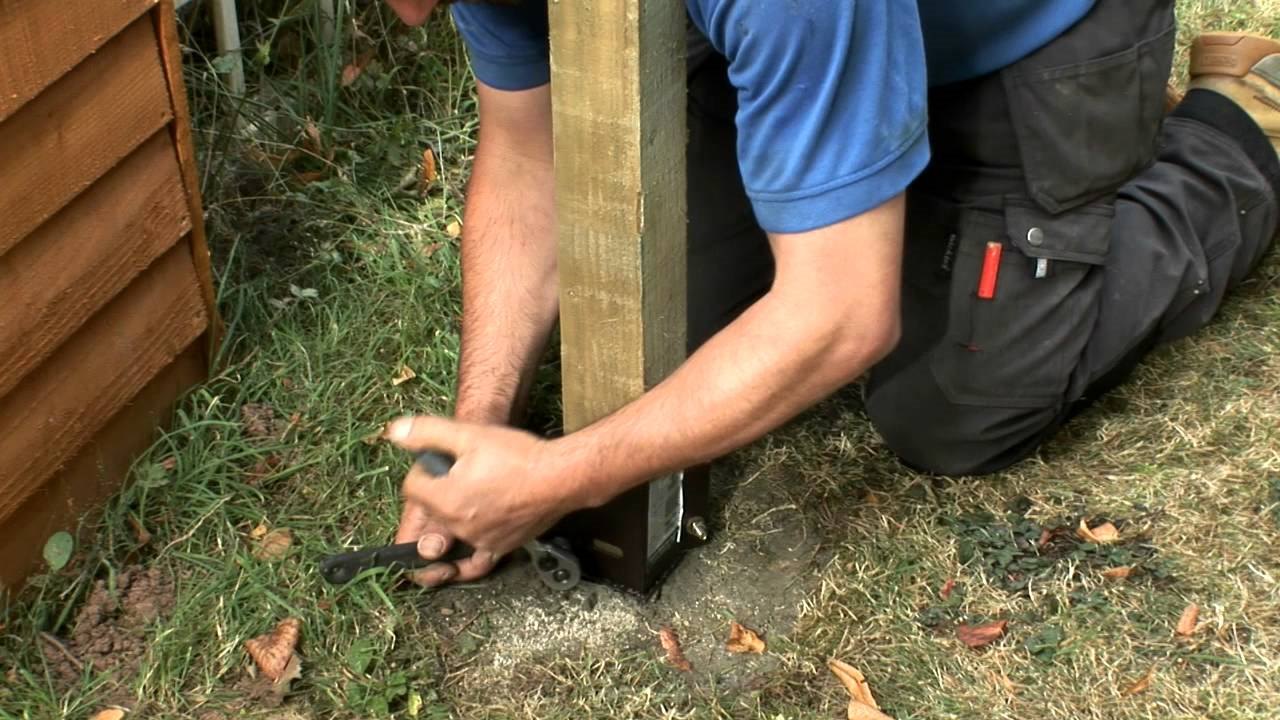
Step 5: Prepare the Replacement Column
Preparing the replacement column is a crucial step in repairing rotted porch columns. This involves selecting the appropriate material, cutting it to size, and ensuring a proper fit for installation.
Follow these steps to prepare the replacement column:
- Select the right material: Choose a suitable material for the replacement column that matches the existing porch columns in terms of size, shape, and style. Common materials include treated lumber, cedar, or composite materials that are resistant to rot and decay.
- Measure and cut the replacement column: Measure the height and width of the space where the rotted portion was removed. Use a circular saw or table saw to cut the replacement column to the required length and dimensions.
- Consider decorative details: If your porch columns feature any decorative trim or detailing, mimic these features on the replacement column for a cohesive and seamless look. Use a chisel or other appropriate tools to recreate the design.
- Smooth the edges: Use sandpaper or a power sander to smooth the edges of the replacement column. This will ensure a clean and professional finish.
- Drill pilot holes: To facilitate the installation process, use a drill to create pilot holes in the replacement column. These holes will guide the screws or fasteners and prevent splitting or cracking of the wood.
- Treat the replacement column: Apply a wood preservative to the replacement column to protect it from moisture, rot, and pests. Follow the manufacturer’s instructions for application and allow it to dry completely.
Take your time to ensure the replacement column is cut and prepared accurately. A well-prepared replacement will enhance the stability and aesthetics of your porch while providing long-lasting durability.
Once the replacement column is ready, you can proceed to the next step: securing the replacement column in place and restoring the structural integrity of your porch.
Step 6: Secure the Replacement Column in Place
With the preparation of the replacement column complete, it’s time to secure it in place and restore the structural integrity of your porch. Proper installation is key to ensuring a sturdy and long-lasting repair.
Follow these steps to secure the replacement column:
- Remove the temporary supports: Before installing the replacement column, carefully remove the temporary supports that were put in place to stabilize the porch during the repair process.
- Position the replacement column: Position the replacement column in the space where the rotted portion was removed, ensuring it fits snugly. Double-check the alignment and vertical orientation using a level.
- Secure with screws or fasteners: Using the pilot holes previously drilled, attach the replacement column to the surrounding structure by driving wood screws or other appropriate fasteners through the column and into the adjacent framing or support beams.
- Ensure a tight fit: Tighten the screws or fasteners securely to ensure that the replacement column is firmly held in place without any wobbling or movement.
- Test the stability: Apply gentle pressure to test the stability of the replacement column. It should feel solid and secure, with no noticeable give or shifting.
During the installation process, double-check that the replacement column is properly aligned and centered with the existing porch columns. This will ensure a balanced and cohesive appearance.
If necessary, use clamps or braces to provide additional support during the installation process. These can assist in holding the replacement column in place as you secure it with screws or fasteners.
Once the replacement column is securely installed, you can move on to the final steps of the repair process: finishing and painting the column to enhance its appearance and protect it from the elements.
Step 7: Finish and Paint the Column
Finishing and painting the repaired porch column is not only an essential aesthetic step but also crucial for protecting the wood from the elements. The right finish and paint will enhance the durability and longevity of the column while adding a polished look to your porch.
Follow these steps to finish and paint the column:
- Prepare the surface: Ensure that the repaired area and the entire column surface are clean and free from dust or debris. Use a damp cloth to wipe down the column and let it dry completely.
- Apply primer: Before painting, apply a coat of primer to the column. This will help the paint adhere better, provide an even color base, and enhance the durability of the finish. Choose a primer that is suitable for outdoor use and compatible with the type of paint you’ll be applying.
- Select the paint or stain: Choose a high-quality exterior paint or stain that is suitable for the material of your porch column. Consider the desired color and finish, as well as any specific weather-resistant properties you may require.
- Apply the paint or stain: Use a brush, roller, or sprayer to apply an even coat of paint or stain to the column. Follow the manufacturer’s instructions for application and drying times. Apply multiple coats if necessary, allowing each coat to dry completely before applying the next.
- Inspect and touch up: Once the paint or stain has dried, carefully inspect the column for any uneven spots or missed areas. Touch up as necessary to ensure a uniform and professional finish.
- Seal the finish (optional): If desired, apply a clear sealant or topcoat to the painted or stained column. This will provide an extra layer of protection against UV rays, moisture, and wear, further extending the life of the finish.
When painting, take care to cover all surfaces, including any decorative trim or detailing on the column. This will ensure a cohesive and visually appealing appearance.
Remember to follow proper paint or stain application techniques and work in a well-ventilated area. Dispose of any paint or stain materials properly, following local guidelines and regulations.
With the column now finished and painted, it’s time to move on to the final step: removing the temporary support system and enjoying your repaired porch column.
Read more: How To Replace Columns On Front Porch
Step 8: Remove Temporary Support
Now that your repaired porch column is secure and fully finished, it’s time to remove the temporary support system that was put in place during the repair process. This final step ensures that your porch is restored to its proper structure and stability.
Follow these steps to remove the temporary support:
- Assess the stability: Before removing the temporary support, verify that the repaired porch column is securely in place and stable. Ensure that there is no wobbling or movement when pressure is applied.
- Gradually release the support: If you used adjustable braces or jacks, carefully lower them or release the pressure, observing the response of the porch. Observe if there are any changes in stability or movement.
- Monitor porch stability: Once the temporary support has been removed, observe the porch for any signs of instability or sagging. Pay close attention to the area around the repaired porch column and other adjoining columns.
- Make necessary adjustments: If you notice any issues such as slight settling or misalignment, address them promptly. This may involve tightening screws or adjusting the position of the column slightly.
Keep in mind that some settling may occur after the temporary support is removed. This is normal and can be expected as the porch adjusts to the repaired column.
Regularly inspect the repaired porch column and the surrounding area to ensure that it remains stable and structurally sound. If you notice any signs of movement, instability, or further damage, address the issue promptly to prevent further problems.
With the temporary support system removed, your porch column repair is now complete. Take a moment to admire your handiwork and enjoy the restored beauty and functionality of your porch.
Congratulations on successfully repairing your rotted porch column. By following these step-by-step instructions, you have not only restored the structural integrity of your porch but also extended its lifespan. Regular maintenance and inspections will help ensure the long-term durability of your porch columns for years to come.
Thank you for taking the time and effort to repair your rotted porch column. Enjoy your beautiful and safe porch!
Conclusion
Repairing rotted porch columns is essential for maintaining the structural integrity and aesthetic appeal of your porch. By following the step-by-step instructions outlined in this article, you have learned how to assess the damage, remove the rotted portion, treat and protect the surrounding area, create a temporary support system, prepare the replacement column, secure it in place, finish and paint the column, and finally, remove the temporary support.
Throughout the repair process, it’s important to prioritize safety by wearing protective gear, using sturdy equipment, and following proper safety precautions. By doing so, you can minimize the risk of accidents and injuries.
Regular maintenance and preventative measures are crucial for preventing porch column rot in the future. Inspect your porch columns annually for signs of decay, trim nearby vegetation, and keep the area clean and debris-free. Applying protective finishes, sealants, and wood preservatives can also help extend the lifespan of your porch columns.
Remember, while this article provides a comprehensive guide to repairing rotted porch columns, there may be specific variations and requirements depending on the materials used and the extent of the damage. If you’re uncertain about any aspect of the repair process, it’s always advisable to consult with a professional or seek expert advice.
By repairing rotted porch columns, you’re not only ensuring the safety and stability of your porch but also preserving its beauty and value. Take pride in your repair efforts, and enjoy the renewed functionality and charm of your porch for years to come.
Thank you for taking the time to learn how to repair rotted porch columns. With the knowledge and skills gained from this article, you are now equipped to tackle this project confidently and effectively. Happy porch column repairing!
After mastering porch column repair, why stop there? Dive into broader home upkeep with our comprehensive guide on how to do home repair. Ready to tackle more hands-on projects? Our DIY home projects article provides all you need for crafting solutions at home, ensuring your living space not only looks great but functions beautifully too. Both guides are packed with practical advice and creative ideas to keep your home in top shape.
Frequently Asked Questions about How To Repair Rotted Porch Column
Was this page helpful?
At Storables.com, we guarantee accurate and reliable information. Our content, validated by Expert Board Contributors, is crafted following stringent Editorial Policies. We're committed to providing you with well-researched, expert-backed insights for all your informational needs.


0 thoughts on “How To Repair Rotted Porch Column”