Home>Gardening & Outdoor>Outdoor Structures>How To Replace Columns On Front Porch

Outdoor Structures
How To Replace Columns On Front Porch
Modified: August 31, 2024
Learn how to replace columns on your front porch with our expert guide. Enhance the look and safety of your outdoor structures with our step-by-step instructions.
(Many of the links in this article redirect to a specific reviewed product. Your purchase of these products through affiliate links helps to generate commission for Storables.com, at no extra cost. Learn more)
Introduction
Welcome to the ultimate guide on how to replace columns on your front porch! Your porch is more than just an entryway; it's a place where you welcome guests and enjoy moments of relaxation. Over time, the columns that support your porch may show signs of wear and tear due to exposure to the elements and general aging. If you notice rotting, warping, or structural instability in your porch columns, it's crucial to address these issues promptly to maintain the safety and aesthetic appeal of your home.
In this comprehensive guide, we will walk you through the step-by-step process of replacing your front porch columns. Whether you're a seasoned DIY enthusiast or tackling this project for the first time, we've got you covered. By following these instructions and tips, you can revitalize your porch and give it a fresh, sturdy look.
Before we dive into the practical steps, it's essential to emphasize the importance of safety during this project. Always prioritize your well-being and that of others around you. If you're unsure about any step or encounter unexpected challenges, don't hesitate to seek professional assistance.
Now, let's roll up our sleeves and embark on this rewarding journey to rejuvenate your front porch!
Key Takeaways:
- Replacing front porch columns involves measuring, removing old columns, preparing the area, installing new columns, and adding finishing touches. Safety, precision, and attention to detail are crucial for a successful project.
- By following the step-by-step guide, you can revitalize your porch, enhance its structural integrity, and create a welcoming space for cherished moments with family and friends. The project embodies the spirit of nurturing and honoring our living spaces.
Read more: How To Replace Columns On Porch
Step 1: Measure and Purchase Materials
Before diving into the column replacement process, it’s crucial to gather the necessary materials and take accurate measurements. This preparation ensures a smooth and efficient project execution. Here’s a detailed breakdown of the initial steps:
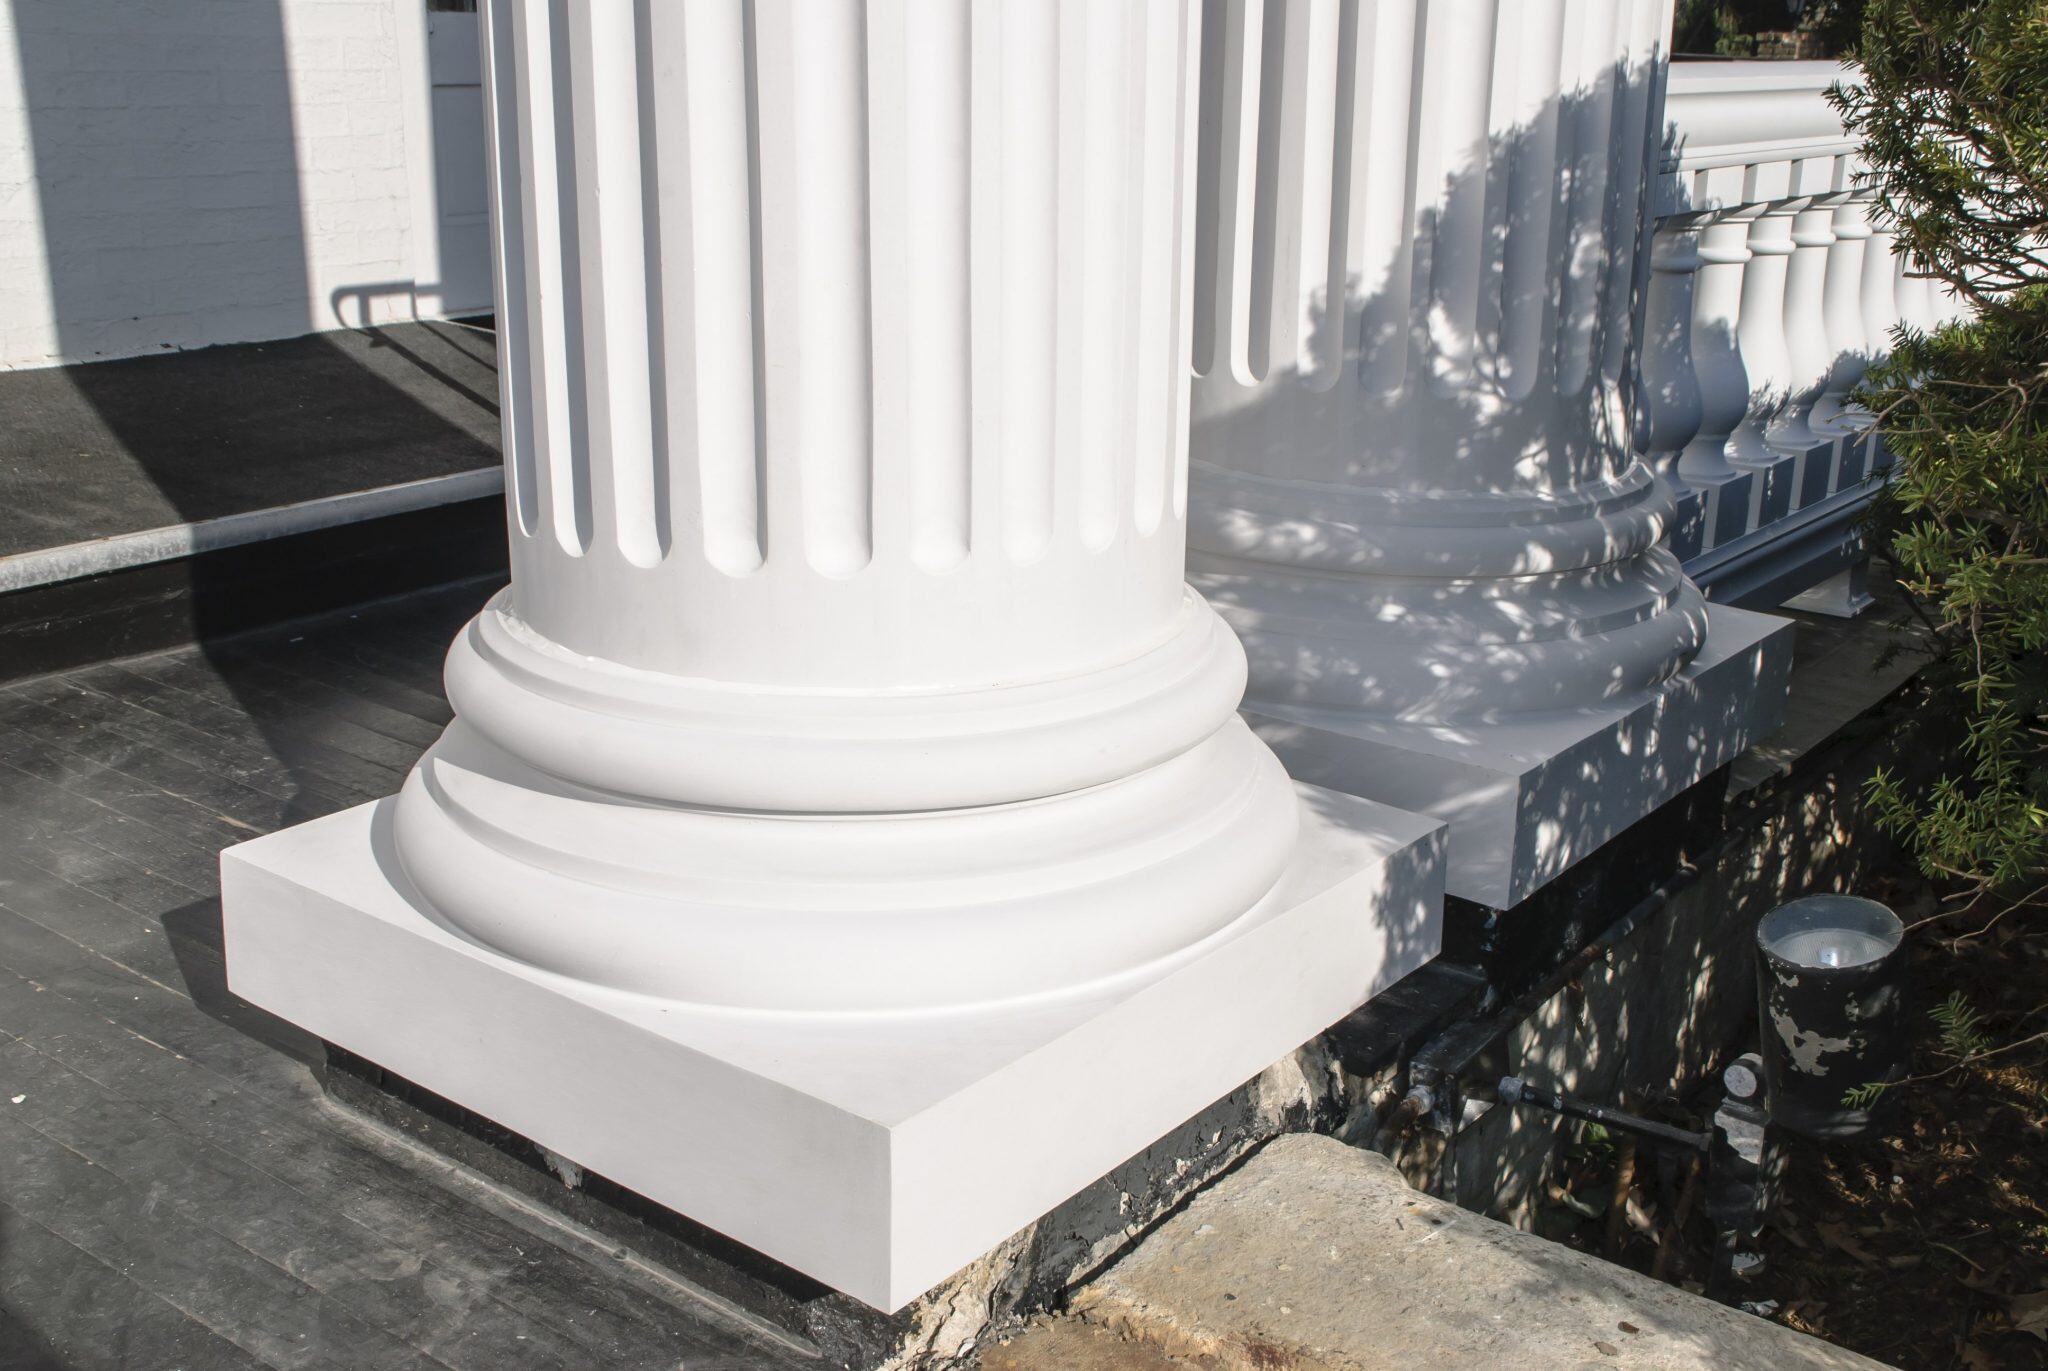
1. Assess the Current Columns: Begin by examining the existing columns on your front porch. Note their dimensions, material, and any specific design details. This assessment will guide you in selecting replacement columns that closely match the original ones, maintaining the architectural integrity of your home.
2. Take Precise Measurements: Using a measuring tape, record the height and circumference of the current columns. Additionally, measure the distance between the columns to determine the spacing. These measurements are vital for purchasing the correct replacement columns and ensuring a seamless fit.
3. Select Replacement Materials: When choosing new columns, consider the material’s durability, weather resistance, and aesthetic appeal. Common options include fiberglass, PVC, wood, and aluminum. Each material offers distinct advantages, so weigh the pros and cons based on your specific requirements and preferences.
4. Gather Essential Tools: In addition to the replacement columns, gather the necessary tools for the installation process. This may include a saw, level, drill, screws, shims, and a hammer. Ensuring that you have all the required tools beforehand will streamline the project and prevent unnecessary delays.
5. Purchase Replacement Columns: Armed with your measurements and material preferences, acquire the replacement columns from a reputable supplier. Whether you choose to order custom columns or select from pre-made options, ensure that they align with your porch’s architectural style and structural needs.
By meticulously measuring the existing columns, selecting suitable replacement materials, and procuring the essential tools, you’re laying a solid foundation for a successful column replacement project. With these preliminary steps completed, you’re ready to move on to the next phase of the process.
Step 2: Remove the Old Columns
With the necessary materials in hand, it’s time to bid farewell to the old, worn-out columns. This step requires careful execution to ensure the safe and efficient removal of the existing columns. Here’s a detailed guide to help you navigate this phase of the project:
1. Safety Precautions: Before commencing the removal process, prioritize safety measures. Wear appropriate protective gear, including gloves and safety goggles, to shield yourself from debris and potential hazards. Additionally, ensure that the area surrounding the porch is clear of any obstacles to facilitate unrestricted movement.
2. Detach Any Attachments: Inspect the old columns for any attachments, such as brackets or trim pieces, and remove them using the appropriate tools. This preparatory step allows for easier access to the columns and facilitates a smoother removal process.
3. Support the Porch: Since the columns provide structural support to the porch, it’s crucial to ensure that the porch remains adequately supported during the removal. Temporary supports, such as adjustable jacks, can be strategically positioned to bear the porch’s weight as the columns are removed.
4. Dismantle the Columns: Depending on the construction of the existing columns, you may need to disassemble them in sections. Use a saw or appropriate cutting tool to carefully dismantle the columns, ensuring that each section is manageable and can be safely removed from the porch area.
5. Clear Debris and Clean the Area: As the old columns are removed, promptly clear any debris and clean the area to create a safe and organized workspace for the subsequent installation phase. This proactive approach minimizes potential hazards and sets the stage for a seamless transition to installing the new columns.
6. Dispose of the Old Columns: Properly dispose of the old columns in accordance with local waste disposal regulations. If the columns are salvageable, consider repurposing them for DIY projects or donating them to individuals in need of building materials.
By following these systematic steps, you can effectively bid adieu to the old columns and pave the way for the installation of fresh, sturdy replacements. With the removal phase completed, you’re now poised to progress to the next pivotal stage of the column replacement process.
Step 3: Prepare the Area for Installation
As the old columns make their exit, it’s time to prepare the porch for the arrival of their replacements. This crucial step involves readying the installation site and ensuring that the foundation is primed for the new columns. Here’s a comprehensive guide to preparing the area for the seamless installation of your new front porch columns:
1. Assess the Porch Foundation: Thoroughly inspect the porch’s foundation and structure to identify any underlying issues that may impact the installation of the new columns. Address any structural concerns, such as rot or damage, to fortify the foundation and create a stable base for the upcoming installation.
2. Clean and Level the Installation Site: Clear the installation site of any debris, dirt, or obstructions that could impede the installation process. Additionally, ensure that the area is level and free from any unevenness that could compromise the stability of the new columns.
3. Position the New Columns: Before installation, position the new columns in their designated locations to confirm the fit and alignment. This preliminary placement allows you to make any necessary adjustments and ensures that the columns are poised for a seamless installation.
4. Secure Mounting Brackets: If your replacement columns require mounting brackets for installation, securely affix them to the porch’s structure according to the manufacturer’s guidelines. Properly installed mounting brackets serve as a secure anchor for the new columns, enhancing their stability and longevity.
5. Verify Alignment and Spacing: Double-check the alignment and spacing of the new columns to ensure that they adhere to your original measurements and design specifications. This attention to detail guarantees a visually appealing and structurally sound installation.
6. Gather Installation Tools: As you prepare the installation site, gather the necessary tools and equipment required for installing the new columns. This may include a level, shims, fasteners, and any specialized tools recommended by the column manufacturer.
By meticulously preparing the installation area, addressing any underlying structural concerns, and ensuring the precise positioning of the new columns, you’re laying the groundwork for a successful and visually stunning installation. With the area primed and ready, you’re now poised to embark on the exciting phase of installing your new front porch columns.
When replacing columns on a front porch, make sure to measure the height and width of the existing columns before purchasing new ones. It’s important to choose columns that are the right size and style for your porch.
Step 4: Install the New Columns
With the groundwork laid and the stage set, it’s time to usher in the new era of your front porch by installing the replacement columns. This transformative step marks the culmination of your meticulous planning and preparation, bringing your vision of a revitalized porch to life. Here’s a comprehensive guide to installing the new columns with precision and finesse:
1. Lift and Position the Columns: Enlist the assistance of a capable helper to carefully lift and position the new columns in their designated locations. Exercise caution to avoid any damage to the columns and ensure that they align perfectly with the predetermined placement.
2. Level and Secure the Columns: Utilize a level to ensure that each column is perfectly plumb and aligned. Once the desired positioning is achieved, secure the columns in place using the recommended fasteners or installation method specified by the manufacturer.
3. Adjust for Stability: If necessary, use shims to fine-tune the stability and alignment of the columns. This meticulous adjustment process ensures that the columns are securely anchored and perfectly aligned, enhancing their structural integrity and visual appeal.
4. Verify Structural Soundness: Conduct a thorough inspection to confirm that the installed columns provide robust support and exhibit no signs of instability. This critical assessment ensures that the columns are poised to withstand the rigors of supporting your front porch for years to come.
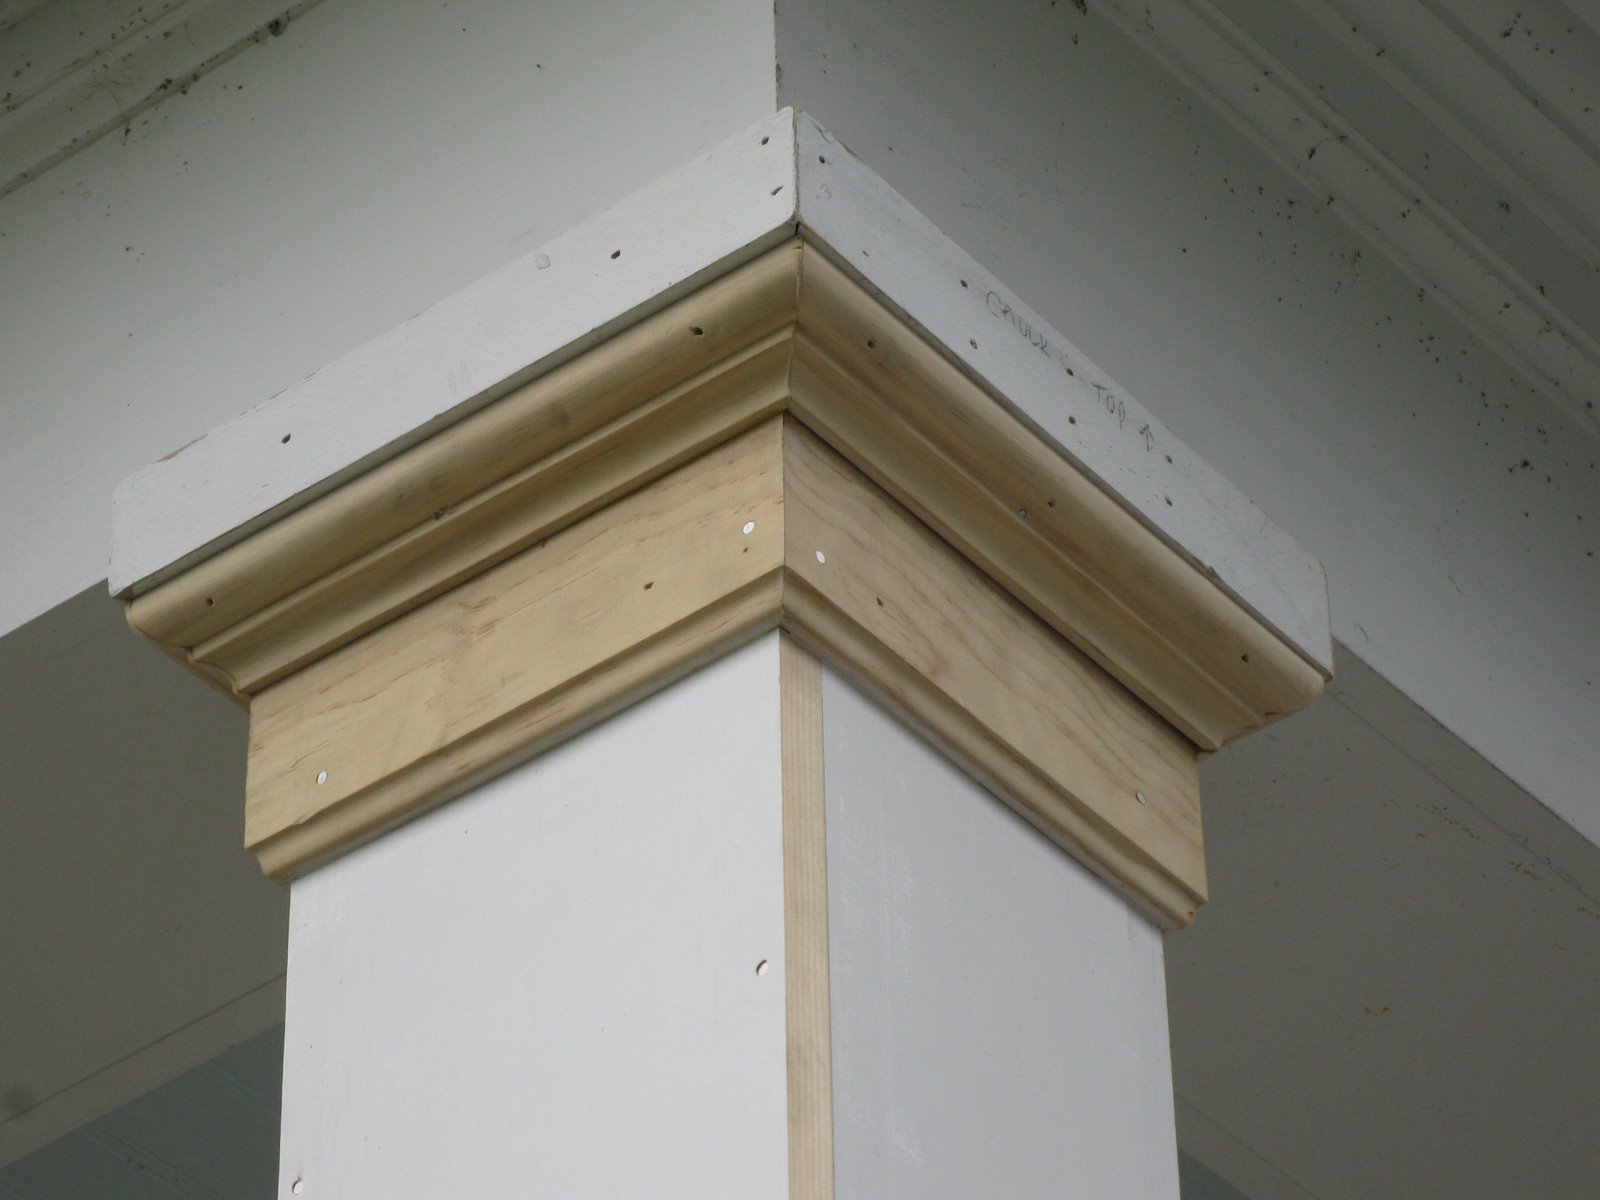
5. Add Decorative Touches: Depending on your design preferences, consider adding decorative elements, such as trim or molding, to embellish the new columns and enhance their visual impact. These finishing touches infuse personality and charm into your porch’s aesthetic.
6. Seek Professional Assistance if Needed: If you encounter challenges during the installation process or are uncertain about any aspect of the installation, don’t hesitate to seek guidance from a professional contractor or experienced installer. Their expertise can provide invaluable insights and ensure a flawless installation.
By following these meticulous steps and exercising precision throughout the installation process, you’re poised to witness the remarkable transformation of your front porch. With the new columns securely in place, you’re now ready to add the final flourishes and bring your vision of a rejuvenated porch to fruition.
Step 5: Finishing Touches and Cleanup
As the installation of the new columns draws to a close, it’s time to add the final touches that will elevate the visual appeal of your front porch and ensure that the surrounding area is left pristine. This phase encompasses adding decorative elements and conducting a thorough cleanup to unveil the full splendor of your revitalized porch. Let’s delve into the essential steps for adding the finishing touches and ensuring a tidy, polished outcome:
1. Apply Paint or Stain: If your replacement columns are crafted from wood or a paintable material, consider applying a fresh coat of paint or stain to enhance their appearance and provide protection against the elements. Choose a color that complements your home’s exterior and aligns with your aesthetic preferences.
2. Install Trim and Molding: Embellish the new columns with decorative trim, molding, or accents that accentuate their architectural elegance. These ornamental additions infuse character and sophistication into your porch, elevating its overall allure.
3. Conduct a Thorough Cleanup: Remove any debris, dust, or construction remnants from the porch area to ensure a clean and inviting space. Pay attention to details such as sweeping, wiping down surfaces, and clearing away any stray materials to unveil the full splendor of your porch’s transformation.
4. Inspect for Quality and Precision: Take a moment to inspect the installed columns, decorative elements, and surrounding area to ensure that every aspect meets your expectations in terms of quality, precision, and visual impact. Address any minor imperfections or adjustments to achieve a flawless outcome.
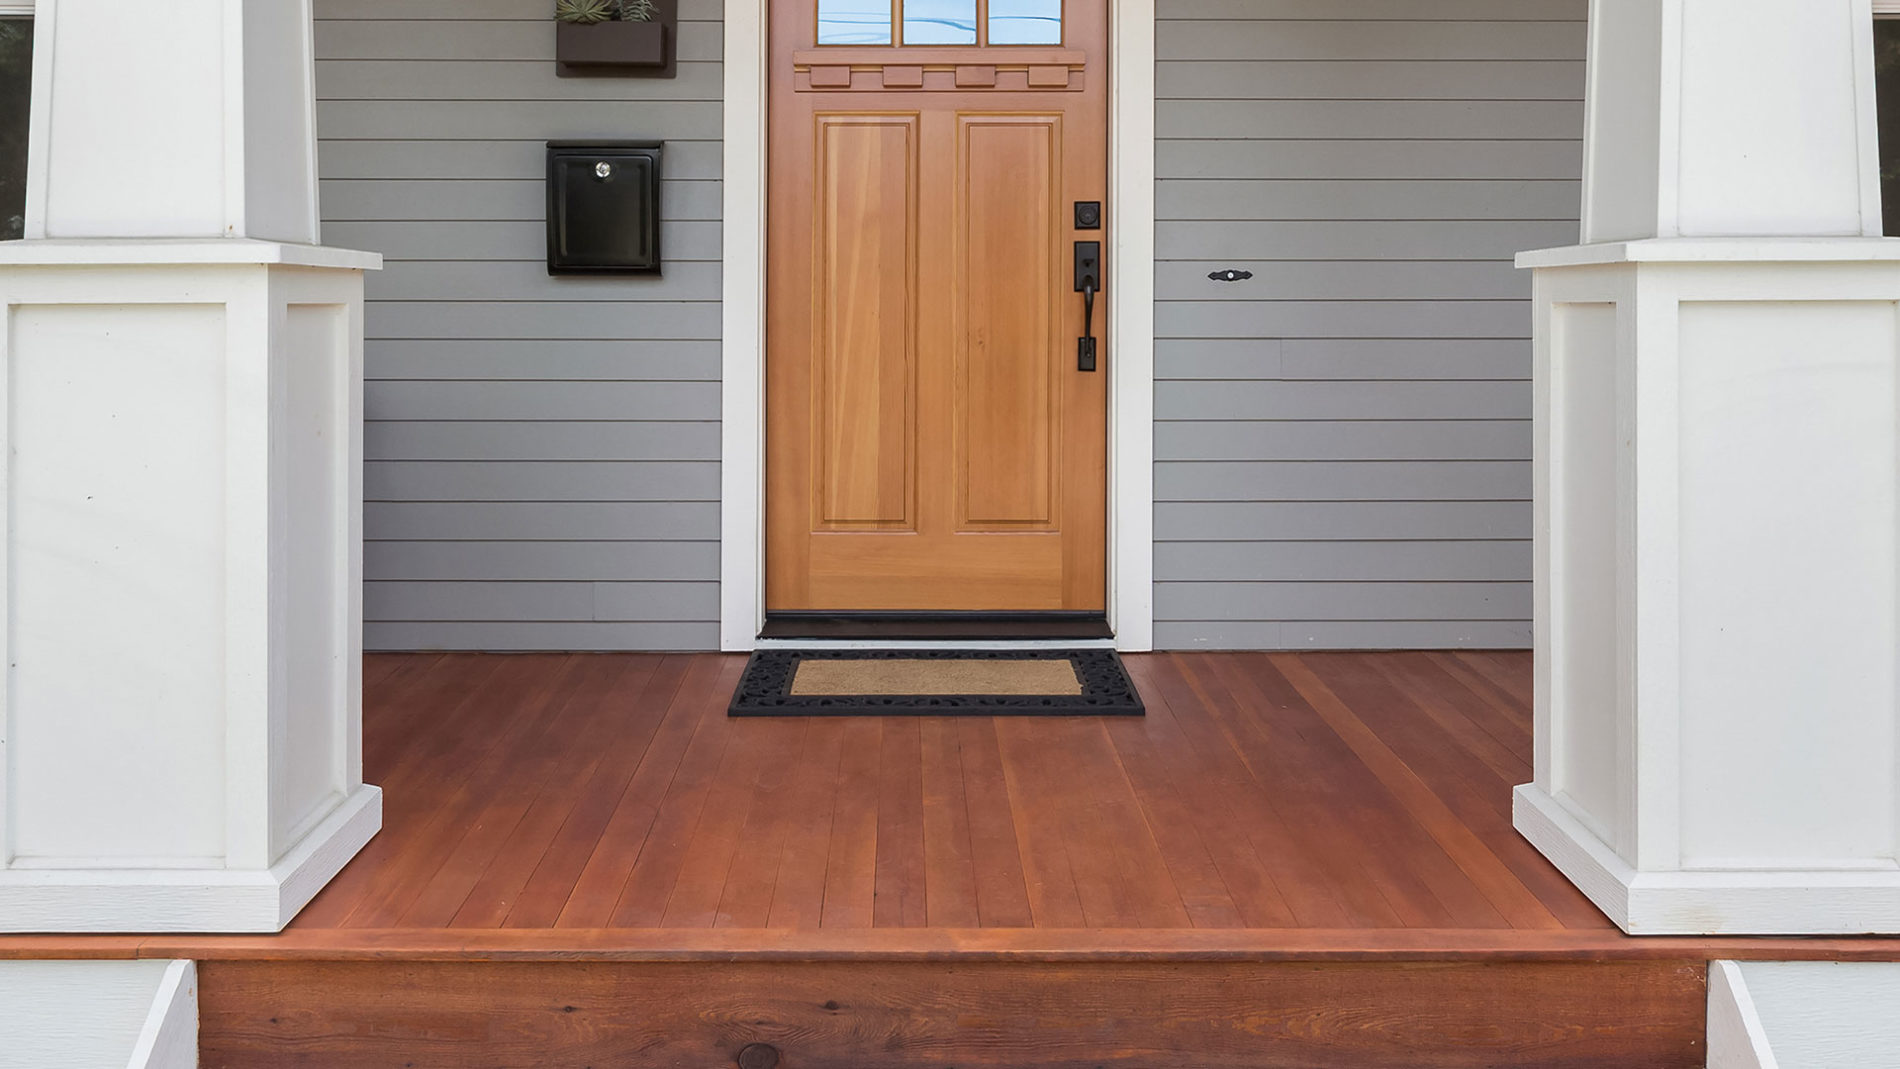
5. Celebrate Your Revitalized Porch: Step back and admire the remarkable transformation that has taken place. Celebrate the revitalization of your front porch and envision the countless moments of enjoyment and warm welcomes it will facilitate for years to come.
6. Share Your Experience: If you’ve documented your column replacement journey, consider sharing your experience and insights with friends, family, or fellow DIY enthusiasts. Your journey can inspire and guide others embarking on similar home improvement projects.
With the finishing touches applied and the surrounding area immaculately cleaned, your front porch stands as a testament to your dedication and craftsmanship. Embrace the pride of revitalizing this cherished space and relish the countless memories that await in your newly transformed haven.
Conclusion
Congratulations on successfully completing the transformative journey of replacing the columns on your front porch! This endeavor has not only revitalized the structural integrity of your porch but has also breathed new life into the heart of your home. As you reflect on this rewarding experience, it’s essential to acknowledge the significance of your dedication and attention to detail throughout the process.
By meticulously measuring, selecting, and installing the replacement columns, you have fortified your porch with sturdiness and charm, creating a welcoming space that exudes timeless elegance. The careful planning, precise execution, and thoughtful finishing touches have culminated in a front porch that not only enhances your home’s curb appeal but also sets the stage for countless cherished moments with family and friends.
As you bask in the satisfaction of a job well done, it’s important to remember the invaluable knowledge and skills gained from this project. Whether you embarked on this endeavor as a DIY enthusiast or ventured into uncharted territory, the experience has undoubtedly enriched your understanding of home improvement and instilled a sense of accomplishment that will resonate for years to come.
Furthermore, this project serves as a testament to the enduring spirit of craftsmanship and the joy of breathing new life into cherished spaces. Your revitalized front porch stands as a testament to your commitment to maintaining a home that not only exudes beauty but also prioritizes safety and longevity.
As you embrace the warmth and character of your newly transformed porch, may it serve as a gathering place for laughter, relaxation, and heartfelt conversations. Your dedication to preserving and enhancing your home reflects a profound appreciation for the enduring significance of the spaces we inhabit.
In closing, the journey of replacing your front porch columns transcends the realm of home improvement; it embodies the spirit of nurturing and honoring the spaces that enrich our lives. As you embark on future endeavors, may the lessons learned and the pride derived from this project continue to inspire and guide you in creating spaces that resonate with comfort, beauty, and enduring quality.
Now that you've mastered replacing porch columns, why not tackle more upgrades around your home? If you're considering refreshing your living space, our guide on home renovation will help you choose the perfect hardwood floors for every room. For those who love hands-on projects, our article on DIY home projects offers practical tips that can transform your space efficiently. And don't forget the outside; our mailbox landscaping ideas can seriously boost curb appeal, making it the envy of the neighborhood.
Frequently Asked Questions about How To Replace Columns On Front Porch
Was this page helpful?
At Storables.com, we guarantee accurate and reliable information. Our content, validated by Expert Board Contributors, is crafted following stringent Editorial Policies. We're committed to providing you with well-researched, expert-backed insights for all your informational needs.


0 thoughts on “How To Replace Columns On Front Porch”