

Articles
How To Paint Insulation Foam
Modified: October 19, 2024
Learn how to paint insulation foam with our informative articles. Discover expert tips and techniques to achieve a flawless finish.
(Many of the links in this article redirect to a specific reviewed product. Your purchase of these products through affiliate links helps to generate commission for Storables.com, at no extra cost. Learn more)
Introduction
Painting insulation foam is a great way to add a touch of color and personality to your DIY projects. Whether you’re working on cosplay props, model making, or crafting decorations, painting insulation foam can help bring your creations to life. However, it’s important to follow the proper techniques and safety precautions to ensure the best results.
In this article, we will guide you through the step-by-step process of painting insulation foam. We will cover everything from the necessary safety measures to the materials and tools you’ll need. So, let’s dive in and learn how to transform your insulation foam into a work of art!
Key Takeaways:
- Unleash Your Creativity: Painting insulation foam is a fun and versatile way to bring DIY projects to life. Follow safety precautions, prepare the foam, and add finishing touches to create professional-looking results.
- Elevate Your Projects: With the right materials and techniques, painting insulation foam can add color and personality to cosplay props, model making, and decorations. Prioritize safety, take your time, and enjoy the creative process.
Read more: What Is Foam Insulation Made Of
Safety Precautions
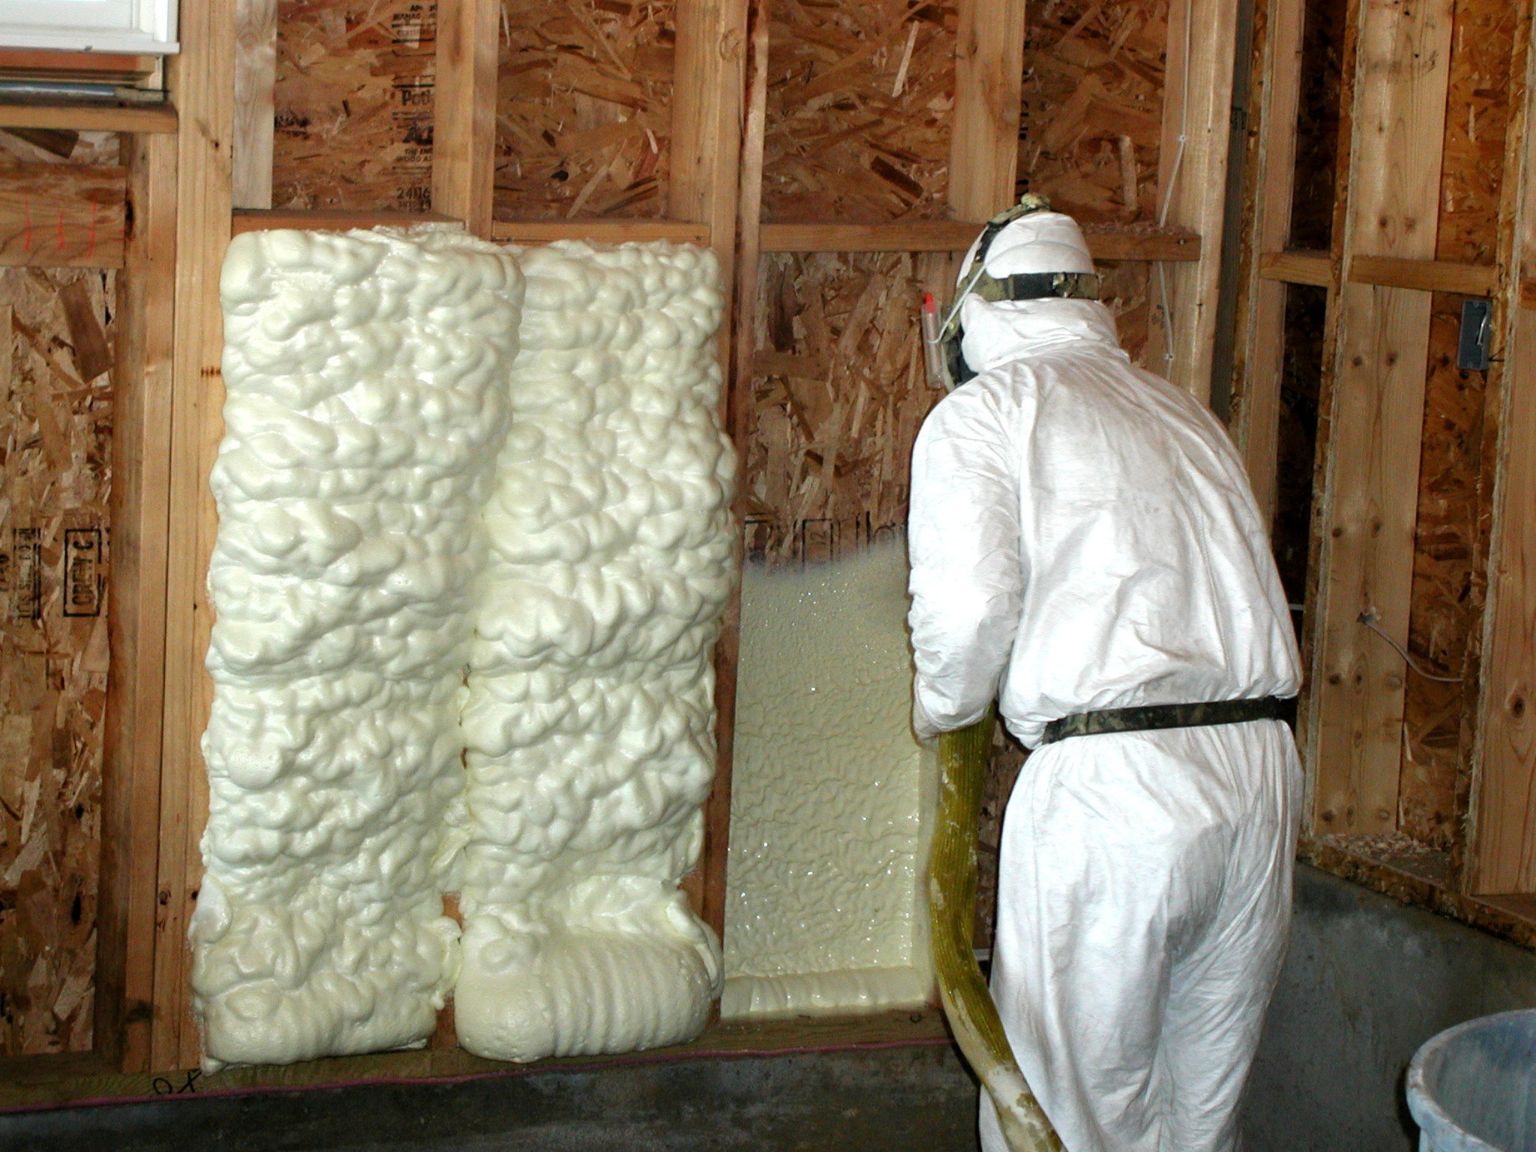
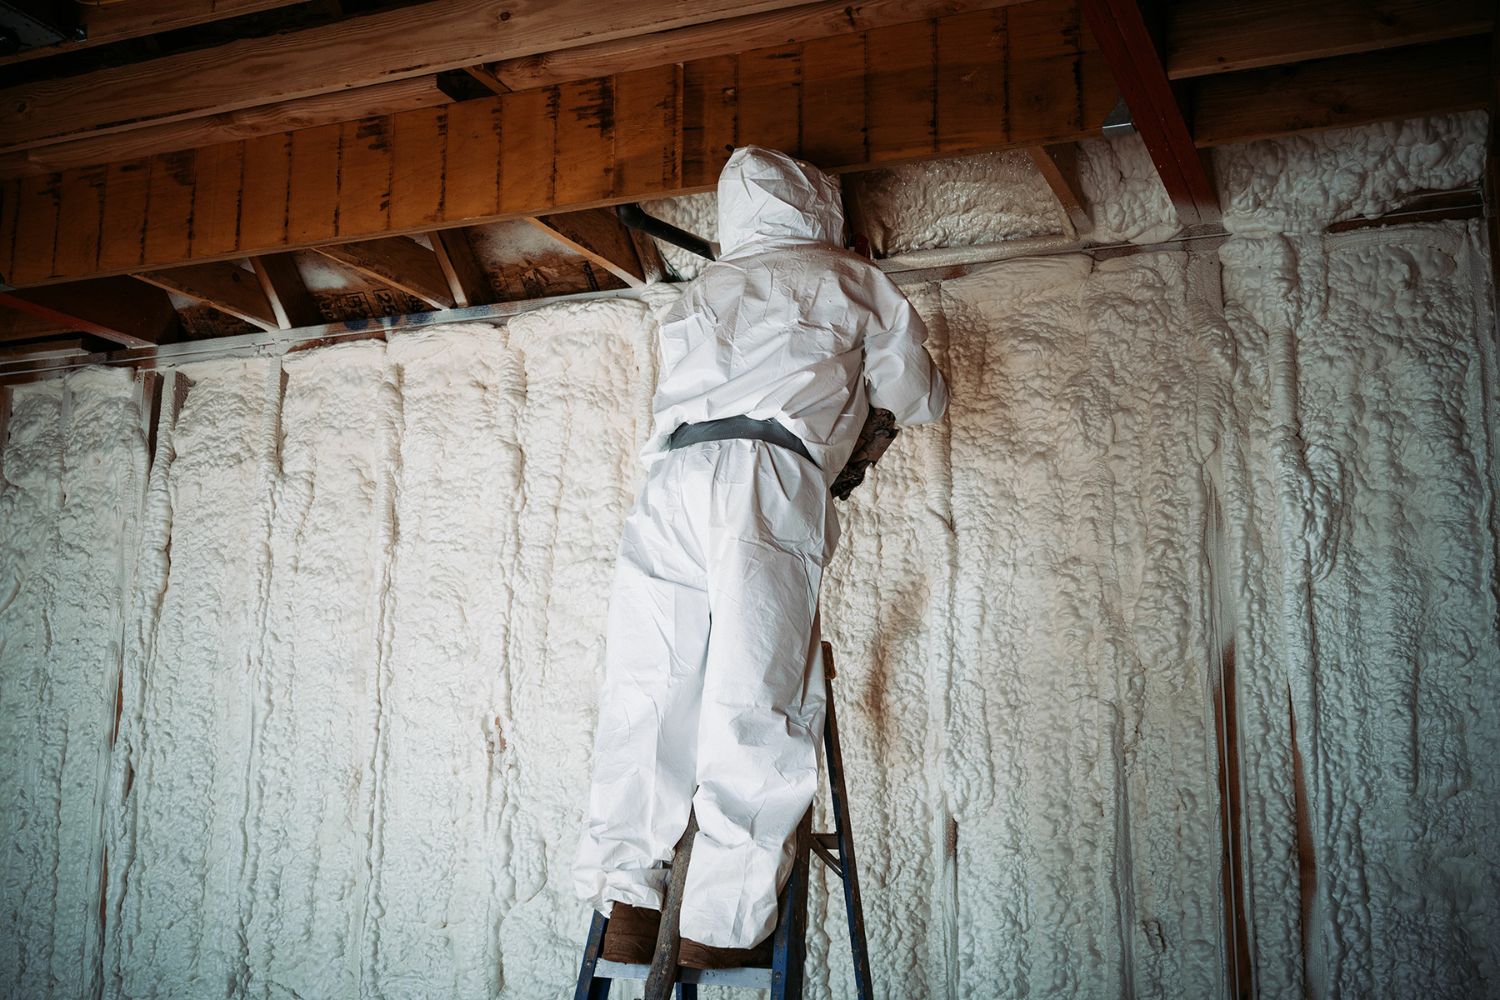
Before you begin painting insulation foam, it’s crucial to prioritize your safety. Foam insulation can release harmful particles and gases when cut or sanded, so it’s important to take the following precautions:
- Wear protective gear: Always wear safety goggles, a dust mask, and gloves when handling insulation foam. This will protect you from airborne particles and potential skin irritation.
- Work in a well-ventilated area: Insulation foam can release toxic fumes, so it’s essential to have proper ventilation. Open windows or work in a space with good airflow to minimize exposure to harmful gases.
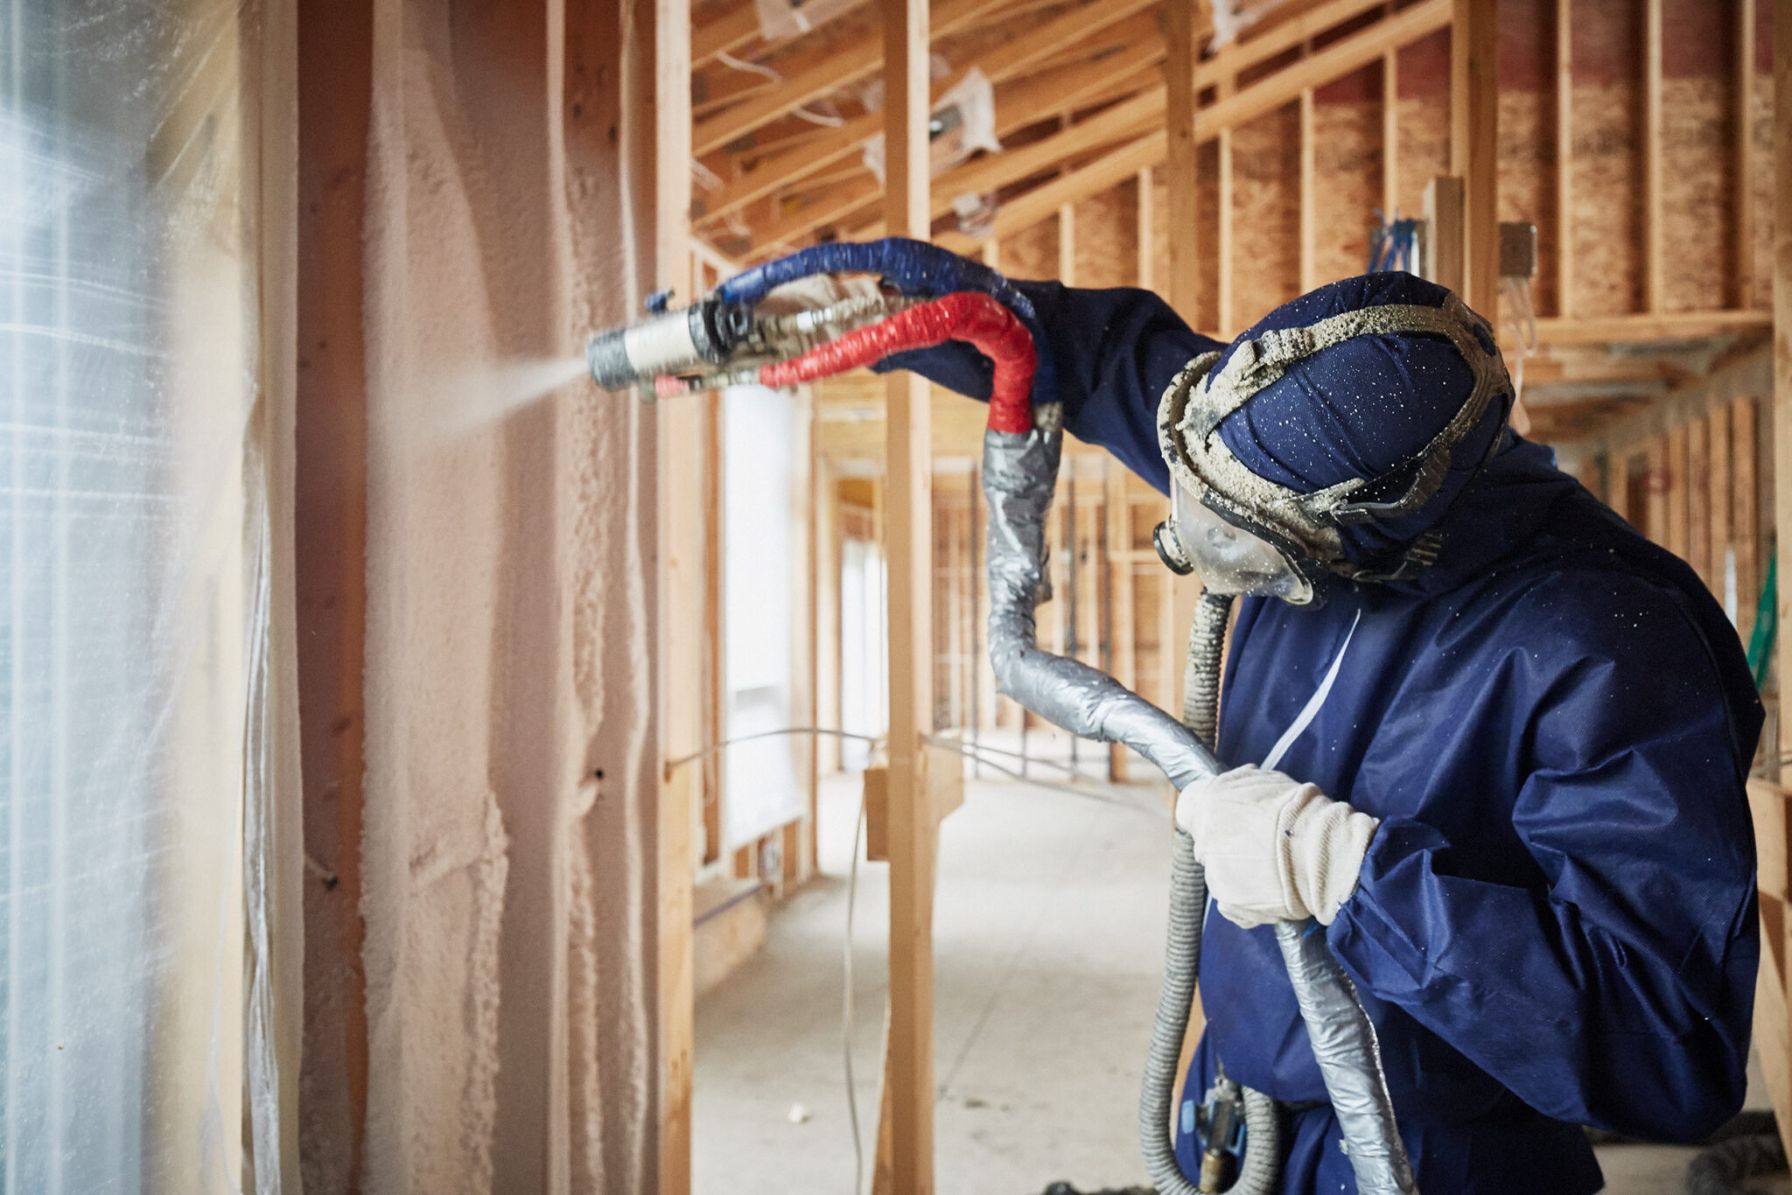
- Use a respirator: If you’re working on larger projects or in a confined space, consider using a respirator to further protect yourself from harmful fumes.
- Work in a clean environment: Keep your work area clean and free from clutter. This will reduce the risk of accidents and ensure a smoother painting process.
- Avoid direct contact: While painting insulation foam, try to avoid direct contact with the foam itself. Some paints may react with the foam and cause it to dissolve or deform. Use brushes or other tools to apply paint instead of using your hands.
- Follow manufacturer’s instructions: Different brands of insulation foam may have specific handling and safety guidelines. Always read and follow the manufacturer’s instructions to ensure you are using the product correctly.
By taking these safety precautions, you can protect yourself from potential health hazards and create a secure and controlled environment for your painting project.
Materials and Tools Needed
Before you start painting insulation foam, gather the following materials and tools:
Materials:
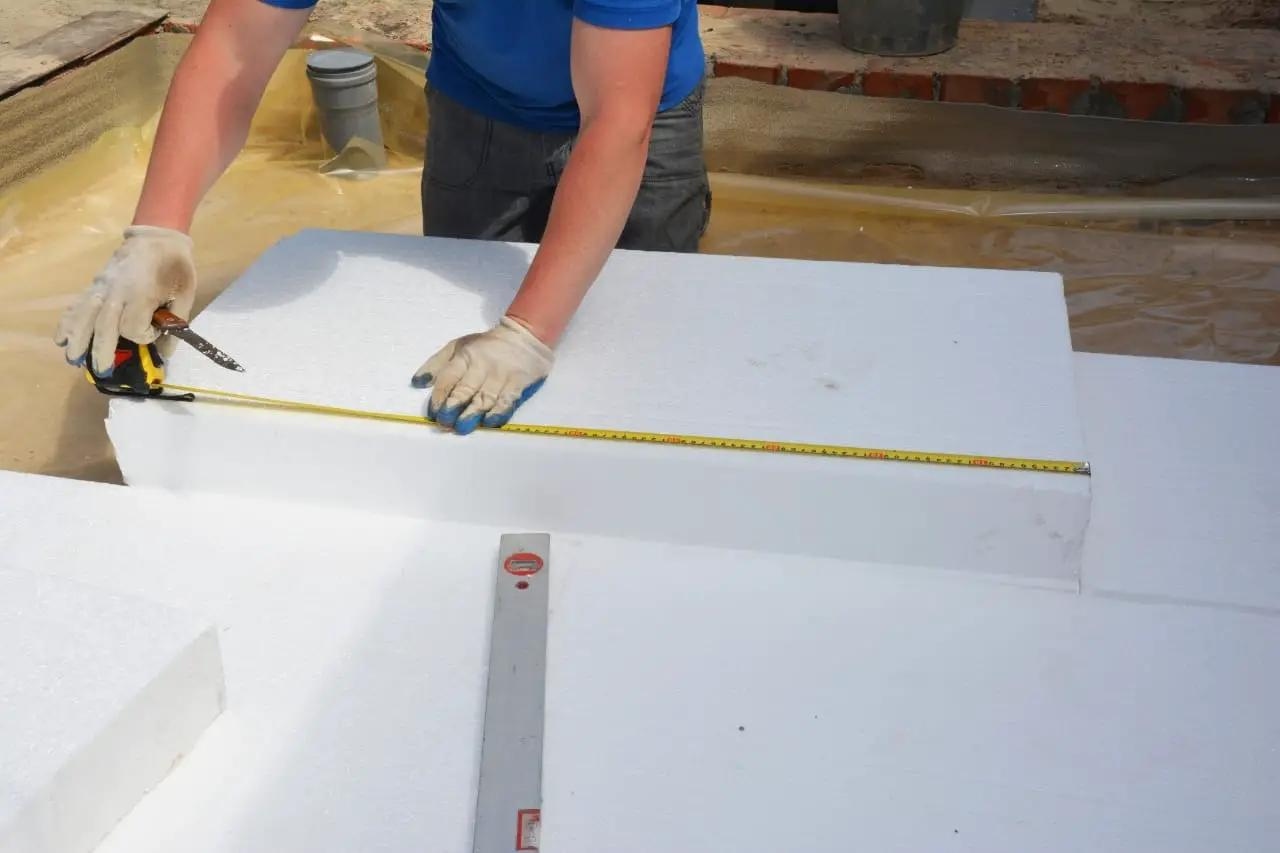
- Insulation foam: Choose the thickness and type of foam that suits your project.
- Primer: Look for a primer that is suitable for foam insulation.
- Acrylic paint: Acrylic paint works well on insulation foam and provides vibrant colors.
- Paintbrushes: Select a variety of paintbrushes in different sizes to achieve different textures and details in your painting.
- Sandpaper: Fine-grit sandpaper helps to smooth out any rough edges or imperfections on the foam.
- Clear coat (optional): A clear coat can add a glossy finish and protect the paint on the foam.
- Paint palette or disposable plates: Use these to mix and hold your paint colors.
- Drop cloths or newspapers: Lay these down to protect your workspace from any paint spills or drips.
- Masking tape: Use masking tape to create clean lines and protect certain areas from paint.
- Water and a container: You’ll need water to clean your brushes and mix with acrylic paint for the desired consistency.
Tools:
- X-Acto knife or hot wire foam cutter: Use these tools to shape and cut the foam as needed.
- Sanding block or sanding sponge: These tools help to smooth and refine the texture of the foam.
- Disposable gloves: Protect your hands when handling chemicals or paints.
- Masking tape dispenser: Makes it easier to apply tape in straight lines.
- Paint palette knife or mixing stick: These tools are useful for mixing paint colors and creating special effects.
- Old newspapers or rags: Use them for clean-up and wipe off any excess paint.
Having these materials and tools ready will ensure a smooth painting process and enable you to achieve the desired results with your insulation foam projects.
Read more: How To Clean Spray Foam Insulation
Step 1: Preparation
Before painting insulation foam, it’s essential to prepare the surface properly. This step ensures that the paint adheres well to the foam and creates a smooth and even finish. Follow these steps to prepare your insulation foam:
- Clean the foam: Start by gently wiping the surface of the foam with a damp cloth or sponge to remove any dust, dirt, or debris. This will help the paint adhere better and prevent any bumpy or uneven textures.
- Smooth out imperfections: If there are any rough edges or visible imperfections on the foam, use fine-grit sandpaper to gently sand them. Be careful not to apply too much pressure, as you don’t want to damage the foam. The goal is to create a smooth surface for painting.
- Protect areas you don’t want to paint: Use masking tape to cover any areas of the foam that you want to keep unpainted. This could include specific details, edges, or sections that need to remain a different color.
- Set up your workspace: Lay down drop cloths or newspapers to protect your work area from paint spills or drips. Make sure you have good ventilation in the room to minimize exposure to paint fumes.
- Mix your primer: If you are using a primer, follow the manufacturer’s instructions to mix it properly. Priming the foam will create a better base for the paint and enhance its adhesion.
- Apply primer: Use a paintbrush or roller to apply a thin and even layer of primer to the foam. Make sure to cover the entire surface and let it dry according to the manufacturer’s instructions.
By following these preparation steps, you’ll ensure that your insulation foam is clean, smooth, and ready to be painted. Taking the time to properly prepare the foam will significantly improve the overall quality and longevity of your paint job.
Step 2: Priming the Foam
Priming the insulation foam is an important step to ensure that the paint adheres properly and provides a smooth and even finish. Here’s how you can prime your foam:
- Choose a suitable primer: Look for a primer specifically designed for foam insulation. These primers are formulated to adhere well to the foam surface.
- Mix the primer (if necessary): If your chosen primer requires mixing, follow the manufacturer’s instructions to achieve the proper consistency. Some primers may need to be thinned with water.
- Protect your workspace: Lay down drop cloths or newspapers to safeguard your work area from any primer spills or drips.
- Apply the primer: Use a paintbrush or roller to apply a thin and even layer of primer to the foam. Make sure to cover the entire surface of the foam, including the edges. Work in one direction to ensure a consistent application.
- Allow the primer to dry: Follow the manufacturer’s instructions for the recommended drying time. It is crucial to allow the primer to fully dry before proceeding to the next step. This will ensure optimal adhesion of the paint.
- Inspect for any missed spots: After the primer has dried, inspect the foam carefully to ensure that no areas have been missed. If you spot any bare spots, apply an additional coat of primer and let it dry completely.
- Lightly sand the primed surface (optional): If you notice any rough areas or imperfections on the primed surface, you can lightly sand them with fine-grit sandpaper. This will create an even smoother base for the paint.
Priming the foam provides a base layer that helps the paint adhere better and ensures a more professional-looking finish. Taking the time to properly prime the foam will result in a more durable and long-lasting paint job.
Step 3: Painting the Foam
Now that you have prepared and primed the insulation foam, it’s time to add some color! Follow these steps to achieve a beautifully painted foam surface:
- Choose your paint: Acrylic paint is a popular choice for painting insulation foam. It dries quickly, is available in a wide range of colors, and adheres well to the foam surface.
- Prepare your paint: Squeeze a small amount of acrylic paint onto a paint palette or a disposable plate. If needed, mix the paint with a little bit of water to achieve the desired consistency. Test the paint on a small section of foam to ensure it adheres well and dries properly.
- Start painting: Use a paintbrush to apply the paint to the foam. Begin with a thin layer, and gradually build up the color as needed. Work in smooth, even strokes, following the shape and contours of the foam. Take your time and be patient, especially if you’re working on intricate or detailed designs.
- Add texture or effects: If desired, you can experiment with different techniques to create texture or special effects on the foam. Use techniques like dry brushing, stippling, or sponge painting to achieve unique looks. These techniques can add depth and dimension to your painted foam.
- Allow the paint to dry: Let each layer of paint dry completely before applying additional coats. This will prevent smudging or blending of colors. Follow the drying time indicated on the paint label or allow ample drying time if you’re layering multiple colors or adding intricate details.
- Apply additional coats as necessary: Depending on your desired color saturation and opacity, you may need to apply multiple coats of paint. Allow each layer to dry before applying the next. This will help achieve a more vibrant and even finish.
- Touch up any imperfections: After the paint has completely dried, inspect the foam for any imperfections, streaks, or areas that require touch-ups. Use a small brush or sponge to blend or correct any uneven spots. Pay attention to details and ensure that you achieve the desired look.
Patiently painting the foam in layers and taking your time to achieve the desired effects will result in a professional-looking finish. Enjoy the process of adding color and bringing your insulation foam project to life!
When painting insulation foam, use a primer specifically designed for foam to prevent the paint from eating away at the material. This will ensure a smooth and durable finish.
Step 4: Applying a Clear Coat (Optional)
Applying a clear coat to your painted insulation foam is an optional step that can provide added protection and enhance the overall appearance of your project. A clear coat acts as a protective sealant and adds a glossy or matte finish to the foam surface. Here’s how you can apply a clear coat:
- Choose the right clear coat: Select a clear coat designed for use on acrylic paints. You can choose between a glossy or matte finish, depending on your preference.
- Ensure proper ventilation: Clear coats can have a strong odor, so it’s important to work in a well-ventilated area. Open windows or use fans to improve airflow and minimize exposure to fumes.
- Protect your workspace: Lay down drop cloths or newspapers to safeguard your work area from any clear coat spills or overspray.
- Test in a small area: Before applying the clear coat to the entire foam surface, test it on a small, inconspicuous area. This will allow you to ensure compatibility and check the desired finish.
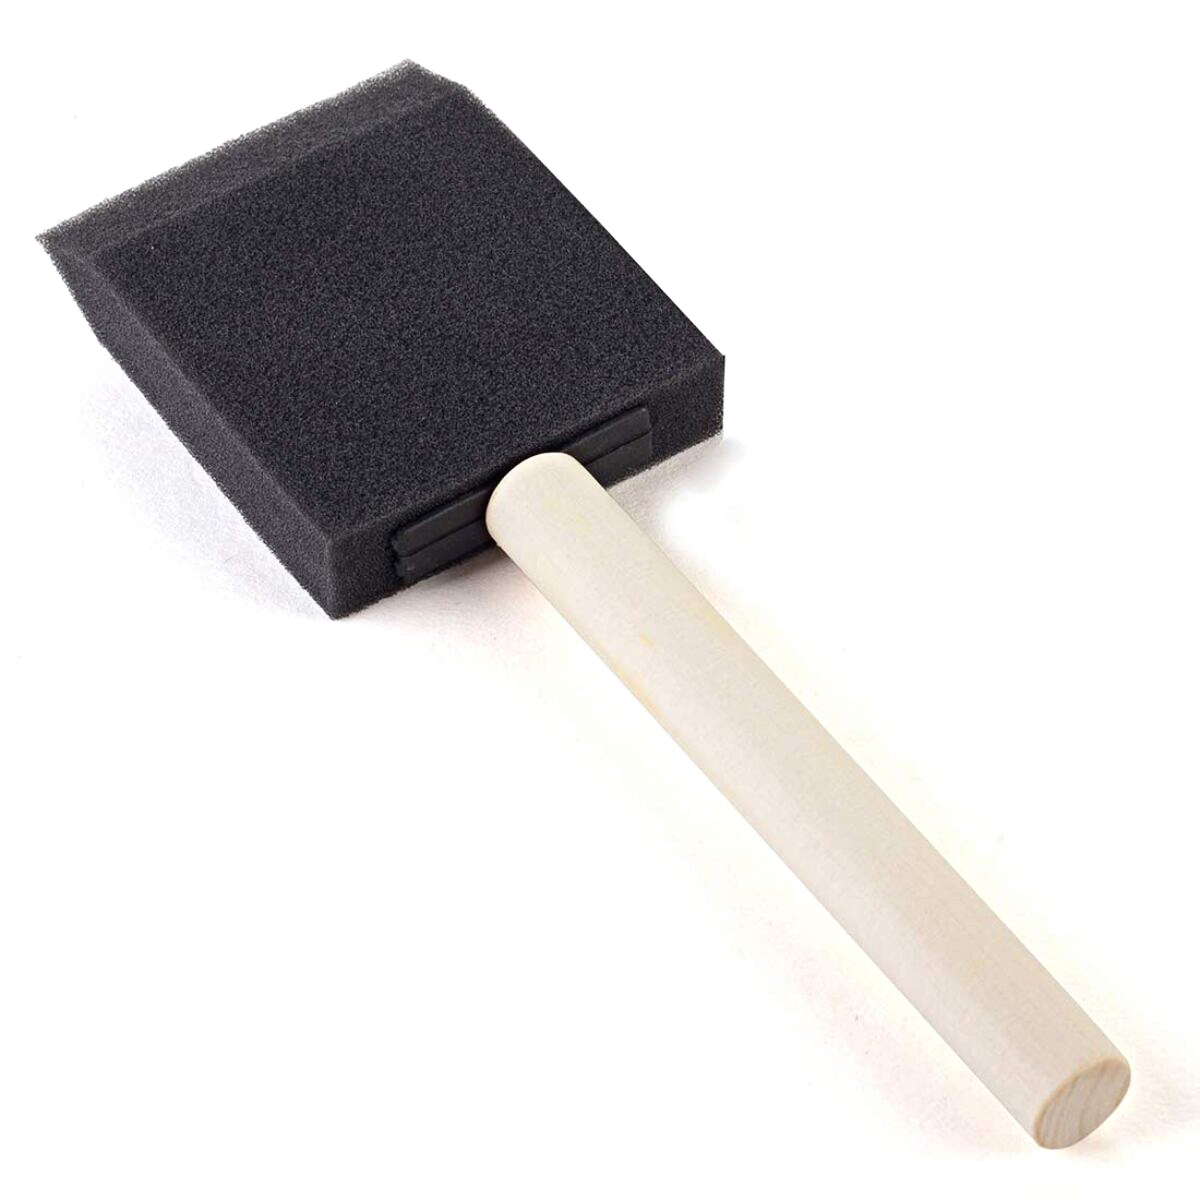
- Apply a thin and even coat: Use a clean, soft brush or a foam brush to apply a thin and even layer of the clear coat. Work in smooth, long strokes, following the shape of the foam. Be careful to avoid applying the clear coat too thickly, as it may result in drips or uneven finishes.
- Allow the clear coat to dry: Follow the manufacturer’s instructions for the recommended drying time. It’s important not to touch or disturb the clear coat while it’s drying to avoid any imperfections.
- Inspect for any imperfections: Once the clear coat has dried, inspect the foam surface for any imperfections, such as bubbles or streaks. If you notice any, lightly sand them with fine-grit sandpaper and apply another thin layer of clear coat.
- Let the clear coat cure: After the final coat of clear coat has been applied, allow it to fully cure according to the manufacturer’s instructions. This will ensure maximum durability and protection for your painted foam.
Applying a clear coat can add a professional and finished look to your painted insulation foam. It not only enhances the colors but also provides an additional layer of protection against scratches and fading over time.
Read more: How To Spray Foam Insulation In Attic
Step 5: Adding Finishing Touches (Optional)
Once you have painted and potentially applied a clear coat to your insulation foam, you can take it a step further by adding some finishing touches. These extra details can make your project truly unique and showcase your creativity. Here are some optional finishing touches you can consider:
- Adding shading or highlights: Use a smaller brush and different shades of paint to create shading or highlights on your foam surface. This technique can add depth and dimension to your painted design.
- Applying weathering effects: For a more realistic look, you can apply weathering effects to your painted foam. Use techniques like dry brushing, sponge painting, or stippling with darker shades of paint to create a weathered or worn appearance.
- Create texture with additional materials: Experiment with adding texture to your foam by incorporating other materials. You can glue on small details like rocks, moss, fabric, or even small trinkets to enhance the visual appeal.
- Embellish with additional paint details: Consider adding intricate designs, patterns, or fine details with smaller brushes. This can be particularly effective if you’re painting foam for cosplay props or decorative crafts.
- Seal the paint with a final clear coat: If you want to protect your painted design or achieve a specific finish, apply a final layer of clear coat. This will ensure that your finishing touches are preserved and add an extra layer of durability.
- Add accessories or decorative elements: Depending on the purpose of your foam project, you can embellish it further with accessories such as gems, feathers, or other decorative elements. This is particularly useful for cosplay or themed crafts.
- Display or mount your finished foam project: Once you’ve added all the finishing touches, find an appropriate way to showcase or display your painted foam. This could involve mounting it on a stand, framing it, or incorporating it into a larger composition.
By adding these optional finishing touches, you can elevate the overall appearance and detail of your painted insulation foam. Get creative and let your imagination guide you in making your project truly stand out.
Conclusion
Painting insulation foam allows you to unleash your creativity and bring your DIY projects to life. By following the steps outlined in this guide, you can achieve beautiful and professional-looking results. Here’s a recap of the process:
- Preparation: Clean and smooth the foam, protect areas you don’t want to paint, and set up your workspace.
- Priming the Foam: Apply a primer specifically designed for foam insulation to create a smooth and even base for paint.
- Painting the Foam: Use acrylic paint to add color to the foam, applying multiple thin layers and allowing each layer to dry before adding more.
- Applying a Clear Coat (Optional): If desired, apply a clear coat to protect the paint and add a glossy or matte finish.
- Adding Finishing Touches (Optional): Get creative by adding shading, highlights, texture, or additional details to enhance your foam project.
Remember to prioritize safety throughout the process by wearing protective gear, working in a well-ventilated area, and following manufacturer’s instructions. Taking these precautions will ensure a safe and enjoyable experience.
Whether you’re working on cosplay props, model making, or crafting decorations, painting insulation foam allows you to personalize and elevate your projects. So, let your imagination run wild and have fun transforming your insulation foam into works of art!
Frequently Asked Questions about How To Paint Insulation Foam
Was this page helpful?
At Storables.com, we guarantee accurate and reliable information. Our content, validated by Expert Board Contributors, is crafted following stringent Editorial Policies. We're committed to providing you with well-researched, expert-backed insights for all your informational needs.




0 thoughts on “How To Paint Insulation Foam”