Home>Articles>How To Install Rigid Foam Insulation On Interior Walls
Articles
How To Install Rigid Foam Insulation On Interior Walls
Modified: May 6, 2024
Learn how to properly install rigid foam insulation on interior walls with our informative articles. Enhance energy efficiency and reduce noise transmission.
(Many of the links in this article redirect to a specific reviewed product. Your purchase of these products through affiliate links helps to generate commission for Storables.com, at no extra cost. Learn more)
Introduction
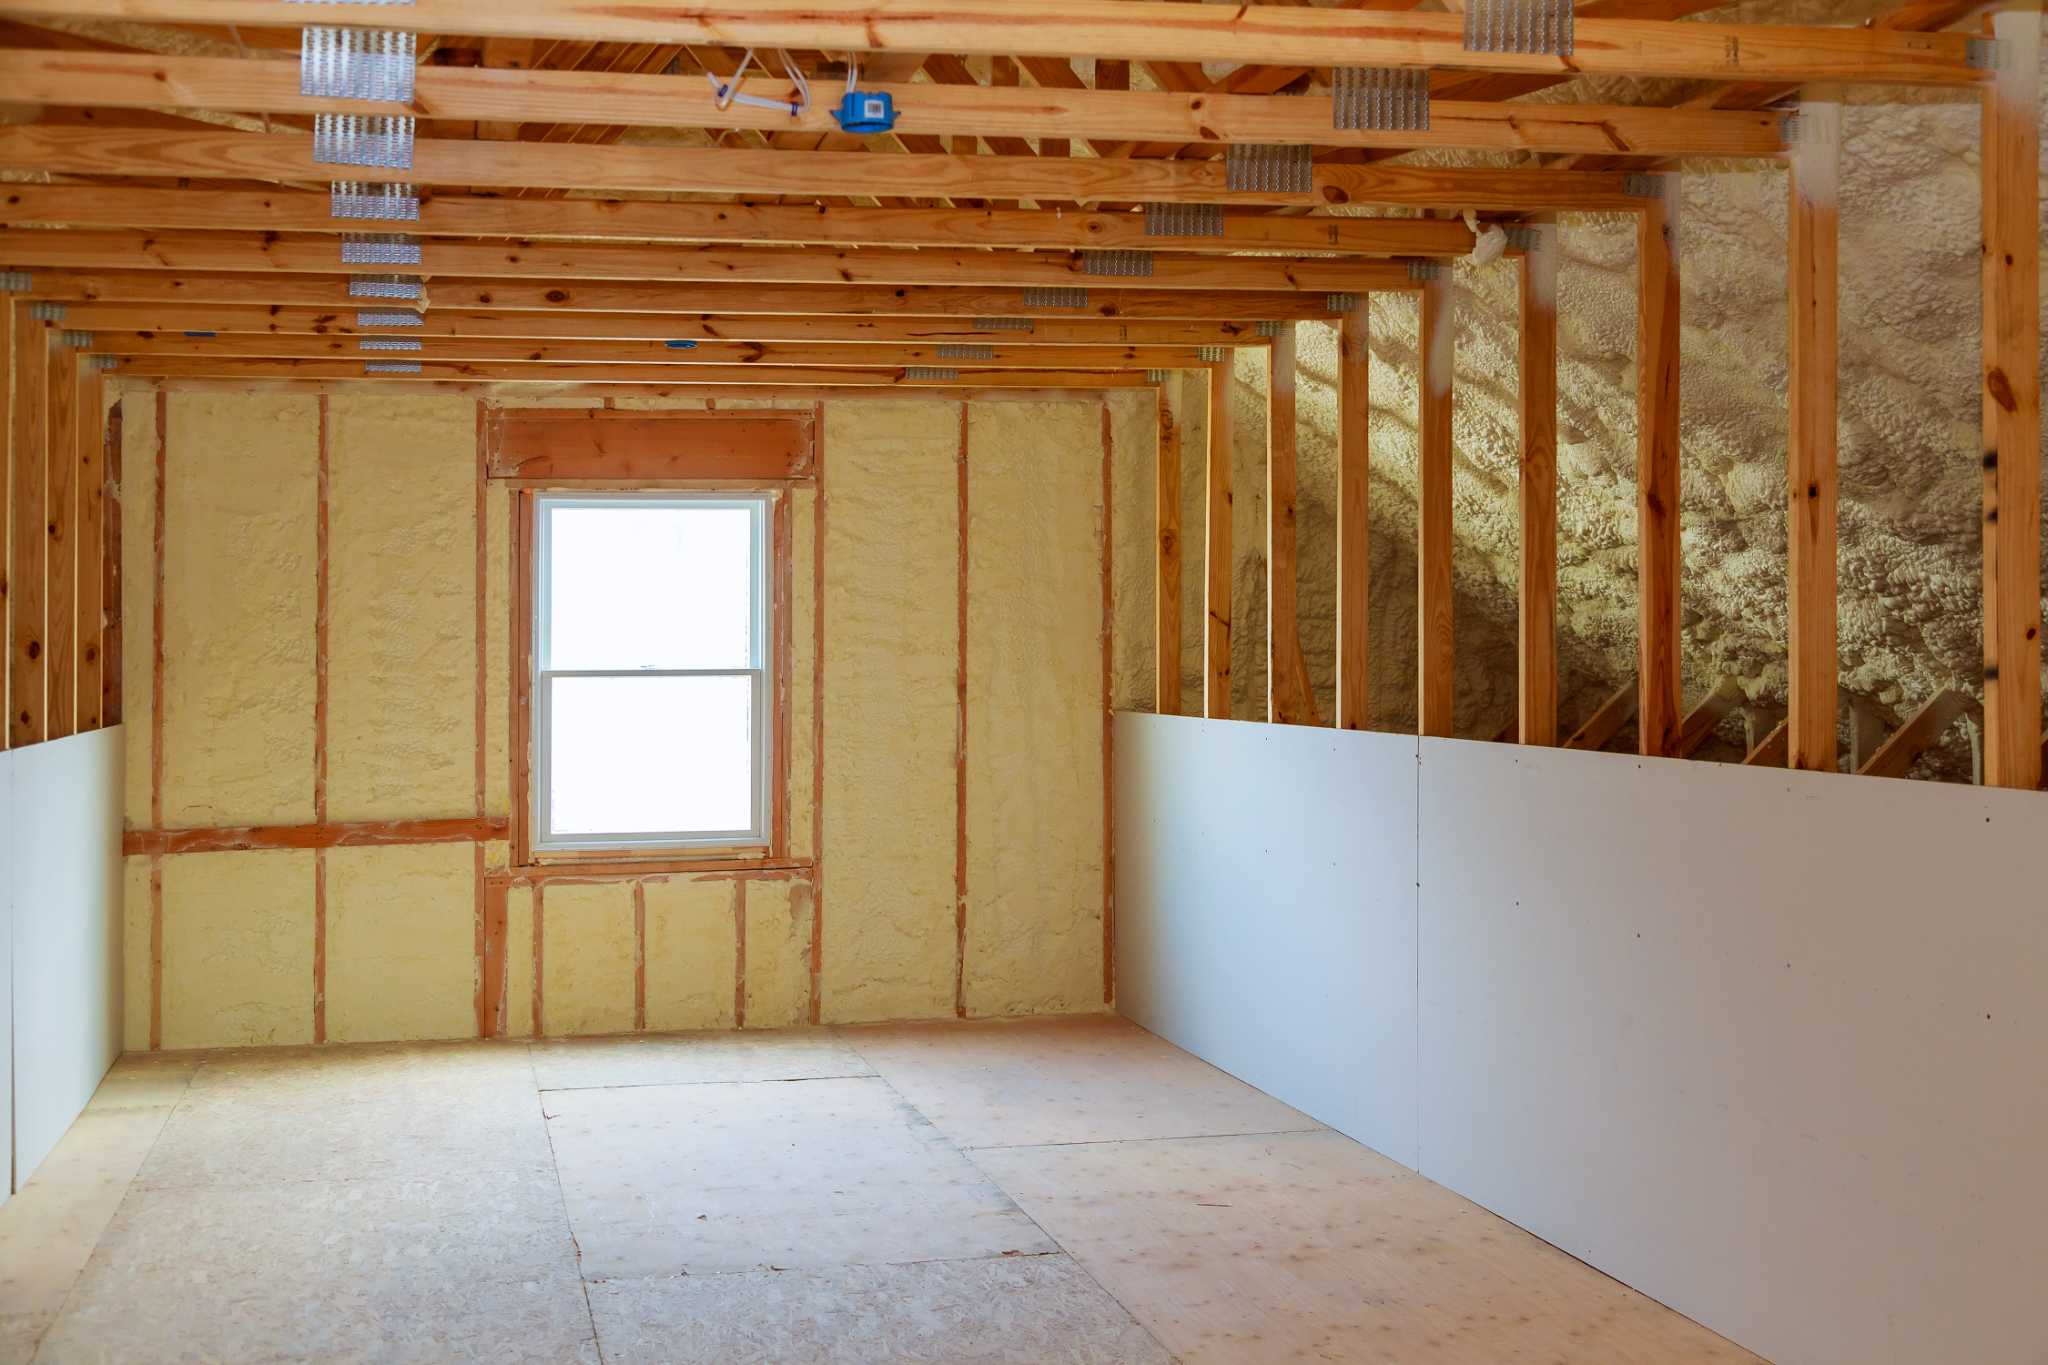
Rigid foam insulation is a popular choice for homeowners looking to improve the energy efficiency of their homes. It provides excellent thermal insulation, reduces noise transmission, and helps prevent moisture penetration. While installing rigid foam insulation on exterior walls is a common practice, it can also be beneficial to install it on interior walls.
Installing rigid foam insulation on interior walls can help improve the overall energy efficiency of your home by creating a thermal barrier. It can help regulate the temperature and reduce heating and cooling costs. Additionally, it can help dampen sound transmission between rooms, creating a more comfortable living environment.
In this article, we will guide you step by step on how to install rigid foam insulation on interior walls. We will cover the necessary safety precautions, the tools and materials you will need, and the installation process.
Before we dive into the details, it is important to note that if you are unsure about any part of the installation process or if you have any concerns about the structural integrity of your walls, it is highly recommended to consult with a professional contractor or insulation expert.
Key Takeaways:
- Installing rigid foam insulation on interior walls enhances energy efficiency, reduces heating and cooling costs, and minimizes noise transmission, creating a more comfortable living environment.
- Proper installation involves safety precautions, precise measurement and cutting, thorough wall preparation, secure panel installation, and finishing touches for a polished insulation system.
Safety Precautions
Before you begin installing rigid foam insulation on your interior walls, it is essential to take certain safety precautions to ensure a safe and successful installation.
- Protective gear: Wear appropriate protective gear such as safety goggles, gloves, and a mask to protect yourself from any potential hazards. Rigid foam insulation can release particles that may irritate the skin, eyes, or respiratory system, so it is crucial to take precautionary measures.
- Ventilation: Ensure proper ventilation in the area where you will be working. Open windows and use fans to circulate fresh air and remove any fumes or odors that may be emitted during the installation process.
- Electrical safety: If you need to work near electrical outlets or wiring, turn off the power supply to the area to prevent any accidents. Contact a professional electrician if you are unsure about handling electrical components.
- Proper handling and storage: Handle the rigid foam insulation panels carefully to avoid any damage or injury. Store the insulation panels in a dry and secure location to prevent them from absorbing moisture or getting damaged.
- Fire safety: Rigid foam insulation can be flammable, so it is crucial to keep it away from open flames, sparks, or heat sources. Ensure that there are no exposed wires or electrical hazards that could potentially cause a fire.
- Proper disposal: After the installation is complete, dispose of any waste materials, such as offcuts or scraps, responsibly. Check with your local waste management authority for proper disposal guidelines.
By following these safety precautions, you can minimize the risks associated with installing rigid foam insulation on your interior walls and ensure a safe and successful installation process.
Tools and Materials Required
Before you begin installing rigid foam insulation on your interior walls, gather the necessary tools and materials. Having everything ready beforehand will make the installation process smoother and more efficient. Here are the essential tools and materials you will need:
Tools:
- Measuring tape: Used to accurately measure the dimensions of your walls and the foam insulation panels.
- Straight edge or level: Used to ensure that the foam panels are installed straight and level.
- Razor knife or foam saw: Used to cut the foam panels to the required size and shape.
- Adhesive applicator (caulking gun): Used to apply the adhesive onto the foam panels.
- Drill or screwdriver: Used to secure the foam panels with mechanical fasteners.
- Putty knife: Used to fill gaps and seams with foam sealant or adhesive.
- Safety goggles, gloves, and mask: Used to protect yourself during the installation process.
Materials:
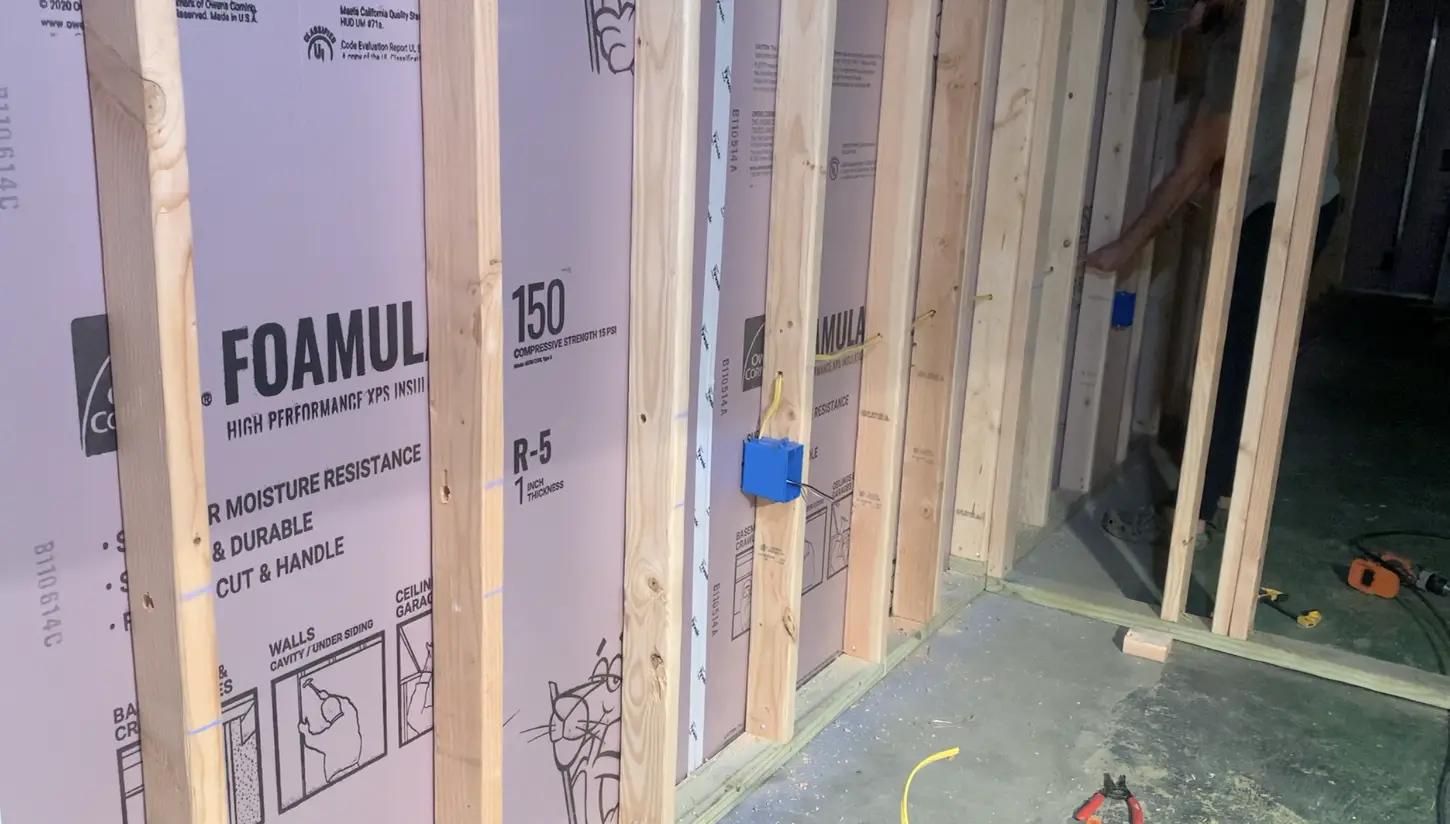
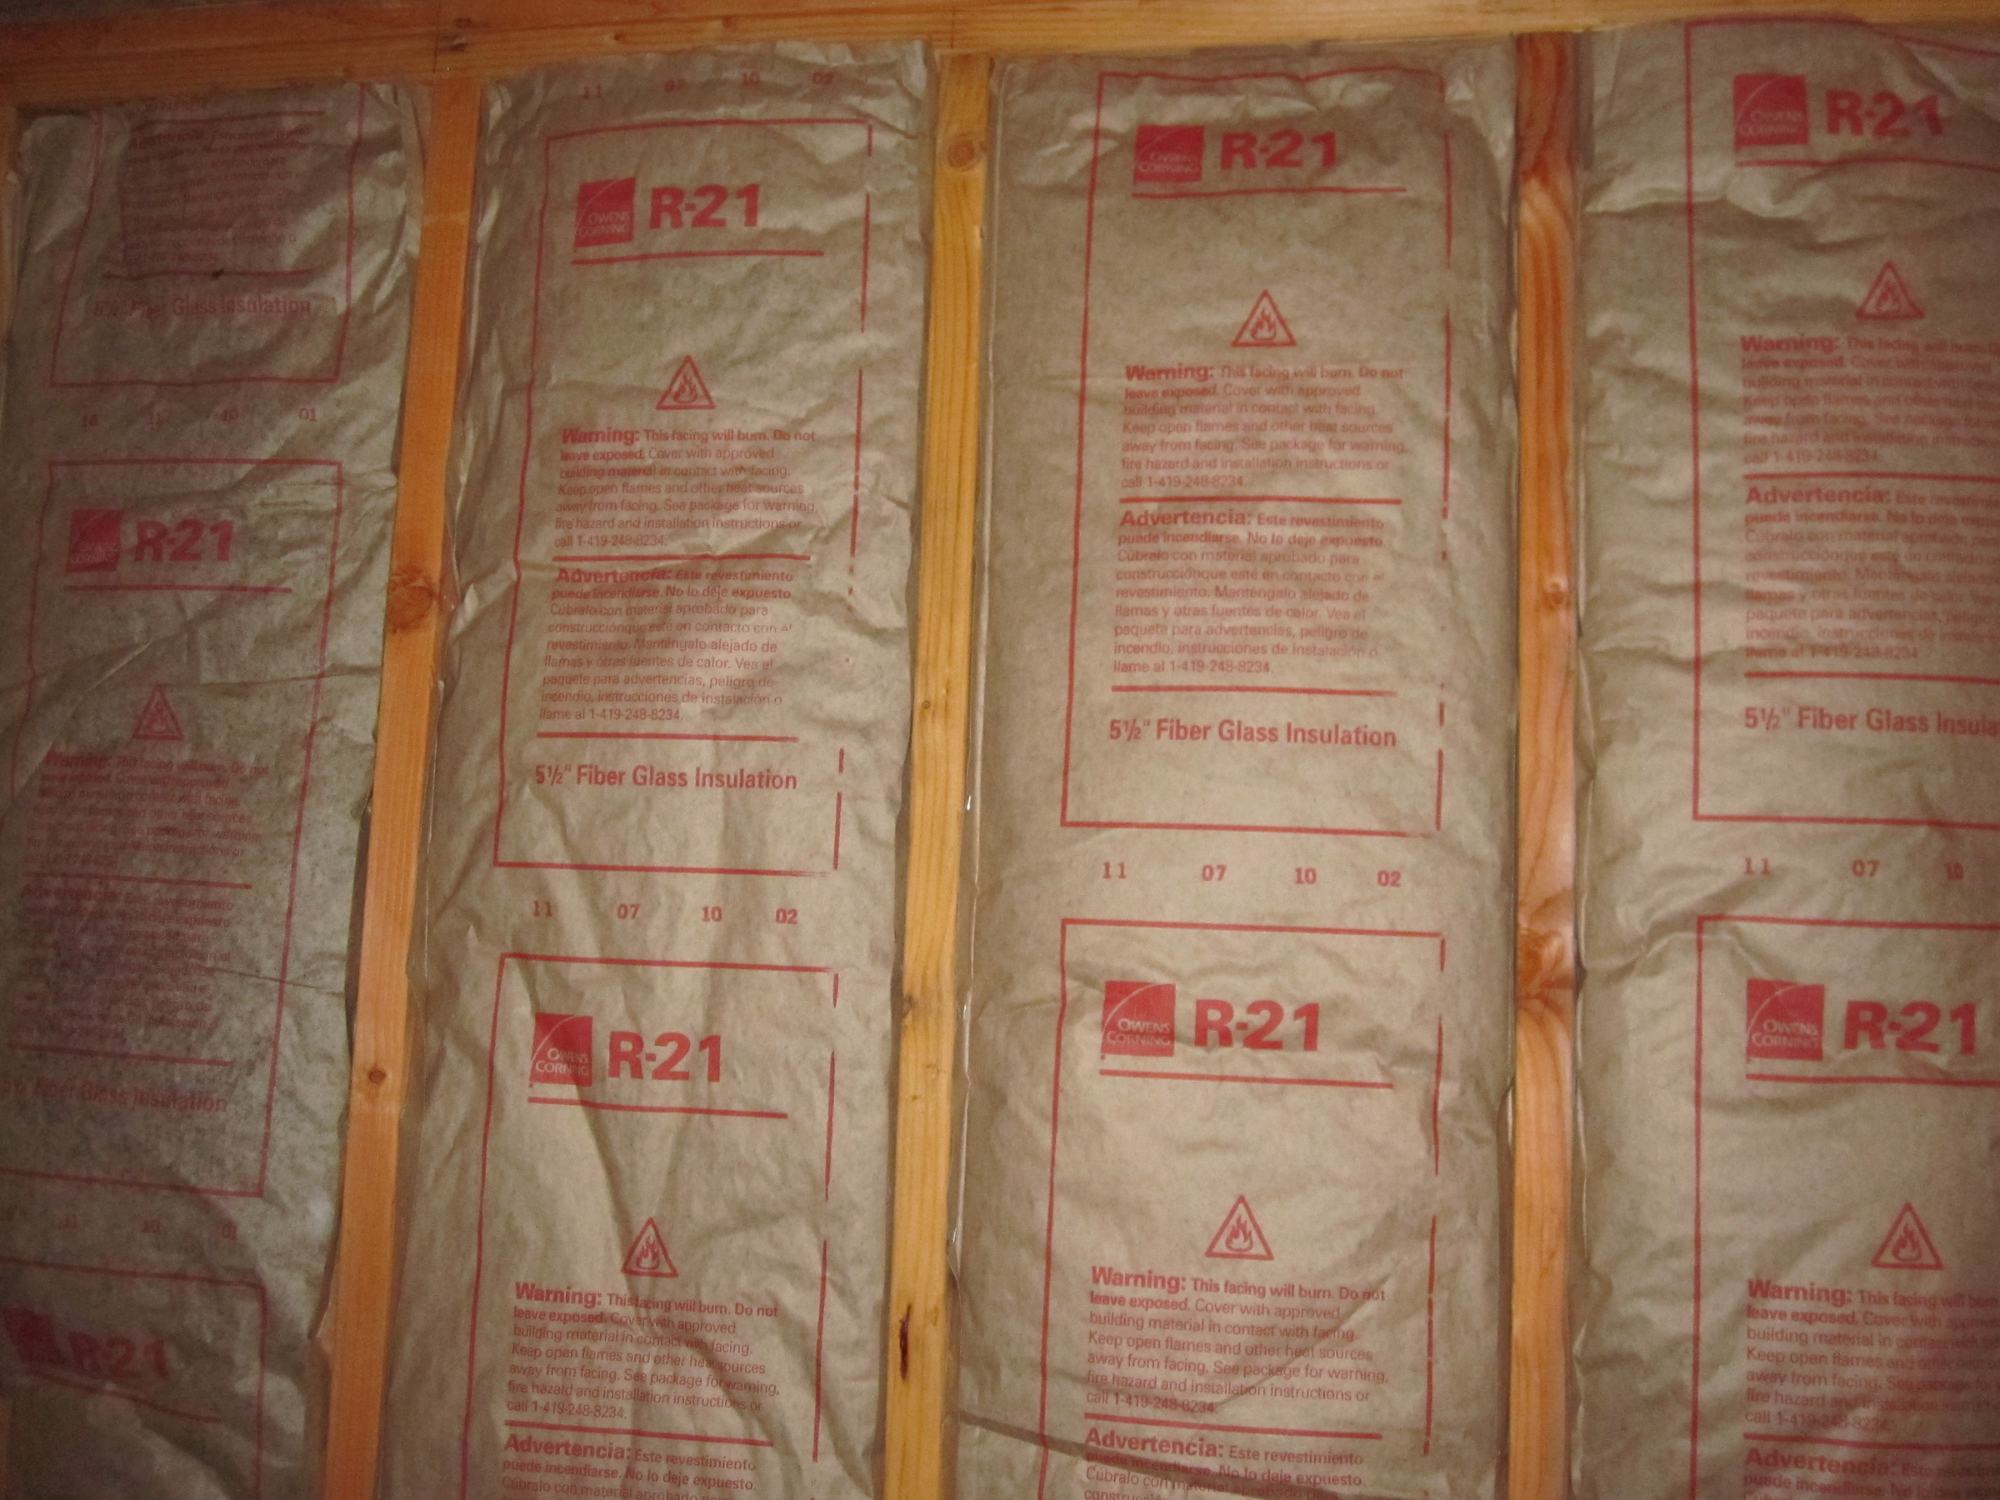
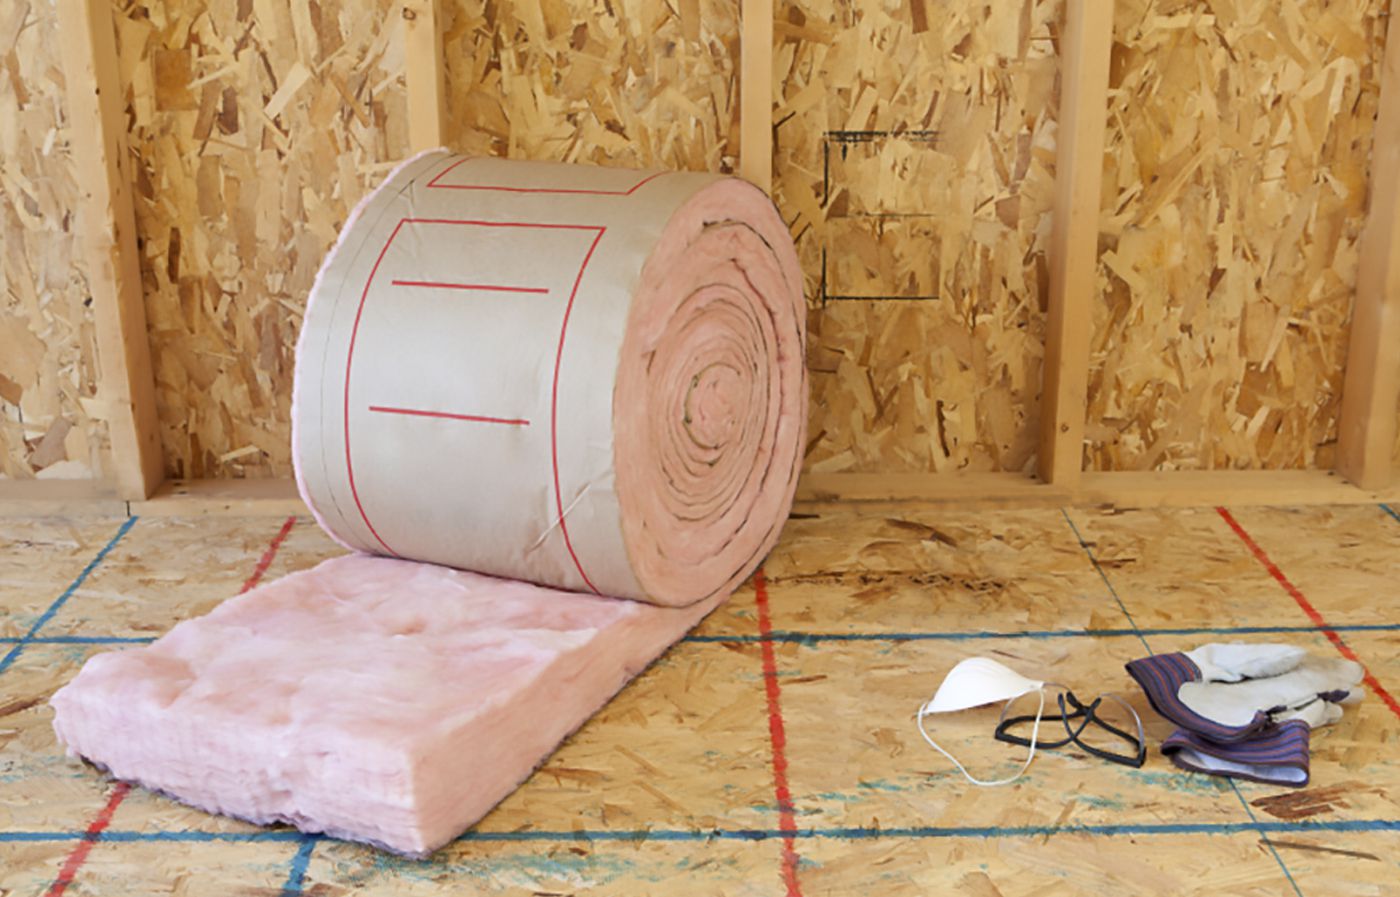
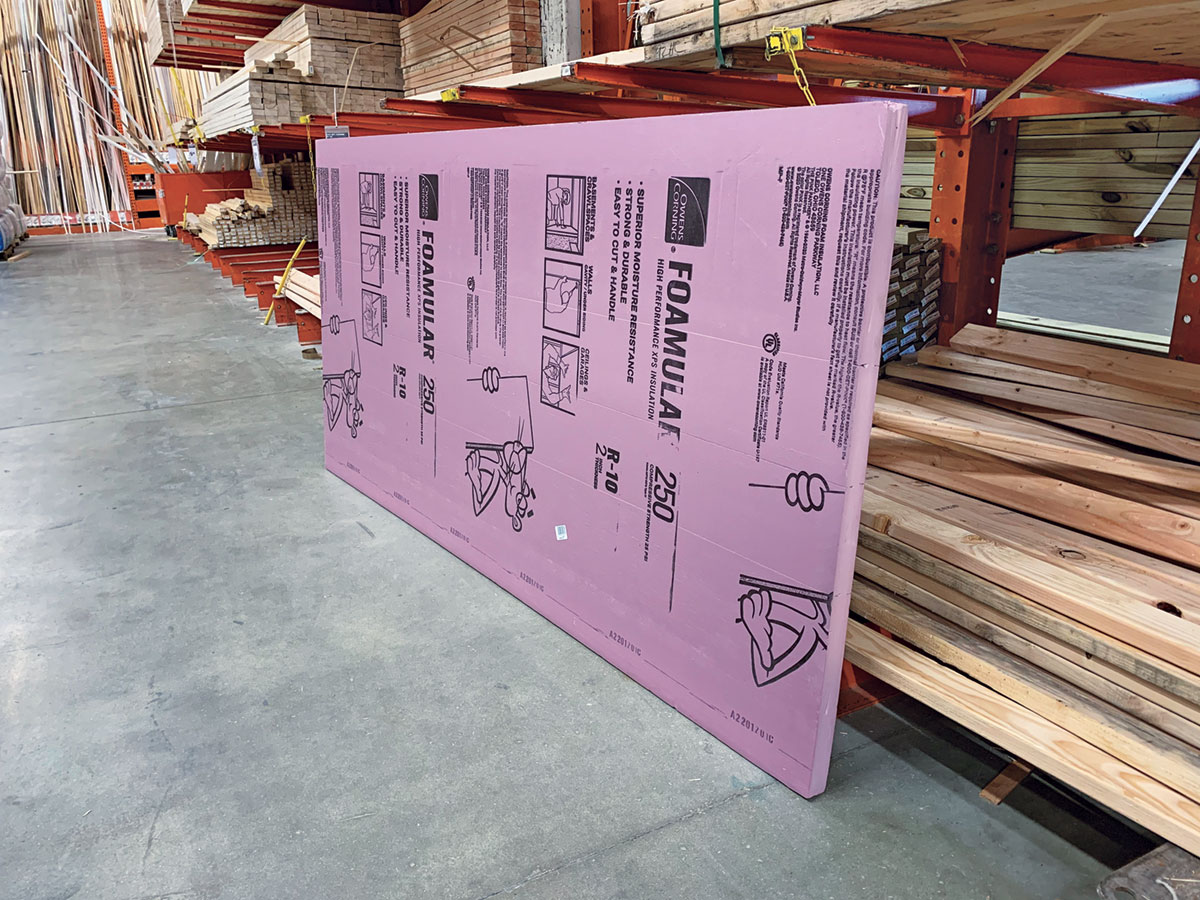
- Rigid foam insulation panels: Choose panels with the appropriate thickness and R-value for your insulation needs. Common types include expanded polystyrene (EPS), extruded polystyrene (XPS), and polyisocyanurate (ISO).
- Construction adhesive: Use a high-quality adhesive specifically designed for foam insulation. Ensure it is compatible with the type of foam insulation panels you are using.
- Mechanical fasteners: Depending on the type of wall and the foam panels, you may need screws, nails, or plastic anchors to secure the insulation panels in place.
- Foam sealant or adhesive: Used to fill gaps and seams between the foam panels and around electrical outlets, windows, and doors.
- Protective coverings: If desired, you may want to cover the foam insulation panels with drywall, plywood, or another suitable material for added protection and aesthetic purposes.
Make sure to gather all the necessary tools and materials before you begin the installation process. This will ensure that you have everything you need and minimize any potential delays or interruptions during the installation.
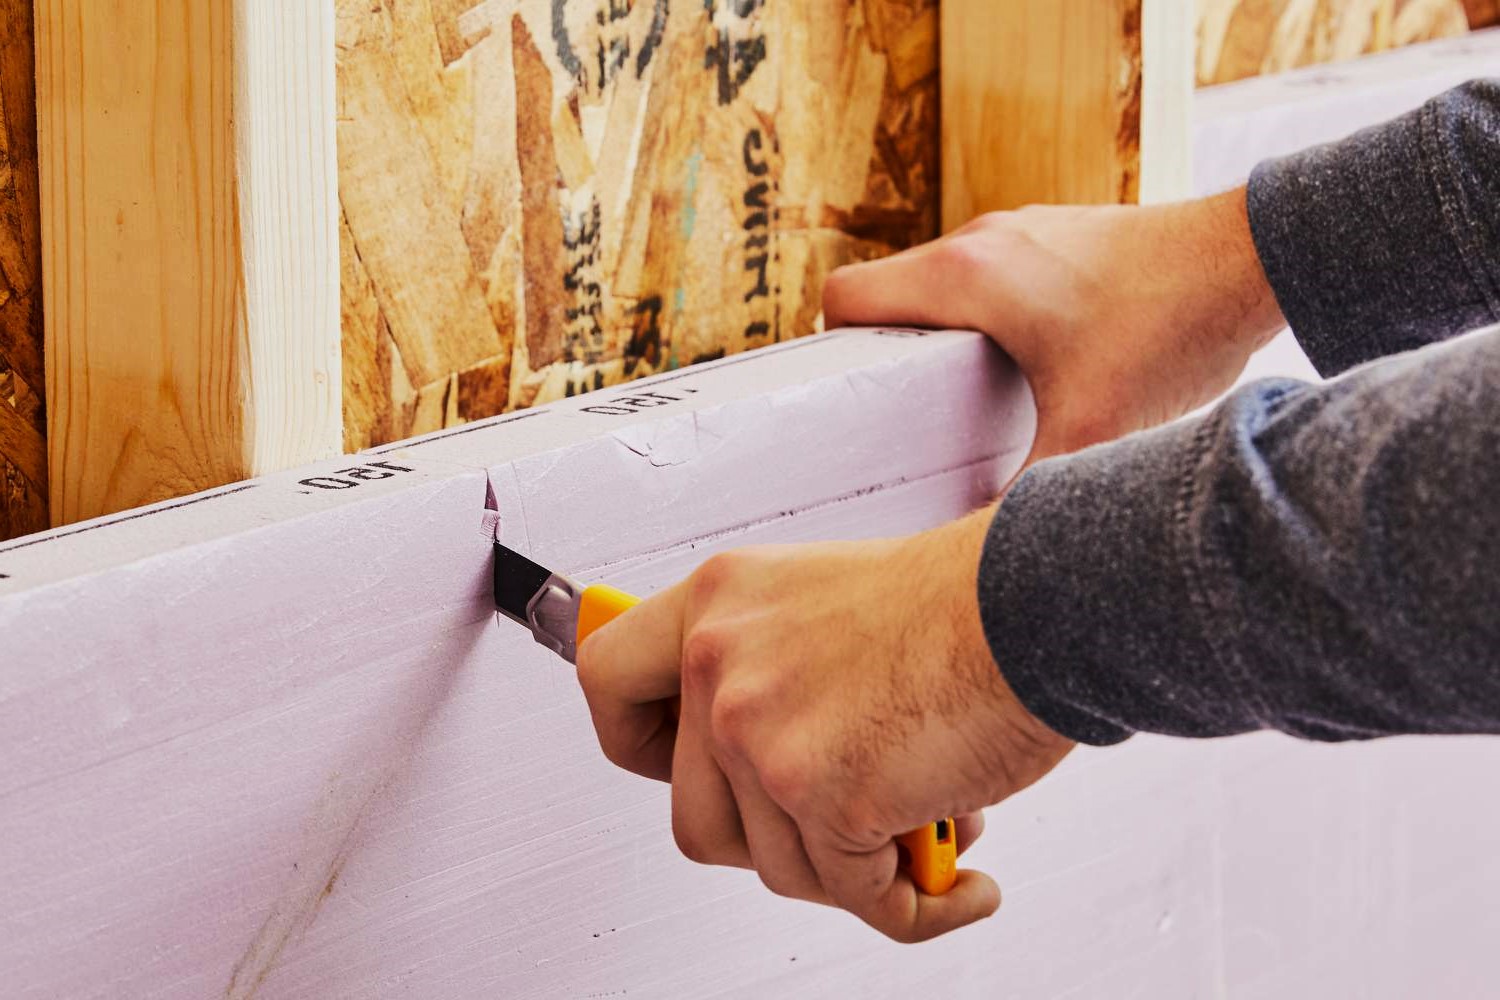
Step 1: Measure and Cut the Foam Panels
The first step in installing rigid foam insulation on your interior walls is to accurately measure and cut the foam panels to fit the dimensions of your walls. Here’s how to do it:
- Measure the walls: Use a measuring tape to measure the height and width of the walls where you plan to install the foam insulation. Take measurements at multiple points to account for any variations in wall dimensions.
- Marks the panels: Transfer the measurements onto the foam panels using a straight edge or level as a guide. Use a pencil or marker to mark the panels accordingly.
- Cut the panels: Use a razor knife or foam saw to carefully cut along the marked lines. Ensure that your cuts are straight and clean for a precise fit.
- Repeat the process: Continue measuring, marking, and cutting the foam panels until you have enough pieces to cover the entire wall surface.
- Label the panels: To maintain organization and avoid confusion during the installation process, label each foam panel with its corresponding location on the wall.
Remember to take accurate measurements and make precise cuts to ensure a proper fit of the foam panels on your interior walls. It is also recommended to leave a small gap (about 1/8 inch) between the panels to allow for expansion and contraction.
Once you have measured and cut the foam panels, you are ready to move on to the next step: preparing the wall surface for installation.
Step 2: Prepare the Wall Surface
Before installing the rigid foam insulation panels on your interior walls, it is important to properly prepare the wall surface. This ensures better adhesion and a smoother installation process. Follow these steps to prepare the wall surface:
- Clean the walls: Remove any dust, dirt, or debris from the walls using a broom, vacuum cleaner, or damp cloth. This helps create a clean and smooth surface for the adhesive to adhere to.
- Check for moisture: Inspect the walls for any signs of moisture or water damage. Moisture can compromise the effectiveness of the insulation and lead to mold or mildew growth. If you detect any moisture issues, address them before proceeding with the installation.
- Repair any damage: Inspect the walls for any cracks, holes, or damage. Fill in any gaps or imperfections with spackle or drywall compound. Allow the repairs to dry completely before continuing.
- Remove obstacles: Remove any obstacles or protruding objects from the walls, such as nails, screws, or hooks. These can interfere with the installation of the foam panels.
- Cover electrical outlets: If there are electrical outlets on the wall, cover them with plastic outlet covers or tape to protect them from adhesive or foam sealant.
Taking the time to properly prepare the wall surface ensures a better bond between the foam insulation panels and the wall, leading to a more secure and effective installation. Once the wall surface is prepared, you can move on to the next step: applying adhesive on the foam panels.
Step 3: Apply Adhesive on the Foam Panels
Once you have prepared the wall surface, the next step in installing rigid foam insulation on your interior walls is to apply adhesive onto the foam panels. The adhesive provides a strong bond between the foam panels and the wall. Follow these steps to apply adhesive:
- Read the manufacturer’s instructions: Before starting, carefully read and follow the instructions provided by the adhesive manufacturer. Different adhesives may have specific application guidelines and drying times.
- Load the adhesive: Load the adhesive tube into a caulking gun according to the manufacturer’s instructions. Cut the tip of the adhesive tube to create a small opening.
- Apply adhesive to the foam panel: Apply a continuous bead of adhesive along the edges of the foam panel, as well as in a zigzag pattern across the middle of the panel. Make sure the adhesive covers the majority of the panel surface.
- Spread the adhesive: Use a putty knife or trowel to spread the adhesive evenly across the foam panel. This helps ensure proper coverage and adhesion.
- Repeat for all foam panels: Apply adhesive to each foam panel using the same technique, ensuring comprehensive coverage. Take caution not to apply adhesive too close to the edges to avoid excess squeezing out when the panels are pressed against the wall.
Remember, it is crucial to work quickly when applying the adhesive as it can dry or skin over, reducing its effectiveness. Follow the recommended working time provided by the adhesive manufacturer. Once the adhesive is applied, you are ready to move on to the next step: installing the foam panels on the wall.
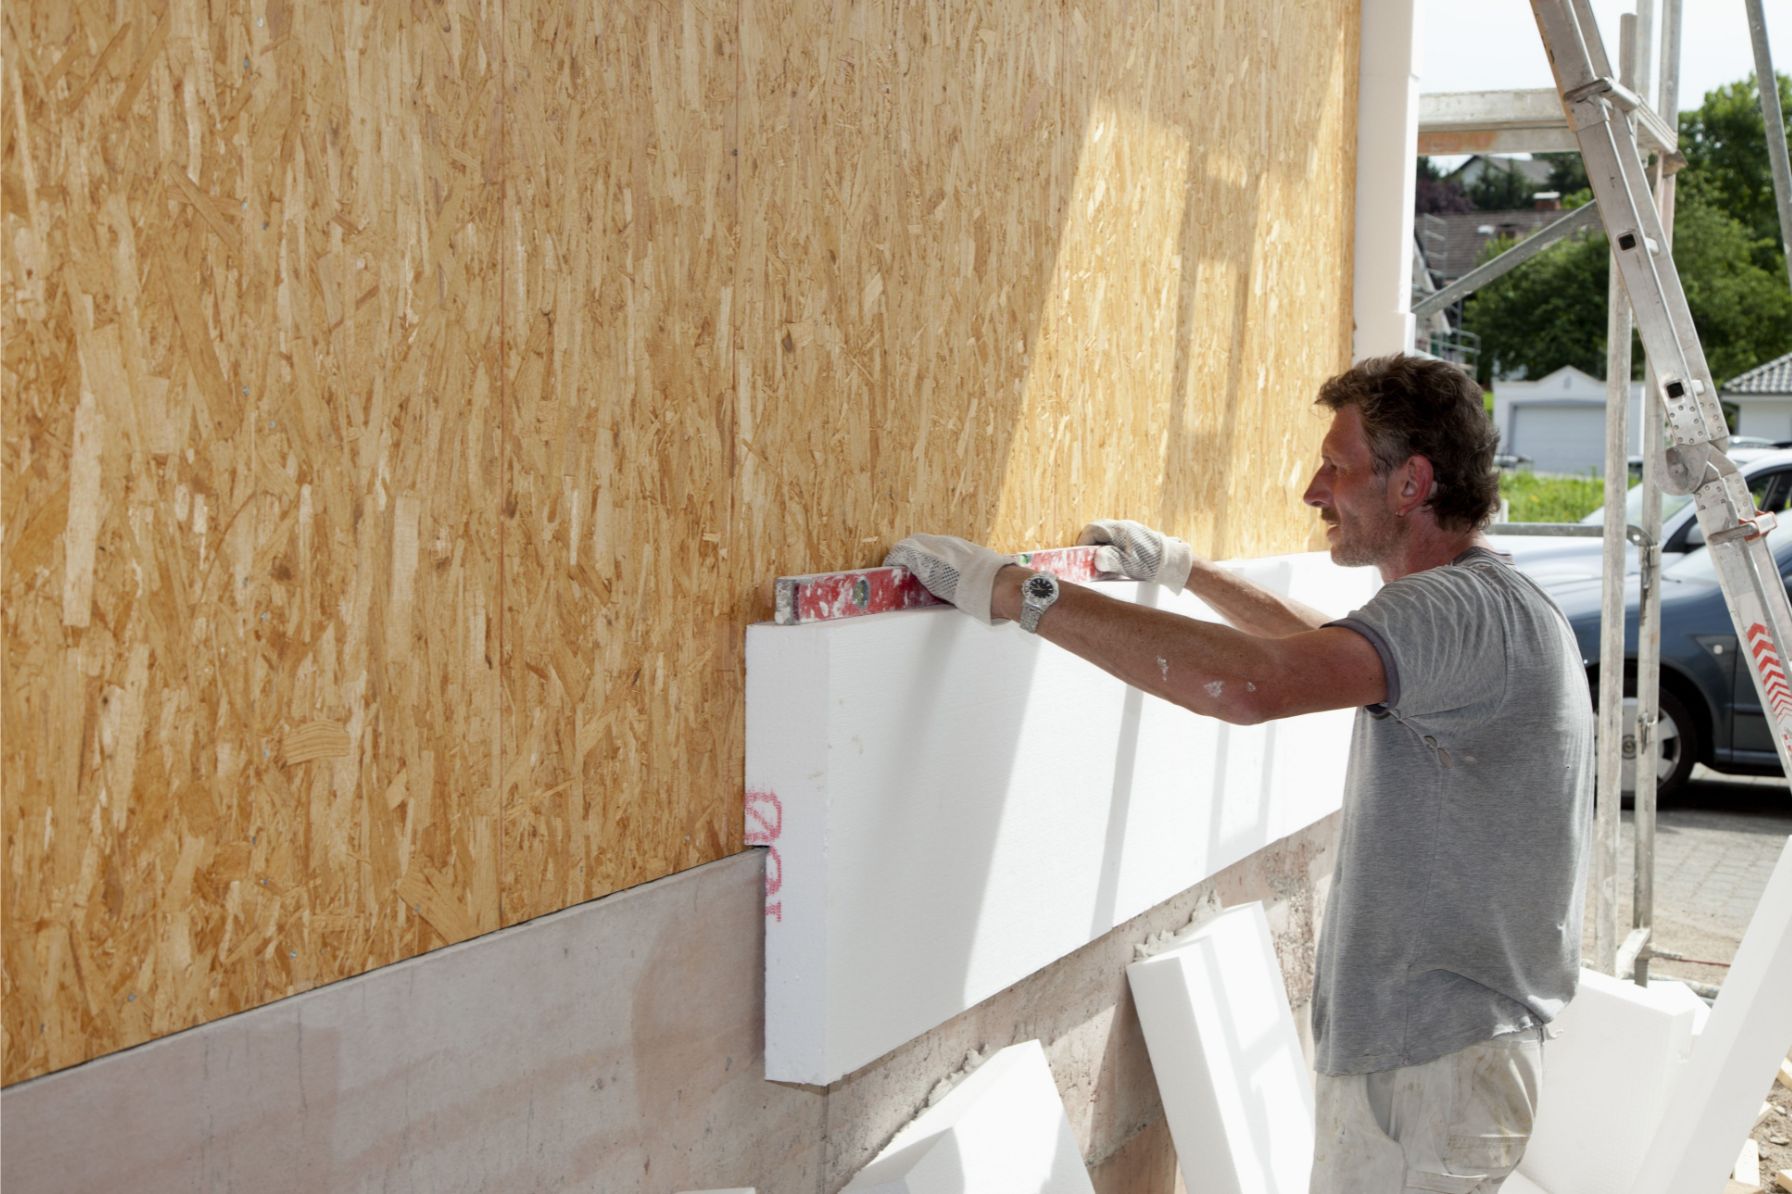
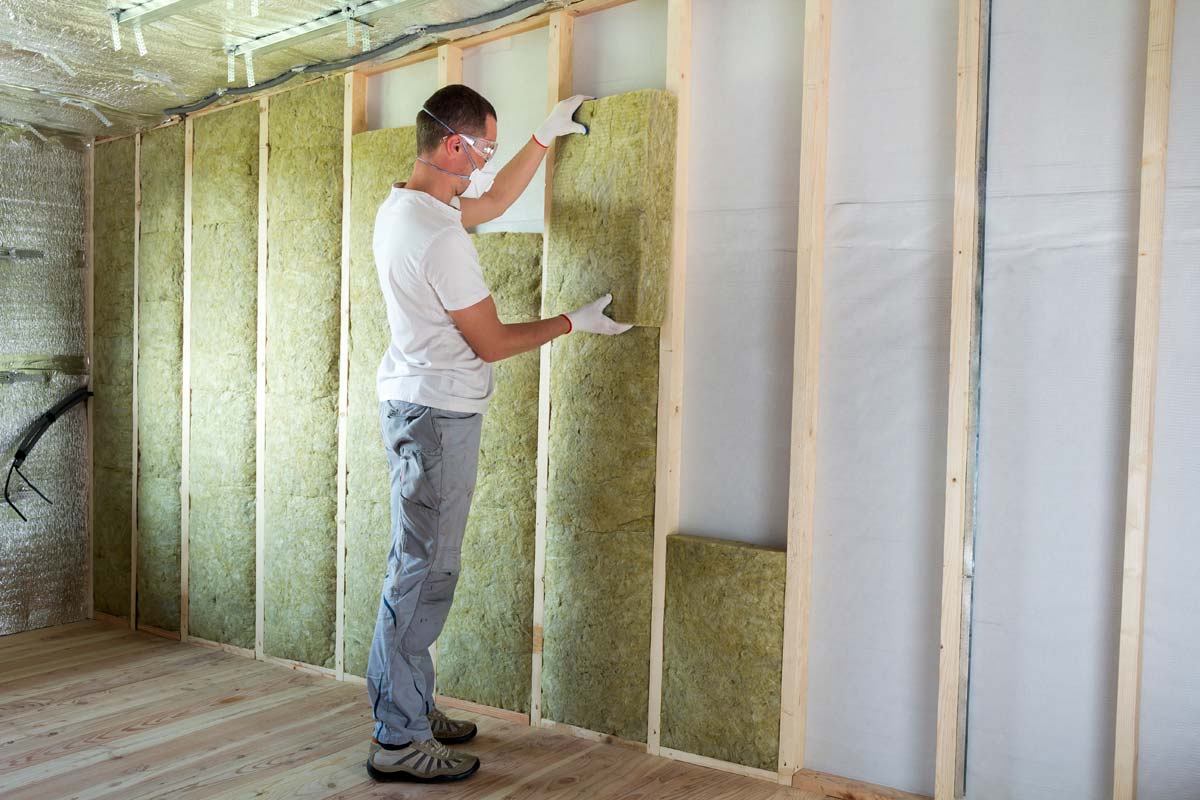
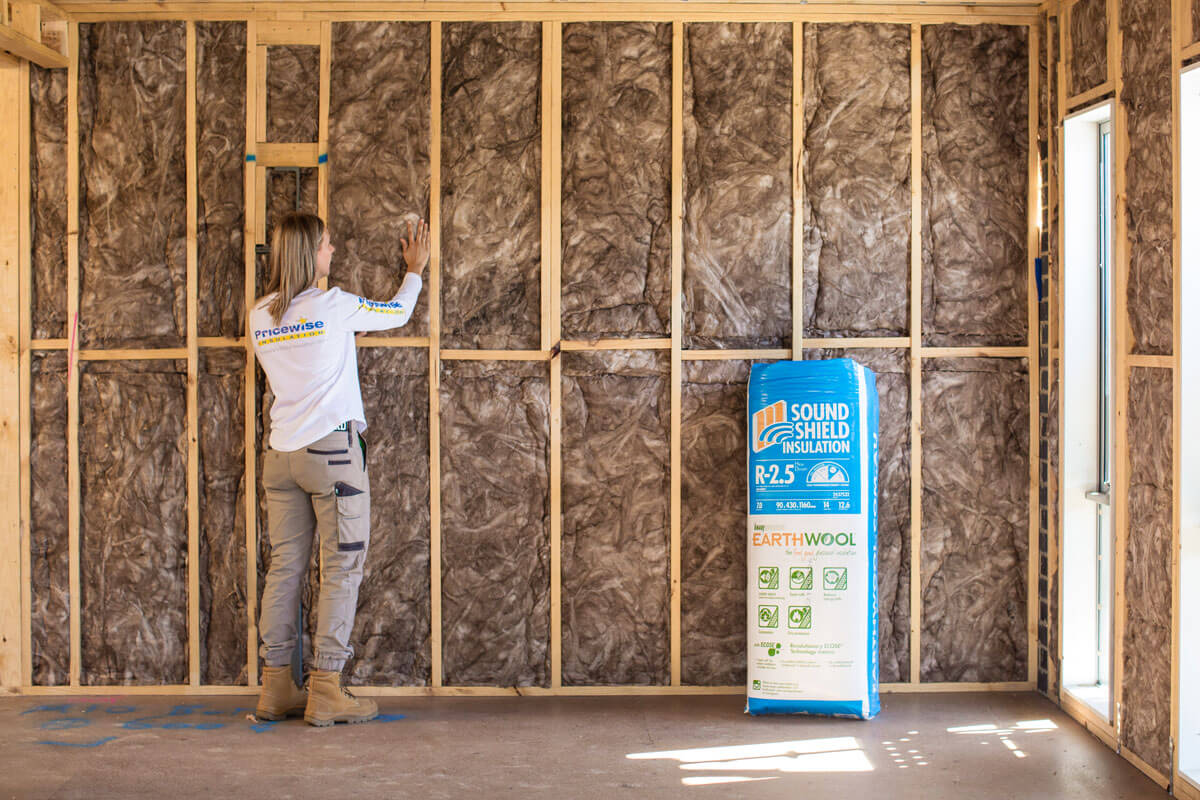
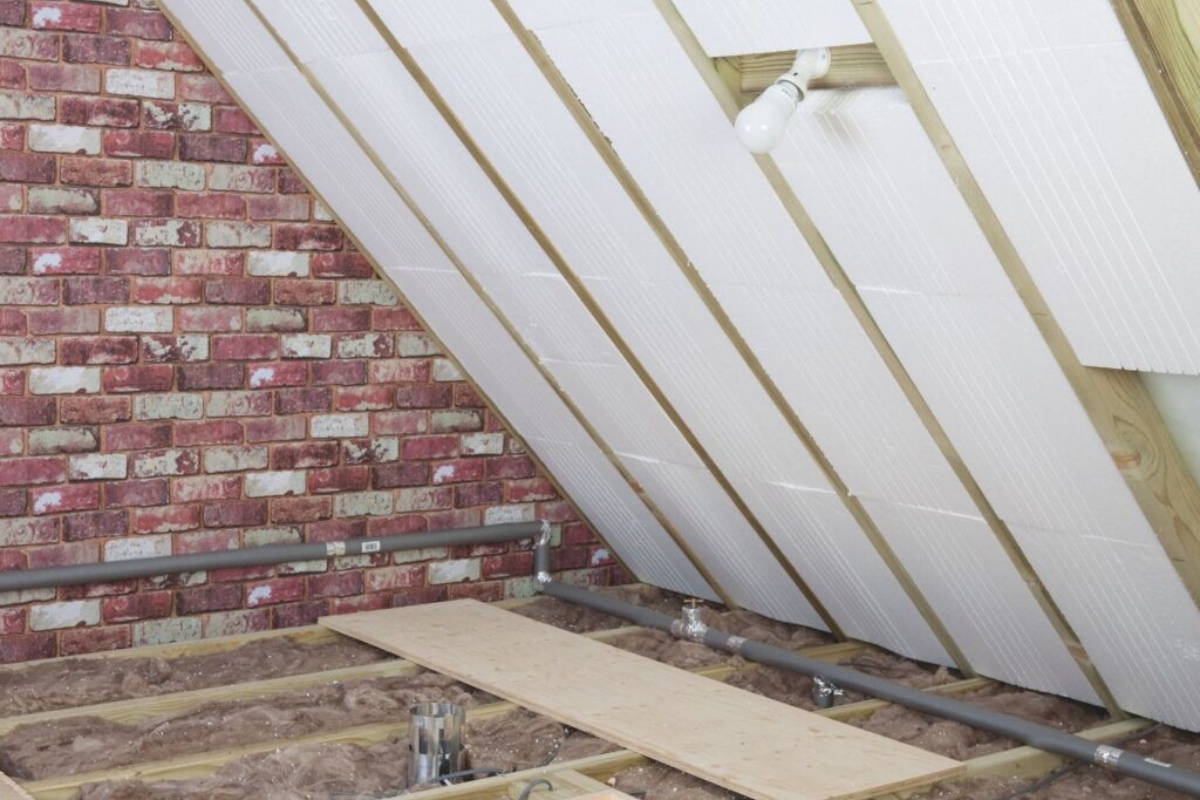
Step 4: Install the Foam Panels on the Wall
With the adhesive applied to the foam panels, you can now proceed to install them on the interior walls. Follow these steps to properly install the rigid foam insulation:
- Starting from the bottom: Begin installing the foam panels from the bottom of the wall. Align the bottom edge of the first panel with the floor or baseboard.
- Press against the wall: Press the foam panel firmly against the prepared wall surface, ensuring it is properly aligned vertically and horizontally.
- Hold in place: Hold the foam panel in place for a few seconds to allow the adhesive to set and create a secure bond.
- Continue installation: Install the remaining foam panels using the same method, ensuring tight seams between each panel. Press each panel firmly against the wall and hold it in place for a few seconds to ensure proper adherence.
- Trimming panels: If necessary, trim the foam panels using a razor knife or foam saw to fit around windows, doors, or other obstacles. Remember to measure and cut carefully for a precise fit.
- Maintain alignment: Throughout the installation process, use a level or straight edge to verify that the panels are installed straight and level. Make any necessary adjustments to ensure a uniform and professional appearance.
- Leave expansion gaps: Leave a small gap (about 1/8 inch) between the foam panels and any adjacent walls, corners, or surfaces to allow for expansion and contraction of the foam insulation.
By following these steps, you can effectively install the rigid foam insulation panels on your interior walls. Ensure that each panel is properly aligned, firmly pressed against the wall, and securely held in place. Once all the foam panels are installed, you can move on to the next step: securing the panels with mechanical fasteners.
When installing rigid foam insulation on interior walls, make sure to use adhesive specifically designed for foam insulation to ensure a secure and long-lasting bond.
Step 5: Secure Panels with Mechanical Fasteners
Once the foam panels are installed on the interior walls, the next step is to secure them in place using mechanical fasteners. This provides additional stability and ensures that the panels remain securely attached. Follow these steps to secure the foam panels with mechanical fasteners:
- Choose the appropriate fasteners: Select the appropriate type and size of fasteners based on your wall material and the type of foam panels you are using. Common options include screws, nails, or plastic anchors.
- Locate the studs: Use a stud finder to locate and mark the position of the wall studs. This helps to ensure that the fasteners are securely anchored in the structural framework of the wall.
- Install the fasteners: Place the foam panel against the wall and drive the fasteners through the foam panel and into the wall studs at regular intervals. It is recommended to place fasteners near the edges and corners of the panels for added stability.
- Space the fasteners: Space the fasteners evenly along the edges and middle of the foam panel to ensure that it is secured uniformly. Avoid using excessive force that may damage the foam panel.
- Check for secure attachment: After installing the fasteners, check each foam panel to ensure that it is securely attached to the wall. Gently press and try to move the panel to ensure there is no significant movement.
It is important to strike a balance when securing the foam panels with fasteners. Use enough fasteners to ensure stability but avoid overloading the panels, as excessive fasteners may compress the insulation and reduce its effectiveness.
By following these steps, you can properly secure the foam panels in place using mechanical fasteners. This will ensure that the insulation remains securely attached to the interior walls. Once the panels are secured, you can move on to the next step: filling gaps and seams.
Step 6: Fill Gaps and Seams
After securing the foam panels on the interior walls, the next step is to fill any gaps and seams between the panels. This helps to improve the insulation performance and create a seamless appearance. Follow these steps to fill gaps and seams:
- Inspect for gaps and seams: Carefully inspect the installed foam panels and identify any gaps or seams between them. These gaps may occur at the edges, corners, or where panels meet obstacles like windows or doors.
- Select a suitable filler: Choose a suitable filler or sealant for filling the gaps and seams. Options include a foam sealant or adhesive that is compatible with the foam panels you are using. Make sure to read and follow the manufacturer’s instructions.
- Prepare the filler: Prepare the foam sealant or adhesive according to the manufacturer’s instructions. This typically involves shaking the can or tube and attaching the nozzle or applicator.
- Apply the filler: Carefully and evenly apply the filler material into the gaps and seams between the foam panels. Use a putty knife or trowel to smooth and level the filler as needed.
- Allow for curing: Allow the filler material to cure and dry as specified by the manufacturer. This typically takes a few hours or overnight. Avoid touching or disturbing the filled gaps and seams during this time.
- Trim excess filler: Once the filler has dried, use a razor knife or utility knife to trim away any excess material that is protruding from the gaps and seams. This ensures a neat and clean finish.
Filling gaps and seams between the foam panels helps to create a more uniform and airtight insulation barrier. It also helps to prevent any air leakage or heat loss. Take care to follow the manufacturer’s instructions for the filler material you are using to ensure proper application and curing.
With the gaps and seams filled, you can now proceed to the final step: finishing the insulation on the interior walls.
Step 7: Finish the Insulation
After completing the installation and filling of gaps and seams in the foam insulation, the final step is to finish the insulation on the interior walls. This involves addressing any remaining steps to ensure a complete and polished insulation system. Follow these steps to finish the insulation:
- Inspect the insulation: Take a final look at the installed foam insulation to ensure that everything is in place and properly secured. Check for any visible gaps, loose edges, or areas that require further attention.
- Seal around openings: Pay close attention to openings such as windows, doors, vents, and electrical outlets. Use foam sealant or adhesive to fill any gaps or spaces around these openings, ensuring a tight seal.
- Consider additional layers: Depending on your insulation needs, you may choose to add additional layers of insulation. This could include applying a vapor barrier or installing batt insulation over the foam panels for added thermal resistance.
- Cover with a finishing material: If desired, you can cover the foam insulation with a finishing material such as drywall, plywood, or paneling. This not only enhances the aesthetic appeal but also provides added protection and durability to the insulation.
- Finish with paint or texture: Once the finishing material is installed, you can paint it or apply a textured finish to match the overall decor of the room. This adds a final touch of visual appeal to the insulation system.
Finishing the insulation ensures that all necessary steps are taken to optimize the performance and appearance of the installed foam insulation. It helps to create a more visually appealing and cohesive space while providing effective thermal insulation.
Congratulations! By following these steps, you have successfully installed and finished rigid foam insulation on your interior walls. Enjoy the benefits of improved energy efficiency and a more comfortable living environment.
Conclusion
Installing rigid foam insulation on interior walls is a practical and effective way to improve the energy efficiency and comfort of your home. By creating a thermal barrier, rigid foam insulation helps regulate temperature, reduces heating and cooling costs, and minimizes noise transmission between rooms.
In this article, we have provided a comprehensive guide on how to install rigid foam insulation on interior walls. We started with safety precautions to ensure a safe installation process. We then outlined the tools and materials you will need to complete the project successfully.
The step-by-step instructions cover measuring and cutting the foam panels, preparing the wall surface, applying adhesive on the foam panels, installing the panels, securing them with mechanical fasteners, filling gaps and seams, and finally, finishing the insulation with additional layers and covering materials.
It is important to remember that if you are unsure about any aspect of the installation process or have concerns about the structural integrity of your walls, it is advisable to consult with a professional contractor or insulation expert.
Proper installation of rigid foam insulation will help maximize its effectiveness and ensure long-term energy savings. It is worth the investment as it not only reduces energy costs but also improves the overall comfort and value of your home.
By following these guidelines and taking the necessary precautions, you can successfully install rigid foam insulation on your interior walls and enjoy the benefits of improved energy efficiency and a more comfortable living space.
Ready to tackle more home improvement projects with your own two hands? Dive into our detailed guide on DIY Home Projects. You'll find practical advice and creative ideas that can transform your space without breaking the bank. Whether you're looking to build, renovate, or simply add a personal touch to your home, our tips will set you on the right path. Don’t miss out on becoming your own handyman—start your DIY adventure today!
Frequently Asked Questions about How To Install Rigid Foam Insulation On Interior Walls
Was this page helpful?
At Storables.com, we guarantee accurate and reliable information. Our content, validated by Expert Board Contributors, is crafted following stringent Editorial Policies. We're committed to providing you with well-researched, expert-backed insights for all your informational needs.
0 thoughts on “How To Install Rigid Foam Insulation On Interior Walls”