Articles
How To Plumb Double Vanity
Modified: October 31, 2024
Learn how to properly plumb a double vanity with our informative articles. Discover expert tips and tricks for a professional installation.
(Many of the links in this article redirect to a specific reviewed product. Your purchase of these products through affiliate links helps to generate commission for Storables.com, at no extra cost. Learn more)
Introduction
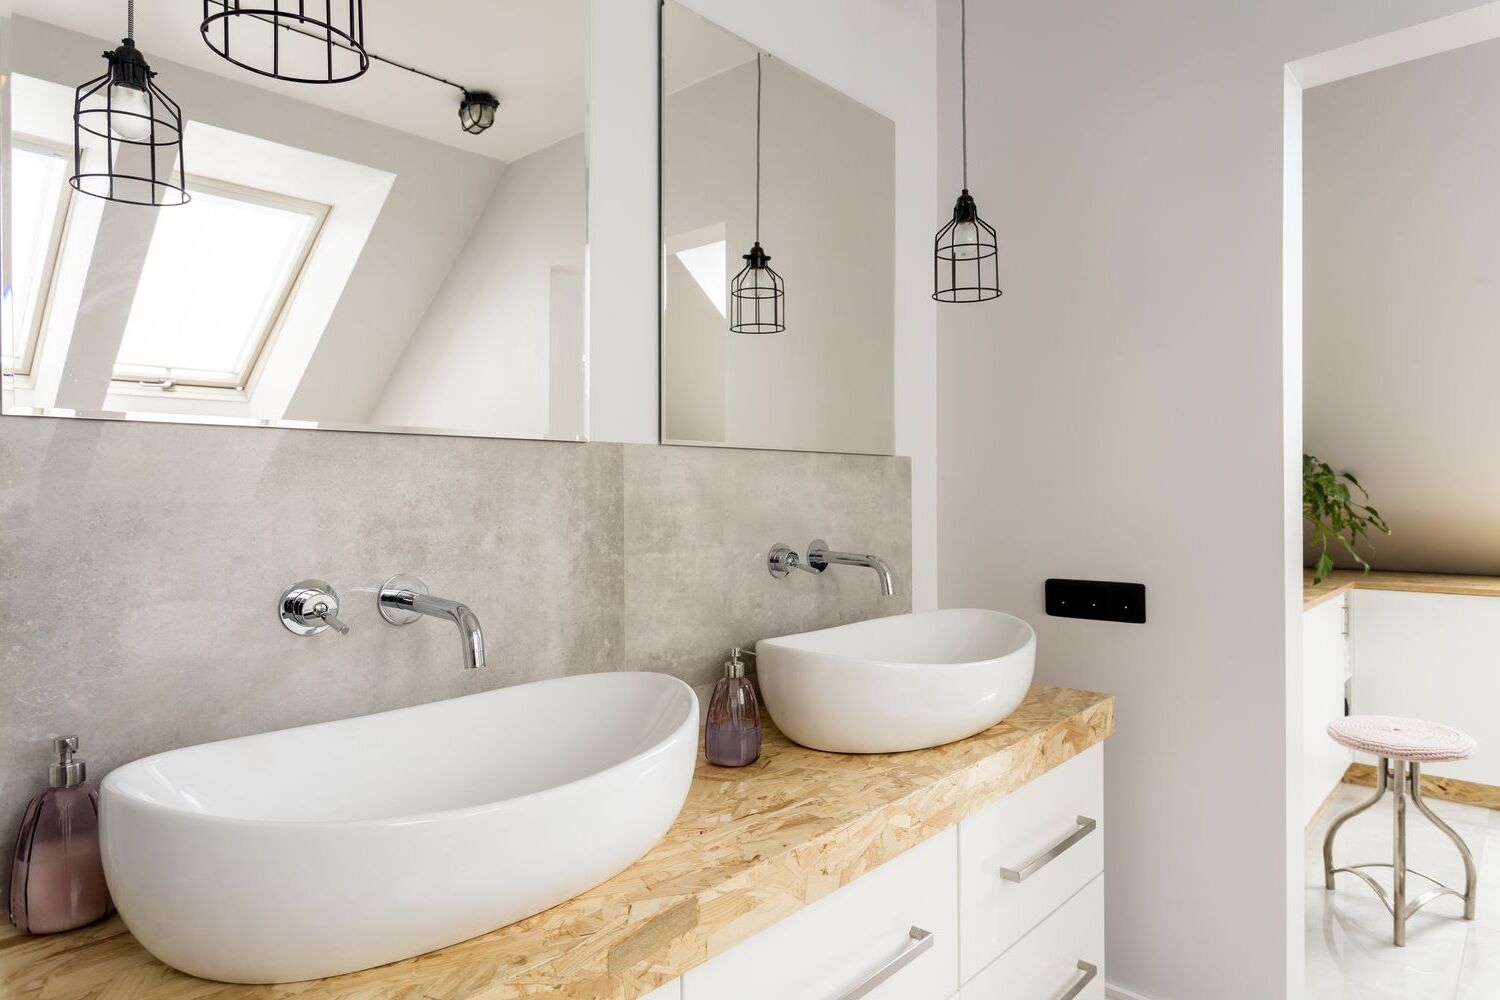
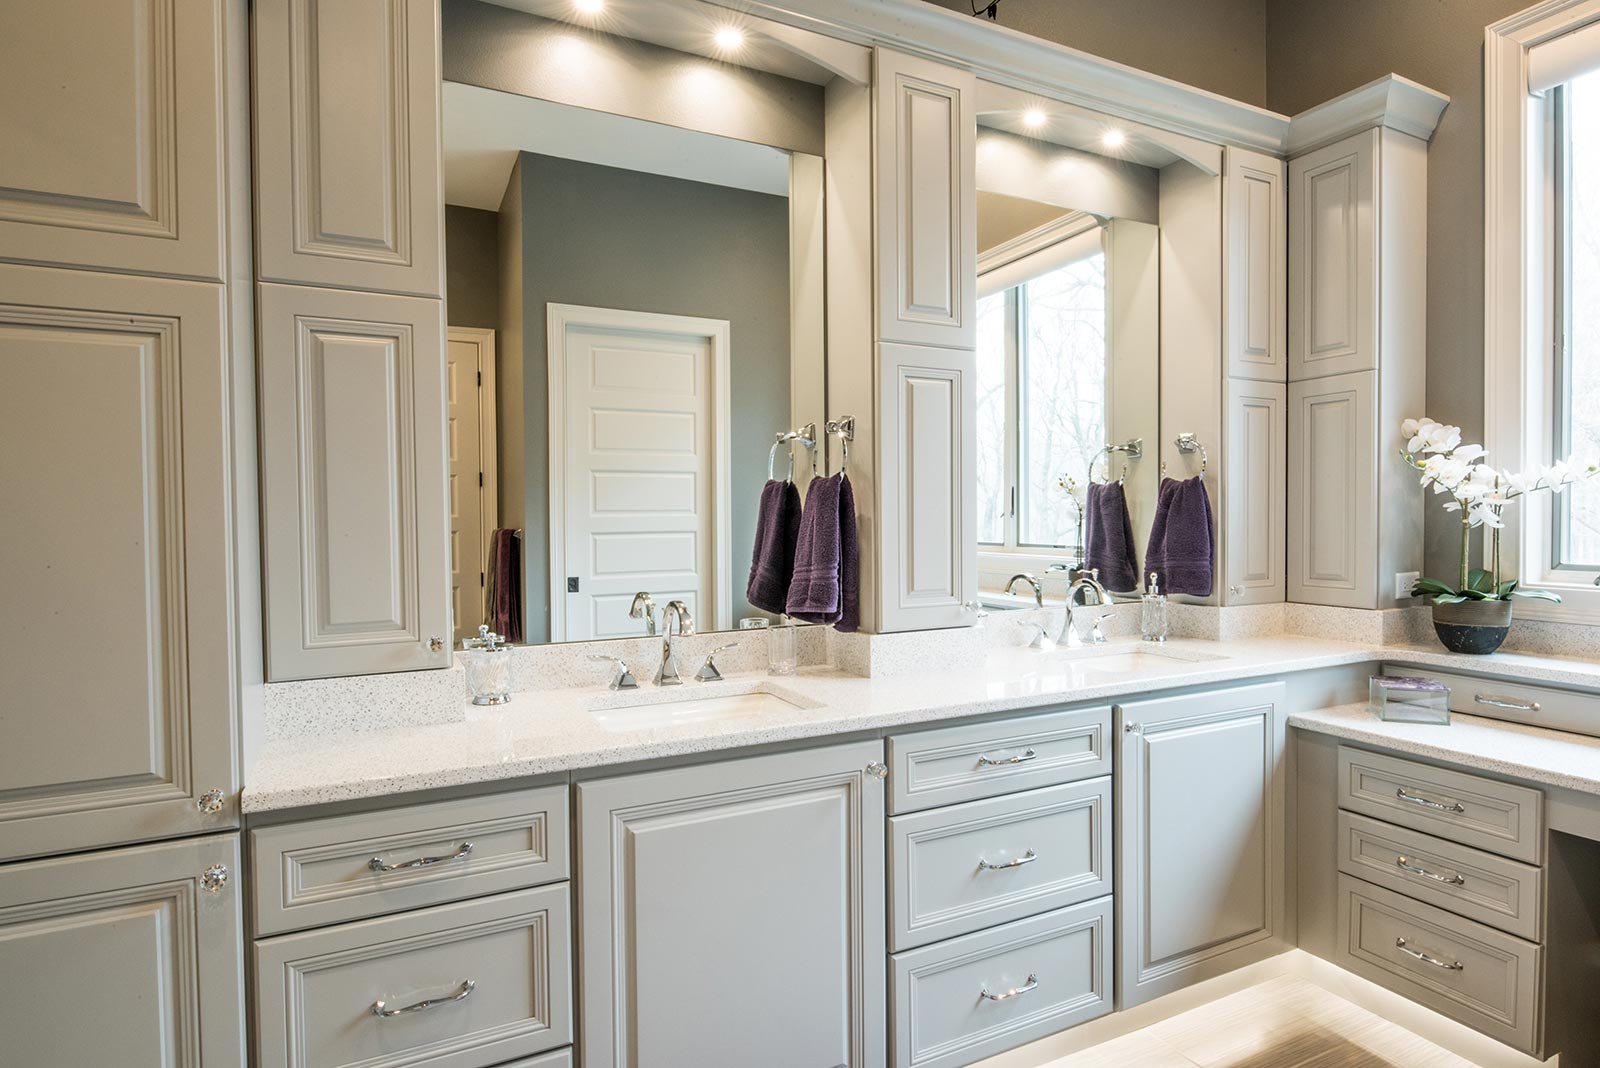
When it comes to bathroom renovations, a double vanity can be a game-changer. Not only does it offer double the storage space, but it also adds a touch of luxury and elegance to your bathroom. With two sinks, getting ready in the morning becomes a breeze, especially for couples or families sharing a bathroom.
If you’re considering installing a double vanity in your bathroom, you’ve come to the right place. In this article, we will walk you through the step-by-step process of plumbing a double vanity. From choosing the right vanity to connecting the water supply lines, we’ve got you covered.
Before you dive into the process, it’s important to note that plumbing a double vanity requires a basic understanding of plumbing systems. If you’re not comfortable with undertaking this task yourself, it’s always best to consult with a professional plumber. However, if you’re up for the challenge, let’s get started!
Author’s Note: Throughout this article, we will assume that you already have a basic knowledge of plumbing tools, terminology, and techniques. If you’re unsure about any aspect of the process, we recommend seeking guidance from a professional.
Key Takeaways:
- Transform your bathroom with a double vanity for added storage, luxury, and convenience. Follow the step-by-step plumbing process to create a stylish and functional space for your daily routine.
- Pay attention to the finishing touches, such as organizing, adding accessories, and applying sealant, to elevate the appearance and functionality of your new double vanity. Enjoy the refreshed and organized bathroom space!
Read more: How To Install A Double Sink Vanity
Choosing a Double Vanity
Before you can begin the installation process, it’s essential to choose a double vanity that suits your bathroom style and meets your needs. Here are some factors to consider when selecting a double vanity:
- Size: Measure the available space in your bathroom to determine the appropriate size for your double vanity. Consider both the width and depth, ensuring it fits comfortably without obstructing bathroom fixtures or creating a cramped environment.
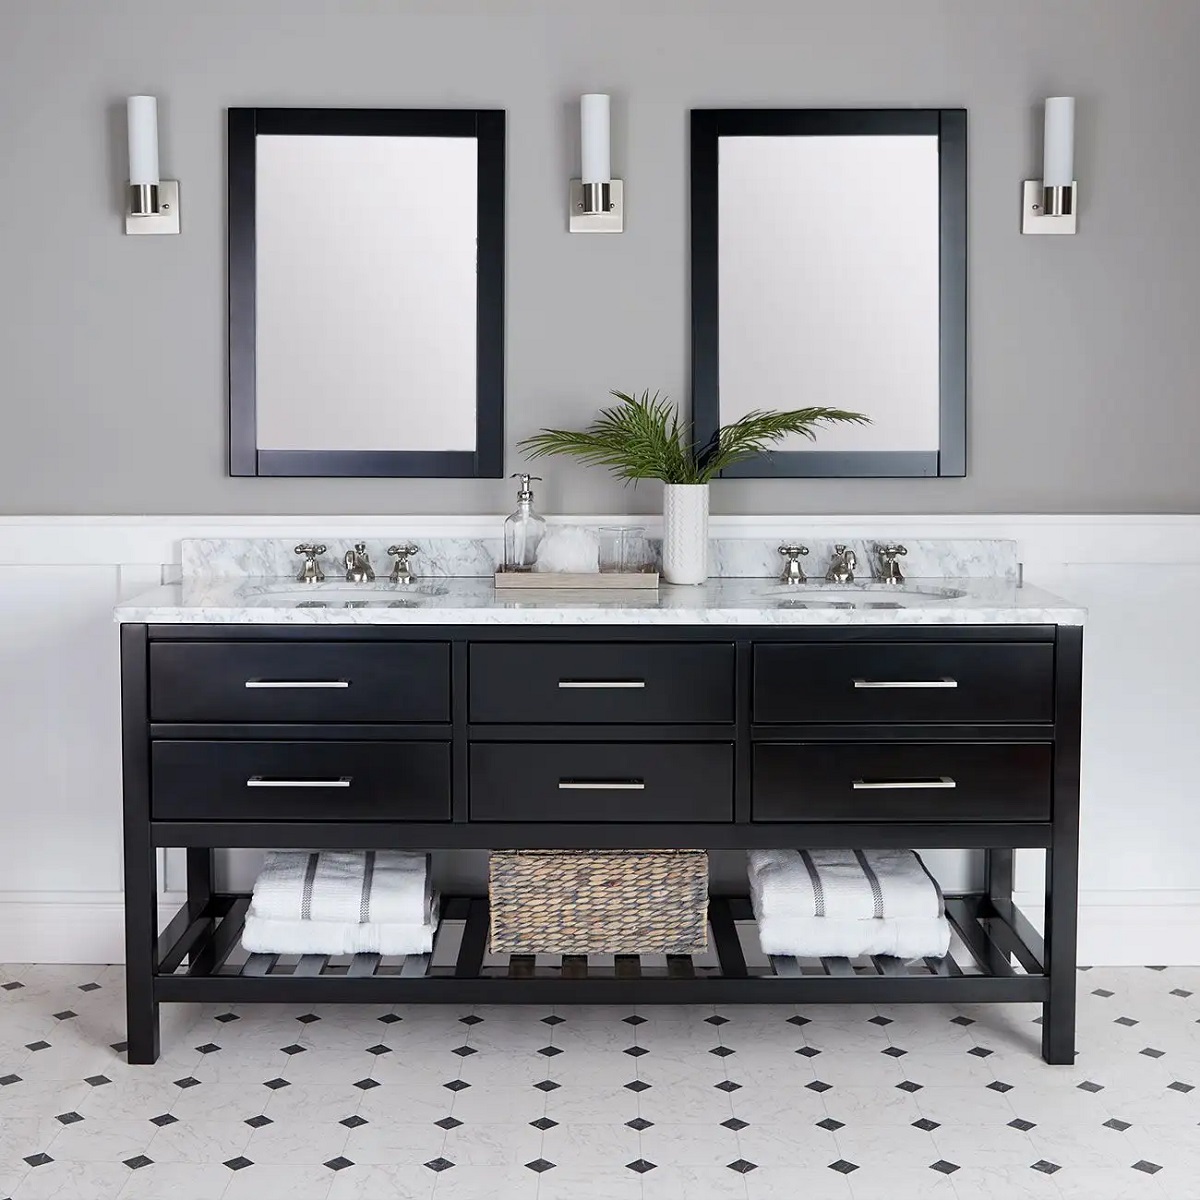
- Style: Choose a style that complements the overall aesthetic of your bathroom. Whether you prefer a modern, contemporary, or traditional look, there are a variety of double vanity designs to choose from. Consider materials, finishes, and hardware options that align with your personal taste.
- Sink Configuration: Double vanities generally come in two configurations: side-by-side or separated by a center cabinet. Consider your daily routines and bathroom habits to determine which configuration is more suitable for you.
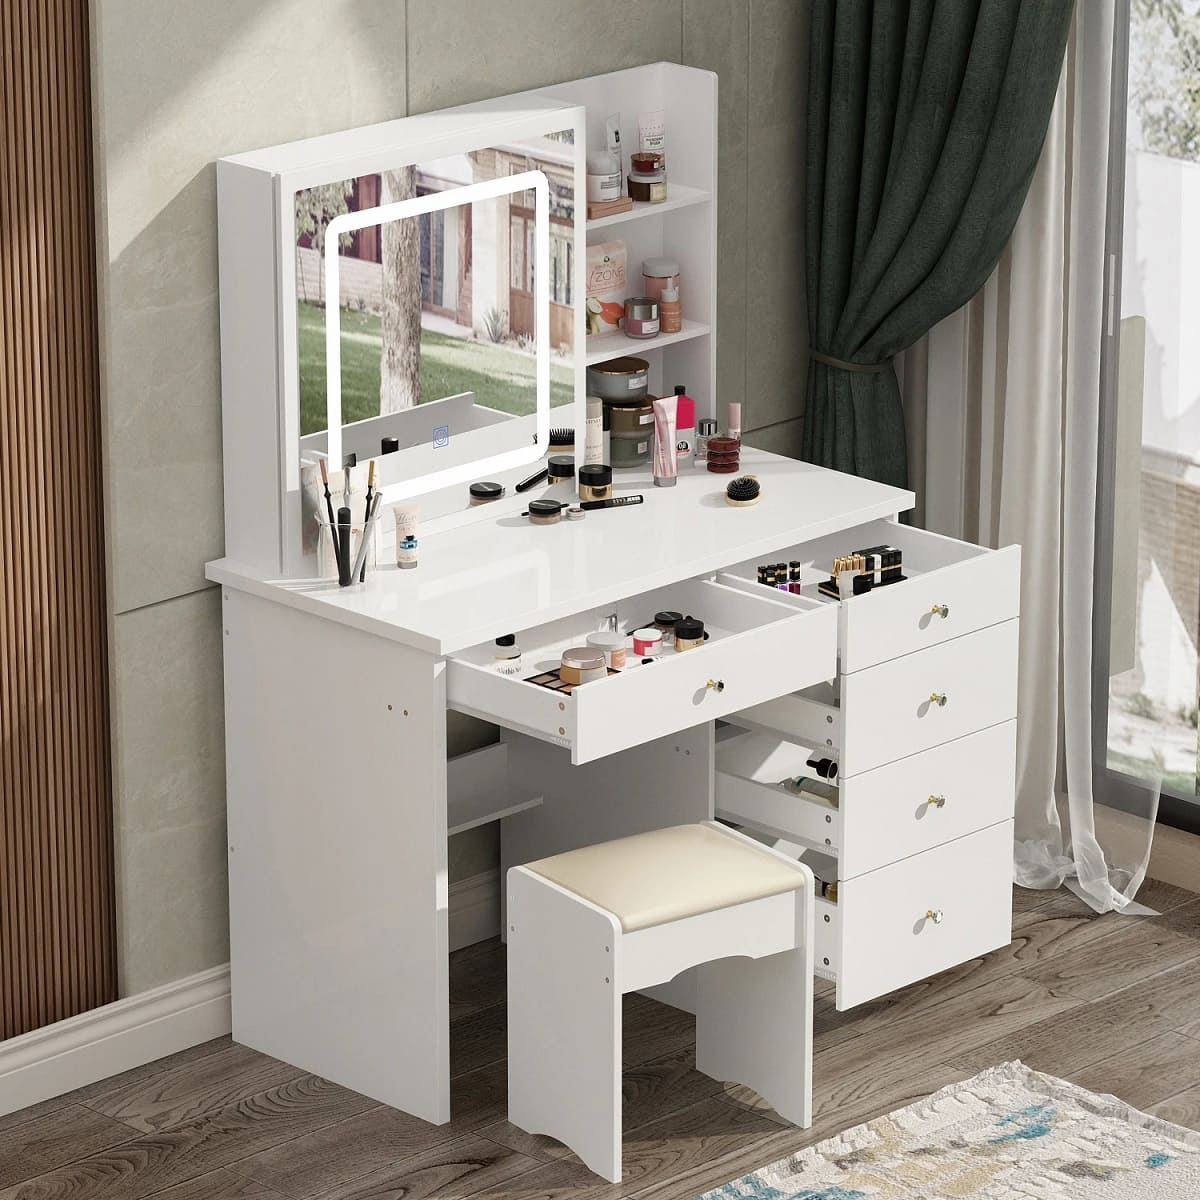
- Storage: Assess your storage needs and choose a double vanity with ample cabinet space, drawers, and shelves. This will help keep your bathroom organized and clutter-free.
- Countertop: Consider the type of countertop material that best suits your style and budget. Popular options include granite, marble, quartz, and solid surface. Ensure that the countertop is wide enough to accommodate two sinks comfortably.
- Budget: Set a budget for your double vanity project, considering both the cost of the vanity itself and any additional expenses such as plumbing materials and labor.
Take your time to research and explore different options before making a decision. Consider visiting showrooms or browsing online catalogs to visualize how the double vanity will look in your bathroom. Once you have chosen the perfect double vanity, you can move on to the next step – measuring and planning.
Measuring and Planning
Before you jump into installation, it’s crucial to measure your bathroom space and plan out the placement of your double vanity. Follow these steps to ensure a successful installation:
- Measure the space: Use a tape measure to determine the width, height, and depth of the area where the double vanity will be installed. Ensure there is enough clearance for doors, windows, and other fixtures.
- Consider plumbing requirements: Identify the location of the existing plumbing pipes and drains. Measure the distance between the centerline of the drainpipe and the wall to ensure that the new double vanity will align properly with the plumbing.
- Create a layout: Use graph paper or a design software to sketch out a layout of your bathroom, including the dimensions and placement of the double vanity. This will provide a visual representation of the final result and help you visualize any potential issues.
- Check for obstacles: Look out for any obstacles such as electrical outlets, light fixtures, or vents that may interfere with the installation. Make note of their locations and consider how they may need to be adjusted or relocated.
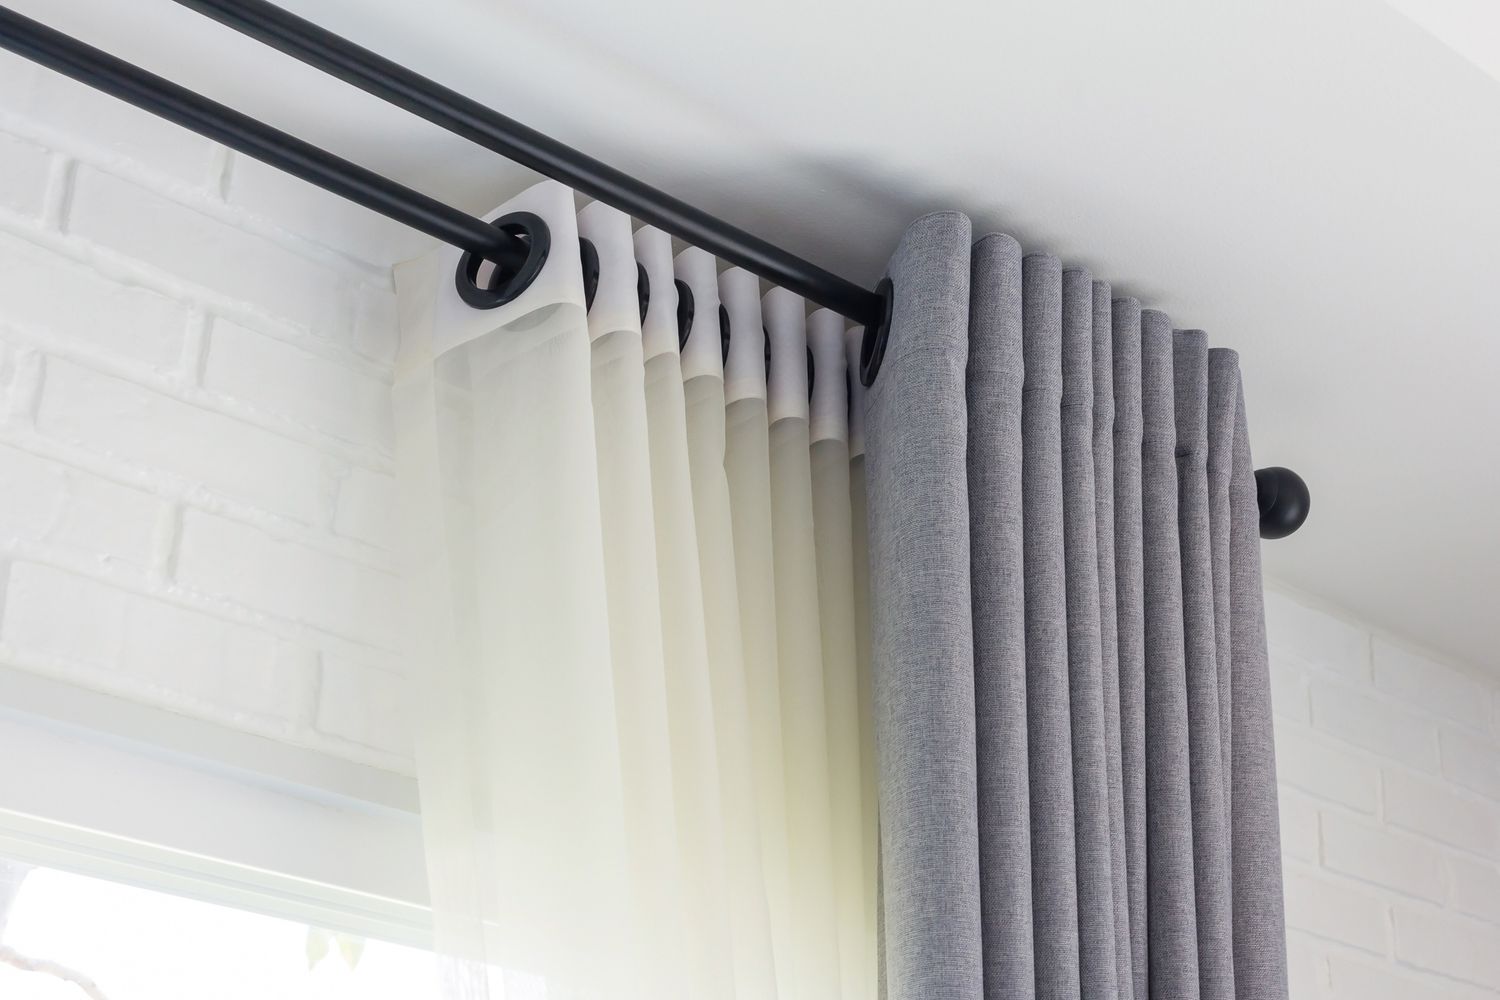
- Plan for additional features: If you want to incorporate additional features like a mirror, lighting fixtures, or a backsplash, take measurements and plan their placement accordingly.
By taking the time to measure your bathroom space accurately and plan out the placement of your double vanity, you can ensure a smooth installation process and avoid any surprises along the way. Once you have completed this step, it’s time to gather the necessary tools and materials for the project.
Gathering Tools and Materials
Before you begin the installation process, it’s important to gather all the necessary tools and materials. Here’s a list of items you will need:
- Tools:
- Adjustable wrench
- Basin wrench
- Hacksaw
- Plumbers putty
- Teflon tape
- Pipe cutter
- Channel locks
- Screwdriver
- Drill
- Level
- Measuring tape
- Materials:
- Double vanity cabinet
- Countertop with pre-cut holes for sinks and faucets
- Sinks
- Faucets
- Drain assemblies
- P-traps
- Water supply lines
- Plumbing fittings
- Mounting brackets
- Silicone caulk
- Mounting hardware
Make sure you have all the necessary tools and materials before you begin the installation. This will save you time and prevent any delays during the process. It is always a good idea to double-check the measurements of your double vanity and ensure that all components are present and ready to be installed.
Now that you have everything you need, it’s time to shut off the water supply in order to remove the old vanity. We will cover this step in the next section.
Shutting Off Water Supply
Before you can remove the old vanity and begin installing your new double vanity, it’s essential to shut off the water supply. Follow these steps to safely turn off the water:
- Locate the water shut-off valves: The shut-off valves are usually located under the sink or near the water pipes in your bathroom. Sometimes, they may be in a separate utility room or crawl space.
- Turn off the hot and cold water supply: Use an adjustable wrench to turn the valves clockwise until they are fully closed. This will shut off the water supply to the sink.
- Relieve pressure: Open the faucet to relieve any remaining water pressure in the pipes. This will prevent any unexpected water leaks when disconnecting the plumbing.
- Double-check for water flow: Turn on both the hot and cold water taps to ensure that the water supply has been successfully shut off. If water continues to flow, you may need to locate the main water shut-off valve for your entire house and close it.
It’s crucial to shut off the water supply before proceeding with the installation to prevent any potential leaks or water damage. Once you have confirmed that the water supply is off, you can move on to the next step – removing the old vanity.
Read more: How To Plumb A Double Kitchen Sink
Removing Old Vanity
Now that you have shut off the water supply, it’s time to remove the old vanity. Follow these step-by-step instructions to ensure a smooth removal process:
- Clear out the vanity: Remove any items from the vanity, including toiletries, cleaning supplies, and towels. This will make it easier to access the plumbing and disconnect the vanity from the wall.
- Disconnect the plumbing: Use an adjustable wrench to loosen the nuts connecting the water supply lines to the faucet. Have a bucket or towel handy to catch any residual water in the lines. Once the water supply lines are disconnected, proceed to disconnect the P-trap from the drainpipe using a basin wrench.
- Detach the vanity from the wall: Look for screws or brackets securing the vanity to the wall. Use a screwdriver or drill to remove these attachments carefully. Enlist the help of a partner if the vanity is large or heavy to prevent any accidents or damage.
- Remove the vanity top: If the vanity has a separate countertop, detach it from the base. This may involve removing screws, adhesive, or clamps holding the countertop in place. Take necessary precautions to avoid damaging the countertop during removal.
- Disconnect the wall plumbing: If the vanity has wall-mounted plumbing, carefully disconnect the pipes from the wall. Again, use an adjustable wrench to loosen the nuts and ensure that any residual water is caught with a bucket or towel.
- Clean the area: Once the old vanity is removed, take the opportunity to clean the empty space. Remove any debris, old caulk, or adhesive to prepare for the installation of the new double vanity.
Removing the old vanity requires some patience and caution, especially when dealing with plumbing connections. Take your time and follow these steps carefully to avoid any damage or accidents. With the old vanity out of the way, you are now ready to move on to installing the new double vanity.
Installing New Vanity
Now that you have successfully removed the old vanity, it’s time to install the new double vanity. Follow these step-by-step instructions to ensure a smooth installation process:
- Prepare the space: Clean the area where the new vanity will be installed, removing any debris, old caulk, or adhesive. Ensure the floor is level and make any necessary adjustments to ensure stability.
- Attach the mounting brackets: Depending on the design of your new double vanity, it may require mounting brackets for additional support. Follow the manufacturer’s instructions to attach the brackets securely to the wall.
- Place the vanity in position: With the help of a partner, carefully lift the double vanity and place it in its designated position. Ensure it is aligned with the mounting brackets and level using a level tool.
- Secure the vanity to the wall: Use a power drill and screws to fasten the vanity to the wall through the pre-drilled holes in the back of the vanity. This will ensure stability and prevent any movement or wobbling.
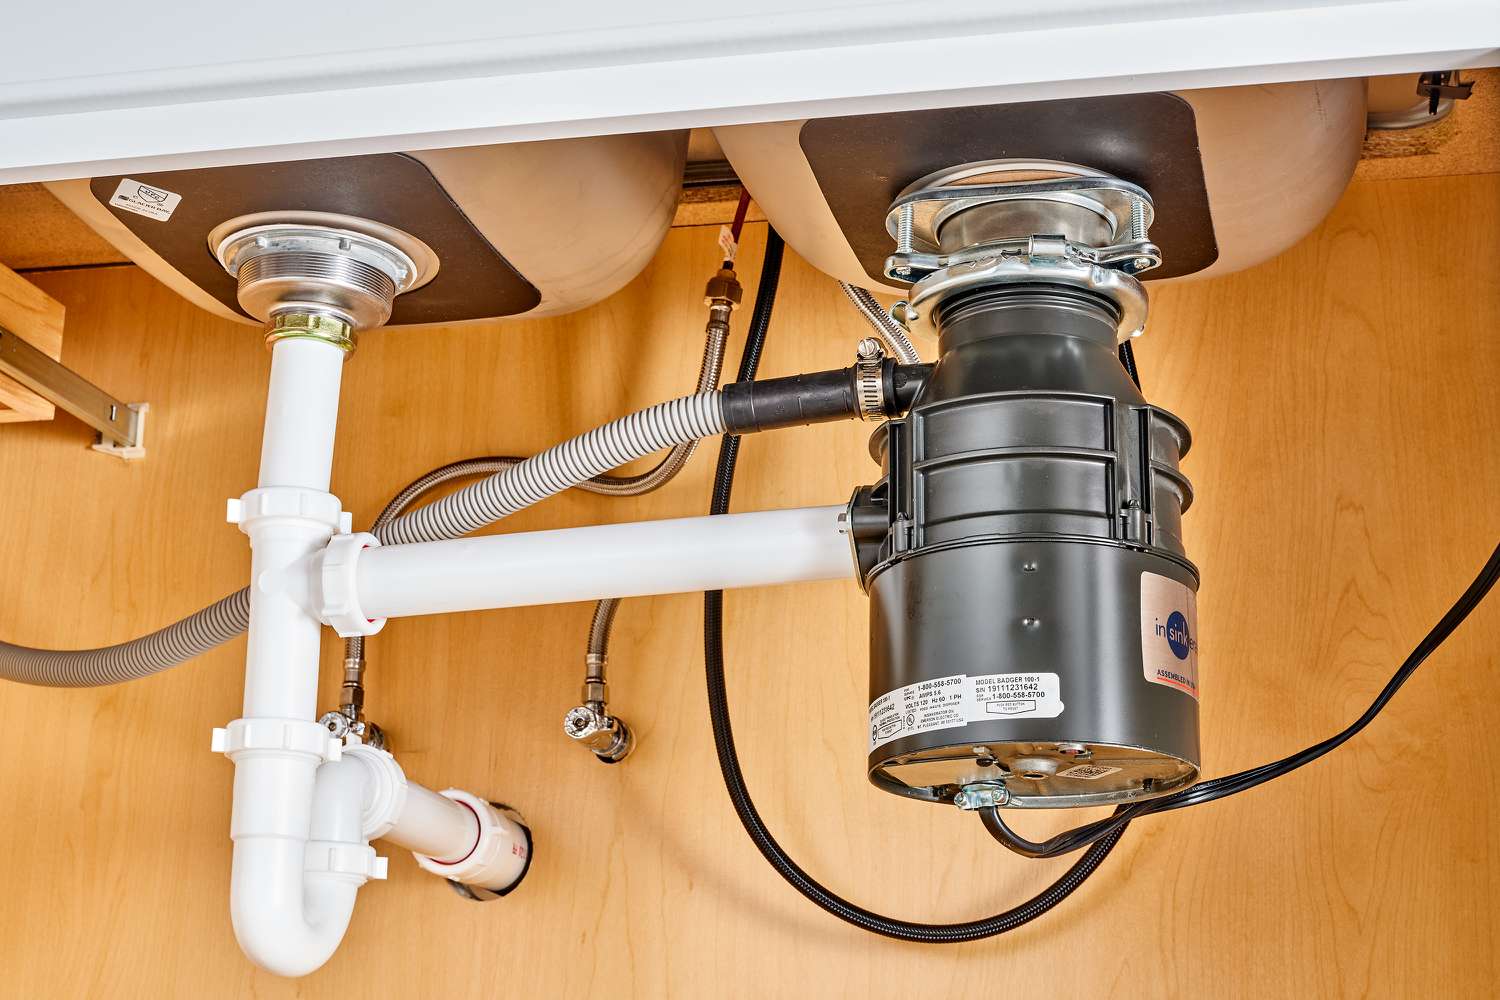
- Connect the plumbing: Begin by connecting the drain pipes to the sink’s drain openings. Apply plumber’s putty or silicone caulk to create a watertight seal. Use a wrench to tighten the nuts securely. Next, connect the P-trap to the drain pipe and tighten the nuts.
- Attach the water supply lines: Connect the water supply lines to the faucet’s water inlet ports. Ensure the hot water line is connected to the hot water inlet and the cold water line to the cold water inlet. Use an adjustable wrench to tighten the nuts and create a secure connection.
- Double-check your connections: Once the plumbing connections are made, double-check for any potential leaks. Turn on the water supply and observe for any drips or leaks. If necessary, tighten the connections further or add Teflon tape to create a better seal.
- Install the vanity top: If your double vanity came with a separate countertop, carefully place it on top of the vanity base. Ensure it is aligned properly with the sink openings and any pre-drilled holes for faucets. Use adhesive or mounting hardware provided by the manufacturer to secure the countertop in place.
- Finish the installation: Apply a bead of silicone caulk along the edges of the countertop to create a waterproof seal. This will prevent any water from seeping beneath the countertop. Wipe away any excess caulk with a damp cloth.
By following these steps accurately, you can ensure a successful installation of your new double vanity. Take your time during the process and double-check all connections to prevent any potential leaks or issues down the line. With the installation complete, it’s time to move on to the finishing touches.
When plumbing a double vanity, make sure to measure and mark the positions for the drain and water supply lines accurately to ensure proper alignment and functionality. Use a level to ensure the vanity is installed evenly for optimal drainage.
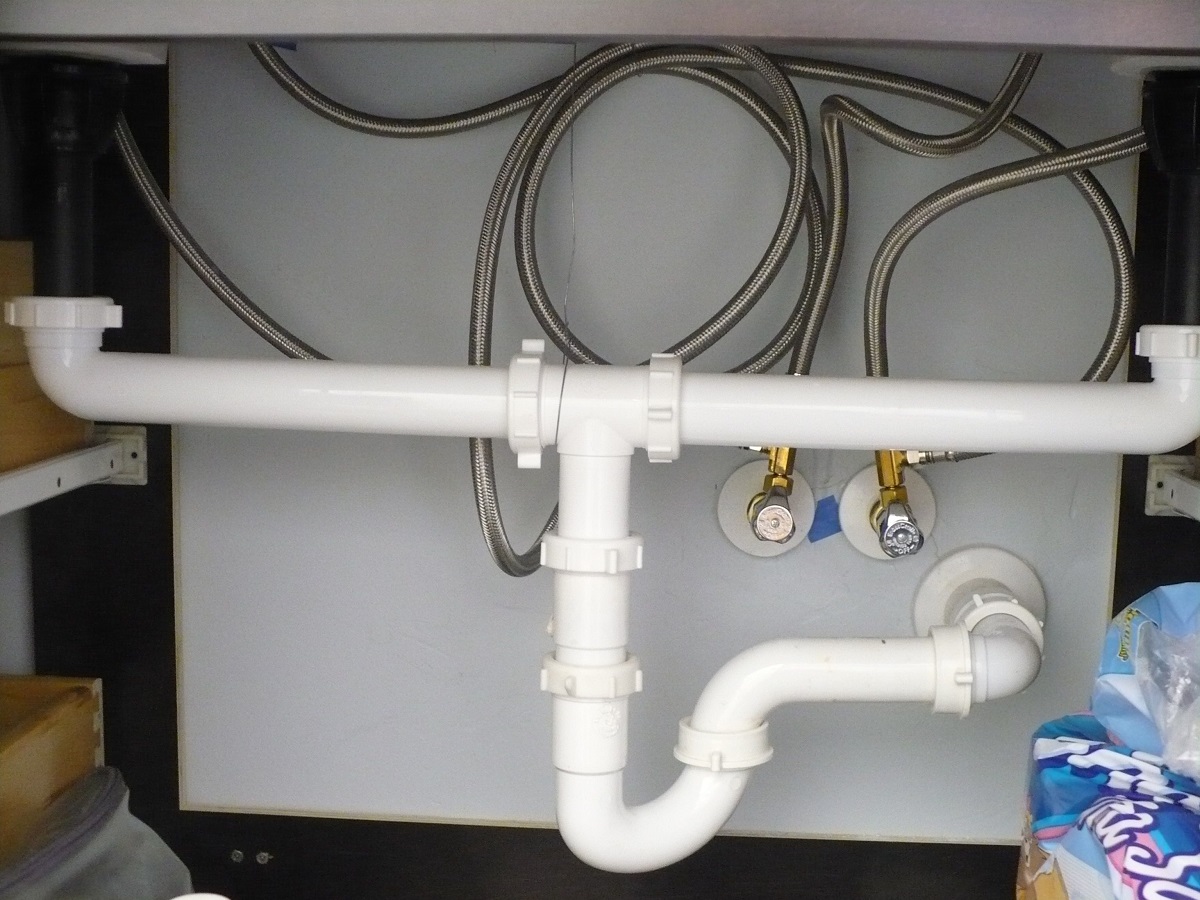
Attaching Drain Pipes
Attaching the drain pipes is an essential step in the installation of your new double vanity. Follow these step-by-step instructions to properly attach the drain pipes:
- Gather the necessary materials: Before you begin, make sure you have all the required materials, including the drain pipes, P-trap, plumber’s putty, Teflon tape, and a wrench.
- Assemble the drain assembly: Start by assembling the drain assembly according to the manufacturer’s instructions. This typically involves attaching the drain stopper to the drain flange and securing it in place with the provided hardware.
- Apply plumber’s putty: Take a small amount of plumber’s putty and roll it into a thin rope. Place the putty around the underside of the drain flange. This will create a watertight seal between the drain and the sink basin.
- Insert the drain assembly: Carefully insert the drain assembly through the drain opening in the sink basin. Press it firmly into place, ensuring that the plumber’s putty creates a tight seal between the drain and the sink.
- Attach the P-trap: Take the P-trap and connect one end to the drain assembly and the other end to the wall drain pipe. Use a wrench to tighten the connections securely. Make sure the P-trap is not too tight or too loose, as this can cause leaks.
- Check for leaks: Once the drain pipes are securely connected, turn on the water supply and check for any leaks. Inspect all connections and tighten as necessary. It’s also a good idea to run water through the sink to ensure proper drainage.
- Use Teflon tape: If there are any threaded connections in the drain pipes, wrap them with Teflon tape to create a tight seal. This will help prevent any leaks at the threaded joints.
By following these steps and ensuring that all connections are tight and secure, you can successfully attach the drain pipes for your new double vanity. It’s important to check for leaks and make any necessary adjustments to ensure that your plumbing system is working efficiently. With the drain pipes in place, you can now move on to connecting the water supply lines.
Connecting Water Supply Lines
Connecting the water supply lines is a crucial step in the installation of your new double vanity. Follow these step-by-step instructions to properly connect the water supply lines:
- Gather the necessary materials: Before you begin, make sure you have all the required materials, including the water supply lines, wrench, Teflon tape, and a bucket or towel to catch any water.
- Start with the faucets: Begin by attaching the water supply lines to the bottom of each faucet. The hot water line should connect to the hot water inlet and the cold water line to the cold water inlet. Use a wrench to tighten the connections securely, but be careful not to overtighten and damage the fittings.
- Wrap with Teflon tape: Wrap the threaded ends of the water supply lines with Teflon tape to create a watertight seal. Start at the base of the threads and wrap it in a clockwise direction, making sure to cover the entire threaded area.
- Connect to the shut-off valves: Locate the shut-off valves underneath the sink. Use a wrench to loosen the nut on each valve and then attach the water supply lines to the corresponding valves. Make sure to match the hot water line to the hot water valve and the cold water line to the cold water valve. Tighten the nuts securely with a wrench.
- Check for leaks: Once the water supply lines are securely connected, turn on the shut-off valves and check for any leaks. Inspect all connections and joints, as well as the faucets, to ensure there are no water drips or leaks. If you notice any leaks, tighten the connections further or apply more Teflon tape as needed.
- Flush the water lines: Before using the sink, it’s important to flush the water lines to remove any debris or air pockets. Turn on the hot and cold water faucets and let the water flow for a few minutes. This will help ensure that your water supply lines are clean and functioning properly.
By following these steps and ensuring that all connections are tight and secure, you can successfully connect the water supply lines for your new double vanity. It’s crucial to check for leaks and make any necessary adjustments to ensure that your plumbing system is working efficiently. With the water supply lines connected, you’re almost done with the installation process.
Read more: How To Choose A Rug For Your Double Vanity
Installing Faucets and Drain Assemblies
Installing the faucets and drain assemblies is the final step in the installation of your new double vanity. Follow these step-by-step instructions to properly install these components:
- Gather the necessary materials: Before you begin, make sure you have all the required materials, including the faucets, drain assemblies, plumber’s putty, Teflon tape, and a wrench.
- Apply plumber’s putty: Take a small amount of plumber’s putty and roll it into a thin rope. Place the putty around the underside of the faucet and drain assembly flanges. This will create a watertight seal between the components and the sink surface.
- Insert the faucet: Carefully insert the faucet spout through the pre-drilled holes in the sink countertop or basin. Ensure that the rubber gasket or washer is placed under the sink to provide a tight seal. From beneath the sink, securely attach the faucet’s mounting hardware, typically a nut or plate, and tighten with a wrench.
- Install the handles or knobs: If your faucet has separate handles or knobs, attach them according to the manufacturer’s instructions. This may involve tightening set screws or snapping the handles into place. Make sure they are aligned properly and securely fastened.
- Attach the drain assemblies: Starting with the drain stopper, insert it through the drain opening in the sink basin. From beneath the sink, secure the drain stopper in place with the provided hardware or tighten the nut. Then, attach the drain tailpiece to the drain outlet on the bottom of the sink, ensuring a secure connection.
- Use Teflon tape: If there are any threaded connections in the drain assemblies, wrap them with Teflon tape to create a tight seal. This will help prevent any leaks at the threaded joints.
- Check for leaks: Once the faucets and drain assemblies are fully installed, turn on the water supply and test for any leaks. Pay close attention to the connections between the faucets and water supply lines, as well as the drain assemblies. Inspect all joints and connections and tighten as necessary to ensure a tight and leak-free installation.
- Operate the faucets and drain stoppers: Test the functionality of the faucets and drain stoppers. Ensure that the handles or knobs operate smoothly and that the drain stoppers open and close properly.
By following these steps and ensuring that all components are properly installed and connected, you can successfully install the faucets and drain assemblies for your new double vanity. It’s important to check for leaks and make any necessary adjustments to ensure that everything is functioning correctly. With the installation complete, you can move on to the final step – checking for leaks and adding the finishing touches.
Checking for Leaks
After completing the installation of your new double vanity, it’s crucial to check for any leaks to ensure the proper functioning of your plumbing system. Follow these steps to thoroughly check for leaks:
- Turn on the water supply: Firstly, turn on the shut-off valves to restore water supply to the bathroom. Allow the water to flow through the faucets and into the drain for a few minutes.
- Inspect the connections: Carefully examine all the connections and joints in the water supply lines, drain pipes, and faucets. Look for any signs of water droplets or moisture around these areas.
- Check the drainpipes and P-trap: Inspect the drain pipes and P-trap for any signs of leaks or water dripping. Make sure the connections are securely tightened and there are no loose or damaged parts.
- Examine the faucet and drain assemblies: Pay close attention to the faucet connections and drain assemblies. Look for any water leaks around the faucets, handles, and drain stoppers. Make sure all components are properly sealed and functioning correctly.
- Monitor for a prolonged period: Leave the water running for an extended period of time and observe the entire plumbing system. Check for any unexpected water drips or leaks that may occur after a few minutes of use. This step ensures that any hidden leaks are discovered.
- Address any leaks promptly: If you find any leaks during the inspection, take immediate action to fix them. Tighten any loose connections, apply Teflon tape to threaded joints, or replace any damaged parts as necessary. Ensure that all connections are tight and secure.
- Re-test for leaks: Once you have made the necessary adjustments or repairs, re-test for leaks by running water and monitoring the plumbing system again. Make sure there are no persistent leaks or water drips.
It’s essential to address any leaks promptly to prevent further damage and water waste. Regularly checking for leaks will help maintain the integrity of your double vanity installation and ensure a reliable and efficient plumbing system in your bathroom.
With the thorough leak inspection and necessary repairs complete, your double vanity installation is now complete. You can now enjoy your newly installed double vanity and the benefits it brings to your bathroom space.
Finishing Touches
With the installation of your new double vanity complete, it’s time to add the finishing touches to enhance its aesthetic appeal and functionality. Here are some final steps you can take to achieve a polished look:
- Clean up: Before placing any items on or around the vanity, make sure to clean the countertop, sink basin, and surrounding area. Wipe away any dust, fingerprints, or debris to ensure a fresh and pristine appearance.
- Add accessories: Personalize your double vanity by adding accessories that complement your bathroom’s style. Consider items such as decorative soap dispensers, toothbrush holders, or scented candles to create a welcoming and organized space.
- Mount a mirror: Install a mirror above your double vanity to complete the look and provide functional use. Choose a mirror that fits the style and size of your bathroom, ensuring it is securely mounted to the wall.
- Install lighting fixtures: Enhance visibility and create a well-lit space by installing appropriate lighting fixtures above or beside the vanity. Consider vanity lights or sconces that provide sufficient illumination for everyday tasks.
- Apply caulk or sealant: For a professional finish and added protection against water damage, apply a thin bead of silicone caulk along the edges where the countertop meets the walls and backsplash. This will create a waterproof seal and prevent water from seeping behind the vanity.
- Organize and arrange: Take the time to organize and arrange the items within your double vanity’s cabinets and drawers. Utilize storage organizers or dividers to maximize space and keep toiletries and other essentials neatly organized.
- Final inspection: Once you’ve completed these finishing touches, take a moment to step back and inspect your double vanity installation. Ensure that everything is in its place, all connections are secure, and there are no visible flaws or issues.
By paying attention to these finishing touches, you can elevate the overall appearance and functionality of your double vanity. Enjoy the refreshed look and storage options that your new double vanity brings to your bathroom space.
Congratulations on successfully plumbing and installing your double vanity! With these steps, you have transformed your bathroom and created a stylish and functional space that meets your needs. Enjoy the benefits of your new double vanity for years to come!
Conclusion
Congratulations on successfully completing the installation of your new double vanity! From choosing the right vanity to connecting the water supply lines, you have transformed your bathroom into a stylish and functional space. By following the step-by-step instructions and paying attention to the details throughout the process, you have achieved a professional-quality installation.
A double vanity not only provides double the storage space but also adds a touch of luxury and convenience to your bathroom. With two sinks, getting ready in the morning becomes a breeze, especially for couples or families sharing a bathroom. It’s a practical and elegant addition that enhances the overall aesthetics and functionality of your bathroom space.
Remember, if you ever encounter any issues or are unsure about any aspect of the installation process, it’s always best to consult with a professional plumber. Safety and proper installation should always be a priority.
Now that your double vanity is installed and all the finishing touches have been added, take a moment to admire and enjoy your newly transformed bathroom. The organized storage, stylish design, and improved functionality will enhance your daily routine and uplift your overall bathroom experience.
Lastly, don’t forget to regularly check for any leaks or signs of damage to ensure the longevity of your double vanity. With proper care and maintenance, it will continue to serve you well for years to come.
Once again, congratulations on a job well done! May your new double vanity bring you many years of comfort, convenience, and joy in your bathroom space.
Frequently Asked Questions about How To Plumb Double Vanity
Was this page helpful?
At Storables.com, we guarantee accurate and reliable information. Our content, validated by Expert Board Contributors, is crafted following stringent Editorial Policies. We're committed to providing you with well-researched, expert-backed insights for all your informational needs.


0 thoughts on “How To Plumb Double Vanity”