Articles
How To Vent A Bathroom Plumbing
Modified: October 20, 2024
Discover the best articles on how to vent bathroom plumbing and ensure proper ventilation for your bathroom. Learn expert tips and techniques for effective bathroom plumbing ventilation.
(Many of the links in this article redirect to a specific reviewed product. Your purchase of these products through affiliate links helps to generate commission for Storables.com, at no extra cost. Learn more)
Introduction
Proper ventilation is crucial for maintaining a healthy and comfortable bathroom environment. Without adequate ventilation, bathrooms can become a breeding ground for mold, mildew, and unpleasant odors. Additionally, a well-ventilated bathroom helps to prevent humidity and moisture buildup, which can lead to structural damage and costly repairs.
In this article, we will explore the importance of proper bathroom ventilation and provide a comprehensive guide on how to vent your bathroom plumbing. We’ll discuss the different types of bathroom plumbing systems, common venting options, and step-by-step instructions on how to install a bathroom ventilation system. Whether you’re renovating your bathroom or simply looking to improve its ventilation, this article will provide you with the knowledge and tools you need to successfully vent your bathroom plumbing.
Key Takeaways:
- Proper bathroom ventilation is essential for preventing mold, eliminating odors, and maintaining a healthy environment. Follow the step-by-step guide and consider additional tips for effective bathroom plumbing ventilation.
- Ensure optimal airflow and drainage by choosing the right venting method, installing vent pipes, and connecting the ventilation system. Regular maintenance and troubleshooting will help maintain a healthy and comfortable bathroom environment.
Read more: How To Install A Plumbing Vent
Importance of Proper Bathroom Ventilation
Proper bathroom ventilation is essential for a variety of reasons. Firstly, it helps to remove excess moisture from the air. When we take showers or baths, moisture from the hot water evaporates into the air. Without proper ventilation, this moisture can linger, leading to condensation on walls, mirrors, and windows. Over time, this moisture buildup can create an ideal environment for mold and mildew to thrive, causing not only unsightly stains but also potential health hazards.
In addition to preventing mold and mildew, proper bathroom ventilation also helps to eliminate unpleasant odors. Bathrooms are prone to accumulating various odors, including those from sewage, cleaning products, and personal care items. By venting the air to the outside, you can effectively remove these unwanted smells, leaving your bathroom smelling fresh and clean.
Furthermore, proper ventilation in your bathroom can prevent damage to the bathroom fixtures and the surrounding walls and ceilings. Excessive moisture in the air can cause paint to peel, wallpaper to bubble, and wood to warp. It can also lead to the deterioration of plumbing components, such as faucets and showerheads. By properly venting the moisture-laden air, you can prolong the lifespan of your bathroom fixtures and preserve the integrity of your bathroom’s structure.
Another important benefit of proper bathroom ventilation is the improvement of indoor air quality. When we shower or use the toilet, we release bacteria, allergens, and other particles into the air. Without ventilation, these contaminants can circulate in the bathroom, making it unpleasant and potentially harmful to breathe. However, with proper ventilation in place, these pollutants are quickly expelled, ensuring that your bathroom air remains fresh and healthy.
In summary, proper bathroom ventilation is crucial for maintaining a clean, healthy, and comfortable bathroom environment. It helps to prevent mold and mildew growth, eliminates unpleasant odors, prevents damage to fixtures and structures, and improves indoor air quality. With all of these benefits in mind, it’s clear that installing a ventilation system for your bathroom plumbing is an important step towards creating a functional and enjoyable space.
Understanding Bathroom Plumbing Systems
Before delving into the specifics of how to vent a bathroom plumbing system, it’s important to have a basic understanding of how bathroom plumbing works. A bathroom plumbing system consists of various components that work together to deliver water to fixtures and remove wastewater from the space.
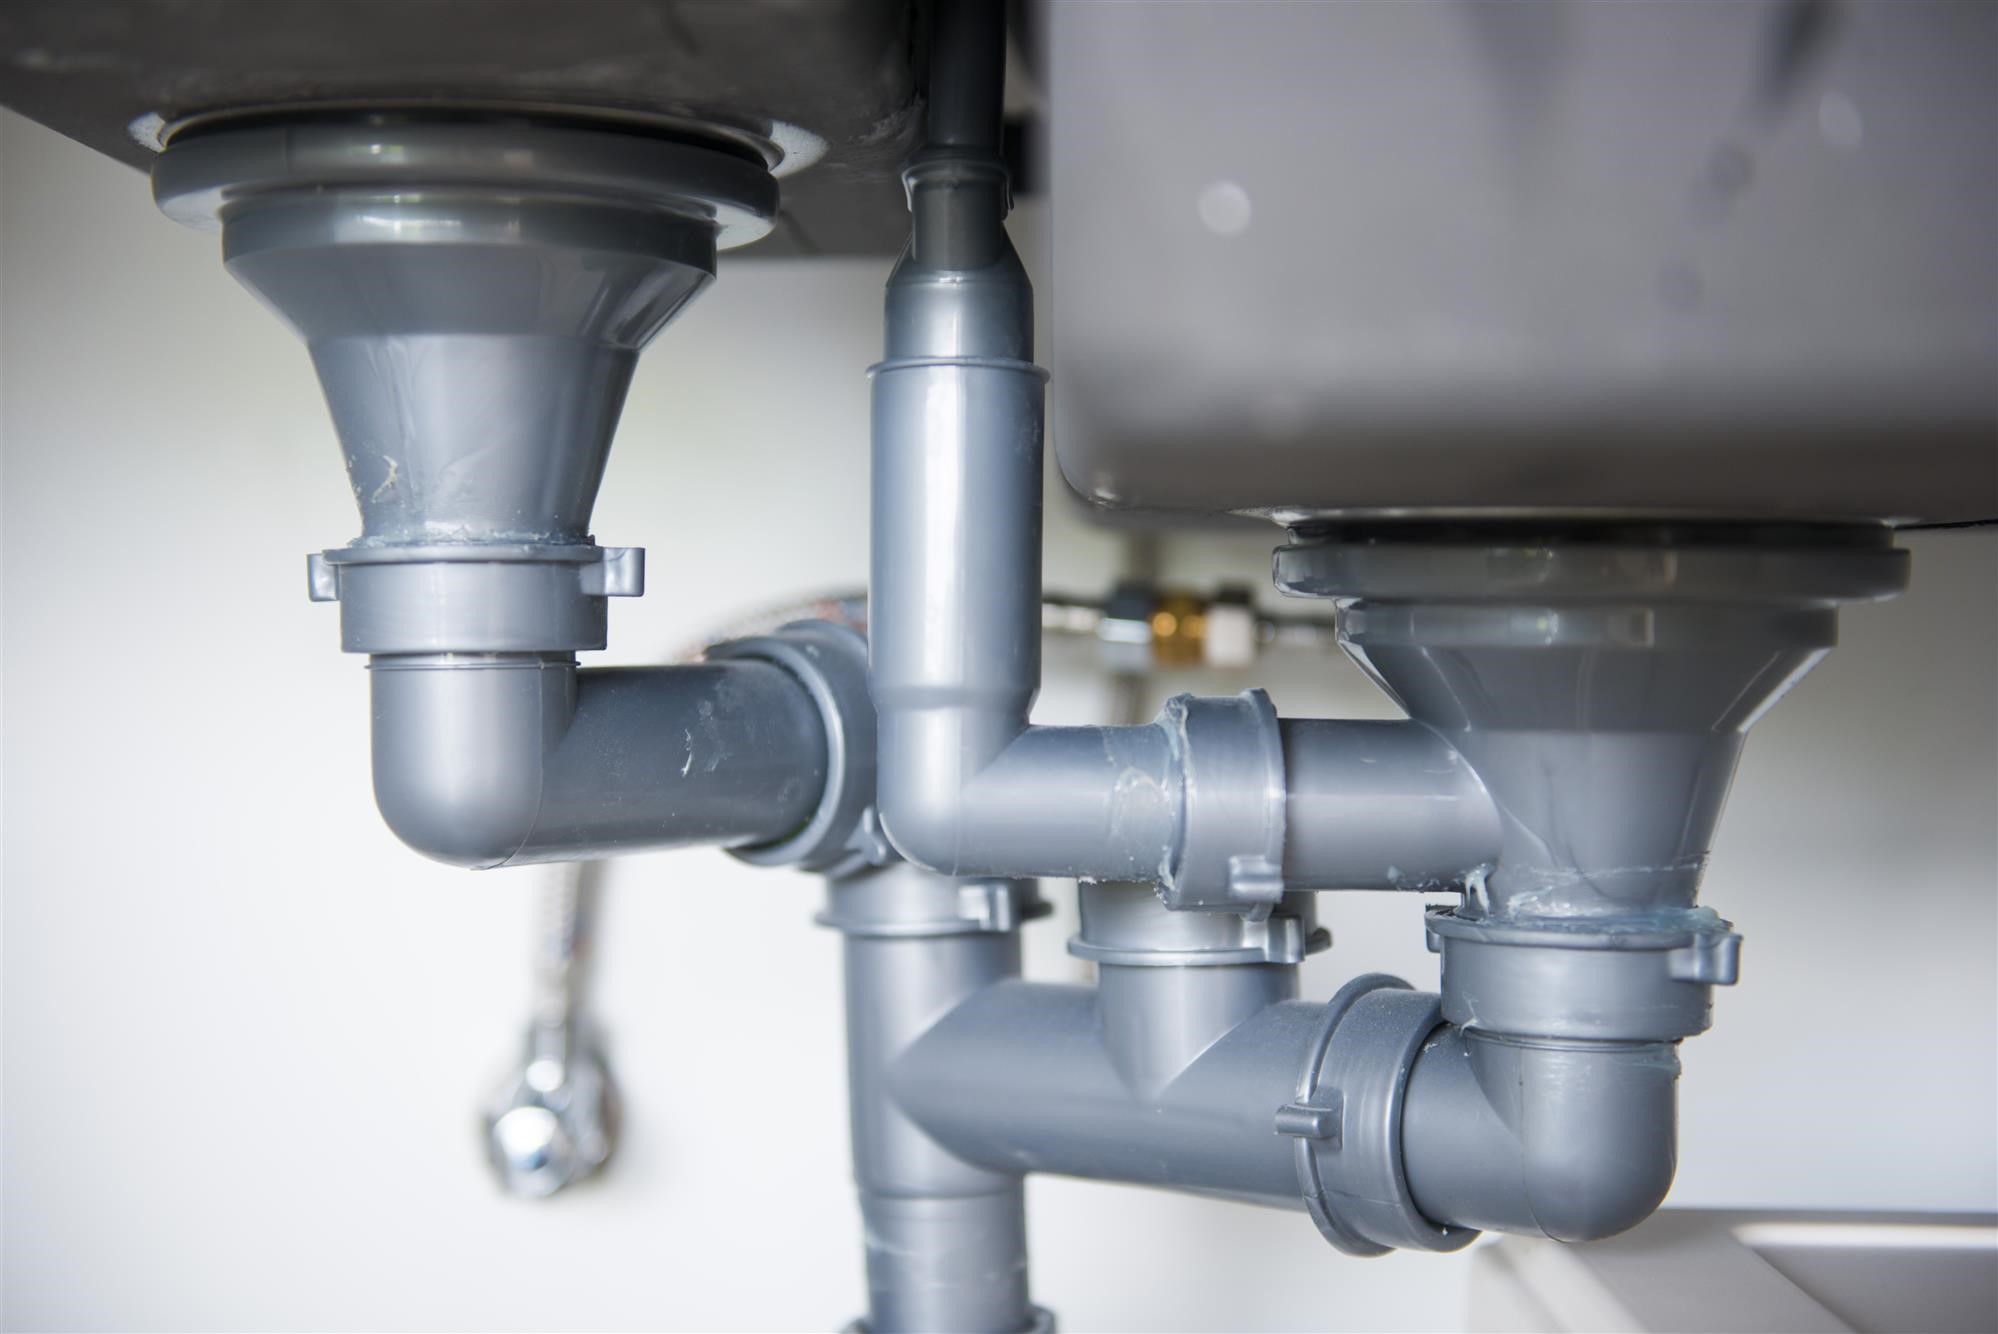
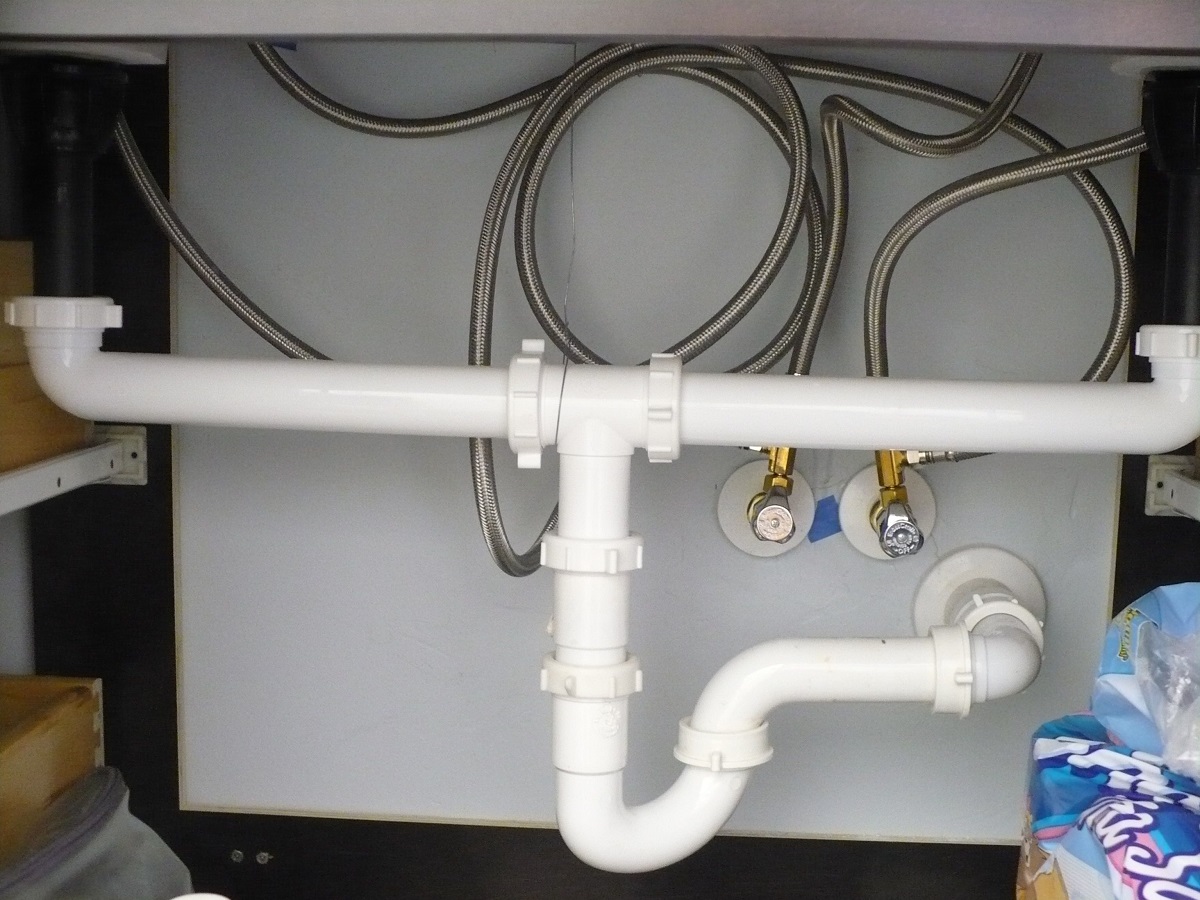
The main components of a bathroom plumbing system include water supply lines, drain pipes, fixtures, and traps. Water supply lines bring freshwater into the bathroom, allowing you to use the sink, toilet, and shower. Drain pipes, on the other hand, carry wastewater away from the fixtures and into the main sewage system or septic tank.
Fixtures in a bathroom include sinks, toilets, showers, bathtubs, and bidets. Each fixture has its own set of supply and drain lines, which must be properly connected to the main plumbing system. Traps are another important component of the bathroom plumbing system. These curved sections of pipe are designed to trap a small amount of water, which forms a seal and prevents sewer odors from backing up into the bathroom.
When it comes to venting a bathroom plumbing system, the main purpose is to maintain proper air pressure and prevent the formation of negative pressure within the drain pipes. Negative pressure can lead to slow drainage, gurgling sounds, and even siphoning of the water in the traps, which can allow sewer gases to enter the bathroom.
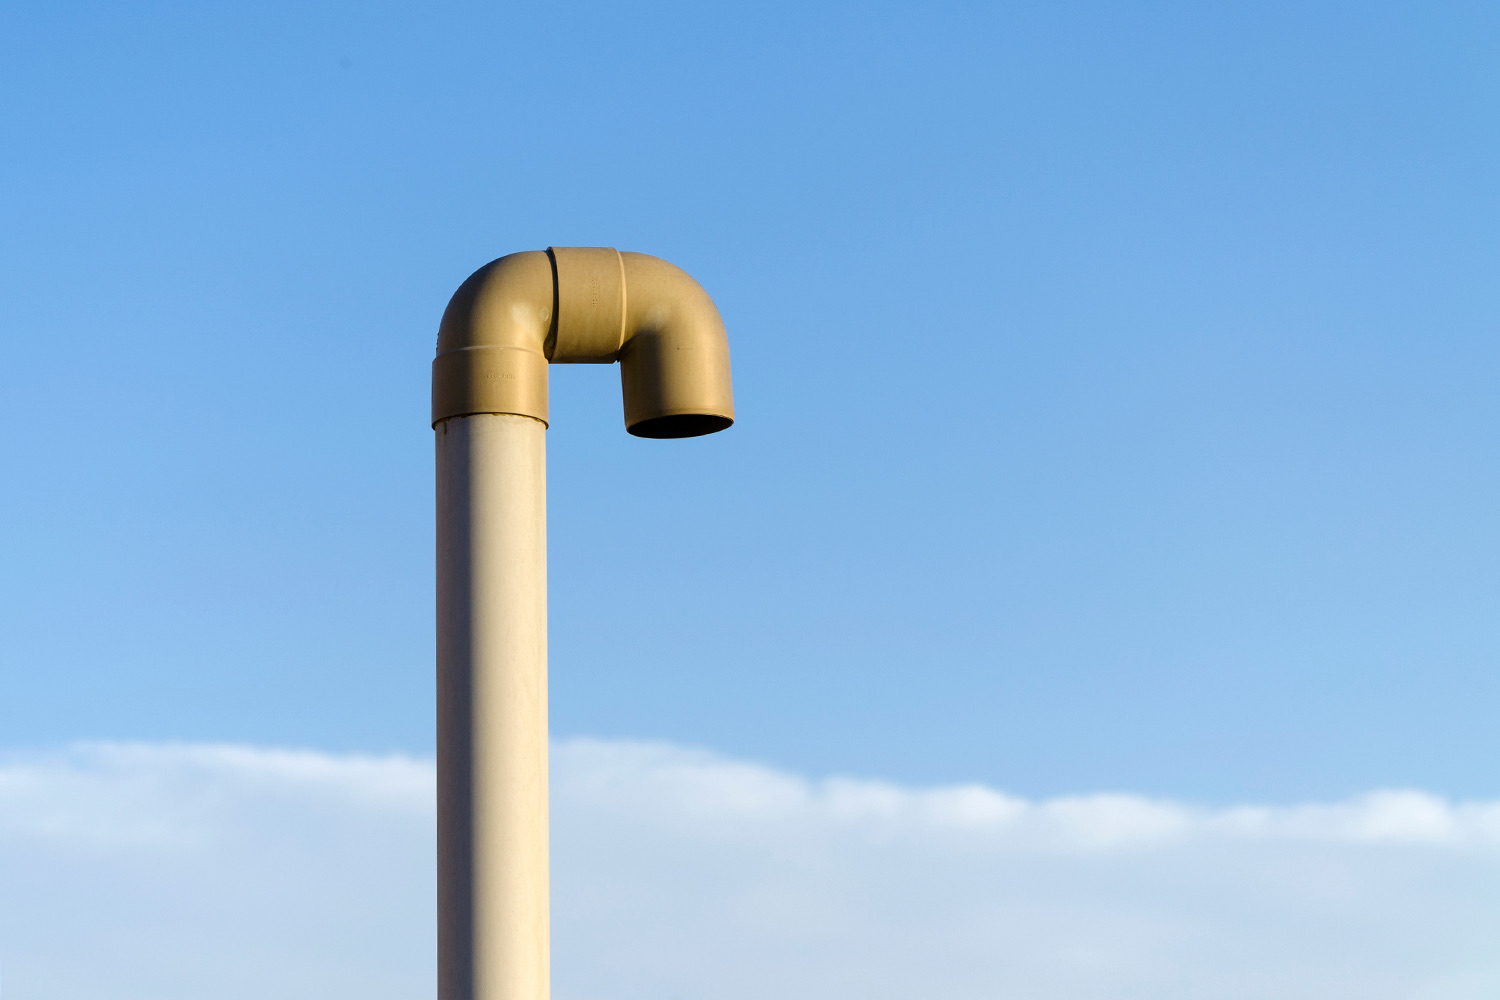
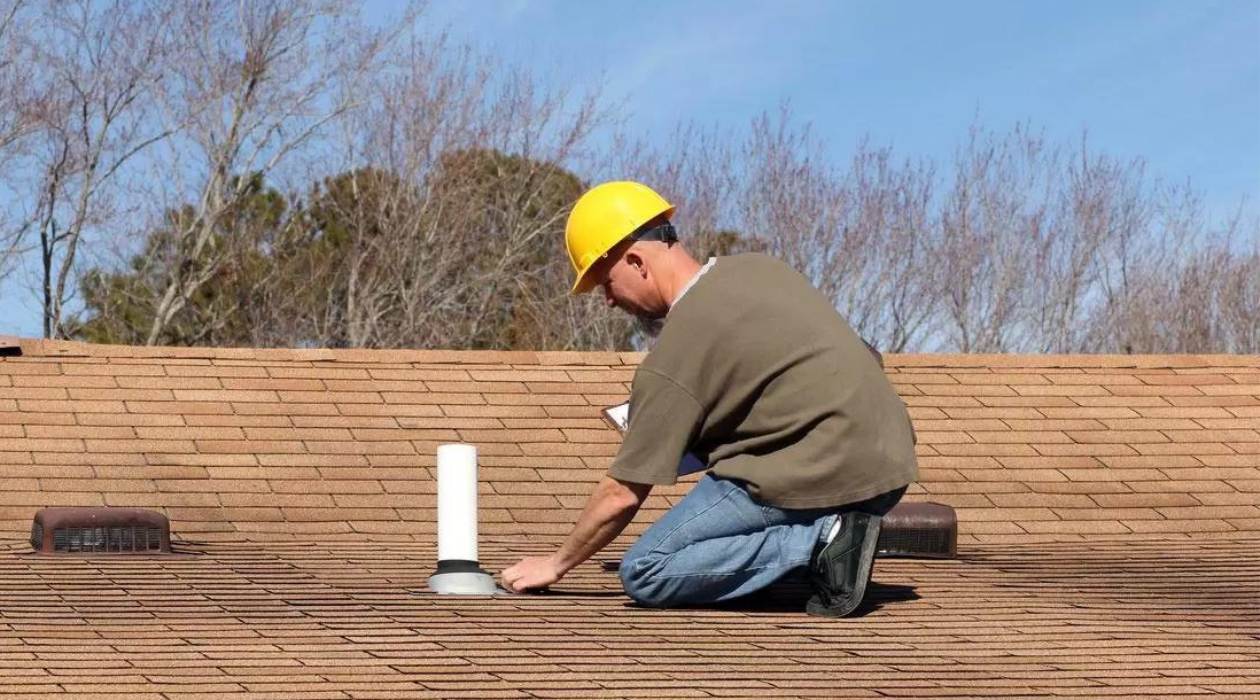
Vent pipes serve as a means to equalize pressure, allowing air to enter the drain system and prevent the negative pressure from occurring. These vent pipes extend from the drainage system and typically exit through the roof of the building. By providing a pathway for air to enter, the vent pipes ensure that the wastewater can flow smoothly through the drain pipes without any disruptions.
It’s important to note that the specific layout and design of the bathroom plumbing system can vary depending on the building’s plumbing code and the preferences of the homeowner. Therefore, it’s essential to familiarize yourself with the plumbing layout in your own bathroom before attempting any venting installation.
Now that we have a basic understanding of the bathroom plumbing system, let’s explore some common venting options and how to properly vent your bathroom plumbing system in the next sections of this article.
Common Venting Options for Bathroom Plumbing
When it comes to venting a bathroom plumbing system, there are several common options to consider. The choice of venting method will depend on the layout of your plumbing system, the building’s plumbing code requirements, and your personal preference. Let’s take a closer look at some of the most common venting options for bathroom plumbing.
- Vent Stack: A vent stack is a vertical pipe that extends through the roof of the building and serves as the main venting option for the entire plumbing system. It allows air to enter the drain system, preventing negative pressure and allowing wastewater to flow freely. In a bathroom plumbing system, the vent stack is typically connected to the main drain pipe located near the toilet.
- Individual Vent: An individual vent is a separate pipe that connects directly to a specific fixture in the bathroom. It serves as a dedicated venting option for that particular fixture. For example, a sink in the bathroom may have its own individual vent pipe that extends through the roof. Individual vents can help to ensure proper venting for each fixture in the bathroom.
- Wet Vent: A wet vent is a pipe that serves as both a drain for one fixture and a vent for another fixture. It can be a cost-effective option when plumbing fixtures are located close together. For example, a wet vent can be used when the sink and toilet in the bathroom are located in close proximity. However, it’s important to ensure that the wet vent complies with local plumbing codes.
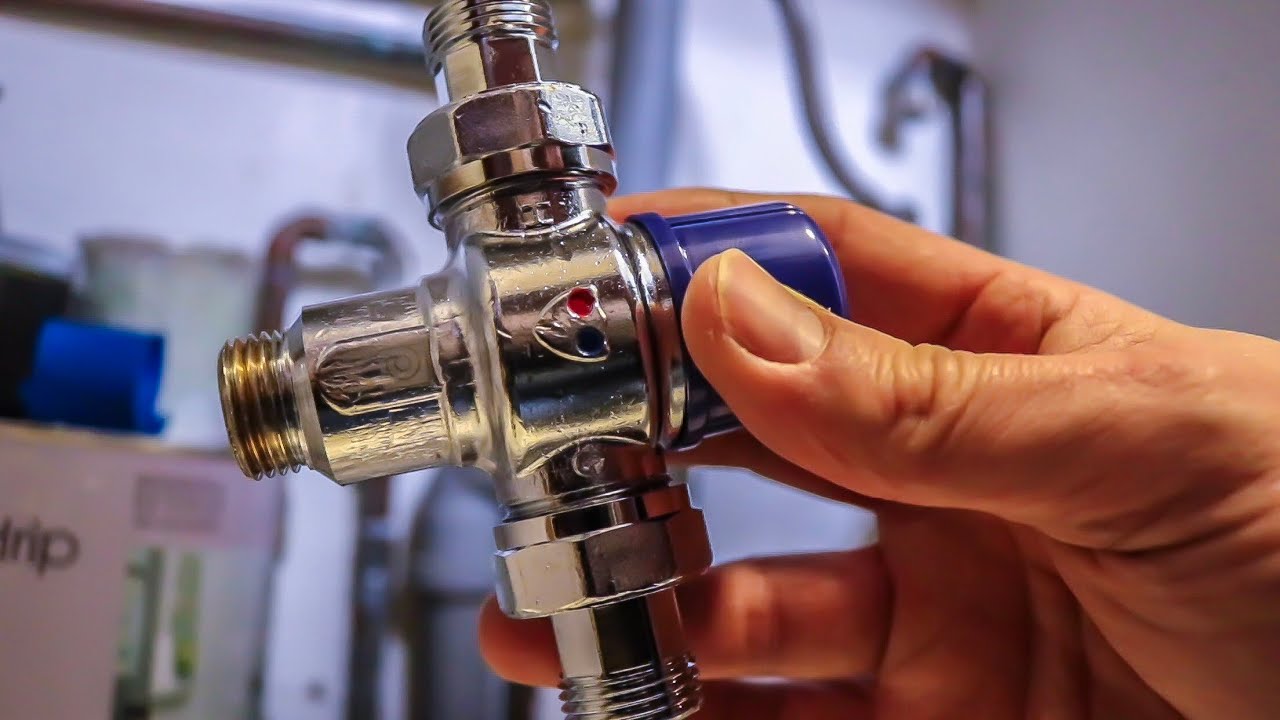
- Air Admittance Valve (AAV): An air admittance valve, also known as a studor vent, is a mechanical device that allows air to enter the drain system without the need for a traditional vent pipe extending to the roof. The AAV is typically installed in a vertical position under the sink or in the wall cavity. It opens to allow air into the drain system when there is negative pressure and closes to prevent the escape of sewer gases.
Each of these venting options has its own advantages and considerations. It’s important to consult the local plumbing codes and regulations in your area to ensure that the chosen venting method complies with the regulations. Additionally, it’s advisable to seek professional assistance or guidance if you’re unsure about which venting option is most suitable for your particular bathroom plumbing system.
In the next section, we will provide a step-by-step guide on how to vent a bathroom plumbing system, which will cover the installation process for some of these common venting options.
Step-by-Step Guide on How to Vent a Bathroom Plumbing
Properly venting a bathroom plumbing system is essential for maintaining optimal airflow, preventing negative pressure, and ensuring the smooth flow of wastewater. Here is a step-by-step guide on how to vent your bathroom plumbing effectively.
- Understand the Plumbing Layout: Before starting the venting process, familiarize yourself with the layout of your bathroom plumbing system. Identify the main drain pipe and the location of the fixtures.
- Choose the Venting Method: Determine the most suitable venting method for your bathroom plumbing system. Consider factors such as the building’s plumbing code, available space, and the proximity of the fixtures.
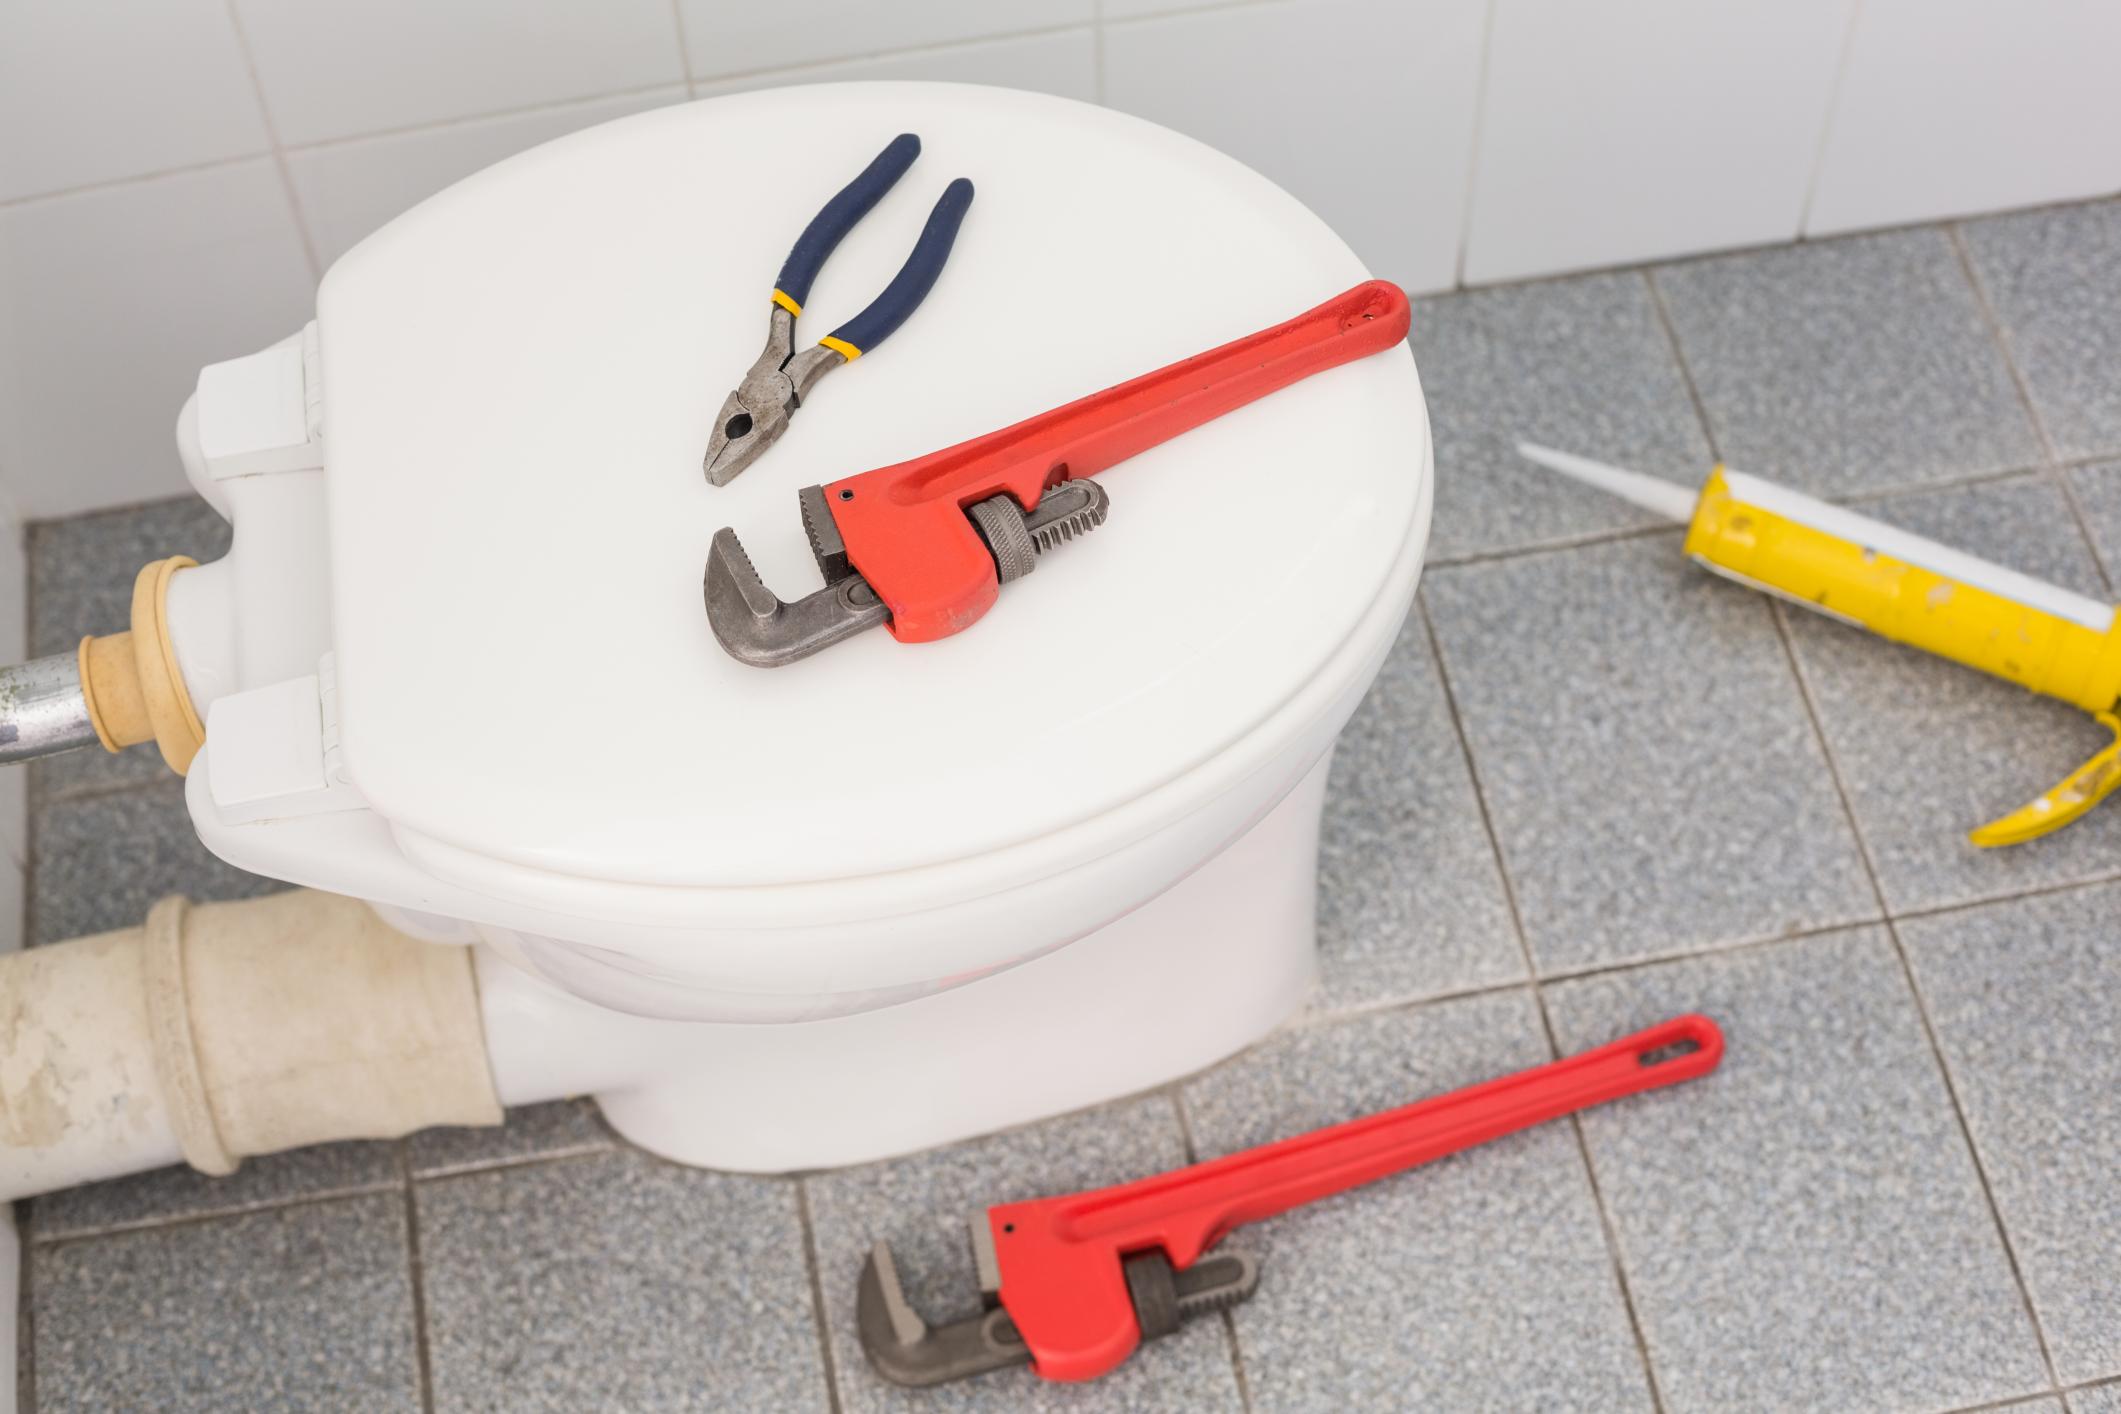
- Gather the Necessary Tools and Materials: Depending on the chosen venting method, gather the required tools and materials. This may include PVC pipes, fittings, elbows, straps, AAVs, vent stacks, and roof flashing.
- Plan the Vent Pipe Route: Plan the route for the vent pipe from the fixture to the outdoor area or the main vent stack. Ensure that the pipe will maintain a continuous slope without any dips or low points where water can collect.
- Locate and Cut Openings: Find the appropriate spot for the vent pipe to exit the building through the roof or an exterior wall. Use a hole saw or appropriate cutting tools to create an opening for the vent pipe.
- Install the Vent Pipe: Connect the vent pipe to the fixture using appropriate fittings and secure it in place using straps. Ensure that all joints are properly glued or tightened to prevent leaks.
- Connect to the Main Vent Stack: If using a vent stack, connect the vent pipe to the main vent stack. Ensure a watertight connection using appropriate fittings and secure the pipe in place.
- Install the Air Admittance Valve (AAV) (If Applicable): If using an AAV, install it in a vertical position underneath the sink or in the wall cavity, following the manufacturer’s instructions. Ensure a proper seal and secure the AAV in place.
- Insulate and Protect the Vent Pipe: Insulate any exposed vent pipes to prevent condensation and protect them from extreme temperatures. Use appropriate insulation materials and consider using pipe sleeve covers for added protection.
- Test the Venting System: Once the installation is complete, test the venting system by running water in the fixtures and checking for proper drainage. Listen for any gurgling noises or slow drainage, which may indicate issues with the venting system.
- Inspect the Work: Conduct a thorough inspection of the venting system to ensure that all connections are secure, there are no leaks, and the vent pipe is properly supported. Make any necessary adjustments or repairs as needed.
It’s important to note that the installation process may vary depending on the chosen venting method and the specific requirements of your bathroom plumbing system. Additionally, it’s always recommended to consult a professional plumber if you’re unsure about any aspect of the installation or if you encounter any difficulties during the process.
Now that you have a comprehensive step-by-step guide, you’re well-equipped to vent your bathroom plumbing system effectively and maintain optimal airflow and drainage.
Read more: How To Tell If A Plumbing Vent Is Clogged
Tools and Materials Needed for Bathroom Plumbing Venting
When it comes to venting your bathroom plumbing system, you’ll need a variety of tools and materials to ensure a successful installation. Here is a list of the essential items you’ll need:
Tools:
- Pipe Cutter or Hacksaw: A pipe cutter or hacksaw will be necessary for cutting the vent pipe to the desired length.
- Drill: A drill will be needed to create openings for the vent pipe in the wall or roof.
- Hole Saw: If you’re installing a vent stack, a hole saw is necessary for cutting a precise opening in the roof for the vent pipe to extend through.
- Screwdriver: A screwdriver will be needed for attaching straps or securing fittings.
- Tape Measure: Use a tape measure to measure and mark the vent pipe length accurately.
- Pipe Wrench or Adjustable Pliers: A pipe wrench or adjustable pliers will be necessary for tightening and securing fittings.
- Level: A level will help ensure that the vent pipe is properly sloped for efficient drainage.
- Flashlight: A flashlight will be useful for inspecting hard-to-reach or poorly-lit areas during the installation process.
Materials:
- PVC Pipes: PVC pipes are commonly used for venting bathroom plumbing systems due to their durability and ease of installation.
- Fittings and Elbows: Various fittings and elbows will be required to connect the vent pipe to the fixture and create the desired angle or direction for the pipe.
- Straps: Straps are used for securing the vent pipe in place, preventing it from shifting or sagging over time.
- Air Admittance Valve (AAV): If you’re using an AAV for venting, you will need to purchase the appropriate size and type of AAV for your plumbing system.
- Vent Stack and Roof Flashing: If you’re installing a vent stack, you will need a vent stack pipe and roof flashing to create a waterproof seal around the pipe where it exits the roof.
- Pipe Primer and Cement: PVC pipe primer and cement are necessary for securely joining PVC pipes and fittings together.
- Insulation Materials: Depending on the location of the vent pipe, you may need insulation materials to prevent condensation and protect the pipe from extreme temperatures.
It’s important to ensure that all materials and fittings are the correct size and compatible with your bathroom plumbing system. If you’re unsure about the proper sizing or installation techniques, consult a professional plumber for guidance.
By having the necessary tools and materials ready before you begin the venting process, you can ensure a smooth and efficient installation of your bathroom plumbing ventilation system.
Preparing the Bathroom for Ventilation Installation
Before you start installing a ventilation system for your bathroom plumbing, it’s important to properly prepare the bathroom space. Preparing the bathroom will ensure a smooth and efficient installation process. Here are some steps to follow when preparing the bathroom for ventilation installation.
- Clear the Area: Remove any objects or obstacles from the bathroom that may obstruct your work area. This includes towels, toiletries, shower curtains, and any other items that could get in the way.
- Ensure Proper Lighting: Since you will be working with tools and making precise measurements, it’s important to have adequate lighting in the bathroom. Open curtains or blinds to allow natural light in, or use additional lighting fixtures or lamps to brighten up the space.
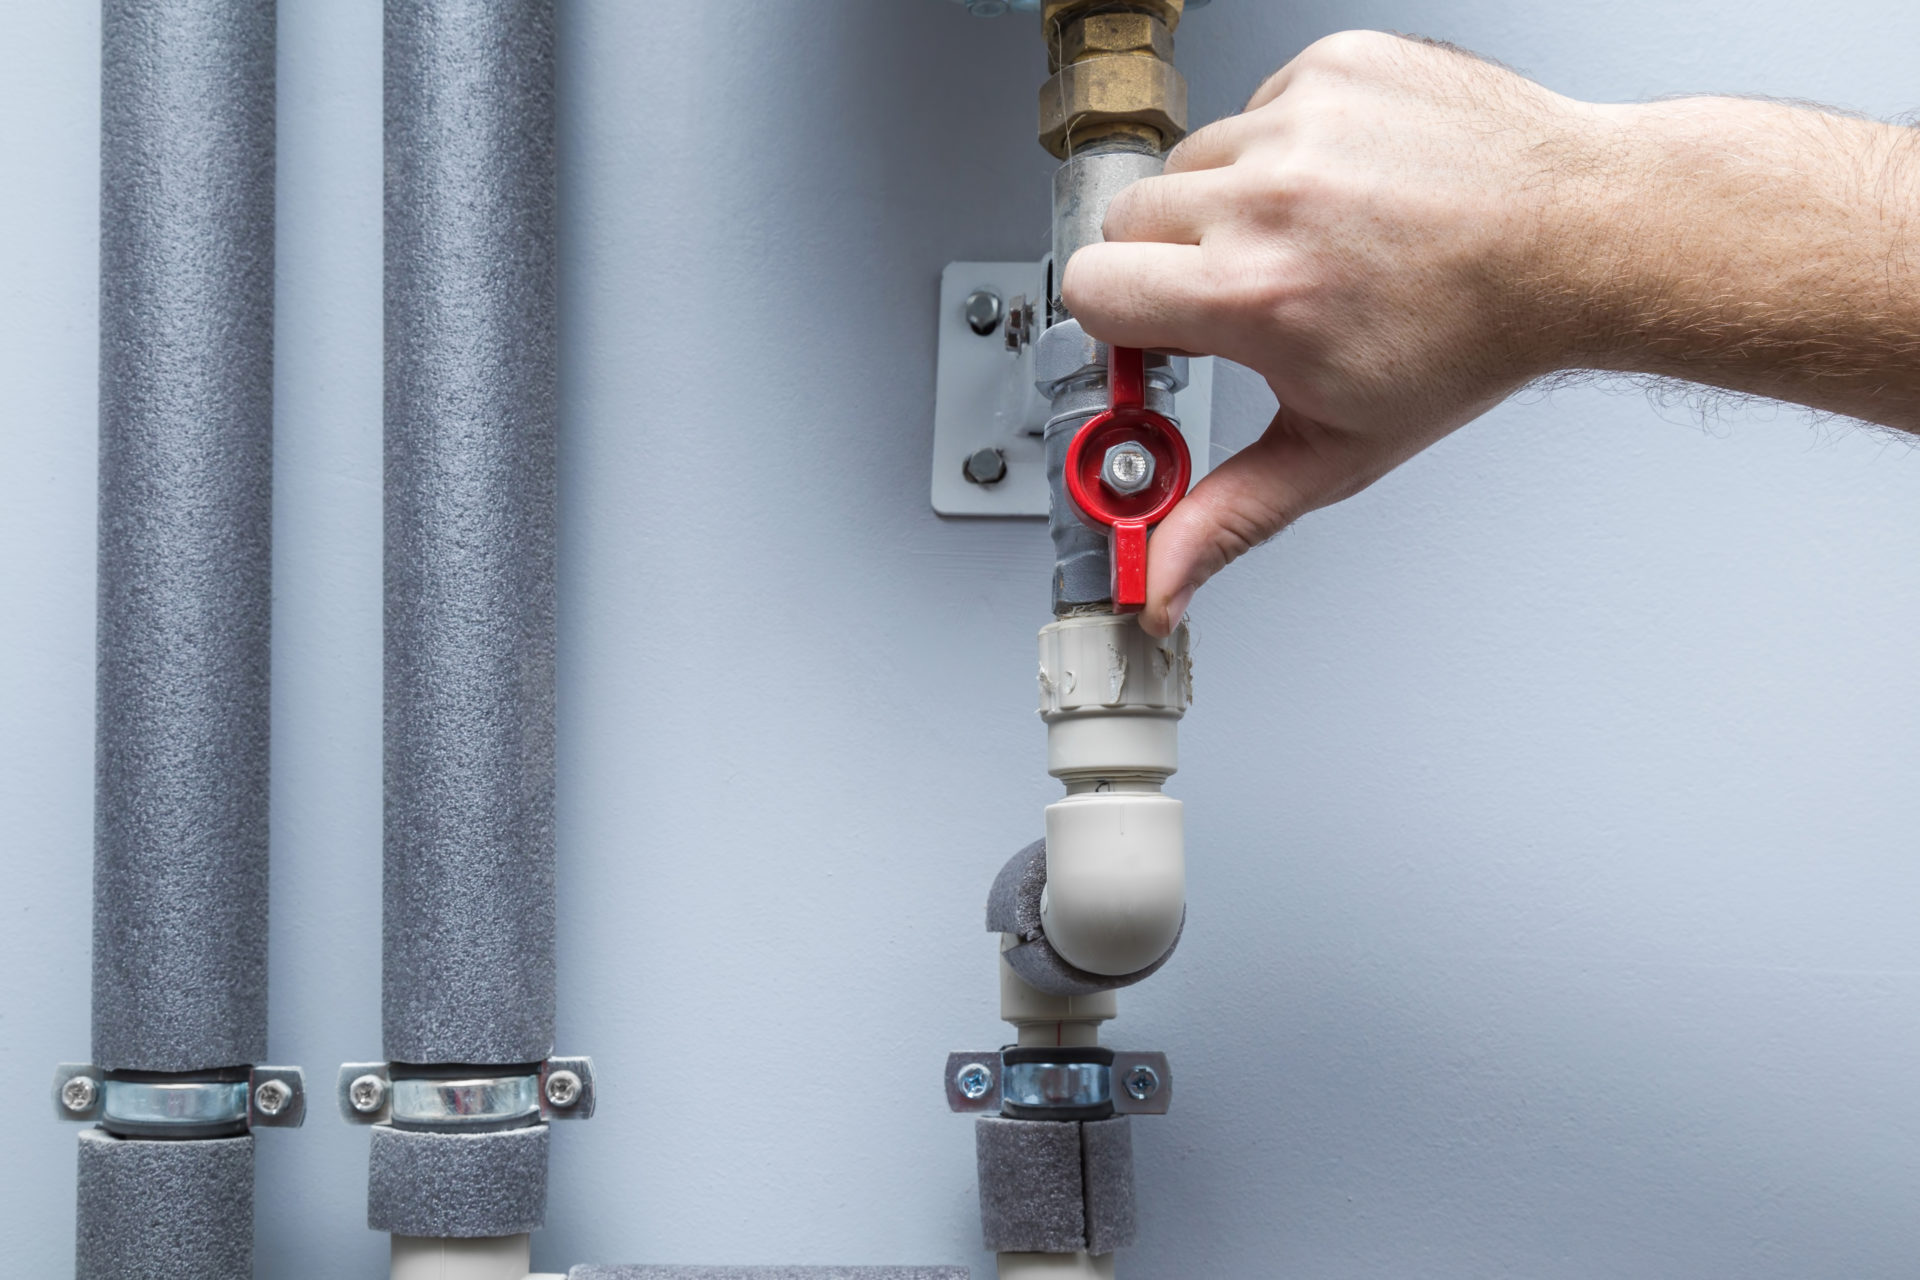
- Turn Off Water Supply: Before beginning any plumbing work, it’s crucial to turn off the water supply to the bathroom. Locate the shut-off valve for the bathroom plumbing and turn it off to prevent any accidental leaks or water damage.
- Provide Ventilation and Air Circulation: Since you’re working in a confined space, it’s important to ensure proper ventilation and air circulation in the bathroom. Open windows if possible or use fans to increase airflow and reduce humidity during the installation process.
- Protect the Floors and Fixtures: Cover the bathroom floor and any fixtures with drop cloths or plastic sheets to protect them from dust, debris, or accidental damage during the installation process. Ensure that the covers are secure and will not hinder your movement or access to the plumbing.
- Take Safety Precautions: Prioritize your safety by wearing protective gear such as gloves, safety goggles, and a face mask. This will protect you from any potential hazards, such as dust or debris, during the installation process.
- Plan for Electrical Considerations: If your ventilation system requires electrical connections, ensure that you have access to a nearby power source and that you have the necessary electrical cables and tools to make the connections safely. If you’re unsure about electrical work, consult a professional electrician for assistance.
- Review the Plumbing Codes: Familiarize yourself with the local plumbing codes and regulations to ensure that your ventilation installation will comply with the requirements. This will help you avoid any issues or violations during the inspection process.
By following these steps, you can create a safe and organized workspace for installing a ventilation system for your bathroom plumbing. Proper preparation will not only facilitate the installation process but also help protect the bathroom fixtures and ensure a successful outcome.
Once you have prepared the bathroom, you’re ready to begin the installation of the vent pipes and connect the ventilation system. In the next sections of this article, we’ll provide detailed instructions on how to complete these steps effectively.
Make sure the bathroom plumbing vent pipe is installed at least 6 inches above the flood level of the highest fixture it serves to prevent water from entering the vent.
Installing Vent Pipes for Bathroom Plumbing
Installing vent pipes is a crucial step in properly venting your bathroom plumbing system. Vent pipes allow air to enter the drain system, equalizing pressure and ensuring the efficient flow of wastewater. Here is a step-by-step guide on how to install vent pipes for your bathroom plumbing.
- Determine Vent Pipe Route: Plan the route for the vent pipe, ensuring that it provides proper venting for the fixtures. Consider the layout of the bathroom, available space, and local plumbing codes.
- Measure and Cut the Vent Pipe: Using a pipe cutter or hacksaw, measure and cut the vent pipe to the desired length. Ensure that the pipe is long enough to extend from the fixture to the outside or the main vent stack.
- Attach Fittings and Elbows: Depending on the vent pipe route, you may need to attach fittings and elbows to create the desired angle or direction for the pipe. Use solvent cement to securely glue the fittings and elbows in place.
- Connect the Vent Pipe to the Fixture: Connect one end of the vent pipe to the fixture using an appropriate fitting. Ensure that the connection is secure and watertight.
- Secure the Vent Pipe: Use pipe straps or brackets to secure the vent pipe to the wall or joists. Place the straps at regular intervals to prevent the pipe from sagging or shifting over time.
- Extend the Vent Pipe to the Outside: If venting to the outside, extend the vent pipe to the roof or an exterior wall. Ensure that the pipe is properly sloped to allow for efficient drainage. Use appropriate flashing materials to create a watertight seal where the pipe exits the building.
- Connect to the Main Vent Stack: If connecting the vent pipe to a main vent stack, use appropriate fittings and connections to ensure a secure and watertight connection. This may require cutting into the main vent stack and attaching a tee or other fittings.
- Install an Air Admittance Valve (AAV) (If Applicable): If using an AAV, install it in a vertical position underneath the sink or in the wall cavity. Ensure that the AAV is properly sealed and securely attached.
- Insulate the Vent Pipe (If Needed): If the vent pipe passes through an unconditioned space, such as an attic or crawl space, consider insulating the pipe to prevent condensation and thermal transfer.
- Test the Venting System: Once the vent pipes are installed, run water in the fixtures and check for proper drainage. Listen for any gurgling or slow drainage, which may indicate issues with the venting system.
- Inspect the Work: Conduct a thorough inspection of the venting system to ensure that all connections are secure, there are no leaks, and the vent pipe is properly supported. Make any necessary adjustments or repairs as needed.
Throughout the installation process, ensure that you comply with local plumbing codes and regulations. If you’re unsure about any aspect of the installation or encounter any difficulties, it’s advisable to consult a professional plumber for assistance.
Installing vent pipes for your bathroom plumbing system is an important step in maintaining optimal airflow and preventing negative pressure. With proper installation and venting, you can ensure the smooth and efficient functioning of your bathroom plumbing.
Connecting the Bathroom Ventilation System
Connecting the bathroom ventilation system is the final step in installing a proper venting system for your bathroom plumbing. This step involves connecting the vent pipes to the ventilation system, ensuring that air is effectively circulated and odors are removed. Here is a step-by-step guide on how to connect the bathroom ventilation system.
- Select a Ventilation System: Choose a suitable ventilation system for your bathroom. Options include exhaust fans, combination exhaust fan-light fixtures, or vented heat lamps. Consider the size of your bathroom and the ventilation requirements when selecting a system.
- Locate the Ventilation System: Determine the optimal location for the ventilation system in your bathroom. Typically, it should be placed near the fixtures or in an area where steam and odors are concentrated.
- Install the Ventilation System: Follow the manufacturer’s instructions for the proper installation of the ventilation system. This may involve mounting the system to the ceiling or wall and connecting any electrical wiring as required.
- Connect the Vent Pipes: Connect the vent pipes from the bathroom plumbing to the ventilation system. Depending on the type of ventilation system, you may need to use flexible ducts or transition fittings to make the connection. Ensure that the connection is secure and airtight.
- Seal any Gaps: Use HVAC tape or caulk to seal any gaps or seams in the ductwork. This will prevent air leakage and ensure that the air is properly directed through the ventilation system.
- Test the Ventilation System: Once the connections are made and any gaps are sealed, test the ventilation system to ensure that it is functioning properly. Turn on the system and check that air is being drawn out of the bathroom effectively.
- Adjust the Ventilation System: If necessary, adjust the ventilation system settings to ensure the desired airflow and noise levels. Refer to the manufacturer’s instructions for guidance on adjusting the system’s settings.
- Regular Maintenance: To ensure optimal performance, regularly clean and maintain the ventilation system. Clean or replace filters as recommended by the manufacturer and regularly check for any obstructions or blockages in the vent pipes.
Remember to consult local building codes and regulations when installing and connecting the bathroom ventilation system. If you are unsure about any aspect of the installation or if you encounter any issues, it’s best to seek the assistance of a professional electrician or HVAC technician.
Connecting your bathroom ventilation system is the final step in creating a well-ventilated and comfortable bathroom environment. With proper ventilation in place, you can enjoy improved air quality, reduced humidity, and the elimination of unpleasant odors in your bathroom.
Read more: How To Replace Plumbing Vent Boots
Testing and Inspecting the Bathroom Plumbing Ventilation
Once you have installed a ventilation system for your bathroom plumbing, it’s crucial to thoroughly test and inspect the system. Testing and inspecting the bathroom plumbing ventilation will ensure that the system is functioning effectively and efficiently, providing optimal ventilation and air circulation. Here are some steps to follow when testing and inspecting your bathroom plumbing ventilation.
- Check for Proper Airflow: Turn on the ventilation system and carefully observe the airflow. Ensure that the system is effectively drawing out moist air, odors, and steam from the bathroom. Feel the air coming out of the exhaust and make sure it is strong and consistent.
- Listen for Unusual Noises: While the ventilation system is running, listen for any unusual or loud noises. Unusual noises could indicate a problem with the fan motor, loose components, or blockages in the ductwork. If you hear any strange sounds, investigate the source and address it accordingly.
- Inspect the Vent Pipes: Visually inspect the vent pipes throughout the bathroom plumbing system. Look for any signs of damage, such as cracks, gaps, or disconnected sections. Ensure that all connections are properly secured and that there are no leaks.
- Check for Proper Drainage: Run water in the bathroom fixtures and observe the drainage. Ensure that the venting system is allowing the wastewater to flow smoothly without any gurgling sounds or slow drainage. If you notice any issues, it may indicate a problem with the venting system or a clog in the drain pipes.
- Verify Odor Elimination: Check for any lingering odors in the bathroom after using the fixtures. Ensure that the ventilation system is effectively removing odors, leaving the bathroom fresh and odor-free.
- Inspect Ventilation System Components: Take a close look at the ventilation system components, such as the exhaust fan, filters, and any other parts. Clean or replace the filters as needed to maintain proper airflow. Check for any debris or dirt buildup that may hinder the system’s performance.
- Test the Air Admittance Valve (AAV) (If Applicable): If you have installed an AAV, test its functionality by creating a negative pressure in the system. This can be done by flushing a nearby toilet or running water in a sink. Ensure that the AAV opens as intended, allowing air into the system to equalize pressure.
- Regular Maintenance: Schedule regular maintenance for your ventilation system. This may include cleaning the fan blades, lubricating moving parts, and checking for any loose or worn components. Proper maintenance will prolong the life of your ventilation system and ensure its continued performance.
It’s important to perform testing and inspection periodically to catch any issues early on and address them promptly. Regular maintenance and upkeep will help to ensure that your bathroom plumbing ventilation system continues to operate efficiently and effectively.
If you encounter any problems or are unsure about any aspect of the testing or inspection process, it’s advisable to seek the assistance of a professional plumber or HVAC technician.
By conducting thorough testing and inspection of your bathroom plumbing ventilation, you can ensure a healthy and comfortable bathroom environment with proper airflow and odor control.
Troubleshooting Common Issues with Bathroom Plumbing Venting
Even with proper installation and regular maintenance, issues with bathroom plumbing venting may occasionally arise. Identifying and troubleshooting these issues promptly is crucial to ensure the optimal performance of your ventilation system. Here are some common problems that may occur with bathroom plumbing venting and how to troubleshoot them.
1. Gurgling Sounds: If you hear gurgling sounds when using the bathroom fixtures or when the toilet flushes, it may indicate a problem with the venting system. Check for any blockages or obstructions in the vent pipes, such as debris, animals, or leaves. Remove any blockages and ensure that the vent pipes are clear and unobstructed.
2. Slow Drainage: If water is draining slowly from the sink, shower, or bathtub, it may be a sign of a venting problem. Inspect the vent pipes for any blockages or clogs. Use a plumber’s snake or auger to clear any obstructions in the vent pipes. If the problem persists, it may require professional assistance to identify and resolve the issue.
3. Foul Odors: Lingering odors in the bathroom could indicate inadequate ventilation or trapped sewer gases. Ensure that the vent pipes are properly connected and venting to the outside. Check the traps in sinks, showers, and toilets to ensure they are filled with water and effectively blocking sewer odors from entering the bathroom. If necessary, clean or replace the traps and consider using an air admittance valve (AAV) to further prevent odors from escaping.
4. Air Pressure Issues: Negative air pressure can cause problems in the ventilation system, leading to slow drainage or gurgling sounds. Ensure that the vent pipes are properly sized and installed according to local plumbing codes. Consider redirecting or extending the vent pipes to improve airflow and equalize pressure within the system.
5. Leaks or Condensation: Inspect the vent pipes for any signs of leaks or condensation. Check for loose connections, damaged seals, or cracks in the pipe. Repair or replace any damaged components and ensure that all connections are secure and watertight. Consider insulating the vent pipes in unconditioned spaces to prevent condensation and protect against temperature fluctuations.
6. Fan Motor Malfunction: If the ventilation system’s fan is not functioning properly, it may be due to a faulty motor. Check the fan motor for any debris or obstructions that may be hindering its operation. Clean the fan blades and ensure that they are properly aligned and balanced. If the motor is damaged, it may need to be replaced by a professional technician.
Remember, if you encounter any complex issues or are unsure about how to troubleshoot a problem with your bathroom plumbing venting system, it is recommended to consult a professional plumber or HVAC technician for assistance. They have the expertise and experience to diagnose and resolve more complicated issues to ensure optimal functioning of your bathroom plumbing venting system.
Additional Tips and Considerations for Bathroom Plumbing Ventilation
In addition to the installation and troubleshooting steps, there are several additional tips and considerations to keep in mind for effective bathroom plumbing ventilation. These tips will help you maintain optimal airflow, prevent issues, and ensure a healthy and comfortable bathroom environment. Here are some key points to consider:
- Proper Sizing: Ensure that the vent pipes are appropriately sized for the bathroom fixtures and the overall plumbing system. Undersized pipes can lead to poor drainage and slow airflow, while oversized pipes can cause excessive noise and reduce the effectiveness of the ventilation system.
- Regular Cleaning and Maintenance: Regularly clean and maintain the vent pipes, ventilation fans, and any other components of the ventilation system. Remove any debris or dust buildup that may hinder airflow and affect the system’s performance. Follow the manufacturer’s instructions for maintenance and replace any worn-out or damaged parts as necessary.
- Consider Energy Efficiency: Opt for energy-efficient ventilation systems, such as fans with low energy consumption or programmable options. Energy-efficient fans not only reduce electricity usage but also help maintain a consistent airflow while minimizing noise levels.
- Use Moisture-Resistant Materials: When installing vent pipes or any other components of the bathroom plumbing ventilation system, choose moisture-resistant materials. This helps prevent the growth of mold and mildew and ensures the longevity of the system.
- Install a Timer or Humidity Sensor: Consider adding a timer or humidity sensor to your ventilation system. These features can automatically turn on the ventilation system when humidity levels rise or when the bathroom is occupied for a prolonged period. This helps maintain a dry and comfortable environment while reducing energy waste when the system is not needed.
- Seek Professional Assistance: If you’re unsure about any aspect of the installation or encounter complex issues with your bathroom plumbing ventilation, it’s best to seek the help of a professional plumber or HVAC technician. They can provide expert guidance, ensure compliance with local regulations, and address any specific challenges you may face.
By considering these additional tips and implementing them during the installation and maintenance processes, you can improve the effectiveness and efficiency of your bathroom plumbing ventilation system.
Remember, proper ventilation is essential for maintaining a healthy and comfortable bathroom environment. It helps prevent moisture buildup, eliminates odors, and ensures optimal airflow throughout the plumbing system. By following the recommended tips and considerations, you can enjoy a well-ventilated and pleasant bathroom experience.
Conclusion
Proper ventilation is a crucial aspect of maintaining a healthy and comfortable bathroom environment. Venting your bathroom plumbing system effectively ensures the removal of excess moisture, prevents mold and mildew growth, eliminates unpleasant odors, and promotes optimal airflow. With the step-by-step guide and additional tips provided in this article, you now have the knowledge and understanding to successfully vent your bathroom plumbing system.
Remember to familiarize yourself with the layout of your bathroom plumbing system, choose the appropriate venting method, and gather the necessary tools and materials before starting the installation process. Preparing the bathroom, installing vent pipes, connecting the ventilation system, and conducting thorough testing and inspection are all important steps to ensure a properly functioning plumbing ventilation system.
Troubleshooting common issues and considering additional tips, such as regular maintenance and energy efficiency, will help you address any problems and maintain the effectiveness of your ventilation system over time. If you encounter complex issues or are unsure about any aspect of the installation or maintenance process, don’t hesitate to seek professional assistance from a plumber or HVAC technician.
By venting your bathroom plumbing system correctly, you can create a healthy and comfortable bathroom environment for yourself and your household. Proper ventilation not only prevents issues such as mold and odors but also helps preserve the integrity of your bathroom fixtures and structures. Remember that a well-ventilated bathroom contributes to the overall well-being of your home and ensures a refreshing and enjoyable bathing experience.
Take the time to understand your specific plumbing layout, follow the guidelines outlined in this article, and prioritize the maintenance of your ventilation system. By doing so, you’ll create a bathroom that is not only functional but also provides a pleasant and refreshing atmosphere for years to come.
Frequently Asked Questions about How To Vent A Bathroom Plumbing
Was this page helpful?
At Storables.com, we guarantee accurate and reliable information. Our content, validated by Expert Board Contributors, is crafted following stringent Editorial Policies. We're committed to providing you with well-researched, expert-backed insights for all your informational needs.

0 thoughts on “How To Vent A Bathroom Plumbing”