Articles
How To Paint A Vanity
Modified: March 1, 2024
Learn how to paint your vanity with our helpful articles. Transform your bathroom with our step-by-step guide and expert tips.
(Many of the links in this article redirect to a specific reviewed product. Your purchase of these products through affiliate links helps to generate commission for Storables.com, at no extra cost. Learn more)
Introduction
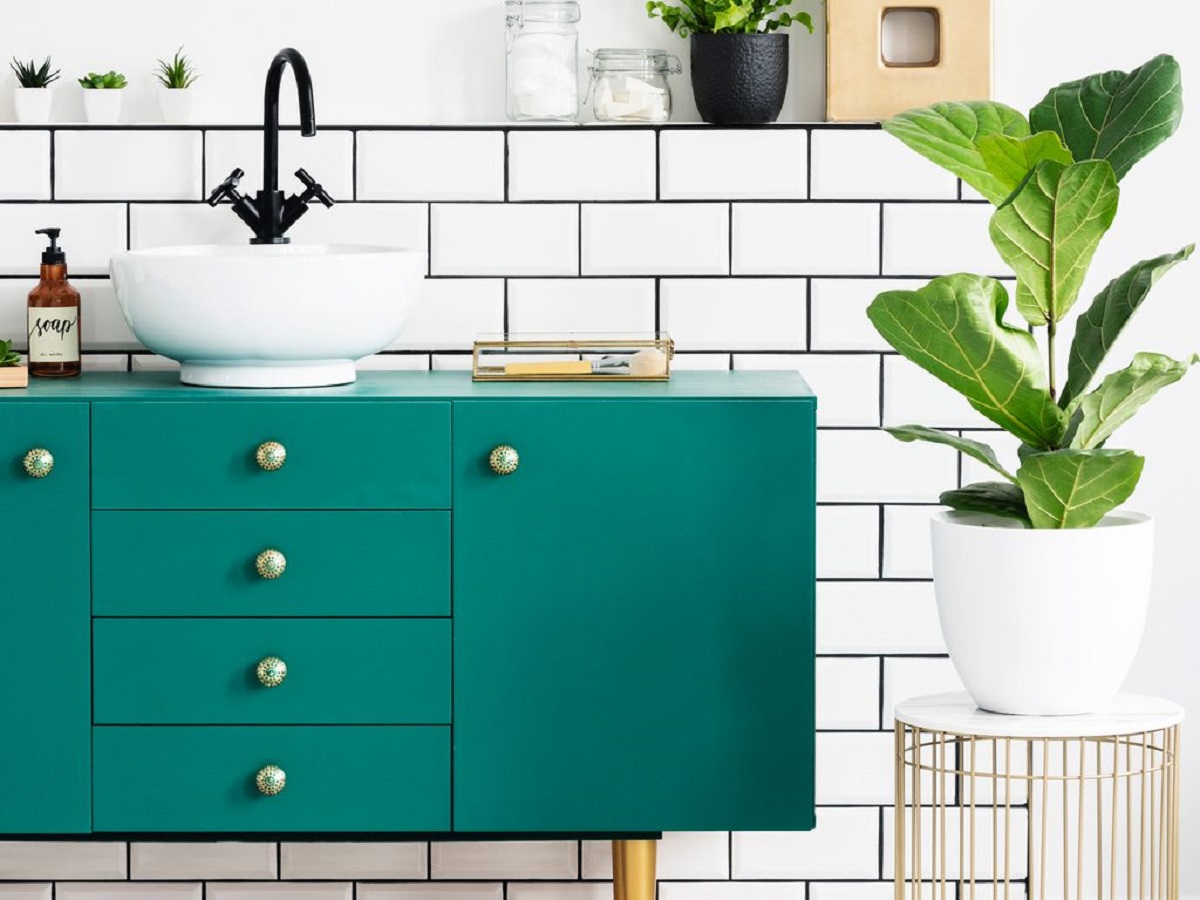
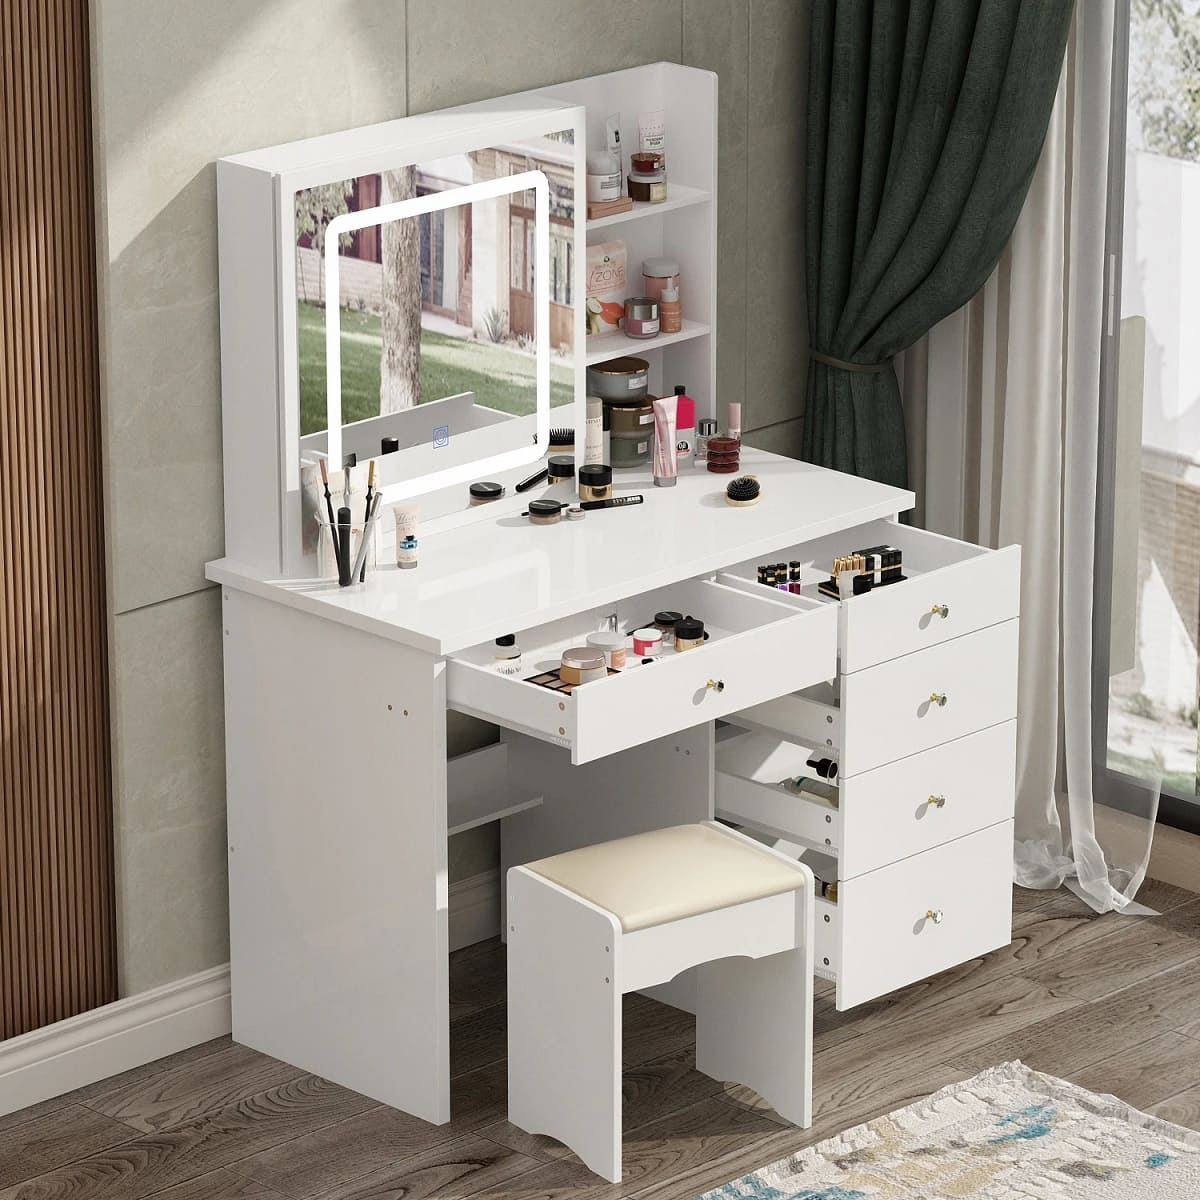
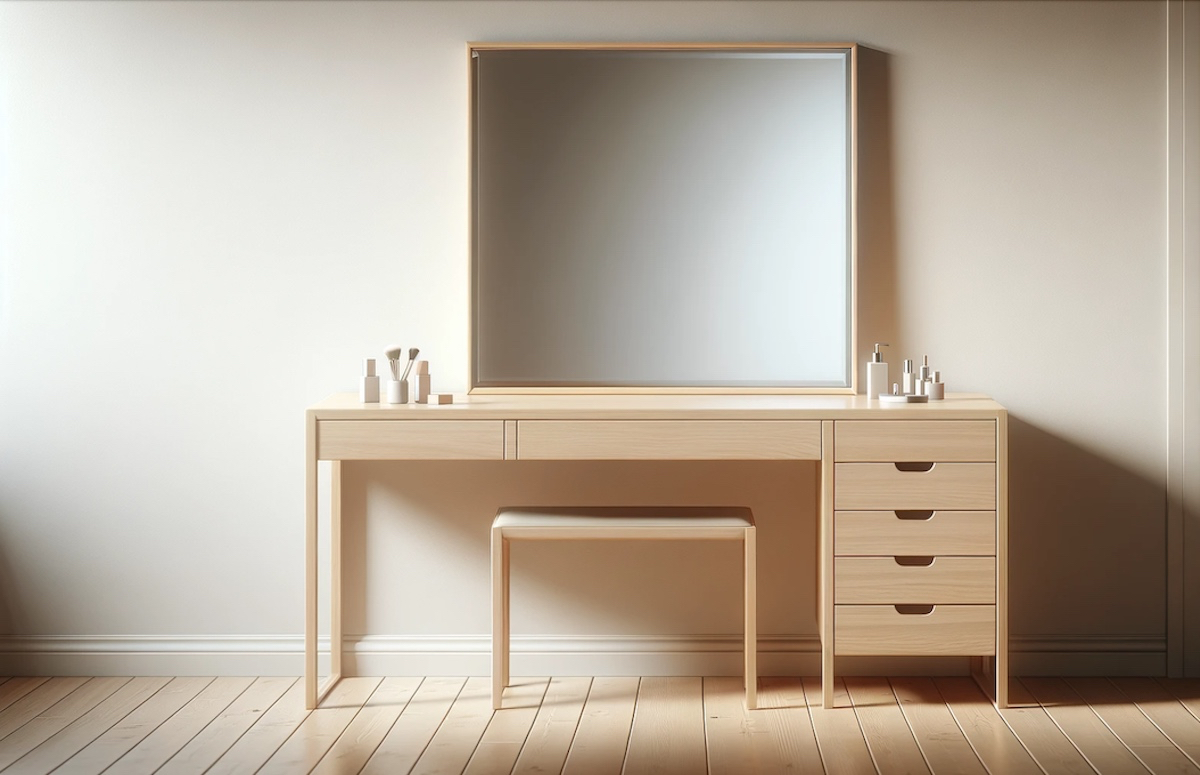
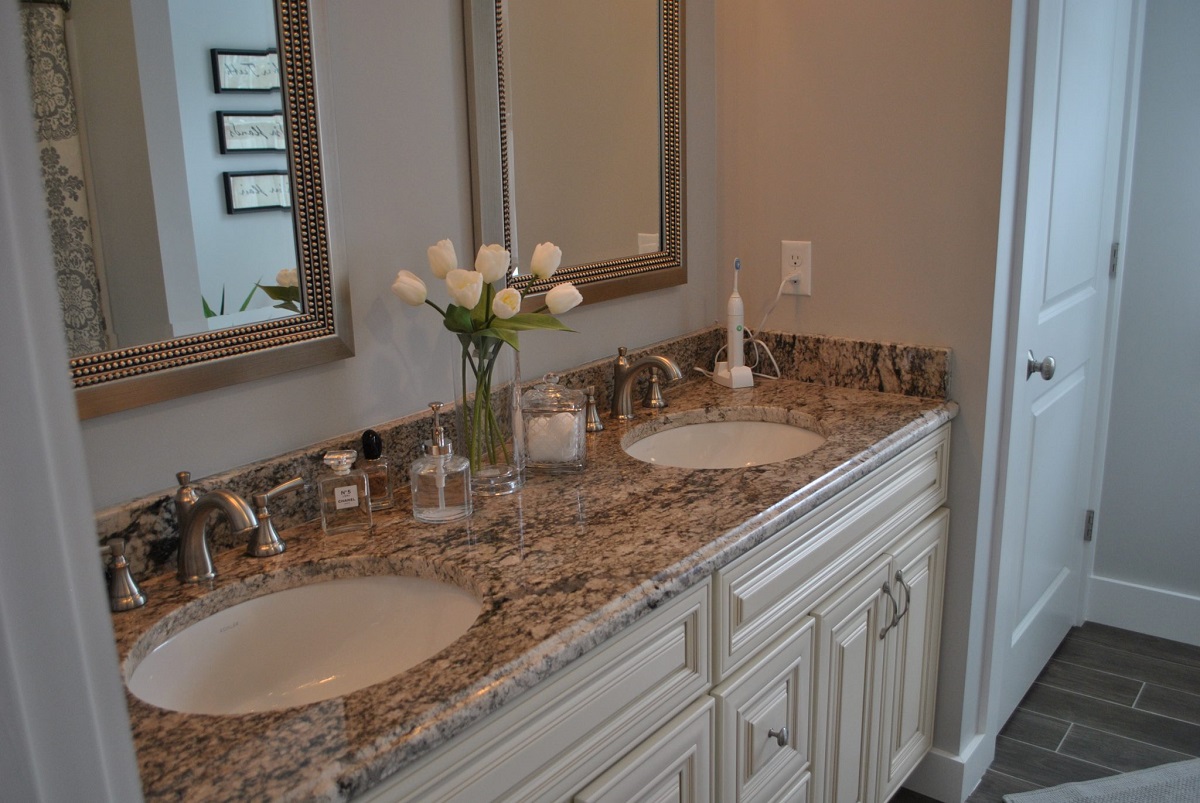
Welcome to the ultimate guide on how to paint a vanity! If you’re looking to give your bathroom or bedroom a fresh new look, repainting your vanity can make a big impact without breaking the bank. Whether you want to update the color, revive a worn-out finish, or simply add a pop of personality to your space, painting your vanity can be a fun and rewarding project.
While the idea of painting may seem daunting, fear not! This step-by-step guide will walk you through the entire process, from gathering materials to sealing the paint, so you can achieve professional-looking results. So, grab your paintbrushes and let’s get started!
Before we dive into the steps, it’s important to note that preparation is key when it comes to painting a vanity. Taking the time to properly prepare the surface will ensure better adhesion and a longer-lasting finish. Additionally, choosing the right materials and following the correct techniques will help you achieve a smooth and flawless paint job.
Throughout this guide, we’ll discuss the materials you’ll need, how to prepare the vanity, and the step-by-step process of painting it. We’ll also provide tips and tricks to help you avoid common pitfalls and achieve professional-looking results.
Remember, painting a vanity is a creative and expressive task. Don’t be afraid to experiment with different colors and finishes to create a unique look that reflects your personal style. So, let’s roll up our sleeves and give that vanity a fresh new makeover!
Key Takeaways:
- Proper preparation is essential for a successful vanity painting project. From clearing the workspace to sanding and priming, taking the time to prepare the surface ensures better adhesion and a professional-looking finish.
- Sealing the paint with a protective topcoat is crucial for enhancing the durability and longevity of the painted vanity. It not only provides added protection but also makes the surface easier to clean and maintain.
Read more: How To Paint Bathroom Vanity Without Sanding
Step 1: Gather Materials
Before you can begin painting your vanity, it’s important to gather all the necessary materials. Having everything on hand will make the process smoother and more efficient. Here’s a list of the materials you’ll need:
- Paint: Choose a high-quality, water-based paint specifically formulated for surfaces like cabinets and furniture. Consider the color and finish you want to achieve.
- Primer: Look for a primer that is suitable for the material of your vanity, such as wood or laminate. Primer helps the paint adhere better and provides a smooth base.
- Sandpaper: Select sandpaper with grit appropriate for your vanity’s surface. For rougher surfaces, use a lower grit (around 120) to start and progress to a higher grit (around 220) for a smoother finish.
- Cleaner: Use a gentle cleaner to remove any dirt, oil, or grime from the surface of the vanity. This ensures proper adhesion of the paint and a clean finished result.
- Drop cloth or plastic sheet: Protect your work area from paint spills and drips with a drop cloth or plastic sheet.
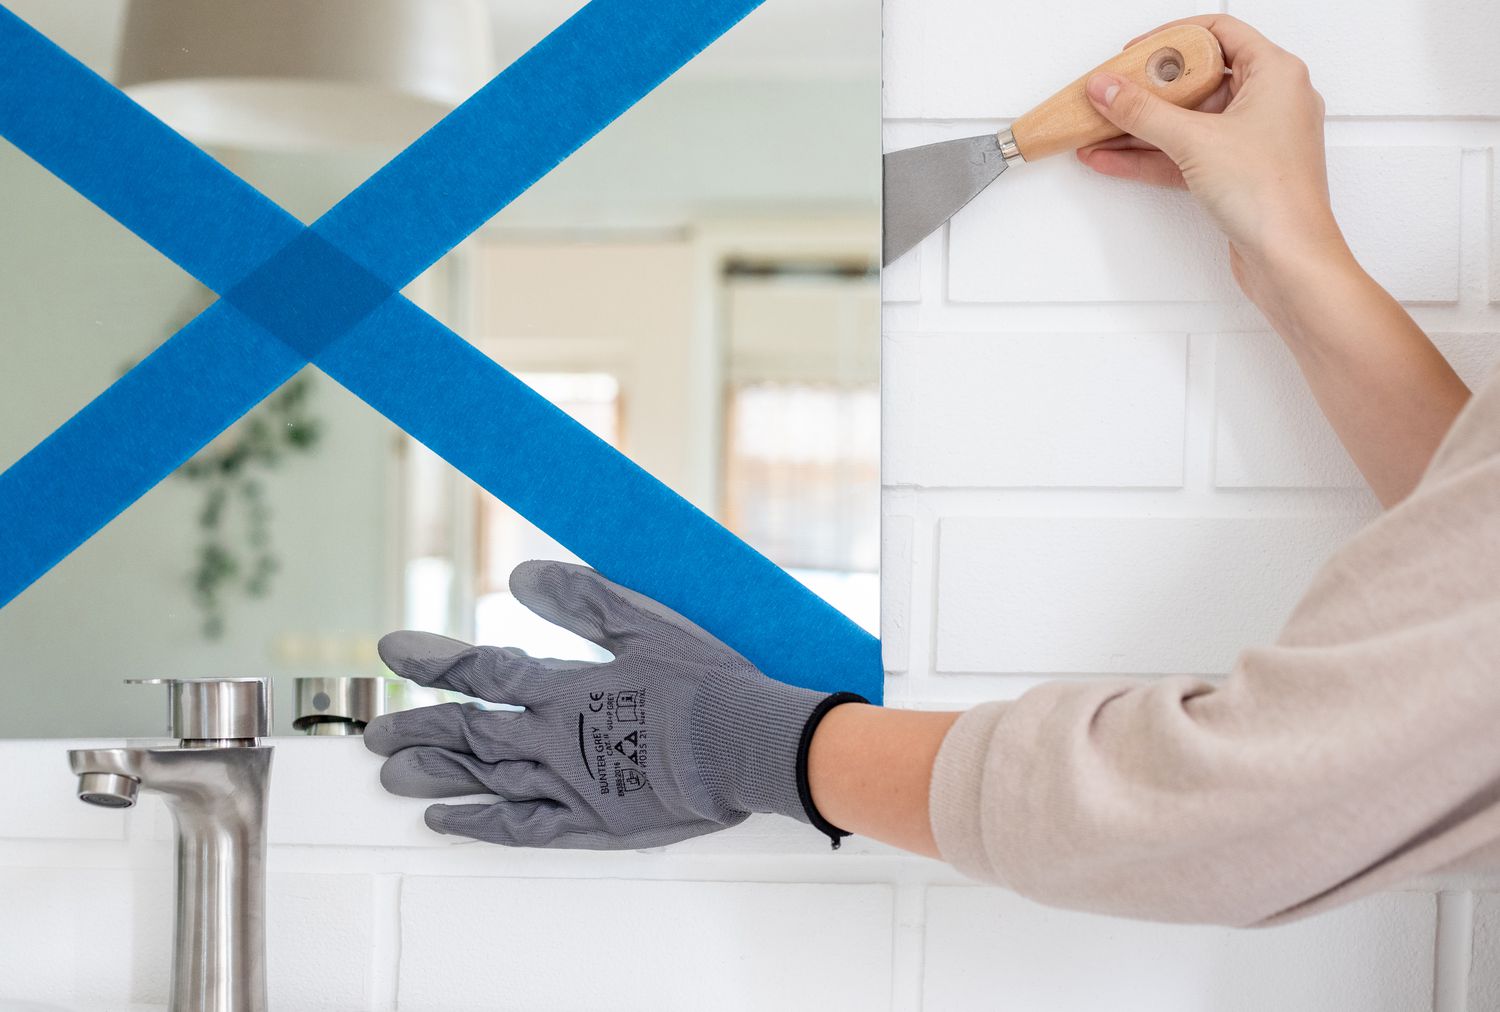
- Painter’s tape: Use painter’s tape to mask off any areas you don’t want to be painted, such as hinges or mirror frames.
- Paintbrushes: Invest in high-quality paintbrushes, including a larger brush for broad strokes and a smaller brush for detailed areas.
- Roller and tray: A roller can be useful for applying paint to larger areas, while a tray provides a convenient container for the paint.
- Screwdriver: If you plan to remove the vanity hardware, have a screwdriver of the appropriate size on hand.
- Sealer: Depending on your desired finish, you may need a sealer to protect the paint and provide additional durability.
Make sure to read the instructions on each product and choose materials that are compatible with the type of vanity you have. Taking the time to gather all the necessary materials beforehand will save you from any delays or frustrations during the painting process.
Now that you have all the materials ready, it’s time to move on to the next step: preparing the vanity for painting.
Step 2: Prepare the Vanity
Before you start painting your vanity, it’s crucial to properly prepare the surface. This step is essential for achieving a smooth and long-lasting finish. Here’s how to prepare your vanity:
- Clear the workspace: Start by clearing the area around your vanity. Remove any items from the countertop and empty out the drawers. This will give you ample room to work and minimize the risk of paint splatters or damage to your belongings.
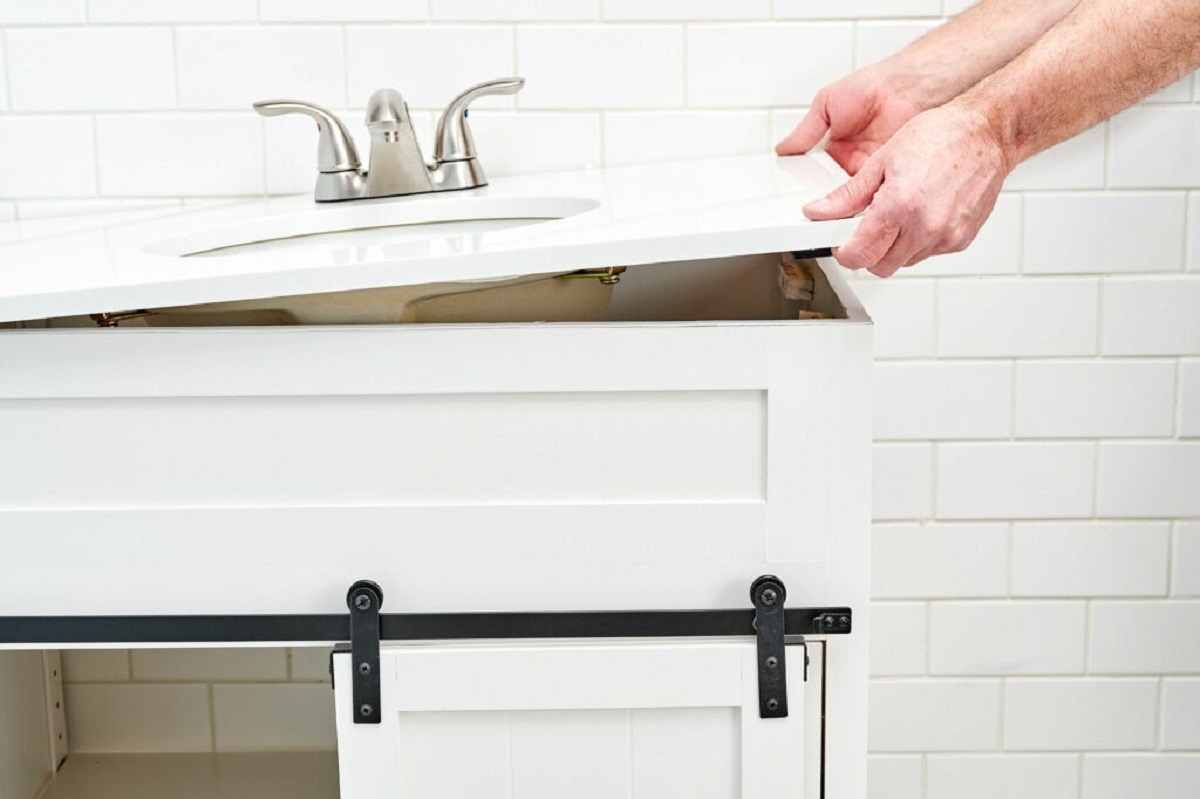
- Protect surrounding areas: Cover the floor and nearby walls with a drop cloth or plastic sheet to protect them from paint splatters and spills. Elevate your vanity to prevent it from sticking to the protective covering. Alternatively, if you’re working on a built-in vanity, use painter’s tape to mask off the surrounding area.
- Remove doors and drawers: If possible, take out the doors, drawers, and any other removable parts of the vanity. This will make it easier to reach all the nooks and crannies during painting. Lay these pieces flat on your work surface.
- Clean the surface: Thoroughly clean the surface of the vanity using a mild cleaner and a soft cloth or sponge. Remove any dust, dirt, grease, or residue that may interfere with the paint’s adhesion. Be sure to clean both the exterior and interior surfaces.
- Repair any damage: Inspect the vanity for any damage, such as scratches, dents, or holes. Use wood filler or putty to repair these imperfections, following the product instructions. Allow the filler to dry completely, then sand it smooth with fine-grit sandpaper.
- Sand the surface: Sanding the surface helps roughen it up a bit, creating a better surface for the paint to adhere to. Use sandpaper with the appropriate grit for your vanity’s material. Sand in the direction of the grain, moving lightly over the surface to remove any glossy finishes or rough spots. Wipe away any dust with a tack cloth or a damp cloth.
By properly preparing your vanity, you ensure that the paint adheres smoothly and lasts for a long time. Take your time with this step, as it lays the foundation for a successful painting process.
Next, we’ll move on to Step 3: removing the hardware from your vanity.
Step 3: Remove Hardware
Before you start painting your vanity, it’s important to remove any hardware, such as handles, knobs, hinges, or drawer pulls. This will allow for a smoother painting process and ensure that the hardware doesn’t get damaged or covered in paint. Here’s how to remove the hardware from your vanity:
- Gather the necessary tools: Depending on the type of hardware on your vanity, you might need a screwdriver, a wrench, or pliers. Ensure you have the right tools on hand to safely and effectively remove the hardware.
- Assess the hardware: Take a close look at the hardware on your vanity and determine the best method for removing it. Most handles and knobs are attached with screws, while hinges may have pins or screws holding them in place.
- Loosen the screws: Use a screwdriver of the appropriate size to loosen and remove the screws that hold the hardware in place. It’s a good idea to keep the screws in a safe place, such as a labeled bag or container, so you don’t lose them.
- Detach the hardware: Once the screws are removed, carefully detach the hardware from the vanity. For handles and knobs, simply pull them away from the surface. For hinges, gently lift or slide them out of their slots or remove the pins.
- Keep the hardware organized: To avoid confusion later on, keep the different pieces of hardware organized. You can place them in small labeled bags or set them aside in a specific order. This will make the reattachment process much easier.
By removing the hardware from your vanity, you’ll be able to paint the surface evenly and avoid any messy accidents. Plus, you’ll have the opportunity to update the hardware if you wish or give it a fresh coat of paint separately.
Once the hardware is removed, you’re ready to move on to the next step: sanding the surface of your vanity.
Step 4: Sand the Surface
Sanding the surface of your vanity is an essential step in the painting process. It helps create a smooth and even surface for the paint to adhere to, resulting in a professional-looking finish. Follow these steps to properly sand the surface of your vanity:
- Gather the necessary materials: You’ll need sandpaper with the appropriate grit for your vanity’s material. A medium-grit sandpaper (around 120) is generally a good starting point. Optionally, have a higher-grit sandpaper (around 220) for a smoother finish.
- Protect yourself: Before you begin sanding, it’s important to protect yourself by wearing safety goggles and a dust mask. This will prevent any dust or debris from irritating your eyes and lungs.
- Start sanding: Use the sandpaper to lightly sand the entire surface of the vanity. Sand in the direction of the grain, applying even pressure. This will help remove any existing finishes, rough spots, or imperfections on the surface. Be careful not to oversand and damage the vanity.
- Focus on problem areas: Pay close attention to any areas that may require extra sanding, such as scratches, dents, or uneven spots. Sand these areas more thoroughly to ensure a smooth and even finish.
- Clean up the dust: Once you’ve finished sanding, use a tack cloth or a damp cloth to wipe away any dust or debris from the surface of the vanity. It’s important to have a clean surface before moving on to the next step.
Sanding the surface of your vanity not only helps the paint adhere better but also smooths out any imperfections in the wood or previous finish. This step is especially crucial if you’re painting over a glossy or laminate surface. Take your time to sand the surface properly to achieve the best results.
Now that the surface is sanded and prepped, you’re ready to move on to Step 5: priming the vanity before painting.
Read more: What Kind Of Paint To Use On Bathroom Vanity
Step 5: Prime the Vanity
Priming is a crucial step in the painting process as it helps create a smooth and even base for the paint. The primer also improves paint adhesion and enhances the durability of the finished result. Here’s how to properly prime your vanity:
- Gather the necessary materials: You’ll need a high-quality primer that is appropriate for the material of your vanity, such as wood or laminate. Choose a primer that is compatible with the type of paint you’ll be using.
- Prepare the area: Just like when painting, make sure to protect the surrounding areas with a drop cloth or plastic sheet. Ensure good ventilation in the room by opening windows or using fans.
- Stir the primer: Open the can of primer and stir it thoroughly to ensure a consistent mixture. Use a paint stirrer or a stir stick for this purpose.
- Apply the primer: Using a brush or a roller, apply an even coat of primer to the entire surface of the vanity. Work in smooth, controlled strokes, following the direction of the grain. If using a brush, be mindful of any brush marks and try to create a smooth finish.
- Allow the primer to dry: Check the product instructions for the recommended drying time. Typically, it takes around 2-4 hours for the primer to dry, but this can vary depending on the brand and environmental conditions.
- Sand the primer (optional): If you notice any rough spots or imperfections on the primed surface, lightly sand it with a fine-grit sandpaper (around 220) once the primer is completely dry. This will help create an even smoother surface for the paint.
- Clean up: Clean your brushes or rollers immediately after applying the primer. Follow the cleaning instructions provided by the manufacturer of your primer.
Priming your vanity ensures better adhesion of the paint and helps achieve a more professional and long-lasting finish. It also helps to prevent any previous colors or stains from bleeding through the paint. Taking the time to prime your vanity will ultimately result in a more satisfactory outcome.
Now that you’ve primed your vanity, it’s time to move on to Step 6: painting the vanity with your chosen color.
When painting a vanity, be sure to thoroughly clean and sand the surface before applying primer and paint. This will ensure better adhesion and a smoother finish.
Step 6: Paint the Vanity
Now that you’ve prepared the surface and applied the primer, it’s time to paint your vanity! This step allows you to express your creativity and transform the look of your space. Follow these steps to ensure a smooth and professional paint job:
- Gather the necessary materials: You’ll need the paint color of your choice, along with the appropriate brushes or rollers. Consider using a paintbrush for detailed areas and a roller for larger surfaces.
- Prepare the area: As always, protect surrounding areas with a drop cloth or plastic sheet. Ensure good ventilation in the room by opening windows or using fans.
- Stir the paint: Open the can of paint and stir it thoroughly to ensure a consistent mixture. Use a paint stirrer or a stir stick for this purpose.
- Start with the edges: Begin by painting the edges and corners of the vanity using a small paintbrush. Take your time and work carefully to create clean lines and avoid any drips or smudges.
- Paint the larger areas: After painting the edges, use a roller or a larger brush to paint the larger surface areas of the vanity. Work in even strokes, applying the paint evenly and smoothly. Be mindful of any overlapping brush marks or roller texture and try to create a uniform finish.
- Allow the paint to dry: Check the paint can for the recommended drying time between coats. In most cases, it takes around 2-4 hours for the paint to dry, but this can vary depending on the brand and environmental conditions.
- Apply additional coats if needed: Depending on the coverage of your chosen paint, you may need to apply additional coats. Allow each coat to dry completely before applying the next one. Follow the instructions on the paint can for best results.
- Clean up: Clean your brushes, rollers, and any paint spills or drips immediately after you finish painting. Use soap and water for water-based paints or follow the cleaning instructions provided by the manufacturer.
When painting your vanity, it’s essential to take your time and work methodically. By applying smooth and even coats of paint, you’ll achieve a professional-looking finish that will transform the appearance of your vanity.
Once the paint is dry, you’re ready to move on to Step 7: applying multiple coats to ensure a durable and long-lasting finish.
Step 7: Apply Multiple Coats
Applying multiple coats of paint is an important step in achieving a durable and long-lasting finish for your painted vanity. It helps to enhance the color saturation, improve the overall coverage, and ensure a more even appearance. Follow these steps to apply multiple coats of paint:
- Allow the previous coat to dry: Before applying additional coats of paint, make sure that the previous coat is completely dry. This will prevent any smudging or blending of the paint layers.
- Inspect the painted surface: Take a close look at the painted surface and check for any areas that may require touch-ups or additional coverage. Pay attention to corners, edges, and any spots that appear thin or uneven.
- Prepare the paint: Stir the paint thoroughly to ensure a consistent mixture. This is especially important if the paint has been sitting for a while or if you’re using a different container for the new coat.
- Apply the second coat: Using the same technique as before, apply the second coat of paint to the entire surface of the vanity. Work in even strokes and ensure that the paint is applied evenly. This will provide additional coverage and color depth.
- Allow the paint to dry: Follow the recommended drying time on the paint can between each coat. This will ensure that the paint cures properly and prevents any smudging or damage during the process.
- Assess the coverage: After the second coat has dried, assess the coverage and look for any areas that may still appear thin or uneven. If necessary, apply a third coat of paint to achieve the desired depth of color and overall coverage.
- Clean up: Clean your brushes, rollers, and any paint spills or drips immediately after finishing each coat. This will prevent the paint from drying on your tools and make the cleanup process easier.
Applying multiple coats of paint builds up the color saturation, ensures an even and consistent finish, and increases the durability of the painted surface. It may take two or three coats, depending on the quality of the paint and the original color of the vanity.
Once you’re satisfied with the coverage and appearance of the painted surface, you’re ready to move on to the next steps: reattaching the hardware and sealing the paint for added protection.
Step 8: Reattach Hardware
With the painting process complete, it’s time to reattach the hardware to your freshly painted vanity. This step will give your vanity a finished and polished look. Here’s how to reattach the hardware:
- Gather the hardware: Retrieve the handles, knobs, hinges, or drawer pulls that were previously removed. Ensure that they are clean and free from any paint drips or residue.
- Locate the original placement: Refer to any photos you took or markings you made during the disassembly process to determine the original placement of the hardware. This will help ensure that the hardware is aligned correctly and looks symmetrical on the vanity.
- Attach the hardware: Using the screws or fasteners that came with the hardware, reattach each piece to the appropriate location on the vanity. Use a screwdriver or the appropriate tool to securely tighten the screws.
- Check the alignment: Take a step back and visually assess the placement of the hardware. Make any necessary adjustments to ensure that the handles, knobs, or hinges are aligned properly and visually appealing.
- Test the functionality: After the hardware is reattached, test the functionality of drawers, doors, or any movable parts. Ensure that they open and close smoothly and without any obstructions.
Reattaching the hardware gives your painted vanity a polished and finished appearance. It’s important to take your time during this step to ensure that the hardware is securely attached and aligned correctly.
Now that the hardware is back in place, it’s time to move on to the final step: sealing the paint to protect the finish.
Read more: How To Organize A Vanity
Step 9: Seal the Paint
Sealing the paint is an essential final step to protect the finish of your painted vanity and ensure its longevity. A sealant acts as a protective barrier, guarding against moisture, stains, and general wear and tear. Follow these steps to properly seal the paint on your vanity:
- Gather the necessary materials: You’ll need a clear topcoat or sealant that is suitable for the type of paint used on your vanity. Look for a product specifically designed for cabinets or furniture.
- Prepare the area: As always, protect the surrounding area with a drop cloth or plastic sheet. Ensure good ventilation in the room by opening windows or using fans.
- Stir the sealant: Open the can of sealant and stir it thoroughly to ensure a consistent mixture. Use a stir stick or a paint stirrer for this purpose.
- Apply the sealant: Using a brush or a roller, apply an even coat of sealant to the entire surface of the vanity. Work in smooth, controlled strokes, following the direction of the grain. Ensure that the sealant is applied evenly and covers the entire painted surface.
- Allow the sealant to dry: Check the product instructions for the recommended drying time. Typically, it takes around 2-4 hours for the sealant to dry, but this can vary depending on the brand and environmental conditions.
- Assess the finish: Once the initial coat of sealant is dry, assess the finish and determine if additional coats are necessary. Some sealants may require multiple coats for optimal protection and durability. Allow each coat to dry completely before applying the next one.
- Clean up: Clean your brushes or rollers immediately after applying the sealant. Follow the cleaning instructions provided by the manufacturer of your sealant.
Sealing the paint provides added protection and enhances the durability of your painted vanity. It also makes it easier to clean and maintain the surface. Be sure to read the instructions on the sealant carefully and follow the recommended drying times for best results.
With the paint properly sealed, your vanity makeover is complete! Step back and admire your newly painted vanity, knowing that it not only looks great but is also protected for years to come.
Congratulations on successfully painting and transforming your vanity!
Conclusion
Congratulations on successfully completing the process of painting your vanity! By following the steps outlined in this guide, you have transformed the look of your bathroom or bedroom, giving it a fresh and personalized touch. Painting a vanity can be a fun and rewarding DIY project that allows you to express your creativity and breathe new life into the space.
Throughout this guide, we covered everything from gathering materials and preparing the surface to painting, reattaching hardware, and sealing the paint. Each step is crucial in achieving a professional-looking finish and ensuring the longevity of your painted vanity.
Remember, preparation is key. Take the time to properly clean, sand, and prime the surface before applying the paint. This will ensure better adhesion and a smoother finish. Additionally, applying multiple coats of paint and sealing the paint with a protective topcoat will enhance the durability and provide lasting beauty.
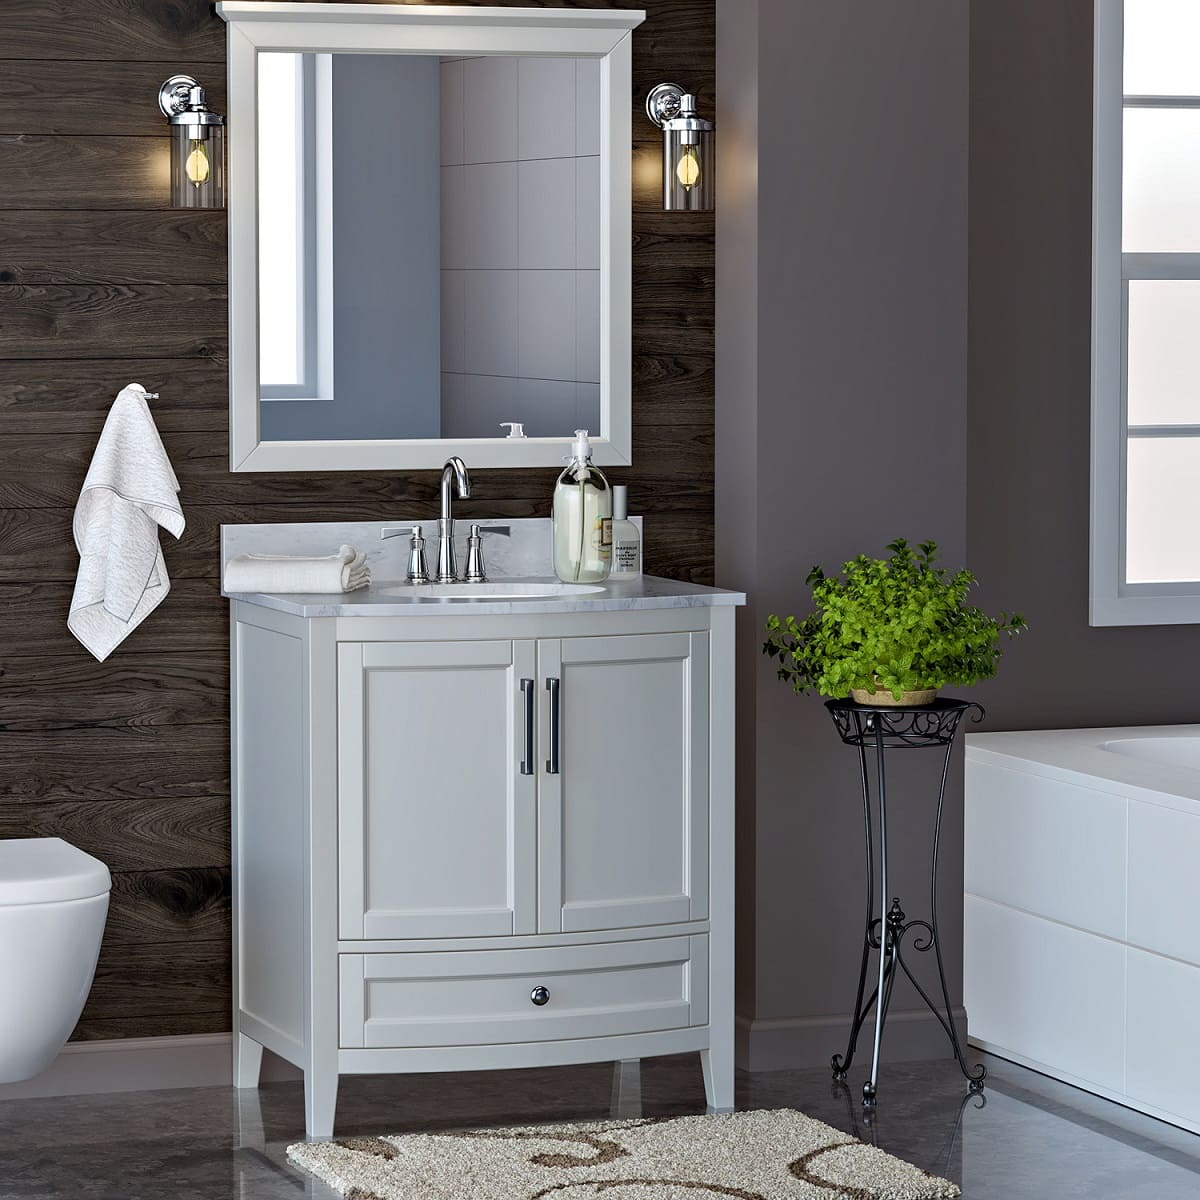
Don’t be afraid to get creative with your color choice and experiment with different finishes. The vanity is an excellent focal point in any bathroom or bedroom, and painting it allows you to add your personal style and make a statement.
As with any project, it’s important to work carefully and pay attention to detail. Take your time, follow the steps outlined in this guide, and you’ll achieve fantastic results.
Thank you for using this guide on how to paint a vanity. We hope you found it helpful and inspiring. Enjoy your newly transformed vanity and the refreshed space it brings to your home!
Frequently Asked Questions about How To Paint A Vanity
Was this page helpful?
At Storables.com, we guarantee accurate and reliable information. Our content, validated by Expert Board Contributors, is crafted following stringent Editorial Policies. We're committed to providing you with well-researched, expert-backed insights for all your informational needs.


0 thoughts on “How To Paint A Vanity”