Articles
How To Polish Vinyl Floor
Modified: October 18, 2024
Learn the best techniques and products to effectively polish your vinyl floor with our comprehensive articles. Transform your space with a flawless and shiny finish!
(Many of the links in this article redirect to a specific reviewed product. Your purchase of these products through affiliate links helps to generate commission for Storables.com, at no extra cost. Learn more)
Introduction
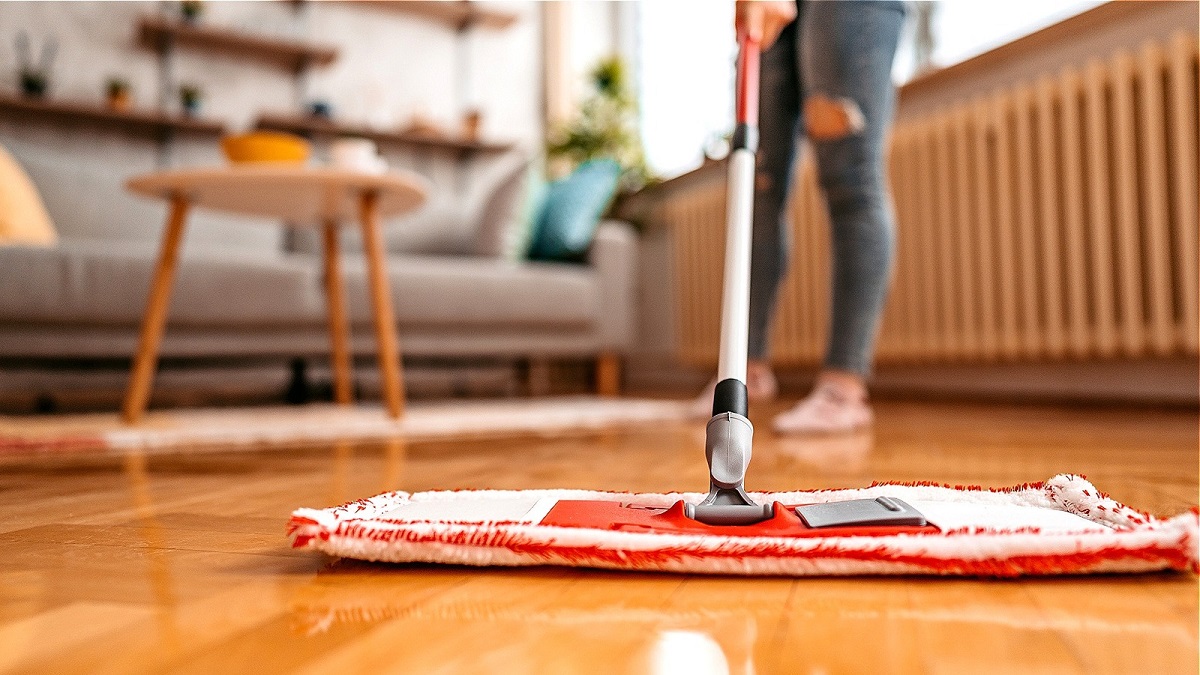
Vinyl flooring is a popular choice for many homeowners due to its durability, affordability, and ease of maintenance. Over time, however, vinyl floors can begin to lose their shine and appear dull. This is where the process of polishing comes in. Polishing your vinyl floor can help restore its luster and give it a fresh new look.
In this article, we will provide you with a comprehensive guide on how to polish your vinyl floor effectively. We will take you through the steps of gathering the necessary materials, preparing the floor, applying the polish, buffing the floor, and maintaining the shine. So let’s get started and bring back the beauty of your vinyl floor!
Key Takeaways:
- Restore the shine of your vinyl floor by following a comprehensive guide on gathering materials, preparing the floor, applying the polish, buffing the floor, and maintaining the shine. Enjoy a fresh new look with these simple steps.
- Keep your vinyl floor looking vibrant for years by implementing proper maintenance practices. Regular cleaning, prompt spill cleanup, gentle cleaners, moisture caution, protective furniture pads, and sunlight protection will preserve the shine and longevity of your polished vinyl floor.
Read more: How To Polish A Cement Floor
Gathering Materials
Before you start the process of polishing your vinyl floor, it’s important to gather all the necessary materials. Having everything on hand will ensure a smooth and efficient process. Here are the materials you will need:
- Vinyl floor cleaner: Look for a cleaner specifically formulated for vinyl floors. Avoid using harsh chemicals or abrasive cleaners, as they can damage the surface.
- Vinyl floor polish: Choose a high-quality vinyl floor polish that is compatible with your specific type of vinyl. Read the label carefully to ensure it is suitable for your floor.
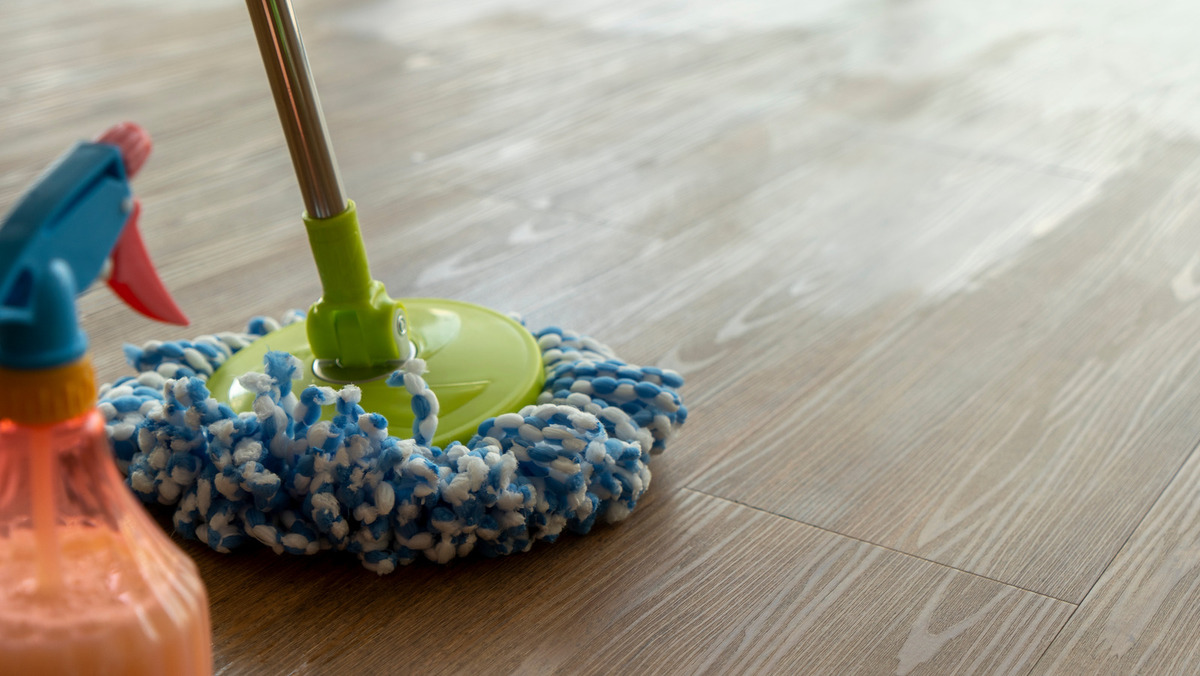
- Mop or sponge mop: A mop or sponge mop will be used to apply the floor cleaner and polish evenly. Make sure your mop is clean and in good condition.
- Microfiber cloth or mop head: A microfiber cloth or mop head is essential for buffing and shining the floor after applying the polish. Microfiber is gentle on the surface and helps to remove any residue or streaks.
- Bucket: You will need a bucket to mix the floor cleaner with water and to rinse your mop or sponge mop.
- Protective gloves: It’s always a good idea to wear protective gloves when working with cleaning products to protect your hands.
- Optional: If you have stubborn stains or scuffs on your vinyl floor, you may also need a soft-bristle brush or a vinyl floor stain remover to help remove them.
Once you have gathered all the necessary materials, you will be ready to move on to the next step: preparing the floor.
Preparing the Floor
Before applying the polish to your vinyl floor, it’s important to properly prepare the surface to ensure optimal results. Follow these steps to prepare your floor:
- Remove any furniture or objects: Clear the area of any furniture or objects on the floor. This will give you unrestricted access to the entire floor and prevent any obstacles during the polishing process.
- Sweep or vacuum the floor: Start by removing any loose dirt, dust, or debris from the floor. Use a broom or vacuum cleaner to thoroughly sweep or vacuum the entire surface.
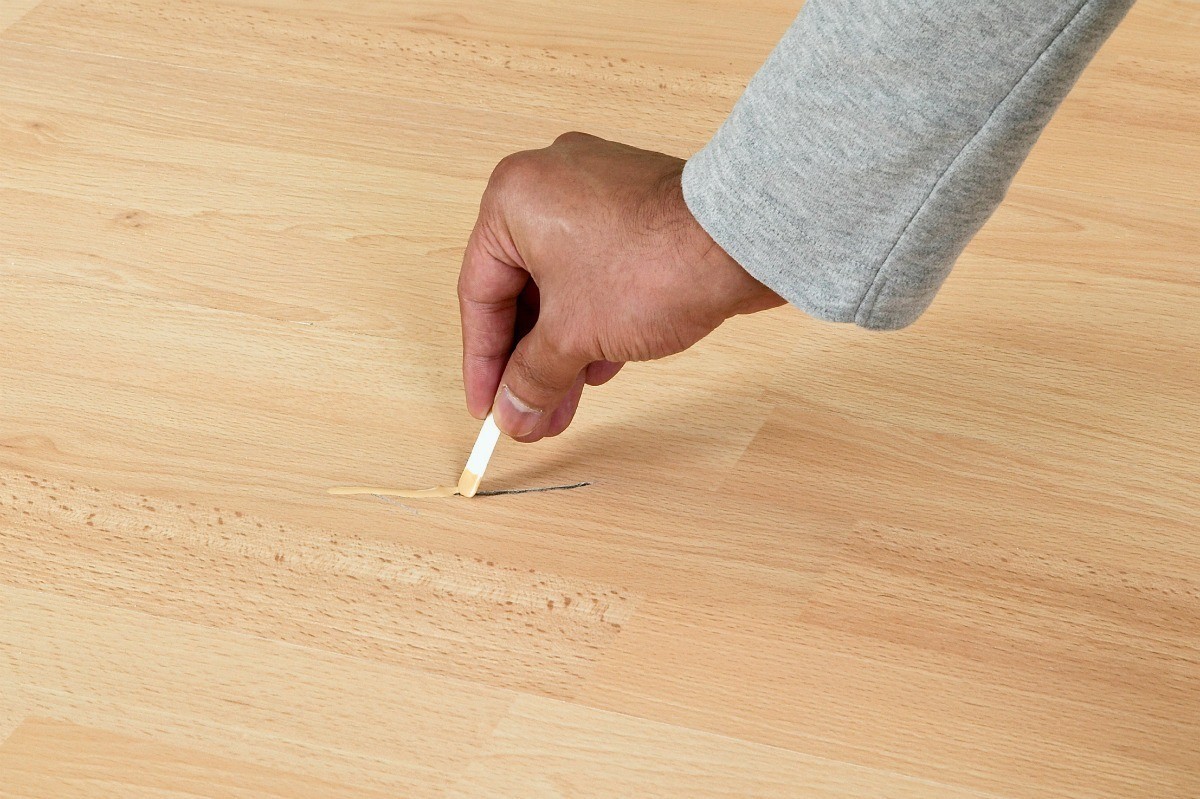
- Spot clean any stains: If you notice any stains on the floor, spot clean them using a soft cloth dampened with a gentle vinyl floor cleaner. Gently rub the stain in a circular motion until it is lifted.
- Test the cleaner and polish: Before applying the cleaner and polish to the entire floor, it’s a good idea to test them in a small, inconspicuous area. This will ensure that they do not cause any discoloration or damage to your vinyl floor.
Once you have followed these preparation steps, you are ready to move on to the next stage of the process: applying the polish to your vinyl floor.
Applying the Polish
Now that you have prepared your vinyl floor, it’s time to apply the polish. Follow these steps to ensure a successful application:
- Read and follow the instructions: Carefully read the instructions on the vinyl floor polish bottle. Different brands and types of polish may have specific instructions and dilution ratios. It’s important to adhere to these instructions for best results.
- Mix the polish if required: If the polish needs to be diluted, mix it according to the instructions provided. Use a clean bucket and follow the recommended polish-to-water ratio.
- Dampen the mop or sponge mop: Dip your mop or sponge mop into the bucket containing the diluted polish. Make sure the mop head is damp and not dripping with excess polish.
- Apply the polish to the floor: Start applying the polish to the vinyl floor in small sections. Work in manageable areas to ensure even coverage. Begin at one corner of the room and move in a back-and-forth motion, slightly overlapping each stroke to avoid streaks.
- Continue working in sections: Repeat the process of applying the polish to the floor in small sections until the entire floor is covered. Take care not to step on the freshly polished areas, as it may cause smears or footprints.
It’s important to note that some vinyl floor polishes require multiple coats for a more pronounced shine. Follow the instructions provided to determine whether additional coats are necessary. Once you have applied the polish to the entire floor, it’s time to move on to the next step: buffing.
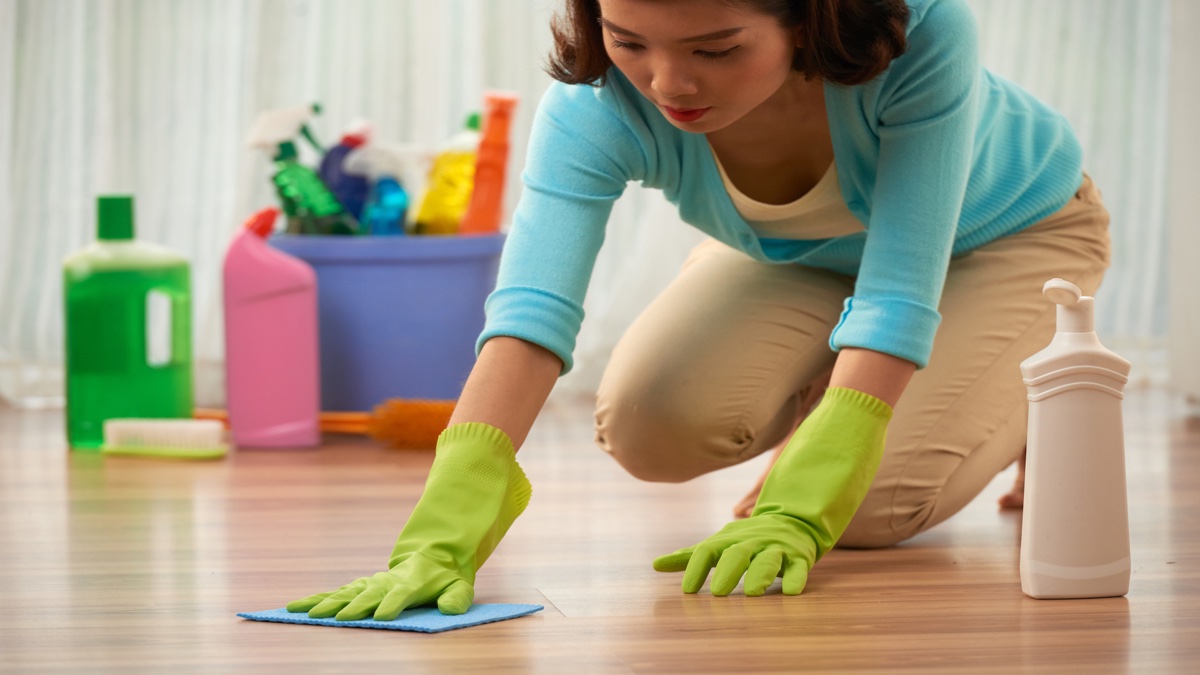
Use a mixture of warm water and a few drops of dish soap to clean the vinyl floor. Avoid using abrasive cleaners or scrubbing pads that can damage the surface. After cleaning, apply a vinyl floor polish to restore shine and protect the surface.
Buffing the Floor
Buffing the floor is the next crucial step in the process of polishing your vinyl floor. This step helps to evenly distribute the polish and create a smooth, glossy finish. Here’s how to effectively buff your floor:
- Allow the polish to dry: Refer to the instructions on the vinyl floor polish bottle to determine the recommended drying time. It is essential to allow the polish to dry completely before buffing. This will prevent smudging or removing the polish prematurely.
- Attach a clean microfiber cloth or mop head to your mop: Make sure the cloth or mop head is clean and free from any debris. Microfiber materials are recommended as they are gentle on the surface and can effectively remove any residue.
- Begin buffing in a circular motion: Start at one corner of the room and work your way across the floor in a circular motion. Apply gentle pressure as you buff to evenly distribute the polish and enhance its shine.
- Continue buffing until the entire floor is polished: Move systematically across the entire floor, ensuring that you cover every section. Pay extra attention to areas that may have received heavier polish application during the initial step.
- Inspect for any streaks or smudges: Once you have finished buffing, inspect the floor for any streaks or smudges. If you notice any, gently go over those areas again with the clean cloth or mop head until the surface is smooth and free from any imperfections.
After buffing, take a step back and admire the brilliant shine that you have achieved on your vinyl floor. Now, let’s move on to the final step: maintaining the shine.
Read more: How To Use Bona Floor Polish
Maintaining the Shine
Once you have successfully polished and buffed your vinyl floor, you want to ensure that the shine lasts as long as possible. Follow these maintenance tips to keep your floor looking its best:
- Sweep or vacuum regularly: Regularly remove dirt, dust, and debris from your vinyl floor by sweeping or vacuuming. This will prevent particles from scratching the surface and dulling the shine.
- Wipe up spills immediately: Accidental spills should be promptly cleaned up to prevent stains or damage to the floor. Use a damp cloth or mop to wipe away any liquid or spills immediately.
- Use a gentle vinyl floor cleaner: When it’s time for routine cleaning, use a vinyl floor cleaner that is specifically formulated for your type of vinyl. Avoid abrasive cleaners or harsh chemicals, as they can strip away the polish and damage the surface.
- Avoid excessive moisture: Vinyl floors are water-resistant, but excessive moisture can seep into the seams and cause damage over time. Use caution when mopping and ensure that the mop is only slightly damp.
- Place protective pads on furniture: To prevent scratches or scuffs, place felt or rubber pads under the legs of furniture. This will create a protective barrier between the furniture and the floor.
- Limit direct sunlight exposure: Prolonged exposure to direct sunlight can fade the color of your vinyl floor. Use curtains or blinds to block out excessive sunlight and protect your floor from UV damage.
By following these maintenance practices, you can extend the lifespan of your polished vinyl floor and enjoy its vibrant appearance for years to come.
Conclusion
Polishing your vinyl floor can do wonders for its appearance by restoring its shine and giving it a fresh new look. By following the steps outlined in this comprehensive guide, you can effectively polish your vinyl floor and maintain its beauty for years to come.
Remember, the key to successful vinyl floor polishing lies in gathering the necessary materials, preparing the floor, applying the polish correctly, buffing the floor to a high shine, and implementing proper maintenance practices. With a little effort and attention to detail, you can transform your dull vinyl floor into a truly stunning focal point in your home.
Regular cleaning and maintenance are essential to keep your vinyl floor looking its best. By sweeping regularly, wiping up spills promptly, using gentle cleaners, avoiding excessive moisture, and taking precautionary measures to protect your floor from scratches and sunlight, you can preserve the shine and longevity of your newly polished vinyl floor.
So, what are you waiting for? Follow these steps and give your vinyl floor the attention it deserves. Enjoy the beauty and revitalized look of your polished vinyl floor, and let it enhance the overall aesthetic of your living space.
Frequently Asked Questions about How To Polish Vinyl Floor
Was this page helpful?
At Storables.com, we guarantee accurate and reliable information. Our content, validated by Expert Board Contributors, is crafted following stringent Editorial Policies. We're committed to providing you with well-researched, expert-backed insights for all your informational needs.


0 thoughts on “How To Polish Vinyl Floor”