Articles
How To Repair Cement Board Siding
Modified: August 27, 2024
Learn how to repair cement board siding with these helpful articles. Discover expert tips and step-by-step instructions to fix and maintain your siding.
(Many of the links in this article redirect to a specific reviewed product. Your purchase of these products through affiliate links helps to generate commission for Storables.com, at no extra cost. Learn more)
Introduction
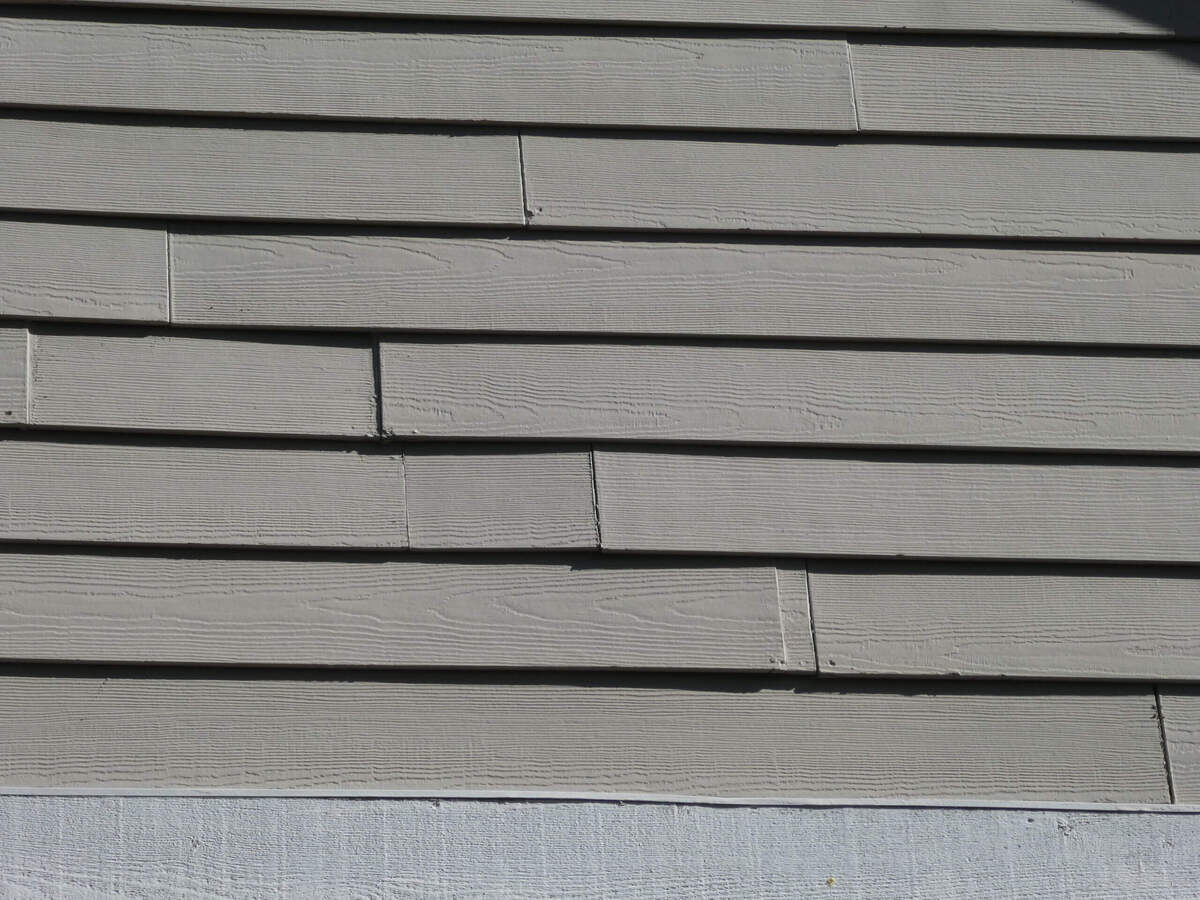
When it comes to home exteriors, cement board siding is a popular choice due to its durability, weather resistance, and versatility. However, over time, even the toughest siding can become damaged or worn out, requiring repair or replacement. Whether it’s due to impact damage, moisture infiltration, or age-related wear and tear, knowing how to repair cement board siding can help you restore the beauty and functionality of your home’s exterior.
In this comprehensive guide, we will walk you through the step-by-step process of repairing cement board siding. From identifying the damaged area to installing replacement siding and finishing touches, we have got you covered. By following these instructions, you can save time and money by tackling the repair project yourself, rather than hiring a professional.
But before we dive into the repair process, let’s first take a look at the materials you will need to gather to get the job done:
Key Takeaways:
- Repairing cement board siding is a manageable DIY project that can save you time and money. By following the step-by-step process, you can restore your home’s exterior with confidence and achieve professional-looking results.
- Proper maintenance and proactive repairs can extend the lifespan of your cement board siding, enhancing your home’s curb appeal and protecting it from the elements. Regular inspections and timely repairs are key to preserving the durability and beauty of your home’s exterior.
Read more: What Is Hardie Board Siding Made Out Of
Materials Needed
Before you begin the repair process, make sure you have all the necessary materials on hand. This will help ensure a smooth and efficient repair process. Here are the materials you will need:
- Cement board siding
- Measuring tape
- Utility knife
- Pry bar
- Hammer
- Nails or screws
- Drill
- Construction adhesive
- Sandpaper
- Primer
- Exterior paint
- Paintbrush
Make sure to choose cement board siding that matches the existing color and texture of your home’s exterior. It’s important to have accurate measurements of the damaged area to ensure you purchase the correct amount of siding. Additionally, gather the necessary tools such as a measuring tape, utility knife, pry bar, hammer, nails or screws, drill, construction adhesive, and sandpaper.
If you plan on repainting the repaired area, you will also need primer, exterior paint, and a paintbrush.
Now that you have all the materials, let’s move on to the step-by-step process of repairing your cement board siding.
Step 1: Identify the Damaged Area
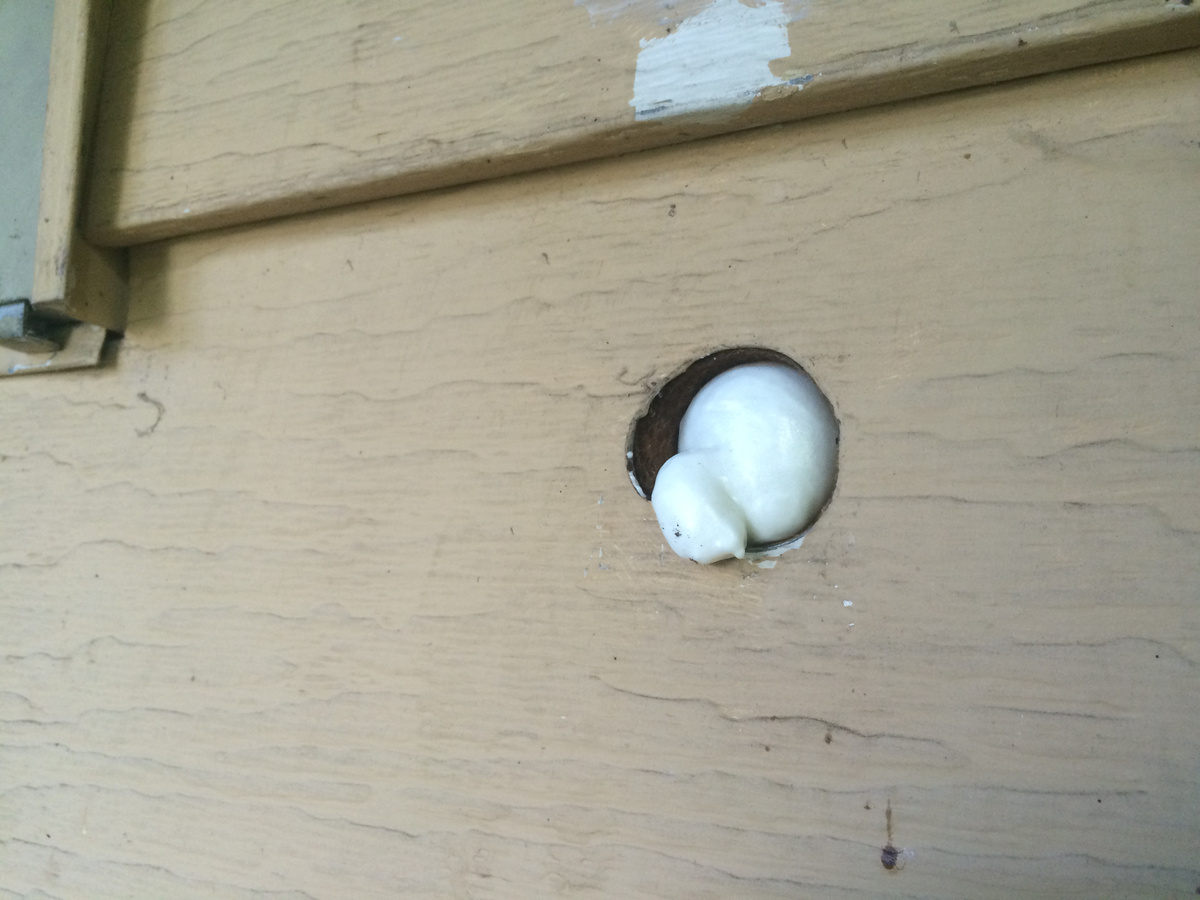
The first step in repairing cement board siding is to identify the damaged area. Thoroughly inspect your siding to determine where the damage is located. Look for cracks, chips, or areas where the siding is coming loose.
It’s important to note that cement board siding can be prone to damage from various sources such as impact, moisture, or even pests. Impact damage can occur from things like hail, fallen tree branches, or accidental bumps. Moisture damage may manifest as rot, mold, or swelling of the siding. Pest damage can occur when insects or rodents burrow into the siding.
Once you have identified the damaged area, mark it for repair. Take note of the size and shape of the damaged section, as this will help you determine the amount of replacement siding needed.
Before proceeding to the next step, ensure you have all the required materials and tools on hand.
Now that you have identified the damaged area, let’s move on to the next step: removing the damaged siding.
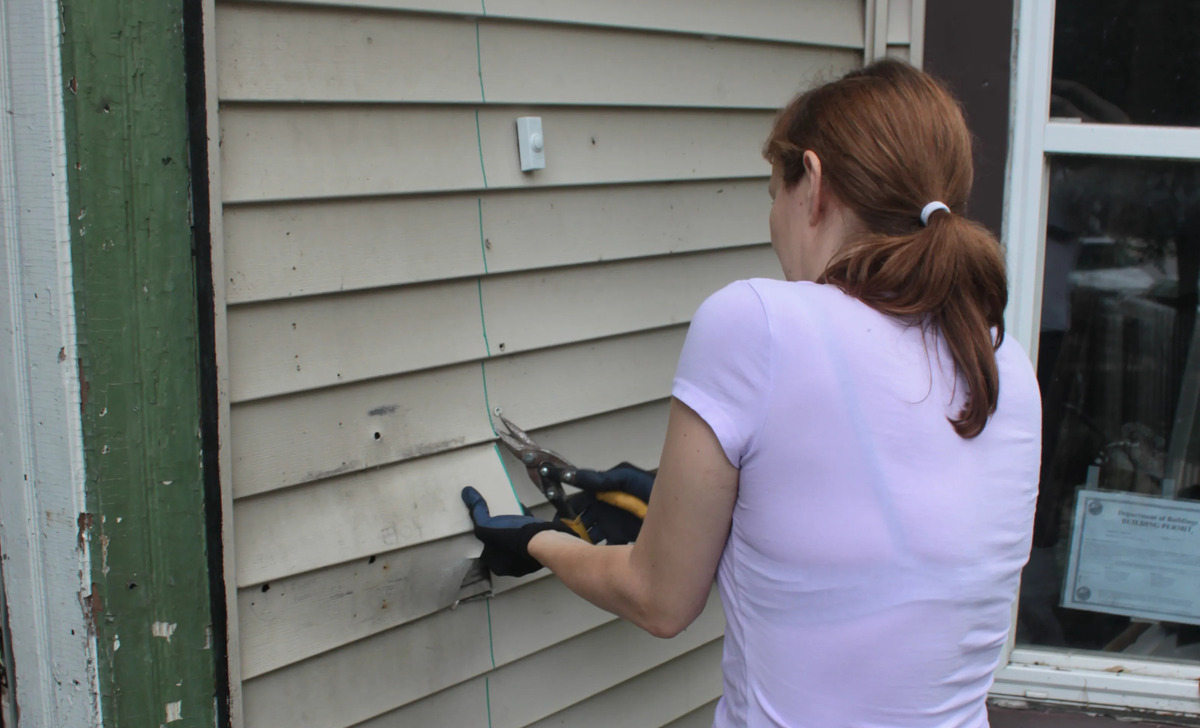
Step 2: Remove the Damaged Siding
Once you have identified the damaged area, it’s time to remove the damaged cement board siding. Follow these steps to safely and effectively remove the siding:
- Start by wearing protective gloves and safety goggles to protect yourself from any flying debris or sharp edges.
- Use a pry bar and hammer to gently loosen the damaged siding. Insert the pry bar at the bottom of the damaged section and apply pressure to lift it away from the wall. Be careful not to damage the surrounding siding or underlying structure.
- If the siding is secured with nails, use the hammer to carefully remove them. If it is secured with screws, use a drill with a screwdriver bit to unscrew them.
- Continue prying and removing the damaged siding section by section until it is completely detached.
- Inspect the underlying wall for any signs of damage or moisture. If you notice any issues, address them before proceeding with the repair.
Remember to work slowly and methodically to avoid causing further damage. Take your time to ensure that the damaged siding is completely removed without compromising the integrity of the surrounding area.
With the damaged siding successfully removed, we can now move on to the next step: cleaning and preparing the surface for the replacement siding.
Step 3: Clean and Prepare the Surface
After removing the damaged siding, it’s essential to clean and prepare the surface to ensure a proper installation of the replacement siding. Follow these steps to get the surface ready:
- Inspect the exposed underlayment or sheathing for any signs of damage or rot. If you notice any problems, address them before proceeding.
- Use a stiff brush or a power washer to remove any dirt, debris, or loose material from the surface. Make sure to thoroughly clean the area around the damaged section.
- If there are any protruding nails or screws, carefully remove them using a hammer or a drill.
- Check the surface for any unevenness or rough spots. Use sandpaper or a sander to smooth out any imperfections.
- Wipe down the surface with a damp cloth to remove any remaining dust or particles.
By cleaning and preparing the surface, you will ensure a secure and stable base for the replacement siding. Removing dirt and debris will also help the new siding adhere properly and maintain a professional finish.
With the surface now clean and prepared, we can proceed to the next step: cutting and installing the replacement siding.
When repairing cement board siding, be sure to thoroughly clean the area, use a cement board patching compound, and apply a waterproof sealant to prevent future damage.
Read more: How To Install Vertical Hardie Board Siding
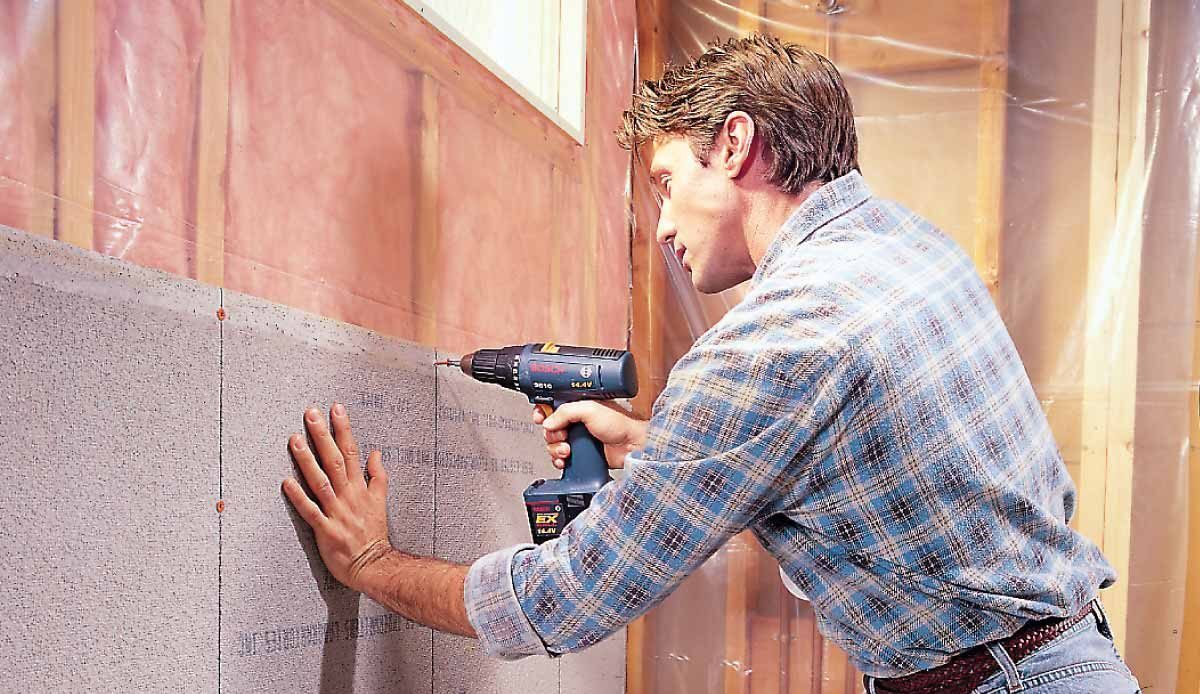
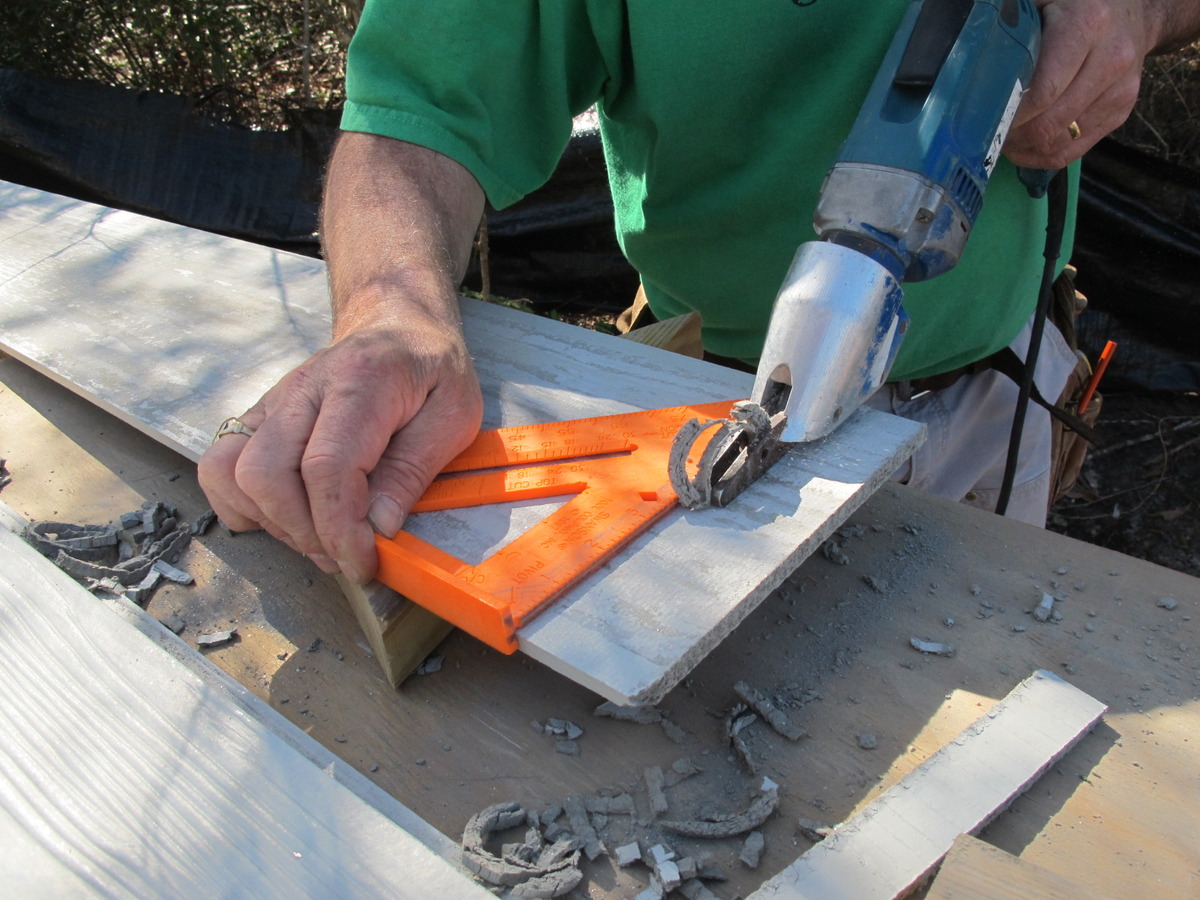
Step 4: Cut and Install Replacement Siding
Now that the surface is clean and prepared, it’s time to cut and install the replacement siding. Follow these steps to properly install the new siding:
- Measure the dimensions of the damaged area and transfer those measurements onto the replacement siding. Use a measuring tape and a pencil to mark the appropriate size.
- Using a utility knife, score the cement board siding along the marked lines. Apply firm pressure to create a clean and precise cut.
- Once the score lines are complete, carefully snap the siding along the cut lines. This will create separate sections of the replacement siding.
- Position the first section of the replacement siding into place. Ensure that it aligns properly with the existing siding and that there is a small gap for expansion and contraction.
- Secure the section of the replacement siding by either nailing or screwing it into place. Follow the manufacturer’s guidelines for the appropriate fasteners and spacing.
- Repeat this process for the remaining sections of the replacement siding, making sure to leave the same gap between each piece.
Take your time when cutting and installing the replacement siding to ensure a precise fit and a seamless appearance. It’s important to follow the proper installation guidelines and use the recommended fasteners to ensure the longevity and stability of the siding.
With the replacement siding installed, we can move on to the next step: securing the new siding to the wall.
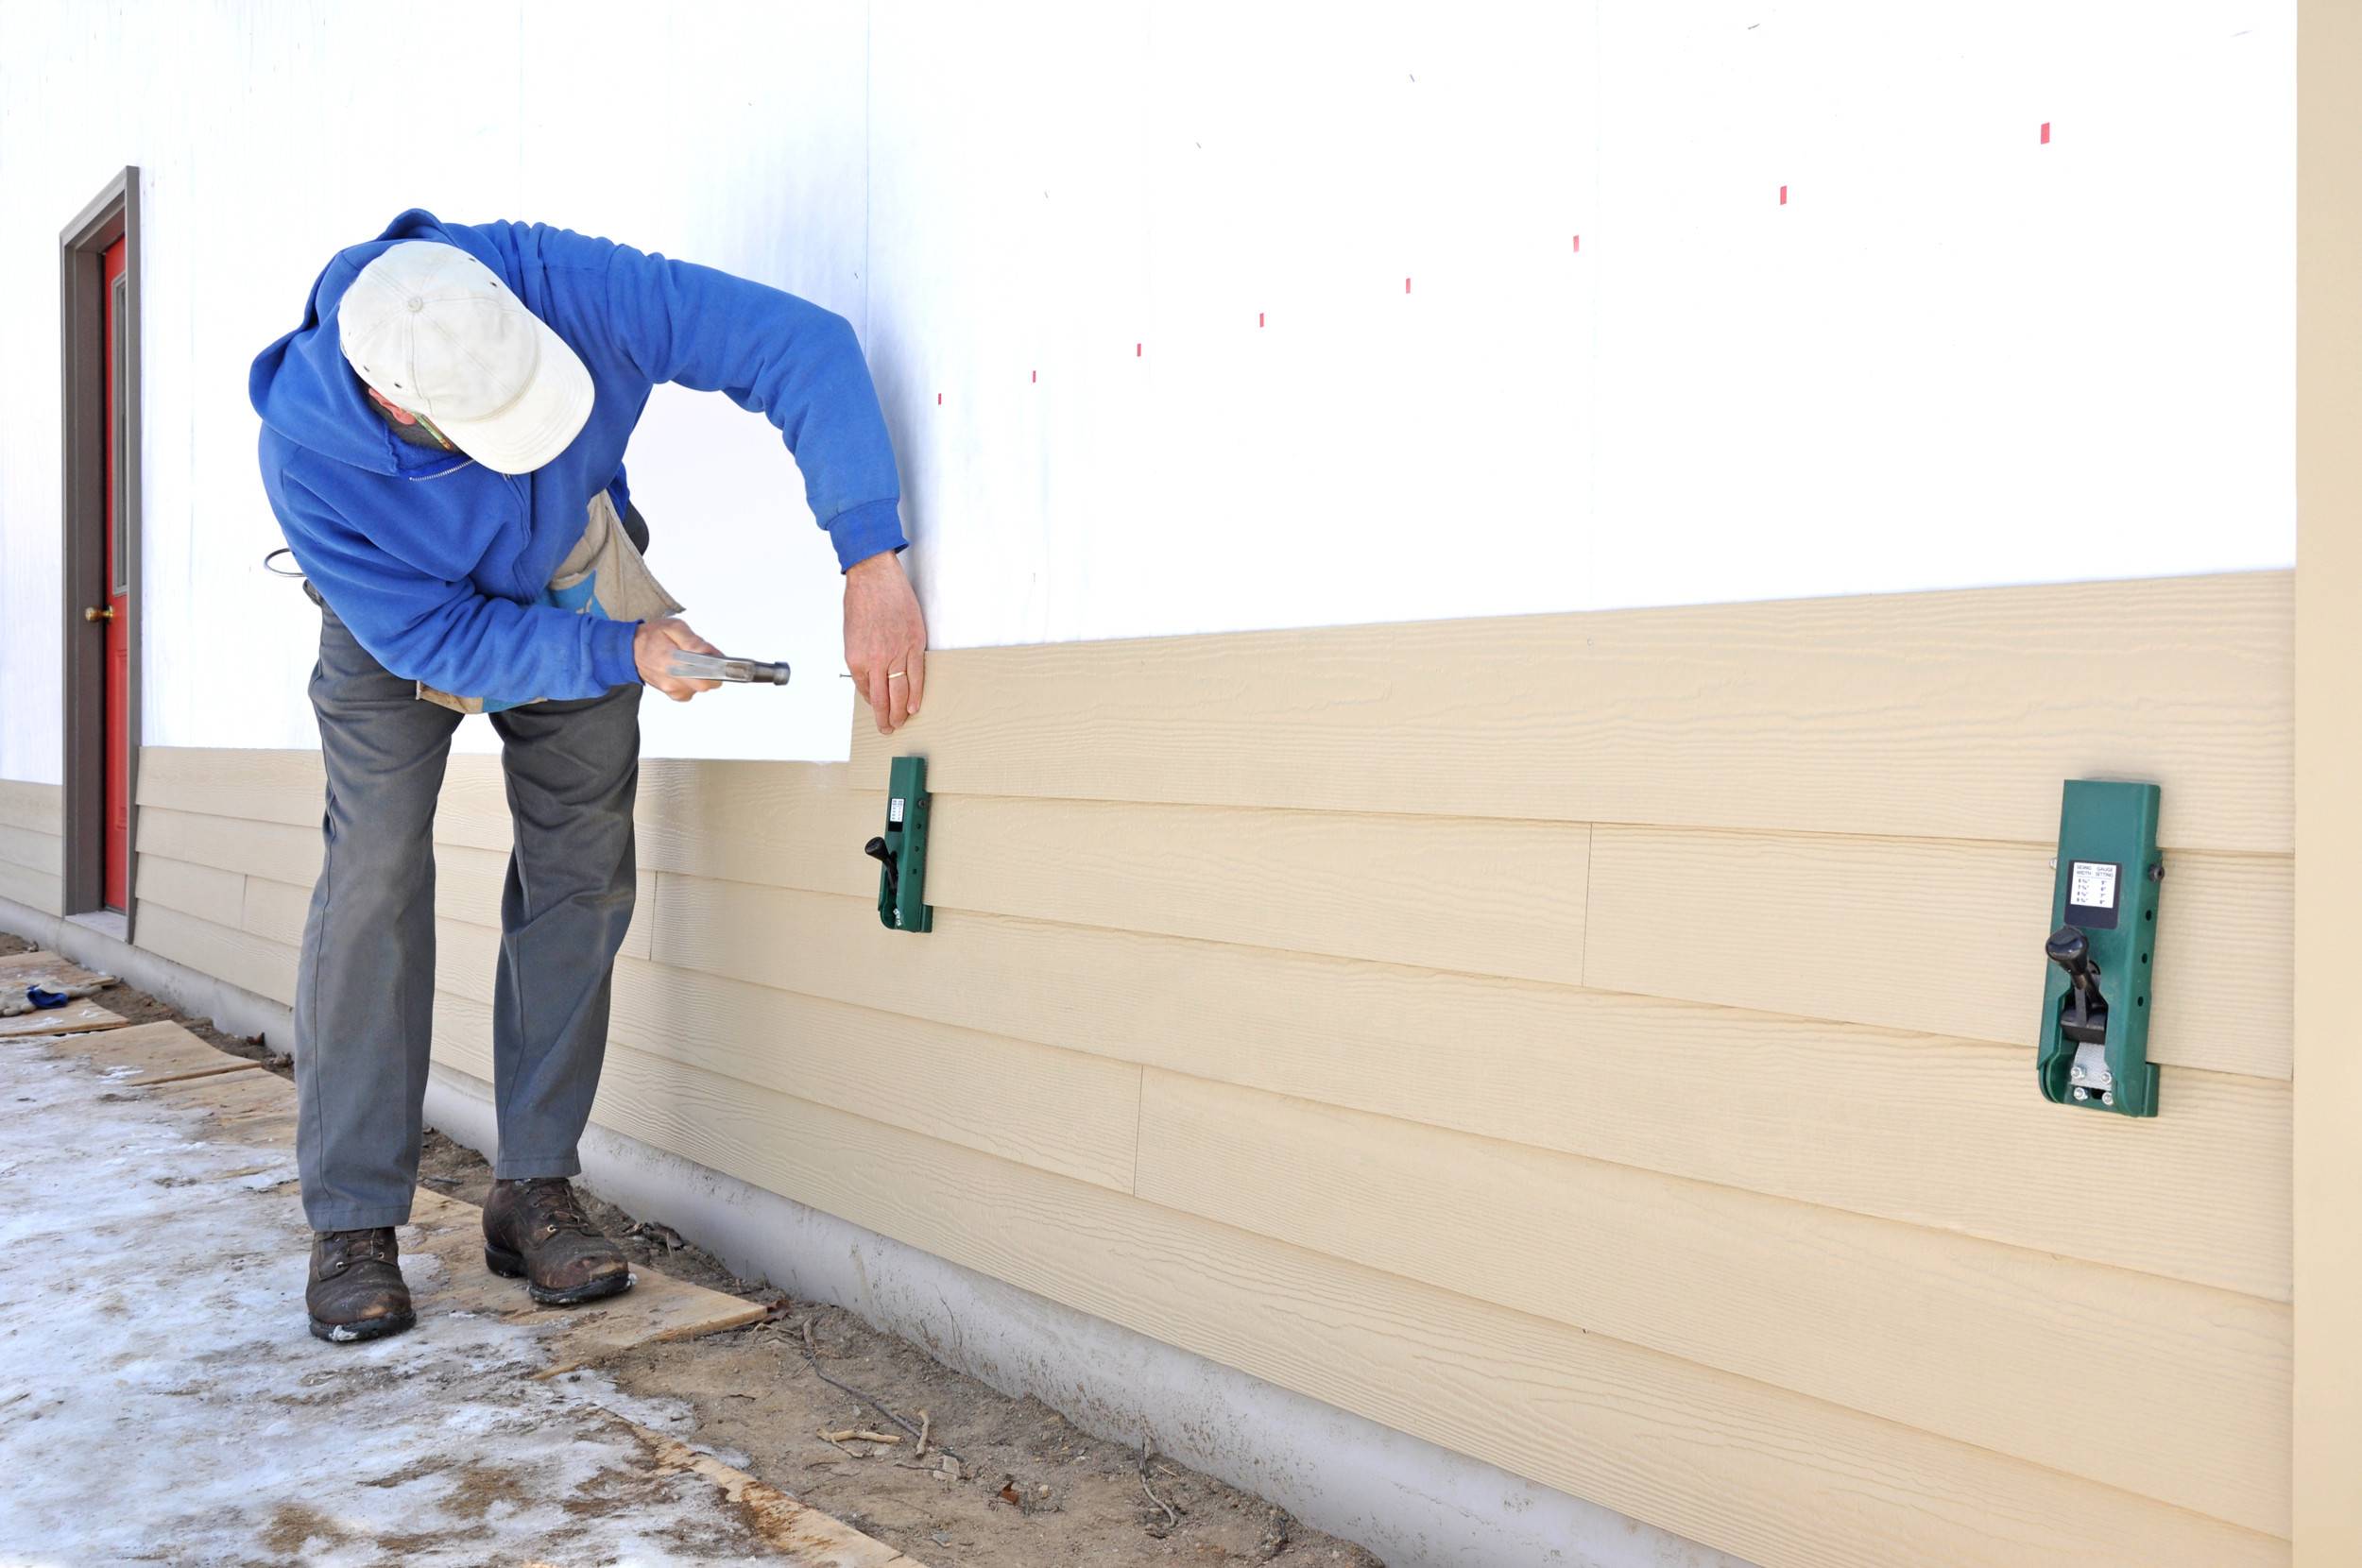
Step 5: Secure the New Siding
With the replacement siding in place, it’s crucial to secure it properly to ensure its longevity and stability. Follow these steps to securely fasten the new siding to the wall:
- Using a drill, carefully pre-drill holes along the edges of the replacement siding. This will prevent any cracking or splitting when driving in the fasteners.
- Insert nails or screws through the pre-drilled holes and into the wall. Make sure to drive them in snugly without over-tightening, as it could damage the siding.
- Space the fasteners according to the manufacturer’s recommendations to provide proper support and stability for the new siding.
- Ensure that each section of the replacement siding is securely fastened to the wall. Double-check for any loose or protruding fasteners and adjust them as necessary.
By properly securing the new siding, you can prevent it from shifting or becoming loose over time. This will not only enhance the appearance of your home but also protect it from potentially damaging external elements.
With the replacement siding securely in place, we are now ready for the final step: sealing and painting the repaired area.
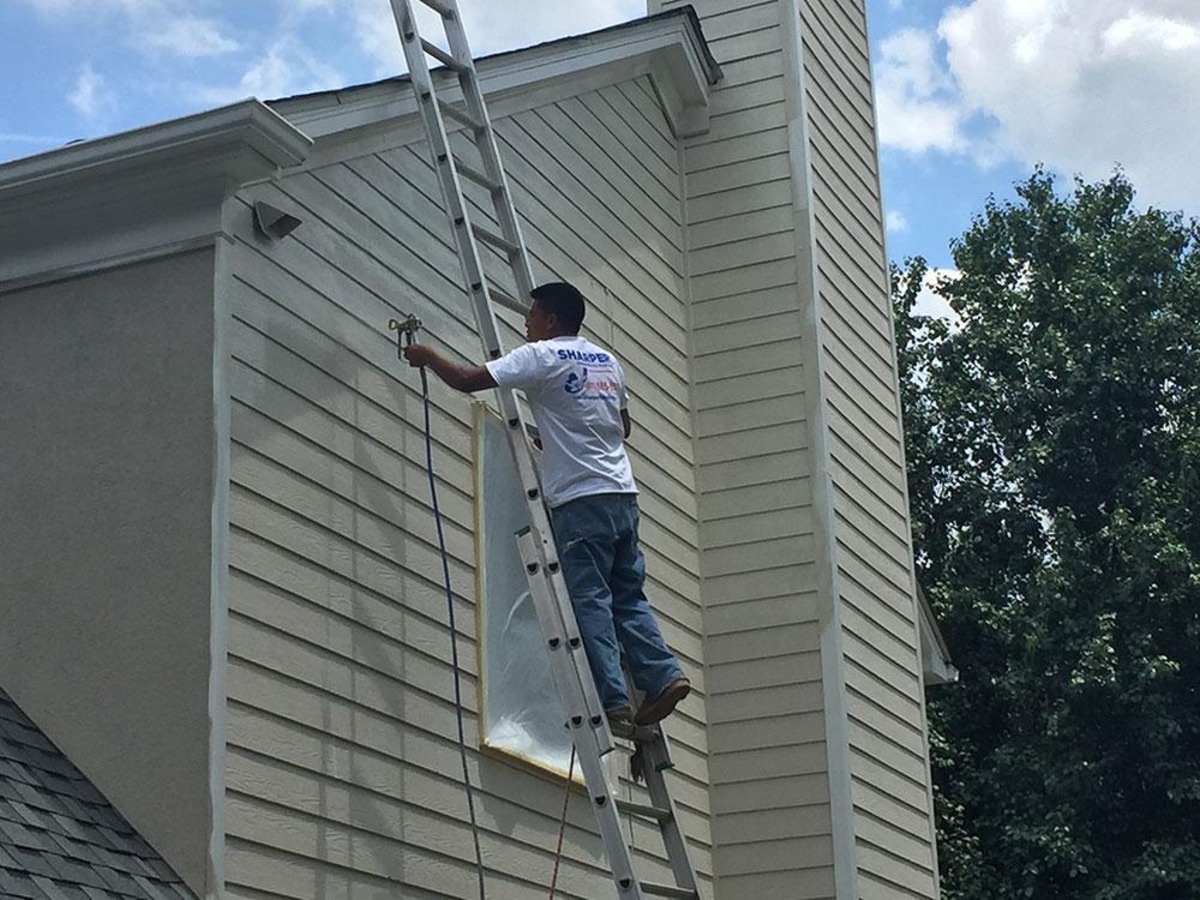
Step 6: Seal and Paint the Repaired Area
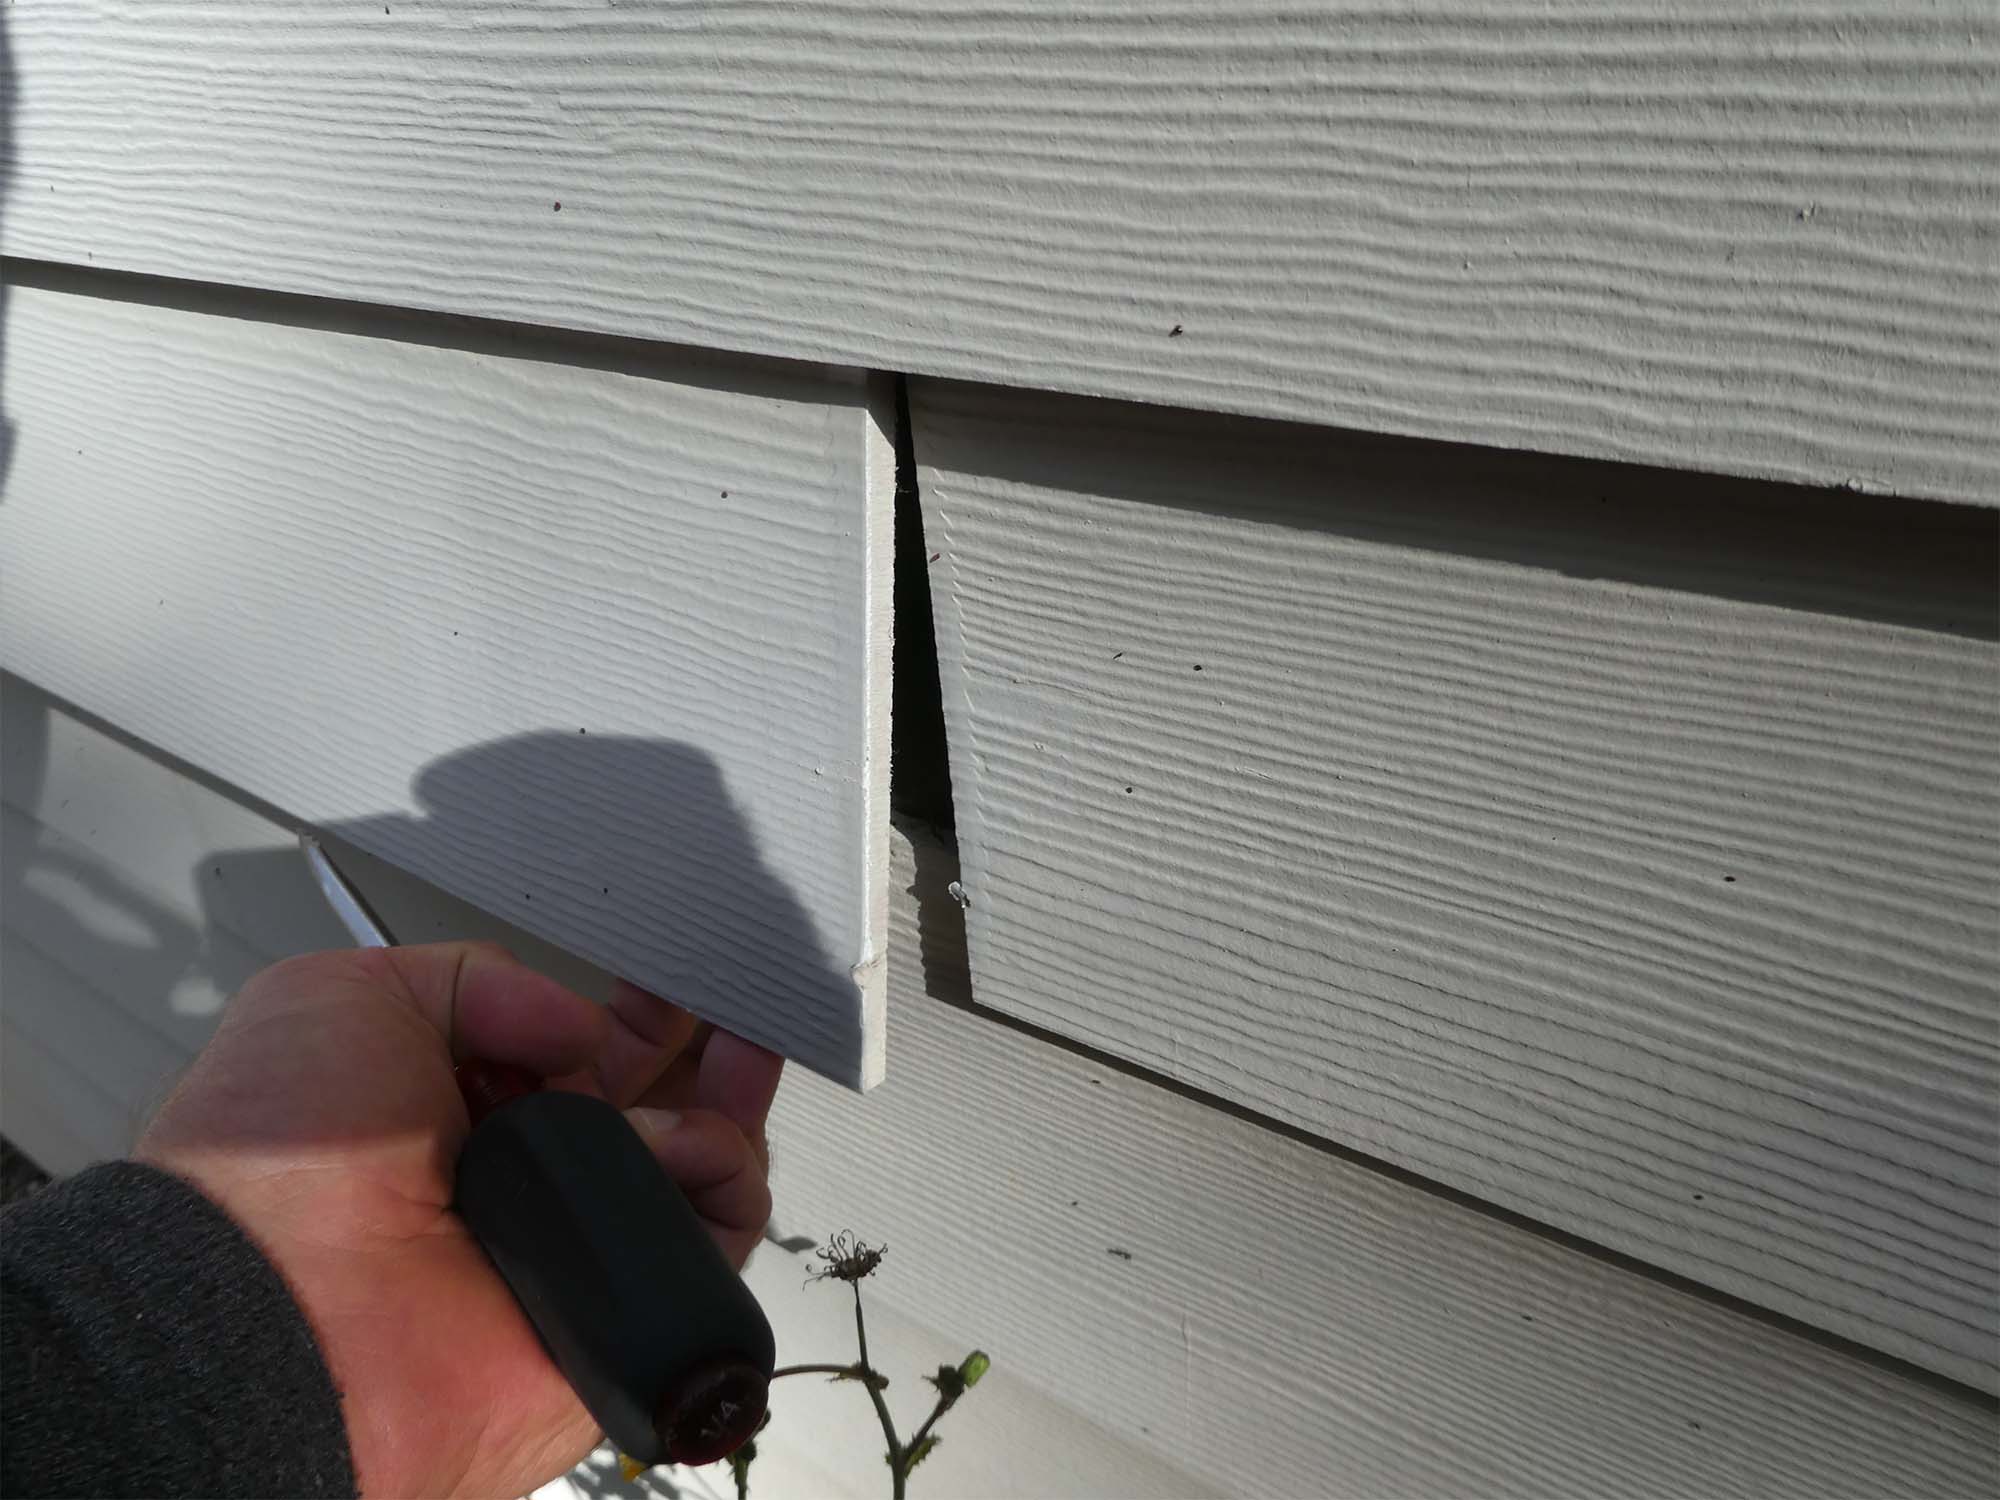
After successfully installing the replacement siding, it’s important to seal and paint the repaired area to ensure its durability and seamlessly blend it with the rest of the siding. Follow these steps to seal and paint the repaired area:
- Inspect the seams and joints between the replacement siding and the existing siding. Fill any gaps or cracks with a high-quality exterior-grade caulk or construction adhesive. Use a caulk gun or putty knife to apply the sealant and smooth it out.
- Allow the sealant to dry completely according to the manufacturer’s instructions. This will help create a watertight and secure bond between the sections of siding.
- Once the sealant is dry, you can proceed with painting the repaired area. Start by applying a primer to ensure proper adhesion of the paint and consistent color coverage. Use a paintbrush or roller to evenly spread the primer onto the repaired siding.
- After the primer has dried, you can proceed with applying the exterior paint. Choose a paint color that matches the rest of the siding for a cohesive and seamless appearance. Apply the paint using a paintbrush or roller, following the manufacturer’s recommendations for drying time and number of coats.
- Allow the paint to dry completely before inspecting the repaired area. Look for any touch-ups or areas that may need additional paint coverage. Apply a second coat if necessary.
By sealing and painting the repaired area, you not only protect the siding from moisture infiltration but also restore the aesthetic appeal of your home’s exterior. Remember to use high-quality sealant and paint products designed for exterior use to ensure long-lasting results.
Congratulations! You have successfully repaired your cement board siding and restored the beauty and functionality of your home’s exterior. Regularly inspect your siding for any signs of damage or wear and address them promptly to maintain the integrity of your home’s exterior.
With these step-by-step instructions, you can confidently tackle cement board siding repairs and save time and money by doing it yourself.
Remember, safety is always a priority when working on home repairs. Wear appropriate personal protective equipment and use caution when handling tools and materials.
Thank you for following this guide, and we hope your cement board siding looks as good as new!
Conclusion
Repairing cement board siding doesn’t have to be a daunting task. With the right materials, tools, and knowledge, you can restore the beauty and functionality of your home’s exterior. By following the step-by-step process outlined in this guide, you can confidently tackle the repair project yourself, saving time and money in the process.
Remember to identify the damaged area, remove the damaged siding, clean, and prepare the surface, cut and install the replacement siding, secure the new siding, and seal and paint the repaired area. Each step is crucial in ensuring a successful and long-lasting repair.
Throughout the process, focus on safety, using protective equipment and working carefully to avoid any injuries or further damage. Take your time and pay attention to detail, as this will yield the best results.
By repairing your cement board siding, you not only enhance the appearance and curb appeal of your home but also protect it from the elements. A well-maintained exterior can increase the value of your property and provide peace of mind.
Regularly inspect your siding for any signs of damage and address them promptly to prevent further issues. Proper maintenance and proactive repairs will extend the lifespan of your cement board siding and ensure its continued durability.
We hope this comprehensive guide has provided you with the knowledge and confidence to repair your cement board siding effectively. Remember, if you ever feel uncomfortable or unsure about any step of the process, it is always best to consult with a professional for assistance.
Thank you for taking the time to learn how to repair cement board siding. Enjoy the satisfaction of a job well done as you admire your restored and beautiful home exterior.
Frequently Asked Questions about How To Repair Cement Board Siding
Was this page helpful?
At Storables.com, we guarantee accurate and reliable information. Our content, validated by Expert Board Contributors, is crafted following stringent Editorial Policies. We're committed to providing you with well-researched, expert-backed insights for all your informational needs.


0 thoughts on “How To Repair Cement Board Siding”