Home>Furniture>Outdoor Furniture>How To Build A Pergola On A Patio
Outdoor Furniture
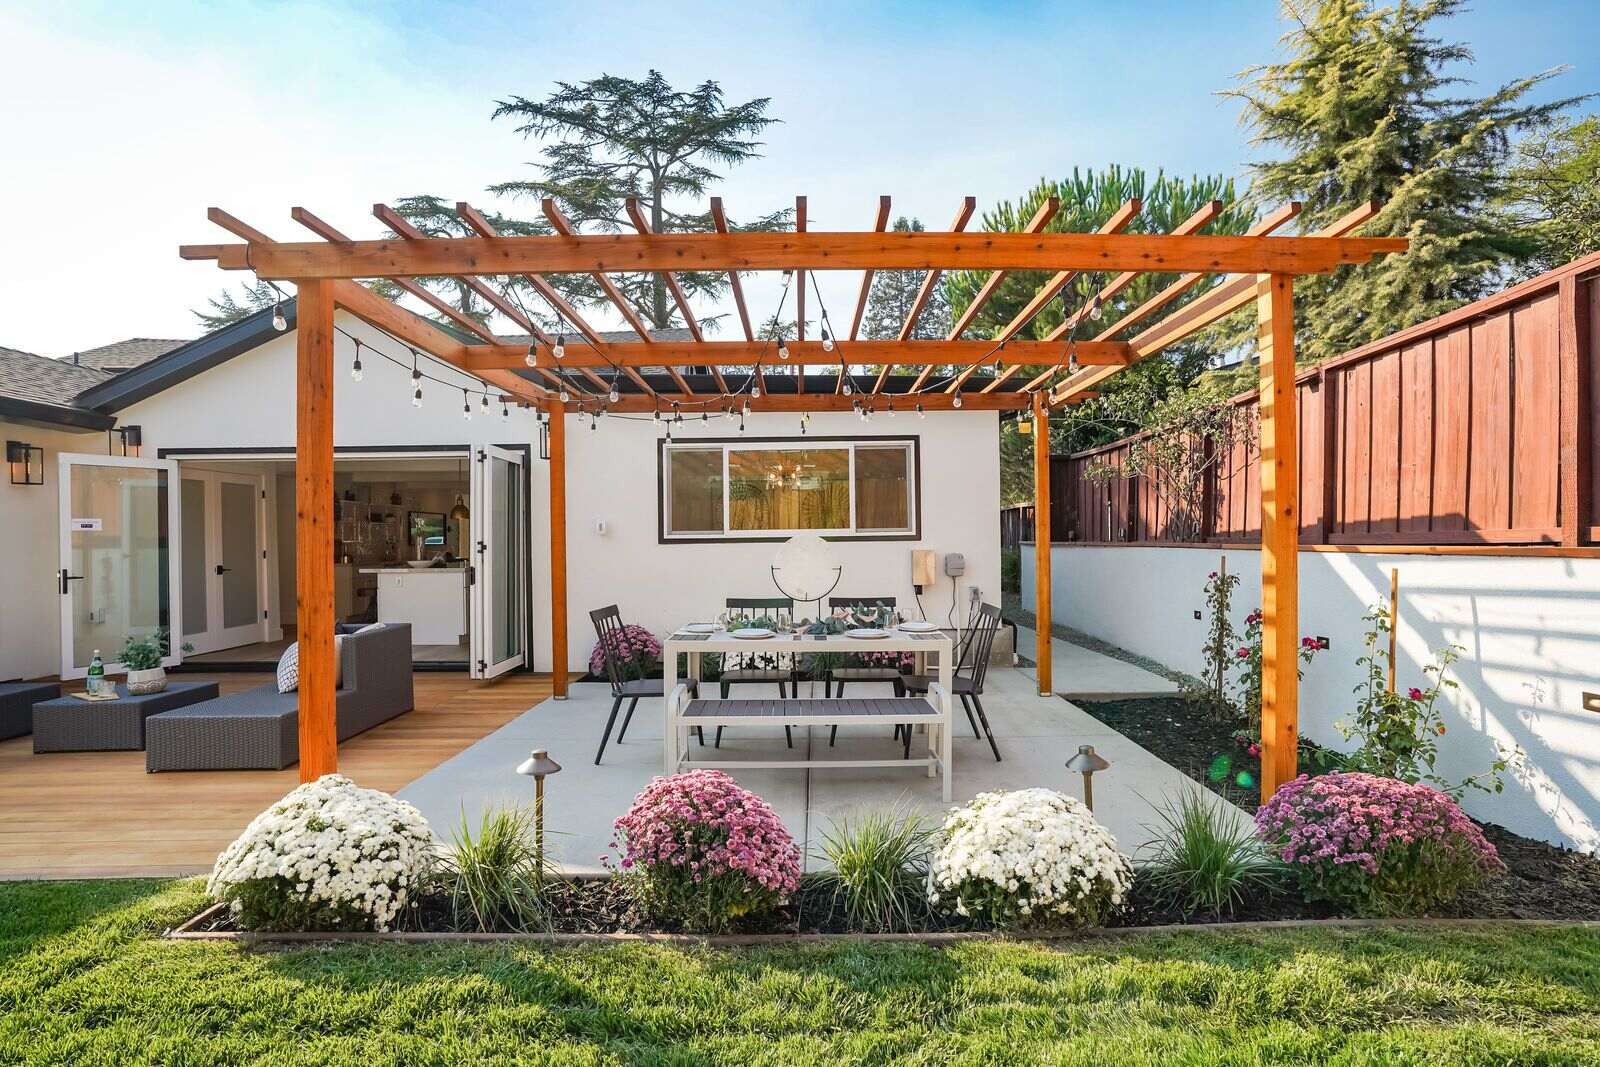
How To Build A Pergola On A Patio
Modified: May 6, 2024
Learn how to build a stunning pergola on your patio to transform it into an inviting outdoor space. Discover expert tips and tricks for creating a perfect retreat with the right outdoor furniture.
(Many of the links in this article redirect to a specific reviewed product. Your purchase of these products through affiliate links helps to generate commission for Storables.com, at no extra cost. Learn more)
Introduction
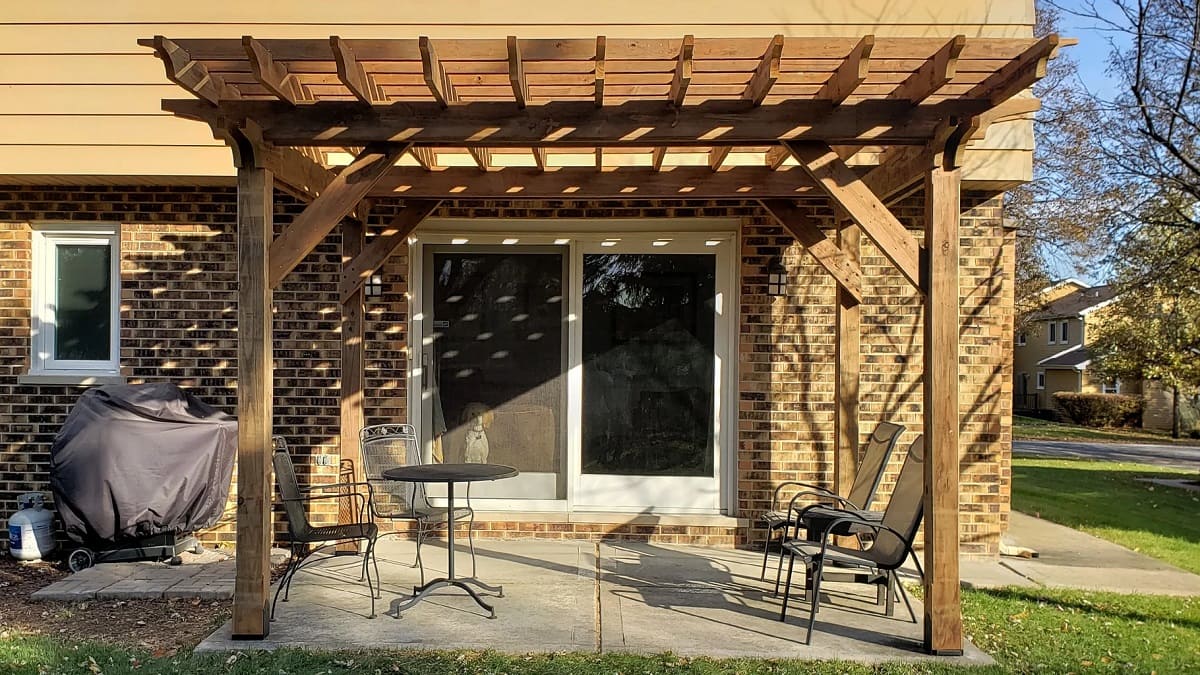
Welcome to our guide on how to build a pergola on a patio. A pergola is a beautiful addition to any outdoor space, providing shade and creating a cozy and inviting atmosphere. Whether you want to create a relaxing lounge area, a dining spot, or simply add some visual interest to your patio, building a pergola can be a rewarding DIY project.
In this article, we will walk you through the step-by-step process of building a pergola on your patio. We will cover everything from gathering materials and tools to installing the shade elements. So, let’s get started!
Important Note: Before you begin any construction project, it’s essential to check with your local building codes and obtain the necessary permits. Additionally, if you’re not confident in your DIY skills, don’t hesitate to consult a professional.
Key Takeaways:
- Building a pergola on your patio requires careful planning, precise measurements, and attention to detail. From gathering materials to adding finishing touches, each step is crucial for creating a sturdy and inviting outdoor space.
- By following the steps in this guide, you can transform your patio into a cozy and stylish oasis. Personalize your pergola with outdoor furniture, lighting, and greenery to create a welcoming retreat right in your own backyard.
Read more: How To Build A Patio Pergola
Step 1: Gather Materials and Tools
Before you start building your pergola, it’s important to gather all the necessary materials and tools. Here are the things you’ll need:
- Pressure-treated wooden posts
- Pressure-treated wooden beams and crossbeams
- Galvanized steel brackets and screws
- Concrete mix
- Digging tools (shovel, post hole digger)
- Tape measure
- Level
- Drill with drill bits
- Circular saw or miter saw
- Safety equipment (gloves, safety glasses, etc.)
Make sure to choose high-quality materials that are suitable for outdoor use and can withstand the elements. Pressure-treated wood is a common choice due to its durability and resistance to rot and insects.
Once you have gathered all the materials, it’s time to move on to the next step.
Step 2: Measure and Mark the Patio
With your materials and tools ready, it’s time to measure and mark the area on your patio where the pergola will be constructed. This step is crucial to ensure proper placement and alignment.
Start by deciding where you want the pergola to be located on your patio. Consider factors such as the orientation of the sun, surrounding landscape, and any existing structures. Once you have determined the ideal spot, mark the corners with stakes or spray paint.
Next, use a tape measure to determine the dimensions of your pergola. Measure the length and width of the desired area and mark the dimensions on the patio. Use a level to ensure that your markings are straight and accurately aligned.
Take into account any necessary clearance from existing structures, such as the side of a house or a nearby tree. Allow enough space for the pergola to fit comfortably and to provide ample shade.
Double-check your measurements before proceeding to the next step. Accuracy at this stage is vital, as it will determine the overall stability and aesthetics of your pergola.
Once you are confident in your measurements and markings, you are ready to move on to preparing the ground for the pergola installation.
Step 3: Prepare the Ground
Before you can start installing the pergola, it’s crucial to prepare the ground to ensure a stable and level foundation. Here are the steps to follow:
1. Clear the area: Remove any obstacles, debris, or plants from the marked area. This includes rocks, weeds, and grass. Use a shovel or a garden rake to thoroughly clear the ground. Ensure that the area is clean and free of any potential obstructions.
2. Dig post holes: Use a post hole digger or a shovel to dig holes for the pergola posts. The depth of the holes will depend on the height of your pergola and the specific recommendations of your local building codes. As a general guideline, the holes should be at least 2 feet deep to provide sufficient stability.
3. Level the ground: Once the post holes are dug, use a level to ensure that the ground is even and flat. This will help ensure that the pergola is stable and properly aligned. If necessary, use a shovel to remove or add soil to level the ground.
4. Secure the post holes: To further stabilize the ground, you can add gravel at the bottom of the post holes. This will provide additional drainage and prevent the posts from sinking into the soil over time.
5. Set the posts: Place the pressure-treated wooden posts into the prepared holes. Make sure they are straight and level by using a level to check all sides. Once the posts are properly aligned, fill the holes with concrete mix around the base of the posts. This will anchor the posts and provide added stability.
6. Allow the concrete to cure: Follow the manufacturer’s instructions for the concrete mix and allow the posts to set and cure. This typically takes around 24 to 48 hours. Avoid placing any weight or strain on the posts during this time.
With the ground properly prepared, and the posts securely set, you are now ready to move on to the next step of installing the support beams for your pergola.
Step 4: Set the Posts
Now that the ground is prepared, it’s time to set the posts for your pergola. The posts will provide the main support for the structure. Follow these steps to set the posts:
1. Insert the posts: Take the pressure-treated wooden posts and carefully insert them into the holes you previously dug. Ensure that each post is positioned securely in the center of its respective hole.
2. Check for level: Use a level to make sure that each post is perfectly vertical. Adjust the position of the posts if necessary to ensure they are level before proceeding.
3. Brace the posts: To keep the posts level and in place, use temporary bracing. This can be done by attaching a diagonal beam from the top of one post to the bottom of the adjacent post. Make sure the bracing is secure and provides enough support to keep the posts stable.
4. Fill the holes with concrete: Slowly pour concrete mix around each post, ensuring that it completely fills the hole. Use a shovel or trowel to compact the concrete and eliminate any air pockets. Continue this process until all the post holes are filled with concrete.
5. Smooth the surface: Once the concrete is in place, smooth the surface using a trowel. This will provide a clean and level base for attaching the support beams.
6. Allow the concrete to cure: Give the concrete ample time to cure before moving on to the next step. Follow the manufacturer’s instructions for the recommended curing time. This typically takes around 24 to 48 hours.
During this curing period, be cautious not to disturb the posts or put any weight or strain on them. The stability of your pergola depends on the proper installation and curing of the posts.
Once the concrete has cured, and the posts are securely in place, you are ready to proceed to the next step: installing the support beams for your pergola.
Read more: How To Fix A Pergola To A Patio
Step 5: Install the Support Beams
With the posts securely set, it’s time to install the support beams for your pergola. These beams will provide the framework for the crossbeams and shade elements. Follow these steps to install the support beams:
1. Measure and cut the beams: Measure the distance between each pair of posts along the width of the pergola. Cut the pressure-treated wooden beams to the appropriate length using a circular saw or a miter saw. Ensure that the beams are level and align correctly with the posts.
2. Attach the beams to the posts: Using galvanized steel brackets and screws, attach the support beams to the posts. Place the brackets at the desired height on the posts, ensuring they are aligned and level. Then, secure the beams to the brackets using screws.
3. Check for level and stability: Use a level to ensure the support beams are level and straight. Adjust the position of the beams or tighten the screws as necessary to ensure stability. It’s important to double-check the alignment of the beams with the posts to ensure a secure and even structure.
4. Add additional support if needed: Depending on the size and design of your pergola, you may want to add additional support beams for added stability. This can be done by attaching crossbeams between the support beams or installing diagonal bracing for extra reinforcement.
5. Double-check measurements and alignment: Before proceeding to the next step, carefully inspect the support beams to ensure they are properly aligned, level, and securely attached to the posts. Make any necessary adjustments or corrections before moving on.
With the support beams in place, your pergola is starting to take shape. The next step is to install the crossbeams, which will provide additional structure and support for the shade elements of your pergola.
When building a pergola on a patio, make sure to anchor the posts securely to the patio surface to ensure stability and prevent shifting over time. Use anchor brackets or concrete anchors for a strong and durable installation.
Step 6: Attach the Crossbeams
Now that the support beams are in place, it’s time to attach the crossbeams to complete the framework of your pergola. The crossbeams not only add structural integrity but also serve as a base for attaching the shade elements. Follow these steps to attach the crossbeams:
1. Measure and cut the crossbeams: Measure the distance between the support beams along the length of the pergola. Cut the pressure-treated wooden crossbeams to the appropriate length using a circular saw or a miter saw. It’s essential to ensure that the crossbeams align correctly with the support beams.
2. Position the crossbeams: Place the cut crossbeams onto the support beams, making sure they are evenly spaced and aligned. Use a tape measure to maintain consistent spacing between the crossbeams, or use a spacer block for easier and more precise positioning.
3. Attach the crossbeams: Using galvanized steel brackets and screws, secure the crossbeams to the support beams. Position the brackets at the intersection point of the crossbeam and the support beam and attach them with the screws. Make sure to tighten the screws securely to ensure stability.
4. Check for level and alignment: Use a level to ensure that the crossbeams are level both horizontally and vertically. Adjust the position of the crossbeams if necessary to achieve proper alignment. This step is crucial for maintaining a visually pleasing and structurally sound pergola.
5. Double-check measurements and stability: Carefully inspect the crossbeams to ensure they are securely attached and provide stable support. Confirm that the measurements and spacing between the crossbeams are consistent throughout the entire pergola. Make any necessary adjustments or corrections as needed.
With the crossbeams installed, your pergola’s framework is now complete. The next step is to add the shade elements, which will provide the desired amount of shade and enhance the aesthetics of your pergola.
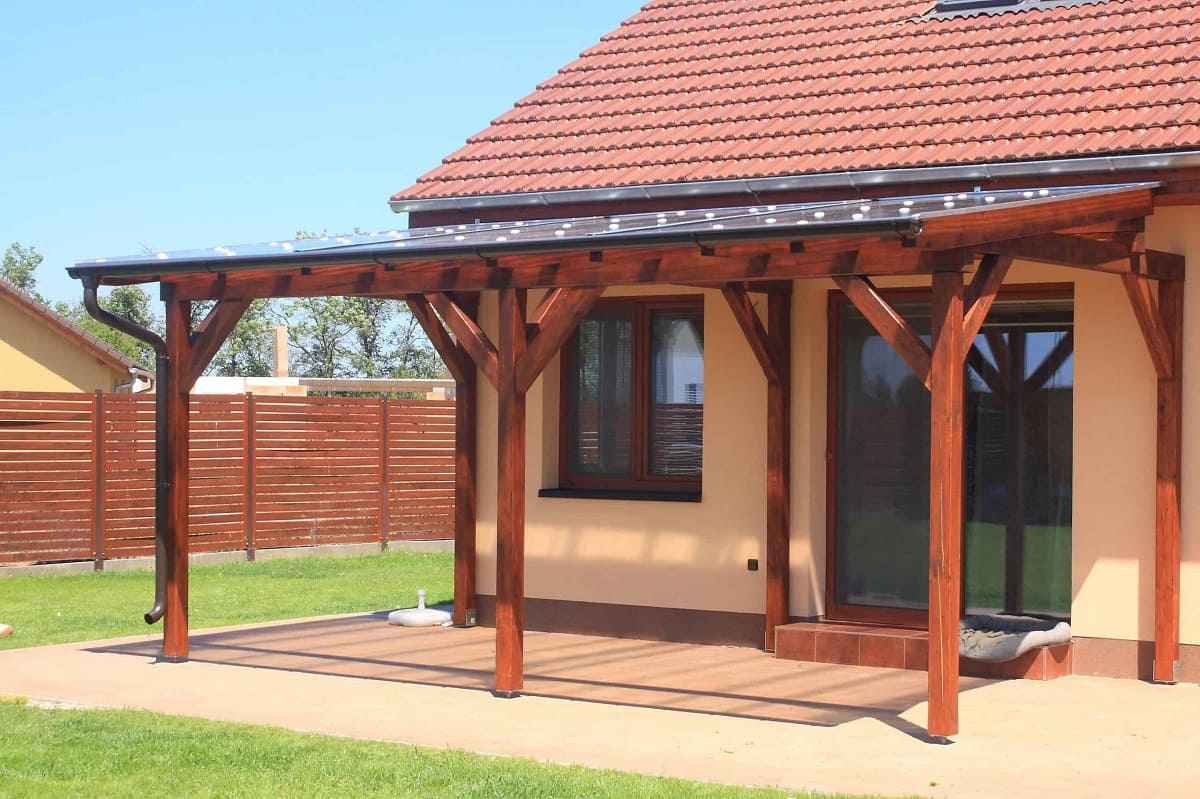
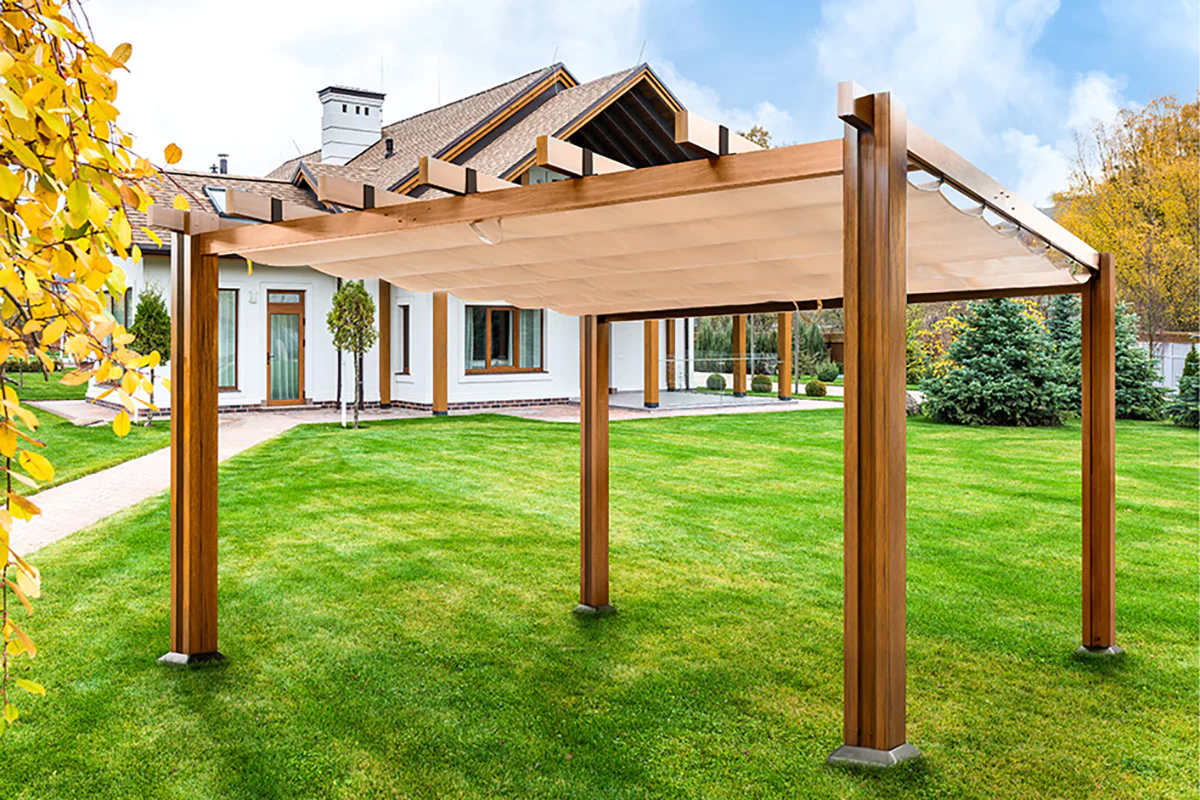
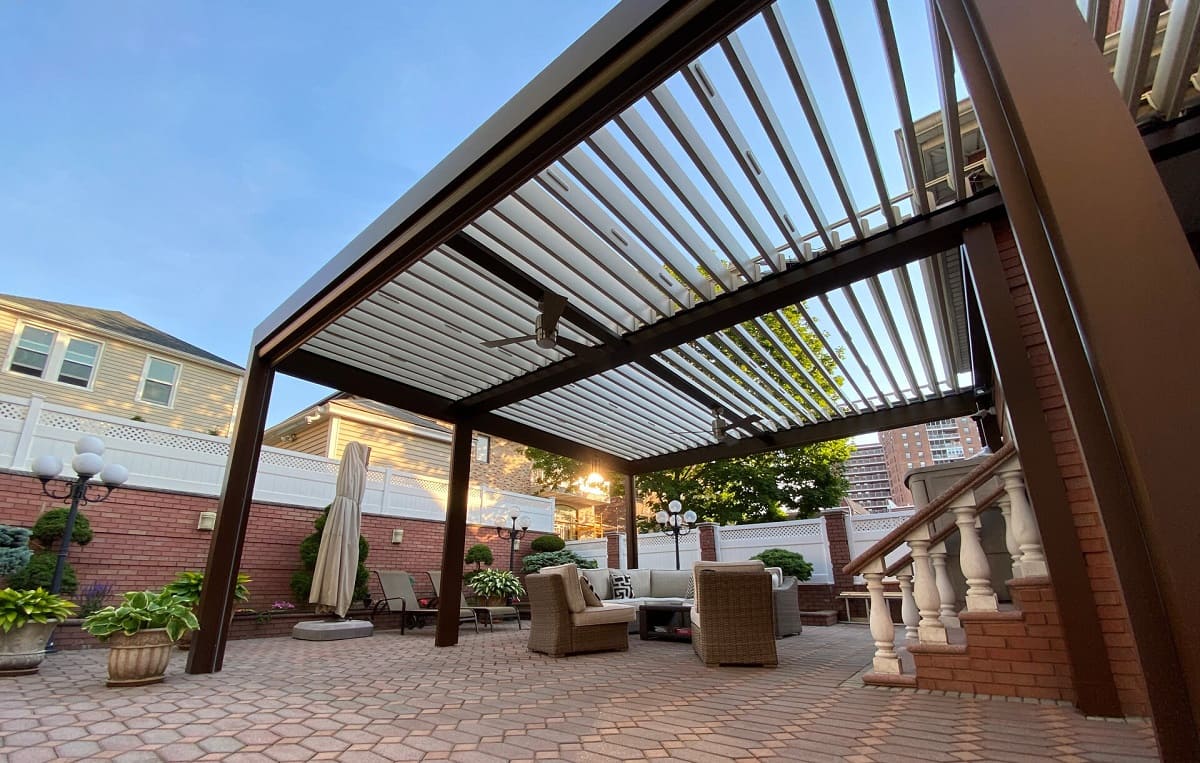
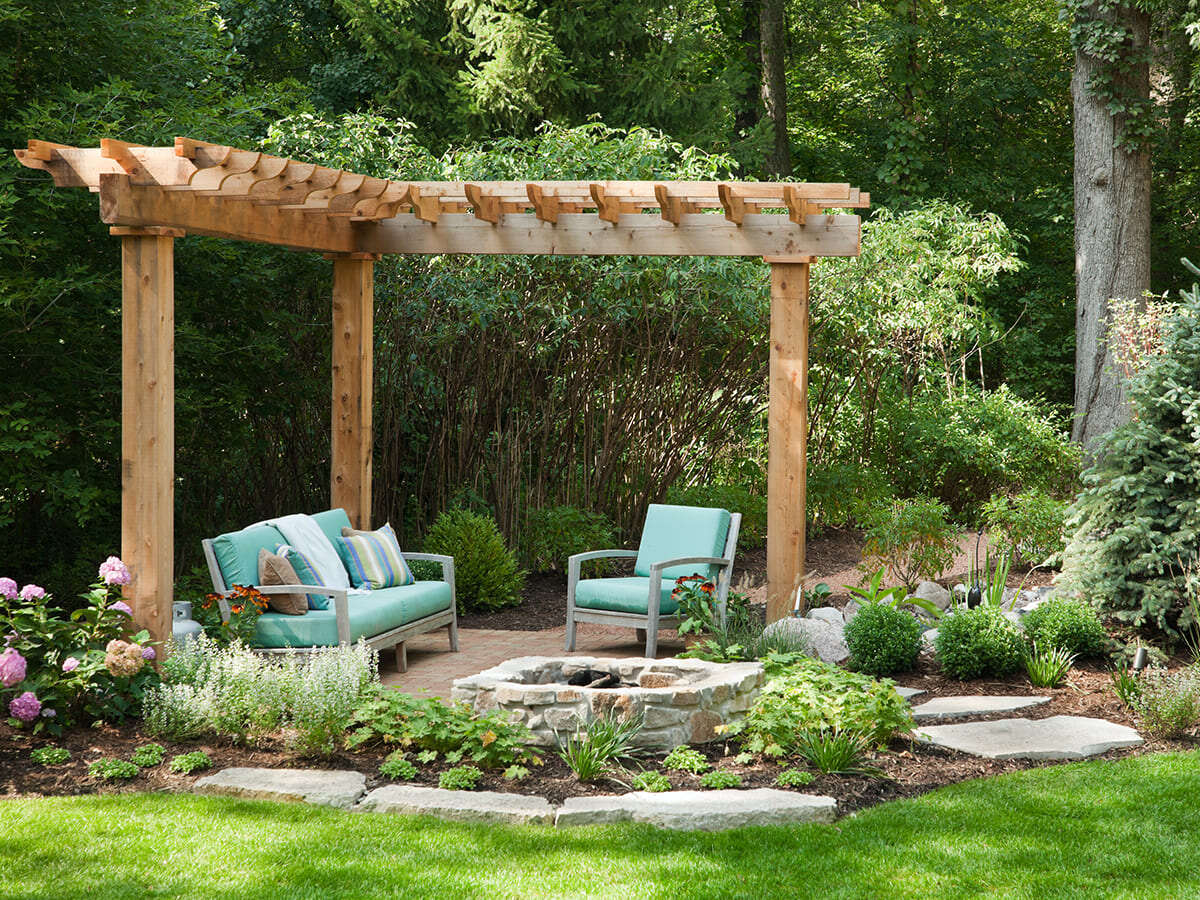
Step 7: Add the Shade Elements
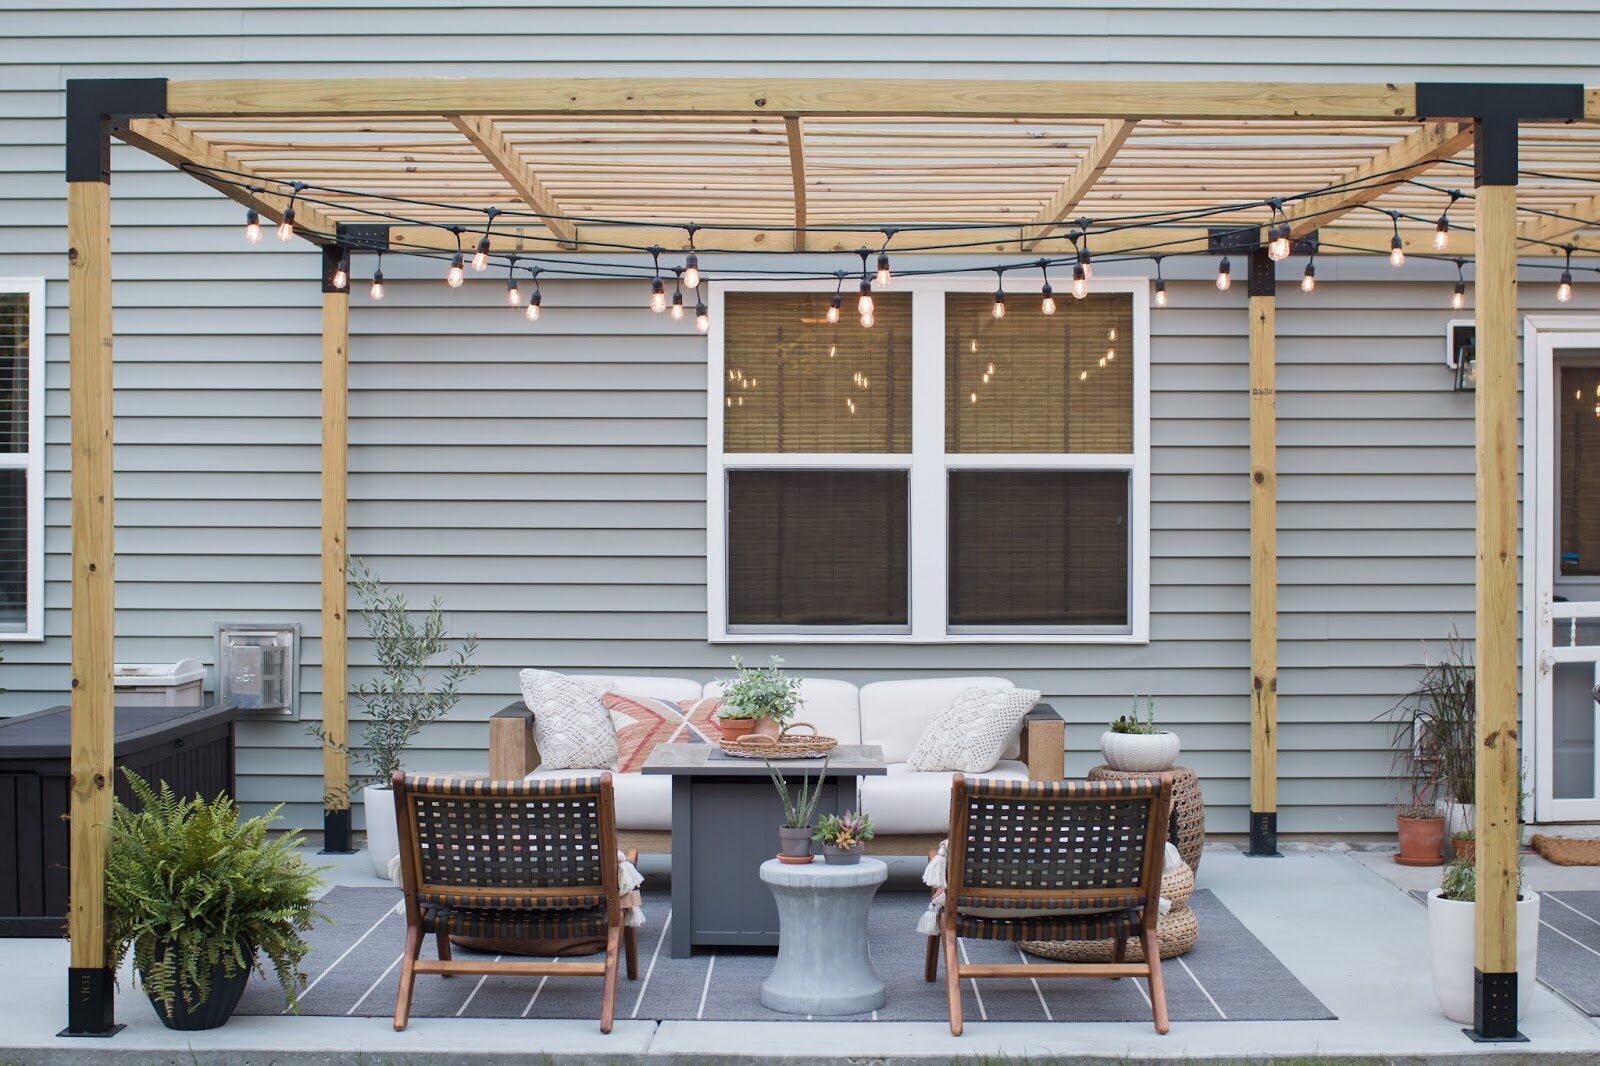
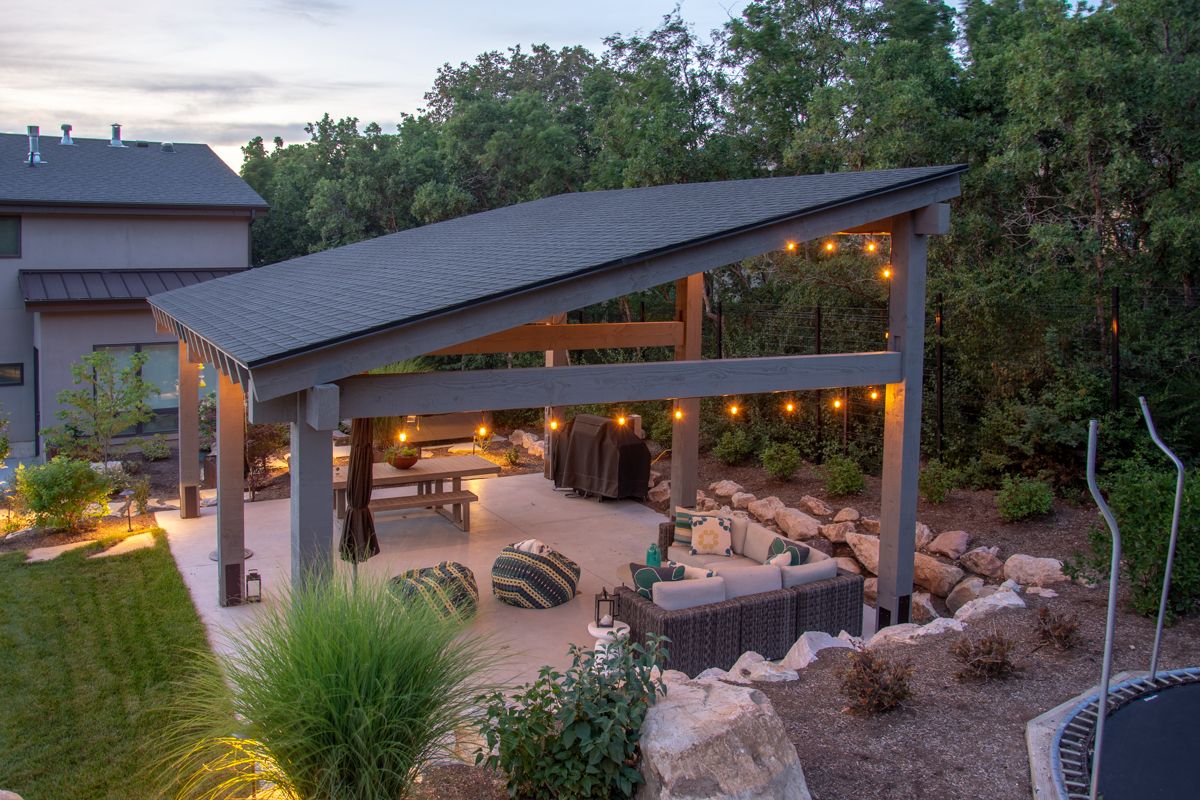
Adding shade elements to your pergola not only enhances its functionality but also contributes to its overall aesthetic appeal. These shade elements can include fabric canopies, slats, or a combination of both. Follow these steps to add shade elements to your pergola:
1. Choose your shade material: Determine the type of shade element you want for your pergola. Options include fabric canopies, wooden slats, or a combination of both. Consider the level of shade desired, the amount of privacy needed, and the overall look you want to achieve for your outdoor space.
2. Install the shade elements: If you are using fabric canopies, attach them to the top of the pergola by securing them in place with hooks or fasteners. Make sure the canopies are stretched tightly and evenly to provide a clean and uniform appearance. If you prefer wooden slats, attach them to the top of the pergola using screws or nails. Space the slats evenly, ensuring they provide the desired amount of shade.
3. Consider additional shade options: Depending on your preference and the climate of your area, you may want to incorporate additional shade options. This can include installing retractable shades that can be extended or retracted as needed, or adding climbing plants such as vines or ivy to create a natural and lush shade canopy.
4. Test the shade elements: Once the shade elements are installed, check their functionality and adjust as necessary. Ensure that the shade provides adequate coverage and protection from the sun while allowing the desired amount of airflow and natural light.
5. Personalize and decorate: Take this opportunity to add personal touches and decorations to your pergola. Consider adding string lights, outdoor curtains, or potted plants to create a cozy and inviting atmosphere that reflects your style and personality.
By adding shade elements, you are transforming your pergola into a comfortable and functional outdoor retreat. The final steps involve securing the pergola and adding finishing touches to complete your project.
Step 8: Secure the Pergola
Securing the pergola is an essential step to ensure its stability and longevity. By properly securing the structure, you can have peace of mind knowing that your pergola will withstand various weather conditions. Follow these steps to secure your pergola:
1. Check the posts and beams: Inspect the posts and support beams to ensure they are securely in place and properly aligned. Tighten any loose screws or brackets and make any necessary adjustments to ensure a stable foundation.
2. Use metal brackets or braces: To reinforce the structure, consider using metal brackets or braces at the joints of the posts and beams. These brackets provide additional support and help prevent the pergola from shifting or swaying.
3. Anchor the pergola to the ground: Install ground anchors or post brackets into the concrete around the base of each post. These anchors will secure the pergola to the ground, preventing it from being lifted or moved by strong winds or other external forces.
4. Consider additional anchoring methods: Depending on your specific situation, you may need to explore additional anchoring methods. This can include attaching the pergola to an existing structure, such as a house or deck, for added stability. Consult with a professional if you are unsure about the best anchoring method for your pergola.
5. Regularly inspect and maintain: After securing the pergola, it’s important to regularly inspect the structure for any signs of damage or wear. Check for loose screws, cracks, or rot and address any issues promptly. Additionally, perform routine maintenance tasks such as cleaning, sealing, and re-painting or staining as necessary to protect the wood from the elements.
By properly securing your pergola, you are ensuring the safety and durability of the structure. With the pergola securely in place, you are ready to move on to the final step of adding the finishing touches.
Read more: How To Build A Pergola Roof
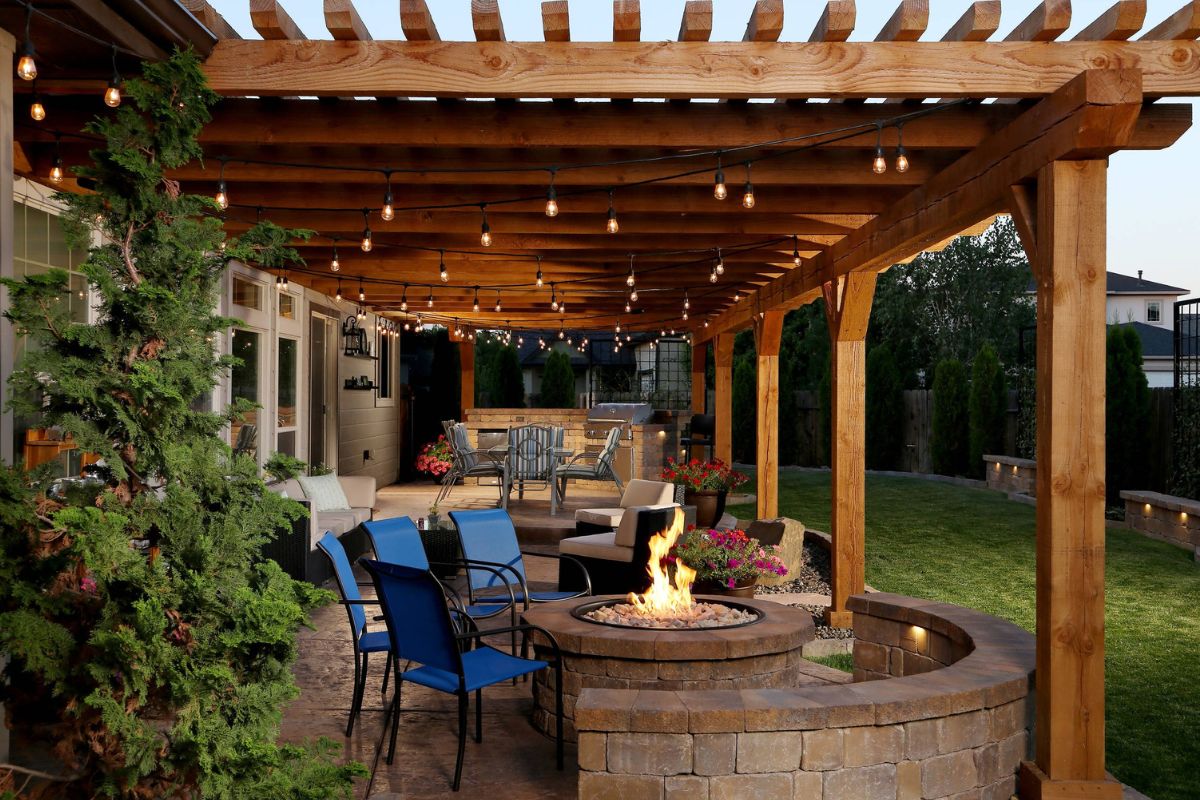
Step 9: Finishing Touches
Now that your pergola is secure and structurally sound, it’s time to add the finishing touches that will elevate its appearance and make it a truly inviting outdoor space. These final touches will personalize your pergola and create a cozy atmosphere. Here are some ideas:
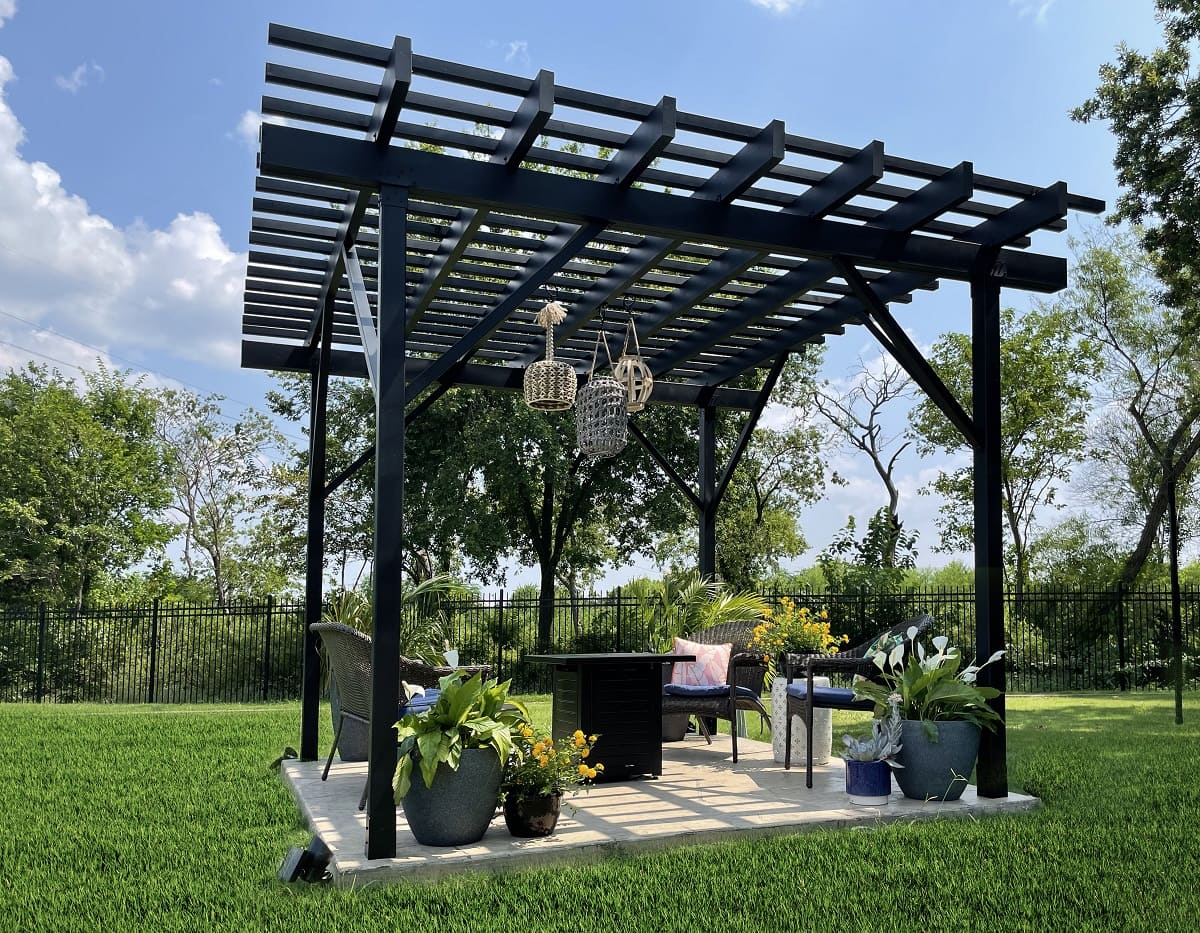
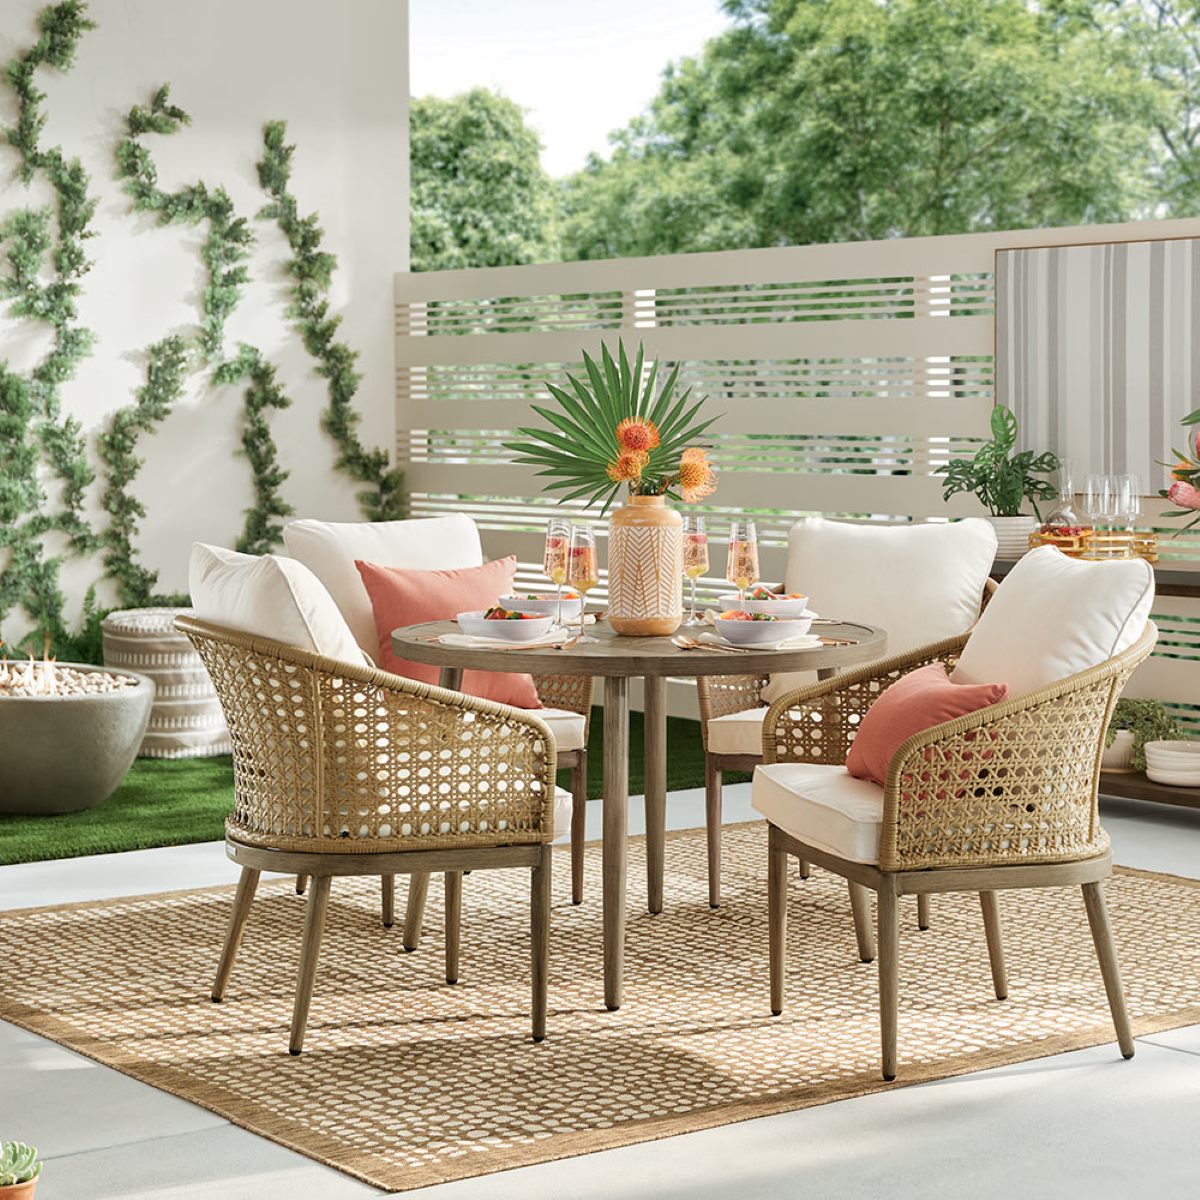
1. Choose outdoor furniture: Select comfortable and stylish outdoor furniture that complements the design and size of your pergola. Consider options such as lounge chairs, a dining table and chairs, or a cozy seating area with outdoor sofas and coffee tables. Arrange the furniture in a way that maximizes space and encourages conversation.
2. Add lighting: Install outdoor lighting options to extend the usability of your pergola into the evening hours. String lights, lanterns, or solar-powered path lights can create a magical ambience. Consider installing dimmers or timers to customize the lighting experience.
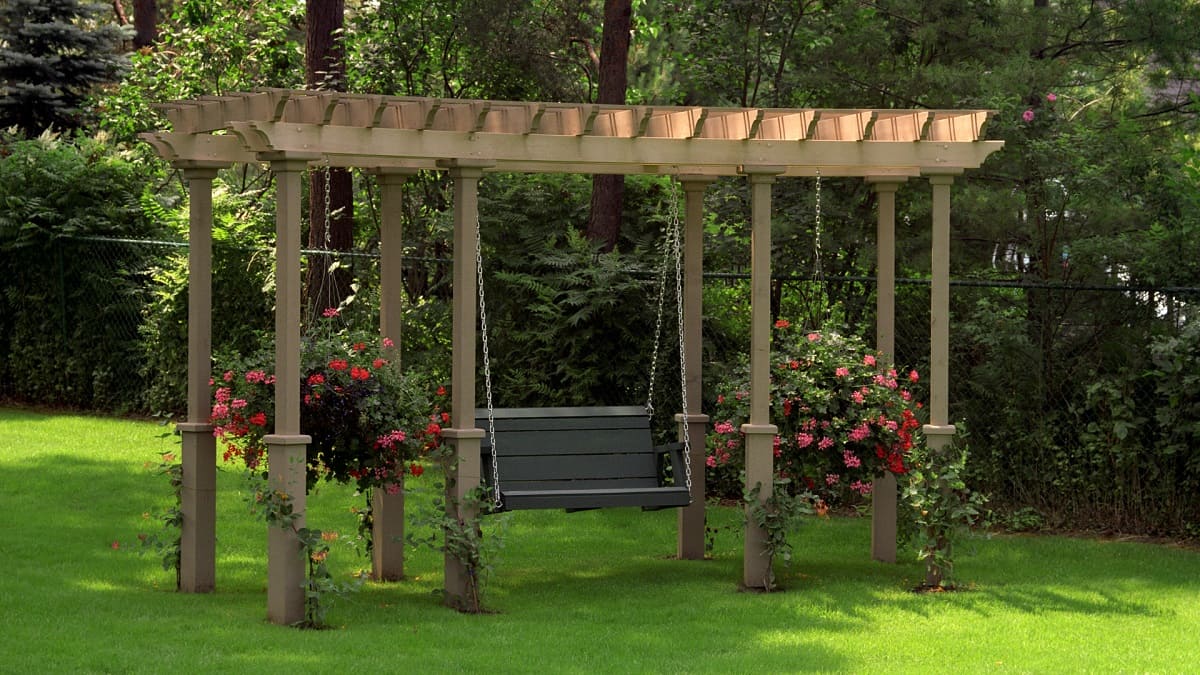
3. Incorporate planters and greenery: Enhance the natural beauty of your pergola by adding planters filled with vibrant flowers, aromatic herbs, or lush greenery. Hang pots or plant climbing vines along the sides of the pergola to create a natural, green canopy.
4. Install a ceiling fan or misting system: Beat the heat while enjoying your pergola by installing a ceiling fan or misting system. These additions provide a cooling breeze and help create a comfortable outdoor environment during hot summer days.
5. Include shading options: To enhance the flexibility of your pergola, consider adding retractable shades or curtains. These can be adjusted as needed to control the amount of sunlight and privacy. Opt for durable and weather-resistant fabrics that can withstand the outdoor elements.
6. Decorate with accessories: Give your pergola a personal touch by incorporating decorative elements such as outdoor rugs, throw pillows, and weather-resistant artwork. These accessories will add color, texture, and personality to your outdoor space.
7. Maintain and clean regularly: Keep your pergola looking its best by regularly cleaning and maintaining it. Sweep away debris, wipe down surfaces, and inspect for any damage. Perform routine maintenance tasks such as reapplying sealant or repainting/staining as needed to protect the wood and maintain its appearance.
By adding these finishing touches, you will transform your pergola into a welcoming and stylish outdoor retreat. Take the time to curate the space with your personal style in mind, and enjoy the beauty and functionality of your newly completed pergola.
Conclusion
Congratulations! You have successfully learned how to build a pergola on your patio. By following the steps outlined in this guide, you have created a beautiful outdoor space that adds both functionality and visual appeal to your home.
Building a pergola requires careful planning, precise measurements, and attention to detail. From gathering materials and tools to securing the pergola, each step is crucial to ensure a sturdy and long-lasting structure.
With your pergola in place, don’t forget to add the finishing touches that will make it a cozy and inviting space. Choose outdoor furniture, lighting, and planters to personalize your pergola and create a comfortable oasis right in your own backyard.
Remember that regular maintenance is key to preserving the beauty and longevity of your pergola. Perform routine inspections, cleanings, and necessary repairs to keep it in optimal condition.
Whether you use your pergola to relax and unwind, entertain guests, or enjoy meals outdoors, it will undoubtedly become a favorite spot in your home. Embrace the shade it provides on sunny days, the shelter from light rain, and the magical atmosphere it creates at dusk.
We hope this guide has been helpful in guiding you through the process of building a pergola on your patio. Enjoy your new outdoor haven and create memorable moments in the comfort of your own backyard!
Once you've mastered building a pergola, why not expand your skills with some exciting woodworking projects? Whether you're a novice or a seasoned woodworker, these ideas will surely inspire your next creation. For those who enjoy sprucing up their outdoor areas, exploring vibrant decor and simple enhancements can turn any deck into a haven for outdoor living. And if you're dreaming of the ultimate backyard escape, dive into a variety of covered patio ideas designed to transform any outdoor space into a luxurious retreat.
Frequently Asked Questions about How To Build A Pergola On A Patio
Was this page helpful?
At Storables.com, we guarantee accurate and reliable information. Our content, validated by Expert Board Contributors, is crafted following stringent Editorial Policies. We're committed to providing you with well-researched, expert-backed insights for all your informational needs.

0 thoughts on “How To Build A Pergola On A Patio”