Home>Renovation & DIY>Tools & Equipment>How To Use Black And Decker Stud Finder

Tools & Equipment
How To Use Black And Decker Stud Finder
Modified: January 4, 2024
Learn how to effectively use the Black and Decker stud finder to locate studs in your walls and make your DIY projects easier. Get tips and tricks for using this essential tool. Discover more at [Your Website Name].
(Many of the links in this article redirect to a specific reviewed product. Your purchase of these products through affiliate links helps to generate commission for Storables.com, at no extra cost. Learn more)
Introduction
Welcome to the world of DIY home improvement! Whether you're a seasoned DIY enthusiast or a novice looking to hang a new shelf or mount a TV, having the right tools is essential. One such tool that can make your life easier is the Black and Decker stud finder. This handy device takes the guesswork out of locating studs behind your walls, ensuring that your fixtures and fittings are securely anchored.
In this comprehensive guide, we will delve into the intricacies of the Black and Decker stud finder, exploring how it works, how to use it effectively, and some valuable tips for successful stud finding. By the end of this article, you'll feel confident in your ability to navigate the ins and outs of this essential tool, empowering you to tackle your home improvement projects with ease.
So, let's dive in and unlock the potential of the Black and Decker stud finder!
Key Takeaways:
- Mastering the Black and Decker stud finder empowers DIY enthusiasts to confidently locate studs and anchor fixtures with precision, unlocking the potential of their living space for creative home improvement projects.
- Understanding wall composition, consistent pressure, and verification techniques are key to optimizing the accuracy and efficiency of stud finding with the Black and Decker stud finder, ensuring successful DIY projects.
Read more: How To Use Hart Stud Finder
Understanding the Black and Decker Stud Finder
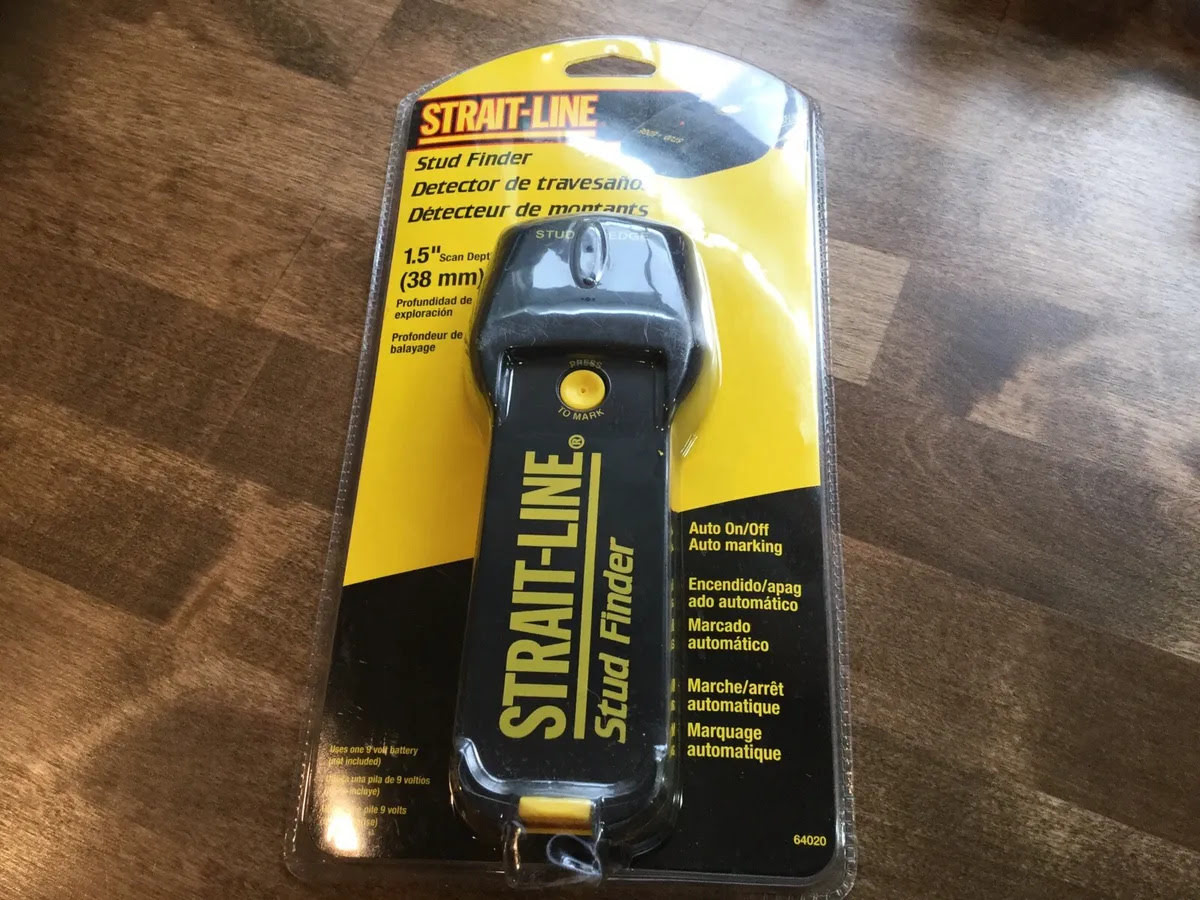
Before we jump into using the Black and Decker stud finder, it’s important to understand how this nifty device operates. Essentially, a stud finder is designed to detect the presence of studs, joists, or beams behind the surface of a wall. This capability is crucial for anyone looking to hang heavy objects, such as shelves, mirrors, or cabinets, as it allows you to anchor them securely to the wall’s structural supports.
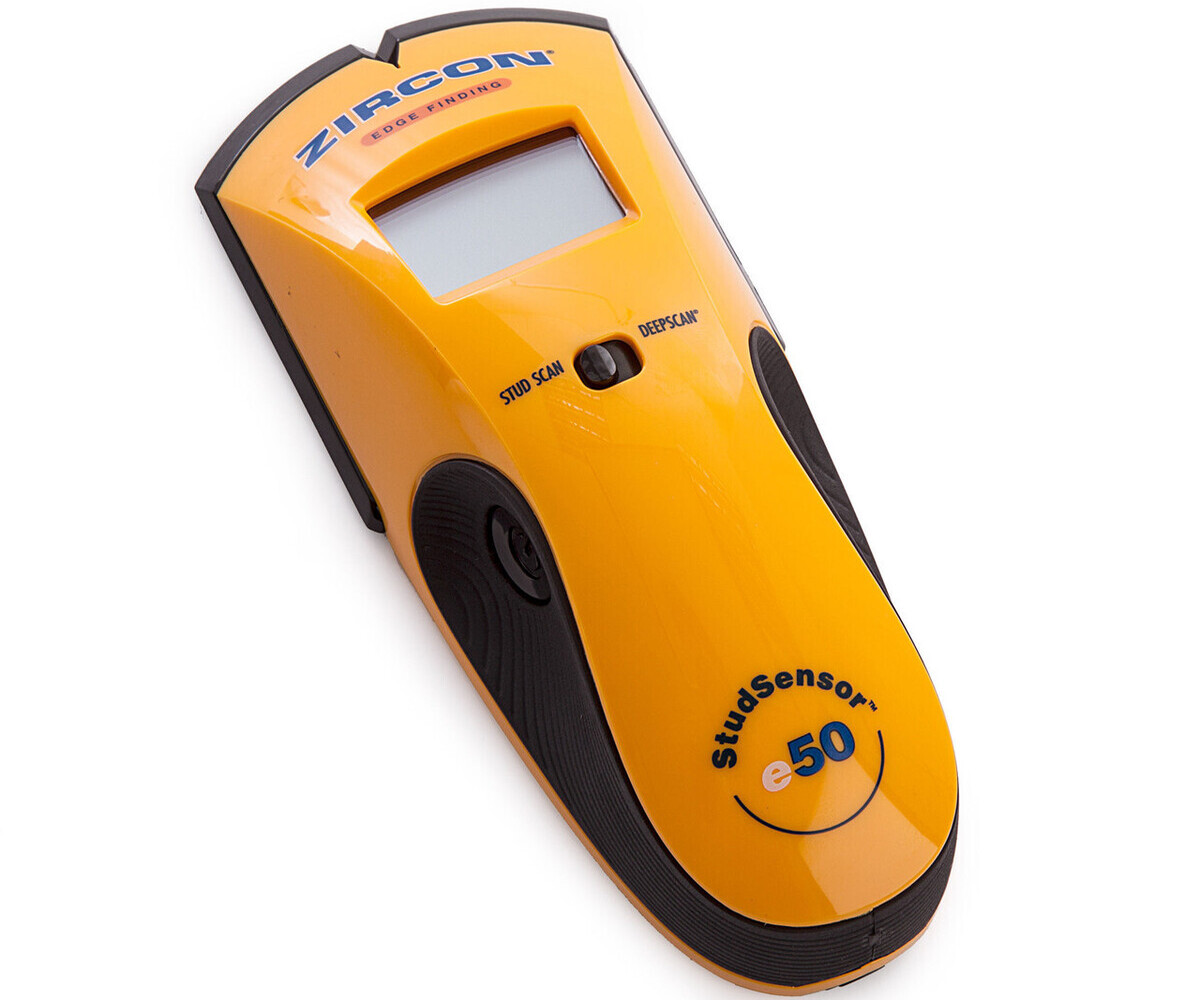
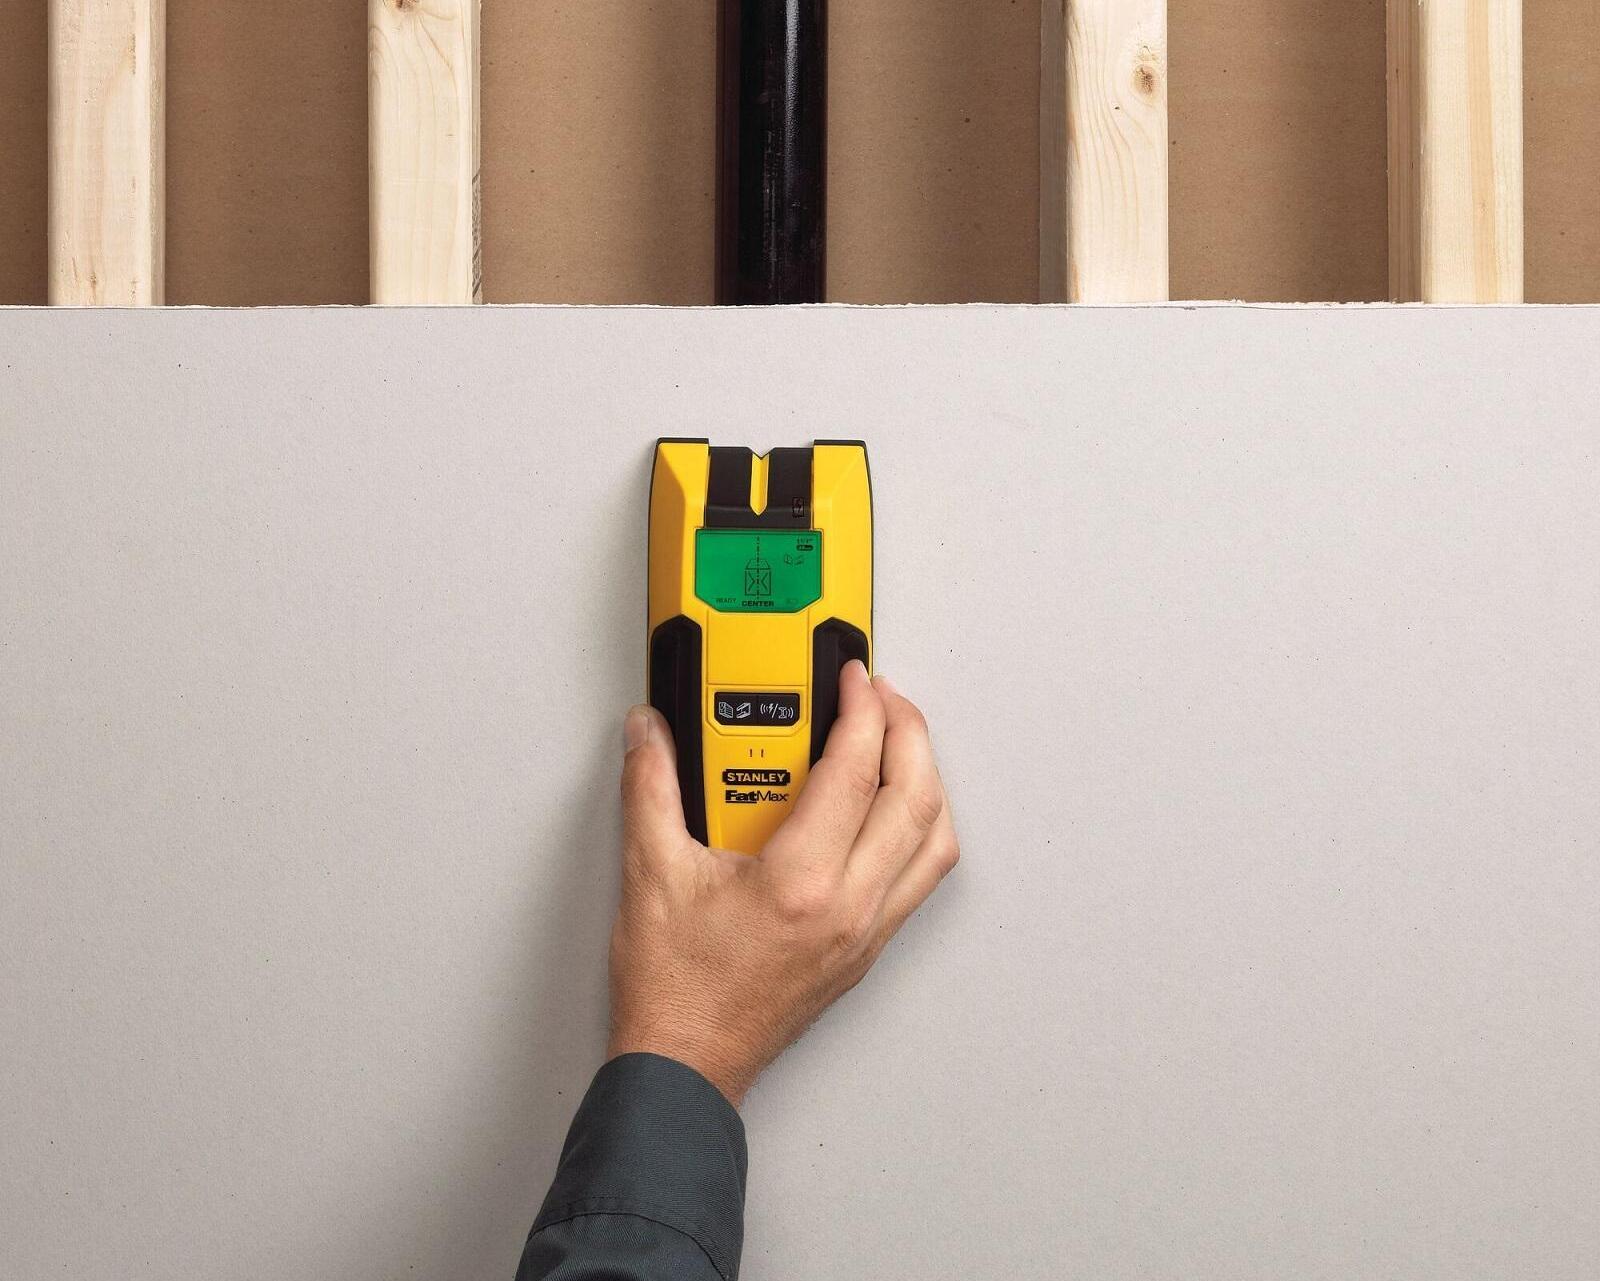
The Black and Decker stud finder utilizes electronic sensors to locate changes in wall density, indicating the presence of a stud. When placed against a wall, the device emits a signal that penetrates the surface, analyzing the variations in density. Once a stud is detected, the stud finder alerts the user, typically through visual or audible indicators, providing a clear signal of the stud’s location.
Modern stud finders, including those from Black and Decker, often incorporate advanced features such as deep scanning capabilities, which enable them to identify the center and edges of a stud, offering a more comprehensive understanding of the wall’s internal structure. Some models also include live AC wire detection, adding an extra layer of safety by alerting users to the presence of electrical wiring within the wall.
It’s important to note that while stud finders are incredibly useful, they are not foolproof. Factors such as wall thickness, irregular stud spacing, and the presence of pipes or wires can impact their accuracy. As such, it’s crucial to use the Black and Decker stud finder in conjunction with other methods, such as visual inspections and measurements, to ensure precise stud location.
Now that we have a solid grasp of how the Black and Decker stud finder functions, let’s move on to the practical aspects of using this indispensable tool.
Using the Black and Decker Stud Finder
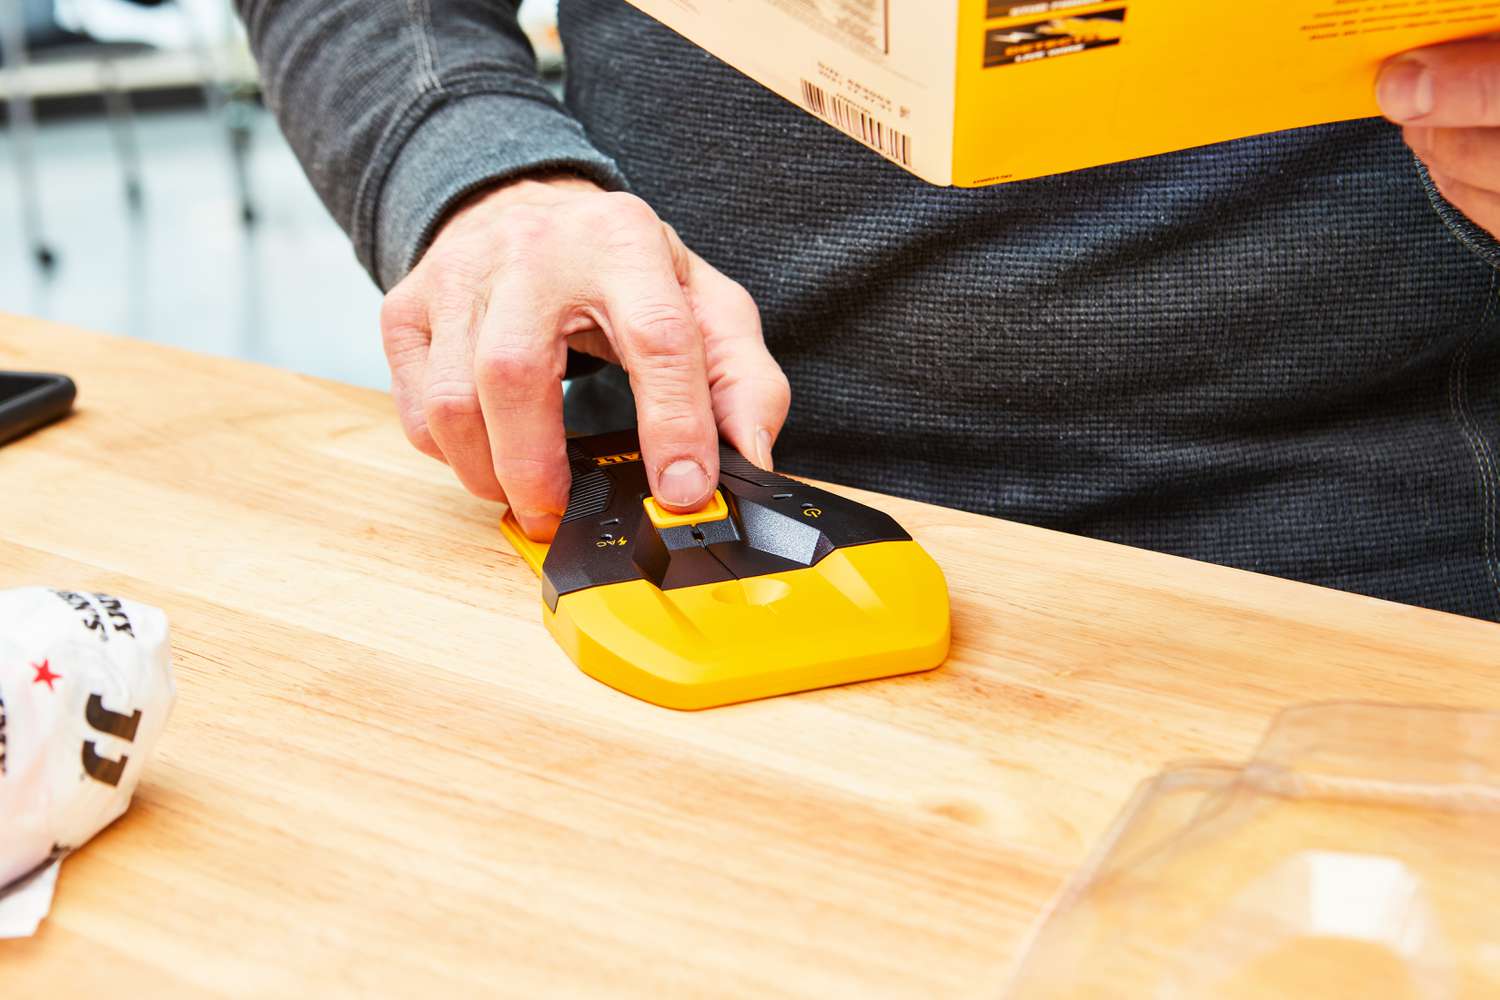
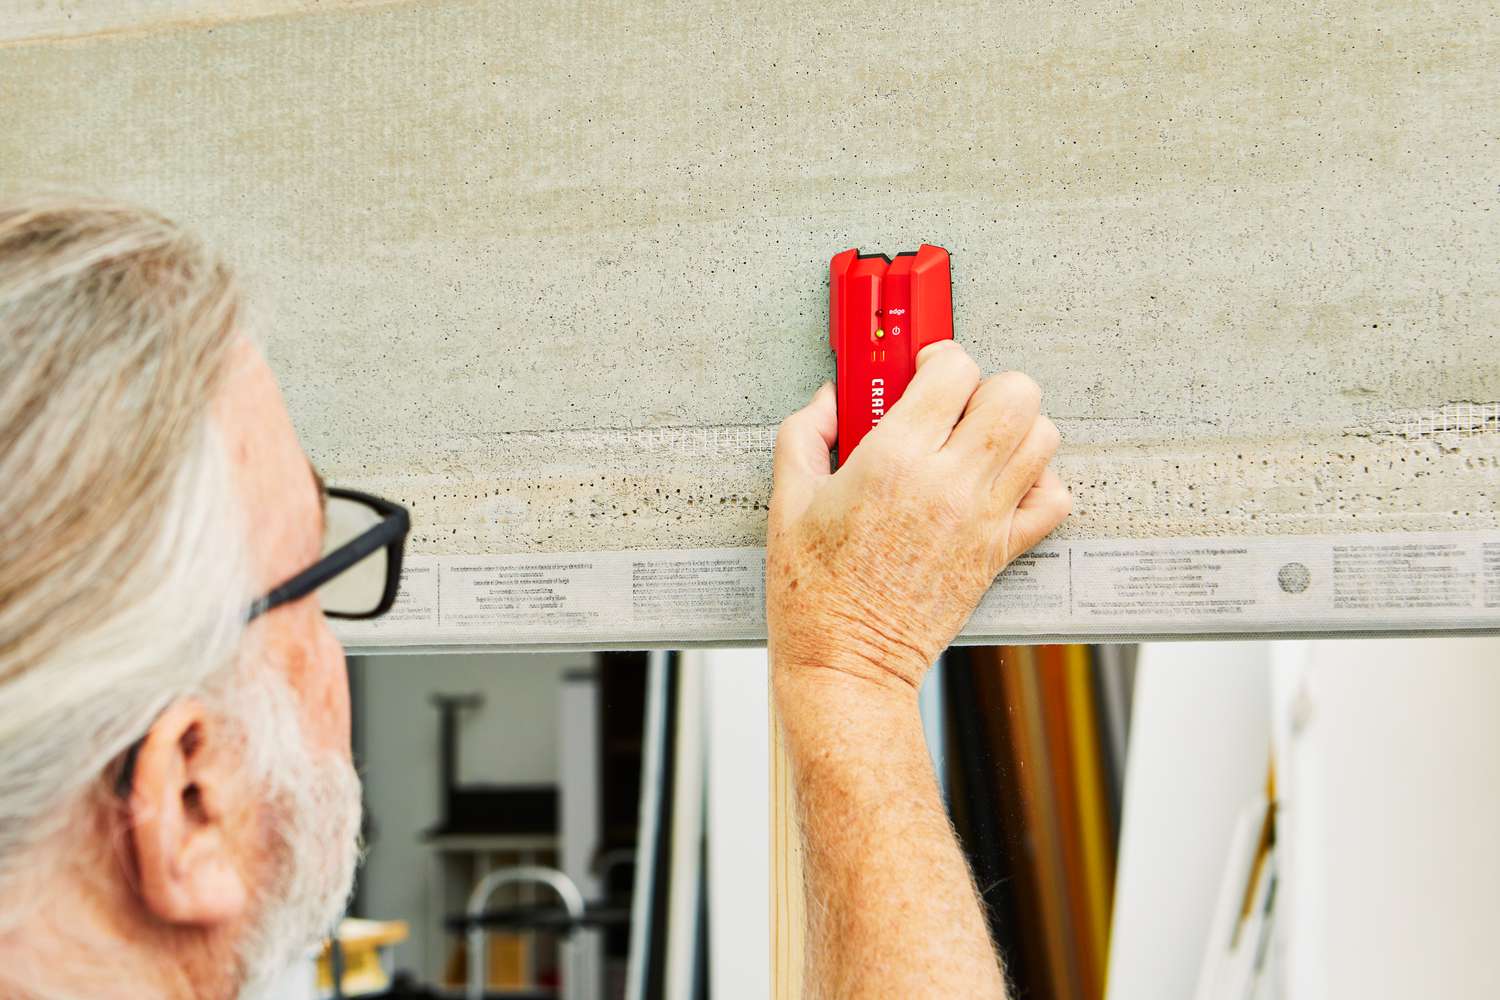
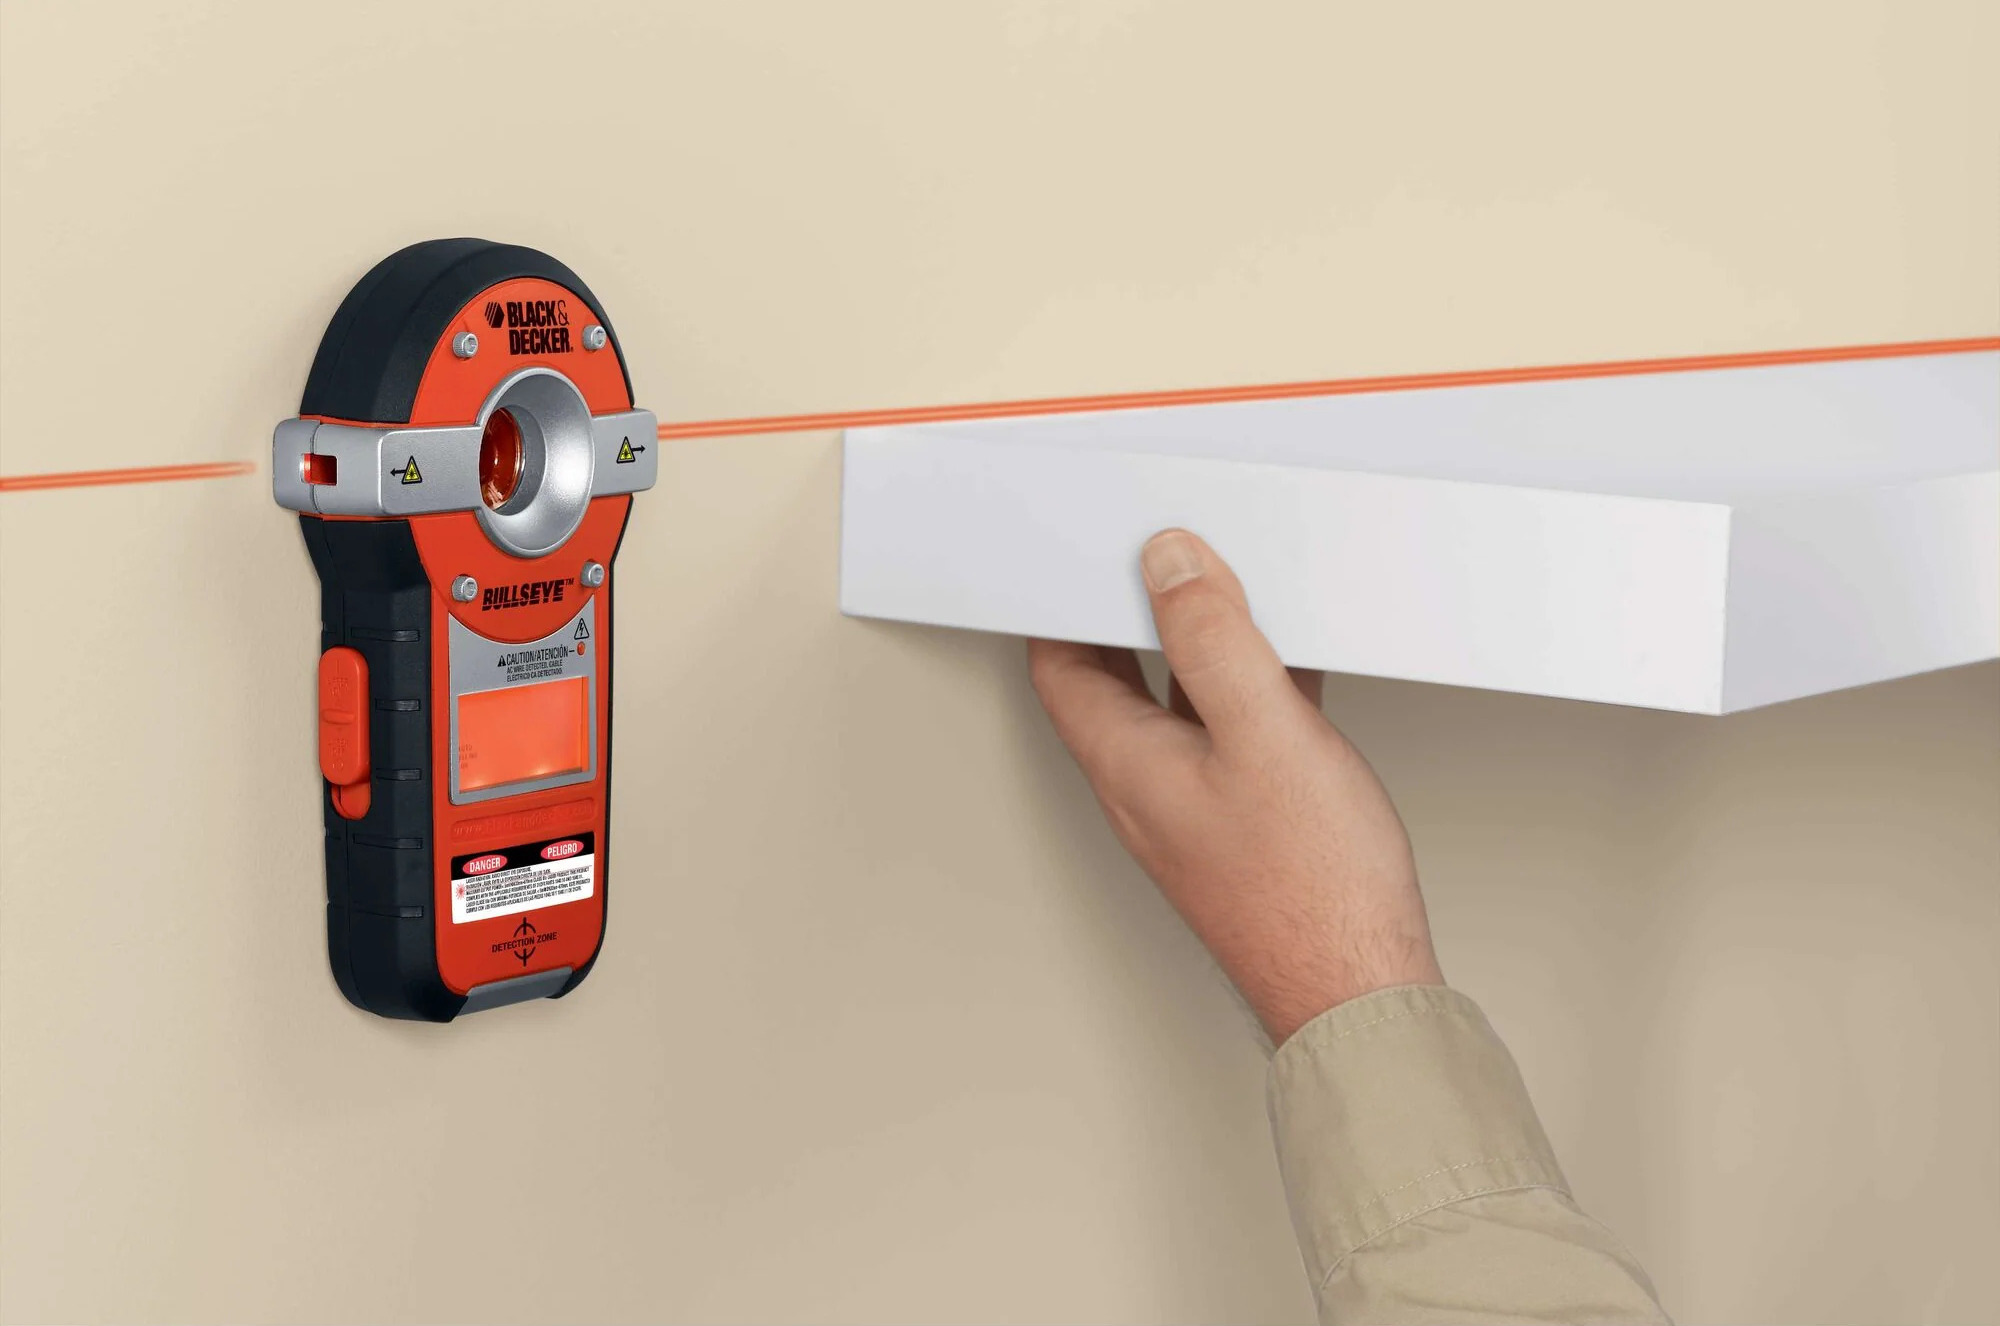
Now that we understand the principles behind the Black and Decker stud finder, let’s explore how to use this innovative device effectively. Before beginning, it’s important to ensure that the stud finder is powered on and calibrated according to the manufacturer’s instructions. Once you’ve completed these initial steps, you’re ready to start locating studs within your walls.
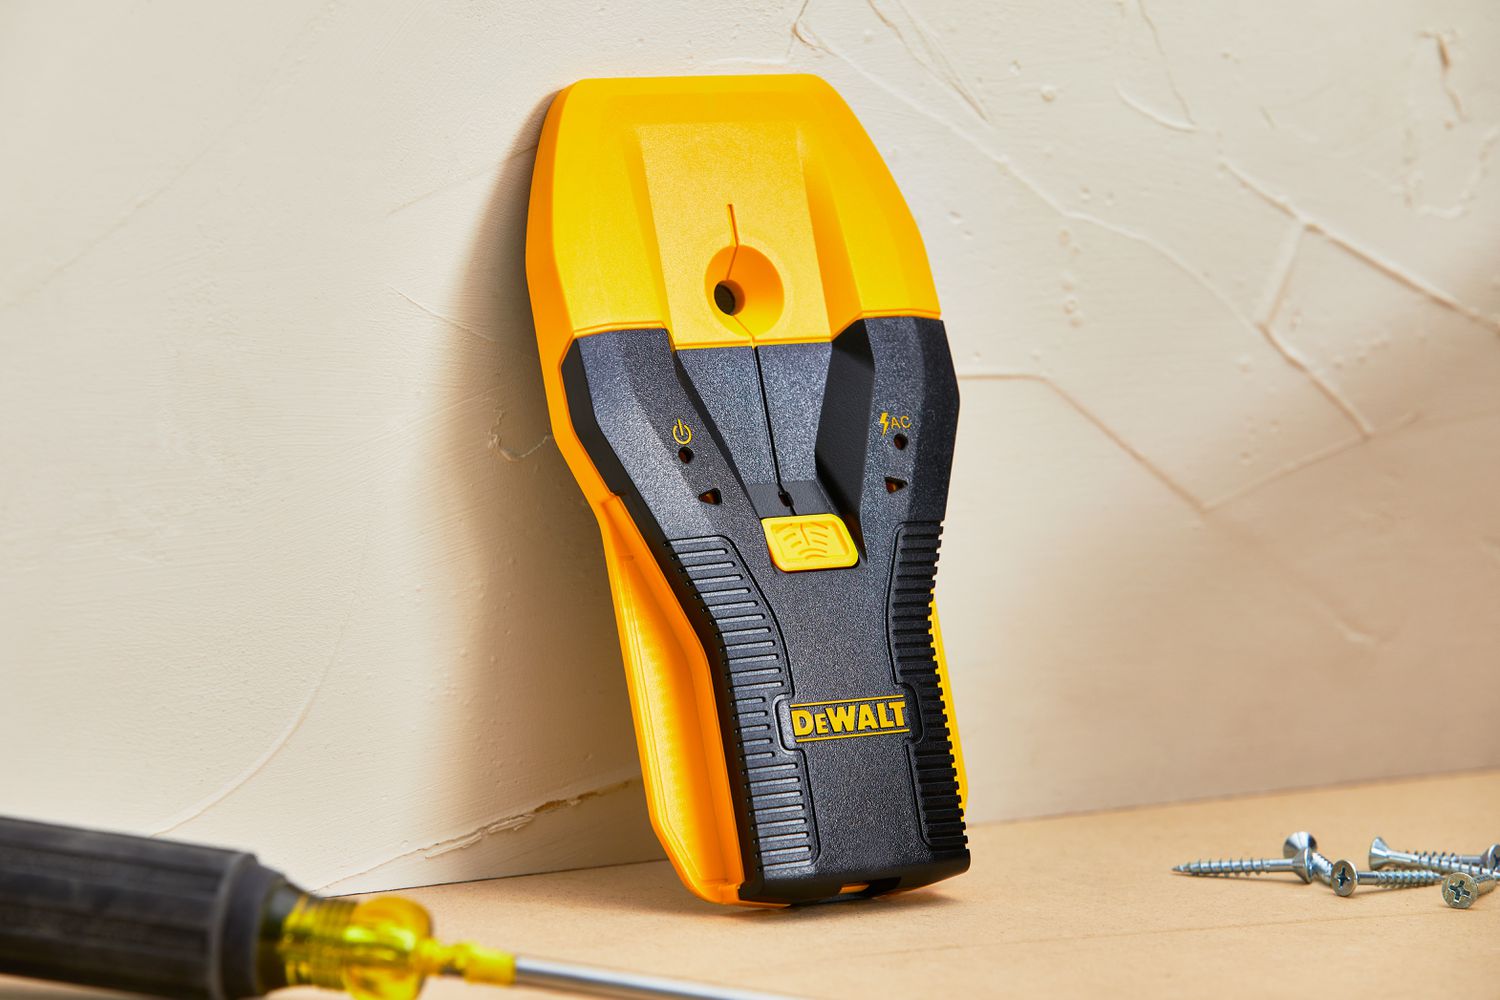
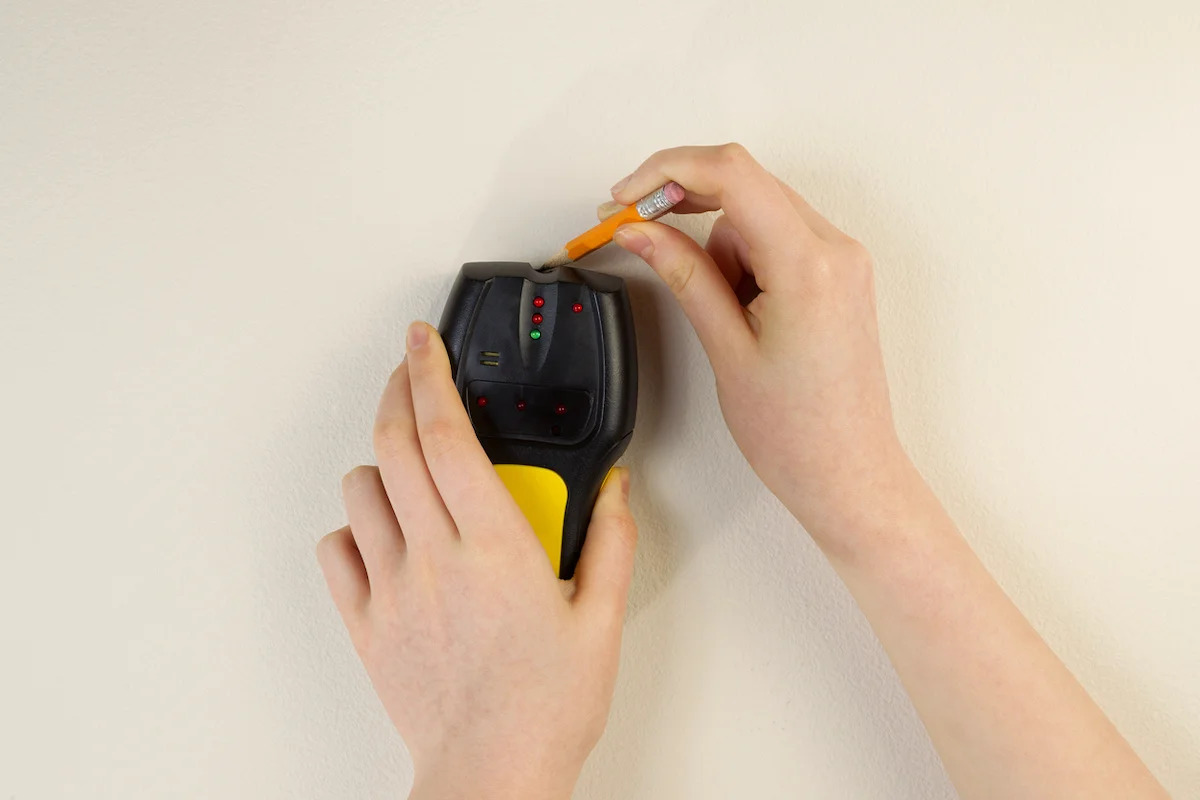
Begin by placing the stud finder flat against the wall, ensuring that it is in contact with the surface. Slowly and steadily move the device horizontally across the wall, allowing the sensors to analyze changes in density. As you do so, keep an eye on the stud finder’s indicators, whether they are visual LED lights or audible beeps. These indicators will alert you when a stud is detected, typically illuminating or sounding when the device identifies a change in density consistent with a stud.
For more accurate results, it’s advisable to mark the edges of the stud once the center has been located. This can be achieved by moving the stud finder horizontally in the opposite direction and marking the points where the indicators signal the end of the stud. By doing so, you can visualize the entire width of the stud, allowing for precise anchoring of fixtures or fittings.
It’s worth noting that the Black and Decker stud finder may offer different scanning modes, such as deep scan or metal scan, depending on the model. These modes provide added versatility, allowing users to detect studs at varying depths or identify metal components within the wall. Familiarizing yourself with these features can enhance the accuracy and efficiency of your stud finding endeavors.
While using the Black and Decker stud finder, it’s essential to maintain a steady pace and consistent pressure against the wall. Sudden movements or uneven pressure can impact the device’s ability to accurately detect studs. Additionally, be mindful of any potential obstructions, such as wallpaper or textured surfaces, which may affect the stud finder’s performance.
By following these guidelines and familiarizing yourself with the specific features of your Black and Decker stud finder, you can harness the full potential of this indispensable tool, making the process of locating studs a seamless and efficient task.
When using a Black and Decker stud finder, make sure to calibrate it on a clear wall before starting. Slide it slowly across the wall and pay attention to the indicator lights or beeps to locate the stud accurately.
Tips for Effective Stud Finding
While the Black and Decker stud finder is a powerful ally in your quest to locate studs, there are several tips and techniques that can further enhance your stud finding endeavors. By incorporating these strategies into your workflow, you can optimize the accuracy and efficiency of the stud finding process.
- Understanding Wall Composition: Familiarize yourself with the composition of your walls. Different materials, such as drywall, plaster, or lath and plaster, can impact the behavior of the stud finder. Knowing what type of wall you are working with can help you interpret the stud finder’s readings more effectively.
- Calibration: Ensure that your stud finder is properly calibrated before each use. Calibration requirements may vary between different models, so refer to the manufacturer’s instructions to guarantee accurate performance.
- Consistent Pressure: Maintain a steady and consistent pressure against the wall while using the stud finder. This helps the sensors maintain contact with the surface, improving the device’s ability to detect changes in density.
- Practice and Patience: If you’re new to using a stud finder, consider practicing on a less visible area of the wall to familiarize yourself with the device’s behavior. Additionally, exercising patience and moving the stud finder at a steady pace can yield more reliable results.
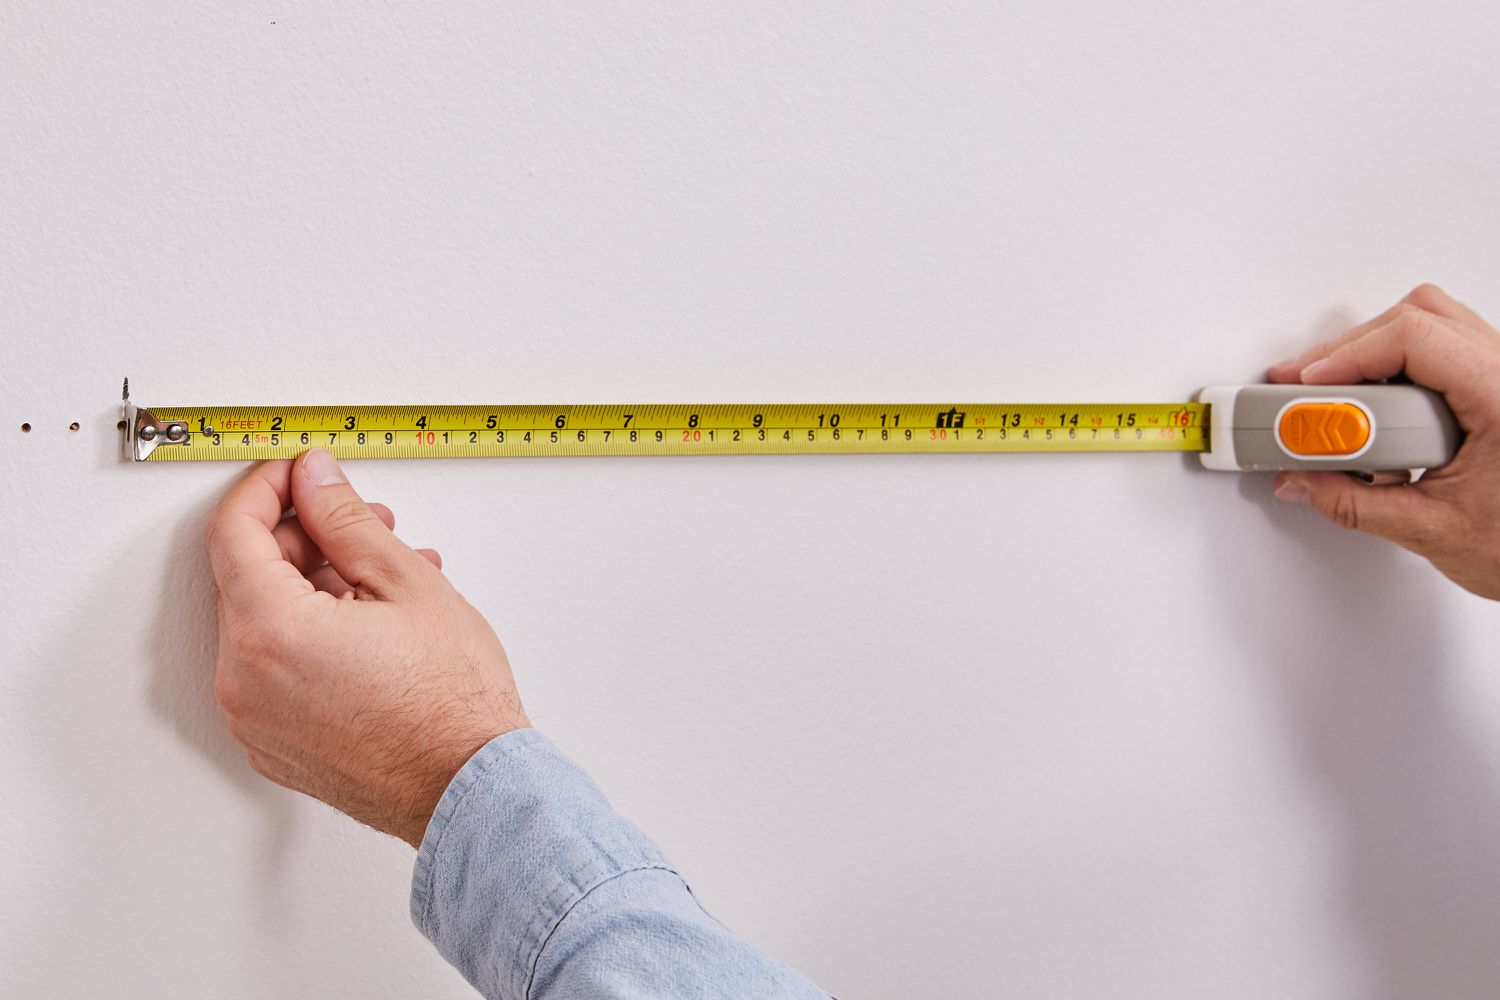
- Verification Techniques: While the stud finder is a valuable tool, it’s prudent to use additional verification methods to confirm stud locations. Visual inspections, tapping the wall to listen for solid areas, and measuring from electrical outlets or switches can corroborate the stud finder’s readings.
- Exploring Advanced Features: If your Black and Decker stud finder offers advanced scanning modes, such as deep scan or metal scan, take the time to understand and utilize these features. They can provide valuable insights, especially in situations where standard scanning may be insufficient.
- Accounting for Obstructions: Be mindful of potential obstructions within the wall, such as pipes or electrical wiring, which may affect the stud finder’s readings. Exercise caution and consider using a dedicated wire detection mode if your stud finder offers this functionality.
By integrating these tips into your stud finding routine, you can elevate your proficiency in locating studs, ensuring that your home improvement projects proceed with precision and confidence.
Conclusion
Congratulations! You’ve now gained a comprehensive understanding of the Black and Decker stud finder and how to wield this indispensable tool with skill and confidence. Armed with the knowledge of how the stud finder operates, coupled with practical insights into its usage and effective stud finding techniques, you are well-equipped to tackle a myriad of home improvement projects with precision and ease.
As you embark on your DIY endeavors, remember that the Black and Decker stud finder is not just a device; it’s a gateway to unlocking the potential of your living space. By confidently locating studs and securely anchoring fixtures and fittings, you can breathe new life into your home, creating a space that reflects your unique style and personality.
Whether you’re hanging a gallery wall, installing custom shelving, or mounting a television, the Black and Decker stud finder empowers you to transform your living environment while ensuring safety and stability. With each successful stud location, you’re not just finding a support beam; you’re finding the foundation for your creativity and vision.
So, as you pick up your Black and Decker stud finder and set out to conquer your next project, do so with the confidence of someone who understands the intricacies of their tools. Let the hum of the sensors and the glow of the indicators guide you, knowing that you possess the knowledge to wield this device with finesse.
In the world of DIY, precision and proficiency are paramount, and with the Black and Decker stud finder by your side, you’re poised to elevate your home improvement pursuits to new heights. Embrace the process, relish the satisfaction of a securely anchored fixture, and let your creativity flow freely, knowing that you’ve mastered the art of stud finding with the Black and Decker stud finder.
Now, armed with your newfound expertise, go forth and transform your living space, one securely anchored fixture at a time!
Frequently Asked Questions about How To Use Black And Decker Stud Finder
Was this page helpful?
At Storables.com, we guarantee accurate and reliable information. Our content, validated by Expert Board Contributors, is crafted following stringent Editorial Policies. We're committed to providing you with well-researched, expert-backed insights for all your informational needs.


0 thoughts on “How To Use Black And Decker Stud Finder”