Home>Renovation & DIY>Tools & Equipment>Black And Decker Sander: How To Attach Sandpaper

Tools & Equipment
Black And Decker Sander: How To Attach Sandpaper
Modified: December 22, 2023
Learn how to attach sandpaper to your Black and Decker sander with our step-by-step guide. Essential tools and equipment for seamless sanding.
(Many of the links in this article redirect to a specific reviewed product. Your purchase of these products through affiliate links helps to generate commission for Storables.com, at no extra cost. Learn more)
Introduction
When it comes to sanding surfaces for various projects, having the right tools is essential. One popular choice among DIY enthusiasts and professionals alike is the Black and Decker sander. Known for its durability and reliability, this tool can make your sanding tasks a breeze.
However, before you can start sanding, you need to know how to properly attach sandpaper to the Black and Decker sander. This step-by-step guide will walk you through the process, ensuring that you achieve a secure and efficient sandpaper attachment every time.
Whether you’re smoothing out rough edges, removing paint or varnish, or preparing a surface for staining or refinishing, the Black and Decker sander can be your trusted companion. So, let’s dive in and learn how to attach sandpaper to this versatile tool.
Key Takeaways:
- Properly preparing and aligning sandpaper on your Black and Decker sander ensures efficient and safe sanding, leading to professional-looking results for various projects.
- By following the step-by-step guide to attaching and securing sandpaper, you can unleash your creativity and confidently tackle sanding tasks with your reliable Black and Decker sander.
Read more: How To Put Sandpaper On A Sander
Step 1: Gather the necessary tools and materials
Before you begin attaching sandpaper to your Black and Decker sander, it’s important to gather all the tools and materials you’ll need. By having everything ready, you can streamline the process and avoid unnecessary interruptions. Here are the items you’ll need:
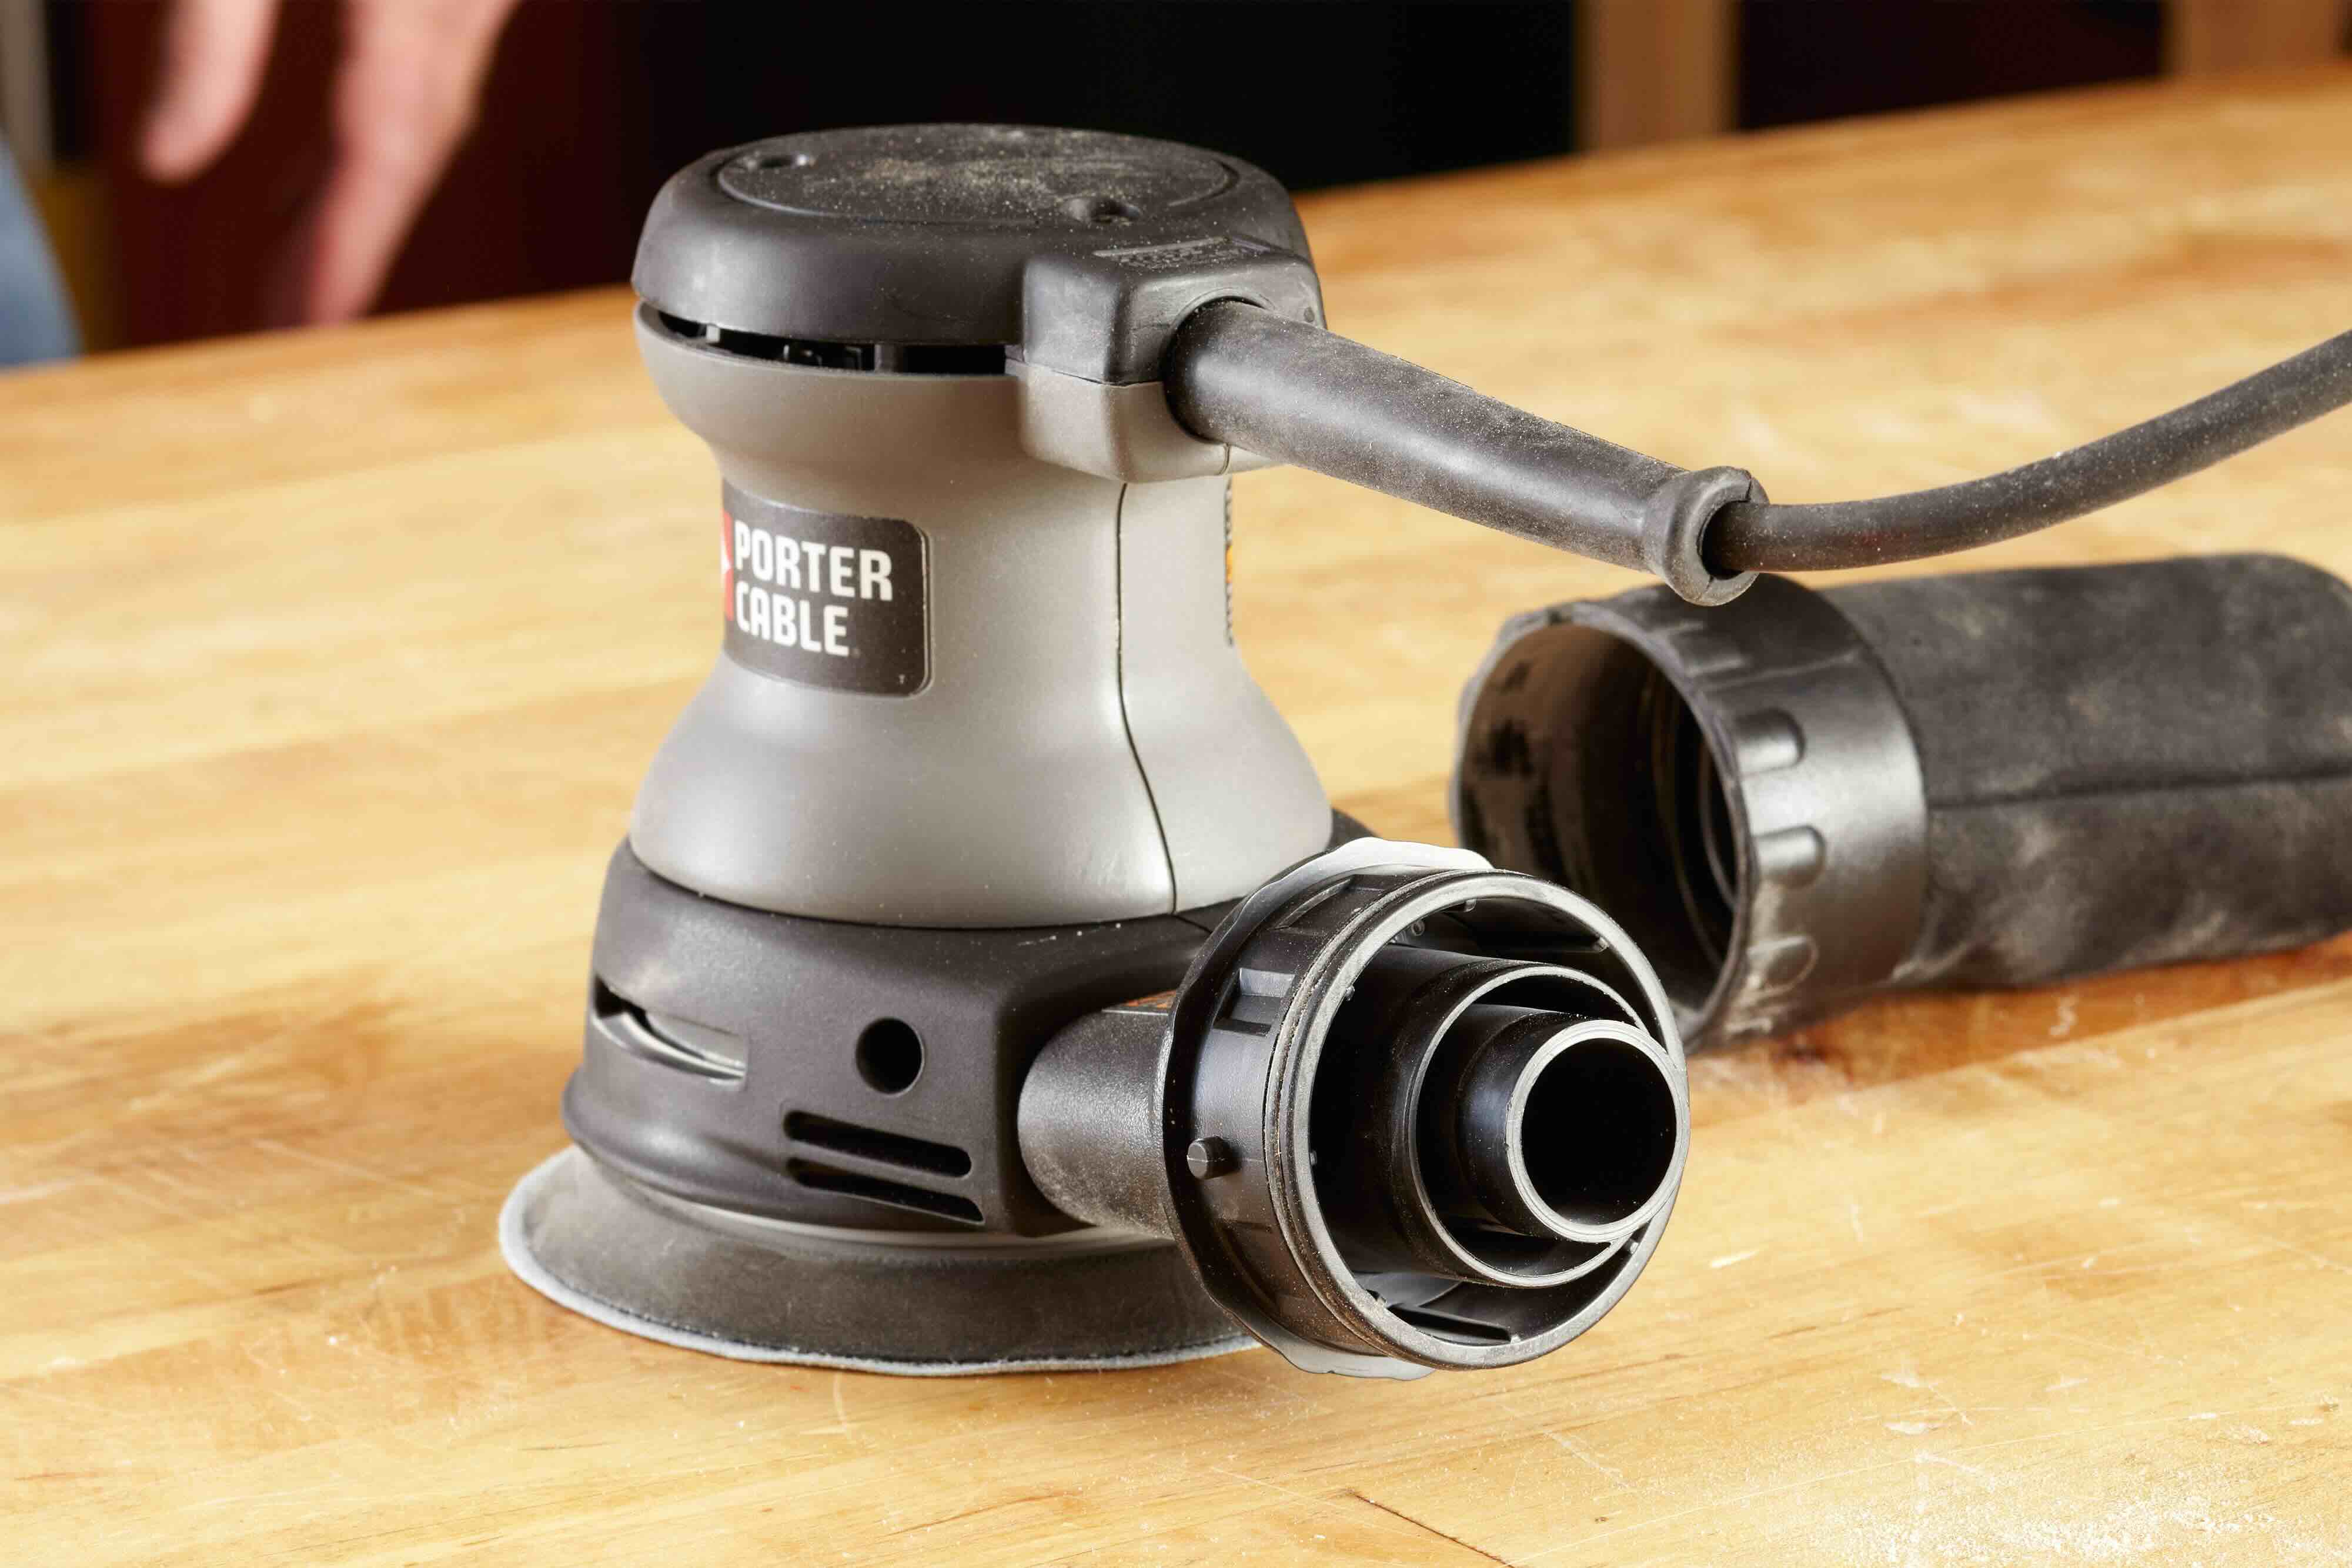
- Black and Decker sander: Make sure you have your sander handy. Depending on your project, you might have a palm grip sander, a random orbital sander, or a belt sander.
- Sandpaper: Choose the appropriate sandpaper grit for your project. Rougher grits (between 40 to 80) are ideal for heavy material removal, while finer grits (between 120 to 220) are better suited for smoothing and finishing.
- Backing pad: Some sanders require a backing pad to hold the sandpaper securely in place. Check your Black and Decker sander’s manual to see if a backing pad is needed.
- Sanding disc or sheet: Depending on your sander’s design, you’ll need either sanding discs or sheets. Sanding discs are circular and fit onto a hook and loop system, while sanding sheets are rectangular and typically held in place by clamps.
- Screwdriver or Allen wrench: Depending on your sander’s design, you might need a screwdriver or an Allen wrench to remove and attach certain parts.
- Protective gear: Always prioritize safety when working with power tools. Wear safety glasses to protect your eyes from any debris, and consider using ear protection if your sander is particularly noisy.
Once you have gathered all the necessary tools and materials, you’re ready to proceed to the next step of the process: preparing the sander.
Step 2: Prepare the sander
Before attaching the sandpaper to your Black and Decker sander, it’s important to properly prepare the tool. This step ensures that the sander is clean, in good working condition, and ready for optimal sanding performance. Here’s what you need to do:
- Clean the sander: Start by removing any dust, debris, or residue from the sander. Use a clean, dry cloth or a soft brush to gently wipe away any accumulated dirt.
- Inspect the sanding pad: Check the condition of the sanding pad, ensuring that it is free from damage or excessive wear. If the sanding pad is worn out or damaged, it’s a good idea to replace it to ensure efficient sanding.
- Check the power cord: Make sure that the power cord is undamaged and free from any cuts or exposed wires. Safety should always be a priority, so if you notice any issues with the cord, contact a professional to address the problem before using the sander.
- Inspect the dust collection system: If your Black and Decker sander has a dust collection feature, check that the dust bag or port is clean and free from clogs. Proper dust collection helps to maintain a clean working area and improves visibility while sanding.
- Ensure proper power source: Make sure that your sander is plugged into a power source that matches the voltage requirements of the tool. Using the correct power source prevents damage to the sander and ensures safe operation.
By taking the time to properly prepare your sander, you can maximize its performance and longevity. Once you have completed these steps, you’re ready to move on to aligning the sandpaper with the sander.
Step 3: Align the sandpaper with the sander
Now that you have prepared your Black and Decker sander, it’s time to align the sandpaper with the tool. Proper alignment ensures that the sandpaper fits securely and allows for effective sanding. Follow these steps to align the sandpaper:
- Choose the correct sanding disc or sheet: Depending on your sander’s design, select the appropriate sanding disc or sheet. Ensure that the size and shape of the sandpaper match the pad or base of your sander.
- Remove the old sandpaper (if applicable): If you are replacing existing sandpaper, carefully remove it from the sander. Gently peel off the sanding disc or release the clamps holding the sanding sheet in place.
- Inspect the sanding pad: Take a moment to ensure that the sanding pad is clean and free from debris. Any leftover adhesive or particles from the previous sandpaper should be removed to ensure proper adhesion of the new sandpaper.
- Align the sandpaper: Lay the sandpaper onto the sanding pad, making sure it covers the entire area. If you are using a sanding disc, align the holes on the sandpaper with the holes on the pad for effective dust collection.
During this step, it’s crucial to ensure that the sandpaper is aligned properly with the sander. Pay attention to the size, shape, and any holes that need to match up. This alignment will allow for smooth and consistent sanding throughout your project. Once you have aligned the sandpaper, you are ready to move on to attaching it to the sander.
When attaching sandpaper to a Black and Decker sander, make sure the sander is turned off and unplugged. Align the sandpaper with the sander’s base and secure it in place according to the manufacturer’s instructions.
Step 4: Attach the sandpaper to the sander
With the sandpaper properly aligned, it’s time to attach it securely to your Black and Decker sander. This step ensures that the sandpaper stays in place and allows for efficient sanding. Follow these steps to attach the sandpaper:
- For sanding discs:
- Peel off the protective backing from the sanding disc to expose the adhesive side.
- Carefully center the sanding disc onto the sanding pad, making sure it aligns with the holes on the pad (if applicable).
- Press down firmly to secure the sanding disc in place. Smooth out any wrinkles or air bubbles to ensure a flat and even surface.
- For sanding sheets:
- If your sander has clamps, loosen them to open up the clamp mechanism.
- Place the sanding sheet onto the sanding pad, positioning it evenly across the entire pad.
- Close the clamps securely, ensuring that the sanding sheet is held firmly in place. Double-check that the sandpaper is taut and doesn’t shift during operation.
It’s important to follow the manufacturer’s instructions and recommendations for attaching sandpaper to your specific Black and Decker sander model. Proper attachment ensures that the sandpaper stays in place, providing consistent sanding performance and avoiding any safety hazards during operation.
Once you have successfully attached the sandpaper to your sander, move on to the next step to secure the sandpaper in place.
Read more: How To Change Sandpaper On A Belt Sander
Step 5: Secure the sandpaper in place
Now that you have attached the sandpaper to your Black and Decker sander, it’s important to secure it in place to prevent any shifting or movement during use. Properly securing the sandpaper ensures a consistent sanding surface and improves overall safety. Follow these steps to secure the sandpaper:
- Tighten any screws or clamps: If your sander has screws or clamps that secure the sandpaper, make sure they are tightened appropriately. This will ensure that the sandpaper remains in place and doesn’t come loose while in use.
- Double-check the tension: Take a moment to check the tension of the sandpaper. If you’re using sanding discs, ensure that they are pressed firmly onto the sanding pad. For sanding sheets, ensure that the clamps are securely holding the sandpaper taut.
- Test the sandpaper’s stability: Before starting your sanding project, it’s a good idea to do a quick test to ensure the sandpaper is secured properly. Turn on the sander and run it for a few seconds without any pressure to verify that the sandpaper remains in place and doesn’t shift or come loose.
By securing the sandpaper in place, you can work with confidence, knowing that the sandpaper will provide consistent results and reduce the risk of accidents or damage to your project. Take the time to double-check the security of the sandpaper before proceeding with your sanding tasks.
Now that the sandpaper is securely attached and in place, you’re ready to move on to the final step: testing the sandpaper attachment.
Step 6: Test the sandpaper attachment
After securing the sandpaper to your Black and Decker sander, it’s important to conduct a quick test to ensure that the attachment is secure and the sandpaper is working effectively. This step allows you to make any necessary adjustments before fully engaging in your sanding project. Follow these steps to test the sandpaper attachment:
- Power on the sander: Turn on your Black and Decker sander and let it run for a few seconds without applying any pressure.
- Observe the sandpaper: Carefully watch the sandpaper as the sander runs. Check for any signs of movement, shifting, or detachment. The sandpaper should remain securely in place throughout the test.
- Check for proper sanding action: If the sandpaper is attached correctly, you should notice a smooth and consistent sanding action. The sander should evenly and effectively remove material without any excessive vibration or unusual sounds.
- Adjust if needed: If you observe any issues during the test, such as sandpaper movement or ineffective sanding, turn off the sander and make any necessary adjustments. This may include tightening screws or clamps, repositioning the sandpaper, or replacing the sandpaper if it is worn out or damaged.
Testing the sandpaper attachment gives you an opportunity to ensure that everything is in working order before fully engaging in your sanding project. By addressing any issues or making adjustments during this stage, you can prevent potential damage to your materials and achieve better results in your sanding endeavors.
With the sandpaper attachment tested and verified, you are now ready to begin your sanding project with confidence and precision.
Conclusion
Attaching sandpaper to your Black and Decker sander is a crucial step in ensuring successful and efficient sanding. By following the steps outlined in this guide, you can confidently attach sandpaper to your sander and tackle a wide range of sanding projects with ease.
Remember to gather all the necessary tools and materials before starting, prepare the sander by cleaning and inspecting it, align the sandpaper properly with the sander, attach the sandpaper securely using the appropriate method, and finally, test the attachment to ensure its stability and effectiveness.
Properly attaching and securing the sandpaper not only ensures consistent sanding results, but it also improves safety by preventing any potential accidents or damage to your project. Taking the time to go through these steps will save you time and effort in the long run.
Whether you are smoothing rough edges, removing paint, or preparing a surface for refinishing, the Black and Decker sander is a reliable tool that can help you achieve professional-looking results. By following the steps outlined in this guide, you can confidently use your Black and Decker sander and enjoy the benefits of efficient sanding.
Now that you have learned how to attach sandpaper to your Black and Decker sander, it’s time to unleash your creativity and tackle your next sanding project with confidence. Happy sanding!
Frequently Asked Questions about Black And Decker Sander: How To Attach Sandpaper
Was this page helpful?
At Storables.com, we guarantee accurate and reliable information. Our content, validated by Expert Board Contributors, is crafted following stringent Editorial Policies. We're committed to providing you with well-researched, expert-backed insights for all your informational needs.


0 thoughts on “Black And Decker Sander: How To Attach Sandpaper”