Articles
How To Prime A Chimney Flue
Modified: October 20, 2024
Learn how to prime a chimney flue with our informative articles. Access step-by-step guides and expert tips for efficient chimney maintenance.
(Many of the links in this article redirect to a specific reviewed product. Your purchase of these products through affiliate links helps to generate commission for Storables.com, at no extra cost. Learn more)
Introduction
Welcome to our guide on how to prime a chimney flue! If you own a fireplace or a wood-burning stove, you probably know that taking care of your chimney is crucial. One important step in maintaining your chimney’s functionality is priming the chimney flue. But what exactly does that mean?
A chimney flue is the passage or duct that allows smoke and gases to escape from your fireplace or stove. Over time, soot, creosote, and debris can accumulate in the flue, reducing its effectiveness and increasing the risk of chimney fires. Priming the chimney flue involves creating a strong, upward air draft to evacuate any obstructions or blockages, ensuring proper ventilation and preventing dangerous gases from entering your home.
Why is priming necessary? Well, the accumulation of debris in your chimney flue can hinder the flow of air, leading to poor draft and improper combustion. This can result in smoke entering your living space, the build-up of harmful gases such as carbon monoxide, and a reduced heating efficiency. By priming the chimney flue, you are essentially clearing the path for better airflow, improving the overall performance of your fireplace or stove while ensuring the safety of your home.
In this article, we will guide you through the steps to prime a chimney flue effectively. By following these instructions and taking the necessary precautions, you can maintain a clean and efficient chimney system. Let’s get started!
Key Takeaways:
- Priming your chimney flue is crucial for maintaining a safe and efficient fireplace or wood-burning stove. By clearing obstructions and ensuring proper airflow, you can enjoy a cozy and worry-free heating experience.
- Regular maintenance, including chimney priming, is essential for the longevity of your chimney system. By following the step-by-step process and prioritizing safety, you can ensure a well-maintained and enjoyable fireplace or stove.
Read more: What Is A Chimney Flue
Understanding the Chimney Flue
Before we dive into the process of priming a chimney flue, it’s important to have a clear understanding of what the flue is and how it functions.
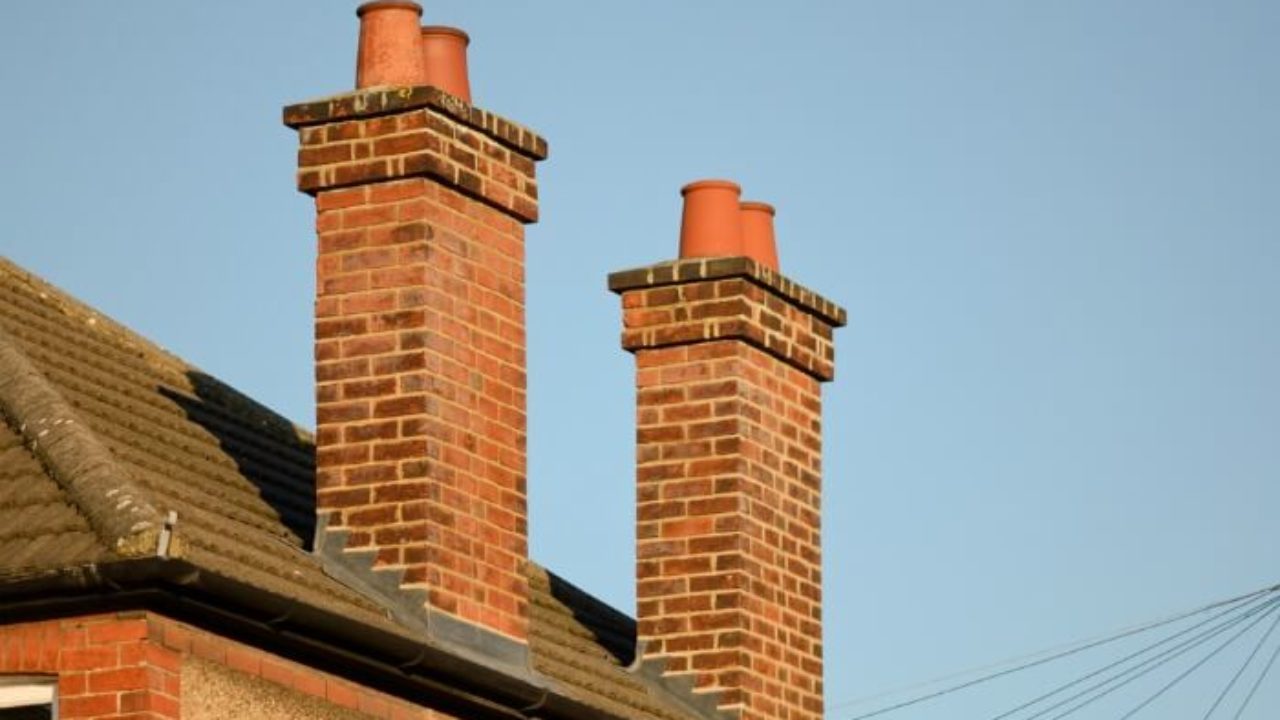
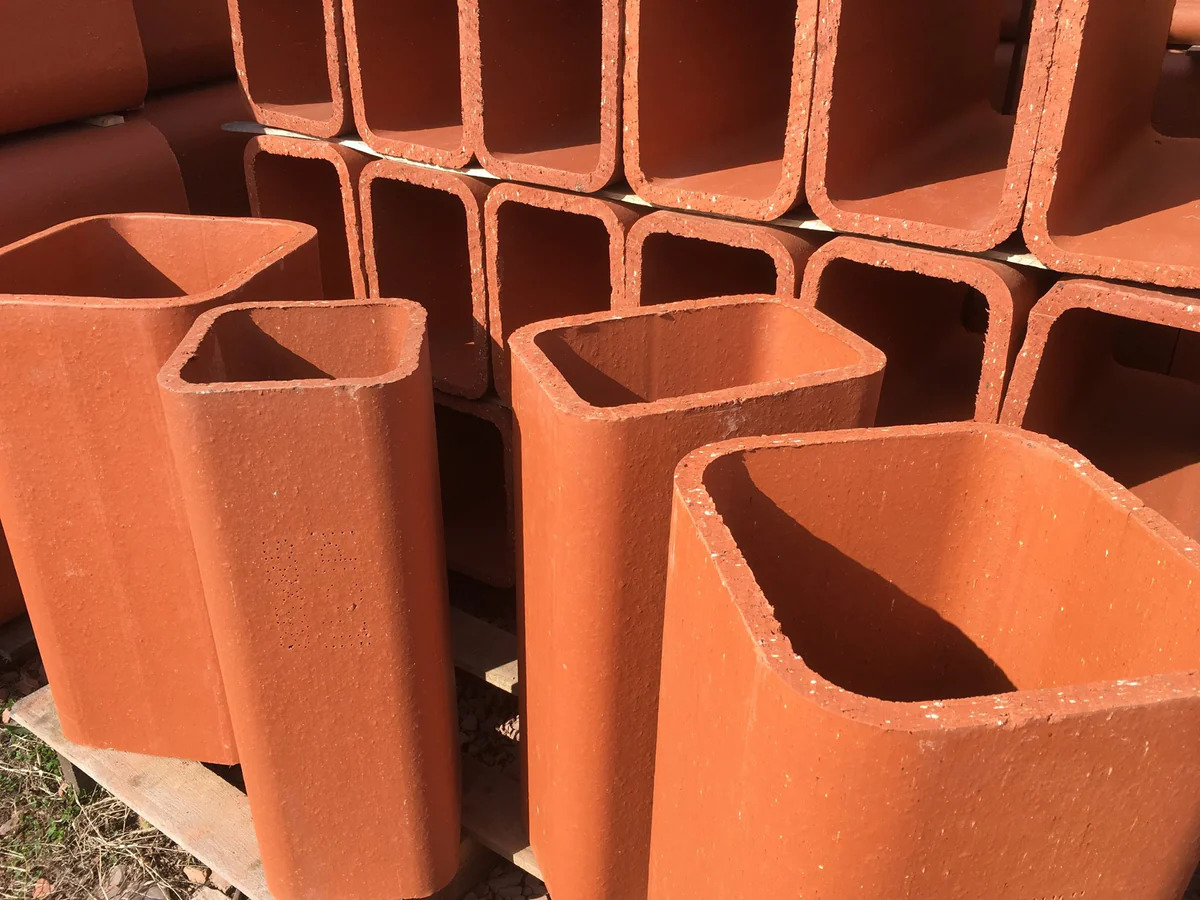
A chimney flue is a passageway inside your chimney that allows combustion gases, smoke, and other byproducts to exit your home. It acts as a ventilation system, drawing air in from the bottom and expelling it out through the top. The flue is typically made of clay tile, metal, or concrete, and its size and shape can vary depending on the specific design of your chimney.
The flue plays a critical role in maintaining a proper draft and preventing the buildup of harmful gases. When your fireplace or stove is not in use, the flue acts as a barrier, preventing cold air from entering your home and keeping warm air inside. When you do use your fireplace or stove, the flue opens, allowing smoke and gases to escape.
Over time, the flue can become clogged with creosote, soot, and debris from the combustion process. This buildup can restrict airflow, hinder proper ventilation, and increase the risk of chimney fires. It can also lead to poor heating efficiency, as the combustion gases may not fully exit the flue, resulting in less heat being released into your living space.
By understanding the function of the chimney flue and the potential problems that can arise from a clogged flue, you can see why priming is necessary. Priming helps to clear any obstructions, ensuring that the flue is free of debris and allowing for proper air movement and ventilation.
Now that we have a solid understanding of the chimney flue and its importance, let’s move on to the next section: why priming is necessary.
Why is Priming Necessary?
Priming the chimney flue is a critical step in maintaining a safe and functional fireplace or wood-burning stove. Let’s take a closer look at why priming is necessary:
- Clearing Obstructions: Over time, soot, creosote, and debris can accumulate inside the chimney flue. These deposits can restrict airflow, leading to poor ventilation and improper combustion. By priming the flue, you create a strong upward air draft that helps dislodge and clear any obstructions, ensuring proper airflow and reducing the risk of chimney fires.
- Improving Ventilation: A properly primed chimney flue enhances ventilation. When the flue is clear of debris, combustion gases exit the chimney more efficiently, preventing the buildup of harmful gases like carbon monoxide inside your home. Adequate ventilation also ensures that your fireplace or stove operates at its optimum heating capacity, providing maximum warmth to your living space.
- Preventing Smoke Backflow: One of the most common problems associated with a poorly functioning chimney flue is smoke backflow. When the flue is clogged, smoke can be forced back into your home instead of being expelled through the chimney. This can result in a smoky and unpleasant indoor environment. By priming the flue, you clear any blockages, allowing for proper smoke evacuation and preventing it from entering your living space.
- Ensuring Energy Efficiency: A clean and clear chimney flue ensures efficient operation of your fireplace or wood-burning stove. When the flue is obstructed, the combustion process is hindered, resulting in incomplete burning of the fuel and reduced heat output. By priming the flue and promoting proper airflow, you can improve the overall energy efficiency, helping you get the most out of your heating appliance.
- Maintaining Fire Safety: A clogged chimney flue is a fire hazard. Soot and creosote deposits can ignite and lead to chimney fires. Additionally, obstructions in the flue can cause heat to build up, potentially damaging the chimney structure and surrounding areas. Regularly priming the flue not only clears any existing debris but also allows you to identify and address any potential fire hazards, ensuring the safety of your home.
By understanding the reasons why priming is necessary, you can see the importance of incorporating this maintenance step into your regular chimney care routine. Now that we’ve explored the importance of priming, let’s move on to the materials and tools you’ll need for the process.
Materials and Tools Needed
Before you begin the process of priming your chimney flue, it’s important to ensure that you have all the necessary materials and tools on hand. Here’s a list of what you’ll need:
- Chimney Brush: A chimney brush is an essential tool for cleaning the chimney flue. Make sure to choose a brush that fits the dimensions of your flue and is suitable for the type of chimney liner you have (e.g., metal, clay, or concrete).
- Bucket: You will need a bucket to collect the debris that is brushed off the chimney flue. This will prevent it from falling into your home and making a mess.
- Drop Cloth or Tarp: To protect your furniture and flooring, lay down a drop cloth or tarp in the area surrounding the fireplace or stove. This will catch any soot or debris that may fall during the priming process.
- Protective Gear: It’s important to prioritize your safety while working on your chimney. Wear a dust mask, safety goggles, and gloves to protect yourself from the soot and debris that may be released during the cleaning process.
- Primarily Solution: Prepare a priming solution by mixing equal parts of water and chimney cleaner or mild dish soap in a spray bottle. This solution will help loosen any stubborn grime or creosote buildup inside the flue.
- Fireplace Tools: Keep your basic fireplace tools handy, such as a poker, shovel, and brush. These tools may come in handy during the cleaning and priming process.
- Flashlight: A flashlight will help you see inside the chimney flue and inspect for any potential blockages or damage.
- Fire extinguisher: While not directly related to priming the chimney flue, it’s always a good idea to have a fire extinguisher nearby in case of any unforeseen situations.
By gathering these materials and tools before you start, you’ll have everything you need to safely and effectively prime your chimney flue. Once you have everything ready, it’s time to move on to the step-by-step process of priming the flue, which we’ll cover in the following sections.
But first, let’s take a moment to assess the condition of your chimney flue. This will help determine if any additional steps or precautions are necessary.
Step 1: Assessing the Chimney Flue
Before you begin the process of priming your chimney flue, it’s important to assess its condition. This step will help you identify any potential issues or blockages that need to be addressed.
Follow these steps to assess the condition of your chimney flue:
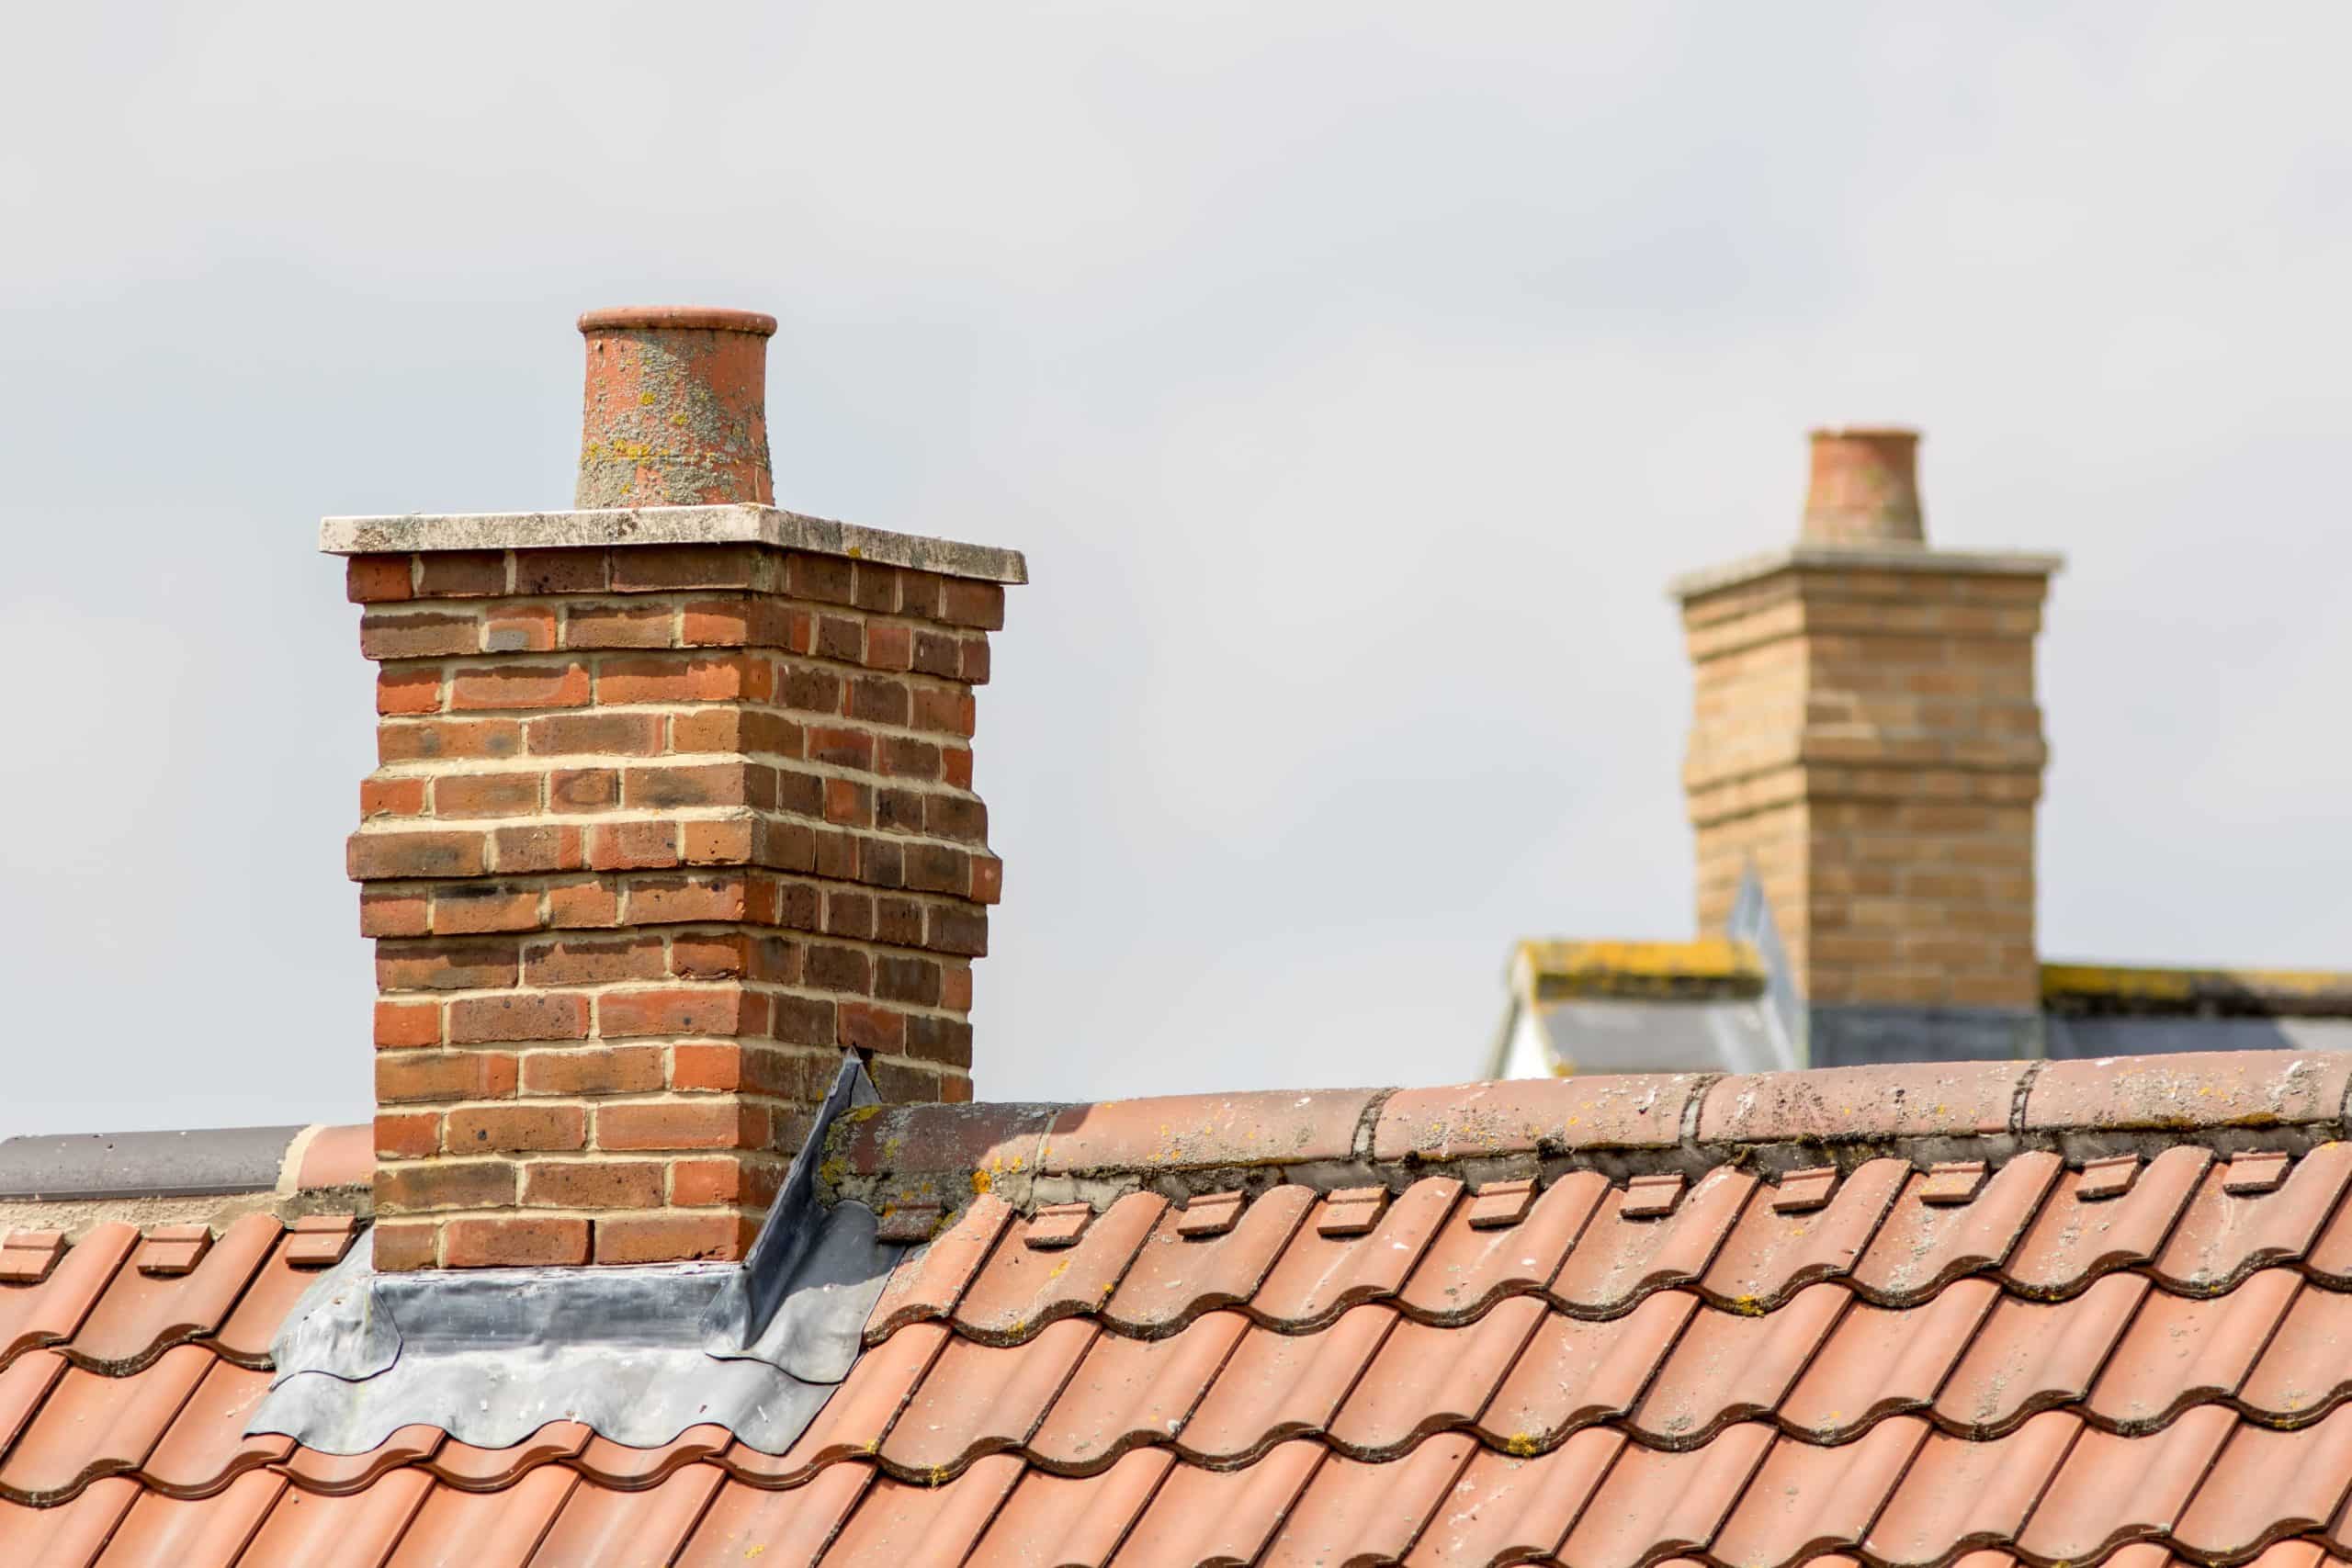
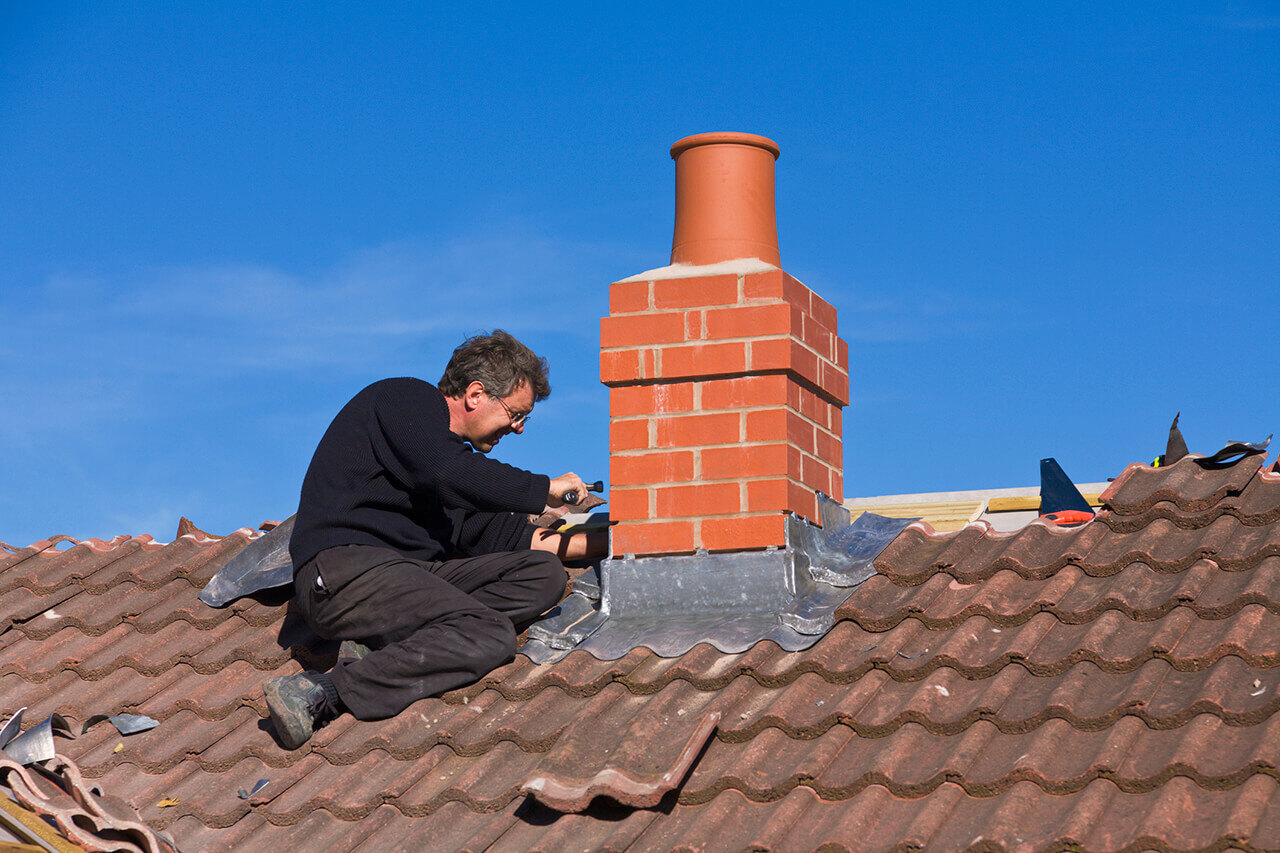
- Inspect the Exterior: Start by examining the exterior of your chimney. Look for any signs of damage such as cracks, loose bricks, or deteriorating mortar. These could indicate structural issues that need to be addressed before proceeding with the priming process.
- Check for Obstructions: Use a flashlight to inspect the chimney flue from the top, looking for any visible blockages such as nests, leaves, or debris. If you notice any obstructions, it’s important to remove them before proceeding with the priming process.
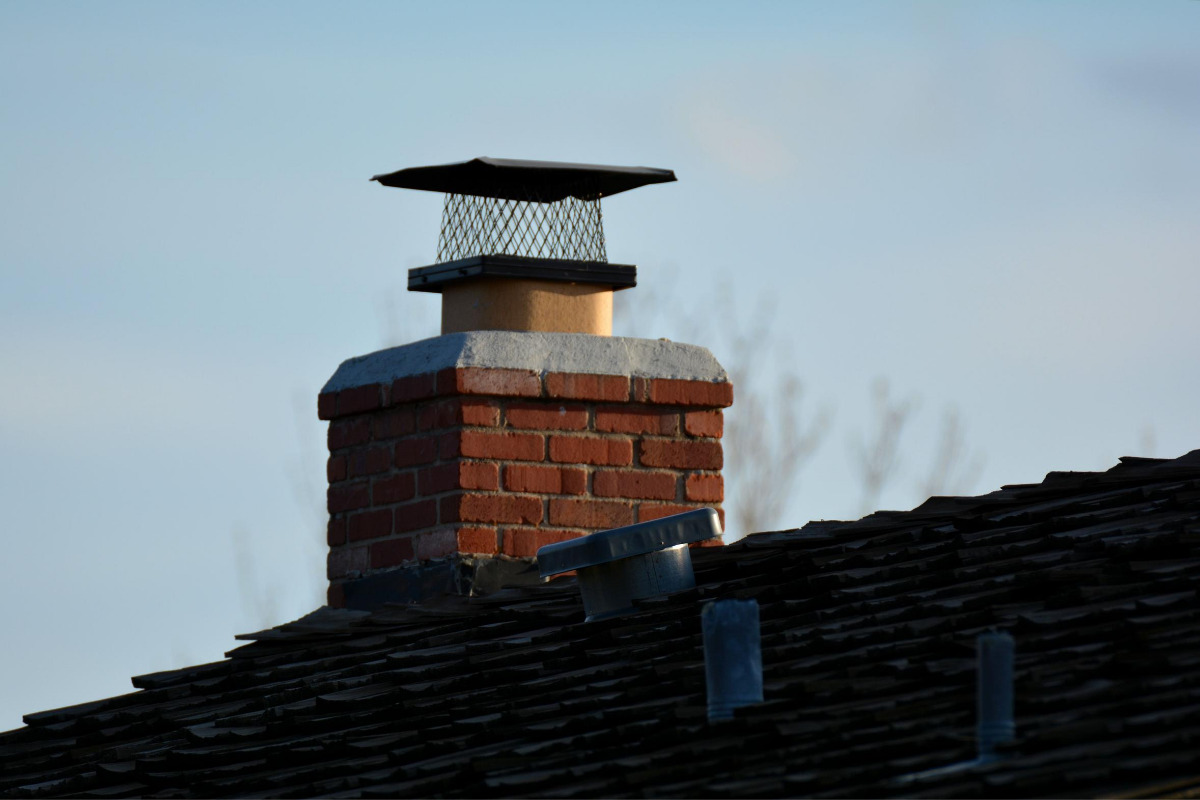
- Assess the Chimney Cap and Spark Arrestor: Verify that the chimney cap and spark arrestor are securely in place and free from any damage or blockages. These components prevent animals, debris, and sparks from entering the chimney flue.
- Ensure Proper Draft: Open the damper and light a small piece of paper in the fireplace or stove. Observe how the smoke travels up the chimney. A strong draft with smoke moving upward indicates good ventilation, while sluggish or downward-moving smoke may indicate an issue with your chimney flue.
- Inspect Chimney Liner: If your chimney has a liner, check for any signs of damage or deterioration. Look for cracks, gaps, or loose sections that may need repairs or replacement.
- Take Note of Any Unusual Smells or Odors: Pay attention to any unusual smells or odors coming from the chimney. A strong, unpleasant smell could indicate a buildup of creosote or other contaminants, which may require professional cleaning.
By thoroughly assessing the condition of your chimney flue, you can identify any potential issues that may affect the priming process. If you notice any significant damage or blockages that you are unable to address yourself, it may be necessary to consult a professional chimney sweep for further evaluation and repairs.
Once you have assessed the condition of your chimney flue and ensured that it is safe to proceed, it’s time to move on to the next step: clearing the flue of debris.
Read more: How To Use A Chimney Flue
Step 2: Clearing the Chimney of Debris
Now that you have assessed the condition of your chimney flue, it’s time to clear it of any debris that may be obstructing airflow. This step is crucial for optimal ventilation and the safe operation of your fireplace or wood-burning stove.
Follow these steps to effectively clear the chimney flue of debris:
- Put on Protective Gear: Before you begin, make sure to wear a dust mask, safety goggles, and gloves to protect yourself from the soot and debris.
- Prepare the Work Area: Lay down a drop cloth or tarp to catch any debris that may fall during the cleaning process. This will help protect your furniture and flooring from getting dirty.
- Use a Chimney Brush: Insert the chimney brush into the flue from the bottom and begin scrubbing. Use a firm, but not excessive, back-and-forth motion to dislodge the soot, creosote, and debris that may have built up inside the flue. Make sure to extend the brush all the way up to the chimney cap to clean the entire length of the flue.
- Brush in sections: Work in small sections, moving the brush up and down while twisting it slightly. This will help ensure thorough cleaning of the flue. As you brush, the loose debris will fall down into the fireplace or stove opening or onto the drop cloth.
- Collect Debris: Periodically check the fireplace or stove opening to collect the debris that has fallen down. Use a shovel or brush to move it into a bucket for easy disposal.
- Continue brushing: Repeat the brushing process until you have cleaned the entire chimney flue. Take breaks as needed, especially if you have multiple flue sections or a tall chimney.
- Inspect and Remove Obstructions: While brushing, keep an eye out for any remaining obstructions, such as nests or large debris. If you encounter any blockages, carefully remove them using a brush, vacuum, or appropriate chimney cleaning tools.
Clearing the chimney of debris is an important step in maintaining proper ventilation. By removing soot, creosote, and other build-up, you ensure that the flue is clear and airflow is not restricted.
Once you have thoroughly cleared the chimney flue of debris, it’s time to move on to the next step: preparing the priming solution.
Before lighting a fire, prime the chimney flue by lighting a small piece of newspaper and holding it up near the damper to warm the air and create an upward draft. This will help to ensure proper ventilation and prevent smoke from entering the room.
Step 3: Preparing the Priming Solution
Now that you have cleared the chimney flue of debris, it’s time to prepare the priming solution. The priming solution will help loosen any remaining grime and buildup inside the flue, making it easier for the air draft to clear obstructions during the priming process.
- Mix Equal Parts of Water and Chimney Cleaner: In a spray bottle or bucket, mix equal parts of water and chimney cleaner or mild dish soap. The chimney cleaner will aid in breaking down any stubborn creosote or residue inside the chimney flue.
- Stir or Shake the Solution: Thoroughly mix the water and chimney cleaner solution to ensure that they are well blended.
- Ensure Proper Ventilation: Open windows or doors in the area to provide adequate ventilation while working with the priming solution. This will help prevent the buildup of fumes and ensure a safe environment.
- Transfer Solution to a Spray Bottle (Optional): If you prefer, you can transfer the priming solution into a spray bottle for easier application. This will allow you to evenly distribute the solution inside the chimney flue.
- Label the Container (if applicable): If you are using a new container for the priming solution, make sure to label it clearly to avoid confusion and ensure safe handling in the future.
- Keep the Priming Solution Handy: Place the priming solution within reach, as you will need it in the following steps.
By preparing the priming solution, you are now ready to move on to the next step: applying the solution to the chimney flue.
Remember to handle the priming solution with care and follow any specific instructions provided by the manufacturer of your chimney cleaner. Safety should always be a top priority during the priming process.
Step 4: Applying the Priming Solution
With the priming solution prepared, it’s time to apply it to the chimney flue. This step is crucial for breaking down any remaining buildup and preparing the flue for optimal airflow during the priming process.
- Ensure Proper Ventilation: Before you begin applying the priming solution, make sure that there is adequate ventilation in the area. This will help prevent the buildup of fumes and ensure a safe working environment.
- Start at the Bottom of the Flue: Begin applying the priming solution at the bottom of the chimney flue. If you are using a spray bottle, spray the solution evenly on the interior walls of the flue. If you are using a brush or sponge, dip it into the solution and carefully coat the flue’s surface.
- Work Your Way Up: Continue applying the priming solution as you work your way up the flue. Make sure to cover all interior surfaces, ensuring that the solution reaches any remaining spots of buildup or residue.
- Pay Special Attention to Troublesome Areas: If there are areas of heavy creosote buildup or stubborn residue, spend extra time and effort to apply the priming solution extensively. Allow the solution to sit on these areas for a few minutes to help break down the buildup.
- Be Mindful of Dripping Solution: As you apply the priming solution, be careful to avoid excessive dripping onto the fireplace or stove. If any solution does drip down, use a cloth or paper towel to wipe it up and prevent it from causing a mess.
- Let the Solution Sit: Once you have applied the priming solution to the entire chimney flue, allow it to sit for a few minutes. This will give the solution time to penetrate and dissolve any remaining grime.
- Dispose of Any Excess Solution: If there is any excess solution pooling at the bottom of the flue, carefully remove it with a sponge, cloth, or absorbent material. Dispose of the excess solution properly following local regulations.
By applying the priming solution to the chimney flue, you are breaking down any remaining buildup and preparing the flue for the next step: igniting the priming solution. This crucial step will create the necessary airflow to clear obstructions and ensure proper ventilation in your chimney system.
Before proceeding, double-check that you have followed all the safety precautions and have the necessary equipment on hand for the next step. Safety should always be your top priority when working with fire and chimneys.
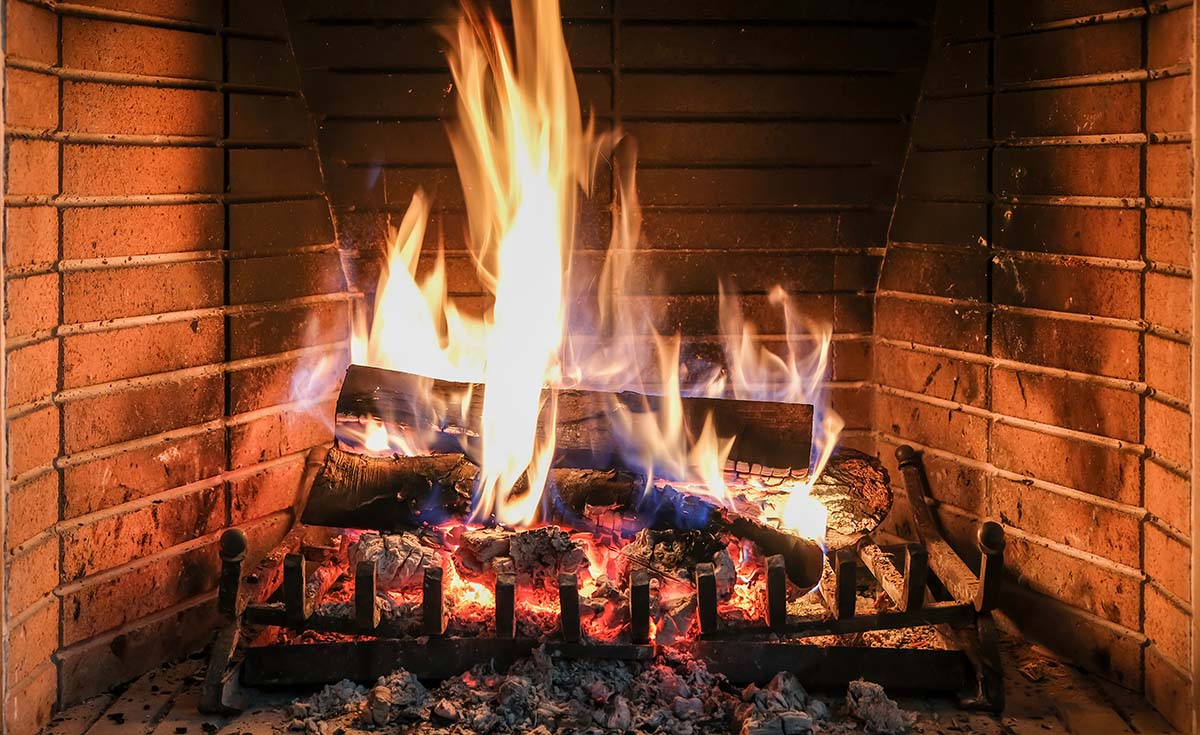
Step 5: Igniting the Priming Solution
Now that you have applied the priming solution to the chimney flue, it’s time to ignite it. This step will create a strong upward air draft that helps clear any remaining obstructions and ensures proper ventilation in your chimney system.
- Ensure Safety Precautions: Before igniting the priming solution, make sure that you have taken all necessary safety precautions. Clear any flammable materials or debris from the area surrounding the fireplace or stove, and ensure that there is proper ventilation.
- Ignite a Small Fire: Start by igniting a small fire in your fireplace or wood-burning stove. This will create heat and draw air up through the chimney flue.
- Position the Igniter: Carefully position the igniter, such as a small piece of kindling or newspaper soaked in a flammable liquid, at the base of the chimney flue. Make sure it is securely placed and can easily catch fire.
- Light the Igniter: Use a match or a lighter to carefully ignite the igniter. As it catches fire, the flames will start to rise and create an upward draft in the flue.
- Monitor the Flame: Keep an eye on the flame as it travels up the chimney flue. The priming solution and flames will create a strong draft, helping to clear any remaining obstructions and ensuring proper ventilation.
- Inspect for Proper Airflow: While the flame is burning, observe the airflow in the chimney. Smoke should be efficiently drawn up and out of the flue. If you notice any smoke or fumes entering your home or a weak draft, it may indicate a blockage that requires further attention.
- Allow the Flame to Burn Out: Let the flame burn until it naturally extinguishes itself or until it has thoroughly cleared the flue. Make sure to monitor the flame throughout the process to ensure safety.
By igniting the priming solution, you are creating the necessary airflow to clear obstructions and ensure proper ventilation in your chimney. This step is essential for maintaining a safe and efficient chimney system.
Once the flame has burned out and you have confirmed that the airflow is proper, you can proceed to the next step: checking for proper airflow in the chimney flue.
Remember to exercise caution while working with fire and follow all safety guidelines to prevent accidents or injuries.
Read more: How Wide Is A Chimney Flue
Step 6: Checking for Proper Airflow
After igniting the priming solution and allowing the flame to burn out, it’s important to check for proper airflow in the chimney flue. This step ensures that any remaining obstructions have been cleared and that your chimney system is functioning optimally.
- Allow the Fire to Settle: Let the fire in your fireplace or wood-burning stove settle down to a steady burn. This will give you a clear indication of the airflow in the chimney flue.
- Observe the Smoke: While the fire is burning, carefully observe the smoke as it exits the chimney. The smoke should be efficiently drawn up and out of the flue, indicating proper ventilation.
- Verify No Smoke in the House: Make sure that no smoke or fumes are entering your home. If you detect any smoke inside your living space, it may indicate a blockage or an issue with the chimney flue that needs further investigation.
- Check for a Strong Draft: Feel the area around your fireplace or wood-burning stove for a strong draft. A noticeable airflow indicates that the chimney flue is clear and functioning correctly. You can use a small piece of tissue or a smoke pen near the opening to detect the movement of air.
- Absence of Unpleasant Odors: Take note of any unusual or persistent odors. A properly functioning chimney flue should not release strong or unpleasant odors into your home. If you notice any foul smells, it may indicate a problem that requires attention.
- Inspect the Chimney Cap and Spark Arrestor: Check that the chimney cap and spark arrestor are properly installed and free from any debris or damage. These components play a crucial role in maintaining airflow and preventing animals or debris from entering the flue.
- Monitor the Burn: Continue to observe the fire and the smoke as it exits the chimney throughout its burn time. Any sudden changes or abnormalities should be noted, as they may indicate a need for further inspection or maintenance.
By checking for proper airflow in the chimney flue, you can ensure that any remaining obstructions have been cleared and that your fireplace or wood-burning stove is operating safely and efficiently.
If you notice any issues, such as a weak draft, persistent smoke indoors, or unusual odors, it may be necessary to consult a professional chimney sweep for a more thorough inspection and any required repairs or maintenance.
Once you have confirmed that the airflow is proper and all systems are functioning correctly, you can proceed to the final step: closing the flue and cleaning up.
Step 7: Closing the Flue and Cleaning Up
After confirming that the chimney flue is clear and that your fireplace or wood-burning stove is operating optimally, it’s time to close the flue and clean up the surrounding area. This final step ensures that your chimney system is secure and that your living space is tidy.
- Closing the Flue: Close the damper or flue by moving the lever or handle into the closed position. This prevents drafts and the entry of cold air when your fireplace or stove is not in use. Make sure that the damper is securely sealed to maintain energy efficiency.
- Remove Protective Drop Cloth or Tarp: Carefully remove the drop cloth or tarp that was used to protect the surrounding area. Shake off any debris outside and fold or roll it up for future use or disposal.
- Clean Fireplace Tools: If you used any fireplace tools during the priming process, such as a brush or shovel, clean them thoroughly. Remove any debris or soot, and store them in a safe and dry place for future use.
- Dispose of Debris: Dispose of any collected debris from the fireplace or stove. Empty the bucket used for collecting debris into a garbage bag, ensuring that it is properly sealed and disposed of according to local regulations.
- Clean Surrounding Area: Using a broom or vacuum cleaner, clean the area around the fireplace or wood-burning stove. Remove any fallen debris or soot, and wipe down surfaces to ensure a neat and tidy space.
- Put Away Equipment: Return any equipment or tools used during the priming process to their designated storage areas. This includes the chimney brush, bucket, ladder, and other items.
- Check Smoke and Carbon Monoxide Detectors: Take the opportunity to test your smoke and carbon monoxide detectors. Ensure that the batteries are working and replace them if necessary. Safety is paramount, so make sure these devices are properly functioning.
By closing the flue and cleaning up, you complete the process of priming your chimney flue. Regular maintenance, including periodic cleaning and inspection, will help ensure the ongoing efficiency and safety of your chimney system.
Remember to follow the manufacturer’s recommendations for regular chimney maintenance and consult a professional chimney sweep for a more comprehensive inspection and cleaning if needed.
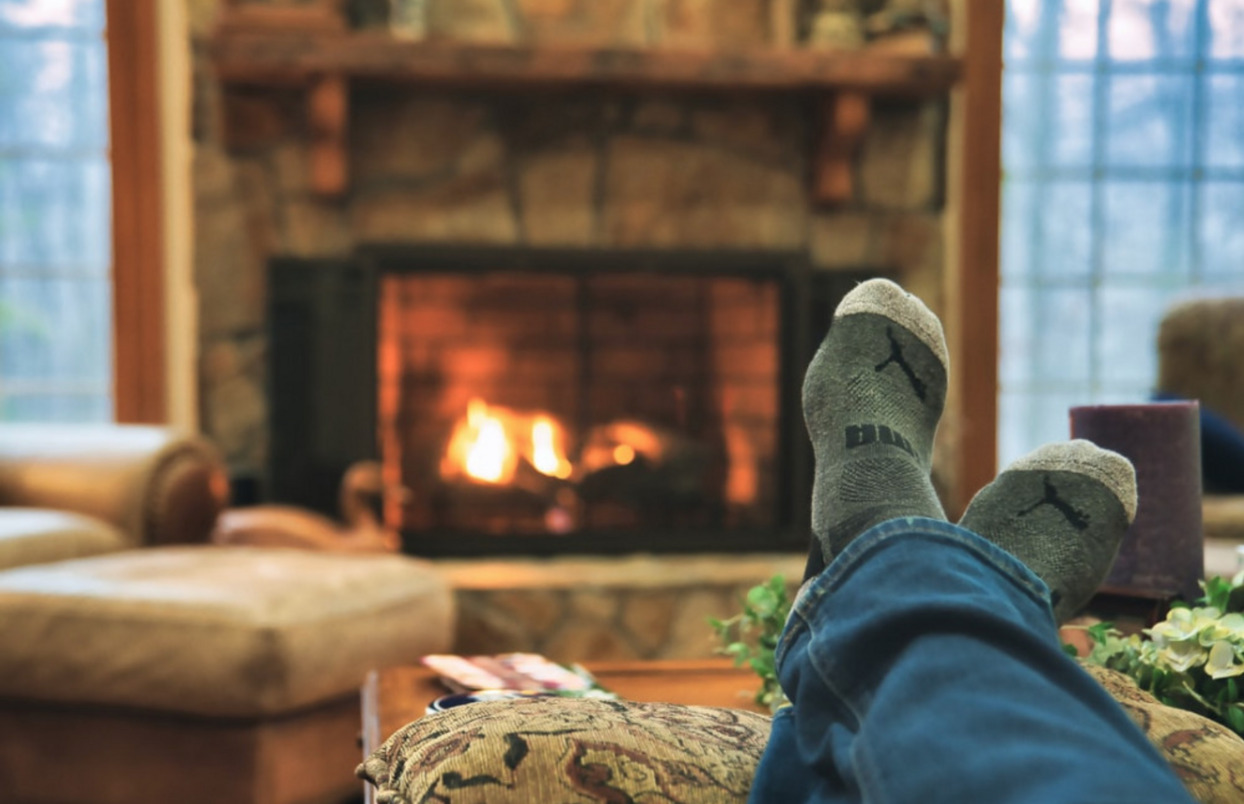
With your chimney flue primed and your living space restored to its tidy state, you can now enjoy the warmth and coziness of your fireplace or wood-burning stove with peace of mind.
Thank you for following this guide on how to prime a chimney flue. Stay safe and enjoy your well-maintained chimney system!
Conclusion
Priming your chimney flue is an essential step in maintaining the functionality, efficiency, and safety of your fireplace or wood-burning stove. By following the steps outlined in this guide, you can ensure that your chimney flue is clear of obstructions and that proper ventilation is achieved.
We began by understanding the chimney flue and why priming is necessary. The accumulation of debris can hinder airflow, reduce heating efficiency, and pose a fire hazard. By priming the flue, you can effectively clear obstructions, improve ventilation, and maintain a safe and efficient chimney system.
We then discussed the materials and tools needed for the priming process. Chimney brushes, buckets, drop cloths, and protective gear are essential for a successful and safe priming experience.
Next, we went through each step of the priming process, starting with assessing the condition of the chimney flue. Clearing the flue of debris, preparing the priming solution, and applying it to the flue were crucial steps in achieving proper airflow. Igniting the priming solution created an upward draft, further clearing any remaining blockages. We emphasized the importance of checking for proper airflow, ensuring that the chimney operates efficiently and minimizes the risk of harmful gases or odors entering your home.
Finally, we discussed the closing of the flue and cleaning up the area, emphasizing the importance of maintaining a tidy and safe living space.
Regular chimney maintenance, including periodic cleaning and priming, is vital to ensure optimal performance and the longevity of your chimney system. If you encounter any significant issues or have doubts about the condition of your chimney, it is recommended to consult a professional chimney sweep for further assessment and assistance.
By taking the time to prime your chimney flue, you are ensuring a safe and enjoyable experience with your fireplace or wood-burning stove. So go ahead, light that fire, and cozy up to the warmth, knowing that you have taken the necessary steps to care for your chimney system.
Thank you for reading our comprehensive guide on how to prime a chimney flue. Stay warm, stay safe, and enjoy the comforts of your well-maintained chimney!
Frequently Asked Questions about How To Prime A Chimney Flue
Was this page helpful?
At Storables.com, we guarantee accurate and reliable information. Our content, validated by Expert Board Contributors, is crafted following stringent Editorial Policies. We're committed to providing you with well-researched, expert-backed insights for all your informational needs.


0 thoughts on “How To Prime A Chimney Flue”