Articles
How To Repair Chimney Flue Crack
Modified: August 20, 2024
Looking for articles on how to repair a chimney flue crack? Find step-by-step guides and expert advice to fix your chimney flue crack efficiently.
(Many of the links in this article redirect to a specific reviewed product. Your purchase of these products through affiliate links helps to generate commission for Storables.com, at no extra cost. Learn more)
Introduction
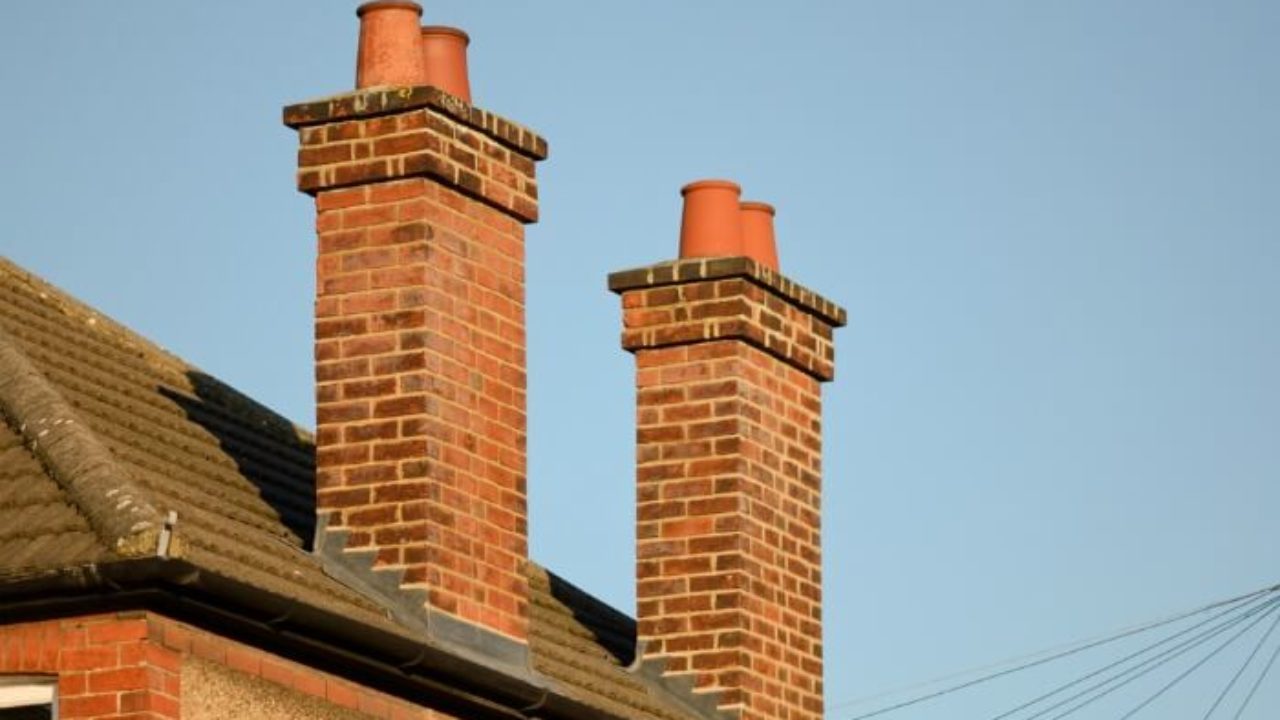
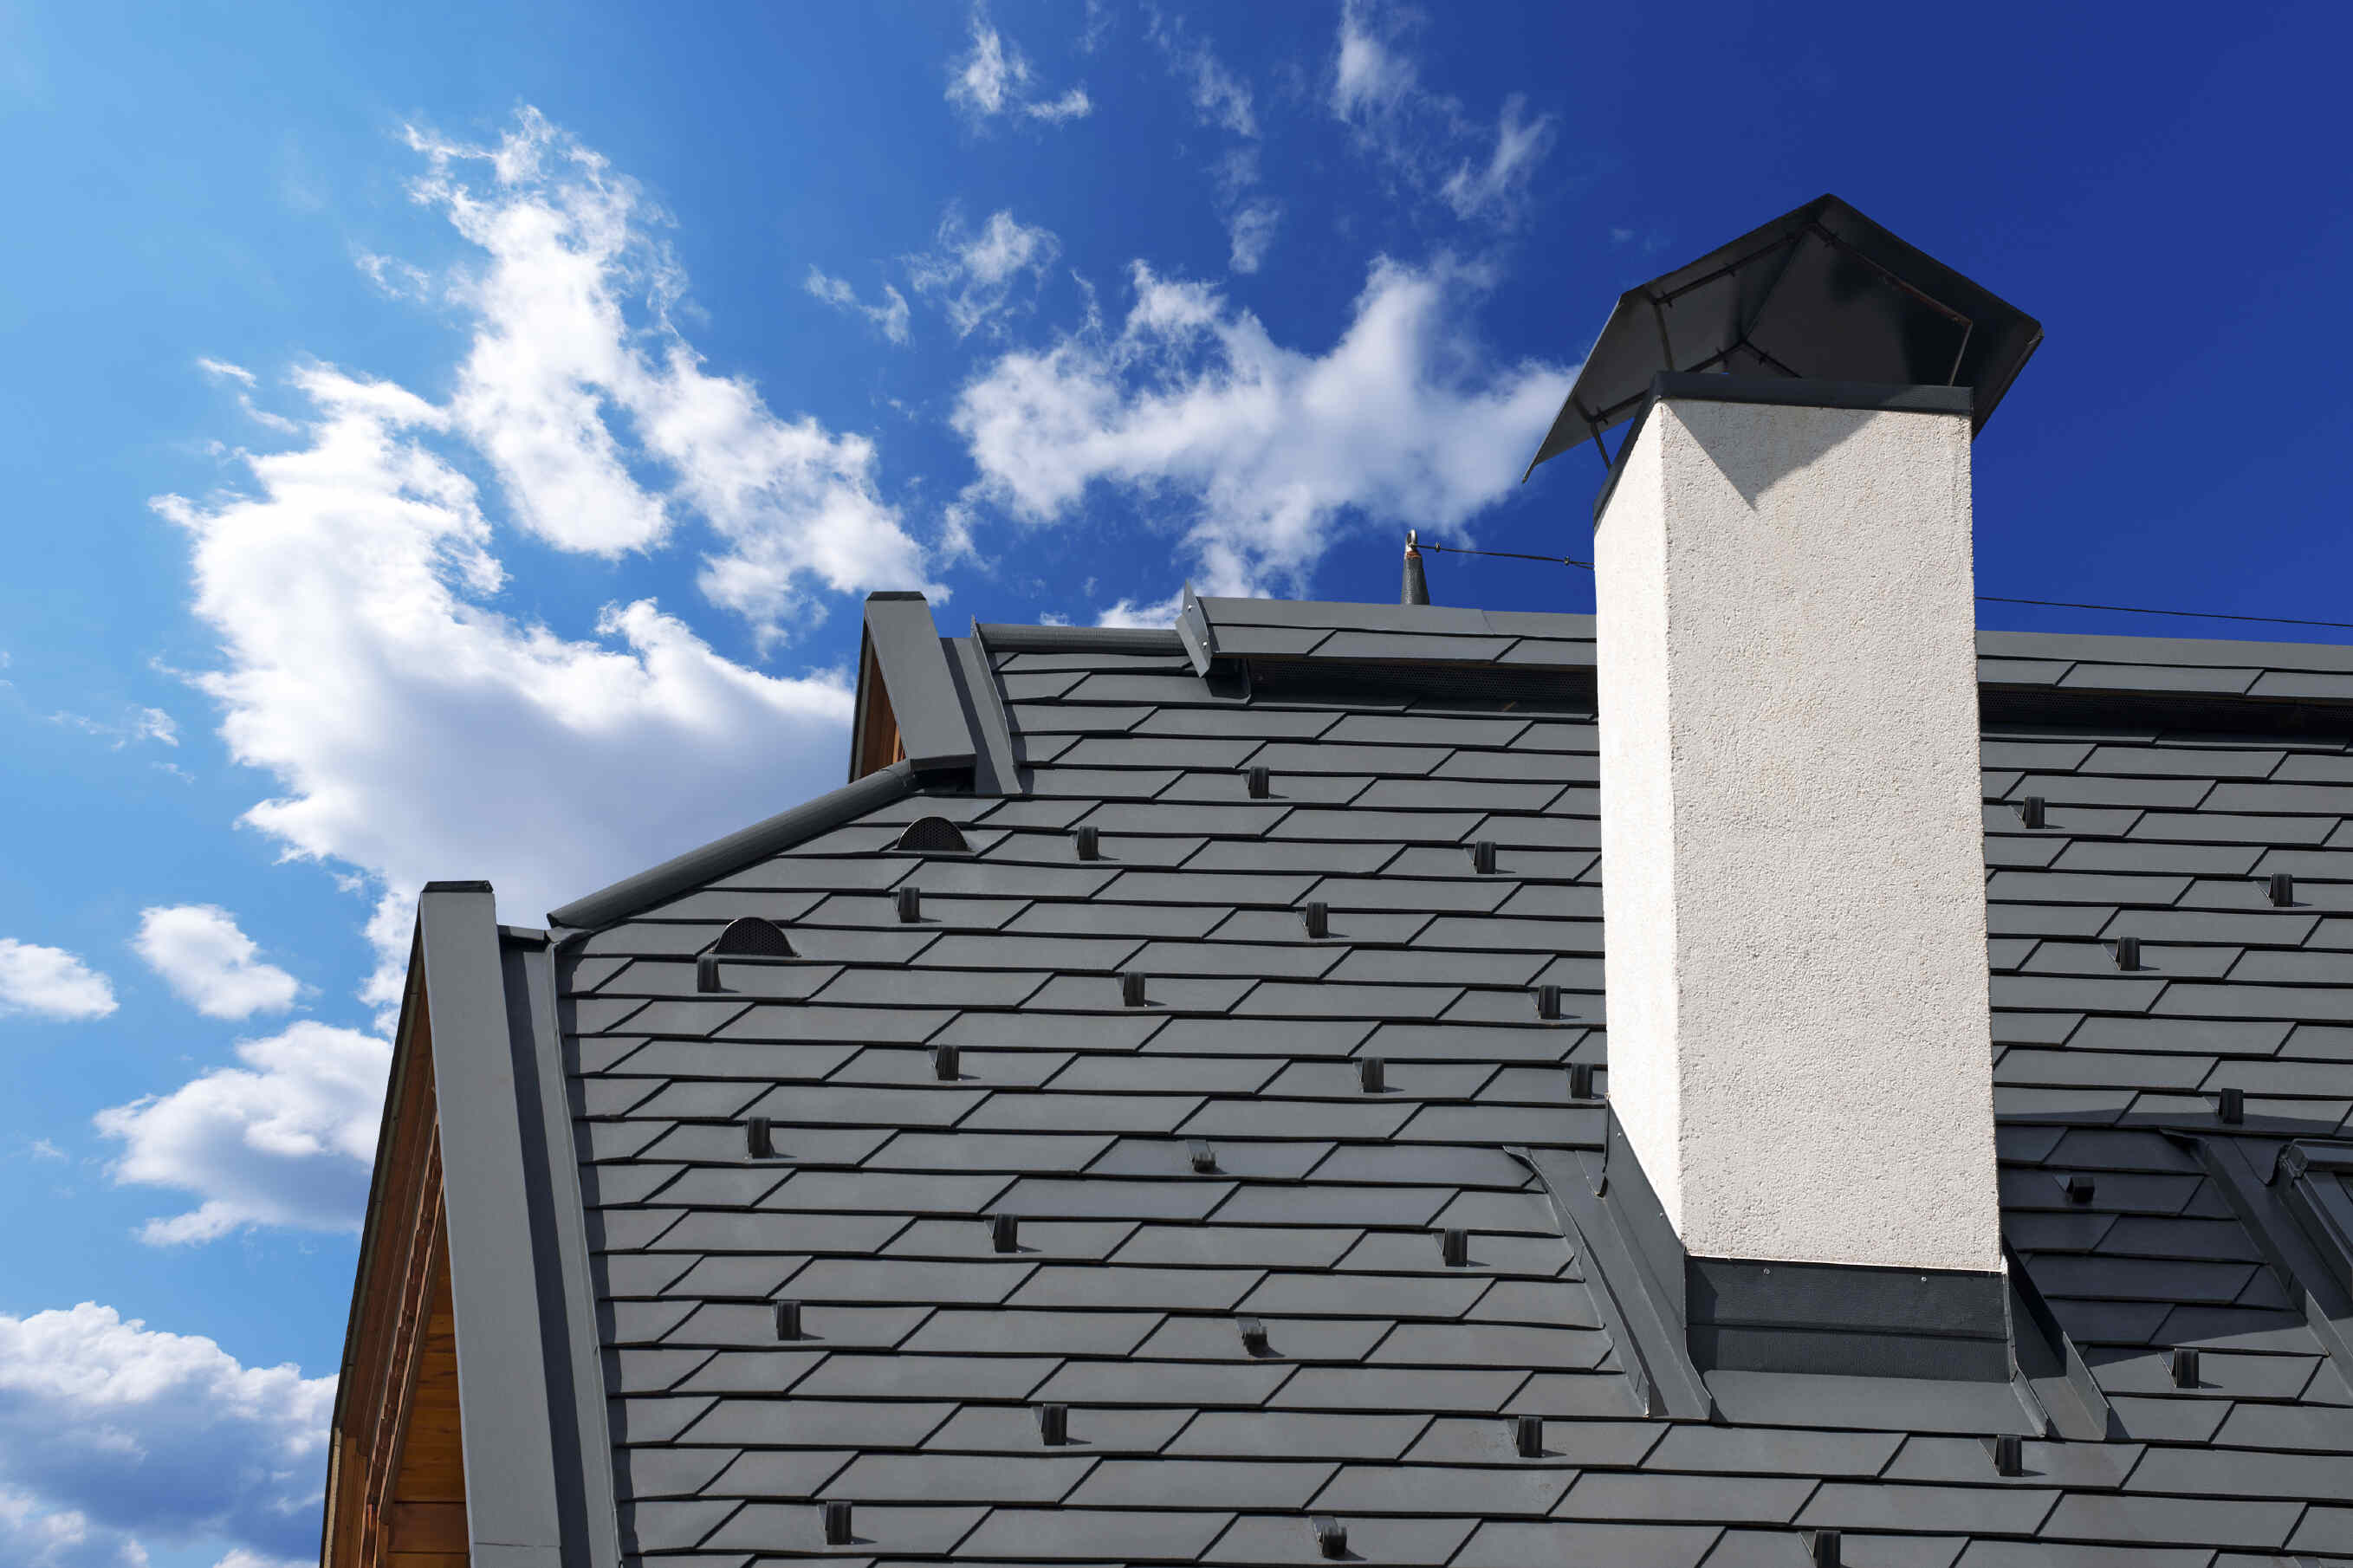
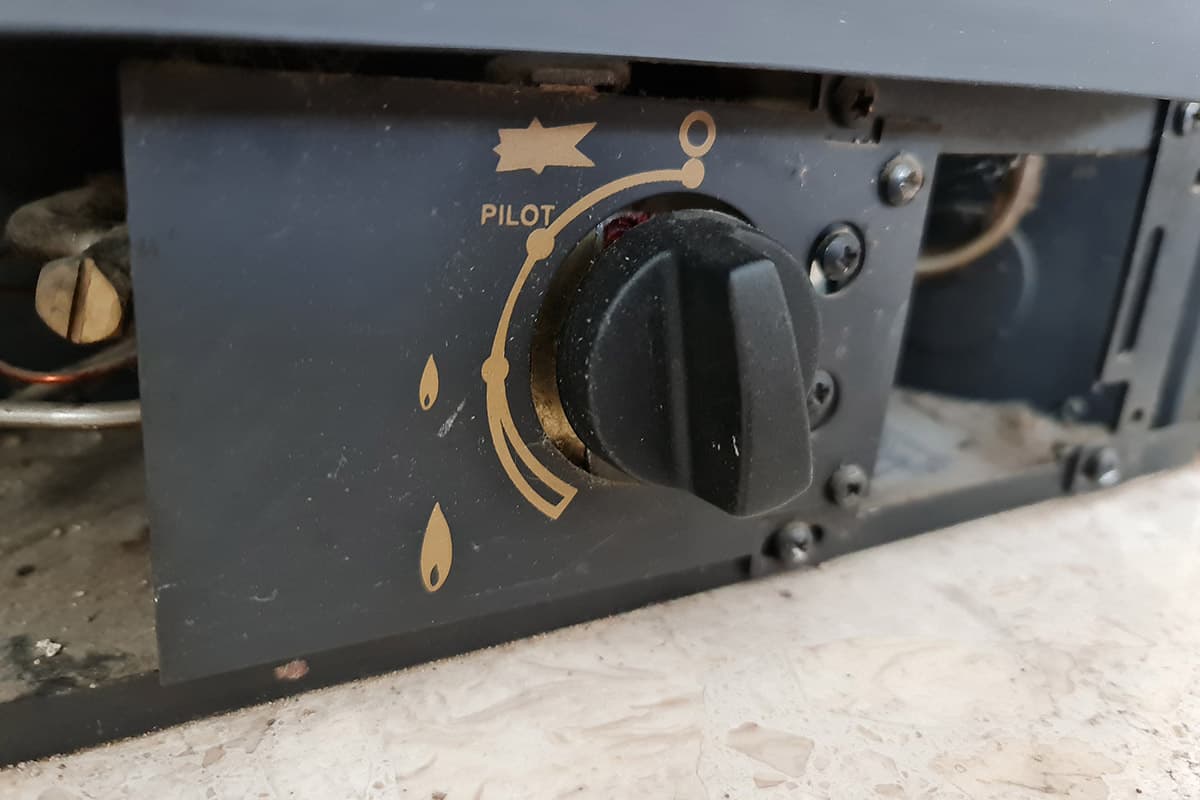
The chimney flue plays a crucial role in the safe and efficient operation of a fireplace or wood-burning stove. It acts as a passage for smoke, gases, and combustion byproducts to escape safely out of the house. However, over time, the chimney flue can develop cracks, which not only compromise its performance but also pose a potential risk of fire hazards.
Repairing a chimney flue crack is essential to maintain the integrity of the chimney system and ensure the safety of your home. In this article, we will guide you through the process of repairing chimney flue cracks, providing you with the necessary tools, materials, and step-by-step instructions.
Before we dive into the repair process, it is important to understand the causes and consequences of chimney flue cracks. Cracks in the flue can occur due to various reasons, such as the deterioration of the materials over time, thermal expansion and contraction, moisture damage, or improper installation.
These cracks can lead to several problems, including poor chimney draft, the entry of unwanted moisture, a decrease in energy-efficiency, and even carbon monoxide leaks. Therefore, it is crucial to address chimney flue cracks as soon as they are detected to prevent further damage and potential dangers.
In the following sections, we will explore the different methods of repairing chimney flue cracks, ranging from using chimney flue sealers and heat-resistant mortar to replacing the flue liner with a stainless steel one. We will also provide you with useful maintenance tips to ensure the longevity and functionality of your chimney system.
Repairing a chimney flue crack may seem like a daunting task, but with the proper knowledge, tools, and materials, you can successfully complete the repair, saving money on professional services and ensuring a safe and efficient chimney system.
So, let’s roll up our sleeves and dive into the process of repairing chimney flue cracks step by step.
Key Takeaways:
- Repairing chimney flue cracks is essential for maintaining a safe and efficient fireplace or wood-burning stove. Understanding the causes, choosing the right repair method, and prioritizing safety are crucial steps in the repair process.
- Proper maintenance and preventive measures, such as regular chimney inspections and cleaning, are vital for ensuring the longevity and performance of your chimney system. By following these tips, you can enjoy a safe and cozy fireplace experience.
Read more: What Is A Chimney Flue
Understanding Chimney Flue Cracks
Chimney flue cracks are a common issue faced by homeowners with fireplaces or wood-burning stoves. It is important to understand the nature of these cracks to properly address and repair them.
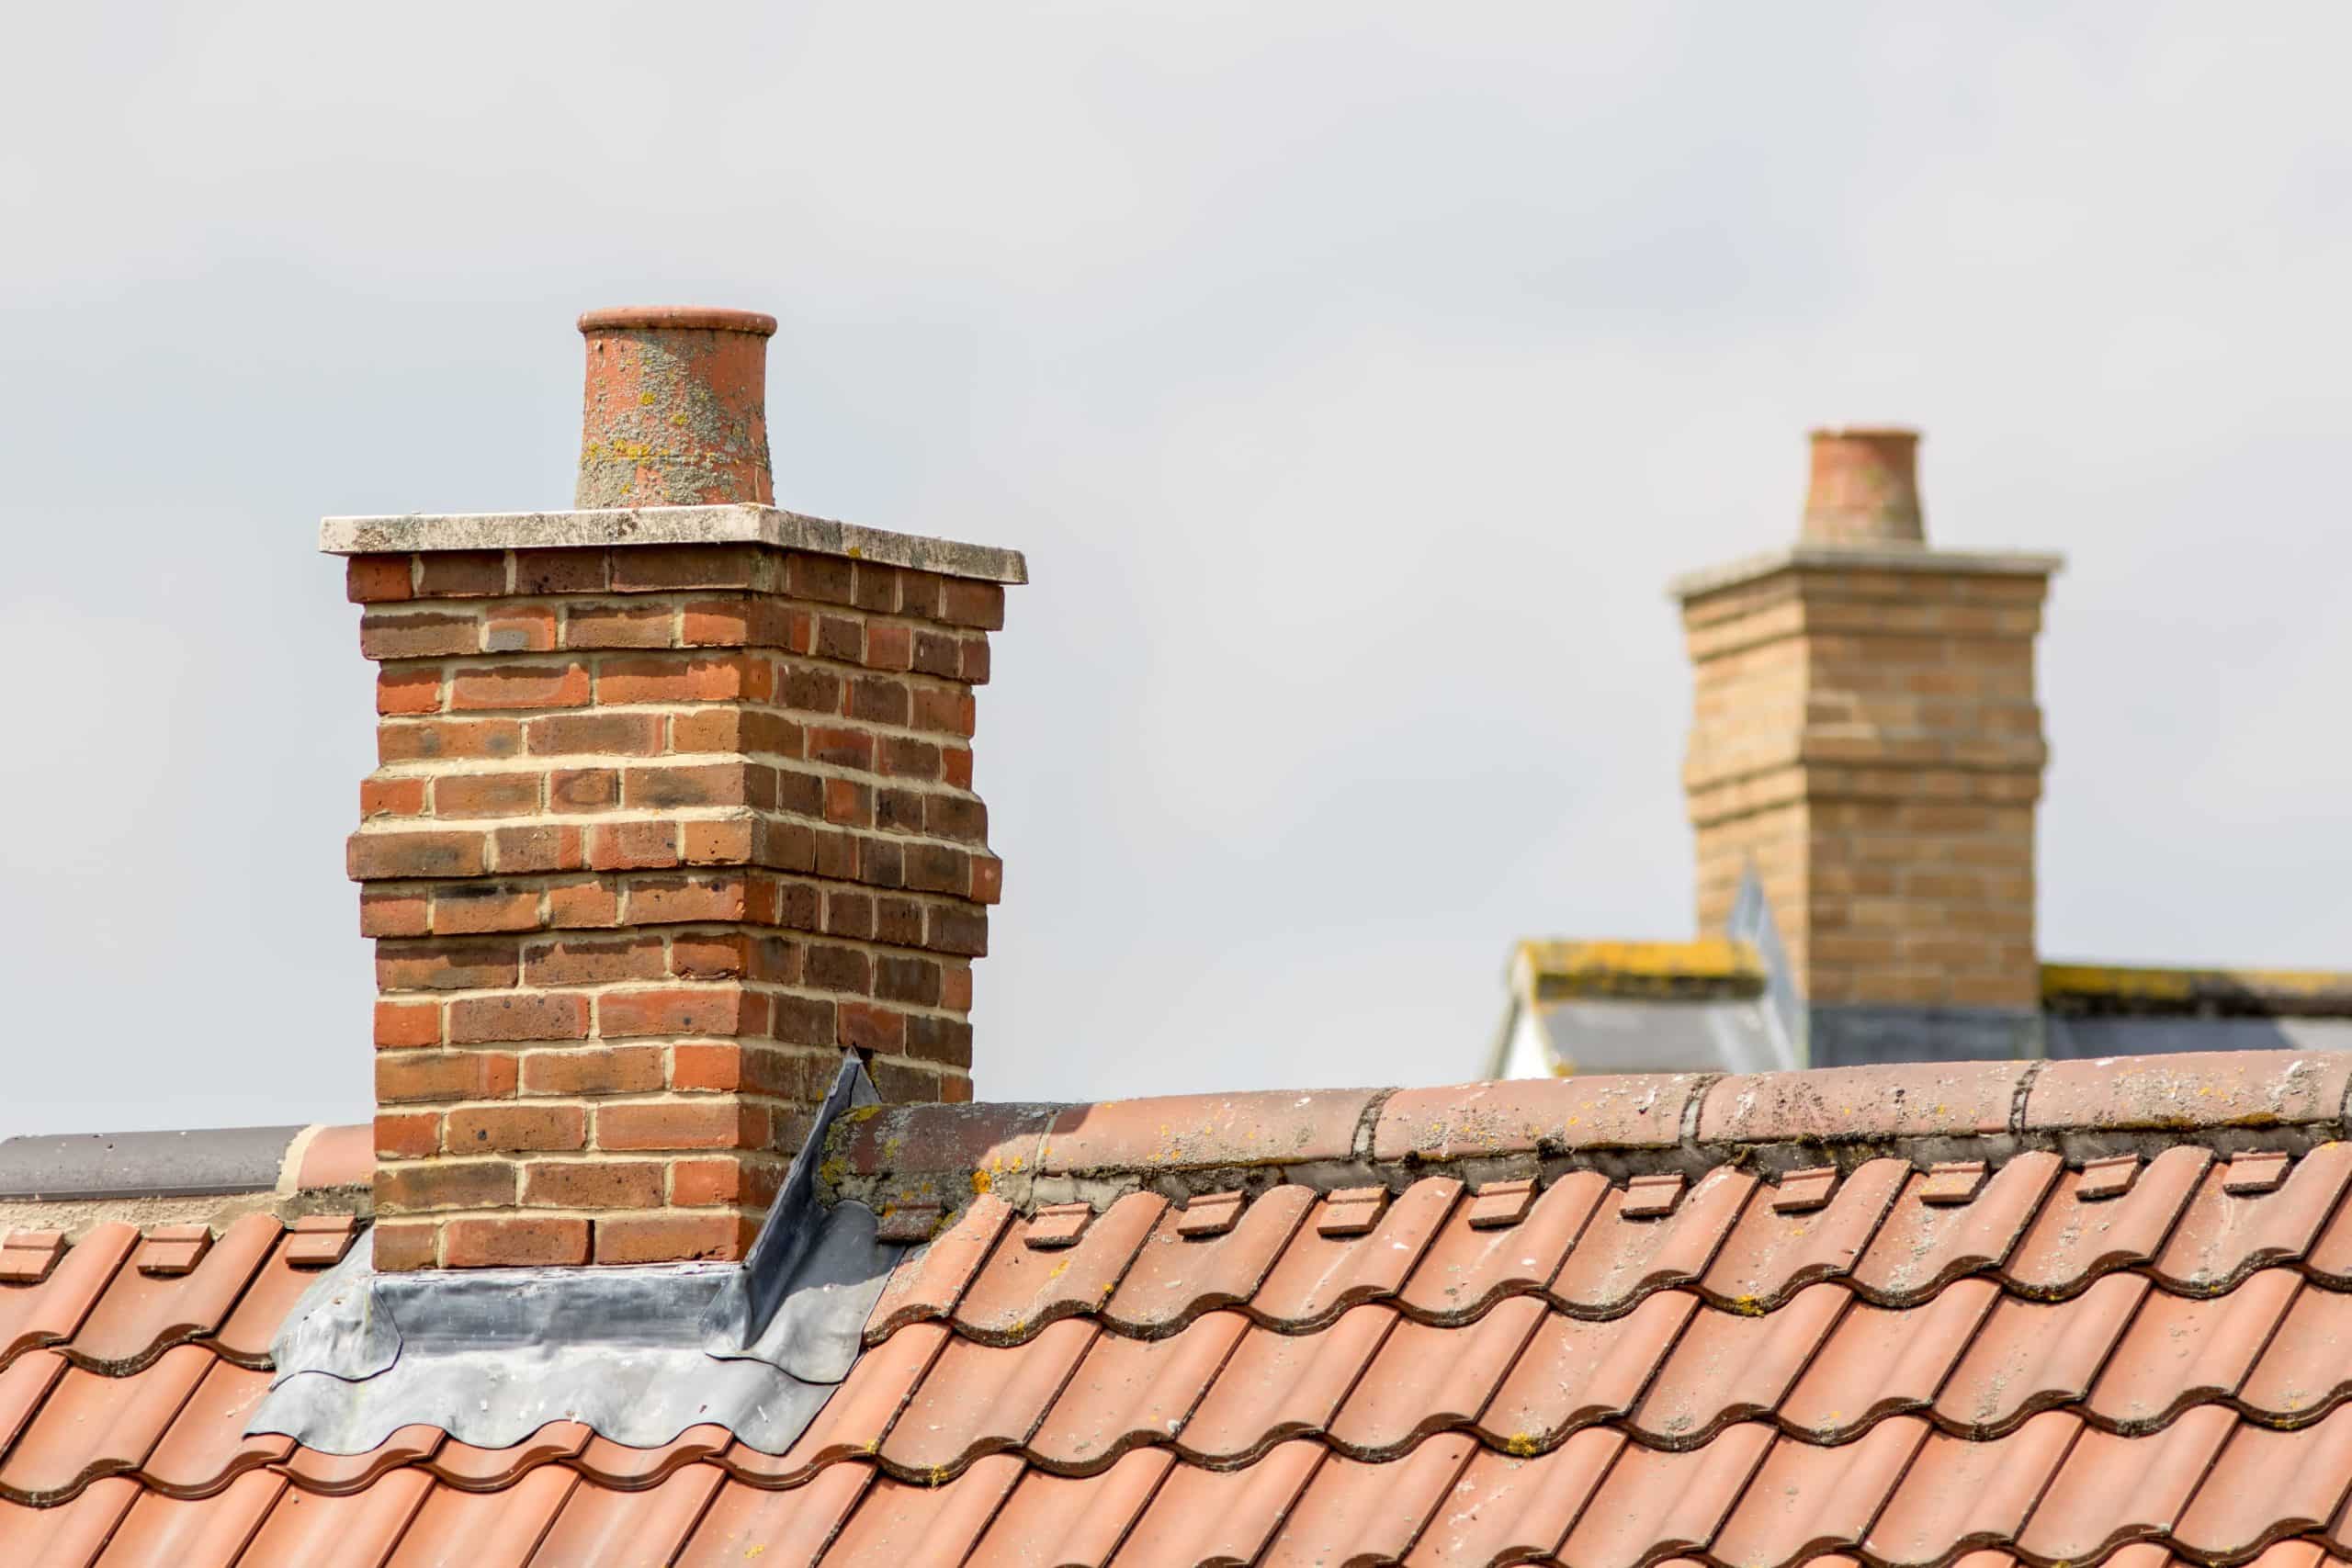
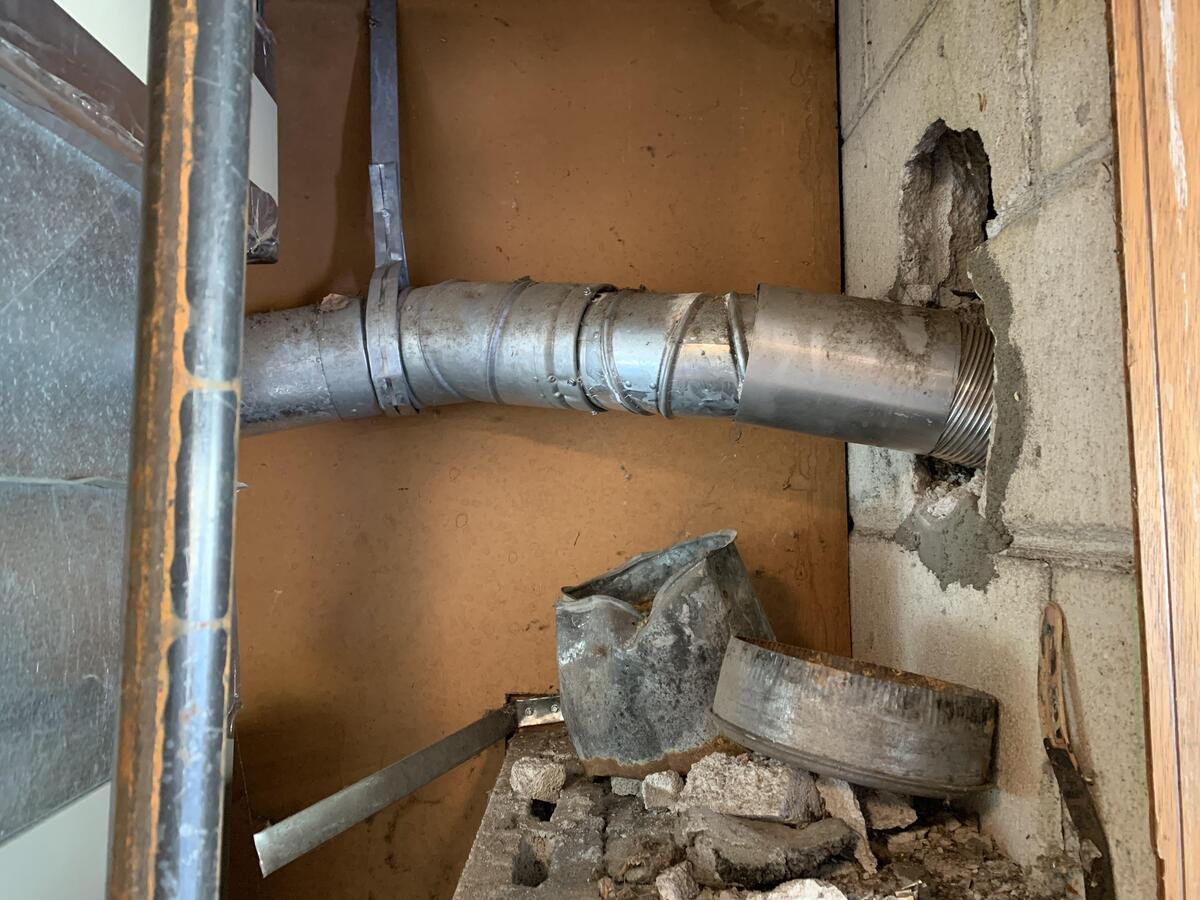
Chimney flue cracks can occur due to various reasons. One common cause is the natural wear and tear of the chimney system over time. The constant exposure to heat, smoke, and the elements can cause the flue lining to deteriorate, leading to the formation of cracks.
Another factor that contributes to chimney flue cracks is the thermal expansion and contraction that occurs when the fireplace or stove is in use. The extreme temperatures caused by the burning fuel can cause the materials to expand and contract, eventually leading to cracks.
Moisture damage is also a significant cause of chimney flue cracks. When water seeps into the chimney, it can mix with the byproducts of combustion, such as creosote, forming an acidic mixture. This mixture can corrode the flue lining and weaken its structure, eventually resulting in cracks.
Improper installation or construction of the chimney flue can also lead to cracks. If the flue liner is not properly sized or if there are gaps or inconsistencies in its construction, it can create weak points where cracks can easily form.
It is important to address chimney flue cracks as soon as they are detected, as they can lead to a variety of problems. A cracked flue can cause a decrease in energy-efficiency, as the cracks allow heat to escape and cold air to enter the chimney. This can result in higher heating costs and a less comfortable living environment.
Poor chimney draft is another consequence of flue cracks. When cracks are present, they can disrupt the airflow, reducing the efficiency of smoke evacuation. This can lead to smoke and odors entering the home and can even pose the risk of carbon monoxide leaks.
Furthermore, a cracked chimney flue can allow moisture to enter the chimney system. This moisture can cause a range of issues, including mold and mildew growth, damage to the surrounding masonry, and the deterioration of other components of the chimney system.
By understanding the causes and consequences of chimney flue cracks, homeowners can take the necessary steps to address and repair them. In the next sections, we will discuss the tools, materials, and steps involved in repairing chimney flue cracks, allowing you to restore the integrity and safety of your chimney system.
Tools and Materials Needed
Before starting the repair process for chimney flue cracks, it is important to gather all the necessary tools and materials. Having everything prepared in advance will make the repair process smoother and more efficient. Here is a list of the essential tools and materials you will need:
- Protective gear: Safety should be your top priority when working on chimney flue repairs. Make sure to wear protective goggles, gloves, a dust mask, and work clothes that cover your arms and legs.
- Flashlight: This will be useful for inspecting the chimney flue and locating any cracks or damage.
- Chimney brush and extension rods: These tools are necessary for cleaning the chimney flue before starting the repair process. The brush should be the appropriate size for your flue and made of stiff bristles.
- Wire brush: A wire brush will be essential for removing loose debris, rust, or old sealant from the flue surface.
- Trowel: You will need a trowel for applying heat-resistant mortar or chimney flue sealer to repair the cracks.
- Chimney flue sealer: This is a specialized product designed to seal chimney flue cracks. It is important to choose a high-quality sealer that is heat-resistant and specifically formulated for chimney use.
- Heat-resistant mortar: In some cases, chimney flue cracks may require more extensive repair. Heat-resistant mortar is suitable for filling larger cracks or rebuilding damaged areas of the flue lining.
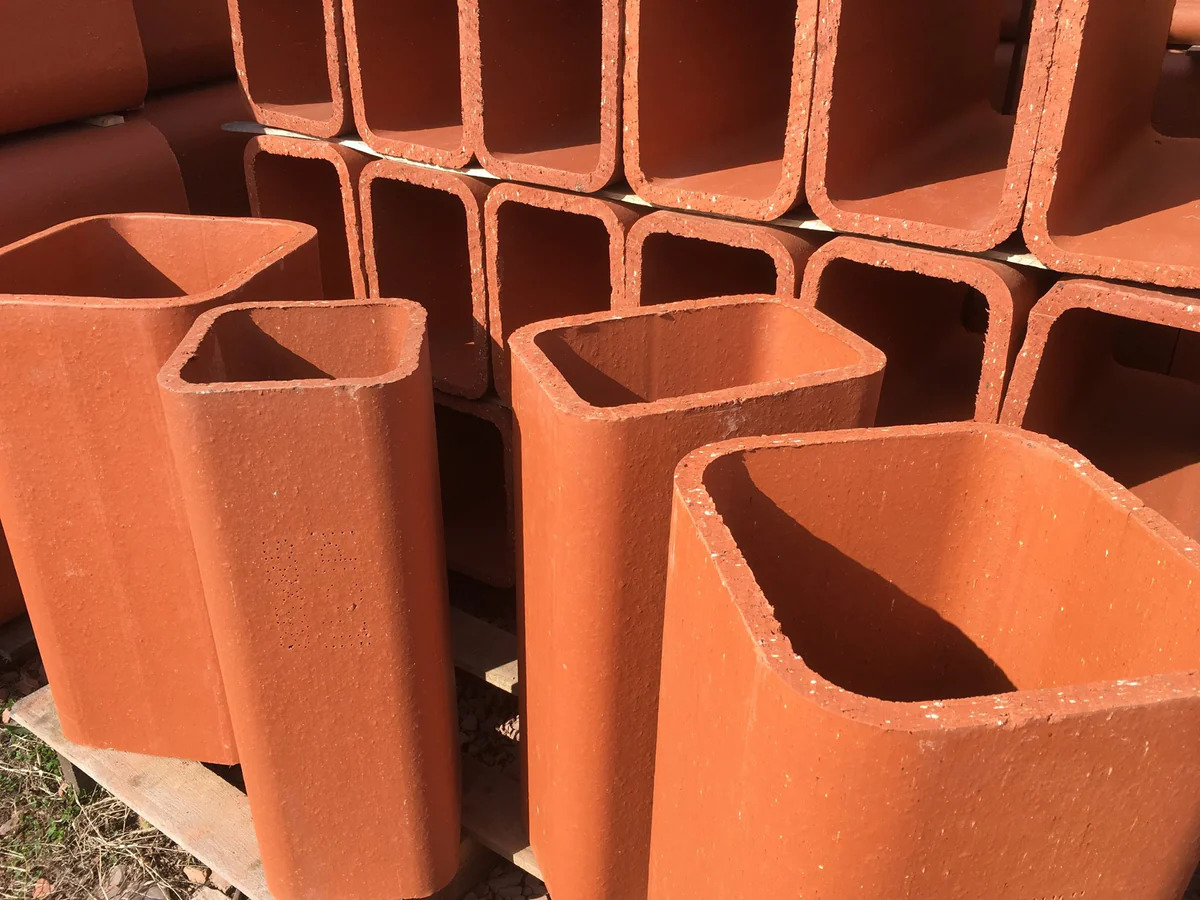
- Stainless steel chimney flue liner: If the chimney flue cracks are severe or if the existing flue lining is beyond repair, you may consider installing a stainless steel chimney flue liner. This liner will provide a new, durable, and long-lasting flue lining.
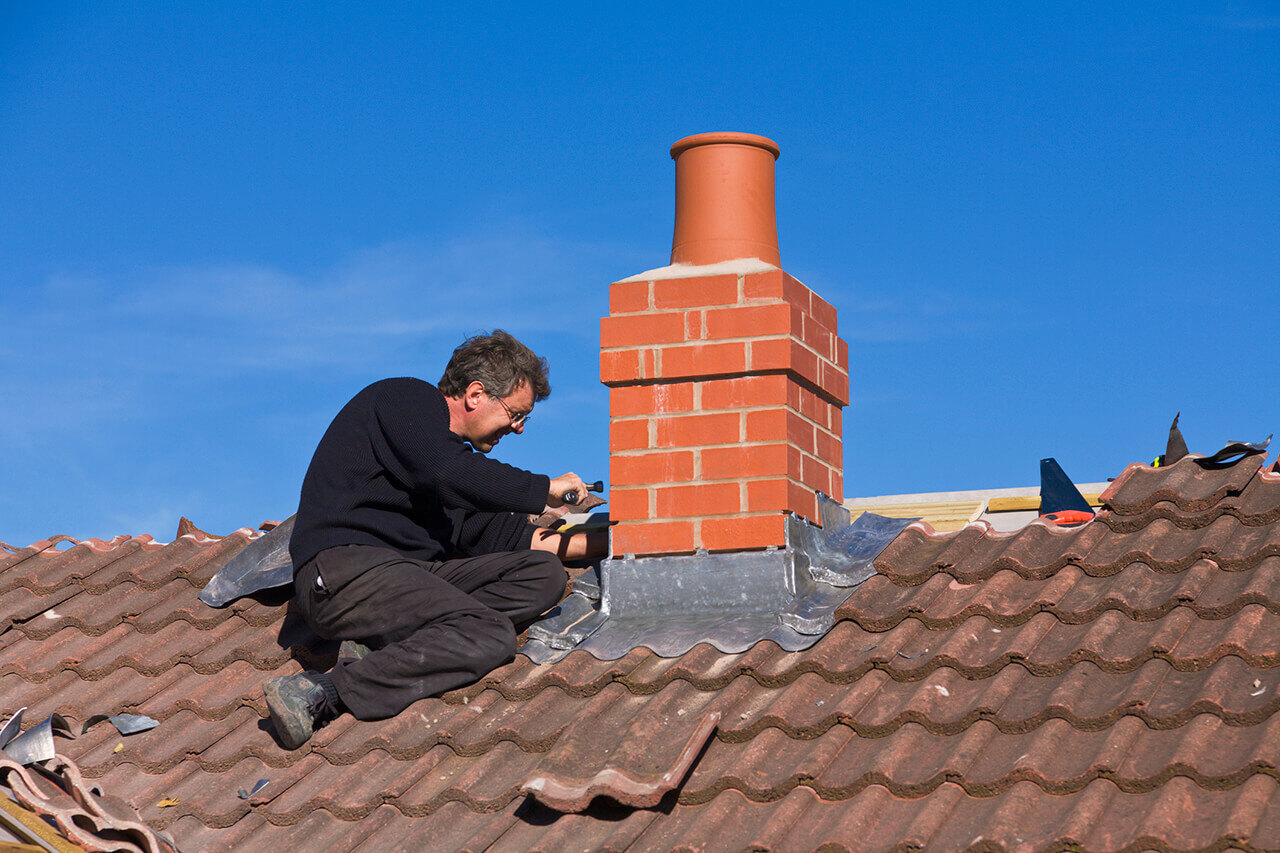
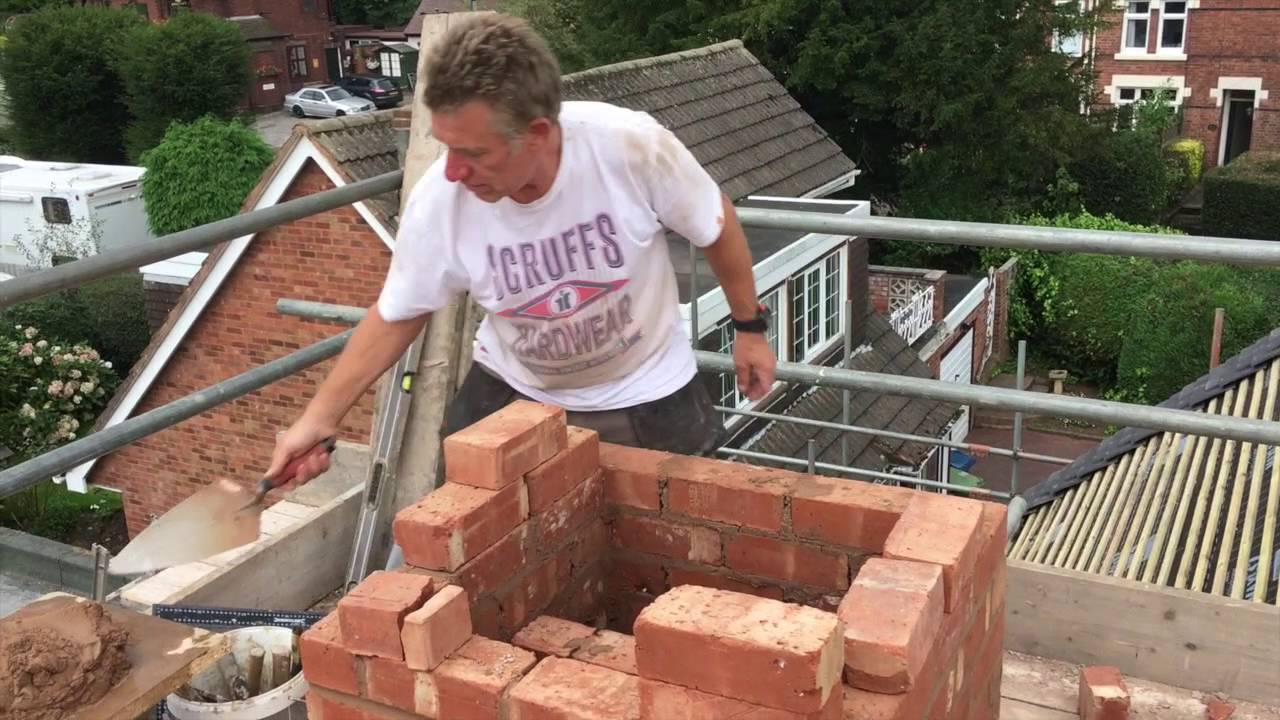
- Safety harness and ladder: If you need to access the roof for the repair, make sure you have a sturdy safety harness and ladder to ensure your safety.
It is important to note that the specific tools and materials needed may vary depending on the severity of the chimney flue cracks and the chosen repair method. It is recommended to consult with a professional or chimney repair specialist to determine the appropriate tools and materials for your specific situation.
By having all the necessary tools and materials ready, you will be prepared to tackle the task of repairing chimney flue cracks efficiently and effectively. In the next sections, we will guide you through the step-by-step repair process, providing you with detailed instructions and tips for each stage.
Step 1: Safety Precautions
Ensuring your safety is crucial when undertaking any chimney repair work. Before starting the repair process for chimney flue cracks, it is important to follow these safety precautions:
- Wear protective gear: Put on safety goggles, gloves, a dust mask, and work clothes that cover your arms and legs. This will protect you from any harmful substances and debris.
- Prepare the work area: Clear the area surrounding the fireplace or stove, removing any furniture, rugs, or other objects that could be obstructive or pose a tripping hazard.
- Set up proper ventilation: Open windows or doors nearby to ensure proper ventilation during the repair process. This will help dissipate any fumes or odors that may be produced.
- Make sure the fire is out: Ensure that there is no fire or hot embers in the fireplace or stove before proceeding with the repair. Allow ample time for the unit to cool down completely.
- Secure the ladder: If accessing the roof is necessary for the repair, use a sturdy ladder that is properly secured. Ensure that the ladder is placed on a stable surface and have someone assist you if needed.
- Use a safety harness: If working on the roof, wear a safety harness to prevent falls or accidents. Connect the harness to a secure anchor point to ensure your safety.
- Keep a fire extinguisher nearby: Have a fire extinguisher readily available in case of any unexpected fire hazards. Make sure you are familiar with its use.
Following these safety precautions will help minimize the risk of accidents and injuries during the chimney flue repair process. It is important to prioritize your safety and take the necessary precautions at all times.
Once you have taken the necessary safety measures, you can proceed to the next step: cleaning the chimney flue. Cleaning the flue thoroughly will allow you to inspect the cracks and determine the appropriate repair method. Stay tuned for step 2!
Step 2: Cleaning the Chimney Flue
Before you can effectively repair chimney flue cracks, it is essential to clean the flue thoroughly. Cleaning the flue will remove any debris, creosote buildup, or other obstacles that may hinder the repair process. Follow these steps to clean the chimney flue:
- Put on protective gear: Wear safety goggles, gloves, and a dust mask to protect yourself from the soot, debris, and potentially harmful substances.
- Prepare the work area: Place a drop cloth or plastic sheet around the fireplace or stove to catch any debris or soot that may fall during the cleaning process.
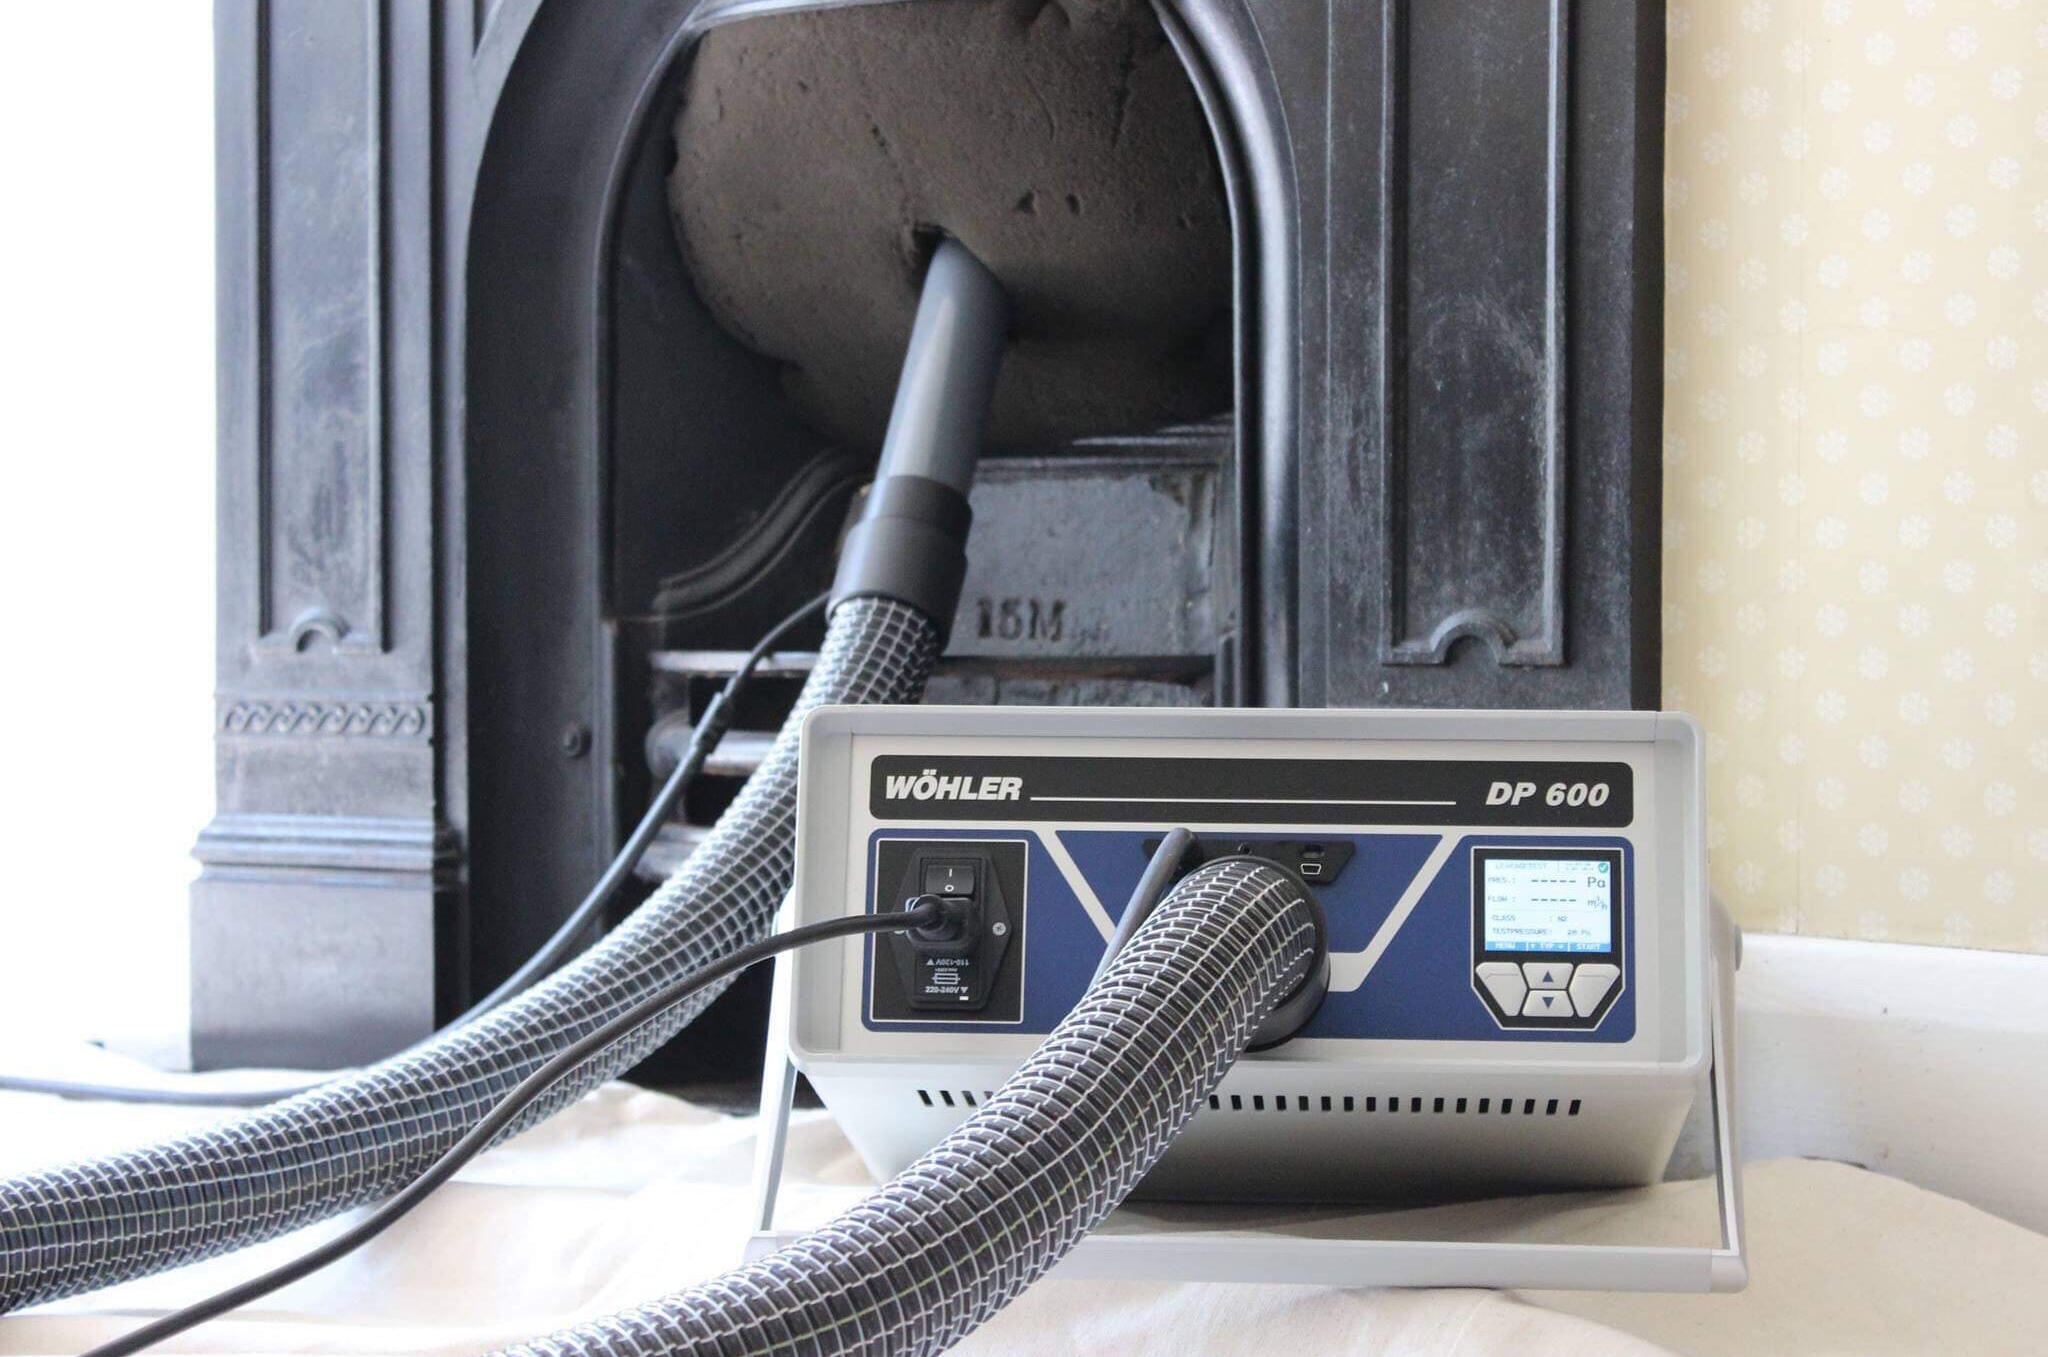
- Inspect the flue: Use a flashlight to inspect the flue for any signs of damage, cracks, or obstructions. Take note of the location and severity of any cracks you find.
- Remove debris: Use a chimney brush and extension rods to clean the flue. Insert the brush into the flue from the bottom, and scrub the entire length of the flue. Make sure to sweep the brush in an up-and-down motion to dislodge any loose debris or creosote buildup.
- Inspect again: After cleaning the flue, inspect it once more to ensure that it is free from debris and obstructions. Pay close attention to the areas where cracks were found.
- Remove loose material: Use a wire brush to remove any loose material, rust, or old sealant from the surface of the flue and around the cracks. This will prepare the surface for the repair process.
- Clean the fireplace or stove: While you are cleaning the flue, take the opportunity to also clean the fireplace or stove. Remove any ashes, debris, or buildup from the firebox or stove interior. This will ensure a clean and safe environment for future use.
By thoroughly cleaning the chimney flue, you will have a clear view of the cracks and can proceed with the appropriate repair method. Remember to take your time throughout the cleaning process and be thorough in removing all debris and buildup.
Now that the chimney flue is clean, it is time to move on to the next step: identifying the crack. Stay tuned!
Read more: How To Use A Chimney Flue
Step 3: Identifying the Crack
After cleaning the chimney flue, the next step in the repair process is to identify the location and extent of the cracks. This will help you determine the appropriate repair method and materials needed. Follow these steps to identify the crack:
- Inspect the flue lining: Use a flashlight to carefully examine the interior lining of the chimney flue. Look for any visible cracks, gaps, or signs of damage. Pay close attention to areas where the flue turns or connects with other components.
- Feel for irregularities: With gloved hands, run your fingers along the surface of the flue lining to feel for any irregularities. Cracks may not always be clearly visible but can be detected by touch.
- Listen for sounds: Tap gently on the flue lining with a metal object, such as a screwdriver handle. Listen for any hollow or different sounds, which may indicate the presence of a crack.
- Mark the crack(s): Once you have identified the crack(s), mark them with a piece of chalk or tape. This will make it easier to locate and repair them in the next steps.
- Measure the crack(s): Using a ruler or tape measure, measure the length and width of each crack. Note down these measurements as they will be helpful in determining the amount of repair material needed.
By identifying the location and extent of the cracks, you will be able to plan your repair strategy effectively. Small cracks can often be repaired with chimney flue sealers, while larger or more severe cracks may require the use of heat-resistant mortar or a stainless steel chimney flue liner.
Remember that identifying the crack(s) is an important step in the repair process and should not be rushed. Take your time to thoroughly inspect the flue lining and mark any cracks you find. This will ensure a successful and long-lasting repair.
Now that you have identified the crack, it’s time to move on to the next step: choosing the right repair method. Stay tuned!
Step 4: Choosing the Right Repair Method
Once you have identified the crack(s) in the chimney flue, the next step is to determine the appropriate repair method. The choice of repair method will depend on the severity and location of the crack, as well as your personal preferences. Here are some common repair methods to consider:
- Chimney Flue Sealer: Chimney flue sealers are designed specifically for sealing small to medium-sized cracks in the flue lining. These sealants are heat-resistant and provide a durable barrier against moisture and air leakage. They can be easily applied with a trowel or brush, filling in the cracks and creating a watertight seal. Chimney flue sealers are typically the go-to choice for minor cracks.
- Heat-Resistant Mortar: For larger or more severe cracks, heat-resistant mortar may be necessary. This mortar is formulated to withstand high temperatures and provide structural integrity to the flue lining. Heat-resistant mortar is mixed with water according to the manufacturer’s instructions and applied to the crack with a trowel. It is important to follow proper application techniques and allow the mortar to cure before using the fireplace or stove.
- Stainless Steel Chimney Flue Liner: If the crack(s) in the flue lining are extensive or the existing flue lining is beyond repair, installing a stainless steel chimney flue liner may be the best solution. A stainless steel liner provides a new, durable, and long-lasting flue lining that can accommodate the high temperatures and demands of the fireplace or stove. This option may require professional installation or assistance.
When choosing the repair method, consider the size and severity of the crack, the availability of materials, and your level of DIY expertise. It is important to remember that larger or more complex repairs may require the assistance of a professional chimney repair specialist.
It is also a good idea to consult with a professional or chimney expert to get their recommendation on the most suitable repair method for your specific case. They can provide valuable insights and ensure that the repair is done correctly and safely.
Once you have chosen the appropriate repair method, you are ready to move on to the next step: applying the chosen repair material. Stay tuned!
Inspect the chimney flue for cracks using a flashlight. Use a chimney repair sealant to fill in any small cracks. For larger cracks, consult a professional chimney repair service.
Step 5: Applying a Chimney Flue Sealer
Applying a chimney flue sealer is an effective method for repairing small to medium-sized cracks in the flue lining. This type of sealant creates a watertight and airtight barrier, preventing further damage and improving the overall performance of the chimney. Follow these steps to apply a chimney flue sealer:
- Prepare the chimney flue: Ensure that the flue surface is clean and free from loose debris, rust, or old sealant. Use a wire brush to remove any obstructions or loose material.
- Mix the chimney flue sealer: Follow the manufacturer’s instructions to properly mix the chimney flue sealer. Use a clean container and stir until a uniform consistency is achieved.
- Apply the chimney flue sealer: Using a trowel or brush, carefully apply the chimney flue sealer to the crack(s) in the flue lining. Work in small sections, spreading the sealer evenly and ensuring that it fills the crack completely.
- Smooth the surface: Once the sealer is applied, use the trowel or brush to smooth the surface and remove any excess sealer. This will create a seamless and neat finish.
- Allow the sealer to cure: Follow the recommended curing time provided by the manufacturer. This will vary depending on the specific chimney flue sealer being used. Avoid using the fireplace or stove during this curing period.
- Inspect the repair: Once the sealer has cured, inspect the repaired area to ensure that the crack(s) are properly sealed. If needed, apply an additional layer of the chimney flue sealer to any areas that require further attention.
It is important to choose a high-quality chimney flue sealer that is specifically designed for chimney use and is heat-resistant. This will ensure that the repair is durable and long-lasting.
Remember to always follow the manufacturer’s instructions and use proper safety precautions when working with chimney flue sealers. If you are unsure about applying the sealer yourself, it is recommended to seek the assistance of a professional chimney repair specialist.
With the chimney flue sealer applied, you have successfully repaired the crack(s) in the flue lining. Next, we will explore an alternative repair method: using heat-resistant mortar. Stay tuned!
Step 6: Repairing with Heat-Resistant Mortar
If the chimney flue cracks are larger or more severe, using heat-resistant mortar is a suitable repair method. This type of mortar provides structural integrity and withstands high temperatures, ensuring a strong and durable repair. Follow these steps to repair chimney flue cracks with heat-resistant mortar:
- Prepare the mortar mix: Follow the manufacturer’s instructions to properly mix the heat-resistant mortar. Use a clean container and add water gradually while mixing until a smooth and workable consistency is achieved.
- Prepare the flue surface: Ensure that the crack(s) and the surrounding area are clean and free from loose debris, rust, or old sealant. Use a wire brush to remove any obstructions or loose material.
- Dampen the flue surface: Before applying the mortar, dampen the flue surface with water. This will help the mortar adhere to the flue and prevent premature drying.
- Apply the mortar: Use a trowel to apply a layer of heat-resistant mortar to the crack(s) in the flue lining. Press the mortar firmly into the crack, ensuring that it completely fills the space.
- Smooth and shape the mortar: Use the trowel or a slicker tool to smooth and shape the applied mortar. This will create a seamless and neat finish.
- Allow the mortar to cure: Follow the recommended curing time provided by the manufacturer. This will vary depending on the specific heat-resistant mortar being used. Avoid using the fireplace or stove during this curing period.
- Inspect the repair: Once the mortar has cured, inspect the repaired area to ensure that the crack(s) are properly filled and the mortar has hardened. If needed, apply an additional layer of mortar to any areas that require further attention.
Choosing a high-quality heat-resistant mortar is essential to ensure a successful repair. Follow the manufacturer’s instructions for mixing and application, and use proper safety precautions throughout the process.
If you are unsure about using heat-resistant mortar yourself, it is recommended to seek the assistance of a professional chimney repair specialist. They will have the expertise and experience to properly apply the mortar and ensure a durable and long-lasting repair.
With the chimney flue cracks repaired using heat-resistant mortar, you have taken another step towards restoring the integrity of your chimney. Next, we will explore an alternative repair method: using a stainless steel chimney flue liner. Stay tuned!
Read more: How Wide Is A Chimney Flue
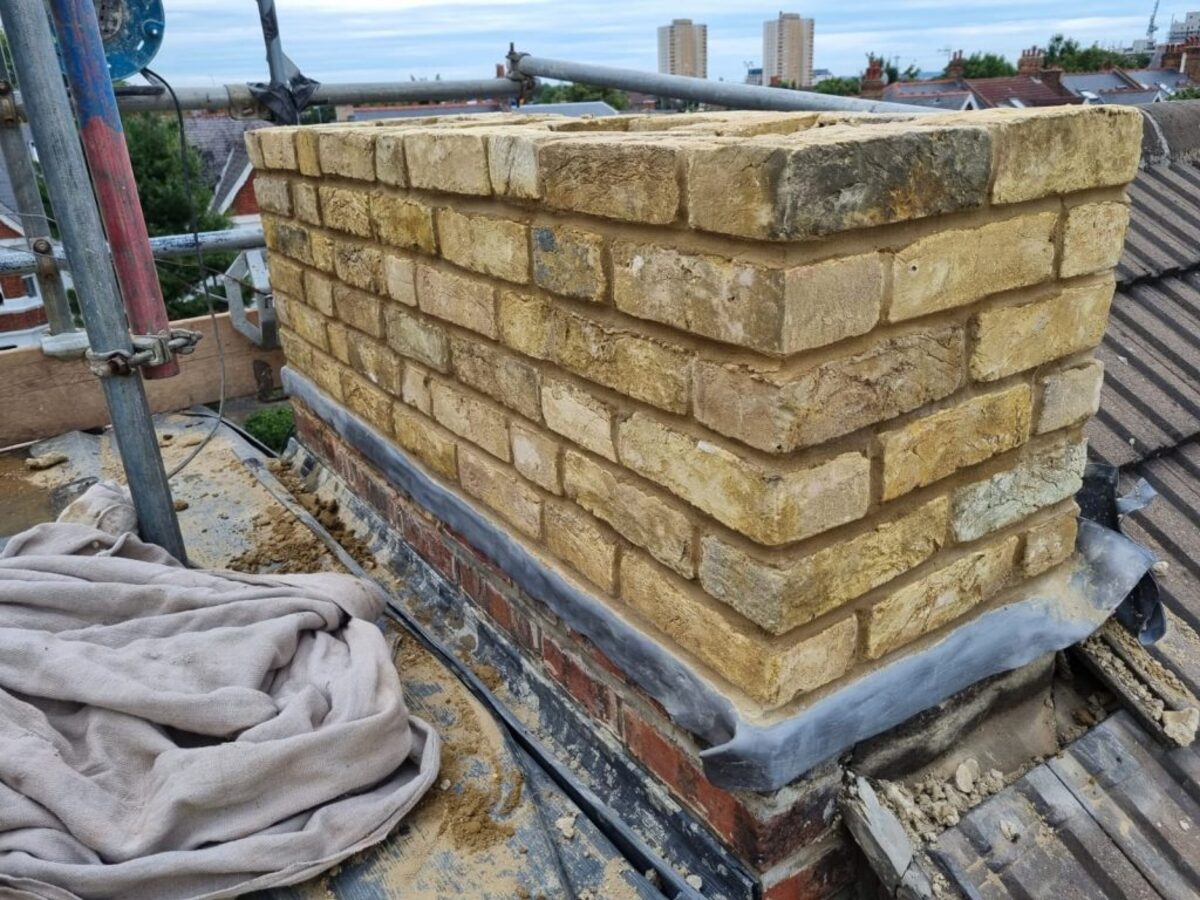
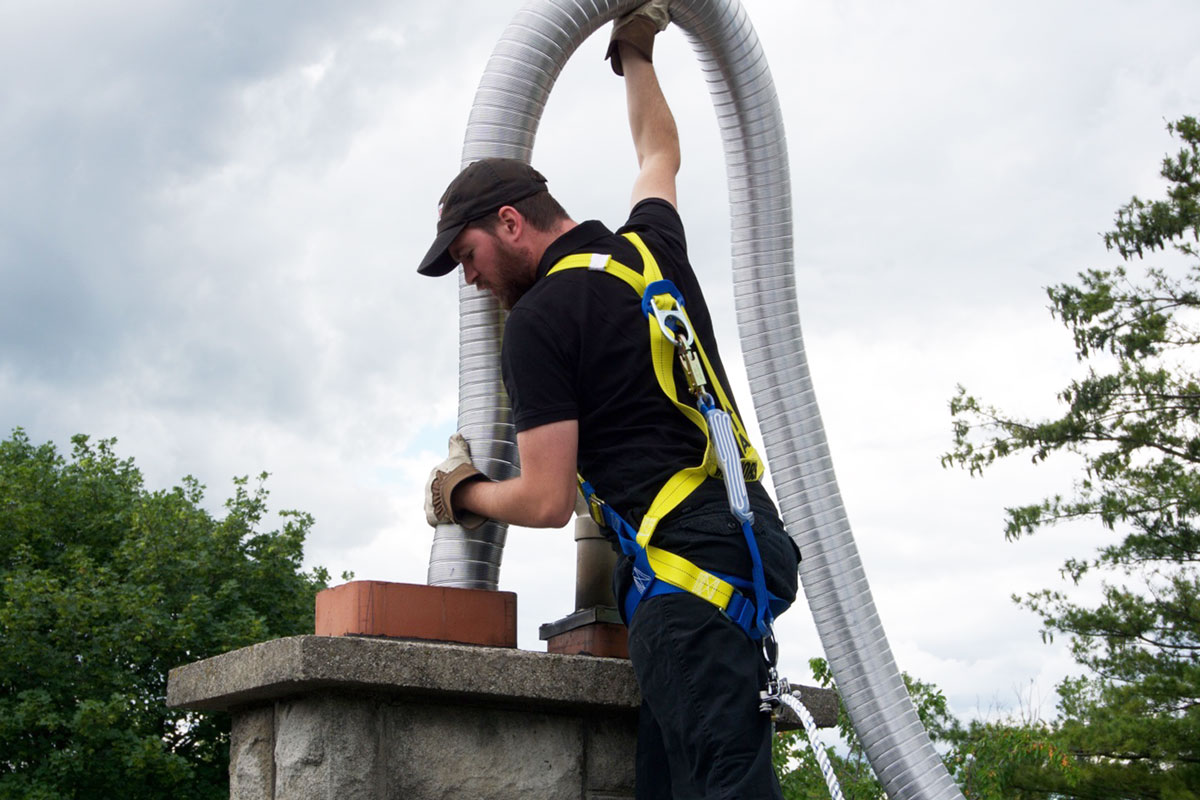
Step 7: Using Stainless Steel Chimney Flue Liner
If the chimney flue cracks are severe or if the existing flue lining is beyond repair, installing a stainless steel chimney flue liner is an effective solution. A stainless steel liner provides a new, durable, and long-lasting flue lining that can handle the high temperatures and demands of the fireplace or stove. Here are the steps to install a stainless steel chimney flue liner:
- Consult with a professional: Installing a stainless steel chimney flue liner can be a complex task, so it is recommended to consult with a professional chimney specialist. They can assess the condition of your chimney and recommend the appropriate size and type of stainless steel liner.
- Measure the chimney flue: Measure the dimensions of the existing flue using a tape measure. Note down the diameter and length of the flue, as this information will be necessary to select the correct size of stainless steel liner.
- Select the appropriate liner: Based on the measurements and recommendations from the professional, choose a stainless steel chimney flue liner that matches the dimensions of your flue. Ensure that the liner is constructed from high-quality stainless steel and meets all safety standards.
- Prepare the flue: Clean the existing flue thoroughly, removing any debris, dust, or loose material. Ensure that the flue is structurally sound and capable of supporting the weight of the stainless steel liner.
- Install the liner: Carefully insert the stainless steel liner into the chimney flue, ensuring that it is properly centered. Follow the manufacturer’s instructions for installation, which may involve securing the liner with adhesive or mechanical fasteners.
- Connect to the appliance: Once the liner is installed, connect the top end to the appliance, such as the fireplace or wood-burning stove. Ensure a secure and proper connection to allow for efficient venting of smoke and gases.
- Seal the connections: Use high-temperature silicone sealant or specialized chimney liner tape to seal the connections between the liner and the appliance as well as any joints or seams in the liner itself. This will prevent any leaks or air infiltration.
- Perform a final inspection: Once the liner is installed and sealed, inspect the entire system to ensure that it is properly aligned, secure, and free from any gaps or leaks. Consult with a professional to conduct a thorough inspection if needed.
Installing a stainless steel chimney flue liner is a complex task that requires knowledge and expertise. It is highly recommended to seek the assistance of a professional chimney specialist for this type of repair. They will have the necessary experience and equipment to ensure a safe and successful installation.
With the stainless steel chimney flue liner in place, your chimney system will have a new and sturdy flue lining, providing improved performance and safety. Next, we will discuss the importance of proper maintenance and prevention tips. Stay tuned!
Step 8: Proper Maintenance and Prevention Tips
Once you have repaired the chimney flue cracks, it is important to take proactive steps to maintain the integrity and performance of your chimney system. Regular maintenance and following preventive measures can help prevent future issues and ensure the longevity of your chimney. Here are some maintenance and prevention tips:
Maintaining the Chimney:
- Regular cleaning: Schedule regular chimney cleaning and inspections by a professional chimney sweep to remove creosote buildup, clear obstructions, and ensure proper airflow.
- Annual inspections: Have your chimney inspected annually by a certified professional to identify any potential issues or damage that may require repair.
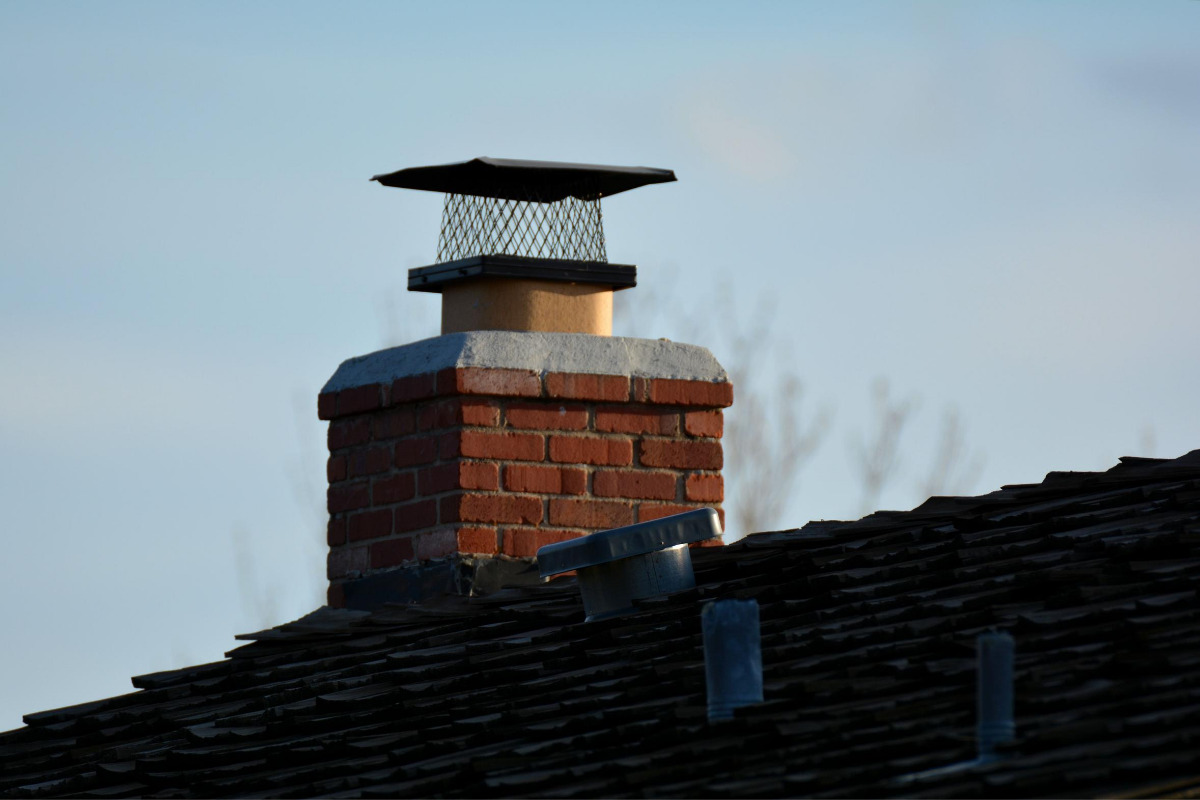
- Clearing debris: Regularly check the chimney cap and flue for any debris, such as leaves, twigs, or animal nests, and remove them promptly to prevent blockages.
- Keeping it dry: Ensure that the chimney system remains protected from moisture by installing a quality chimney cap or crown and addressing any leaks or water infiltration issues promptly.
Preventing Chimney Flue Cracks:
- Maintain proper airflow: Avoid restricting the airflow in the chimney by not overloading the fireplace or stove with excessive amounts of wood or fuel.
- Use dry and seasoned wood: Burn only dry and well-seasoned firewood to reduce the amount of creosote buildup and minimize the risk of rapid temperature changes that can lead to flue cracks.
- Be mindful of temperature changes: Avoid rapid temperature changes, such as starting a fire with extremely hot materials or extinguishing a fire abruptly with water, as these can cause stress on the flue lining.
- Monitor chimney cap and crown: Regularly inspect and maintain the chimney cap and crown to prevent water infiltration, which can accelerate the deterioration of the flue lining.
By following these maintenance and prevention tips, you can ensure the optimal performance and safety of your chimney system. Remember, it is always advisable to consult with a professional chimney specialist for regular inspections and any repair or maintenance needs.
With proper maintenance and preventive measures in place, you can enjoy the warmth and comfort of your fireplace or wood-burning stove while minimizing the risk of chimney flue cracks and other issues.
Now that you have completed the repair and learned about maintenance, you are well-equipped to maintain your chimney system for years to come. Keep the above tips in mind and enjoy a safe and efficient fireplace or stove experience.
As a final reminder, it is important to regularly check and maintain your chimney to ensure the safety and integrity of your home. When in doubt, always consult a professional chimney specialist for guidance and assistance.
Now go ahead, light that fire, and enjoy the cozy ambiance! Stay warm and safe!
Read more: How To Prime A Chimney Flue
Conclusion
Repairing chimney flue cracks is a crucial step in ensuring the safety, efficiency, and longevity of your chimney system. By addressing these cracks promptly and effectively, you can prevent further damage, improve draft and performance, and minimize the risk of fire hazards.
In this comprehensive guide, we have covered the steps and methods involved in repairing chimney flue cracks. From understanding the causes and consequences of these cracks to choosing the right repair method, we have provided you with valuable information and guidance.
We discussed the importance of safety precautions throughout the repair process, emphasizing the use of protective gear, proper ventilation, and adhering to recommended procedures. We also highlighted the tools and materials needed, such as chimney flue sealers, heat-resistant mortar, and stainless steel chimney flue liners.
We walked you through the step-by-step process, from cleaning the chimney flue and identifying the cracks to choosing the appropriate repair method and applying the necessary materials. We also emphasized the significance of proper maintenance and prevention, including regular chimney inspections, cleaning, and following best practices for maintaining a healthy and efficient chimney system.
Remember, it is essential to prioritize safety and consult with a professional chimney repair specialist if you are unsure or if the cracks are extensive or complex.
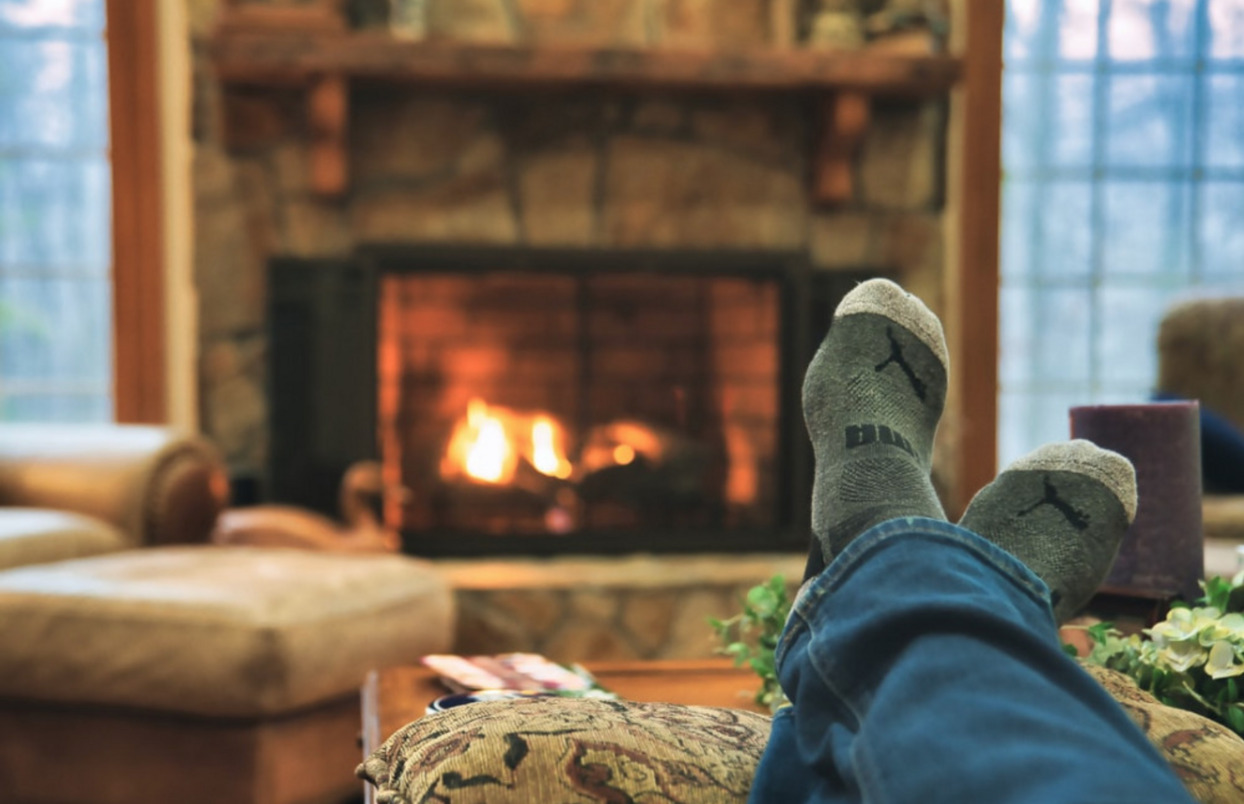
By taking the time to repair and maintain your chimney flue, you can enjoy the warmth and comfort of your fireplace or wood-burning stove, confident in the knowledge that your chimney system is safe, efficient, and in good working order.
So, don’t hesitate to take action and repair those chimney flue cracks. Protect your home, ensure your family’s safety, and enjoy the cozy ambiance of a well-functioning fireplace or stove.
Stay warm, stay safe, and happy repairing!
Frequently Asked Questions about How To Repair Chimney Flue Crack
Was this page helpful?
At Storables.com, we guarantee accurate and reliable information. Our content, validated by Expert Board Contributors, is crafted following stringent Editorial Policies. We're committed to providing you with well-researched, expert-backed insights for all your informational needs.
0 thoughts on “How To Repair Chimney Flue Crack”