Articles
How To Cut Chimney Flue Tile
Modified: October 20, 2024
Learn how to cut chimney flue tile with our informative articles. Enhance your DIY skills and safely tackle chimney projects.
(Many of the links in this article redirect to a specific reviewed product. Your purchase of these products through affiliate links helps to generate commission for Storables.com, at no extra cost. Learn more)
Introduction
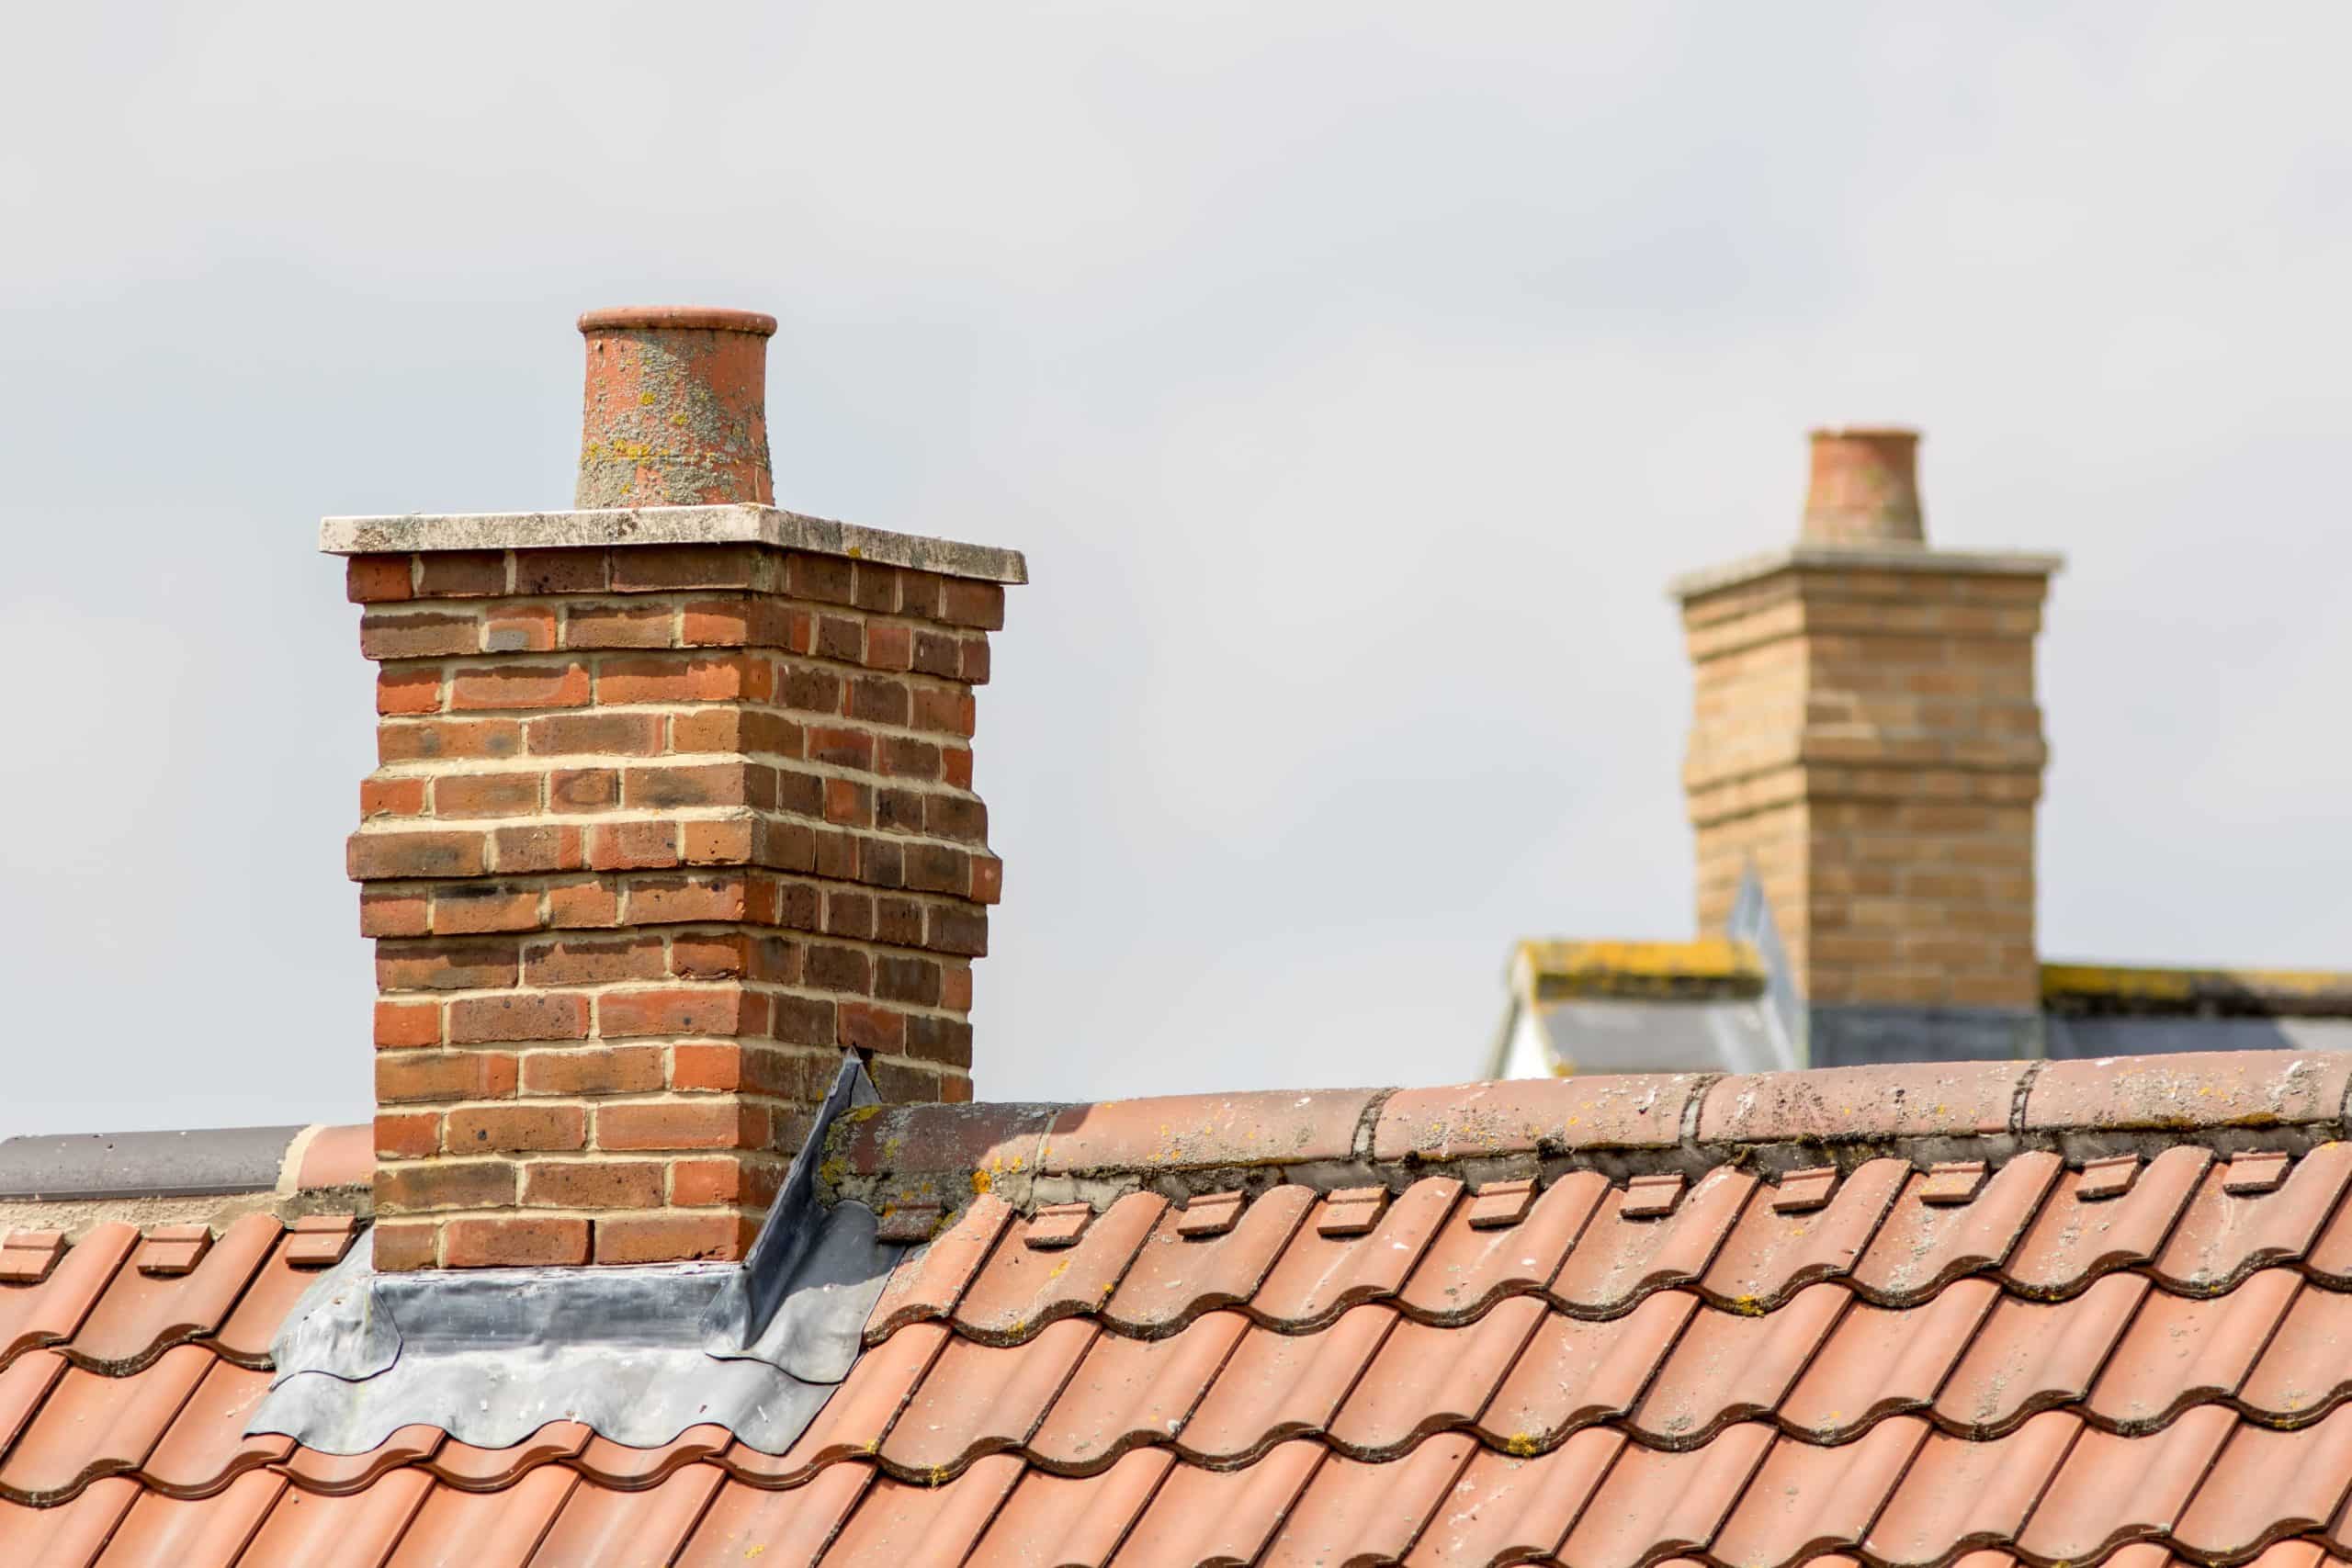
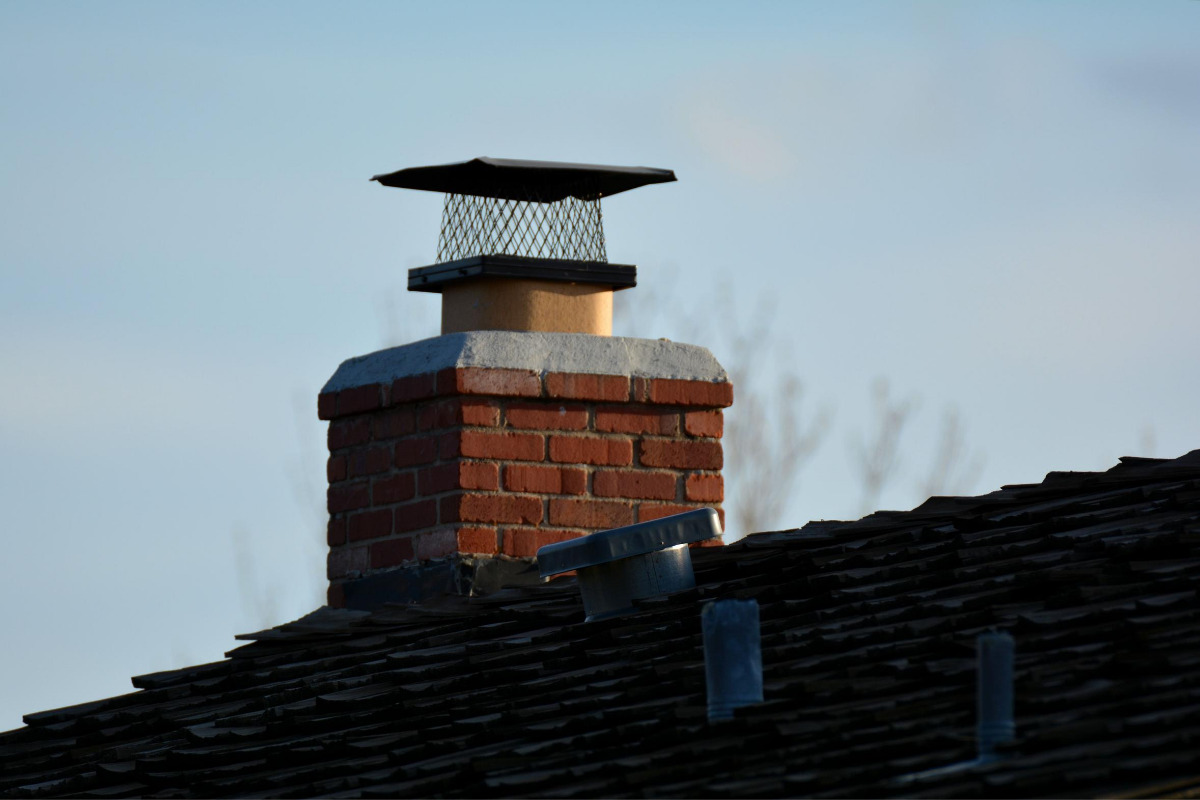
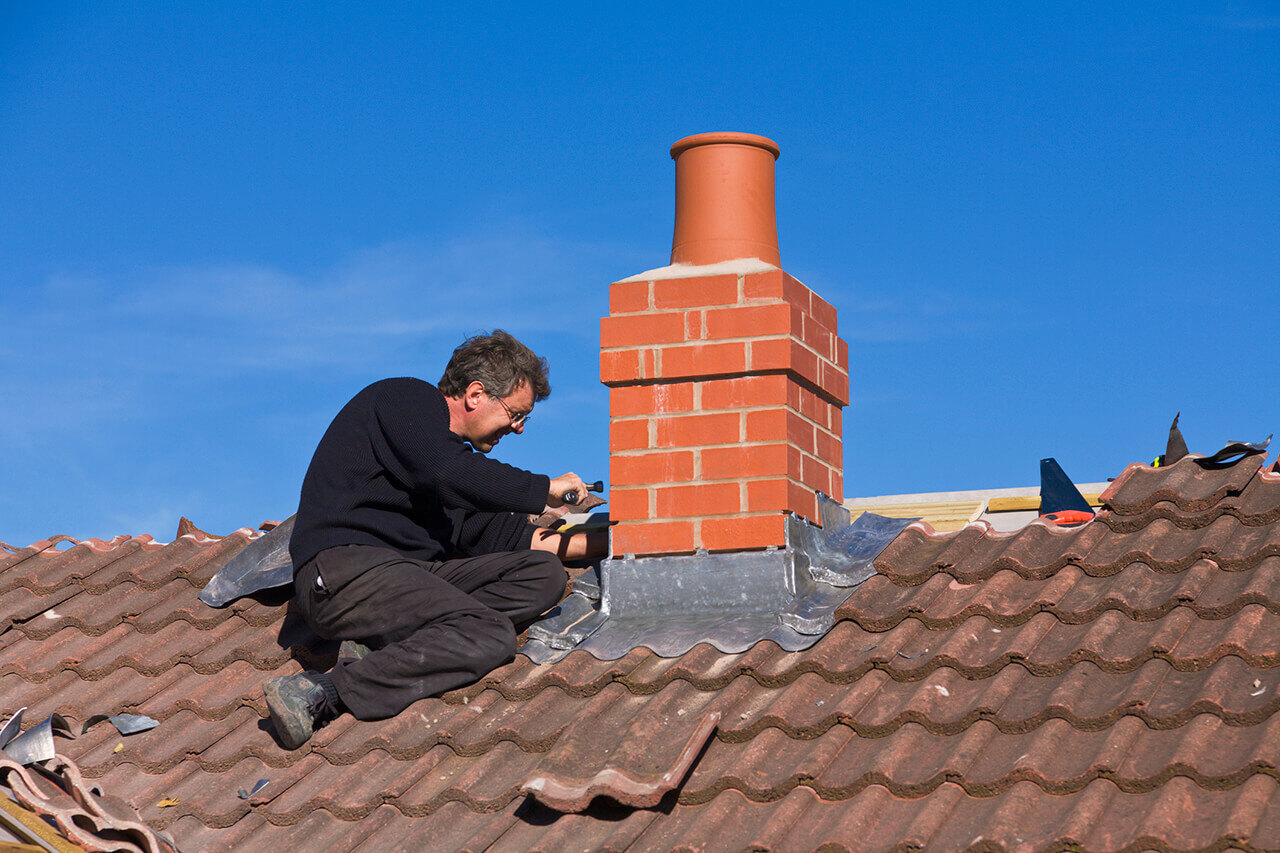
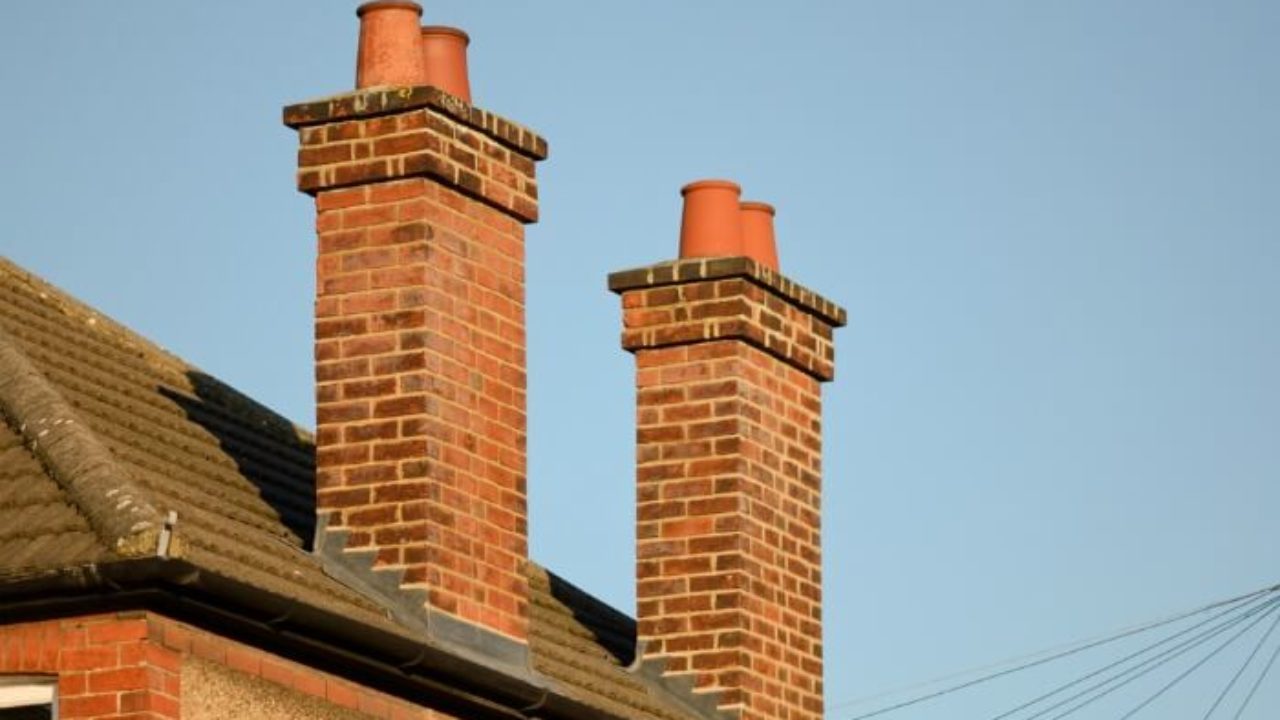
Welcome to this step-by-step guide on how to cut chimney flue tile. If you are looking to make repairs or updates to your chimney, cutting the flue tile may be necessary to ensure a proper fit. Flue tiles are essential components of a chimney system as they help to guide smoke and gases safely out of your home. Over time, these tiles can become damaged or worn out, requiring replacement.
Before proceeding with cutting the flue tile, it is important to gather the necessary tools and materials to ensure a smooth and successful project. Additionally, safety should always be a top priority when working on any home improvement task. By following the steps outlined in this guide and taking the necessary precautions, you will be able to confidently cut and replace your chimney flue tile.
So, let’s dive in and get started!
Key Takeaways:
- Prioritize safety by wearing protective gear, securing the work area, and using caution with power tools when cutting chimney flue tile. Following safety precautions reduces the risk of accidents and ensures a safe working environment.
- Properly measure, mark, remove, prepare, cut, and install the new flue tile to revitalize your chimney. Don’t forget the finishing touches, such as cleaning up excess mortar and applying sealant, to prolong the lifespan and enhance the appearance of your chimney.
Read more: What Is A Chimney Flue
Tools and Materials Required
Before you begin cutting the chimney flue tile, it is important to gather all the necessary tools and materials. This will ensure that you have everything you need to successfully complete the project. Here is a list of the tools and materials you will need:
- Measuring tape
- Marker or pencil
- Safety goggles
- Gloves
- Dust mask
- Masonry chisel
- Masonry hammer
- Angle grinder equipped with a diamond blade
- Masonry drill with a carbide tip
- Safety glasses
- Duct tape
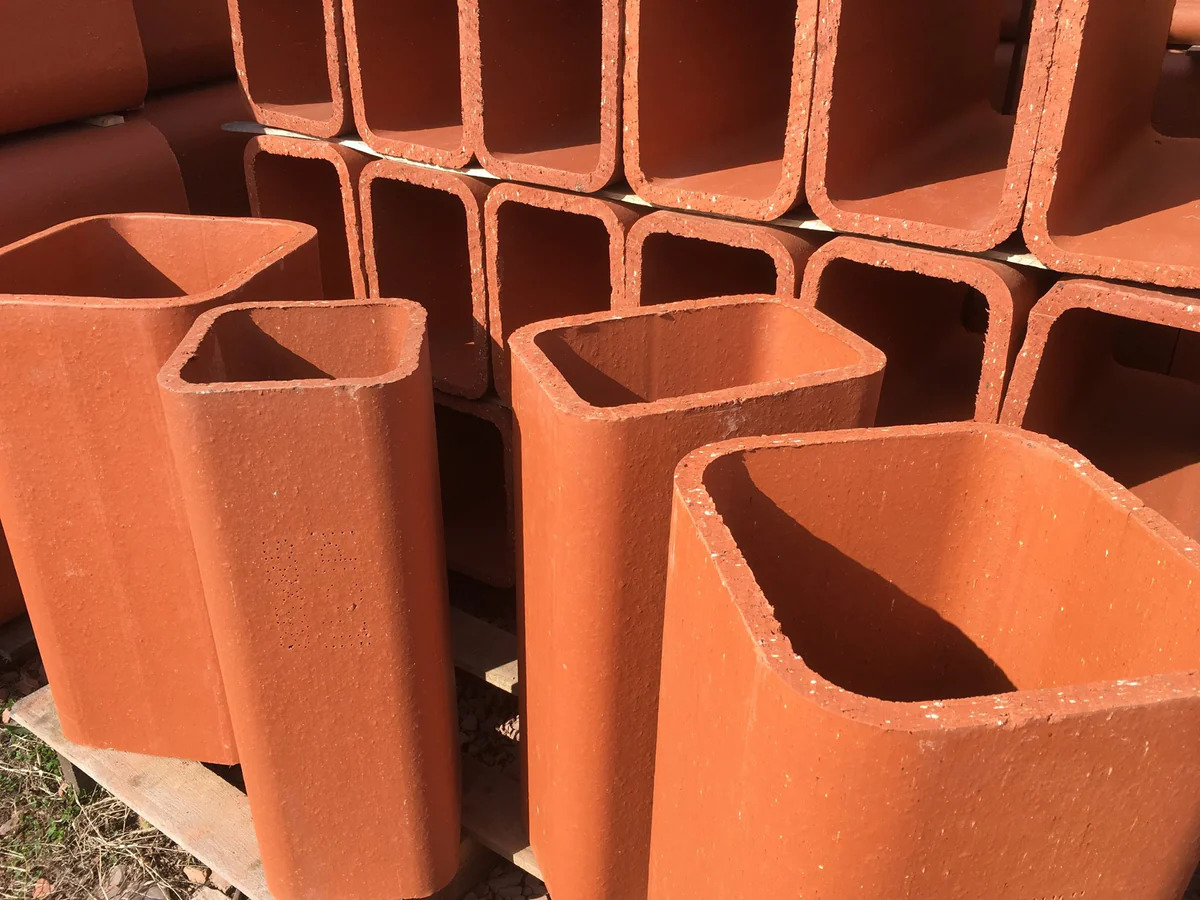
- Replacement flue tile
- Mortar mix
- Trowel
- Water
Make sure you have all these tools and materials readily available before starting the project. Having everything prepared in advance will save you time and ensure a smoother workflow.
Safety Precautions
Prioritizing safety is crucial when working on any home improvement project, and cutting chimney flue tile is no exception. Here are some important safety precautions to keep in mind:
- Wear the proper protective gear: Safety goggles, gloves, and a dust mask are essential to protect your eyes, hands, and respiratory system from any potential hazards.
- Secure the area: Clear the work area of any potential tripping hazards or clutter. Make sure you have enough space to comfortably work on the chimney flue.
- Use caution with power tools: If you will be using power tools such as an angle grinder or masonry drill, familiarize yourself with their proper use and safety guidelines. Always wear safety glasses when operating power tools.
- Secure loose tiles: Before starting the cutting process, ensure that any loose or damaged flue tiles are securely fastened or removed to prevent accidents.
- Be aware of asbestos: If your home was built before the 1980s, there is a possibility that the chimney flue tiles contain asbestos. It is best to consult with a professional to handle the removal and disposal of asbestos-containing materials.
- Work with a partner: Having a partner to assist you can provide an extra set of eyes and hands, making the task safer and more efficient.
- Follow instructions and guidelines: Read and follow the manufacturer’s instructions for any tools or materials you will be using. Ensure that you are using them correctly and safely.
Remember, safety should always be the top priority. By following these safety precautions, you can reduce the risk of accidents and ensure a safe working environment throughout the chimney flue tile cutting process.
Step 1: Measure and Mark
The first step in cutting chimney flue tile is to accurately measure and mark the area where the tile needs to be cut. This will ensure that the new tile fits properly and aligns with the existing chimney flue. Here’s how to do it:
- Using a measuring tape, measure the dimensions of the area where the tile needs to be cut. Take into account the length and width of the tile to be replaced, as well as any additional clearance that may be required.
- Using a marker or pencil, mark the cutting lines on the existing flue tile. Make sure to double-check your measurements and marks to ensure accuracy.
- If the damaged area is irregularly shaped or has curved edges, use a flexible tape or string to create an outline of the shape. This will help you create precise cutting lines.
It is important to be as precise as possible during this step to avoid any unnecessary mistakes or inaccuracies. Taking the time to measure accurately and mark the cutting lines will save you time and effort during the actual cutting process.
Once you have completed measuring and marking the area, you are ready to move on to the next step: removing the old flue tile.
Step 2: Remove Old Tile
Now that you have measured and marked the area, it’s time to remove the old flue tile. Removing the old tile is necessary to make way for the new tile and ensures a proper fit. Here’s how to remove the old tile:
- Put on safety goggles and gloves to protect yourself from any flying debris.
- Inspect the existing tile for any mortar or cement holding it in place. If there is excess mortar, carefully chip away at it using a masonry chisel and masonry hammer.
- Begin removing the old tile by tapping the chisel gently with the hammer. Start at one of the marked cutting lines. Work your way slowly and methodically around the marked area, gently chiseling away the tile.
- If the tile proves difficult to remove, use a masonry drill with a carbide tip to create small holes along the cutting line. This will weaken the tile and make it easier to remove.
- Continue to work your way around the marked area until the old tile is completely removed. Take care not to damage any surrounding tiles or the chimney structure.
Once you have removed the old flue tile, be sure to clean the area of any remaining debris or loose mortar. This will ensure a clean and smooth surface for the installation of the new tile.
With the old tile removed, you are now ready to move on to the next step: preparing the new flue tile.
When cutting chimney flue tile, be sure to wear safety goggles and a dust mask to protect yourself from debris. Use a diamond blade on a circular saw for clean, precise cuts.
Read more: How To Use A Chimney Flue
Step 3: Prepare the New Tile
With the old flue tile removed, it’s time to prepare the new tile for installation. Proper preparation is essential to ensure that the new tile fits correctly and aligns with the existing chimney flue. Here’s how to prepare the new tile:
- Inspect the new flue tile for any imperfections or damage. Ensure that it is the correct size and shape to fit into the designated area.
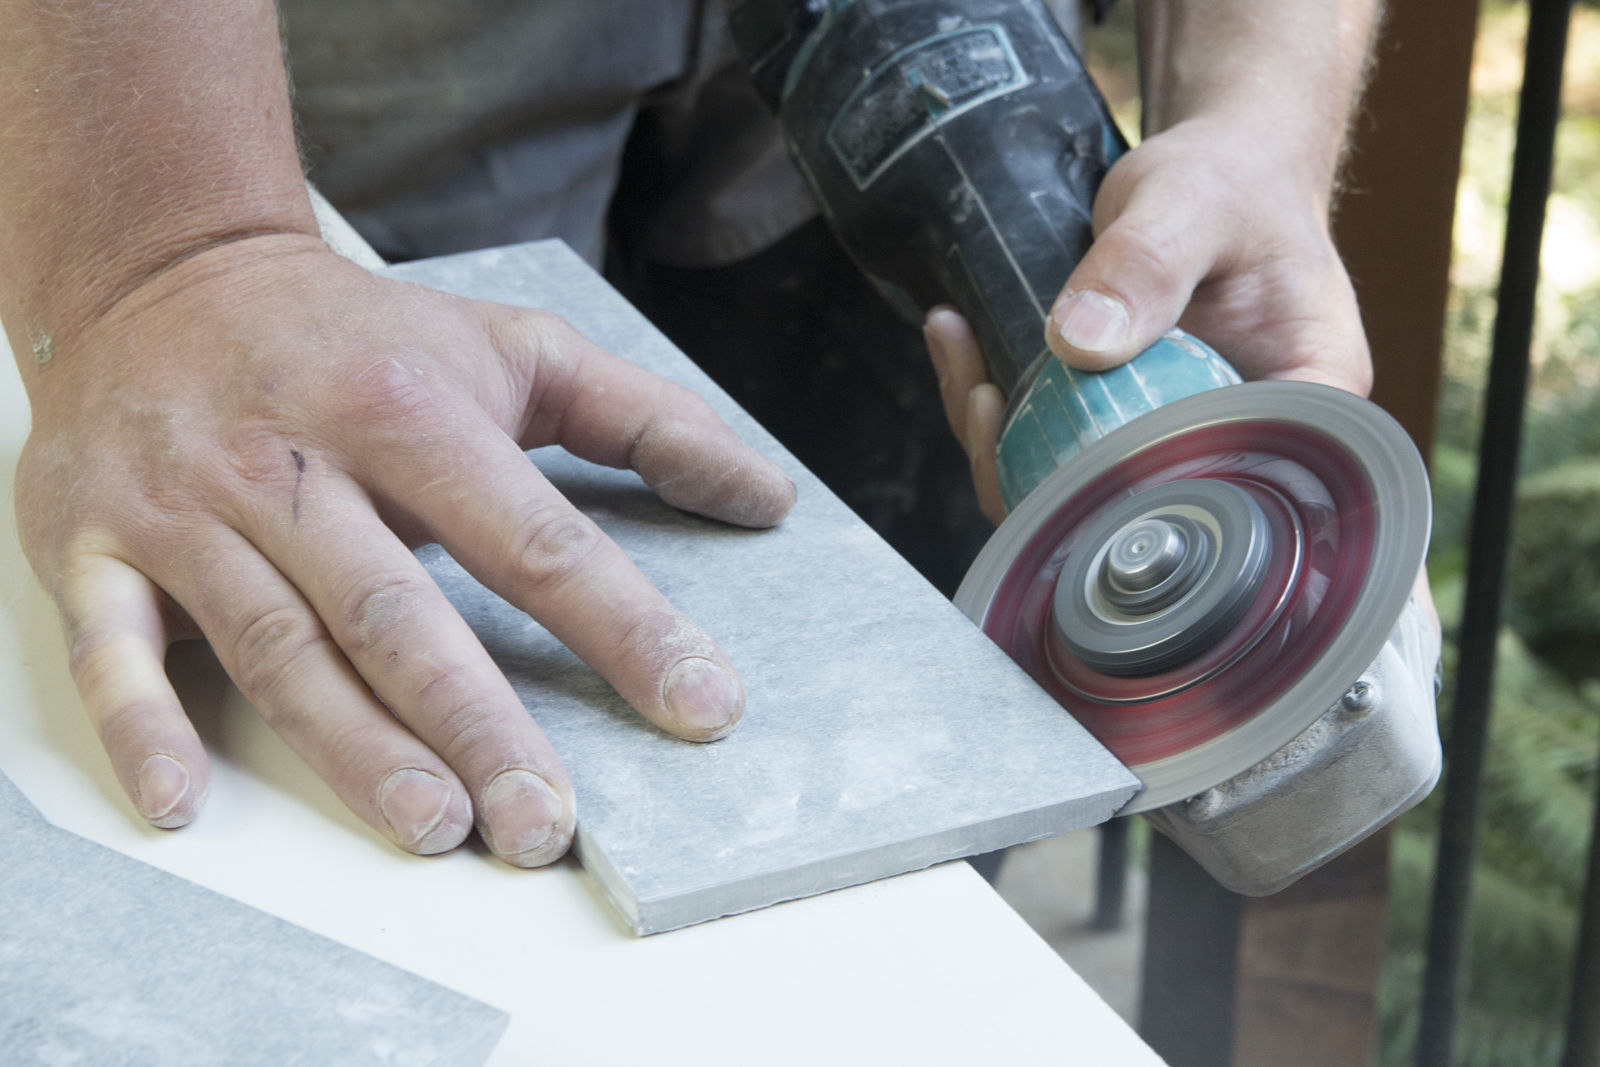
- If the new tile is slightly larger than the area, use an angle grinder equipped with a diamond blade to carefully trim the edges. Take your time and make precise cuts to achieve the desired dimensions.
- Once the new tile is cut to size, use a soft brush or cloth to remove any dust or debris from its surface. Cleaning the tile will help promote proper adhesion when it comes time to install it.
It is important to handle the new flue tile with care to avoid any potential damage. Check the tile for any cracks or chips before proceeding with the installation.
With the new tile prepared, you are now ready to move on to the next step: cutting the flue tile.
Step 4: Cut the Flue Tile
Now that you have measured, marked, removed the old tile, and prepared the new tile, it’s time to cut the flue tile. Cutting the tile is a critical step to ensure a precise fit and proper alignment with the chimney flue. Here is the process to cut the flue tile:
- Put on safety goggles, gloves, and a dust mask to protect yourself from any debris or dust.
- Secure the new tile in a stable position, making sure it is well-supported to prevent any movement during the cutting process.
- Using an angle grinder equipped with a diamond blade, carefully follow the marked cutting lines on the tile. Start cutting slowly with a steady hand, allowing the blade to do the work. Apply even pressure and let the blade gradually cut through the tile.
- Continue cutting along the marked lines until you have completely cut through the tile. Take your time and make precise cuts to achieve the desired shape and size.
- Periodically pause and check the tile’s fit in the designated area. Make any necessary adjustments by trimming or sanding the edges until the new tile fits snugly and aligns with the existing flue.
Remember to take breaks during the cutting process to prevent overheating of the blade or the tile. This will help maintain the cutting efficiency and prevent any unnecessary accidents.
Once you have successfully cut the flue tile, you are ready to move on to the next step: installing the new tile.
Step 5: Install the New Tile
Now that you have cut the flue tile to the desired shape and size, it’s time to install the new tile. Proper installation is crucial to ensure a secure fit and functionality of the chimney flue. Follow these steps to install the new tile:
- Apply a layer of mortar mix to the area where the new tile will be placed. Use a trowel to spread the mortar evenly and create a smooth surface.
- Gently press the new tile into place, ensuring that it aligns with the existing flue. Press it firmly but avoid using excessive force that could damage the tile.
- Check for proper alignment and make any necessary adjustments to ensure a snug fit. Use a level to ensure the tile is straight and plumb.
- Apply additional mortar mix around the edges of the new tile, filling any gaps between the tile and the chimney structure. Use the trowel to smooth out the mortar and create a seamless finish.
- Allow the mortar to cure according to the manufacturer’s instructions. This typically takes 24 to 48 hours. Avoid disturbing or placing any weight on the newly installed tile during this time.
Once the mortar has cured, the new flue tile is securely installed and ready to function properly. It is essential to give the mortar enough time to fully set before using the chimney.
With the new tile installed, you are now ready to move on to the final step: adding the finishing touches.
Step 6: Finishing Touches
Now that you have successfully installed the new flue tile, it’s time to add the finishing touches to complete the project. These final steps will ensure the longevity and visual appeal of your chimney. Here’s what you need to do:
- Inspect the surrounding area for any excess mortar or debris. Use a brush or damp cloth to clean up any leftover residue from the installation process.
- If necessary, touch up the mortar joints around the new tile to create a cohesive and seamless appearance. Use a trowel or a pointing tool to carefully apply mortar to any gaps or uneven areas.
- Allow the mortar to dry completely, following the manufacturer’s instructions. This typically takes several days, so be patient and avoid disturbing the mortar during this time.
- Once the mortar is dry, inspect the overall condition of the chimney. Check for any additional repairs or maintenance that may be required, such as repointing or cleaning the chimney.
- Consider applying a waterproof sealant to protect the flue tile and prolong its lifespan. Be sure to choose a sealant that is compatible with masonry and fireplace materials. Follow the manufacturer’s instructions for application.
- Finally, thoroughly clean the surrounding area to remove any dust, dirt, or debris. Make sure the chimney and its surroundings are clear and ready for regular use.
By completing these finishing touches, you ensure not only the functionality of the chimney flue but also its aesthetic appeal. Taking the time to properly clean and maintain the chimney will help prevent further damage and extend its lifespan.
Congratulations! You have successfully cut and installed a new flue tile for your chimney. With proper maintenance and regular inspections, your chimney should continue to operate efficiently and safely for years to come.
Remember, if you’re unsure about any part of the process or if you encounter any challenges, it’s always a good idea to consult with a professional chimney technician for assistance.
Enjoy the warmth and comfort of a well-functioning chimney!
Read more: How Wide Is A Chimney Flue
Conclusion
Repairing or updating your chimney flue tile is a project that requires careful measurement, precise cutting, and proper installation. By following the step-by-step guide outlined in this article, you now have the knowledge and understanding to successfully cut and replace chimney flue tile.
Remember, safety should always be a top priority. Make sure to wear the appropriate protective gear and take necessary precautions throughout the process. If you are unsure about any aspect of the project, it is always wise to consult with a professional chimney technician for guidance.
By gathering the necessary tools and materials, measuring and marking the areas, removing the old tile, preparing the new tile, cutting the flue tile, and installing the new tile, you can revitalize your chimney and ensure its proper functioning for years to come.
Don’t forget the finishing touches, such as cleaning up any excess mortar, addressing any additional repairs, applying sealant, and maintaining regular chimney upkeep. These steps will help prolong the lifespan and enhance the appearance of your chimney.
Enjoy the peace of mind that comes with knowing your chimney flue is in great condition, ready to safely direct smoke and gases out of your home. With proper maintenance and care, your chimney will continue to provide you with warmth and comfort for many seasons to come.
Now go ahead and confidently tackle your chimney flue tile project. Happy cutting and installing!
Frequently Asked Questions about How To Cut Chimney Flue Tile
Was this page helpful?
At Storables.com, we guarantee accurate and reliable information. Our content, validated by Expert Board Contributors, is crafted following stringent Editorial Policies. We're committed to providing you with well-researched, expert-backed insights for all your informational needs.


0 thoughts on “How To Cut Chimney Flue Tile”