Articles
How To Check A Chimney Flue
Modified: January 18, 2024
Learn how to check your chimney flue with these informative articles. Ensure your chimney is safe and efficient with proper inspection and maintenance techniques.
(Many of the links in this article redirect to a specific reviewed product. Your purchase of these products through affiliate links helps to generate commission for Storables.com, at no extra cost. Learn more)
Introduction
Welcome to this guide on how to check a chimney flue. The chimney flue plays a crucial role in the proper functioning of a chimney, and it’s important to regularly inspect and maintain it to ensure safe and efficient operation. Whether you are a homeowner or a professional chimney sweep, knowing how to properly examine a chimney flue can help identify any issues, prevent potential hazards, and extend the lifespan of the chimney.
A chimney flue is a passageway within a chimney that allows the byproducts of combustion, including smoke, gases, and heat, to safely exit the building. Over time, the flue can become obstructed by soot, creosote, debris, or even animal nests, which can impede the chimney’s performance and pose a fire hazard. Regular inspection of the chimney flue can help identify these blockages and any other issues that may compromise its integrity.
In this article, we will outline a step-by-step process to help you effectively check a chimney flue. From gathering the necessary tools to evaluating the overall condition of the flue, we will cover all the essential aspects of a thorough inspection. By following these steps, you can ensure that your chimney flue is in optimal working condition and address any potential issues before they escalate.
Remember, proper maintenance and care of your chimney flue are not only essential for the safety of your home but also for the efficiency and longevity of your fireplace or heating appliance. So, let’s dive in and learn how to check a chimney flue step by step.
Key Takeaways:
- Regularly checking your chimney flue is crucial for safety and efficiency. Gather the right tools, inspect the exterior and interior, and consider a smoke test to ensure optimal performance.
- Cleaning the chimney flue, if necessary, is essential for maintaining efficiency and reducing the risk of chimney fires. Prioritize safety and consider hiring a professional chimney sweep for thorough cleaning.
Read more: What Is A Chimney Flue
Step 1: Gather the necessary tools
Before you begin inspecting the chimney flue, it’s important to gather all the necessary tools to ensure a thorough examination. Having the right tools at hand will make the process easier and more efficient. Here are the tools you will need:
- Flashlight: A reliable flashlight will help you see inside the chimney and detect any potential issues.
- Ladder: Depending on the height of your chimney, you may need a sturdy ladder to access the roof safely.
- Binoculars: Binoculars can be useful for examining the exterior of the chimney, especially if it is tall or difficult to reach.
- Gloves: Wearing gloves is important to protect your hands from soot, debris, or any sharp edges within the chimney.
- Protective eyewear: Safety goggles or glasses will shield your eyes from any particles or debris that may dislodge during the inspection.
- Creosote brush: If you suspect a build-up of creosote or soot within the flue, a creosote brush will help you remove it during the cleaning process.
- Camera: A camera or a smartphone with a good camera can be handy for documenting any issues or abnormalities that you come across.
- Notepad and pen: Keeping a notepad and pen or a smartphone note-taking app can help you jot down any observations or recommendations for future reference.
By ensuring you have all the necessary tools before starting the inspection, you will be well-prepared to thoroughly examine the chimney flue and note any findings or potential repairs.
Now that you have everything you need, let’s move on to the next step: examining the exterior of the chimney.
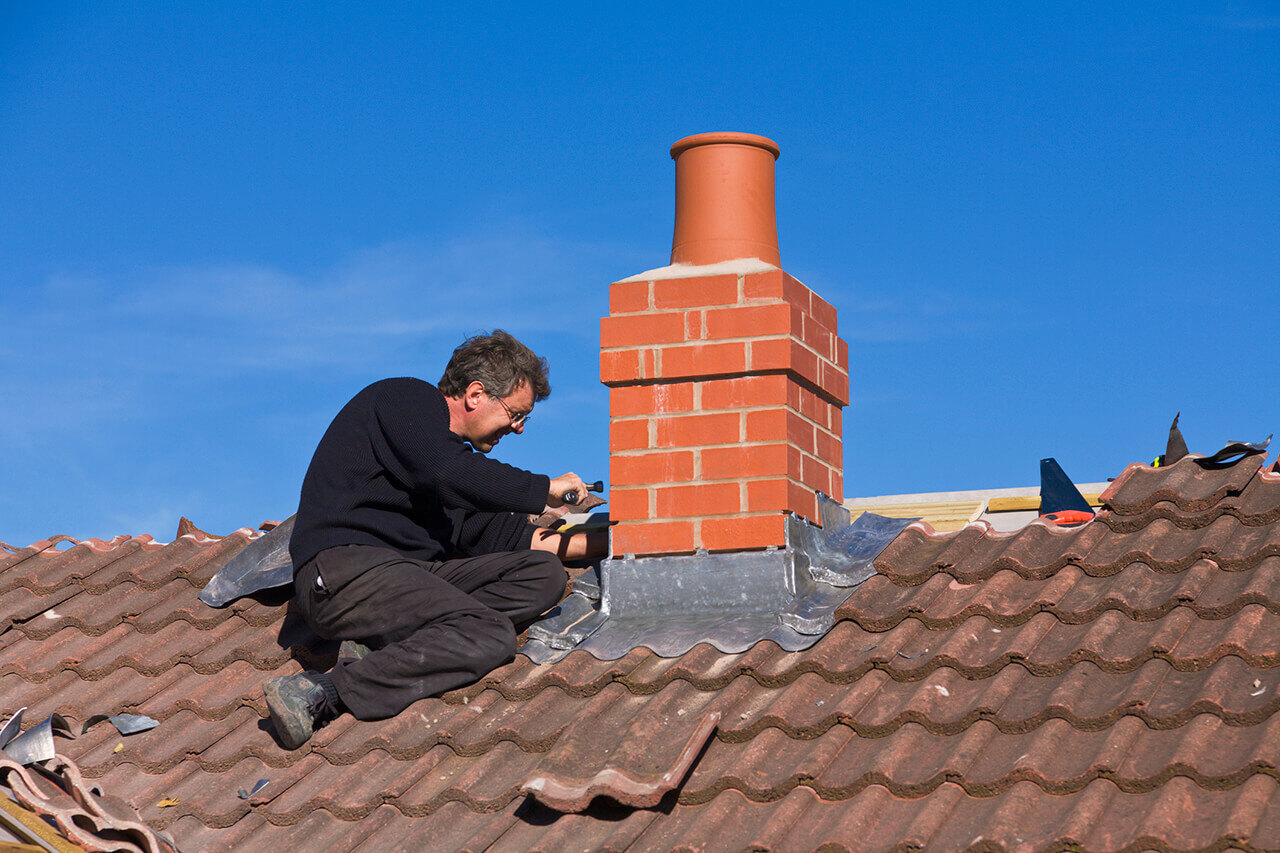
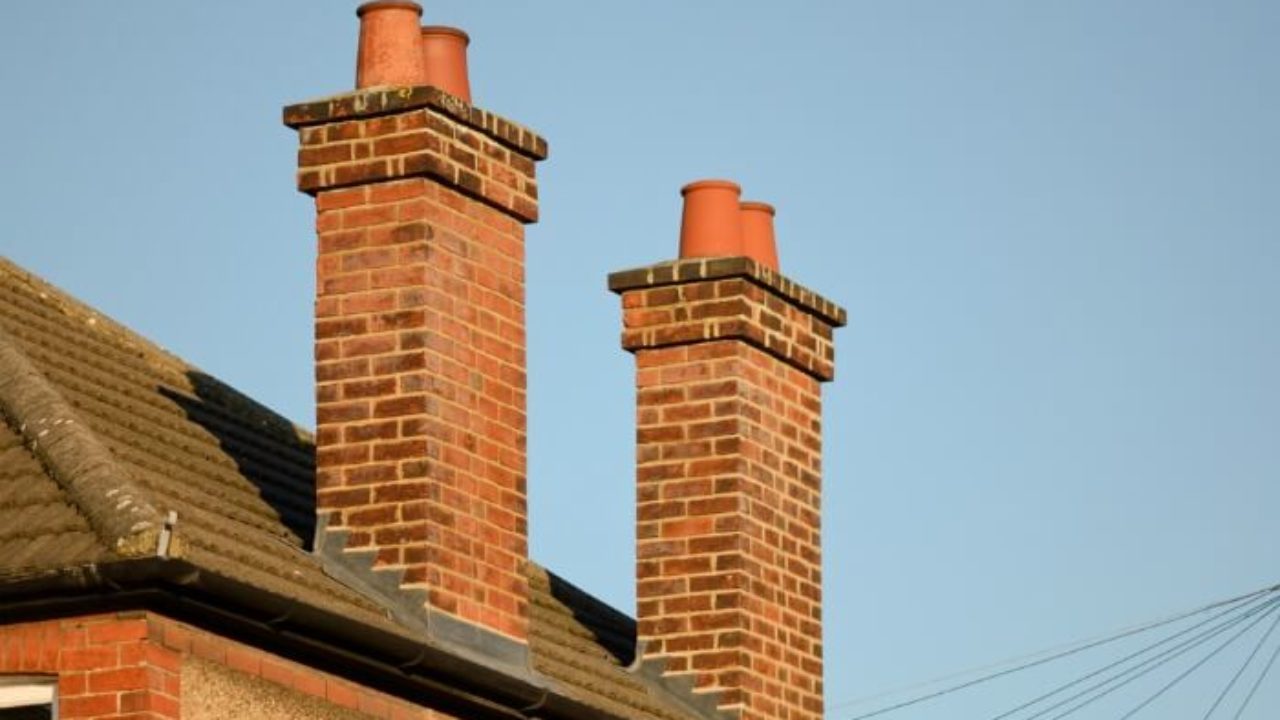
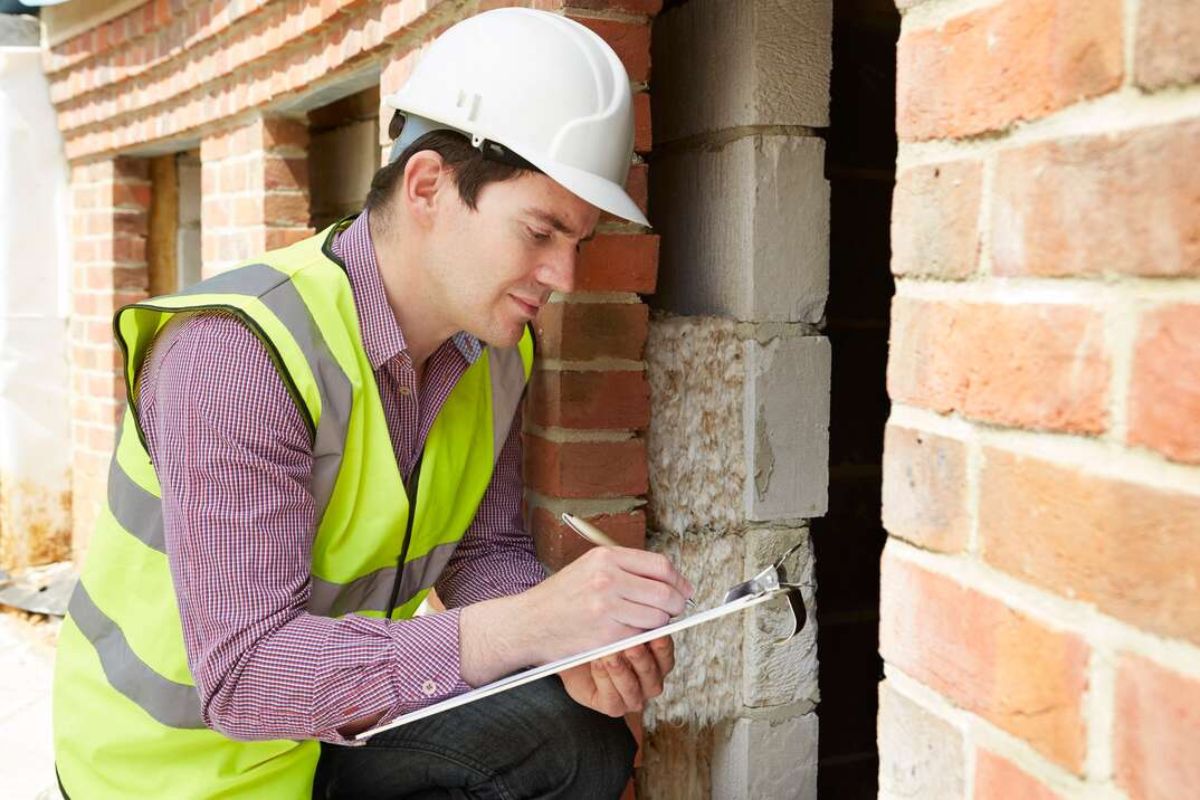
Step 2: Examine the exterior of the chimney
The next step in checking a chimney flue is to examine the exterior of the chimney. This allows you to identify any visible signs of damage or deterioration. Here’s how to go about it:
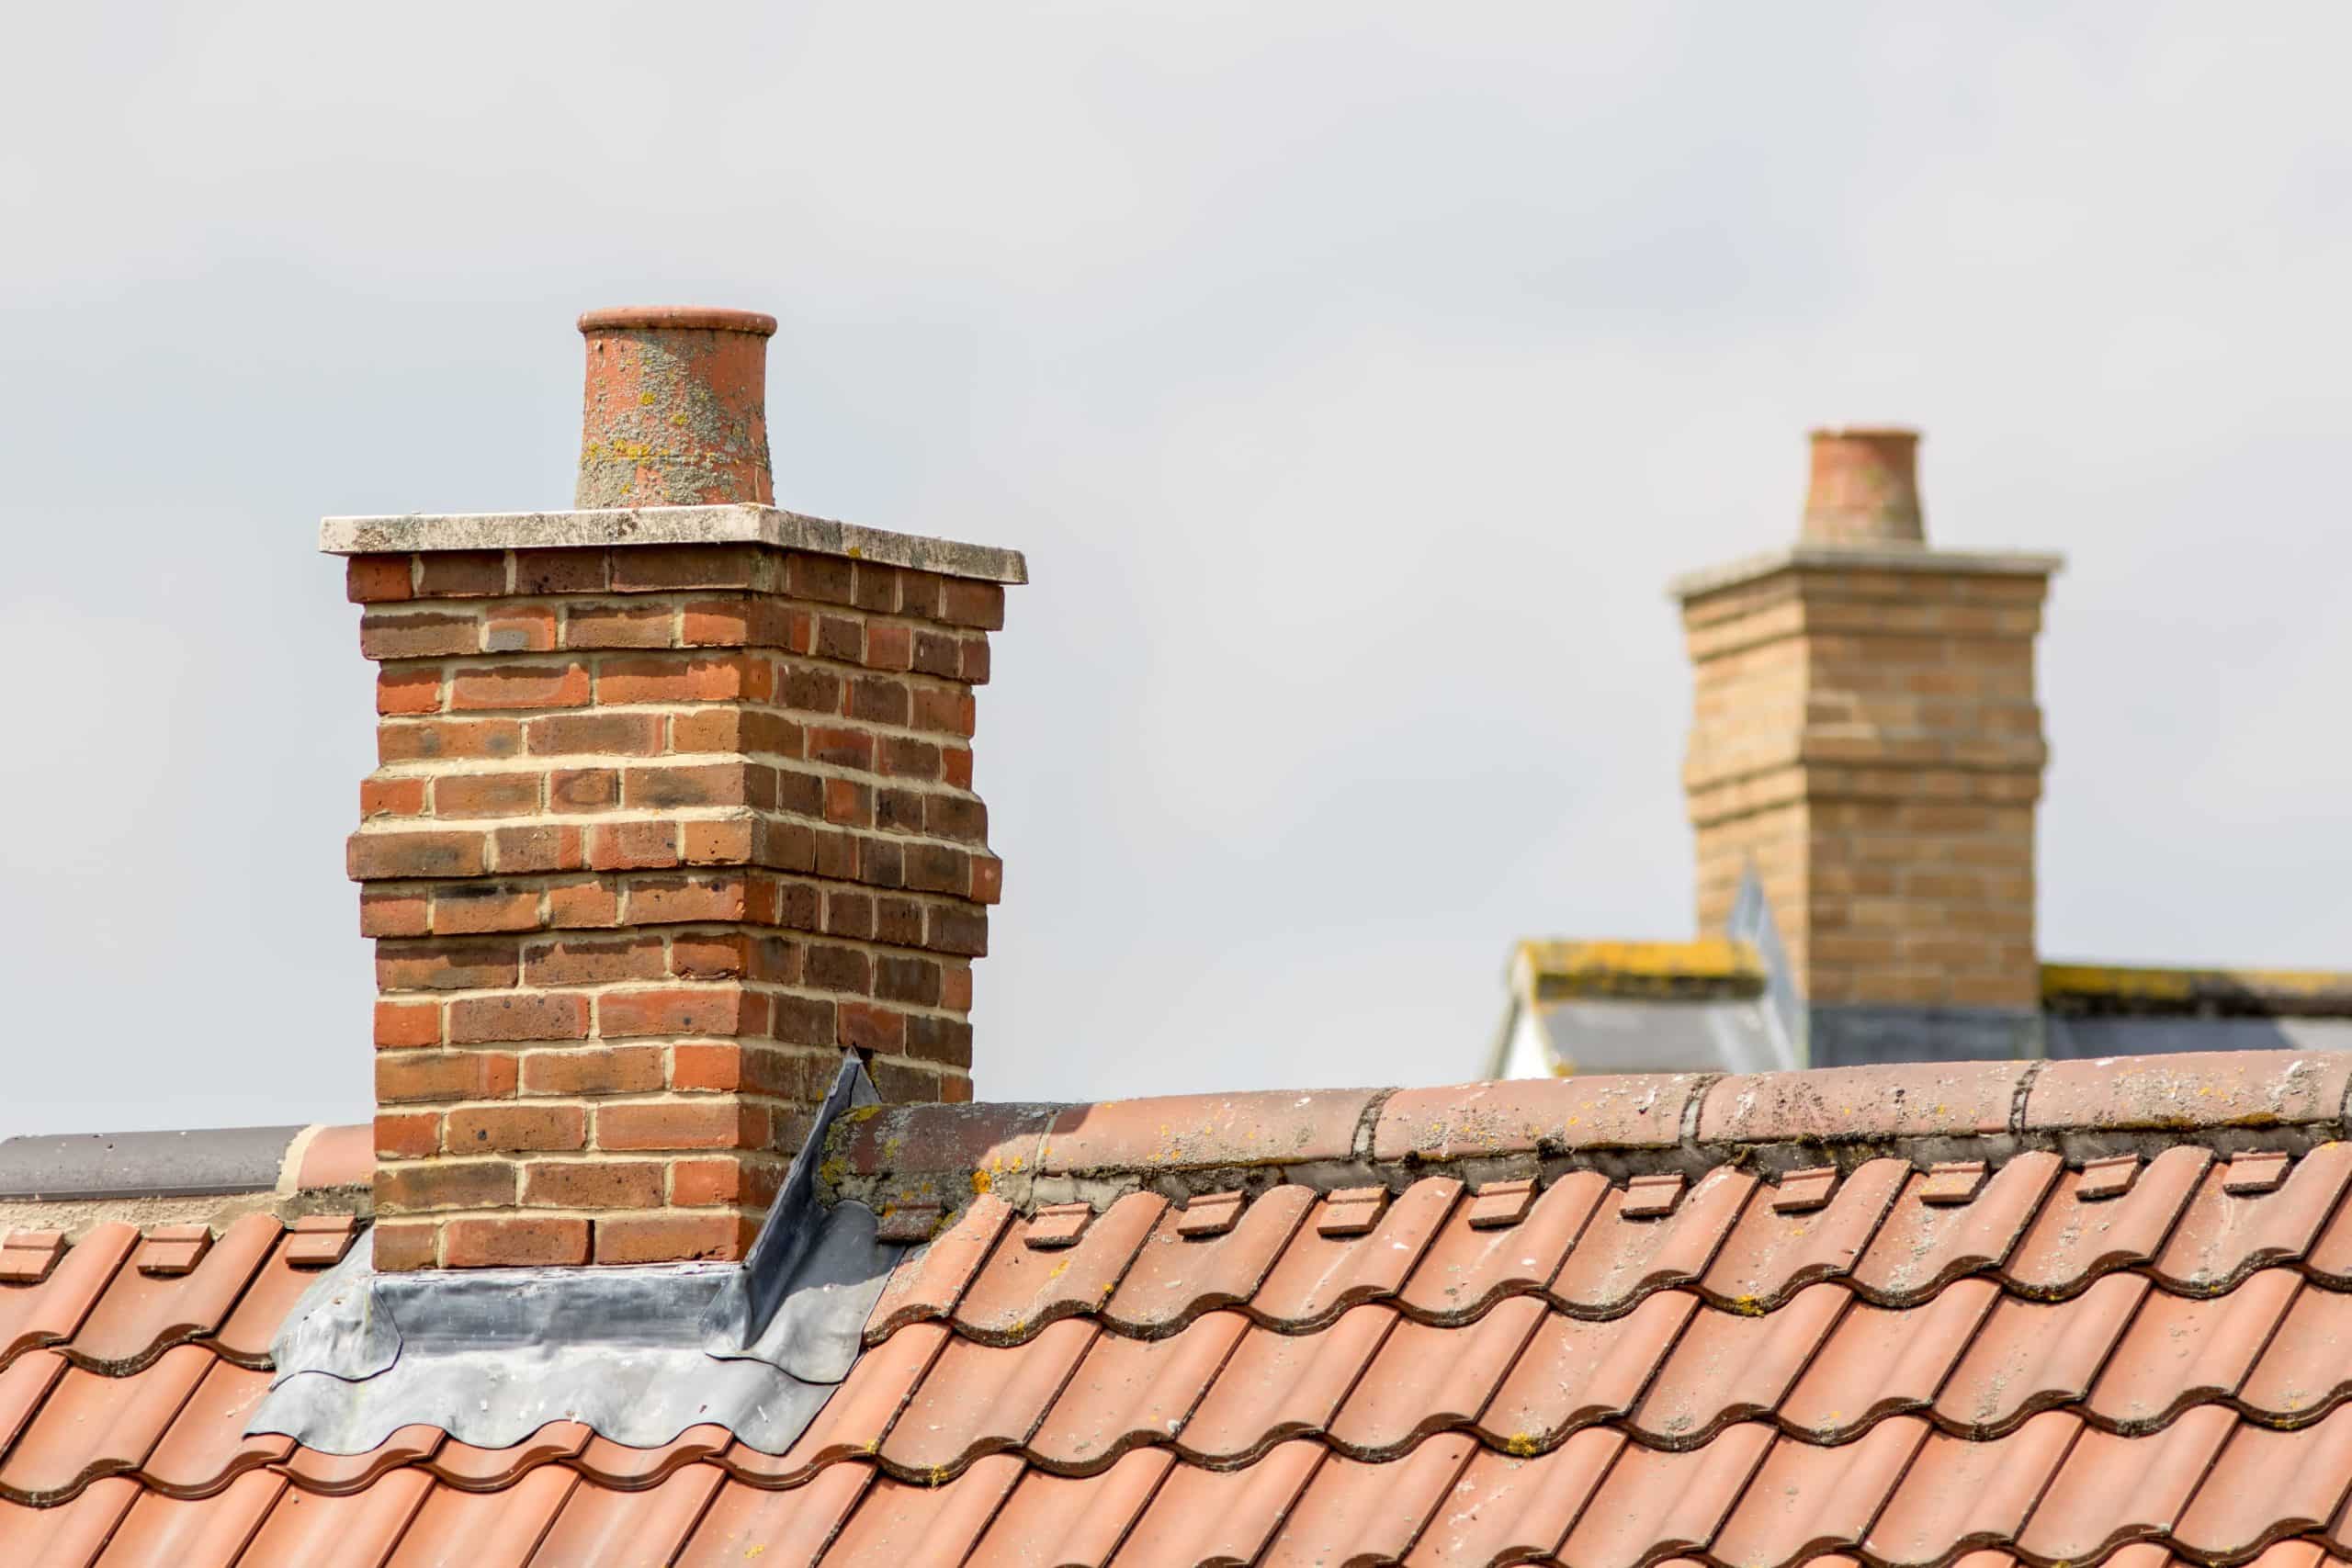
- Start by standing a safe distance away from the chimney and visually inspecting the overall condition. Look for any cracks, gaps, or missing mortar joints in the masonry. These can indicate structural issues that may affect the chimney flue.
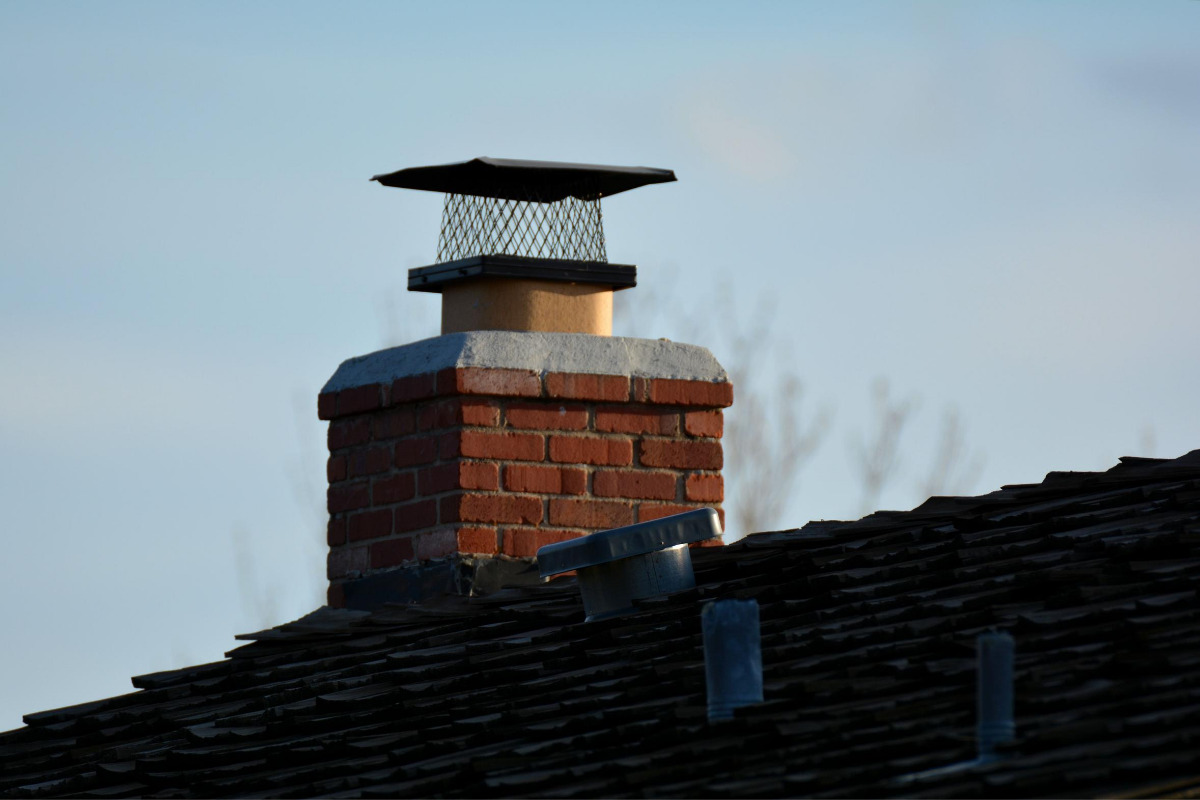
- Use your binoculars to get a closer look at the chimney. Pay attention to the chimney cap or crown to ensure it is intact and in good condition. A damaged or deteriorating cap can allow water or debris to enter the flue, leading to further problems.
- Check the chimney flashing around the base of the chimney. Look for any signs of damage, such as rust, loose or missing flashing, or gaps between the chimney and the roof. Faulty flashing can result in water leaks and damage the flue.
- Inspect the chimney vents and openings to ensure they are clear from any debris, such as leaves, twigs, or bird nests. Blocked vents can restrict the proper flow of air and exhaust gases, affecting the performance of the flue.
- Take note of any vegetation or tree branches that may be in close proximity to the chimney. Overhanging branches or vegetation can present a fire hazard and should be trimmed or removed if necessary.
By examining the exterior of the chimney, you can identify any visible issues that may impact the chimney flue. If you notice any significant damage or concerns during this inspection, it is advisable to consult a professional chimney sweep or a qualified expert for further assessment and repairs.
Now that you have assessed the exterior of the chimney, it’s time to move on to the next step: inspecting the chimney flue from the interior.
Step 3: Inspect the chimney flue from the interior
Once you have examined the exterior of the chimney, it’s time to move inside and inspect the chimney flue from the interior. This step will give you a closer look at the condition of the flue and help identify any potential blockages or issues. Follow these steps to conduct an interior inspection:
- Ensure that the fireplace or heating appliance connected to the chimney is completely cool and not in use.
- Open the damper to allow access to the flue. If your fireplace has glass doors or a screen, remove them to have a clear view of the flue.
- Using a flashlight, shine the light up into the flue to inspect its condition. Look for any signs of creosote buildup, soot, or debris that may have accumulated.
- Check for any signs of moisture or water damage within the flue. Look for discoloration, staining, or a musty odor, which could indicate a potential leak or chimney cap issue.
- Look for any signs of animal activity, such as nests or droppings. Animals can make their way into the flue, causing blockages or damage.
- Inspect the damper for proper operation. Ensure that it can fully open and close without any obstructions or sticking.
During the interior inspection, it’s crucial to pay close attention to the condition of the chimney flue and any potential obstructions. If you come across excessive creosote buildup, blockages, or any other concerns, it is recommended to take appropriate action, such as scheduling a professional chimney cleaning or repair.
Now that you have thoroughly inspected the chimney flue from the interior, let’s move on to the next step: checking for obstructions or blockages.
Step 4: Check for any obstructions or blockages
One of the key aspects of checking a chimney flue is ensuring that there are no obstructions or blockages present. Any obstruction in the flue can restrict the flow of air and gases, potentially leading to poor ventilation, smoke backup, or even a fire hazard. Follow these steps to check for obstructions or blockages:
- From the interior of the chimney, carefully examine the flue walls using a flashlight. Look for any large debris, such as twigs, leaves, or animal nests, that may have fallen into the flue.
- Use a long, flexible rod or a chimney brush to gently sweep the flue from the bottom up. This will help dislodge any loose debris that may be obstructing the flue.
- Pay attention to any resistance or unusual sounds while sweeping the flue. These can indicate the presence of a blockage that requires further investigation or professional assistance.
- Inspect the damper again to ensure it is functioning properly. A malfunctioning damper can contribute to the buildup of debris and restrict the airflow in the flue.
- Take note of any excessive amounts of creosote or soot buildup on the flue walls. Creosote is highly flammable and can lead to a chimney fire if not properly addressed.
If you encounter any significant blockages, excessive creosote buildup, or suspect any other issues during this step, it is advisable to contact a professional chimney sweep. They have the expertise and tools to safely and effectively remove obstructions and ensure the flue is clear for optimal performance.
Now that you have examined the flue for obstructions or blockages, let’s move on to the next step: assessing the overall condition of the chimney flue.
Before checking a chimney flue, make sure to wear protective gear and use a flashlight to inspect for any obstructions or buildup. Look for cracks or damage to the flue liner and ensure the damper is functioning properly.
Read more: How To Use A Chimney Flue
Step 5: Assess the overall condition of the chimney flue
After checking for obstructions or blockages, it is essential to assess the overall condition of the chimney flue. This step involves evaluating the integrity of the flue and identifying any signs of damage or deterioration. Follow these steps to assess the condition of the chimney flue:
- Examine the flue walls for any cracks, gaps, or crumbling mortar. These can be indicators of structural issues that need to be addressed.
- Check for any signs of corrosion or rust on metal flue liners. Corrosion can weaken the liner and compromise its effectiveness in containing the byproducts of combustion.
- Look for any signs of discoloration or staining on the flue walls. This can be an indication of past or present moisture issues.
- Inspect the joints between flue liners (if applicable) for any gaps or separations. A tight and secure connection is crucial for the smooth functioning of the flue.
- Note any unusual odors coming from the flue. A strong, persistent odor can indicate a problem, such as a dead animal or mold growth.
- Check for any signs of chimney efflorescence. Efflorescence is a white, powdery substance that indicates water penetration and can cause damage to the flue and surrounding masonry.
Assessing the overall condition of the chimney flue helps identify any potential issues that may require further attention or professional intervention. If you notice significant damage, deterioration, or any concerning observations, it is recommended to consult a professional chimney sweep or a qualified expert for a more thorough inspection and appropriate repairs.
Now that you have assessed the overall condition of the chimney flue, let’s move on to the next step: looking for signs of damage or deterioration.
Step 6: Look for signs of damage or deterioration
As you continue your chimney flue inspection, it is crucial to look for signs of damage or deterioration. Identifying any issues early on can help prevent further damage and ensure the safety and functionality of the flue. Follow these steps to look for signs of damage or deterioration:
- Inspect the interior and exterior of the flue for any cracks or gaps. Cracks can allow gases or sparks to escape, potentially leading to a fire, while gaps can compromise the structural integrity of the flue.
- Check for any loose or damaged bricks or mortar joints on the chimney exterior. Loose bricks or deteriorating mortar can indicate underlying structural issues that need to be addressed promptly.
- Look for any signs of spalling, which is when the surface of the bricks flakes or breaks off. Spalling can be a result of moisture damage and can weaken the chimney structure.
- Inspect the chimney cap or crown for any cracks, chips, or signs of deterioration. A damaged cap or crown can allow water to enter the flue and cause further damage to the chimney.
- Examine the chimney flue liner for any signs of degradation or deterioration. A damaged or deteriorating liner may require repairs or replacement to ensure the safe operation of the flue.
- Take note of any unusual sounds or vibrations coming from the chimney during use. These can be signs of internal damage or problems that require professional attention.
By diligently looking for signs of damage or deterioration, you can address any issues promptly and prevent further damage to the chimney flue. If you notice significant damage or have concerns about the safety of the flue, it is recommended to consult a professional chimney sweep or a qualified expert for a thorough assessment and appropriate repairs.
Now that you have looked for signs of damage or deterioration, let’s move on to the next step: considering conducting a smoke test.
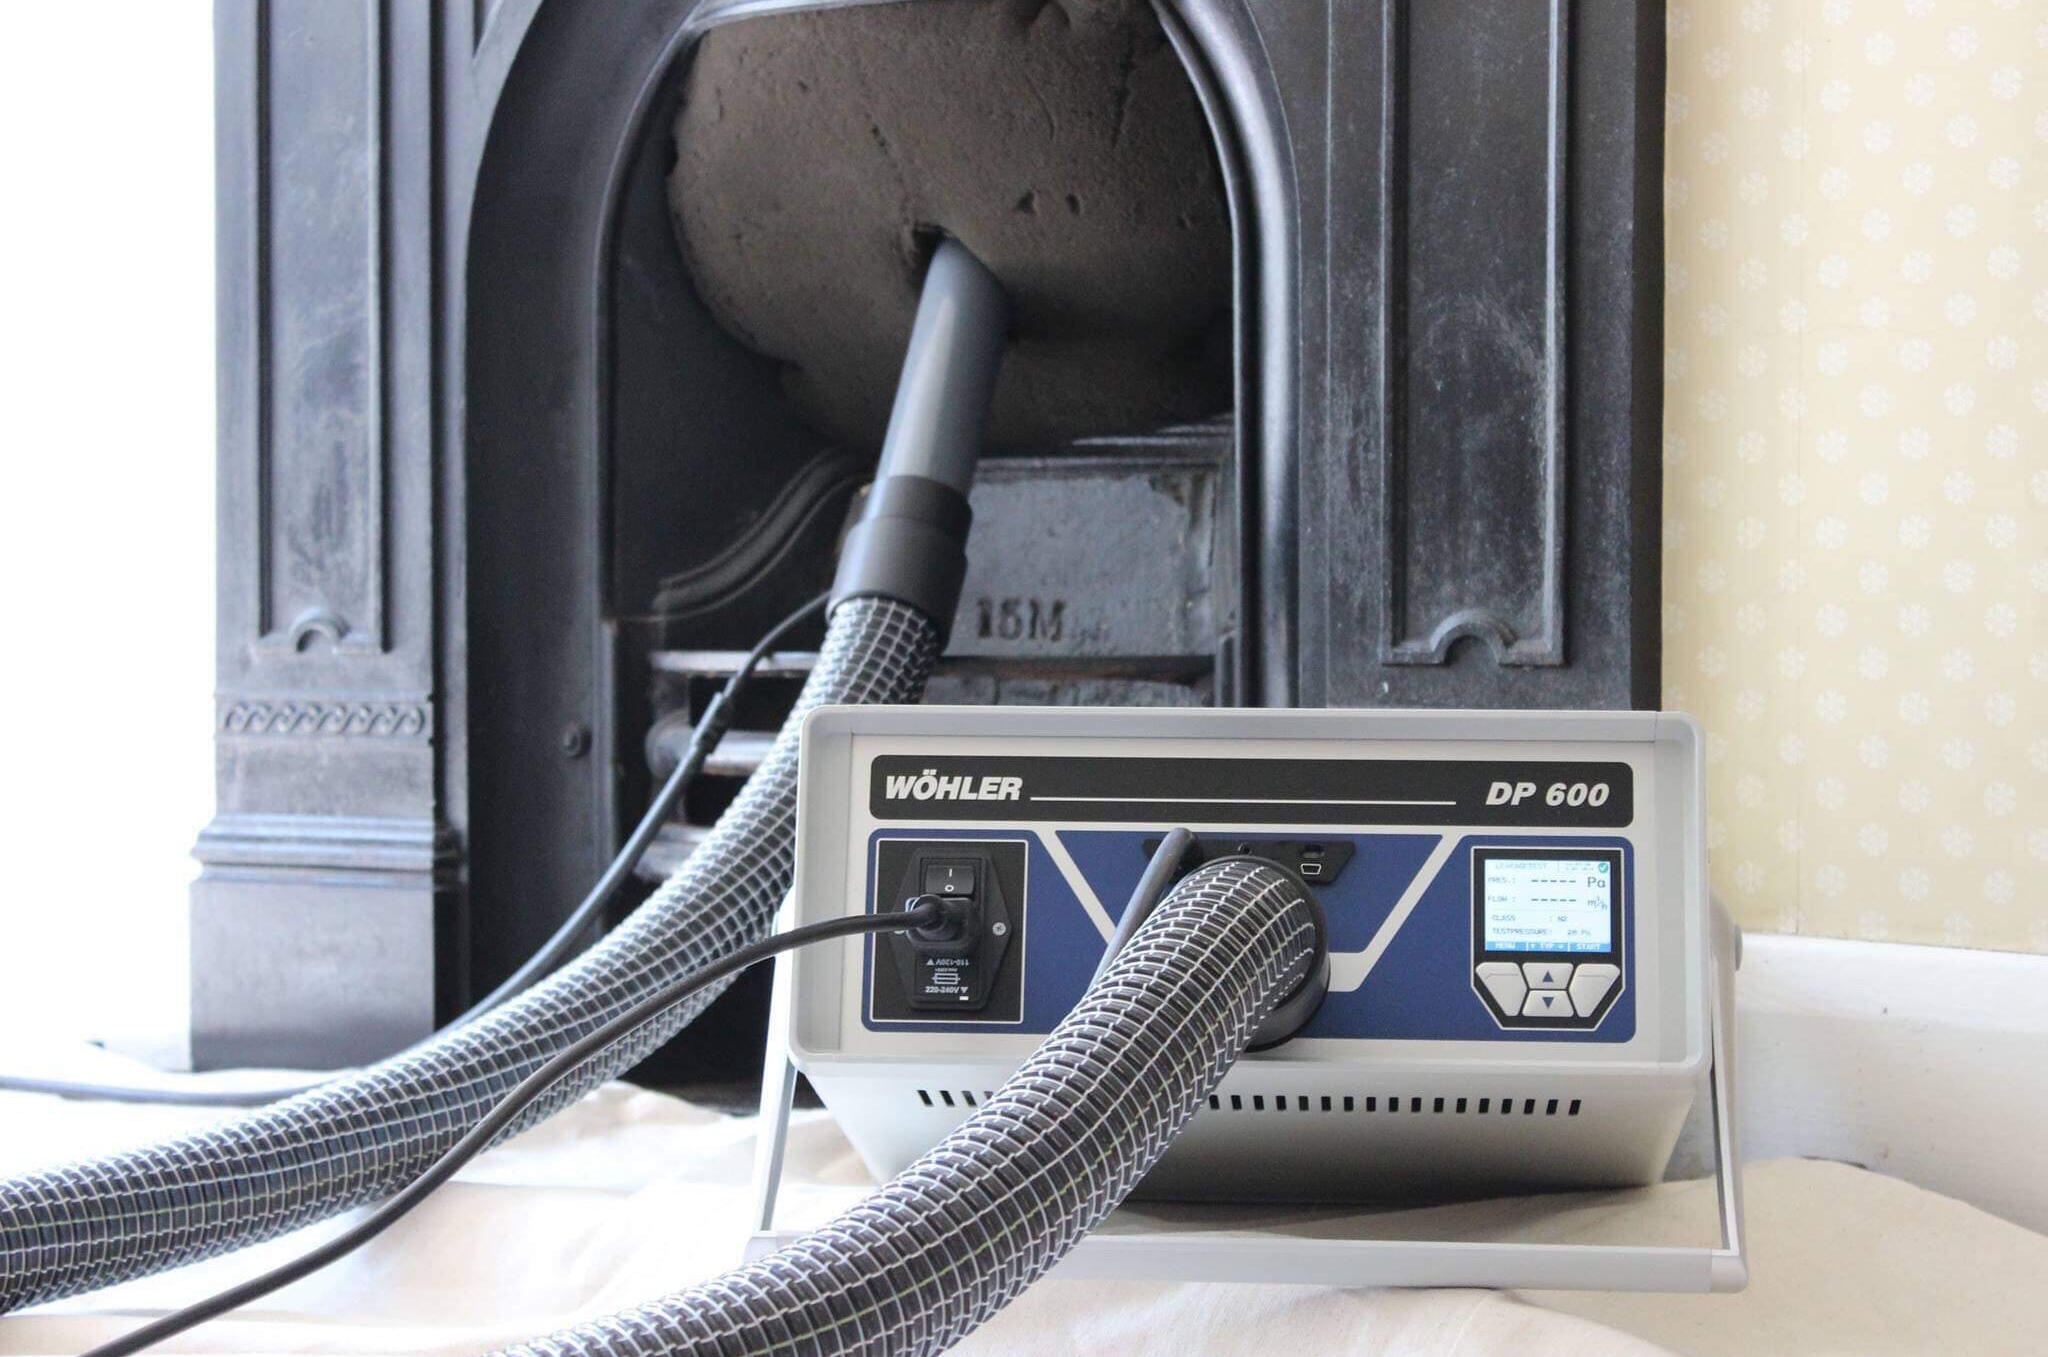
Step 7: Consider conducting a smoke test
Conducting a smoke test is an optional but highly recommended step in checking a chimney flue. A smoke test can help identify any issues with the flue’s ventilation or integrity, ensuring its proper functioning and safety. Here’s how to consider conducting a smoke test:
- Close all windows and doors in the room where the fireplace or heating appliance is located to create a controlled environment for the test.
- Place a smoke pellet or smoke bomb at the entrance of the flue, either at the fireplace or the stovepipe, following the manufacturer’s instructions.
- Light the smoke pellet or smoke bomb, and monitor the flow of smoke up the flue.
- Observe any abnormal smoke patterns, such as smoke escaping from cracks or gaps in the chimney or entering the room instead of being drawn up and out of the flue.
- Take note of any smoke odors inside the room, which can indicate a possible leak or ventilation issue with the flue.
The smoke test provides valuable information about the chimney flue’s performance and any potential issues, such as leaks, blockages, or faulty seals. If you notice any significant problems during the smoke test, it is advisable to consult a professional chimney sweep or a qualified expert for further investigation and necessary repairs.
Remember that conducting a smoke test requires caution and proper ventilation to prevent any smoke or fumes from entering the living space. If you are unsure about performing a smoke test yourself, it is best to seek the assistance of a professional.
Now that you have considered conducting a smoke test, let’s move on to the final step: cleaning the chimney flue if necessary.
Step 8: Clean the chimney flue if necessary
If, during the inspection process, you identify a significant buildup of creosote, debris, or any other obstructions in the chimney flue, it may be necessary to clean the flue. Cleaning the flue regularly is essential for maintaining its efficiency, reducing the risk of chimney fires, and ensuring proper ventilation. Here’s how to clean the chimney flue if necessary:
- Ensure that all tools and equipment are assembled before starting the cleaning process. You will need a chimney cleaning brush, extension rods, drop cloths, a vacuum or ash vacuum, and a dust mask.
- Start by laying drop cloths around the fireplace or heating appliance to protect the surrounding area from debris.
- Attach the chimney cleaning brush to the extension rods according to the manufacturer’s instructions. The brush size should correspond to the size of your chimney flue.
- From the interior of the chimney, gently insert the brush into the flue opening. Use a back-and-forth motion to scrape away creosote and loosen any debris.
- Slowly extend the brush upwards, adding more rods as needed, until you reach the top of the chimney. Continue the brushing motion to thoroughly clean the entire length of the flue.
- Once the cleaning is complete, use a vacuum or ash vacuum to remove the loosened debris from the fireplace or heating appliance.
- Dispose of the debris responsibly, following local regulations and guidelines.
- After cleaning, inspect the flue once again to ensure that it is clear of any remaining debris or obstructions.
It is important to note that chimney cleaning can be a messy and physically demanding task. If you are not comfortable or experienced in cleaning the chimney flue yourself, it is recommended to hire a professional chimney sweep who has the necessary expertise and equipment to perform the cleaning safely and effectively.
Regularly cleaning the chimney flue, especially if you use your fireplace or heating appliance frequently, is crucial for maintaining its optimal performance and reducing the risk of chimney fires. By addressing any buildup or obstructions in a timely manner, you can ensure the safe operation of your flue.
Congratulations! You have completed all the steps to check a chimney flue. By following this guide, you can stay proactive in maintaining the safety and functionality of your chimney system.
Remember to always prioritize safety when conducting any chimney-related inspections or cleaning. If you are uncertain about any aspect of chimney maintenance, consider consulting a professional chimney sweep or a qualified expert.
Thank you for reading, and may your chimney flue inspections be thorough and successful!
Read more: How Wide Is A Chimney Flue
Conclusion
In conclusion, regularly checking your chimney flue is essential for maintaining a safe and efficient chimney system. By following the steps outlined in this guide, you can effectively inspect and assess the condition of your chimney flue, identify any issues or blockages, and take appropriate action for repairs or maintenance. Your diligence in maintaining the flue will not only enhance the safety of your home but also prolong the lifespan of your chimney and heating appliance.
Remember to gather all the necessary tools before starting the inspection, including a flashlight, ladder, binoculars, gloves, protective eyewear, creosote brush, camera, notepad, and pen. These tools will help you conduct a thorough examination and document any findings for future reference.
Throughout the inspection, pay close attention to the exterior and interior of the chimney, looking for signs of damage, deterioration, or blockages. Check for cracks, gaps, corrosion, loose bricks, or deteriorating mortar. Evaluate the condition of the chimney cap, flashing, and vents to ensure proper functionality and protection against water damage.
If you come across any significant issues or suspect that there may be blockages or obstructions in the flue, consider conducting a smoke test to assess the ventilation and integrity of the chimney flue. This test can help uncover any hidden problems and guide you in making informed decisions about repairs or further inspections.
If necessary, cleaning the chimney flue should be done using the proper equipment and techniques. However, if you are uncertain or uncomfortable with performing the cleaning yourself, it is highly recommended to hire a professional chimney sweep who has the expertise and experience to ensure a thorough and safe cleaning process.
By taking the time to check your chimney flue regularly and addressing any issues promptly, you can enjoy the benefits of a well-maintained and efficient chimney system. Remember, when it comes to the safety of your home and loved ones, it is always better to be proactive and proactive in maintaining your chimney flue.
Thank you for reading and for your commitment to chimney maintenance. Stay safe and warm!
Frequently Asked Questions about How To Check A Chimney Flue
Was this page helpful?
At Storables.com, we guarantee accurate and reliable information. Our content, validated by Expert Board Contributors, is crafted following stringent Editorial Policies. We're committed to providing you with well-researched, expert-backed insights for all your informational needs.


0 thoughts on “How To Check A Chimney Flue”