Articles
How To Tie Duvet Cover With Loops
Modified: October 18, 2024
Learn how to tie your duvet cover with loops using these helpful articles. Simplify the process and keep your bedding in place for a comfortable sleep.
(Many of the links in this article redirect to a specific reviewed product. Your purchase of these products through affiliate links helps to generate commission for Storables.com, at no extra cost. Learn more)
Introduction
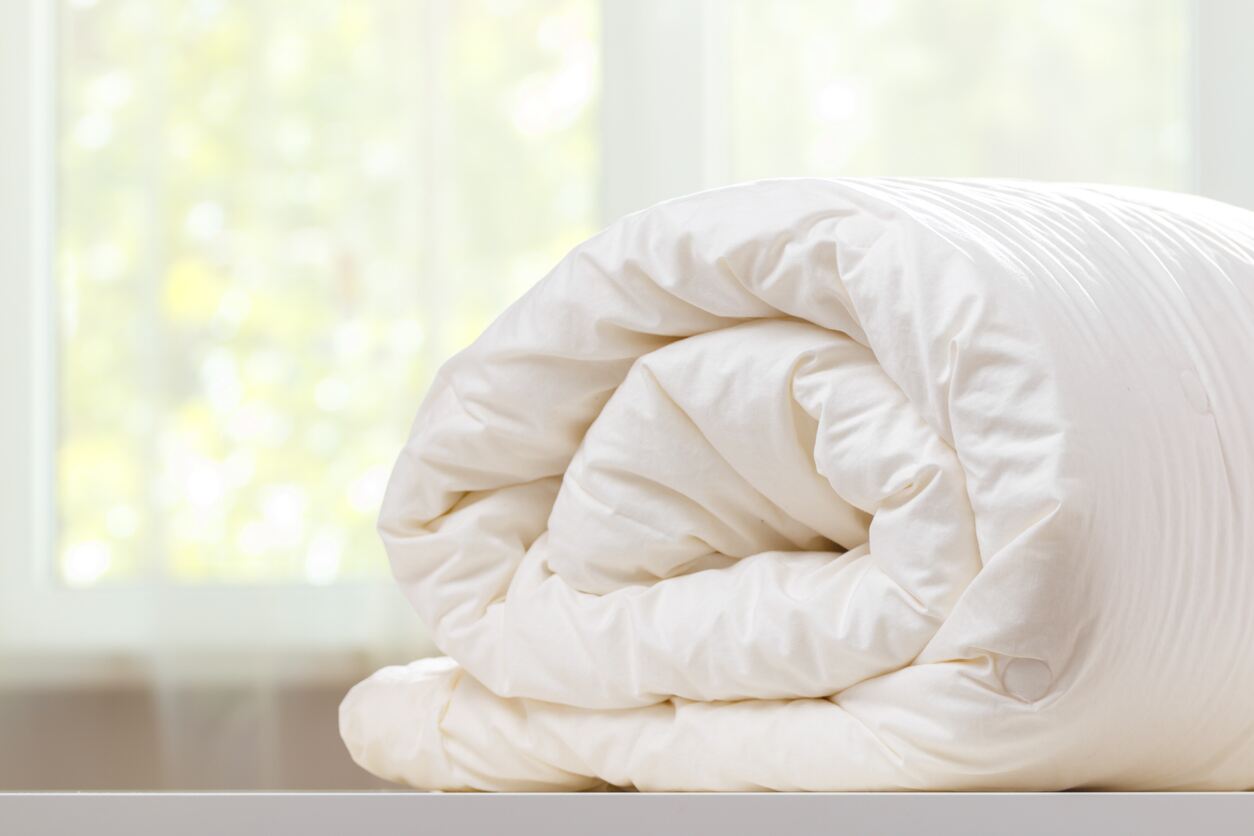
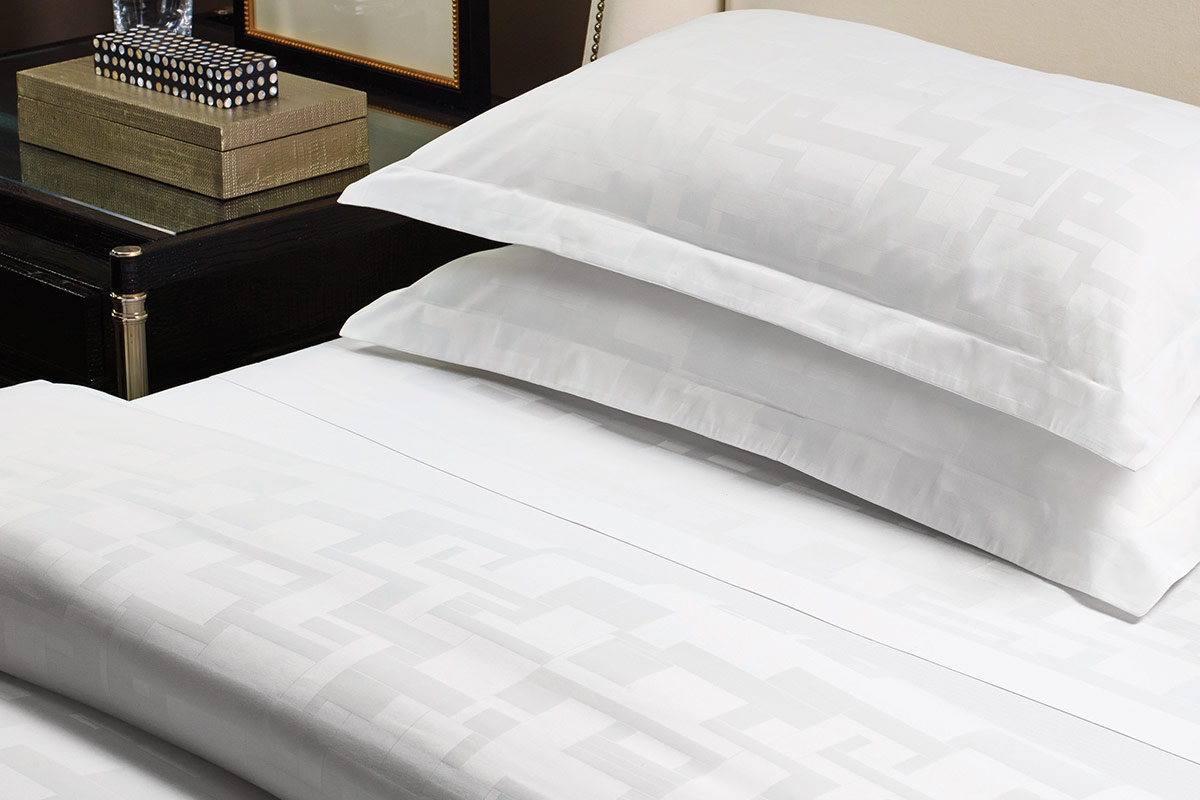
A duvet cover is a protective cover for your duvet, which not only adds style to your bedroom decor but also keeps your duvet clean and well-maintained. Many duvet covers come with loops on the corners, which can be used to secure the duvet inside the cover and prevent it from shifting during sleep. But if you’re not familiar with how to tie a duvet cover with loops, it can be a frustrating and confusing task.
In this article, we will guide you through the steps to successfully tie a duvet cover with loops, ensuring that your duvet stays securely in place and your bed looks neat and tidy. Whether you’re a seasoned duvet user or a beginner, these simple instructions will help you achieve a perfectly made bed with minimal effort.
So, let’s get started and learn how to tie a duvet cover with loops!
Key Takeaways:
- Tying a duvet cover with loops is a simple process that ensures your duvet stays in place, creating a neat and tidy bed. Follow the steps to achieve a polished and finished look effortlessly.
- By securing the duvet cover with loops and adjusting it for a clean appearance, you not only enhance your bedroom’s aesthetic but also ensure a comfortable and peaceful night’s sleep.
Read more: What Are The Ties Inside A Duvet Cover For
Step 1: Lay out the duvet cover and duvet
The first step in tying a duvet cover with loops is to lay out the duvet cover flat on your bed or any other flat surface. Smooth out any wrinkles or folds in the fabric to ensure a clean and even surface.
Next, take your duvet and spread it out on top of the duvet cover. Align the corners of the duvet with the corners of the duvet cover, making sure that they match up perfectly. Take the time to smooth out the duvet and ensure it is evenly spread across the cover.
By laying out both the duvet cover and the duvet itself, you’ll have a clear view of the corners, where the loops are located. This will make it easier for you to locate and access the loops when it’s time to secure the duvet cover.
Once you have laid out the duvet cover and duvet, you’re ready to move on to the next step and start tying the duvet cover with loops.
Step 2: Locate the loops on the corners of the duvet cover
Now that you have laid out the duvet cover and duvet, it’s time to locate the loops on the corners of the duvet cover. Most duvet covers will have loops sewn into the corners, typically on the inside of the cover.
Start by examining each corner of the duvet cover and searching for the loops. The loops are typically small fabric strips or ribbons attached securely to the corner seams of the duvet cover. They are designed to hold the corners of the duvet in place and prevent it from shifting inside the cover.
Depending on the design of the duvet cover, the loops may be visible from the outside or hidden on the inside. If they are not immediately visible, gently feel along the inside edge of each corner to locate the loops.
Remember to check all four corners of the duvet cover to ensure that you don’t miss any loops. Take your time and be thorough in your search.
Once you have located the loops on the corners of the duvet cover, you are ready to move on to the next step and begin inserting the duvet corners into the loops.
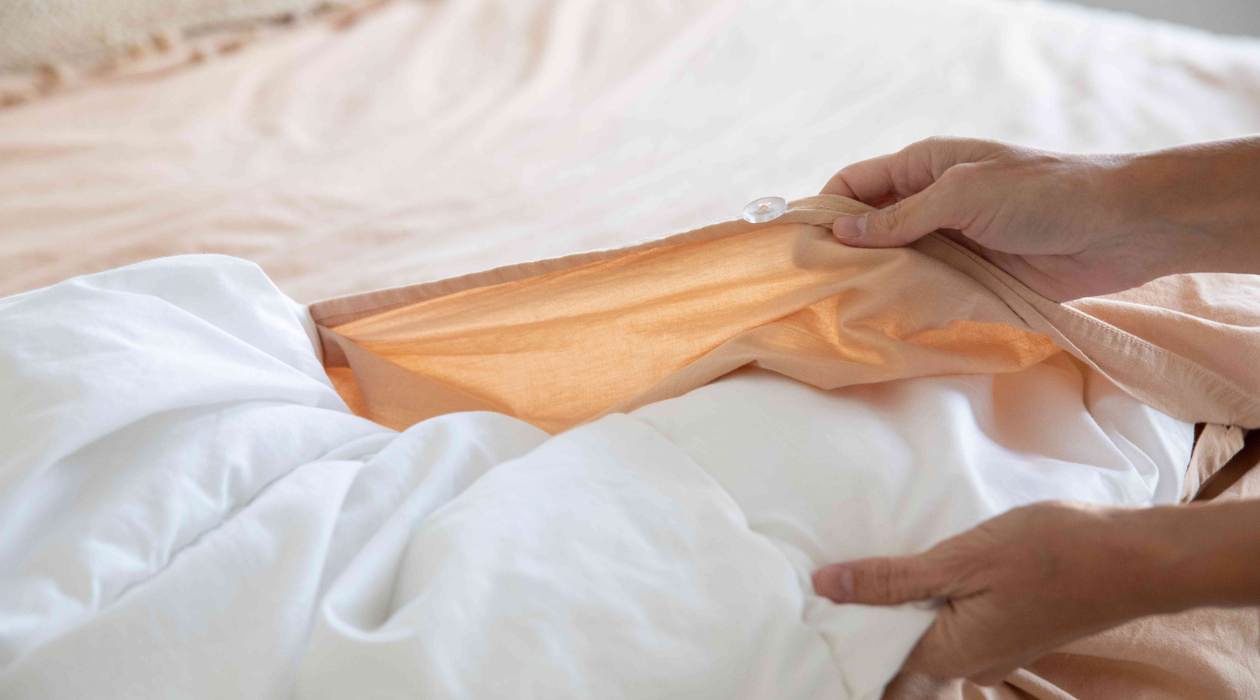
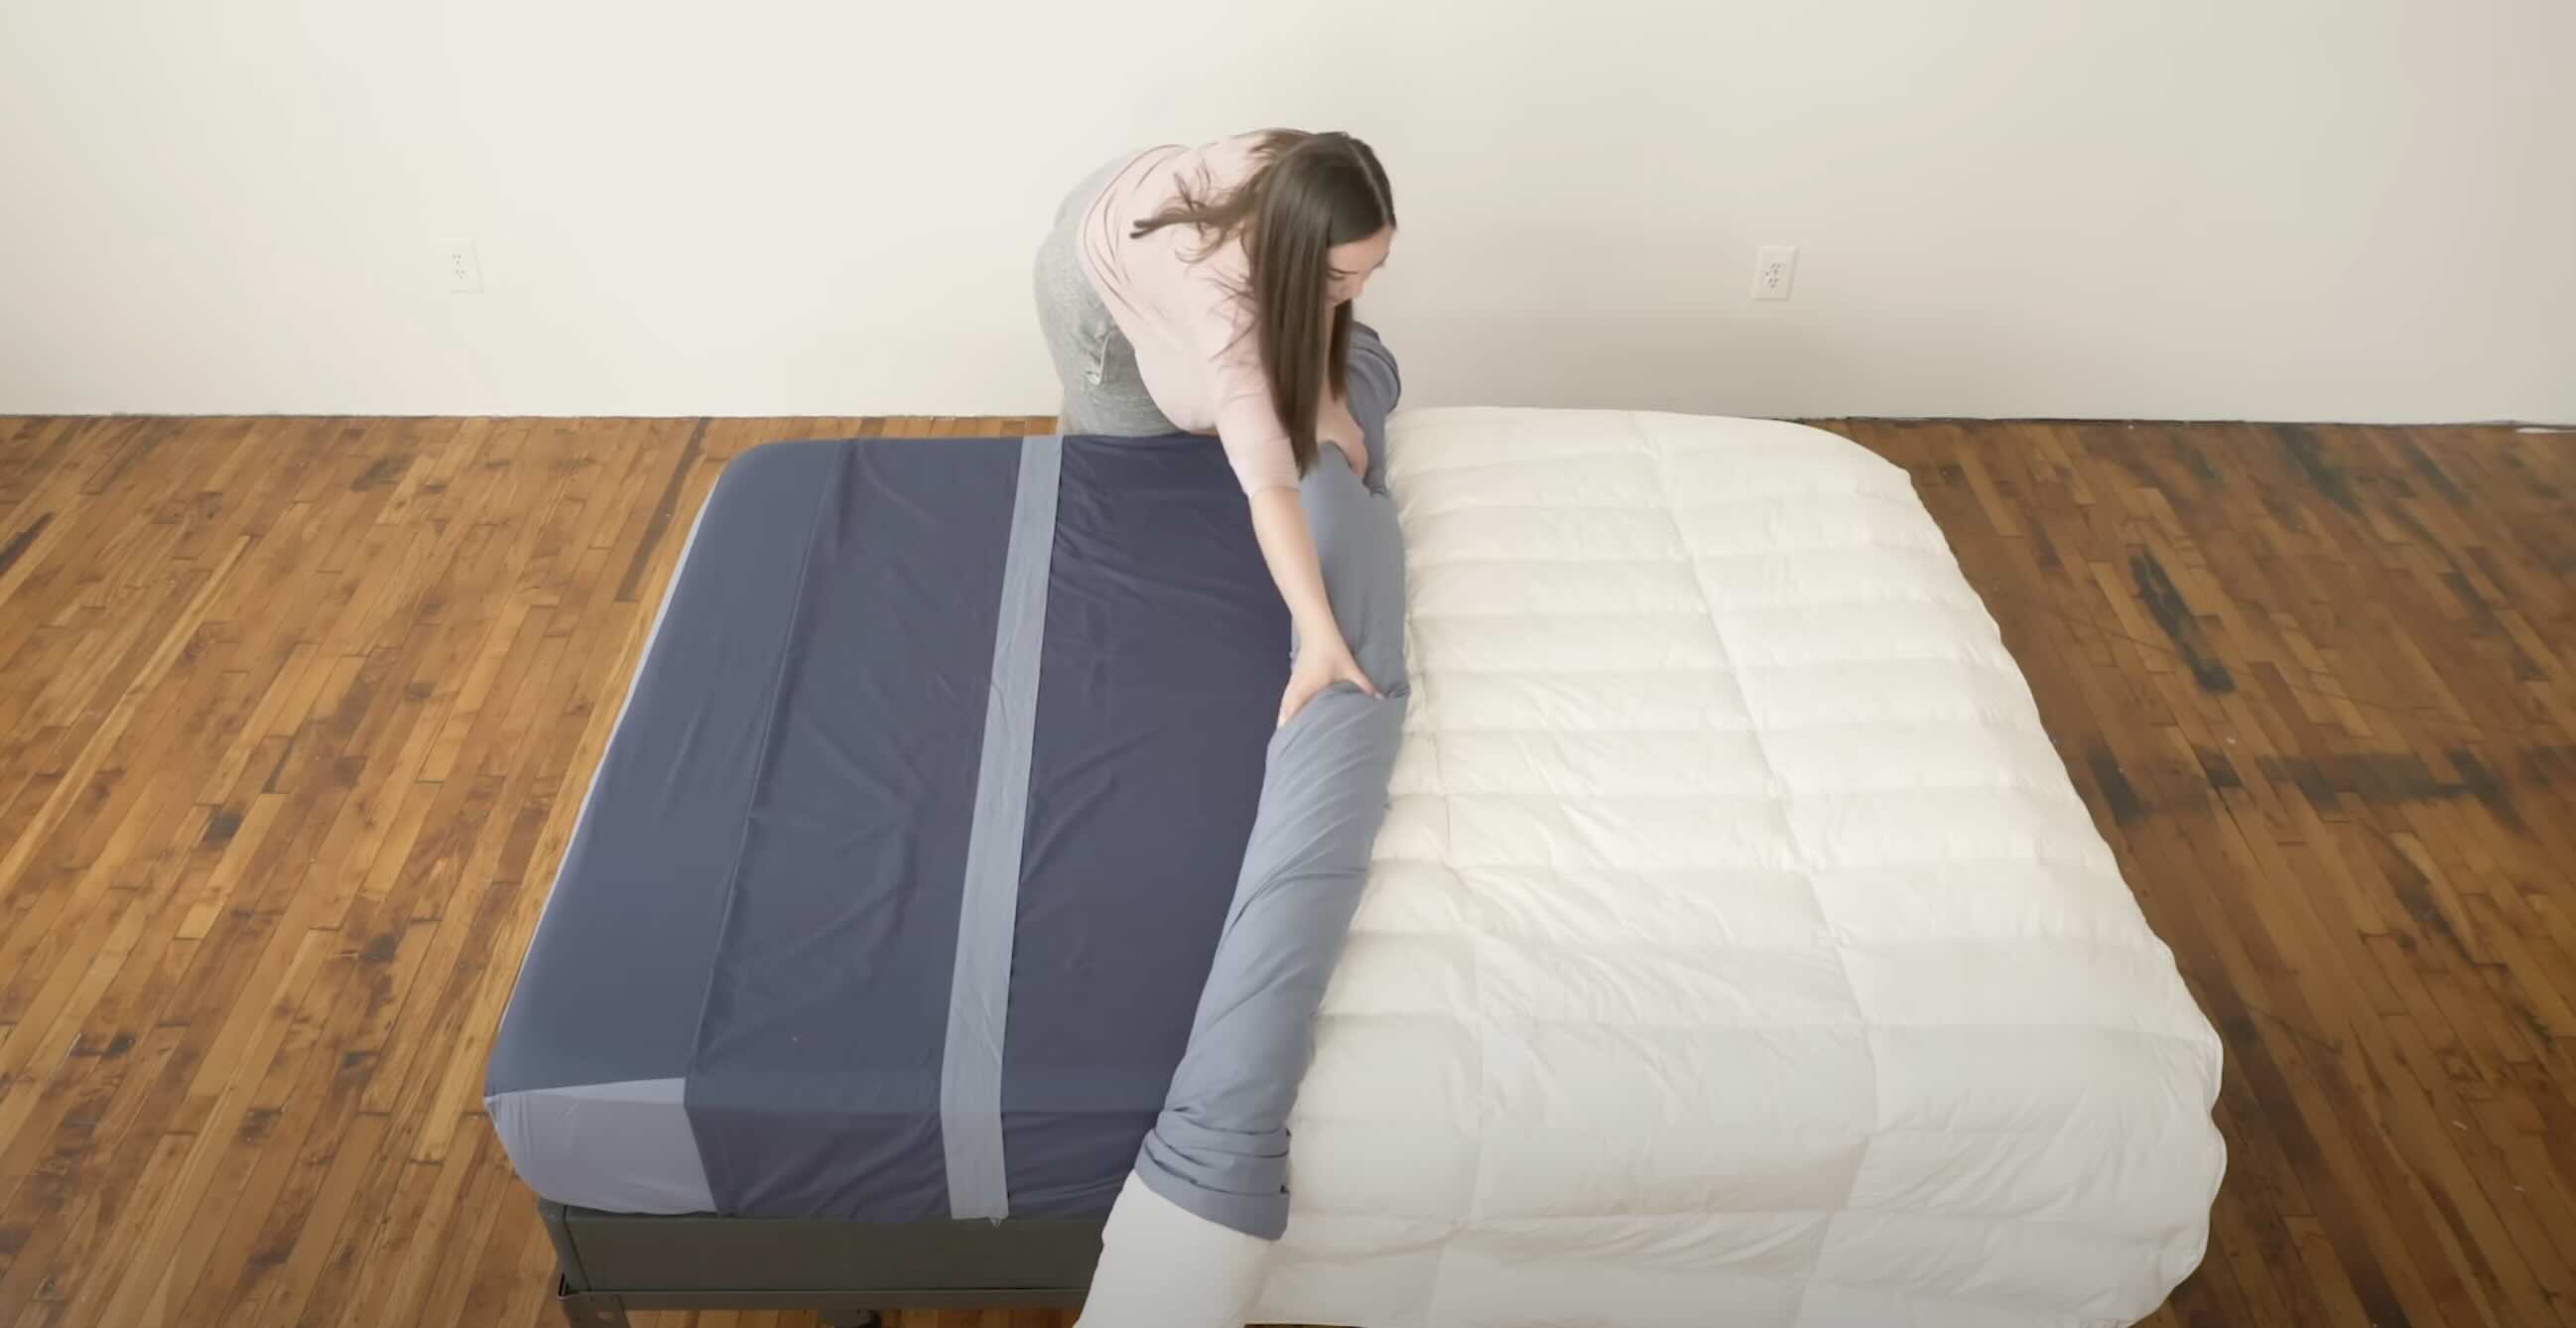
Step 3: Insert the duvet corners into the loops
Now that you have located the loops on the corners of the duvet cover, it’s time to insert the corners of the duvet into these loops. This step will help secure the duvet inside the cover and prevent it from shifting during use.
Begin by lifting one corner of the duvet and finding the corresponding loop on the duvet cover. Hold the corner of the duvet in one hand and the loop in the other hand.
Gently insert the corner of the duvet into the loop, ensuring that it goes all the way through and is securely held in place. Repeat this process for the remaining three corners, inserting each one into its respective loop on the duvet cover.
Take care to align the corners of the duvet with the corners of the duvet cover as you insert them into the loops. This will ensure a snug and secure fit.
If you’re having trouble inserting the corners into the loops, try giving the duvet cover a little shake to align everything properly. You can also ask someone to assist you in holding the duvet and duvet cover while you insert the corners into the loops.
Once all four corners of the duvet are securely inserted into the loops, you’re ready to move on to the next step and tie the duvet cover to keep it in place.
When tying a duvet cover with loops, start by turning the cover inside out and attaching the loops to the corners of the duvet. Then, flip the cover right side out and shake it to evenly distribute the duvet inside.
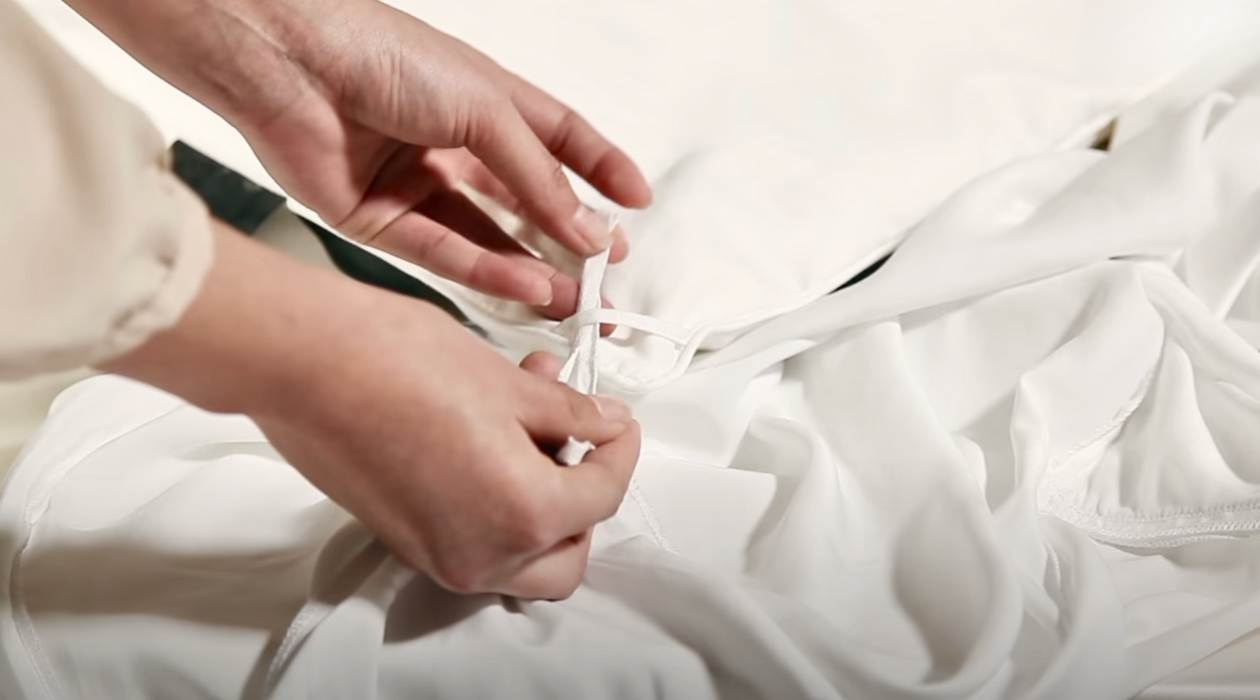
Step 4: Secure the duvet cover by tying the loops
With the corners of the duvet securely inserted into the loops of the duvet cover, it’s time to tie the loops to ensure that the duvet cover stays in place.
Start by taking one corner of the duvet cover that has a loop and its corresponding duvet corner. Hold the loop and the corner of the duvet in one hand.
Bring the loop and the duvet corner together, crossing them over each other to create a loop-de-loop. Insert the duvet corner through the loop-de-loop and pull it tight. This will secure the corner of the duvet cover to the duvet corner.
Repeat this process for the remaining three corners of the duvet cover, making sure to tie each loop securely. Remember to cross the loop and duvet corner, create a loop-de-loop, insert the duvet corner, and pull it tight.
As you tie each loop, make sure to keep the duvet cover snugly attached to the duvet corners. This will prevent the duvet from shifting and keep the cover in place, ensuring a neat and tidy appearance on your bed.
Once you have tied all four loops, give the duvet cover a gentle tug in each corner to ensure that it is securely fastened.
Now that you have successfully tied the loops and secured the duvet cover, you’re ready to move on to the final step and adjust and smooth out the duvet cover for a perfect finish.
Read more: How To Tie A Non-Slip Loop Knot With Rope
Step 5: Adjust and smooth out the duvet cover
After securing the duvet cover with the loops, the final step is to adjust and smooth out the duvet cover for a clean and polished look.
Start by standing at the foot of your bed and gently pull on the corners of the duvet cover. This will help to align and center the duvet within the cover.
Next, walk along the sides of the bed, smoothing out any wrinkles or folds in the duvet cover as you go. Use gentle tugs and adjustments to ensure that the cover lies flat and is evenly distributed over the duvet.
Once you’ve straightened out the sides, move to the top of the bed and smooth out the duvet cover from top to bottom. This will help to eliminate any remaining wrinkles or bunching.
Take a step back and visually inspect the duvet cover to ensure that it is smooth, even, and properly fitted. Make any necessary adjustments by tugging on the corners and edges until you achieve the desired look.
Finally, if desired, add decorative pillows or a bedspread to enhance the overall appearance of the bed.
By following these steps and taking the time to adjust and smooth out the duvet cover, you’ll achieve a beautifully made bed and a tidy, inviting bedroom.
Congratulations! You have successfully tied a duvet cover with loops and created a polished and finished look for your bed.
Conclusion
Tying a duvet cover with loops may seem like a daunting task at first, but with the right guidance, it can be a simple and satisfying process. By following the steps outlined in this article, you can ensure that your duvet stays securely in place and your bed looks neat and tidy.
Remember to start by laying out the duvet cover and duvet, locating the loops on the corners of the duvet cover, and inserting the duvet corners into the loops. Then, secure the duvet cover by tying the loops, making sure they are tight and secure.
Finally, adjust and smooth out the duvet cover to achieve a clean and polished look for your bed. By taking the time to properly tie and adjust the duvet cover, you’ll not only enhance the aesthetic appeal of your bedroom but also ensure a comfortable and peaceful night’s sleep.
Maintaining your duvet cover regularly, including retying the loops if necessary, will help to extend its lifespan and keep it in pristine condition. With a little practice, tying a duvet cover with loops will become second nature to you.
Now that you have the knowledge and skills to tie a duvet cover with loops, go ahead and give it a try. Enjoy the benefits of a well-made bed and the satisfaction of a perfectly secured duvet cover. Sweet dreams!
Frequently Asked Questions about How To Tie Duvet Cover With Loops
Was this page helpful?
At Storables.com, we guarantee accurate and reliable information. Our content, validated by Expert Board Contributors, is crafted following stringent Editorial Policies. We're committed to providing you with well-researched, expert-backed insights for all your informational needs.


0 thoughts on “How To Tie Duvet Cover With Loops”