Articles
How To Put Stone On Fireplace
Modified: October 20, 2024
Learn how to put stone on your fireplace with these informative articles. Transform your fireplace into a stunning focal point for your home.
(Many of the links in this article redirect to a specific reviewed product. Your purchase of these products through affiliate links helps to generate commission for Storables.com, at no extra cost. Learn more)
Introduction – Overview of the Article Topic
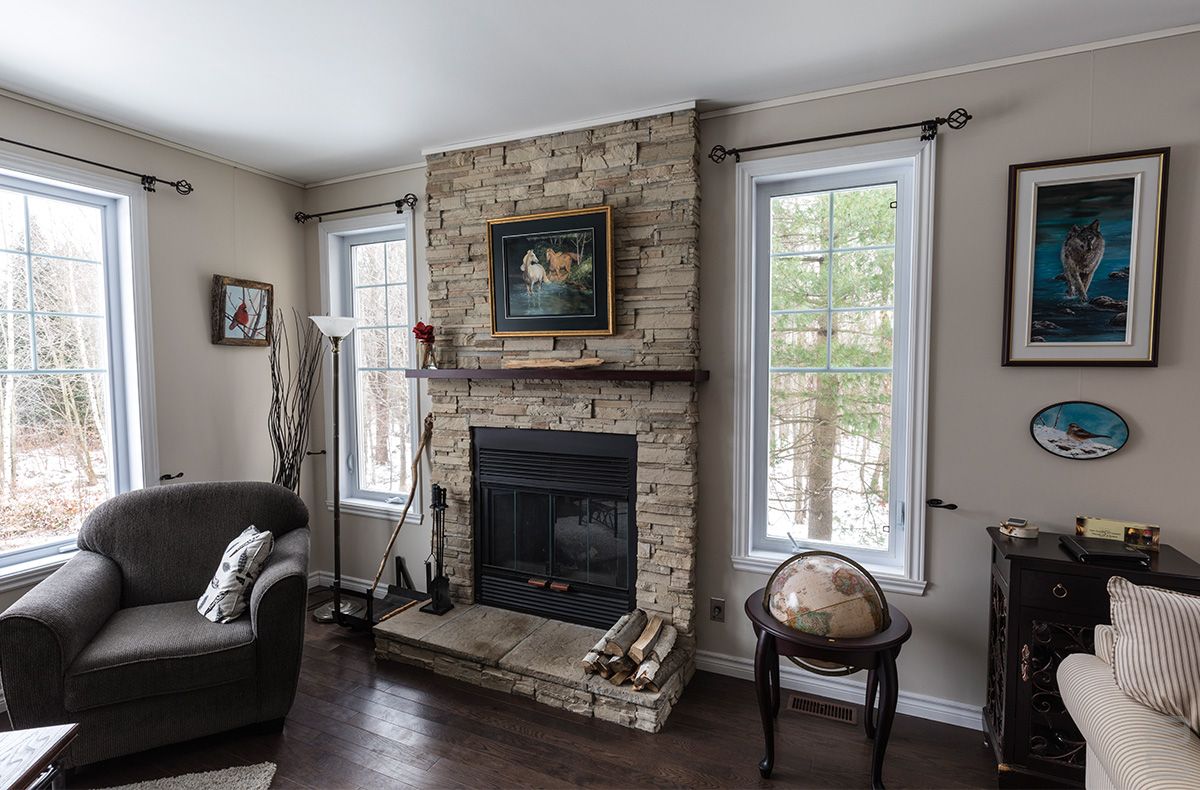
Welcome to this comprehensive guide on how to put stone on a fireplace. A stone fireplace can add a timeless and elegant touch to any home. Whether you’re looking to renovate your existing fireplace or build a new one from scratch, this article will provide you with all the information you need to successfully install stone on your fireplace.
A stone fireplace not only serves as a focal point in a room but also brings warmth and character to the space. The natural beauty and durability of stone make it an excellent choice for fireplace installations. However, the process of installing stone on a fireplace can be quite challenging if you’re not familiar with the techniques and steps involved.
In this article, we will guide you through each stage of the process, from assessing the condition of the existing fireplace to the final finishing touches. You’ll learn how to select the right stone for your fireplace, gather the necessary tools and materials, prepare the surface, apply mortar or adhesive, arrange and install the stones, grout the gaps, and add the final touches.
Before diving into the specific steps, it’s important to note that every fireplace project is unique. The size, shape, and condition of your fireplace may require some adjustments or additional steps along the way. It’s always recommended to consult with professionals or experienced DIYers if you have any specific questions or concerns about your project.
By following the guidelines in this article, you’ll be equipped with the knowledge and skills to transform your fireplace into a stunning stone feature that enhances the overall aesthetic and value of your home. So, let’s get started with the first step: preparing the fireplace.
Key Takeaways:
- Transform your fireplace with timeless elegance by following our comprehensive guide on installing stone. Achieve a stunning, durable, and visually appealing stone fireplace that enhances your home’s aesthetic and value.
- From preparing the surface to applying mortar and arranging stones, our guide equips you with the knowledge and skills to successfully install a beautiful and long-lasting stone fireplace. Embrace the process and enjoy the warmth and beauty of your new fireplace.
Read more: How To Redo A Stone Fireplace
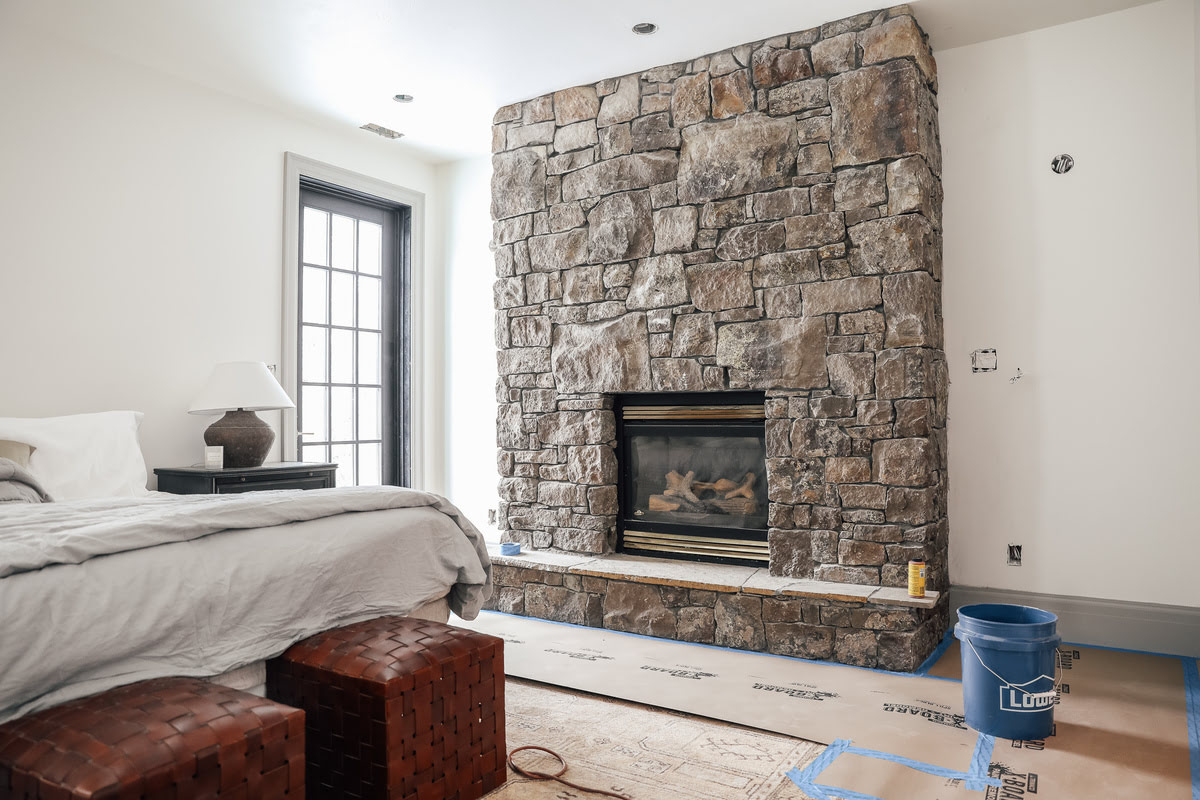
Preparing the Fireplace
Before you can begin the process of installing stone on your fireplace, it’s important to assess the condition of the existing fireplace. This will help you determine if any repairs or modifications are needed before proceeding with the stone installation.
The first step is to thoroughly clean the fireplace and remove any debris or old materials. Use a vacuum cleaner or brush to remove loose dust, soot, or ashes. If there are any old tiles, bricks, or other materials on the fireplace surface, carefully remove them using appropriate tools.
Once the fireplace is clean and cleared of any debris, it’s time to measure the dimensions of the fireplace. Measure the width, height, and depth of the fireplace opening and jot down these measurements. This will help you determine the amount of stone and other materials needed for the project.
During this preparation stage, it’s also a good idea to inspect the condition of the fireplace structure. Look for any cracks, damage, or signs of moisture. If you notice any structural issues, it’s important to address them before proceeding with the stone installation. Consult with a professional if you’re unsure about the extent of the damage or how to properly repair it.
By thoroughly assessing the condition of the existing fireplace, cleaning it, and measuring its dimensions, you’ll be well-prepared for the next steps in the stone installation process. This preparation stage ensures that your fireplace is in a suitable condition for the stone installation and helps you plan and gather the necessary materials. Now that you’re ready, let’s move on to the next step: selecting the right stone.
Selecting the Right Stone
One of the most crucial aspects of installing stone on a fireplace is selecting the right type of stone. The choice of stone will greatly impact the overall aesthetic and style of your fireplace. Here are some important considerations when selecting the perfect stone for your project:
Considering the style and design of the fireplace: Take into account the existing style and design of your home and the specific area where the fireplace is located. If you have a traditional or rustic interior, you may opt for a stone that complements that style. For a more contemporary look, you might choose a sleek and minimalistic stone design.
Exploring different types of stone options: There are various types of stone available for fireplace installations. Some popular choices include natural stone such as limestone, granite, marble, or slate. Each type of stone has its own unique characteristics, colors, and textures. Do some research and visit stone yards or home improvement stores to see samples and visualize how they will look in your space.
Choosing the suitable size and shape for the project: Consider the size and scale of your fireplace when selecting the stone. If you have a smaller fireplace, smaller stones or veneers may be more appropriate. For larger fireplaces, you can opt for larger stones or even create a custom design. It’s important to choose stones that are proportionate to the fireplace so that the end result looks visually pleasing.
You may also want to think about the durability and maintenance requirements of the stone you choose. Some stones are more porous and may require sealing or regular maintenance to keep them looking their best. Research the characteristics of the stones you’re considering to ensure they meet your needs in terms of both aesthetics and practicality.
By carefully considering the style and design of your fireplace, exploring different stone options, and choosing the appropriate size and shape, you’ll be able to select the perfect stone that complements your space and achieves the desired look. Now that you’ve chosen the stone, it’s time to gather the necessary tools and materials for the installation process.
Gathering the Necessary Tools and Materials
Before you start installing stone on your fireplace, it’s important to gather all the necessary tools and materials. Having everything prepared in advance will make the installation process smoother and more efficient. Here’s a list of the tools and materials you’ll need:
List of tools required for the project:
- Tape measure
- Level
- Chalk line
- Mason’s trowel
- Notched trowel
- Bucket and mixing paddle
- Hammer
- Chisel
- Utility knife
- Tile spacers
- Grout float
- Sponge
- Scrub brush
- Grout bag
- Grout saw
- Safety goggles
- Gloves
Materials needed for the stone installation:
- Stone veneers or individual stones
- Mortar or adhesive
- Grout
- Moisture barrier (if needed)
- Backer board or cement board (if necessary)
- Corner pieces (if applicable)
- Sealant (optional, for stone protection)
- Caulk (if needed for finishing)
Safety equipment and precautions to consider:
During the stone installation process, it’s important to prioritize safety. Here are some precautions to keep in mind:
- Wear safety goggles to protect your eyes from debris or flying particles.
- Use gloves to protect your hands from sharp edges and chemicals.
- Ensure good ventilation in the area where you’ll be working to avoid inhaling harmful fumes.
- Follow the manufacturer’s instructions for the mortar or adhesive, as some may require specific handling or precautions.
- Be cautious when handling tools and sharp objects to prevent injuries.
By gathering all the necessary tools and materials and observing safety precautions, you’ll be well-prepared to begin the installation process. Having everything at your fingertips will save you time and allow you to focus on achieving a beautiful and successful stone fireplace installation. Now that the tools and materials are ready, it’s time to move on to the next step: preparing the surface of the fireplace.
Preparing the Surface
Before you can start installing the stone on your fireplace, it’s crucial to properly prepare the surface. This ensures that the stone adheres securely and provides a stable foundation for the installation. Here are the key steps in preparing the surface:
Cleaning and prepping the fireplace surface: Begin by thoroughly cleaning the surface of the fireplace. Remove any dust, dirt, or residue using a brush or vacuum cleaner. It’s important to have a clean and debris-free surface for the stone to adhere properly. If there are any greasy or oily stains, use a suitable cleaner to remove them. Allow the surface to dry completely before moving on to the next step.
Installing a moisture barrier if necessary: If your fireplace is located in an area prone to moisture or you suspect there may be underlying moisture issues, it’s important to install a moisture barrier. This prevents moisture from seeping into the stone and causing damage over time. Follow the manufacturer’s instructions for installing the moisture barrier, ensuring that it covers the entire surface of the fireplace. Allow sufficient drying time before proceeding to the next steps.
Repairing any cracks or damage: Inspect the surface of the fireplace for any cracks, chips, or other damage that needs to be addressed. If you notice any cracks, use a suitable filler or mortar mix to repair them. Follow the manufacturer’s instructions and allow sufficient drying time for the repairs to set. It’s important to have a smooth and even surface before proceeding with the stone installation.
By cleaning and prepping the fireplace surface, installing a moisture barrier if necessary, and repairing any cracks or damage, you ensure that the surface is in the optimal condition for the stone installation. Taking the time to properly prepare the surface greatly contributes to the overall integrity and longevity of your stone fireplace. With the surface prepared, you’re now ready to move on to the next step: applying mortar or adhesive.
When putting stone on a fireplace, make sure to use a high-quality mortar that is suitable for the type of stone you are using. Properly prepare the surface and follow the manufacturer’s instructions for installation to ensure a secure and long-lasting finish.
Read more: How To Decorate A Stone Fireplace
Applying Mortar or Adhesive
Once the surface of your fireplace is properly prepped, it’s time to start applying mortar or adhesive for the stone installation. This step is crucial in ensuring a secure and durable bond between the stones and the surface. Here’s what you need to do:
Preparing the mortar mix or adhesive: Depending on the type of stone and the manufacturer’s recommendations, you’ll need to mix either mortar or adhesive. Follow the instructions on the packaging to prepare the mixture. Use a bucket and a mixing paddle to create a smooth and consistent consistency. Make sure you mix only the amount you can work with in a given time frame, as mortar and adhesive have specific drying times.
Applying a scratch coat to the fireplace: Before placing the stones, it’s recommended to apply a scratch coat of mortar or adhesive onto the surface of the fireplace. This layer helps create a stronger bond between the stone and the surface. Use a mason’s trowel or notch trowel to spread an even layer of mortar or adhesive onto the surface. Then, use the notched side of the trowel to create ridges in the mortar or adhesive, ensuring optimal adhesion.
Setting the stones using mortar or adhesive: Start placing the stones onto the scratch coat, working from the bottom up. Apply mortar or adhesive to the back of each stone using a trowel or a notched trowel. Press the stone firmly into place, slightly twisting and wiggling it to ensure good contact with the mortar or adhesive. Use tile spacers to maintain consistent spacing between the stones. Continue this process, following your planned layout and pattern, until all the stones are in place.
It’s important to work in smaller sections at a time to prevent the mortar or adhesive from drying out before you can set the stones. Keep an eye on the drying times specified by the manufacturer and adjust your working pace accordingly.
Remember to periodically step back and check the alignment and levelness of the stones using a level. Adjust the positioning as necessary to achieve a uniform and visually pleasing result.
By applying mortar or adhesive, applying a scratch coat, and setting the stones carefully, you’ll create a solid and secure bond between the stones and the fireplace surface. This ensures the longevity and stability of your stone fireplace installation. With the stones in place, it’s time to move on to the next step: arranging and installing the stones.
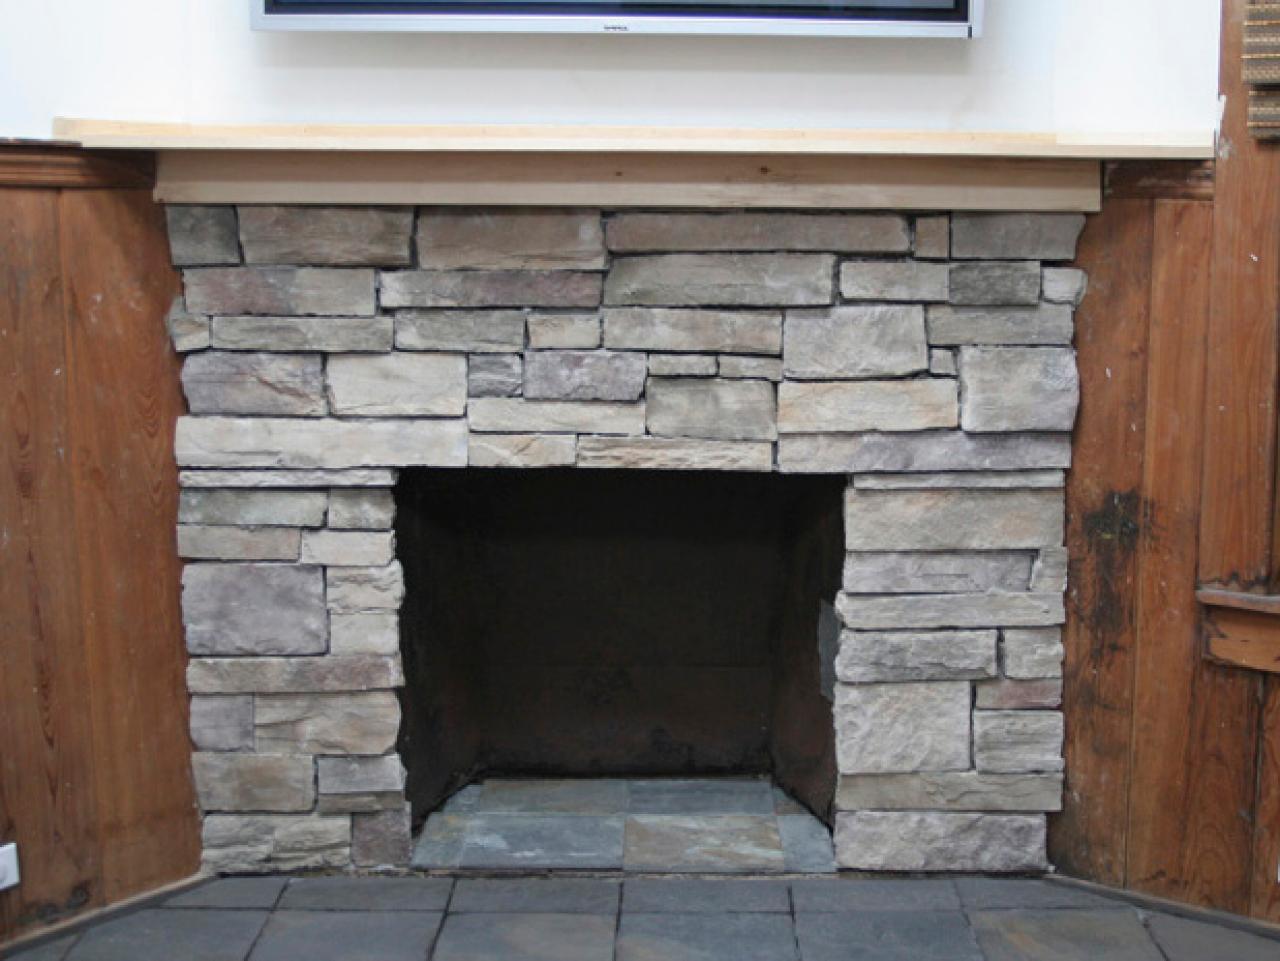
Arranging and Installing the Stones
Now that you have applied mortar or adhesive and set the scratch coat, it’s time to start arranging and installing the stones onto your fireplace surface. This step requires careful planning and attention to detail to ensure a visually appealing and seamless stone installation. Here’s what you need to do:
Planning the stone layout and pattern: Before you start installing the stones, take some time to plan out the layout and pattern. Consider the size and shape of the stones, as well as any variations in color and texture. You may want to create a visually interesting arrangement, such as alternating stone sizes or incorporating different levels of texture. Use a chalk line or tape measure to guide your placement and keep the lines straight and level.
Installing the stones from the bottom up: Begin installing the stones from the bottom of the fireplace and work your way up. Apply mortar or adhesive to the back of each stone and press it firmly into place, following your planned layout. Use a slight twisting motion to ensure a good bond with the mortar or adhesive. Pay attention to the spacing between the stones and use tile spacers to maintain consistency. Continuously step back and check the alignment and levelness of the stones as you progress.
Fitting and cutting stones as needed: As you install the stones, you may encounter areas where the stones need to be fitted or cut to fit the space properly. Use a chisel and hammer or a wet saw to carefully shape and trim the stones as required. Take accurate measurements and make precise cuts to ensure a seamless fit. Be cautious when working with tools and always wear safety goggles and gloves to protect yourself.
It’s important to work slowly and carefully during this process to achieve a professional-looking stone installation. Take breaks if needed to avoid rushing and to maintain your focus. Remember, precision and attention to detail are key for a successful outcome.
Continue installing the stones, following your planned layout and pattern, until the entire fireplace is covered. Take your time to ensure each stone is securely in place and that the overall appearance is visually appealing. With the stones arranged and installed, it’s time to move on to the next step: grouting and applying the finishing touches.
Grouting and Finishing Touches
With the stones arranged and installed, it’s time to move on to the final steps of grouting and applying finishing touches to your stone fireplace. These steps will help enhance the overall appearance and provide protection to your newly installed stone. Here’s what you need to do:
Filling the gaps between stones with grout: Begin by mixing the grout according to the manufacturer’s instructions. Use a grout float to apply the grout to the gaps between the stones. Hold the float at a 45-degree angle and press the grout firmly into the gaps, ensuring they are completely filled. Work in small sections at a time, as the grout will start to dry. Remove any excess grout from the surface of the stones using a damp sponge.
Cleaning excess grout and smoothing the surface: After applying the grout, use a damp sponge to clean the excess grout from the surface of the stones. Rinse the sponge frequently and continue until all the excess grout is removed. Make sure to be gentle during this process to avoid removing too much grout from the gaps. Once you have cleaned the surface, use a damp cloth or sponge to smooth and blend the grout lines, creating a uniform and finished appearance.
Applying a sealant for protection: To protect your stone fireplace and prolong its lifespan, consider applying a sealant. A sealant helps prevent moisture penetration, staining, and damage to the stone. Consult the manufacturer’s instructions to select an appropriate sealant for the type of stone you have installed. Apply the sealant evenly to the surface of the stones, following the recommended application method. Allow sufficient drying time before exposing the fireplace to any moisture or cleaning.
By grouting the gaps between the stones, cleaning excess grout, and smoothing the surface, as well as applying a sealant for protection, you’re adding the final touches to your stone fireplace installation. These steps not only enhance the overall appearance but also provide durability and protection to your newly installed stone. Now, all that’s left is to take care of some final tips and considerations.
Final Tips and Considerations
Now that your stone fireplace installation is complete, it’s important to keep a few final tips and considerations in mind to ensure its longevity and aesthetic appeal. Here are some important points to consider:
Maintaining and cleaning the stone fireplace: Regular maintenance and cleaning are essential to keep your stone fireplace looking its best. Use a soft brush or dusting cloth to remove any dust or debris from the surface. Avoid using abrasive cleaners or harsh chemicals that can damage the stone. Instead, use a mild soap or stone-specific cleaner and a soft cloth to gently clean any stains or marks. Regularly inspect the fireplace for any signs of damage or wear and address them promptly.
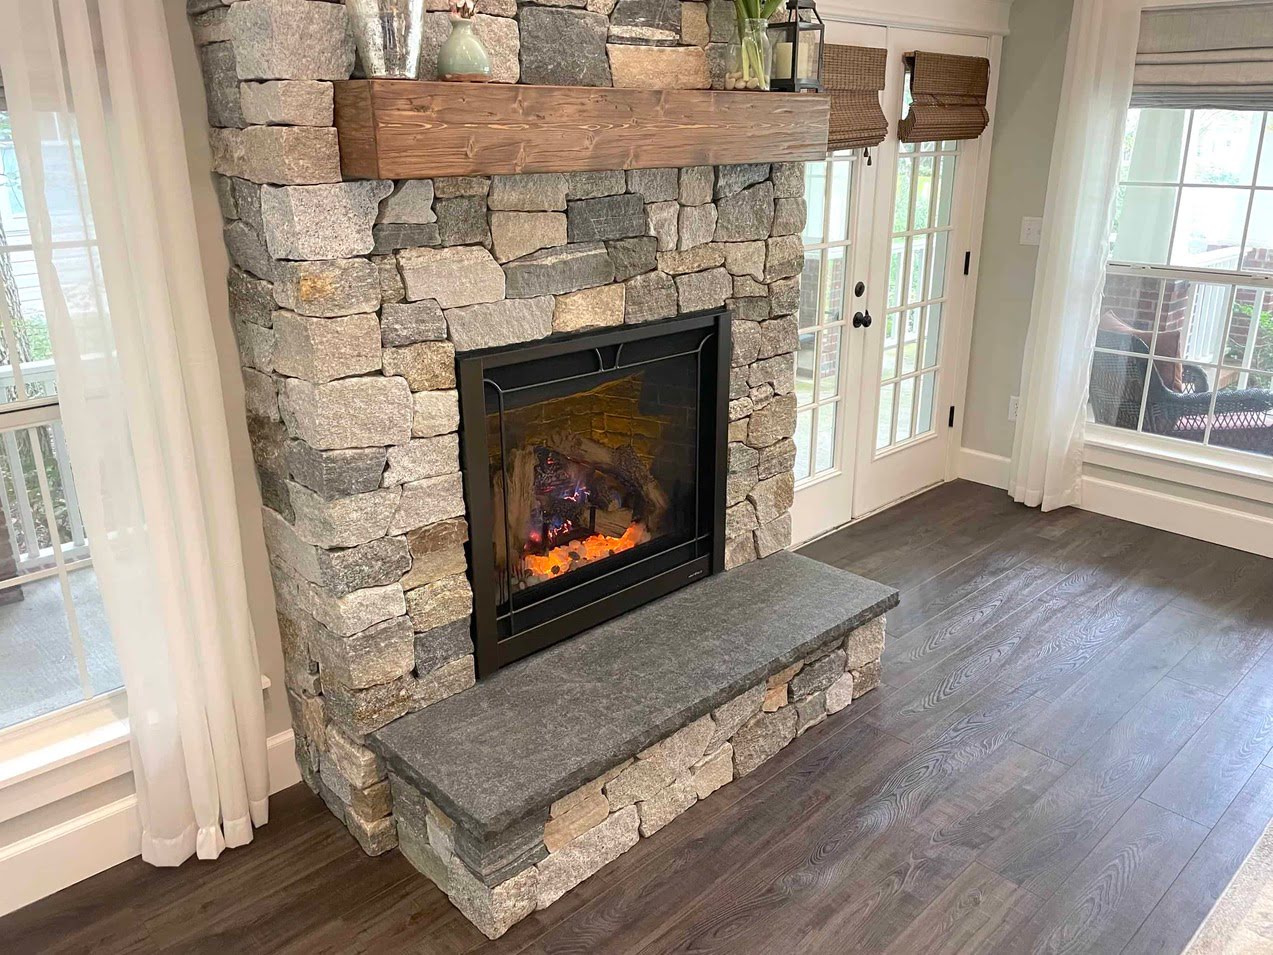
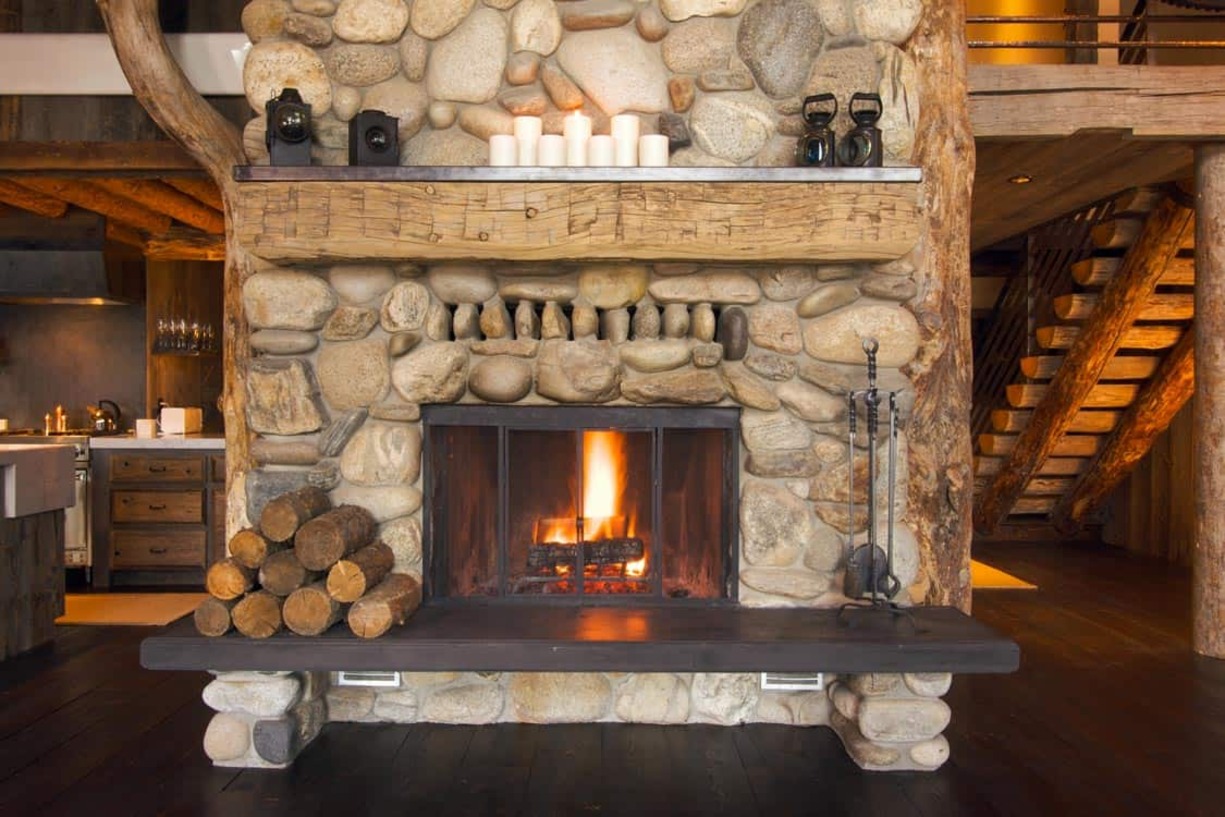
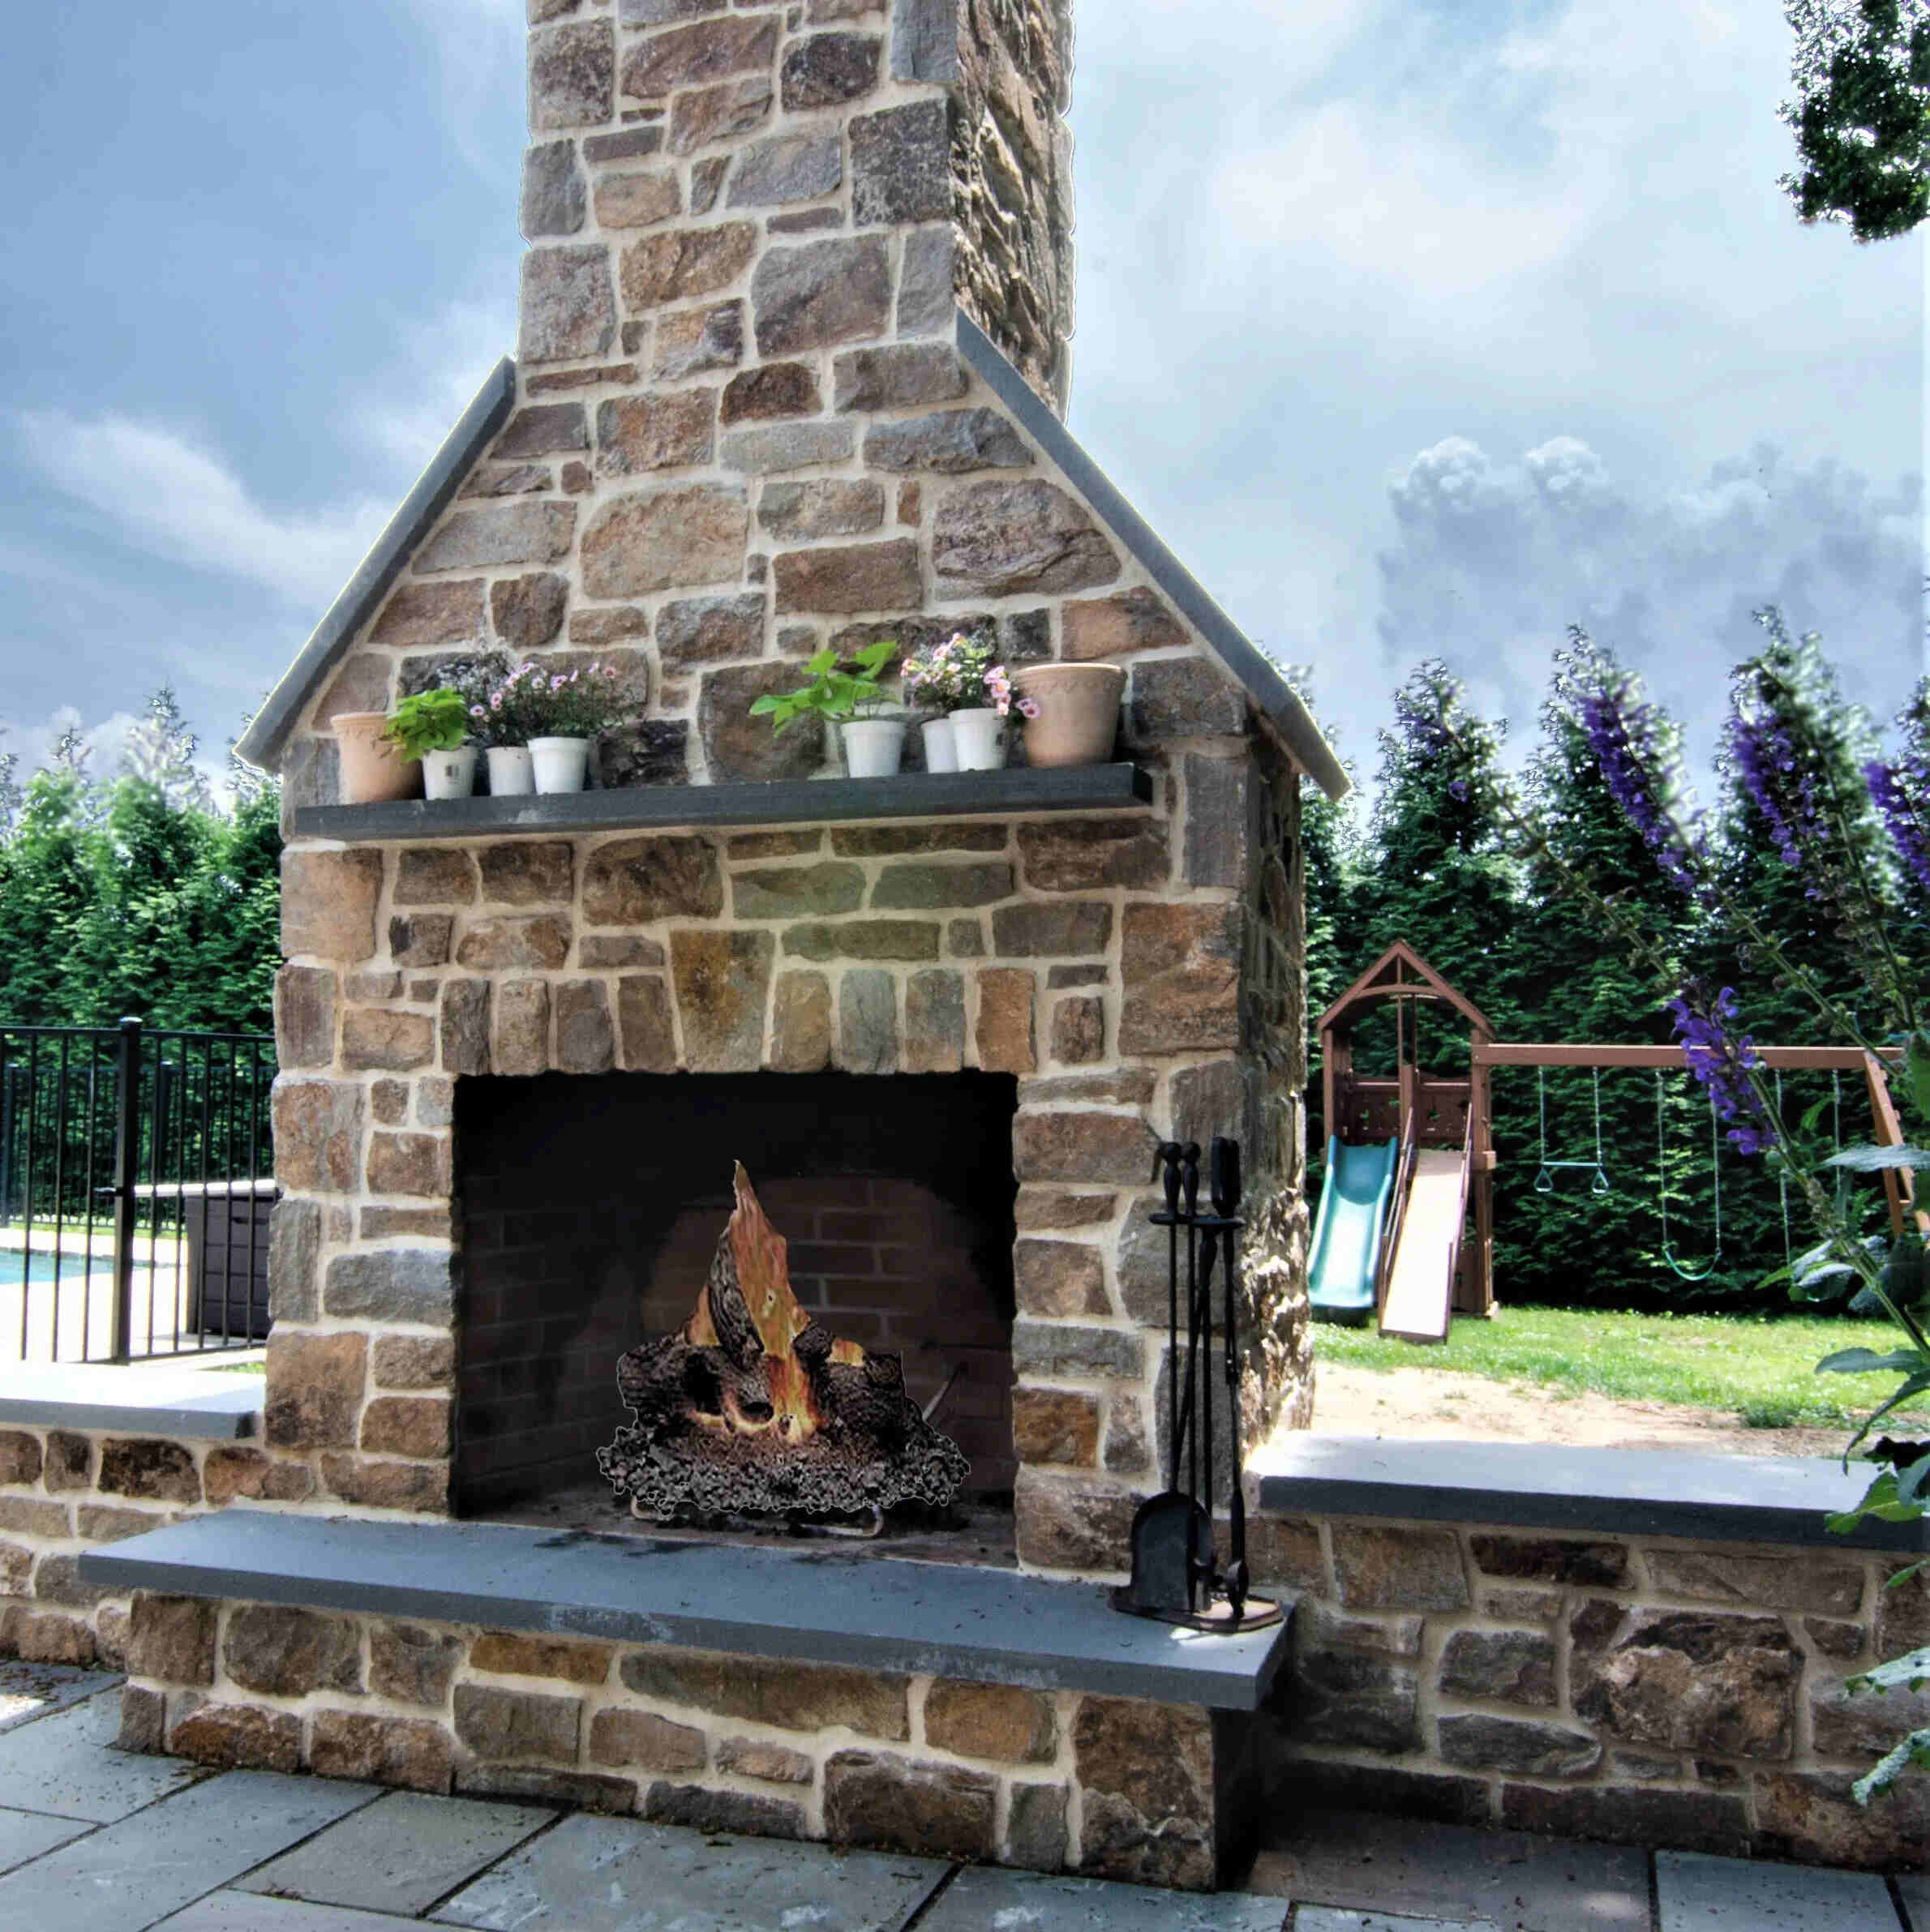
Adding additional features or decorative elements: If desired, you can enhance the look of your stone fireplace by adding additional features or decorative elements. Consider installing a mantel or hearth to complement the stone and create a focal point. You can also incorporate accent lighting or decorative accessories to further enhance the ambiance of your fireplace. Be mindful of the scale and proportion to ensure a cohesive and balanced design.
Hiring a professional if needed: While installing stone on a fireplace can be a rewarding DIY project, it’s important to recognize when it may be best to hire a professional. If you’re unsure about any aspect of the installation process, or if you have a complex fireplace design, it’s wise to consult with an experienced contractor or stonemason. They can provide expert guidance and ensure a hassle-free installation, saving you time and potential mistakes.
Remember, the overall success of your stone fireplace installation depends on a combination of skill, quality materials, and careful planning. By following the steps outlined in this guide and considering these final tips, you’ll be well on your way to enjoying a beautiful, functional, and long-lasting stone fireplace in your home.
Congratulations on completing your stone fireplace installation! Now sit back, relax, and bask in the warmth and beauty of your new stone fireplace.
Read more: How To Whitewash A Stone Fireplace
Conclusion
Congratulations on reaching the end of this comprehensive guide on how to put stone on a fireplace! We have covered all the key steps and considerations involved in successfully installing stone on your fireplace. Here’s a quick recap:
1. Preparing the Fireplace: Assess the condition of the existing fireplace, clean and remove debris, and measure the dimensions of the fireplace.
2. Selecting the Right Stone: Consider the style and design of the fireplace, explore different stone options, and choose the suitable size and shape for the project.
3. Gathering the Necessary Tools and Materials: Make sure to have all the required tools and materials prepared, including safety equipment.
4. Preparing the Surface: Clean and prep the fireplace surface, installing a moisture barrier if necessary, and repairing any cracks or damage.
5. Applying Mortar or Adhesive: Prepare the mortar mix or adhesive, apply a scratch coat, and set the stones using mortar or adhesive.
6. Arranging and Installing the Stones: Plan the stone layout and pattern, install the stones from the bottom up, and fit and cut stones as needed for a seamless installation.
7. Grouting and Finishing Touches: Fill the gaps between stones with grout, clean excess grout, and apply a sealant for protection.
8. Final Tips and Considerations: Maintain and clean the stone fireplace, consider adding additional features or decorative elements, and hire a professional if needed.
We hope that this guide has provided you with the knowledge and confidence to successfully install stone on your fireplace. By following the steps outlined and considering the tips and considerations, you can achieve a stunning stone fireplace that enhances the beauty and value of your home.
Remember, take your time with the installation process, pay attention to detail, and prioritize safety at every stage. Admired for its timeless elegance, a stone fireplace can truly transform a space and provide years of enjoyment.
We wish you the best of luck with your stone fireplace installation. Embrace the process and take pride in the final result. Get ready to cozy up to your beautiful stone fireplace and create lasting memories in your warm and inviting space. Enjoy!
Frequently Asked Questions about How To Put Stone On Fireplace
Was this page helpful?
At Storables.com, we guarantee accurate and reliable information. Our content, validated by Expert Board Contributors, is crafted following stringent Editorial Policies. We're committed to providing you with well-researched, expert-backed insights for all your informational needs.


0 thoughts on “How To Put Stone On Fireplace”