Home>Construction & Tools>Building Materials>How To Cover Brick Fireplace With Stone Veneer
Building Materials
How To Cover Brick Fireplace With Stone Veneer
Modified: August 20, 2024
Learn how to transform your brick fireplace using stone veneer, a durable and stylish building material. Discover the step-by-step process for a stunning home improvement project.
(Many of the links in this article redirect to a specific reviewed product. Your purchase of these products through affiliate links helps to generate commission for Storables.com, at no extra cost. Learn more)
Introduction
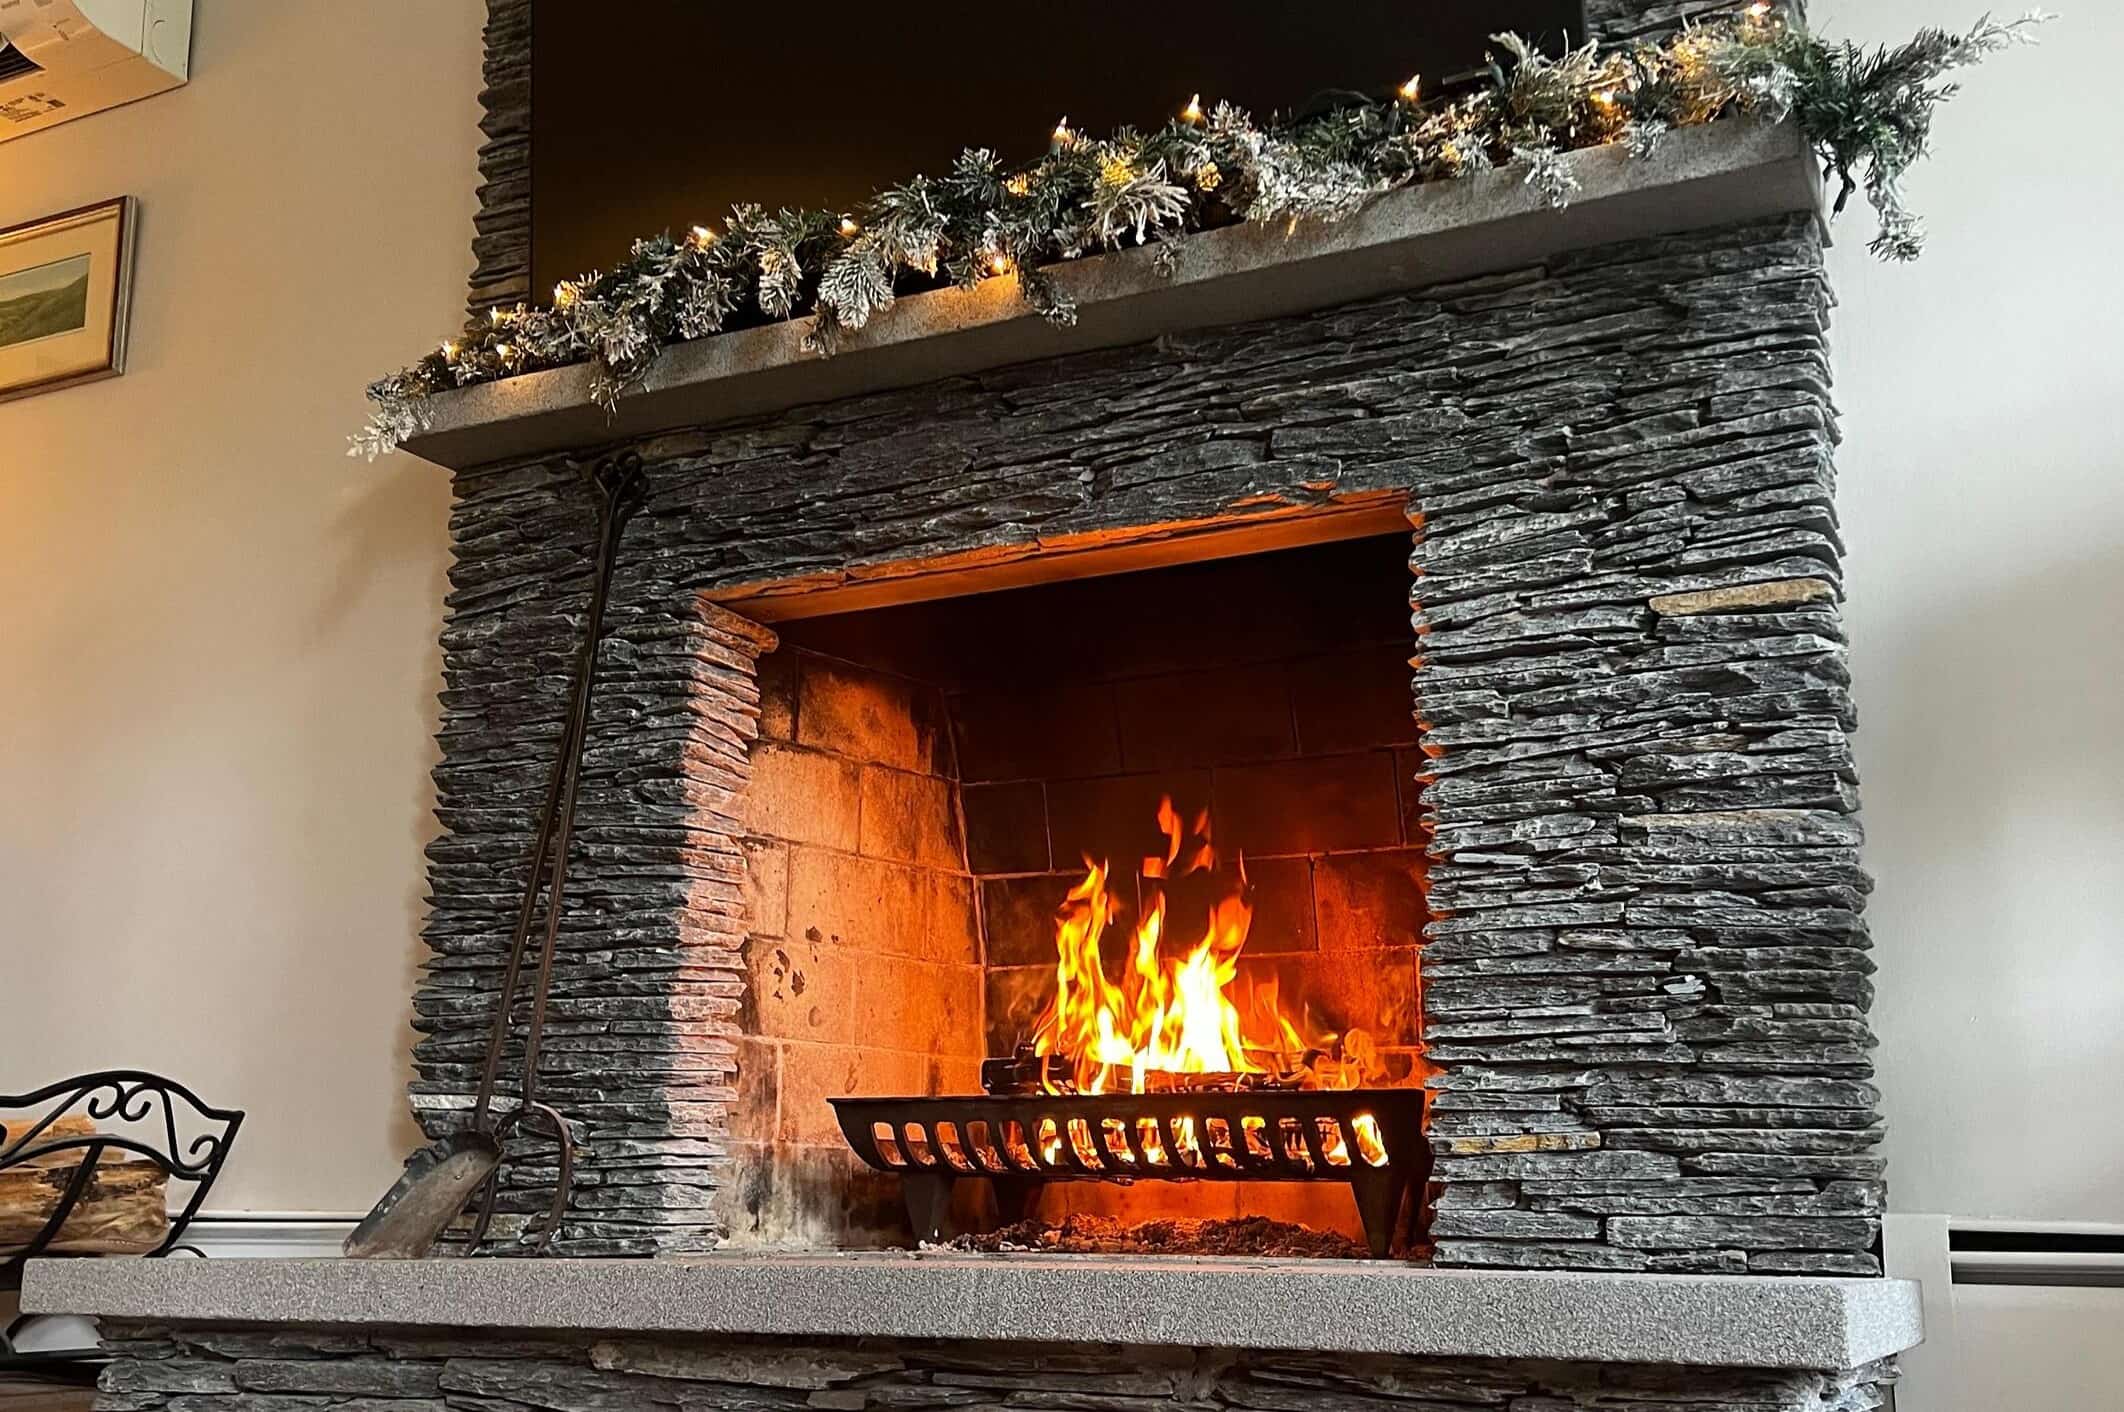
So, you've got a brick fireplace that's seen better days, and you're ready to give it a stunning makeover with stone veneer. Covering a brick fireplace with stone veneer can completely transform the look and feel of your living space, adding a touch of elegance and warmth to the room. Whether you're aiming for a rustic, traditional, or modern aesthetic, stone veneer can provide the perfect solution for updating your fireplace.
In this comprehensive guide, we'll walk you through the step-by-step process of covering a brick fireplace with stone veneer. From gathering the necessary materials and tools to the final touches of grouting and sealing, you'll learn everything you need to know to tackle this rewarding home improvement project with confidence.
Not only will you enhance the visual appeal of your fireplace, but you'll also increase the value of your home. Stone veneer is a durable and timeless material that can elevate the overall ambiance of your living space. So, roll up your sleeves and get ready to embark on this exciting journey of transforming your brick fireplace into a stunning stone-clad focal point. Let's dive in and uncover the secrets to achieving a remarkable fireplace makeover that will leave you and your guests in awe.
Key Takeaways:
- Transform your brick fireplace with stone veneer for a stunning, elegant, and timeless makeover. Follow the step-by-step guide to elevate your living space and increase your home’s value.
- Gather materials and tools, prepare the surface, apply mortar, install stone veneer, grout the joints, and finish with a premium sealer for a durable and visually captivating fireplace transformation.
Step 1: Gather Materials and Tools
Before you begin the transformation of your brick fireplace with stone veneer, it’s essential to gather all the necessary materials and tools. Here’s a comprehensive list to ensure you’re well-prepared for the project:
Materials:
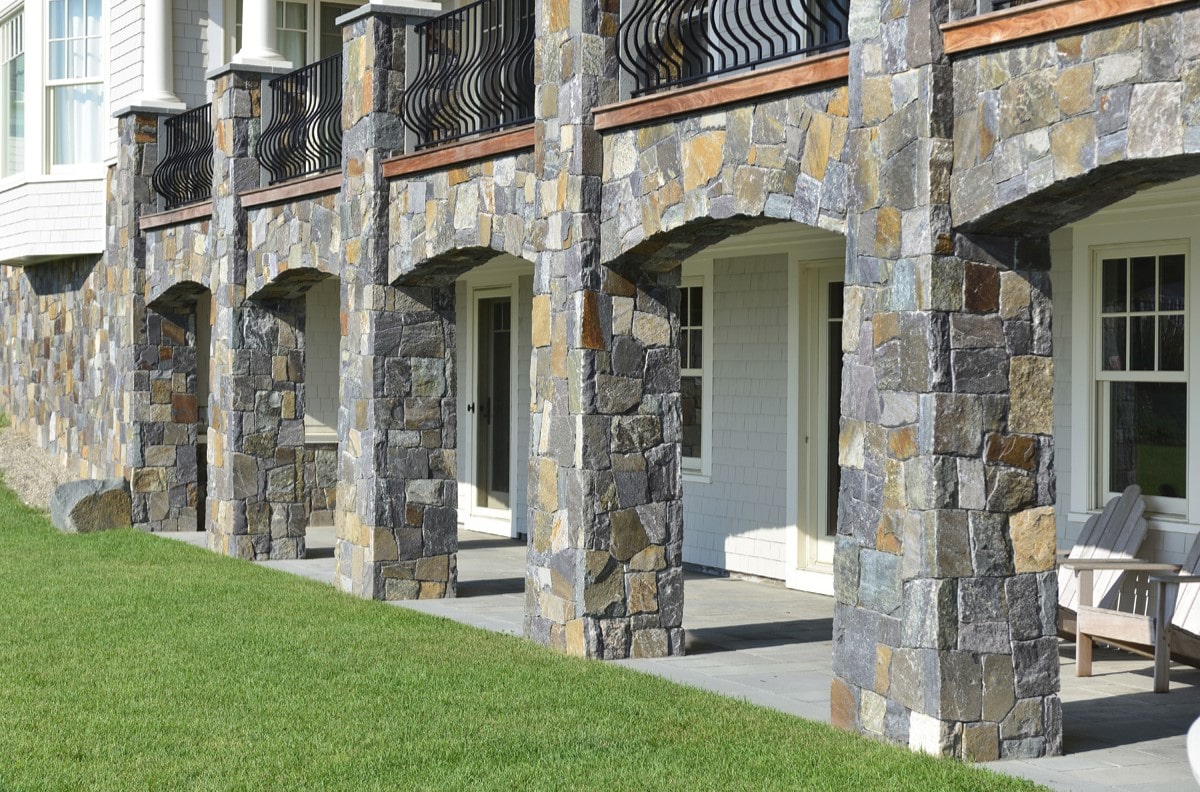
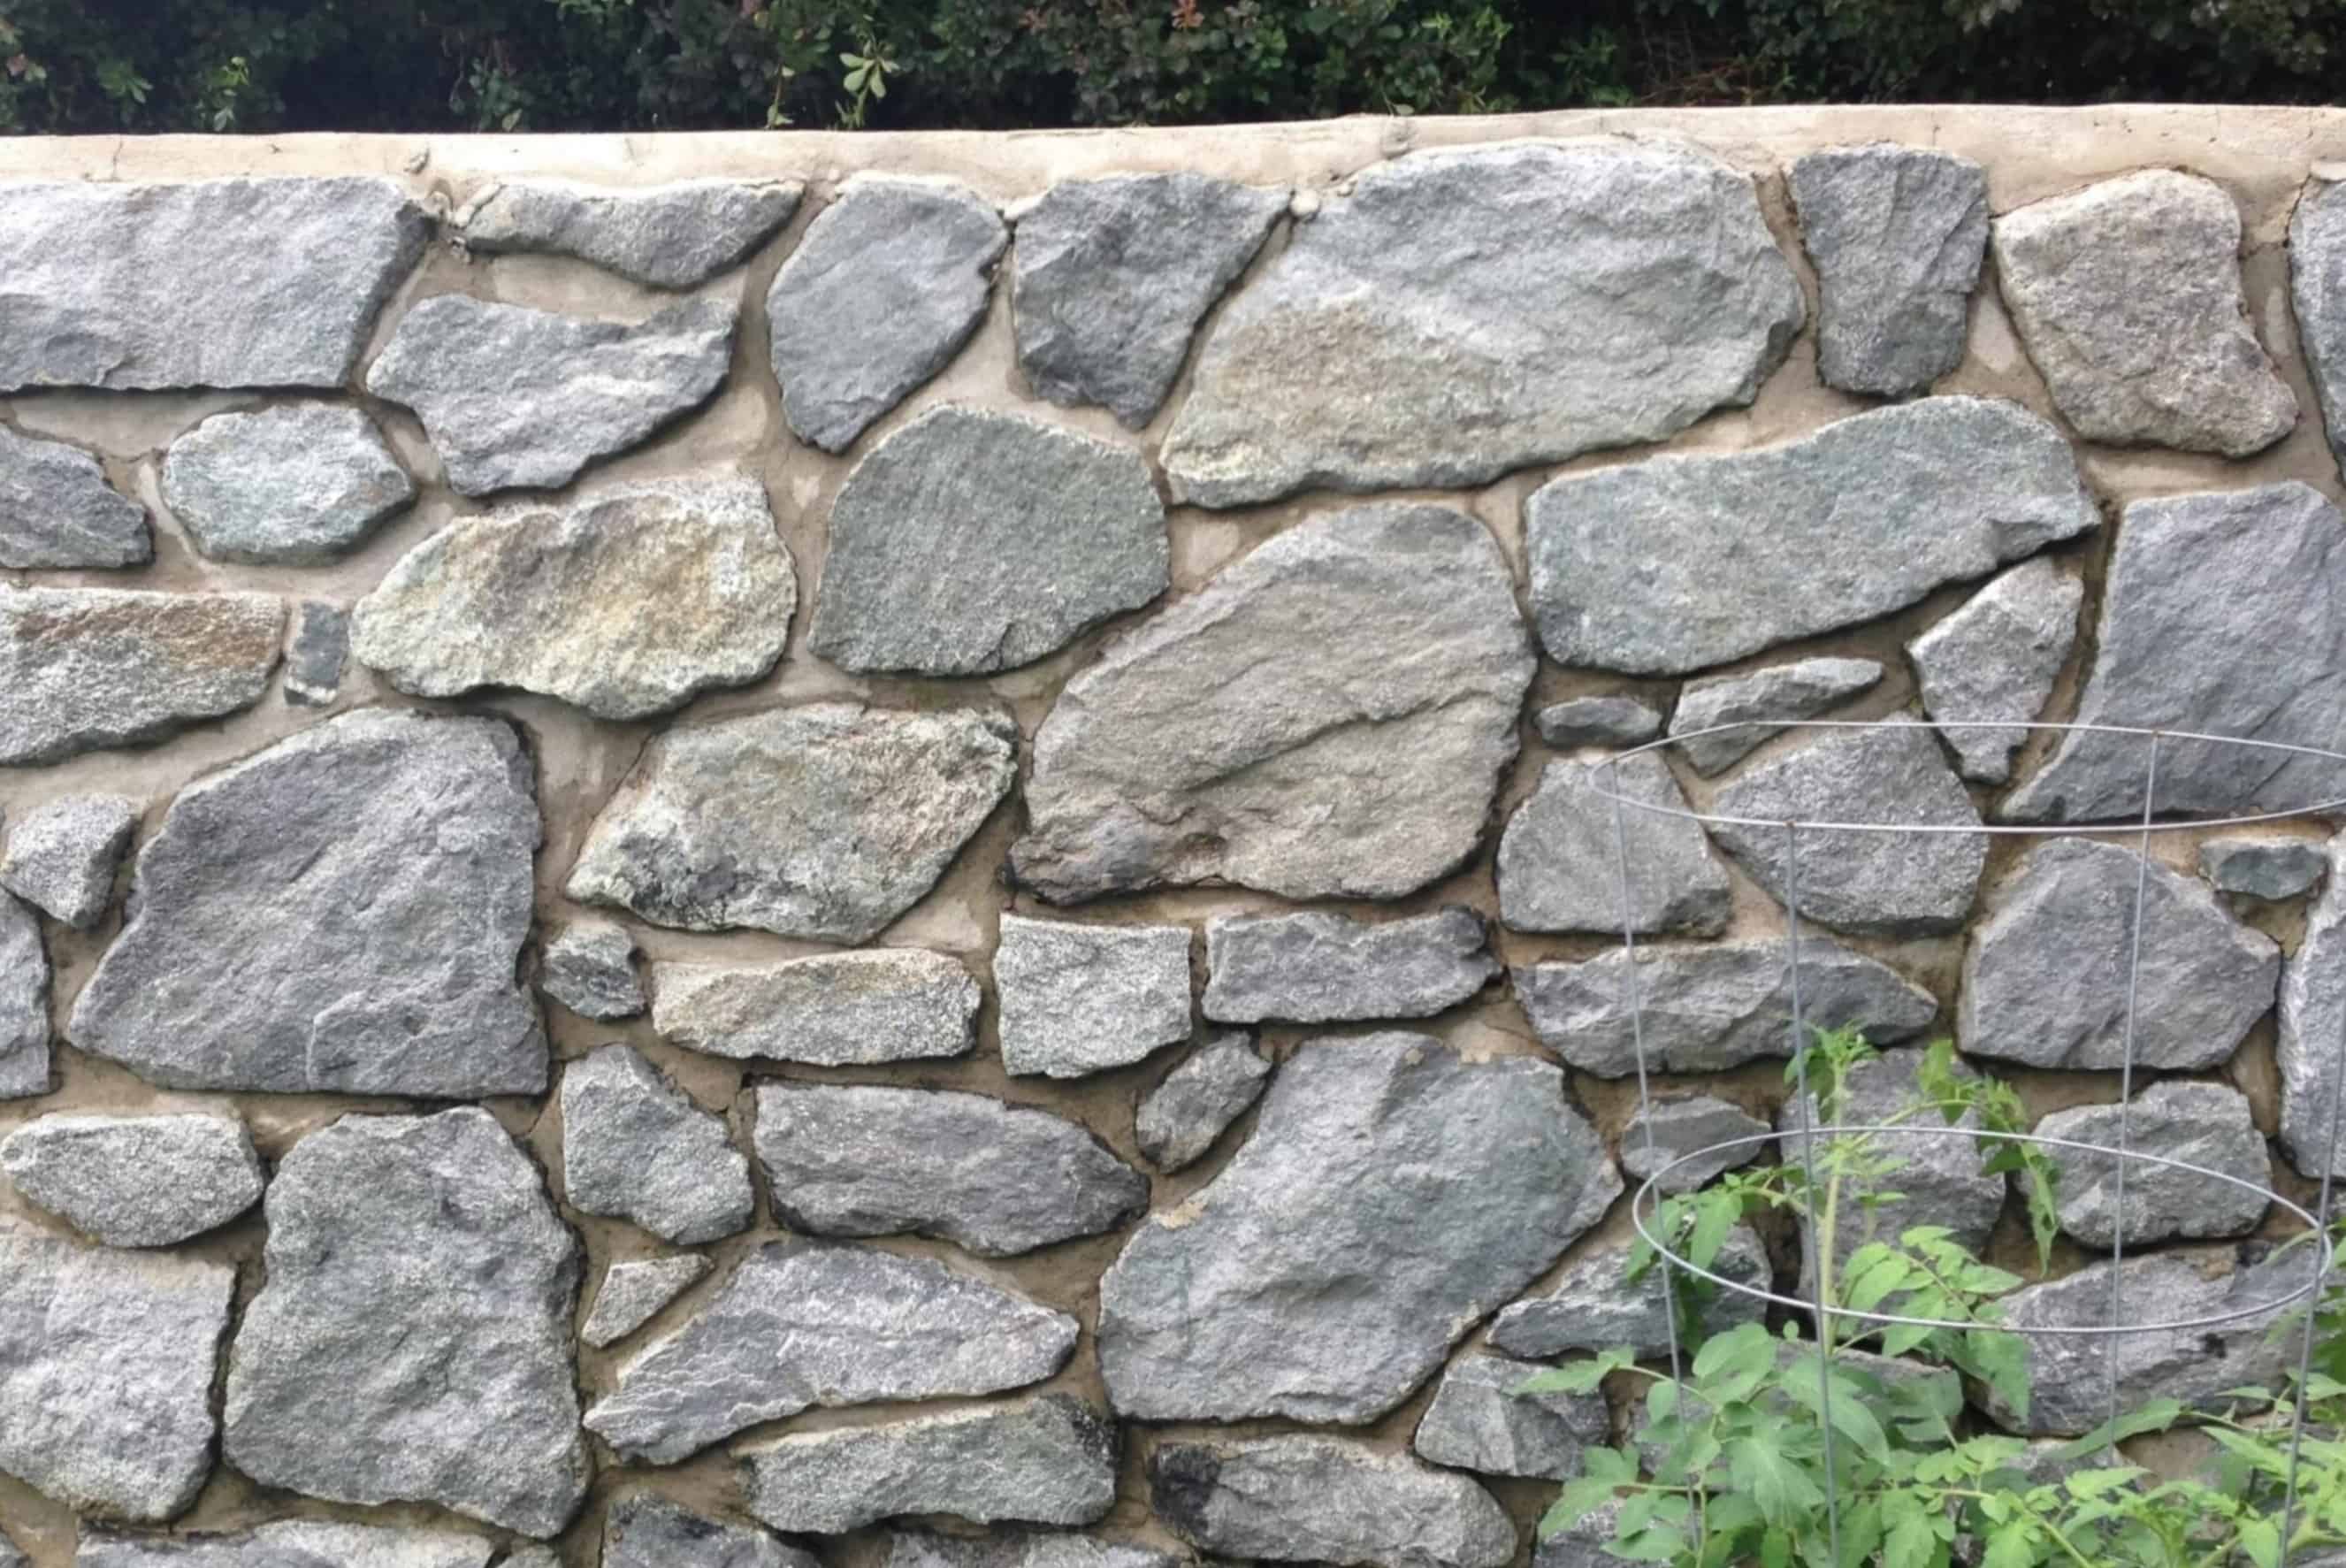
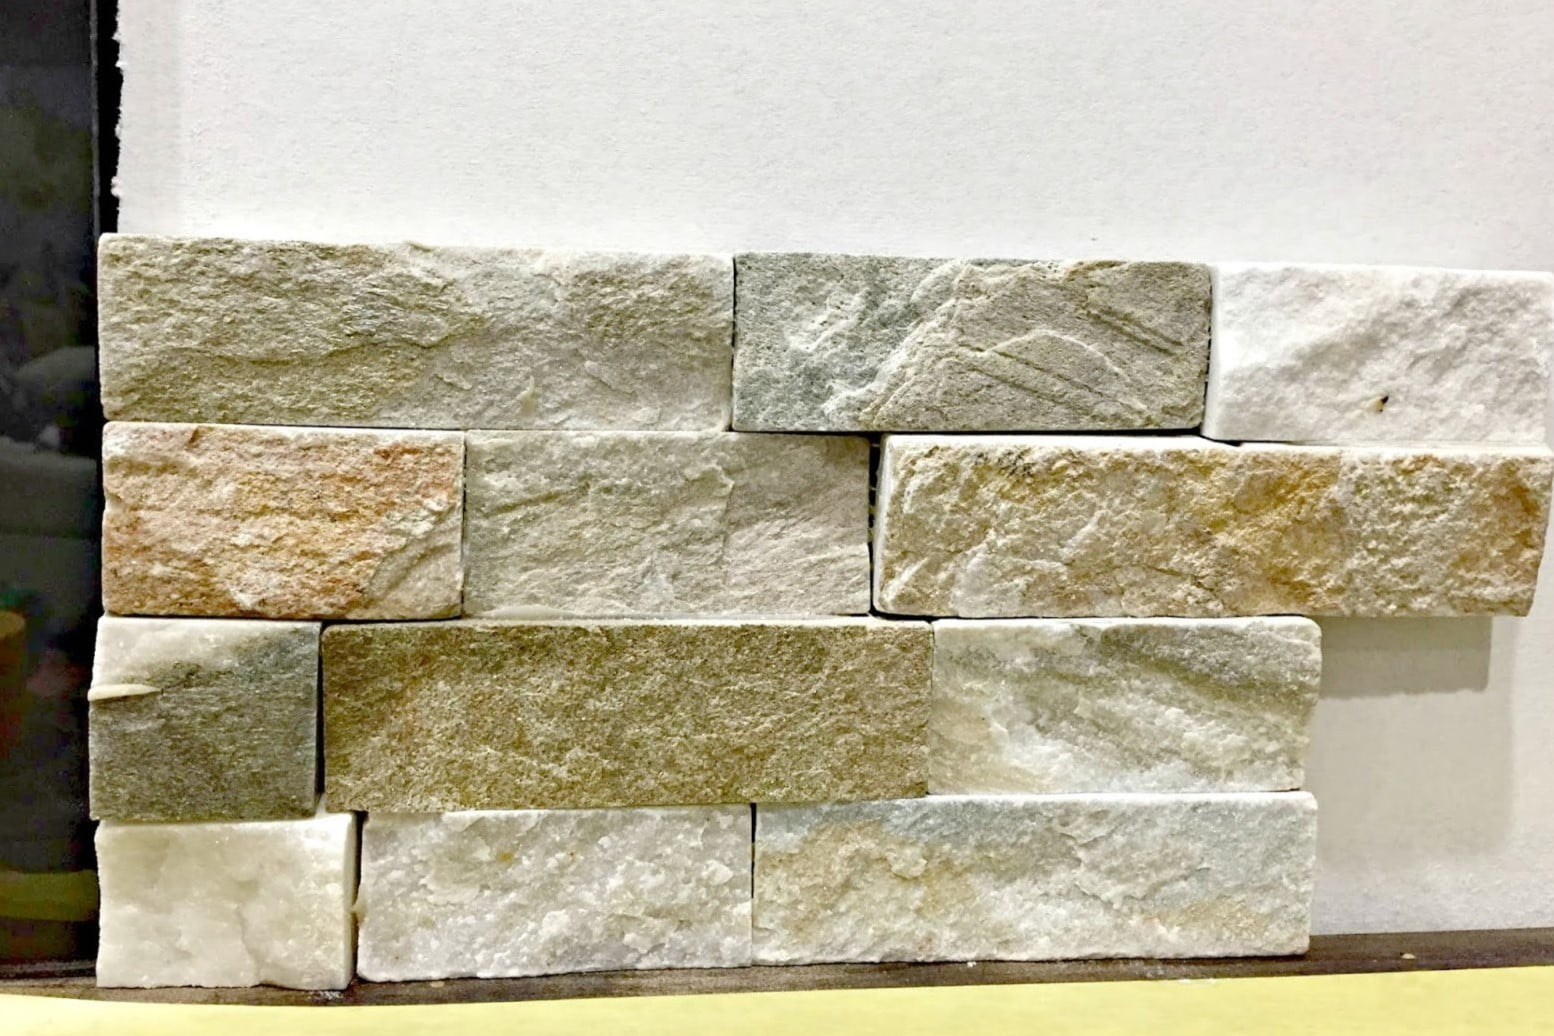
- Stone Veneer: Choose high-quality stone veneer that complements the style of your home and the ambiance you wish to create.
- Primer: Select a high-adhesive primer suitable for both interior and exterior applications.
- Mortar: Opt for a mortar specifically designed for stone veneer installation to ensure a secure and long-lasting bond.
- Grout: Choose grout in a color that enhances the natural beauty of the stone veneer and complements your design aesthetic.
- Sealer: Invest in a premium sealer to protect the stone veneer from stains and moisture, prolonging its lifespan.
- Backer Board: Use a sturdy backer board to provide a stable surface for the stone veneer installation.
- Latex Gloves: Ensure you have a pair of durable gloves to protect your hands during the application of mortar and grout.
- Painter's Tape: Use painter's tape to protect surrounding surfaces from accidental spills and splatters.
- Clean Water: Have a water source nearby for mixing mortar and cleaning tools during the installation process.
Tools:
- Notched Trowel: A notched trowel is essential for spreading mortar evenly on the backer board and the back of the stone veneer.
- Grout Float: This tool is used to press grout into the joints between the stone veneer pieces, ensuring a seamless and professional finish.
- Wet Saw: If necessary, have access to a wet saw for cutting the stone veneer to fit around the fireplace opening and corners.
- Bucket and Mixing Drill: Use a sturdy bucket and a mixing drill to prepare the mortar according to the manufacturer's instructions.
- Level: A level will help you ensure that the stone veneer is installed straight and plumb, maintaining a polished appearance.
- Soft Bristle Brush: Have a soft bristle brush on hand for cleaning excess mortar and grout from the stone surface.
- Safety Glasses: Protect your eyes with safety glasses while cutting and handling stone veneer.
By gathering these materials and tools, you’ll be well-equipped to proceed with the next steps of preparing the surface and applying the stone veneer to your fireplace. With careful preparation, you’ll set the stage for a successful and visually stunning transformation.
Step 2: Prepare the Surface
Properly preparing the surface of your brick fireplace is crucial for ensuring a secure and visually appealing installation of the stone veneer. Follow these essential steps to prepare the surface:
Clean the Brick:
Begin by thoroughly cleaning the brick surface to remove any dirt, dust, or debris. Use a wire brush and a mild detergent solution to scrub the brick and eliminate any existing soot or residue. Rinse the surface with clean water and allow it to dry completely before proceeding.
Apply Primer:
Once the brick surface is clean and dry, apply a high-quality primer designed for masonry surfaces. The primer will enhance the adhesion of the mortar and ensure a strong bond between the brick and the stone veneer. Follow the manufacturer’s instructions for proper application and drying times.
Install Backer Board:
To create a stable and flat surface for the stone veneer installation, attach a cement backer board to the prepared brick surface. Use screws and a drill to secure the backer board, ensuring it is level and securely fastened. Cut the backer board to fit around the fireplace opening and corners, maintaining a consistent and even surface.
Protect Surrounding Areas:
Use painter’s tape and plastic sheeting to cover and protect the surrounding areas of the fireplace, including the hearth and adjacent walls. This precaution will prevent accidental spills and splatters from affecting the surrounding surfaces during the stone veneer installation process.
By diligently preparing the surface of your brick fireplace, you’ll create an ideal foundation for the successful application of the stone veneer. Taking the time to clean, prime, and install the backer board will contribute to the longevity and visual appeal of your fireplace makeover.
Read more: How To Install Stone Veneer Fireplace
Step 3: Apply the Mortar
With the surface prepared, it’s time to apply the mortar to create a secure foundation for the stone veneer installation. Follow these steps to ensure a proper and effective application of the mortar:
Mix the Mortar:
Prepare the mortar according to the manufacturer’s instructions, ensuring the correct ratio of mortar mix to water. Use a sturdy bucket and a mixing drill to achieve a smooth and consistent mortar mixture. The proper consistency is crucial for achieving a strong bond between the backer board and the stone veneer.
Apply the Mortar to the Backer Board:
Using a notched trowel, spread a layer of mortar onto the backer board in a consistent thickness. Ensure that the mortar covers the entire surface where the stone veneer will be installed. The ridges created by the notched trowel will help promote adhesion and create a level base for the stone veneer.
Back-Butter the Stone Veneer:
Apply a layer of mortar, known as “back-buttering,” to the back of each stone veneer piece using the notched trowel. This additional mortar layer ensures a strong bond between the stone veneer and the backer board, preventing air pockets and promoting stability during the installation process.
Read more: How To Cover A Brick Fireplace
Press and Set the Stone Veneer:
Carefully press each stone veneer piece into the mortar on the backer board, ensuring a snug fit and even alignment. Use a level to maintain straight and plumb positioning as you work your way around the fireplace. Allow the mortar to set according to the manufacturer’s recommendations before proceeding to the next step.
By meticulously applying the mortar and setting the stone veneer, you’ll establish a solid and reliable foundation for the final stages of the installation process. Taking the time to ensure proper mortar application will contribute to the long-term durability and visual appeal of your newly clad fireplace.
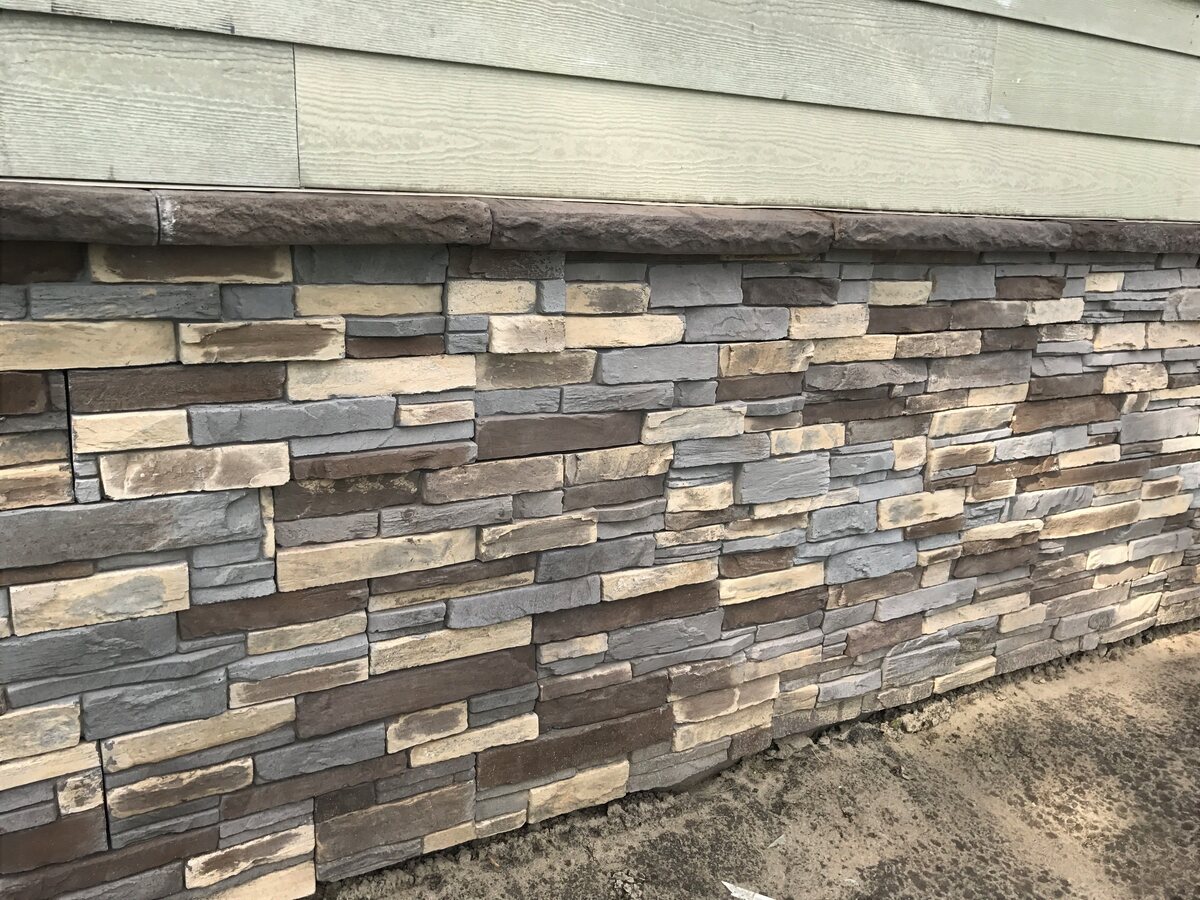
Step 4: Install the Stone Veneer
Now that the mortar is in place, it’s time to install the stone veneer pieces to bring your fireplace transformation to life. Follow these essential steps to ensure a successful and visually stunning installation of the stone veneer:
Arrange the Stone Veneer Pieces:
Before applying the stone veneer to the fireplace, lay out the pieces in your desired pattern to ensure a cohesive and balanced appearance. This step allows you to plan the placement of the stones and make any necessary adjustments before adhering them to the mortar.
Apply the Stone Veneer:
Working from the bottom up, press each stone veneer piece firmly into the mortar on the backer board, following the predetermined pattern. Ensure that the stones fit tightly together, minimizing gaps and creating a seamless, natural look. Use a level to maintain straight and plumb alignment as you progress.
Read more: How To Refinish A Brick Fireplace With Stone
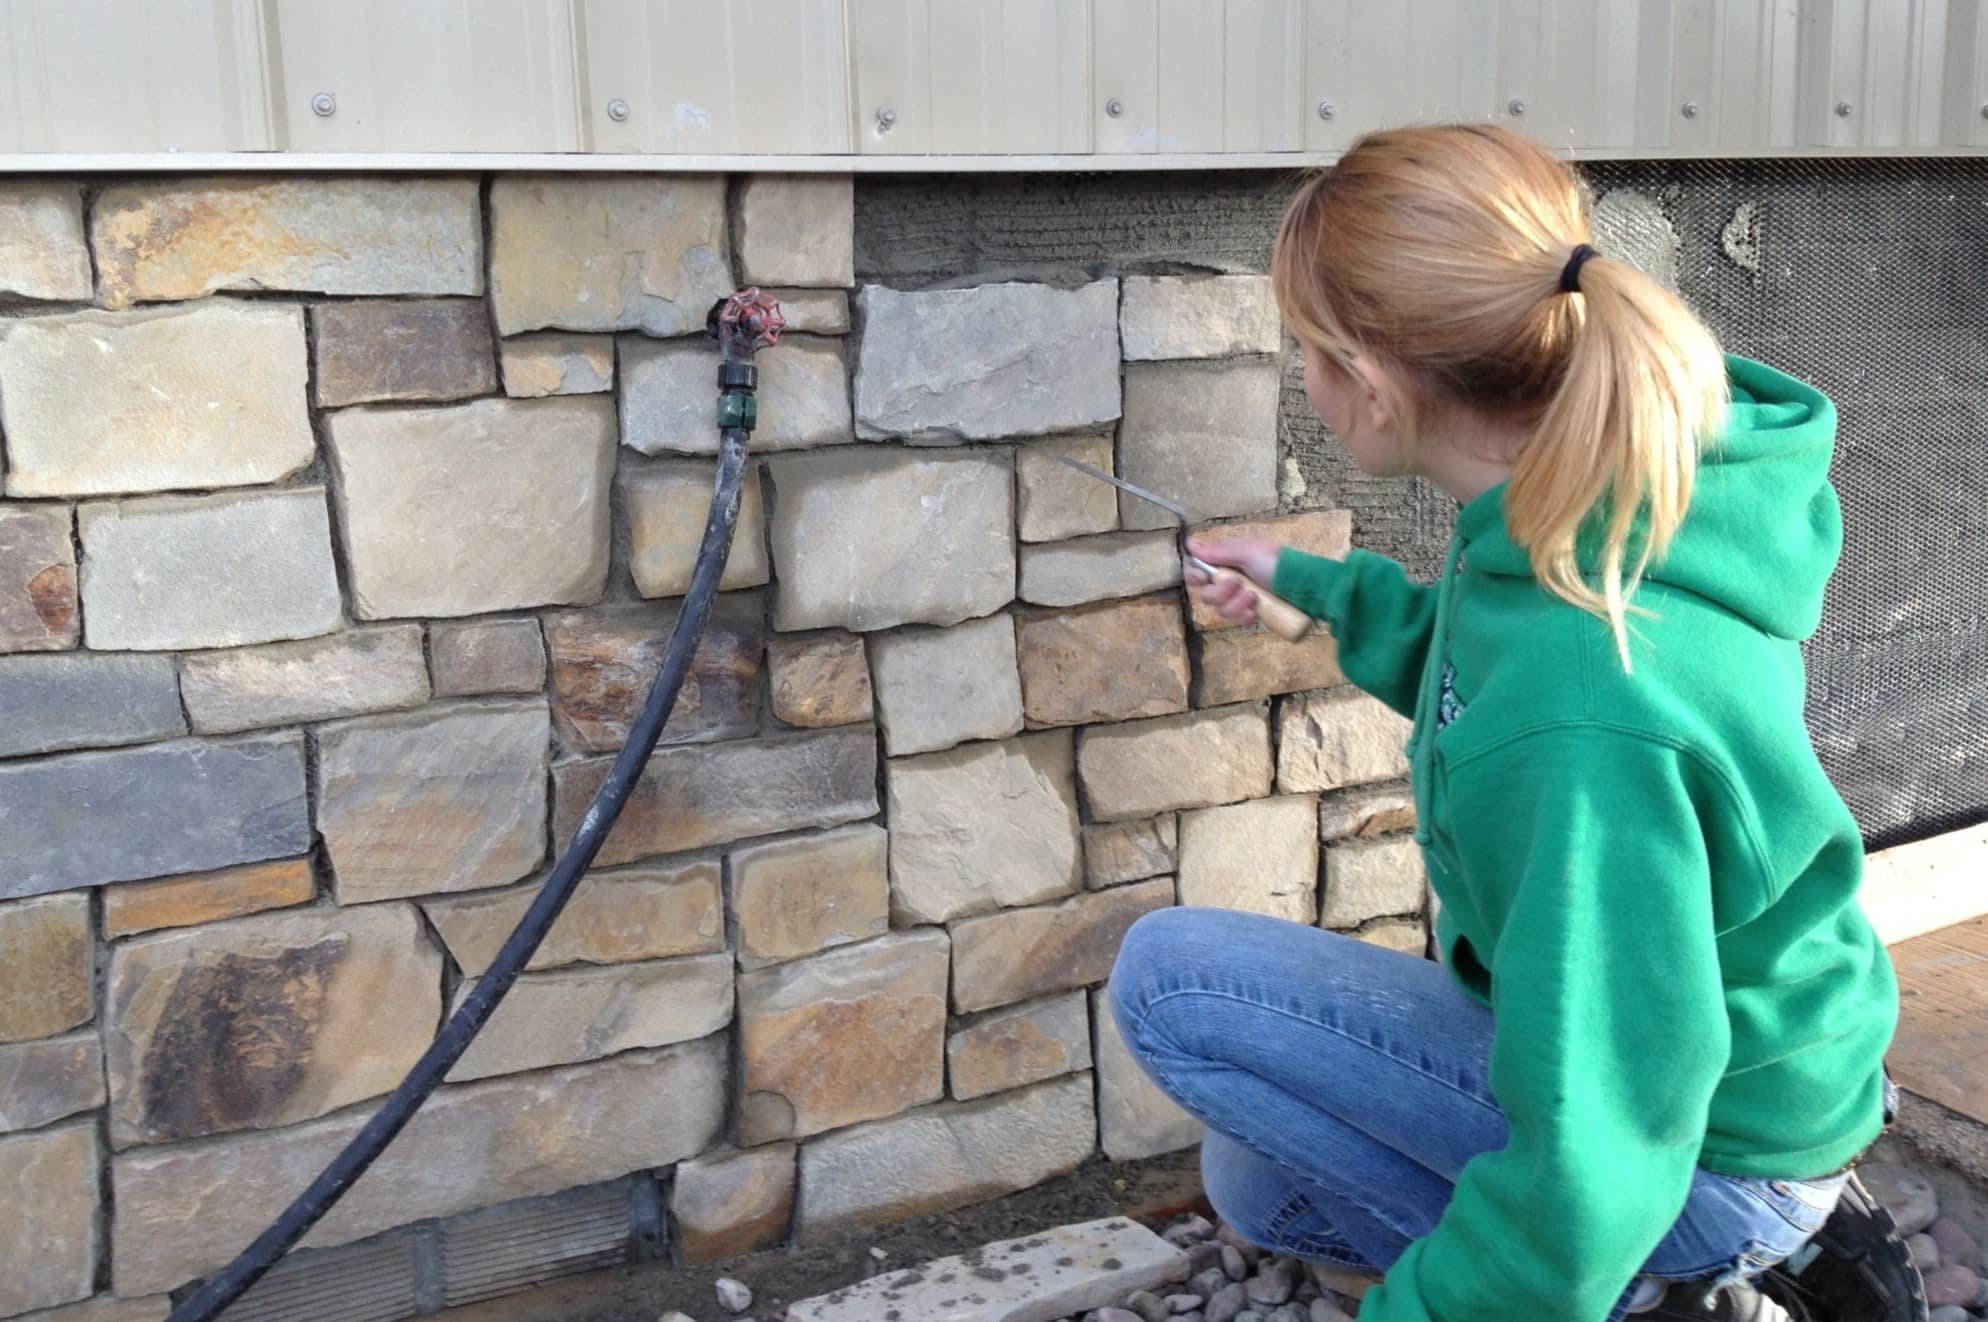
Cut and Trim the Stone Veneer:
Use a wet saw to carefully cut and trim the stone veneer pieces to fit around the fireplace opening and corners. Precision cutting is essential for achieving a polished and professional finish. Wear safety glasses and follow all safety guidelines when using the wet saw.
Fill in the Gaps:
As you install the stone veneer, fill in any gaps between the stones with mortar, ensuring a secure and uniform appearance. Pay close attention to the joints and edges, working to create a cohesive and visually appealing surface.
Allow the Installation to Set:
Once the stone veneer pieces are in place, allow the installation to set and the mortar to cure according to the manufacturer’s recommendations. This crucial step ensures the long-term stability and durability of the stone veneer installation.
By following these steps, you’ll successfully install the stone veneer, bringing your vision of a stunning fireplace transformation to fruition. The careful placement and attention to detail during the installation process will result in a captivating focal point that enhances the aesthetic appeal of your living space.
Step 5: Grout the Joints
Grouting the joints between the stone veneer pieces is a critical step in the fireplace makeover process, as it adds the finishing touch to the installation and enhances the overall appearance. Follow these essential steps to achieve a professional and polished look:
Mix the Grout:
Prepare the grout mixture according to the manufacturer’s instructions, ensuring the correct ratio of grout to water. Use a sturdy bucket and a mixing drill to achieve a smooth and lump-free grout consistency. Choose a grout color that complements the stone veneer and contributes to the desired aesthetic.
Apply the Grout:
Using a grout float, press the grout into the joints between the stone veneer pieces, ensuring full coverage and a uniform appearance. Work in small sections, holding the grout float at a 45-degree angle to the stone surface to pack the grout firmly into the joints. Remove excess grout from the stone surface as you progress.
Clean the Stone Surface:
After applying the grout, use a damp sponge to gently clean the stone surface and remove any grout residue. Rinse the sponge frequently and avoid dragging excess grout across the stone veneer. Take care to reveal the natural beauty of the stone while achieving clean and well-defined grout lines.
Allow the Grout to Cure:
Let the grout cure for the recommended time specified by the manufacturer. This crucial step ensures that the grout sets properly and achieves the desired strength and appearance. Avoid disturbing the grout during the curing process to maintain its integrity.
Read more: How Thick Is Stone Veneer
Seal the Grout:
Once the grout has fully cured, apply a premium grout sealer to protect the grout from stains and moisture. The sealer will enhance the longevity and resilience of the grout, ensuring that your fireplace maintains its impeccable appearance for years to come.
By meticulously grouting the joints between the stone veneer pieces and applying a protective sealer, you’ll elevate the visual impact of your fireplace makeover while safeguarding the grout against wear and tear. This final step will contribute to the enduring beauty and resilience of your newly clad fireplace.
Step 6: Finish and Seal
As you near the completion of your fireplace transformation, it’s essential to focus on the final touches and protective measures to ensure the longevity and visual appeal of the stone veneer installation. Follow these crucial steps to finish and seal your newly clad fireplace:
Clean the Stone Surface:
Thoroughly clean the stone veneer surface to remove any remaining grout residue, dust, or debris. Use a soft bristle brush and a damp cloth to gently clean the stone, revealing its natural beauty and ensuring a pristine finish.
Inspect for Imperfections:
Carefully inspect the entire stone veneer installation for any imperfections, such as excess mortar or grout, and make any necessary touch-ups. Pay close attention to the joints, edges, and overall alignment of the stone pieces, ensuring a flawless and professional appearance.
Read more: How To Cover Brick Fireplace With Concrete
Enhance the Aesthetic (Optional):
If desired, consider enhancing the aesthetic impact of the stone veneer by applying a stone enhancer or color enhancer. These products can deepen the natural hues of the stone, adding richness and depth to the overall appearance. Follow the manufacturer’s instructions for proper application.
Apply a Premium Sealer:
Protect the stone veneer from stains and moisture by applying a high-quality sealer specifically designed for natural stone. The sealer will safeguard the stone’s surface, enhance its color, and prolong its durability, ensuring that your fireplace remains a captivating focal point for years to come.
Final Inspection and Enjoyment:
Once the sealer has been applied, take a moment to perform a final inspection of your newly clad fireplace. Admire the transformation and revel in the enhanced ambiance it brings to your living space. Invite friends and family to share in the enjoyment of your stunning fireplace makeover.
By completing these final steps, you’ll add the perfect finishing touches to your fireplace makeover, ensuring that it remains a timeless and captivating feature in your home. The application of a premium sealer will provide essential protection and preservation, allowing you to enjoy the beauty of your stone-clad fireplace for years to come.
Conclusion
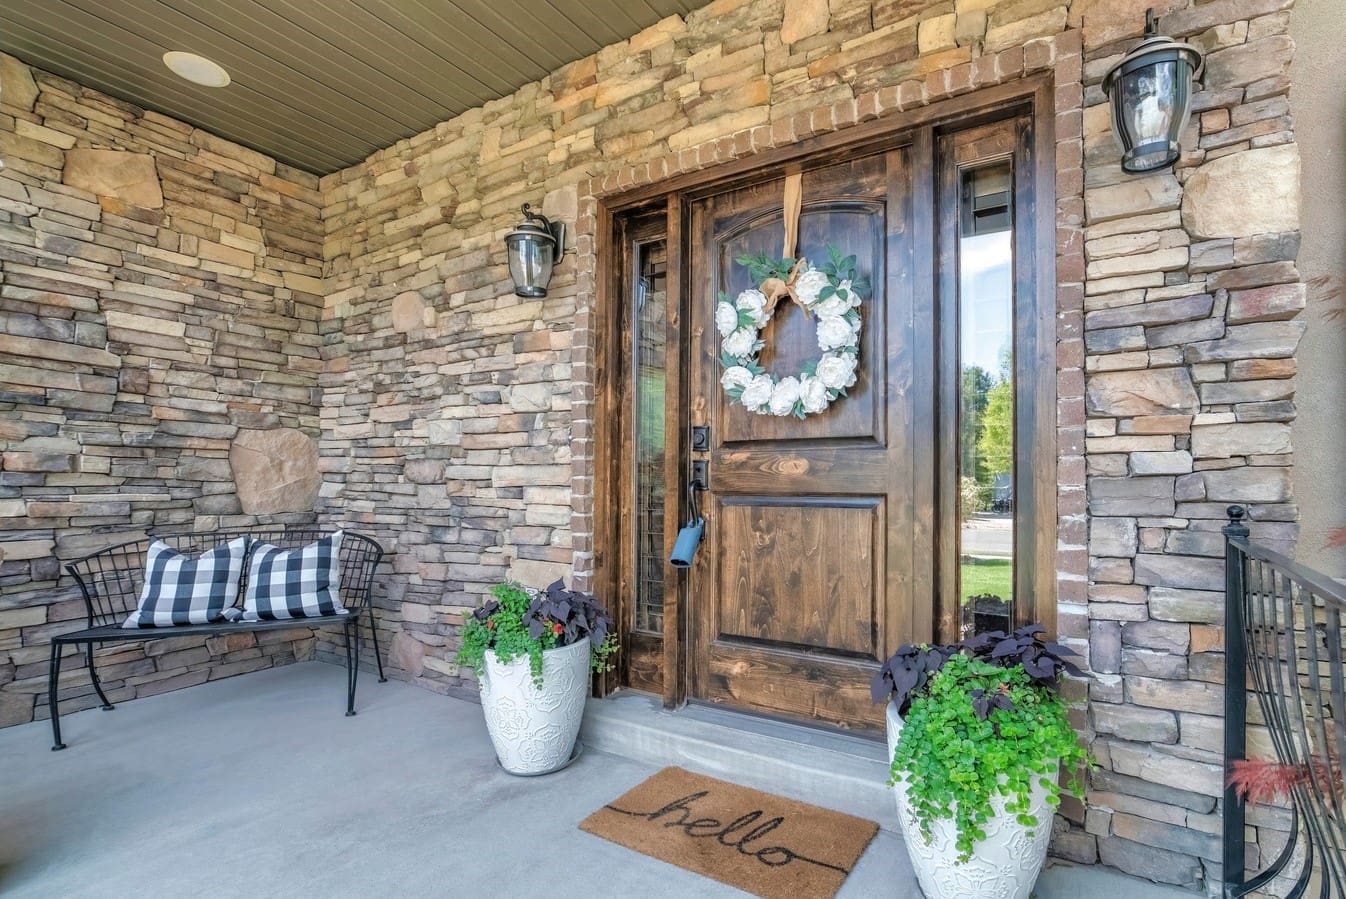
Congratulations on successfully covering your brick fireplace with stunning stone veneer! By following the comprehensive steps outlined in this guide, you’ve embarked on a transformative journey that has elevated the aesthetic appeal and value of your home. The meticulous preparation, precise installation, and careful finishing touches have culminated in a captivating focal point that enhances the ambiance of your living space.
As you bask in the warmth and beauty of your newly clad fireplace, take pride in the craftsmanship and attention to detail that have brought this vision to life. The timeless allure of stone veneer has not only revitalized your fireplace but has also added a touch of elegance and character to your home.
Whether you’ve embraced a rustic, traditional, or modern design, the versatility of stone veneer has allowed you to express your unique style while creating a captivating centerpiece that draws admiration and delight. Your dedication to this project has not only enhanced the visual appeal of your home but has also increased its overall value and desirability.
As you gather around the flickering flames and enjoy the cozy ambiance of your revitalized fireplace, remember the rewarding journey you’ve undertaken to achieve this remarkable transformation. Share the story of your fireplace makeover with friends and family, inspiring others to embark on their own home improvement endeavors.
With the enduring beauty and resilience of stone veneer, your fireplace will continue to be a source of comfort and admiration for years to come. Embrace the warmth and elegance it brings to your home, and take pride in the craftsmanship and creativity that have made this stunning makeover a reality.
So, sit back, relax, and savor the allure of your newly clad fireplace. Your dedication and vision have truly made a lasting impression, turning a simple brick fireplace into a captivating work of art that enriches the heart of your home.
Frequently Asked Questions about How To Cover Brick Fireplace With Stone Veneer
Was this page helpful?
At Storables.com, we guarantee accurate and reliable information. Our content, validated by Expert Board Contributors, is crafted following stringent Editorial Policies. We're committed to providing you with well-researched, expert-backed insights for all your informational needs.

0 thoughts on “How To Cover Brick Fireplace With Stone Veneer”