Articles
How To Build A Stone Fireplace
Modified: October 21, 2024
Discover valuable articles on how to build a stunning stone fireplace. Get expert tips, step-by-step guides, and essential techniques for your DIY project.
(Many of the links in this article redirect to a specific reviewed product. Your purchase of these products through affiliate links helps to generate commission for Storables.com, at no extra cost. Learn more)
Introduction
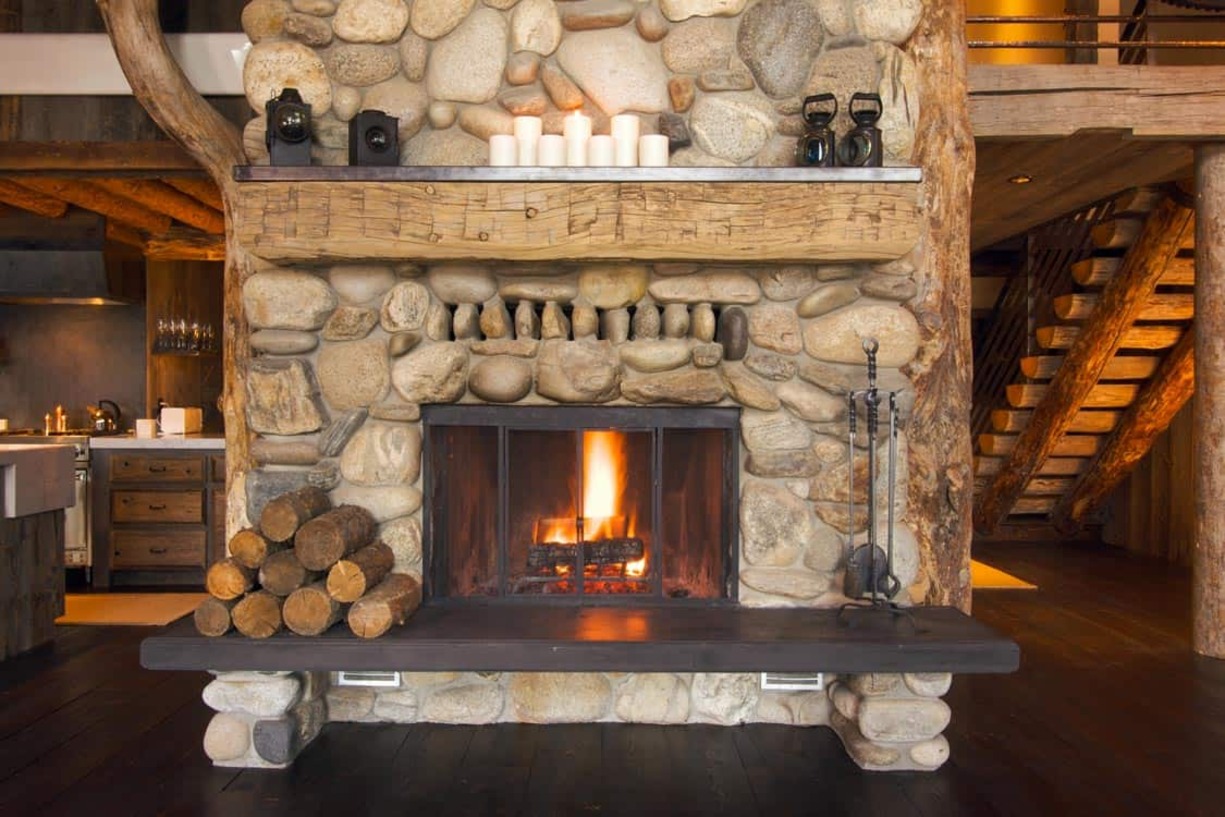
Building a stone fireplace is a wonderful way to bring warmth, beauty, and character to your home. Whether you’re looking to create a cozy gathering place in your living room or add a stunning focal point to your outdoor patio, a stone fireplace is a timeless and elegant choice. The natural beauty and durability of stone make it the perfect material for creating a fireplace that will stand the test of time.
In this step-by-step guide, we’ll walk you through the process of building your own stone fireplace. We’ll cover everything from gathering the materials you’ll need to the final touches that will make your fireplace truly one-of-a-kind. Whether you’re an experienced DIY enthusiast or a beginner, this article will provide you with the knowledge and confidence to tackle this rewarding project.
Before we dive in, it’s important to note that building a stone fireplace is a complex and labor-intensive project. It requires careful planning, precise measurements, and attention to detail. It’s always a good idea to consult with a professional if you’re unsure about any aspect of the project or if you’re dealing with unique circumstances such as an existing chimney or specific building regulations.
Now, let’s get started on creating the stone fireplace of your dreams!
Key Takeaways:
- Building a stone fireplace requires careful planning, precise measurements, and attention to detail. Prioritize safety, gather materials, and follow step-by-step instructions to create a stunning and durable centerpiece for your home.
- While building a stone fireplace is a gratifying DIY project, it’s complex and may require professional assistance. Consult experts for unique circumstances and ensure compliance with building regulations for a timeless and elegant addition to your home.
Read more: How To Build A Stone Fireplace And Chimney
Step 1: Gather the Materials
Before you begin building your stone fireplace, it’s important to gather all the necessary materials. Having everything you need in advance will ensure a smoother construction process. Here’s a list of the materials you’ll typically need:
- Stone veneer or natural stone: Choose a type of stone that suits your aesthetic preferences and meets any specific requirements for indoor or outdoor use. Stone veneer is a popular choice as it is lighter and easier to work with compared to full-thickness natural stone.
- Mortar mix: Look for a high-quality mortar mix that is specifically formulated for stone installation. It should have good adhesion properties and be suitable for both interior and exterior applications.
- Fireplace insert: Depending on your needs and preferences, choose a fireplace insert that uses either wood, gas, or electric. Consider factors such as efficiency, safety, and ease of use.
- Reinforcement materials: Depending on the size and design of your fireplace, you may need reinforcement materials such as metal lath, expanded metal, or rebar.
- Masonry tools: To effectively work with stone, you’ll need tools such as a trowel, bucket, mortar board, masonry hammer, chisel, level, measuring tape, and a saw for cutting stones if necessary.
- Safety equipment: Don’t forget to prioritize safety by wearing gloves, safety glasses, and a dust mask when working with stone and mortar.
Additionally, it’s a good idea to have a design plan in mind before you start. Consider factors such as the size, shape, and style of your fireplace, as well as how it will fit in with the overall aesthetic of your home. This will help guide your material selection and ensure a cohesive end result.
Once you have gathered all the necessary materials, you’re ready to move on to the next step: preparing the foundation for your stone fireplace.
Step 2: Prepare the Foundation
Creating a solid foundation is essential for the stability and longevity of your stone fireplace. The process will vary depending on whether you’re building a fireplace indoors or outdoors. Here are the general steps to prepare the foundation:
- Clear the area: Remove any obstructions, debris, or vegetation from the area where you’ll be building your fireplace. This will ensure a clean and level surface to work with.
- Mark the dimensions: Use a tape measure and chalk or spray paint to mark the outline of your fireplace on the ground. Make sure the dimensions are accurate and align with your design plan.
- Dig the foundation: Excavate the marked area to a depth of about 8-10 inches. This will provide a sturdy base for your fireplace. Consider the soil composition and local building codes to determine if you need to add a layer of gravel or concrete for additional stability.
- Create a level base: Use a rake or shovel to level the excavated area. Ensure that the surface is smooth and free from any bumps or unevenness.
- Add a layer of sand: Spread a layer of sand evenly over the excavated area. This will help create a stable base for the first row of stones.
Once the foundation is prepared, it’s important to let it settle and cure for a few days before proceeding with the construction. This will ensure that the foundation is strong and stable, ready to support the weight of your stone fireplace.
With the foundation in place, you’re now ready to move on to the next step: laying the base row of stones.
Step 3: Lay the Base Row of Stones
The base row of stones serves as the foundation for the rest of your stone fireplace. It’s important to lay this row carefully and ensure that it is level and securely attached to the foundation. Here’s how to do it:
- Prepare the mortar: Mix the mortar according to the manufacturer’s instructions. Aim for a consistency that is workable but not too dry or wet.
- Apply mortar to the foundation: Use a trowel to spread a layer of mortar along the prepared foundation where the base row will be laid.
- Place the first stone: Carefully place the first stone on the mortar bed, ensuring that it is aligned with the marked dimensions and level. Gently press it into the mortar to create a firm bond.
- Add more mortar: Apply mortar onto the top and sides of the first stone to create a bed for the next stone. Use a trowel or your fingers to shape and smooth the mortar as needed.
- Continue laying stones: Repeat the process of placing stones, adding mortar, and ensuring levelness as you work your way along the base row. Use a level to check the horizontal and vertical alignment of each stone.
- Trim stones if necessary: If any stones need to be cut to fit, use a saw or chisel to carefully trim them to the desired size and shape. Safety goggles and gloves are essential when cutting stones.
- Clean excess mortar: As you work, periodically clean off any excess mortar from the face of the stones with a brush or sponge. This will give your fireplace a clean and professional finish.
It’s important to take your time and be patient during this step to ensure that the base row is level and well-bonded. This will provide a solid foundation for the rest of your stone fireplace construction.
Once the base row is complete, you can proceed to the next step: building the back wall of the fireplace.
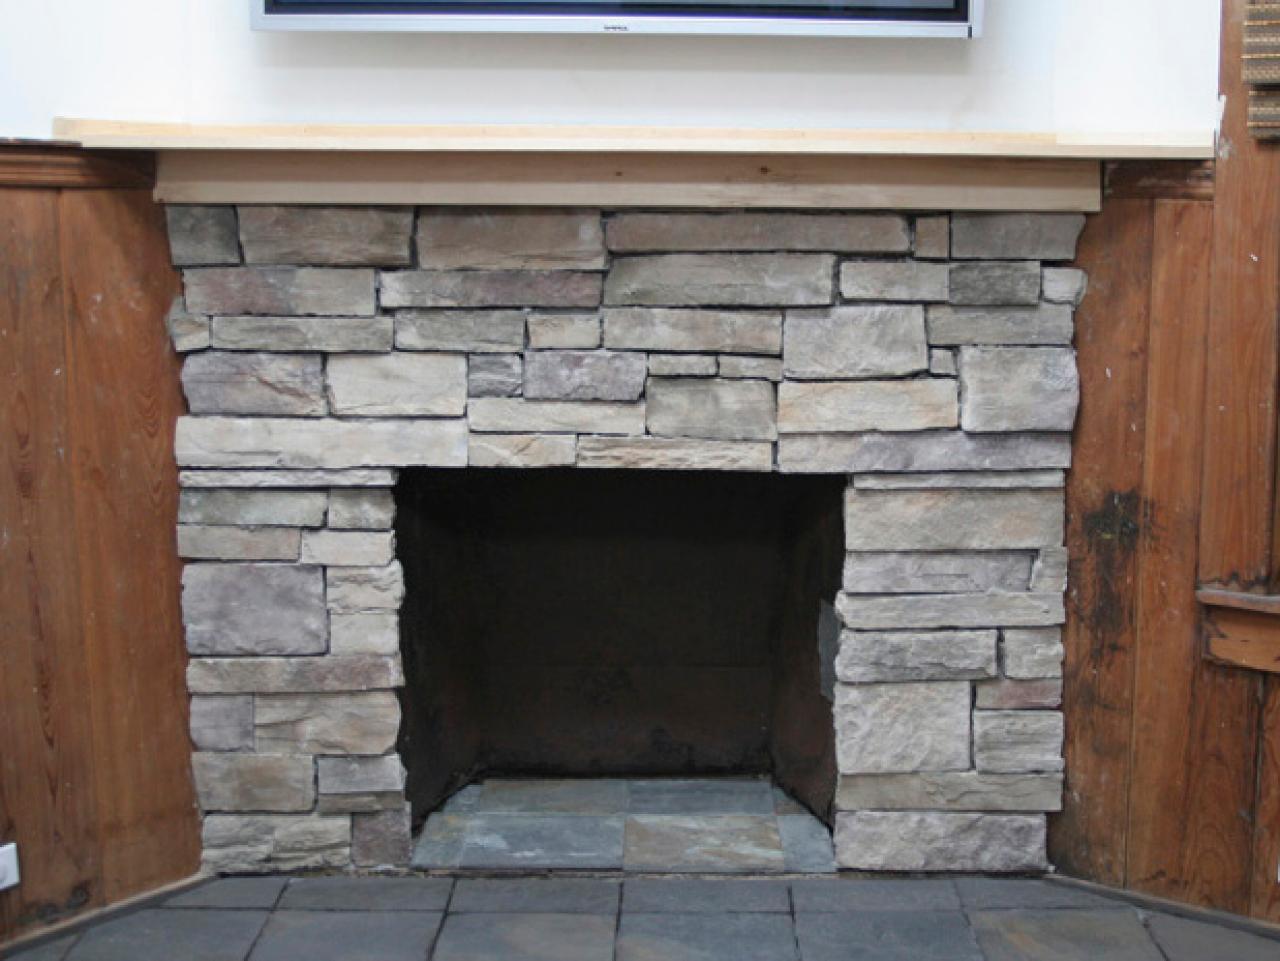
Step 4: Build the Back Wall
The back wall of your stone fireplace provides support and stability to the structure. It also serves as a barrier between the firebox and the surrounding materials. Here’s a step-by-step guide on how to build the back wall:
- Plan the layout: Determine the height and width of the back wall based on the dimensions of your fireplace design. Mark these measurements on the base row of stones.
- Prepare mortar and stone: Mix the mortar according to the manufacturer’s instructions. Ensure that the consistency is suitable for laying stones. Apply mortar to the back of each stone before placing it on the base row.
- Start from the corners: Begin building the back wall from the corners, working your way towards the center. This will ensure that the stones are evenly distributed and provide a balanced structure.
- Level and align the stones: As you place each stone, use a level to check for both horizontal and vertical alignment. Adjust as needed by adding or removing mortar from the back of the stone.
- Overlap the joints: To create a sturdy and visually appealing back wall, stagger the joints between the stones. This will provide better stability and help distribute the weight evenly.
- Fill the gaps: Use smaller pieces of stone or mortar to fill any gaps between the stones. This will create a tight and seamless back wall.
- Monitor the height: Regularly check the height of the back wall to ensure that it aligns with your design plan. Make adjustments as necessary to maintain consistency.
Remember to clean off any excess mortar from the front face of the stones as you work. This will help maintain the natural beauty of the stone and give your fireplace a polished look.
Once the back wall is complete, it’s time to move on to the next step: constructing the side walls of the fireplace.
When building a stone fireplace, make sure to use a level to ensure that each stone is placed evenly and securely. This will help create a stable and visually appealing fireplace.
Read more: How To Put Stone On Fireplace
Step 5: Construct the Side Walls
The side walls of your stone fireplace contribute to its overall structure and aesthetics. Building these walls requires precision and careful attention to detail. Here’s a step-by-step guide on how to construct the side walls:
- Plan the layout: Determine the height and width of the side walls based on your fireplace design. Mark these measurements on the base row and back wall to guide your stone placement.
- Prepare mortar and stone: Mix the mortar to the desired consistency, ensuring it is suitable for laying stones. Apply mortar to the back of each stone before placing it on the base row and back wall.
- Begin from the corner: Start building the side walls from one of the corners, working your way towards the center. This ensures a balanced and symmetrical construction.
- Level and align the stones: Use a level to check the horizontal and vertical alignment of each stone as you place it. Adjust as necessary to maintain a straight and even side wall.
- Stagger the joints: Just like with the back wall, stagger the joints between the stones to provide stability and distribute the weight evenly. This also adds visual interest to the overall design.
- Fill the gaps: Use smaller stones or mortar to fill in any gaps between the stones. Ensure that the gaps are uniform and consistent throughout the side walls.
- Monitor the height: Regularly check the height of the side walls to ensure they align with your design plan. Make any necessary adjustments to maintain symmetry.
It’s crucial to maintain a clean and polished appearance for the side walls. Remove any excess mortar from the front face of the stones as you work to keep them looking pristine.
Once the side walls are complete, you’re now ready to move on to the next step: installing the fireplace insert.
Step 6: Install the Fireplace Insert
The fireplace insert is the heart of your stone fireplace, providing the heat source and ambiance. Installing it correctly is vital for the functionality and safety of your fireplace. Here’s how to install the fireplace insert:
- Measure and mark the opening: Carefully measure the dimensions of the fireplace insert and mark the corresponding opening on the back wall. Ensure that the opening is slightly larger than the insert for easy installation.
- Prepare the area: Clear away any debris or loose stones from the opening to create a clean and level space for the insert.
- Follow manufacturer’s instructions: Each fireplace insert will come with specific installation guidelines provided by the manufacturer. It’s essential to read and follow these instructions carefully to ensure proper installation.
- Place the insert: Gently slide the fireplace insert into the opening, making sure it fits snugly. Follow any additional steps recommended by the manufacturer, such as securing it with screws or brackets.
- Connect utilities: If the fireplace insert requires gas or electrical connections, consult a professional to handle these installations. Safety is of utmost importance when dealing with fuel or electrical connections.
- Test the functionality: Once the insert is securely in place and the utilities are connected, test the functionality of the fireplace to ensure it is working properly. Check the flame, ventilation, and any remote control or thermostat functions.
It is crucial to consult with a professional if you are unsure about any aspect of installing the fireplace insert. They can provide guidance and ensure that the installation is done correctly and in compliance with safety regulations.
With the fireplace insert installed, you’re now ready for the final step: adding the finishing touch with a mantel.
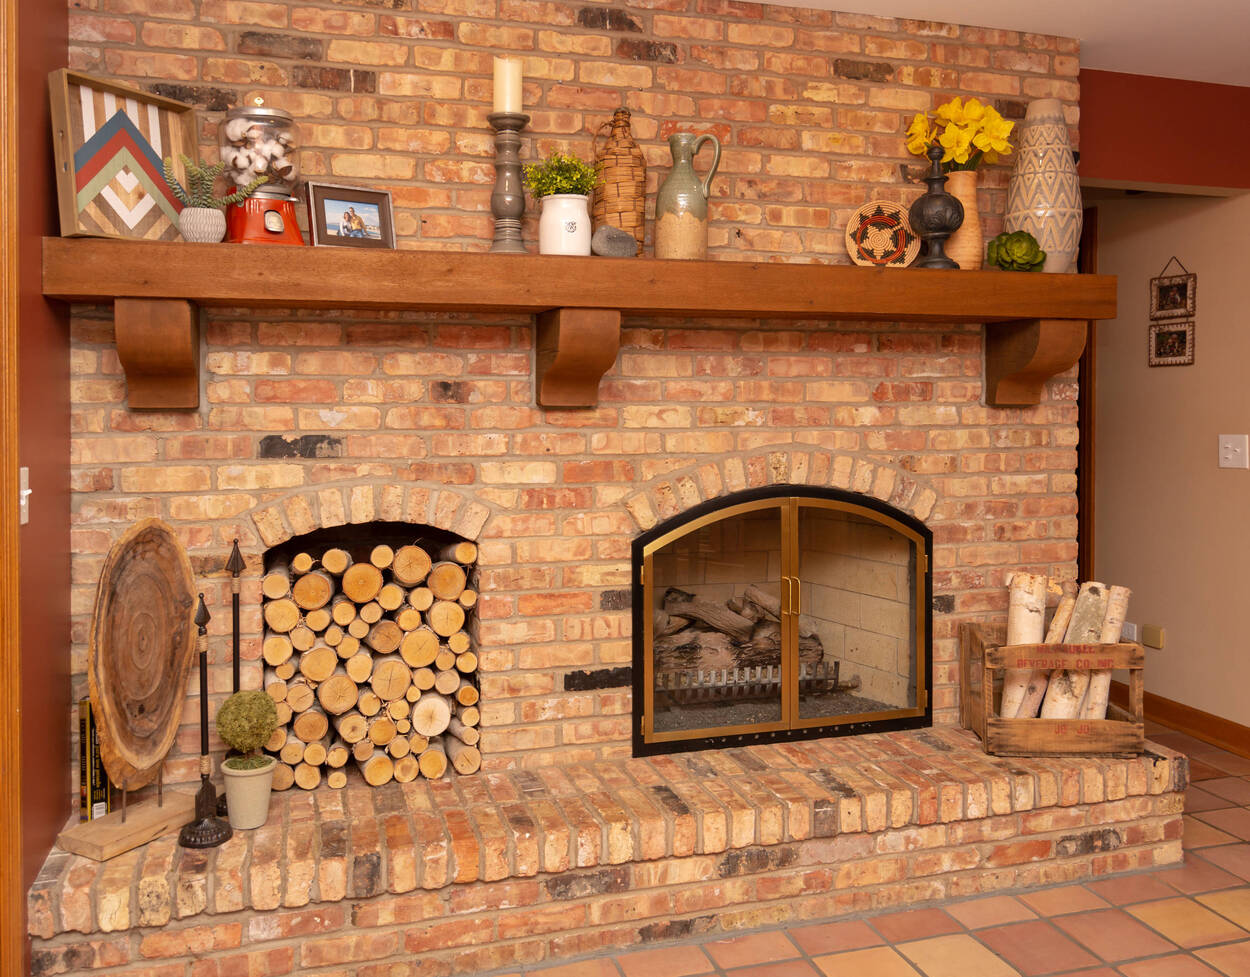
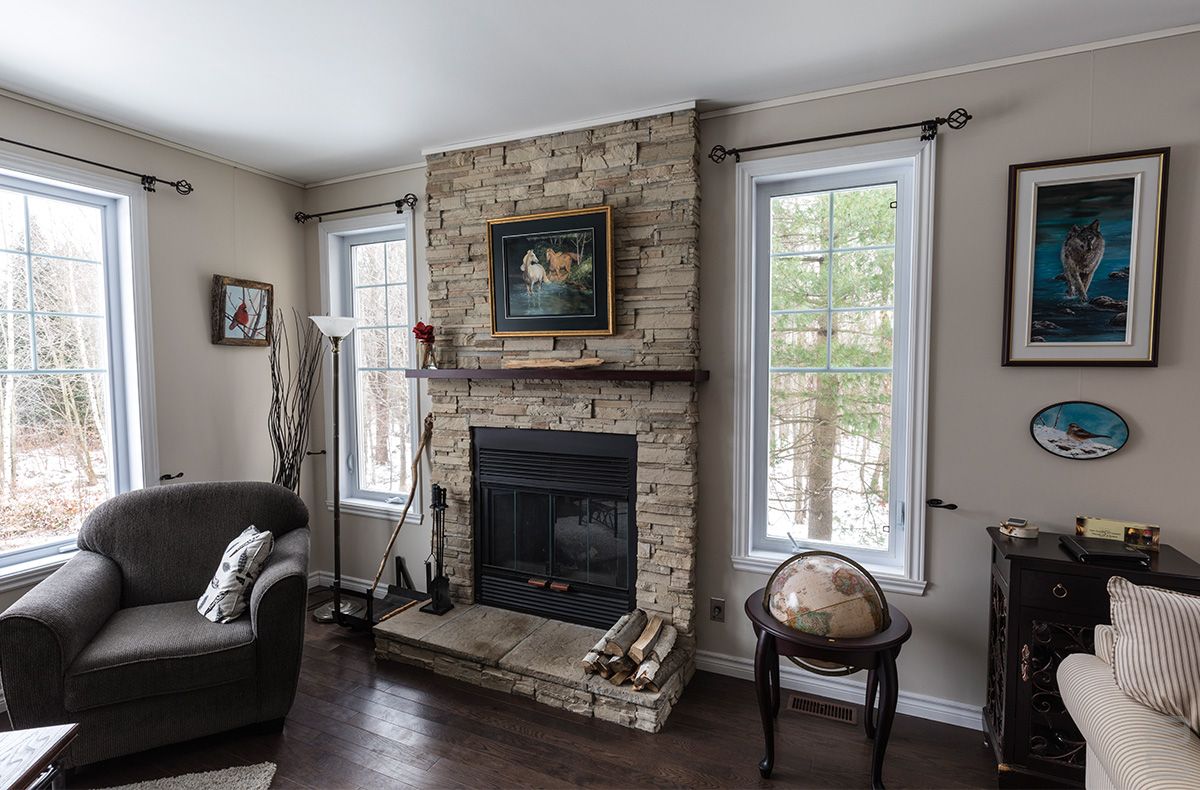
Step 7: Finish with a Mantel
Adding a mantel to your stone fireplace not only adds visual appeal but also provides a functional space to display decor, family photos, or even a television. Here’s how to finish your stone fireplace with a mantel:
- Measure and plan: Measure the dimensions of the space above your fireplace to determine the appropriate size for the mantel. Take into consideration the style and design of your fireplace and select a mantel that complements it.
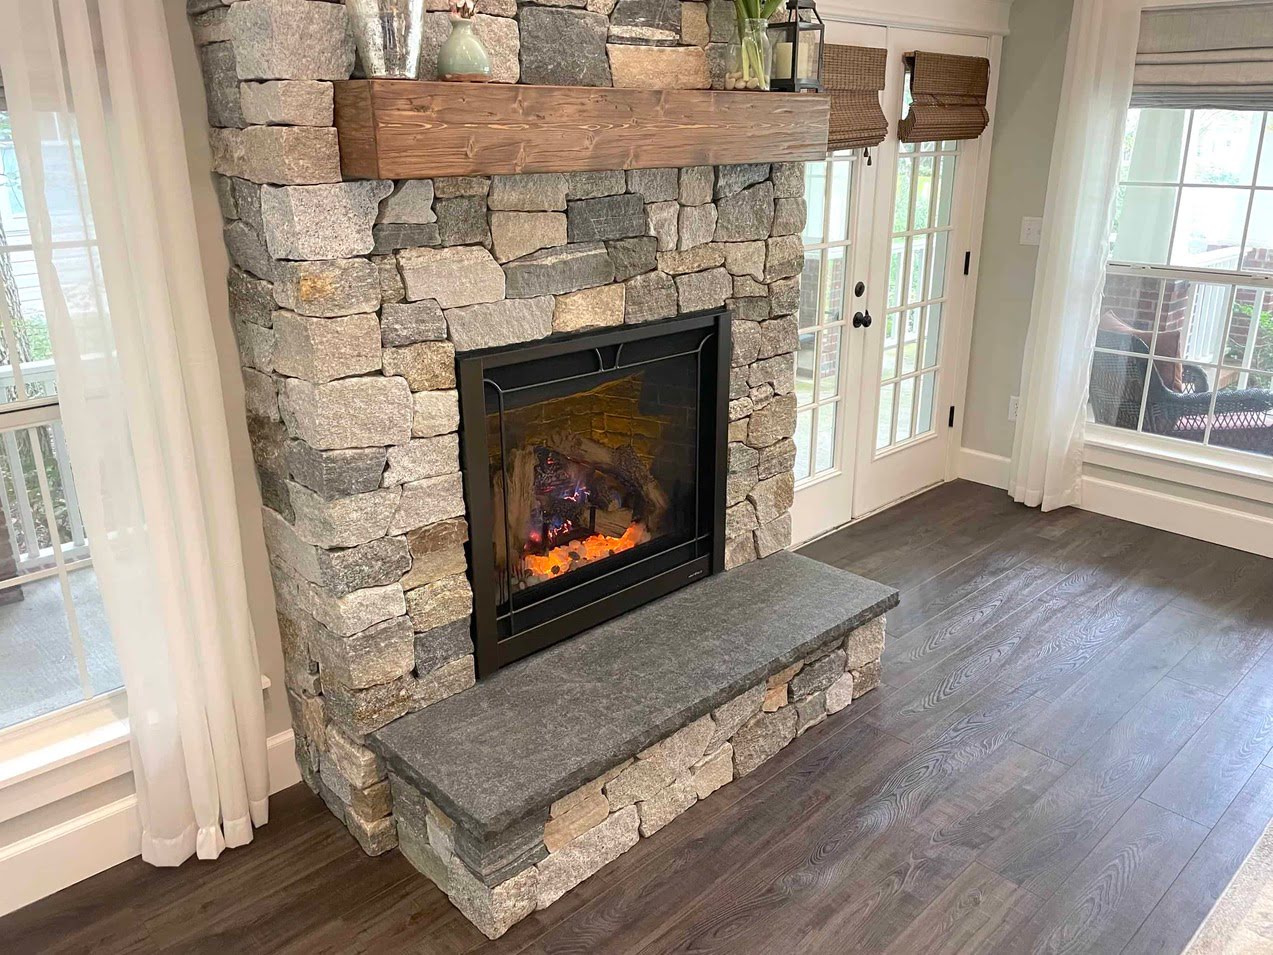
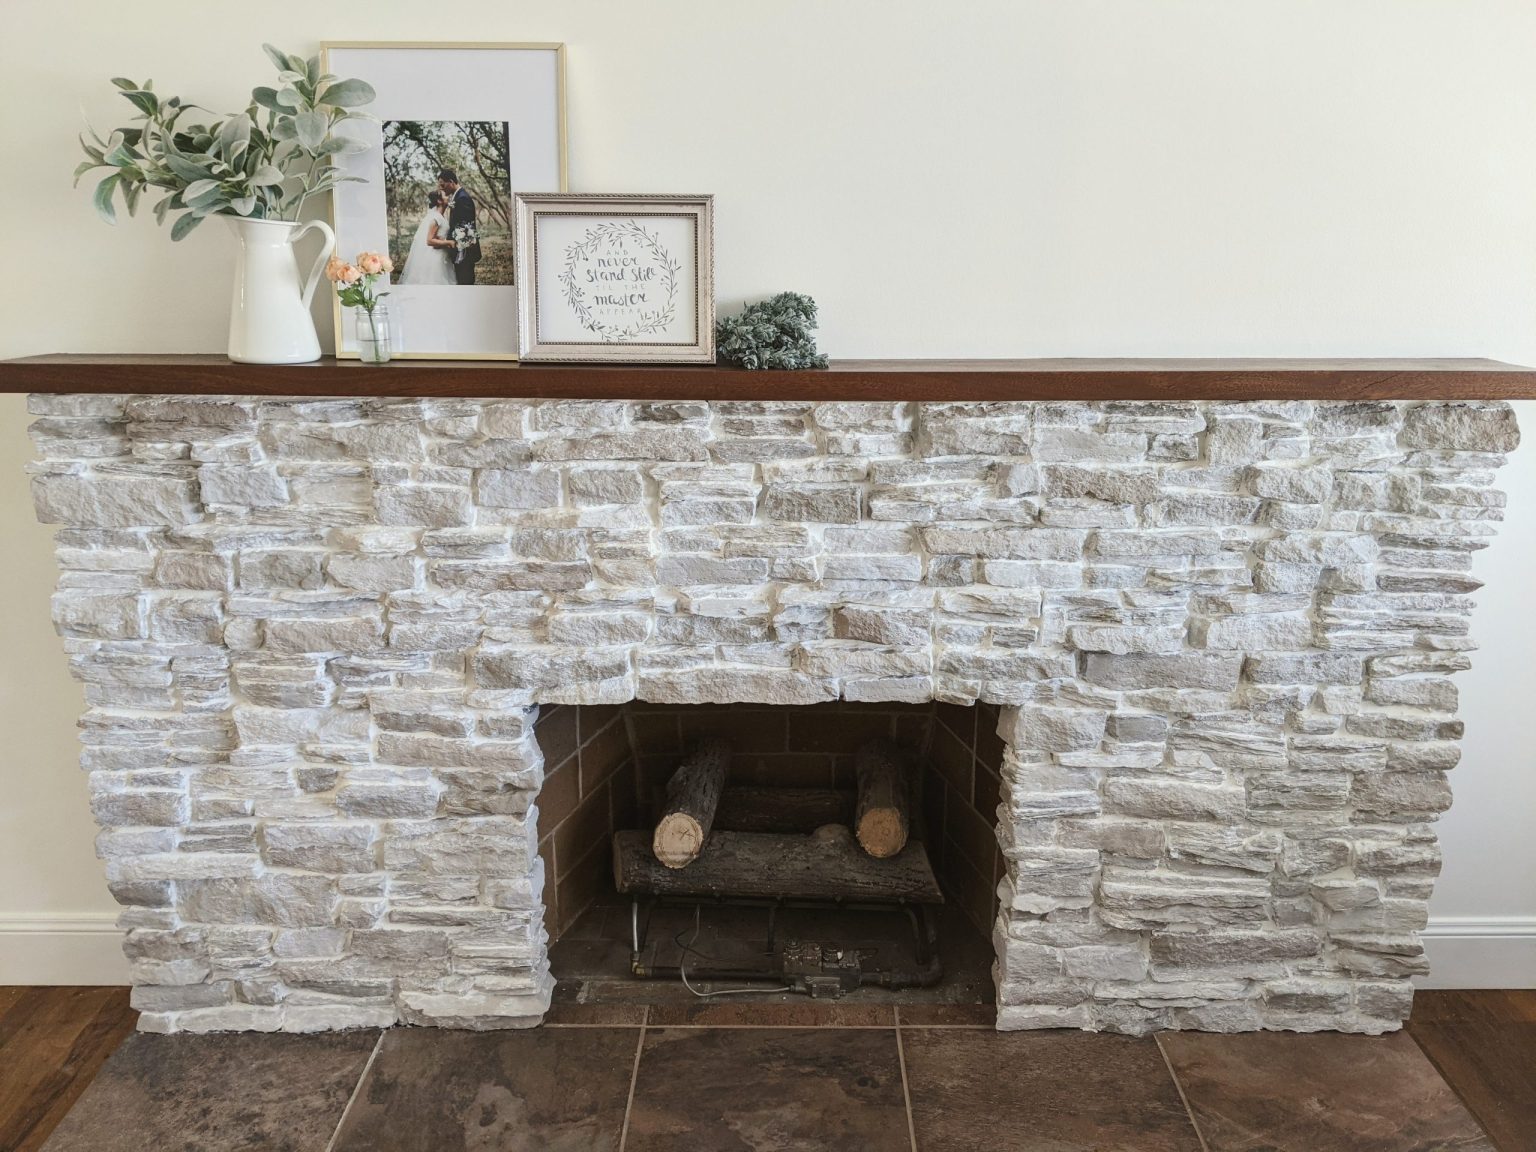
- Choose a mantel material: Mantels can be made from various materials such as wood, stone, or even reclaimed materials for a rustic look. Choose a material that suits your style and fits with the overall aesthetic of your fireplace.
- Install the mantel brackets: Depending on the weight and design of the mantel, you may need to install brackets or supports to securely attach it to the wall. Follow the manufacturer’s instructions for proper installation.
- Attach the mantel: Once the brackets are in place, carefully place the mantel on top of them. Ensure that it is level and flush against the wall. Secure it in place using screws or other appropriate fasteners.
- Seal and finish: If your mantel is made of wood, consider applying a sealant or finish to protect it from heat, moisture, and wear. Follow the manufacturer’s instructions for the specific product you are using.
- Personalize and decorate: Once the mantel is installed, let your creativity shine by personalizing and decorating it to reflect your style and taste. Add decorative items, artwork, or sentimental pieces that enhance the ambiance of your space.
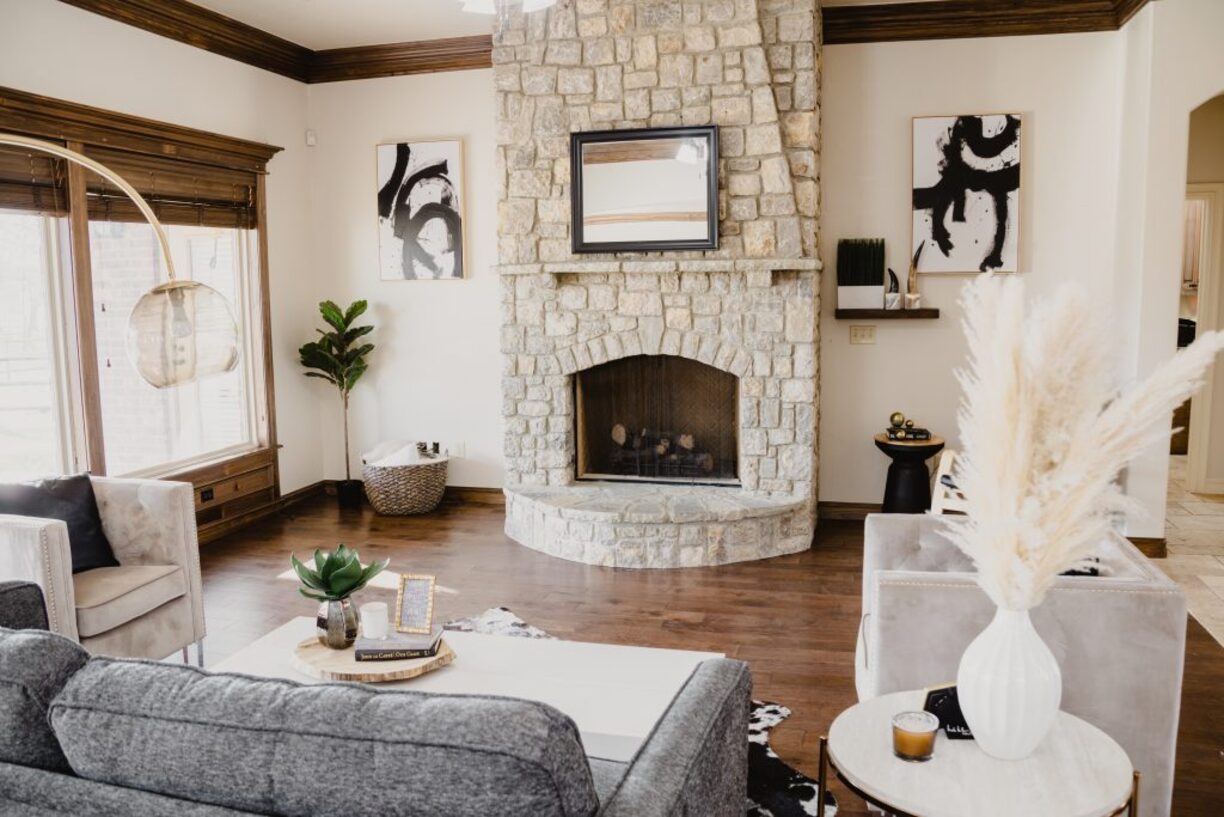
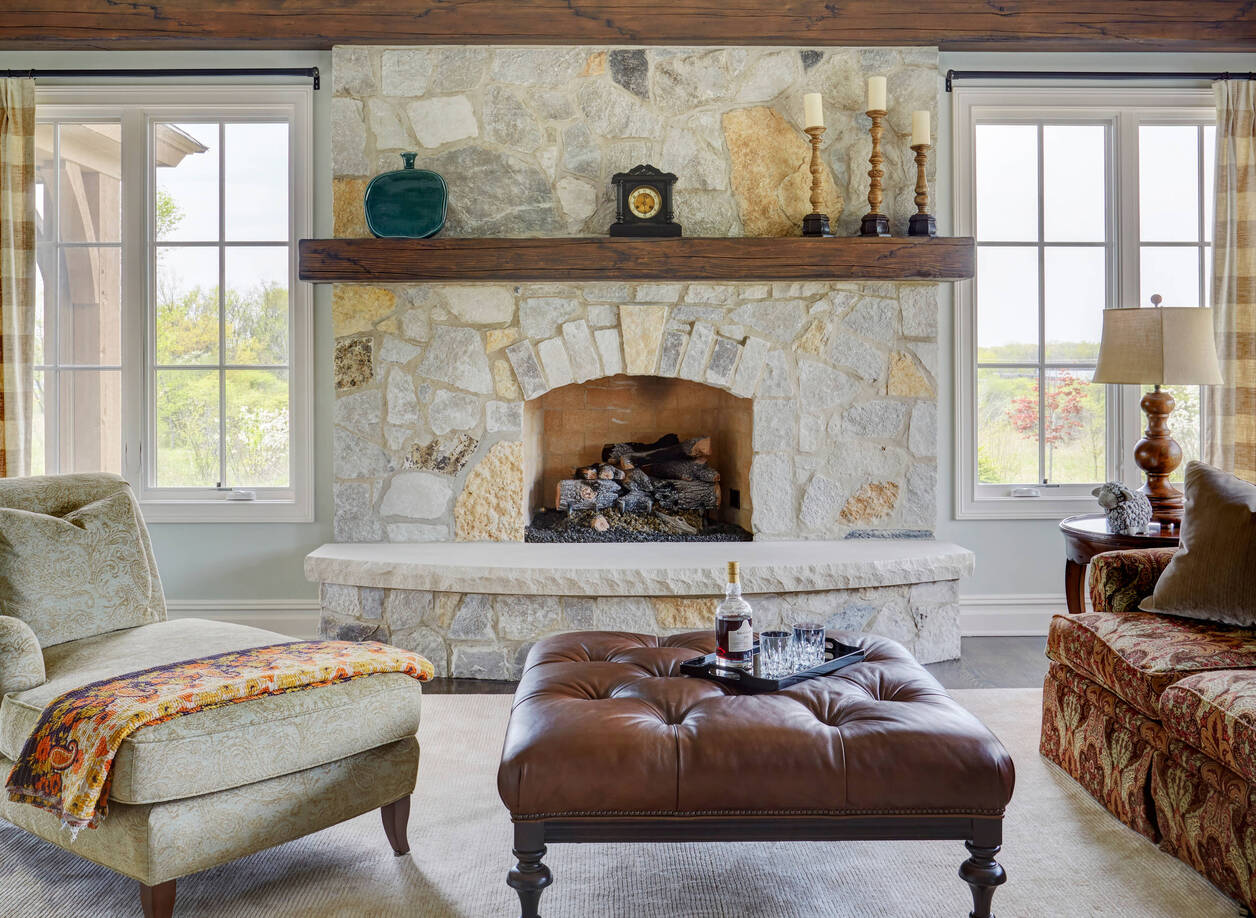
A well-chosen and properly installed mantel will add charm and character to your stone fireplace, completing the overall look and feel of the space.
Congratulations! With the mantel in place, your stone fireplace is now complete. Step back and admire your handiwork, knowing that you have created a beautiful and functional centerpiece for your home.
Remember, always prioritize safety when using your fireplace and consult with professionals for any concerns or questions throughout the construction process.
Conclusion
Building a stone fireplace is a gratifying and worthwhile project that can elevate the atmosphere and beauty of your home. By following the steps outlined in this guide, you can create a stunning and functional fireplace that will become a centerpiece for gatherings and cozy moments.
Throughout the process, it’s important to prioritize safety and attention to detail. Properly gathering the materials, preparing the foundation, and meticulously laying the stones will ensure a solid and durable fireplace. Installing the fireplace insert correctly and adding a mantel will bring the project to completion, providing both functionality and aesthetic appeal.
While this guide provides a comprehensive overview of the steps involved, it’s essential to note that building a stone fireplace is a complex task that may require professional assistance. If you are unsure about any aspect of the project or face unique circumstances, such as working with an existing chimney or specific building regulations, it’s always wise to consult with experts who can provide guidance and ensure compliance.
By taking the time and care to build a stone fireplace, you are investing in a timeless and elegant addition to your home. The warmth and beauty it provides will create a welcoming and cozy space for years to come. So, gather your materials, prepare your foundation, and unleash your creativity as you embark on this rewarding journey to build your very own stone fireplace.
Frequently Asked Questions about How To Build A Stone Fireplace
Was this page helpful?
At Storables.com, we guarantee accurate and reliable information. Our content, validated by Expert Board Contributors, is crafted following stringent Editorial Policies. We're committed to providing you with well-researched, expert-backed insights for all your informational needs.


0 thoughts on “How To Build A Stone Fireplace”