Articles
How To Redo A Stone Fireplace
Modified: October 28, 2024
Learn how to give your stone fireplace a stunning makeover with these helpful articles. Transform your living space with these expert tips and techniques.
(Many of the links in this article redirect to a specific reviewed product. Your purchase of these products through affiliate links helps to generate commission for Storables.com, at no extra cost. Learn more)
Introduction
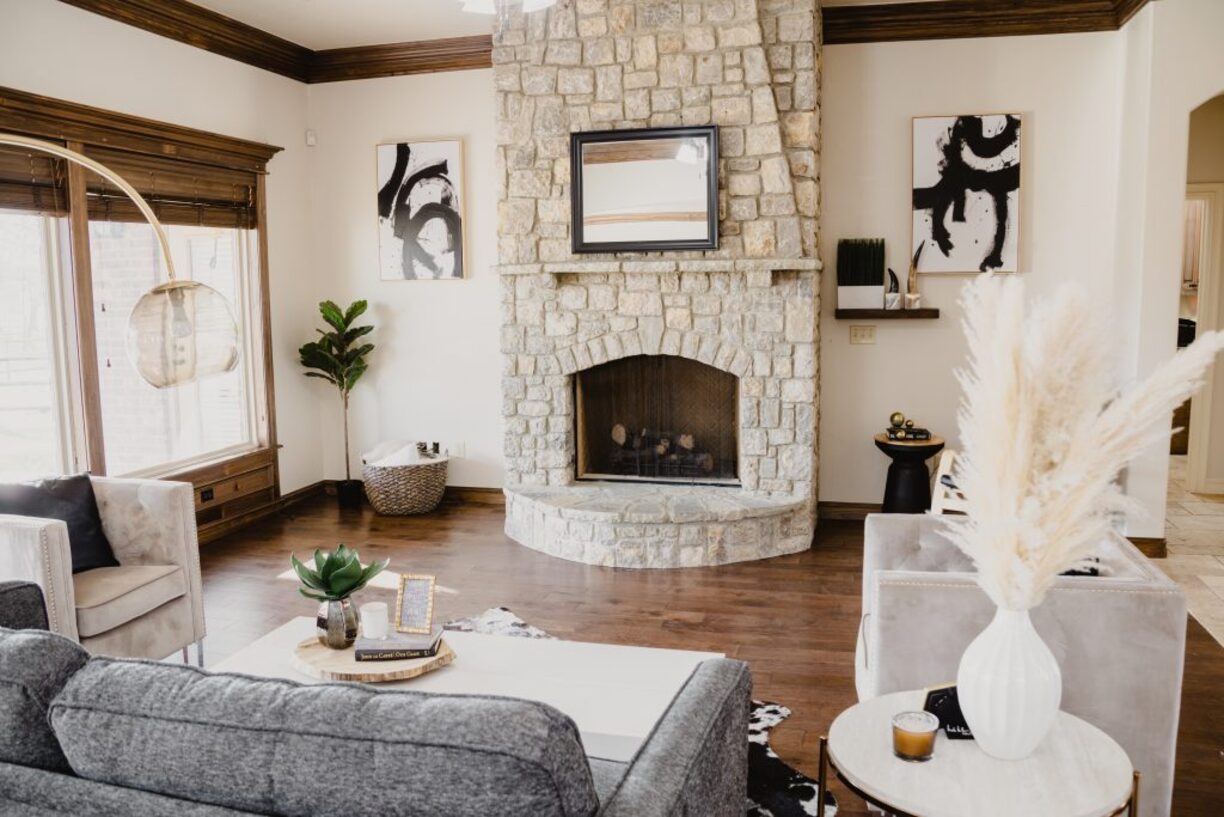
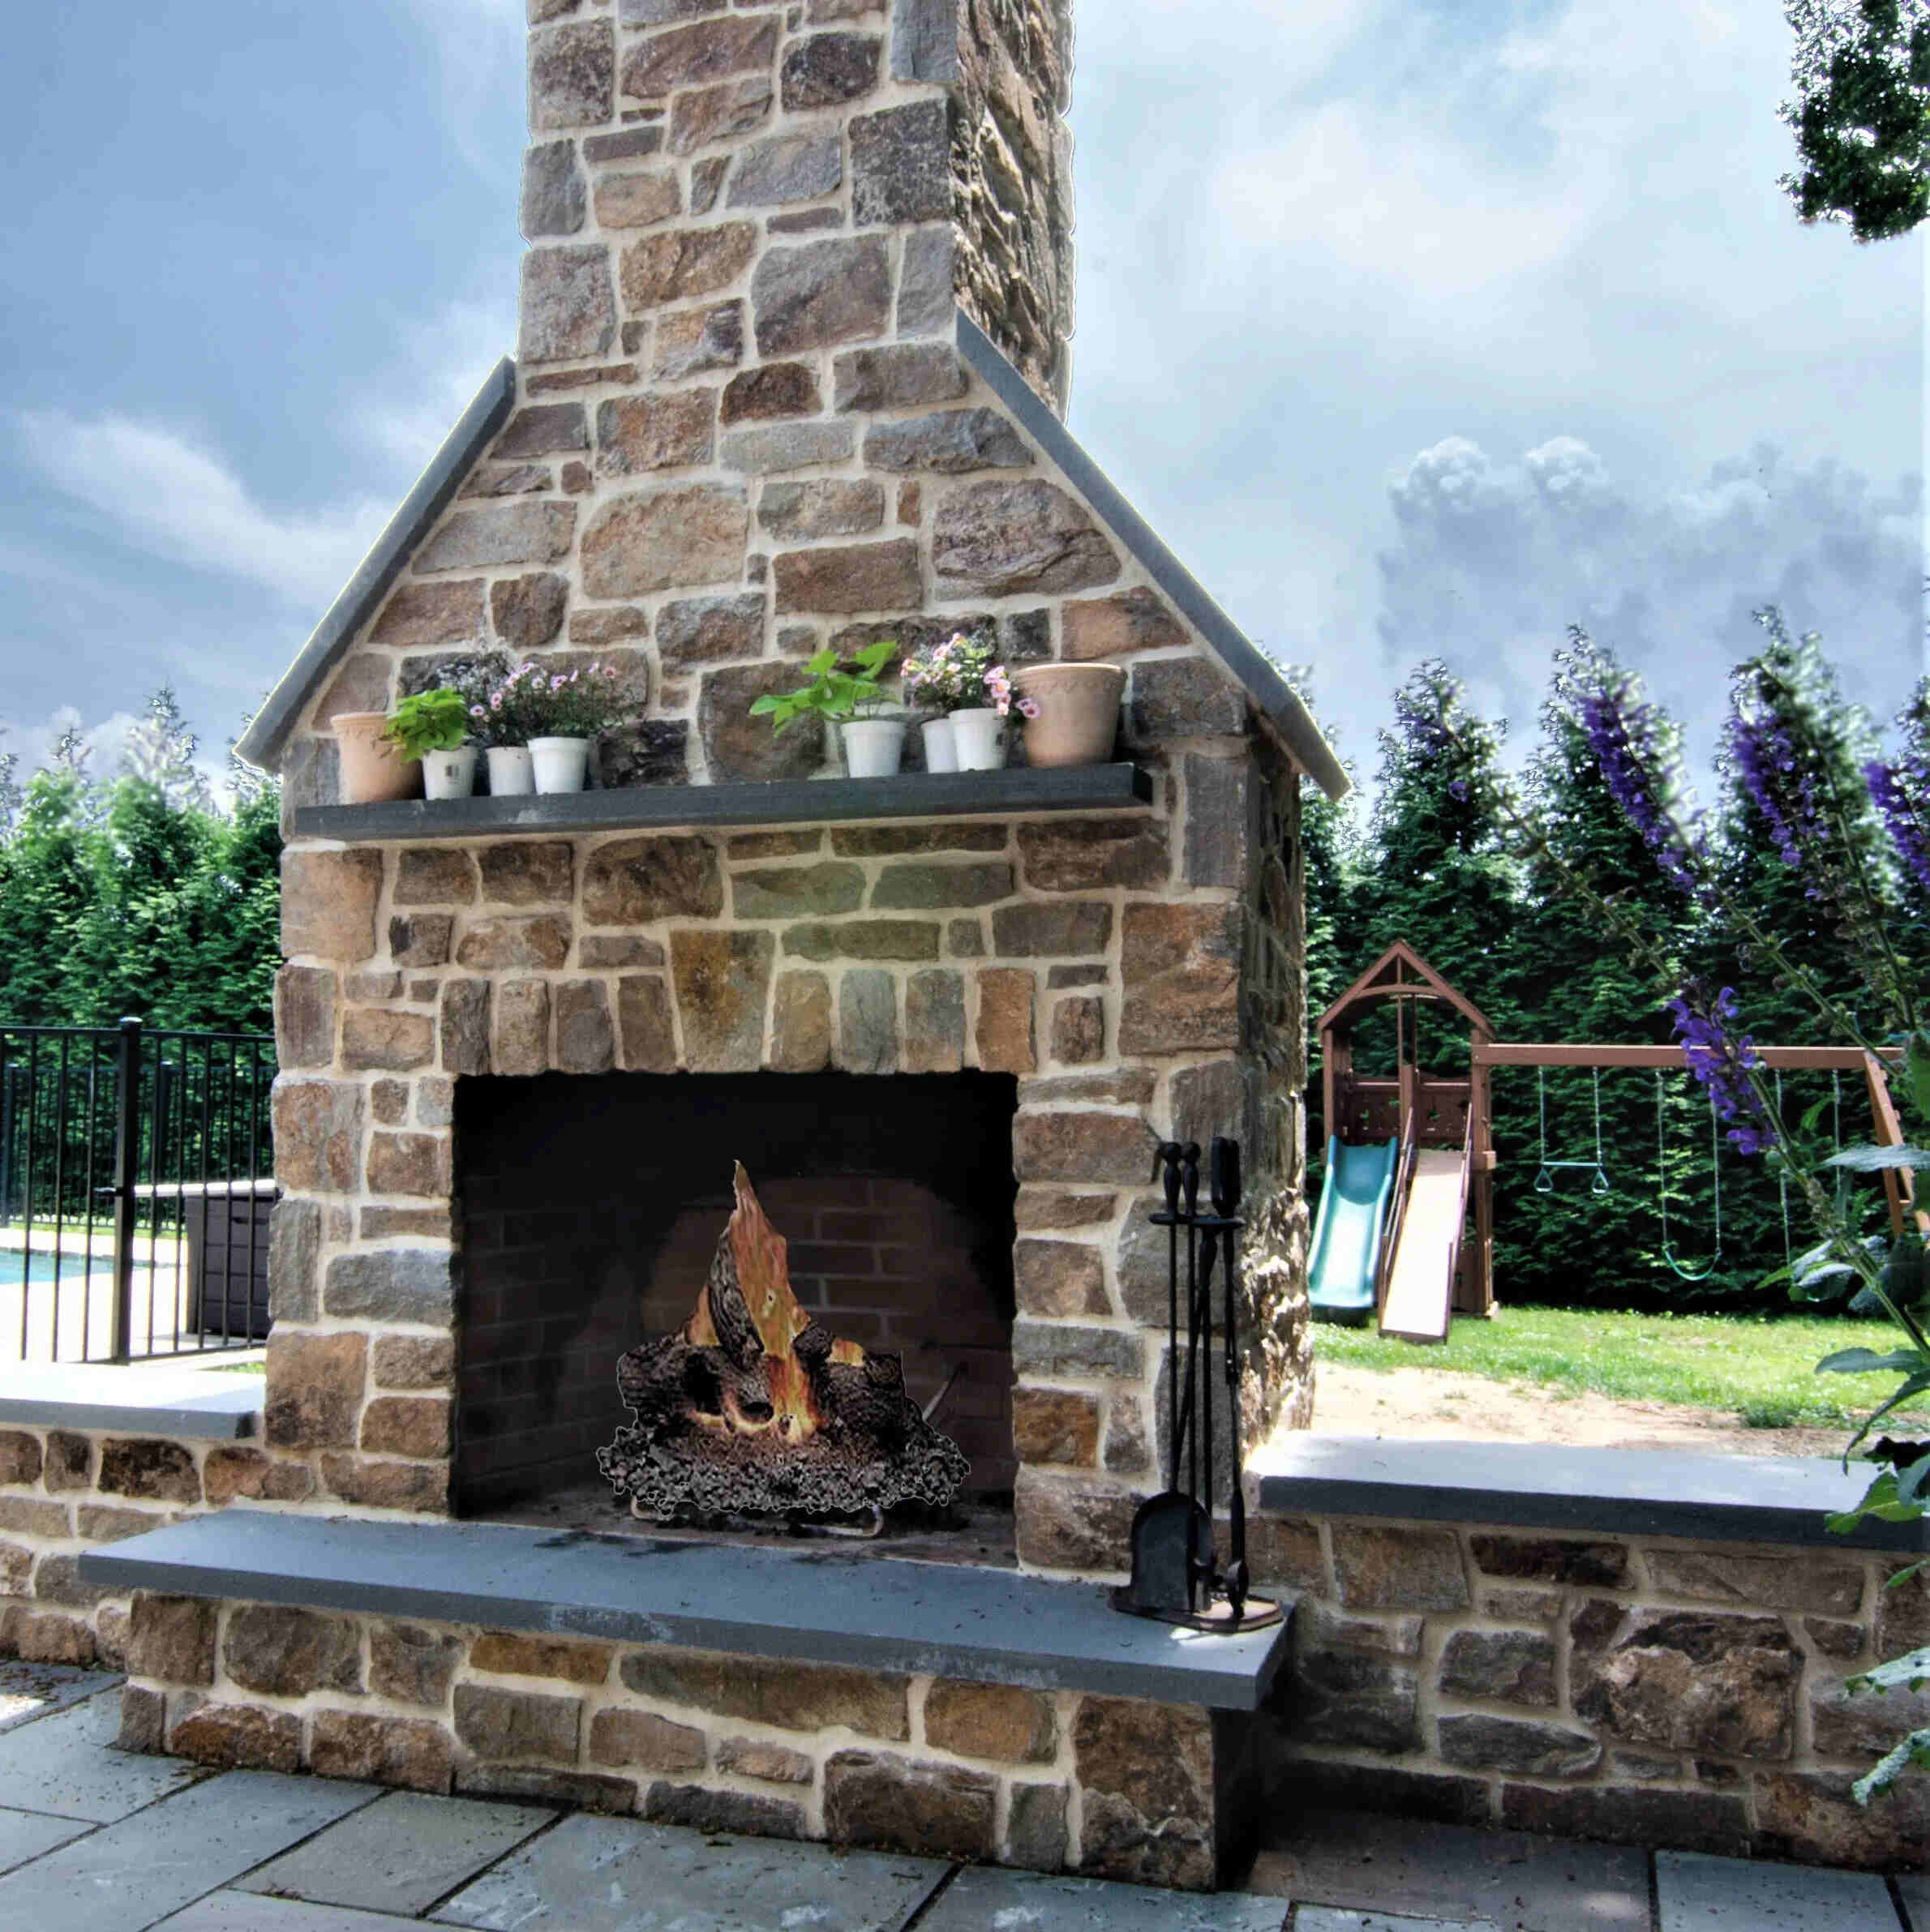
Redoing a stone fireplace can completely transform the look and feel of a room. Whether you want to update the existing stone or change its color, refinishing a stone fireplace is a rewarding project that can breathe new life into your living space.
A stone fireplace can serve as a focal point in a room, providing warmth and character. However, over time, the stone may become discolored, chipped, or outdated. By following a few simple steps, you can revamp your stone fireplace and create a stunning centerpiece that enhances the overall aesthetic of your home.
In this article, we will guide you through the step-by-step process of redoing a stone fireplace. From gathering the necessary materials to reassembling the fireplace, we will provide you with all the information you need to successfully complete this project. So let’s dive in and discover how to give your stone fireplace a fresh, new look!
Key Takeaways:
- Transform the look and feel of your living space by redoing a stone fireplace. Follow the step-by-step guide to gather materials, prepare the workspace, apply paint or stain, and add a protective sealant for a stunning transformation.
- Revamp your stone fireplace with the right materials and techniques. From removing old paint to reassembling the fireplace, create a captivating centerpiece that adds warmth and character to your room.
Read more: How To Redo Fireplace
Step 1: Gather the necessary materials
Before you begin redoing your stone fireplace, it’s important to gather all the necessary materials. Having everything on hand will help ensure a smooth and efficient process. Here are the materials you will need:
- Drop cloths or plastic sheets
- Painter’s tape
- Protective gloves
- Safety goggles
- Paint scraper
- Sandpaper or sanding block
- Stone cleaner
- Mild detergent
- Old rags
- Stone primer
- Stone paint or stain
- Paintbrushes
- Sealant
Make sure to choose stone paint or stain that is specifically designed for use on fireplace surfaces. This will ensure durability and resistance to high temperatures. Additionally, consider the color and finish you want to achieve for your fireplace. Do you prefer a natural stone look, or are you looking for a more modern, painted finish?
Once you have gathered all the necessary materials, you’ll be ready to move on to the next steps in the process. Prepare your workspace and ensure you have ample ventilation before you begin working on your stone fireplace.
Step 2: Prepare the workspace
Preparing your workspace before starting any project is essential for ensuring a smooth and efficient process. When redoing a stone fireplace, it’s important to take the time to properly protect the surrounding area. Here’s how to prepare your workspace:
- Begin by removing any furniture or decor near the fireplace. This will create a clear and open space for you to work.
- Lay down drop cloths or plastic sheets to cover the floor and any nearby furniture. This will protect against paint or debris that may fall during the refinishing process.
- Use painter’s tape to secure the drop cloths or plastic sheets in place, ensuring that they stay in position throughout the project.
- Open windows or doors in the room to provide proper ventilation. This will help dissipate any fumes from the cleaning or painting products.
- Put on protective gloves and safety goggles to ensure your safety while working with chemicals and tools.
Taking the time to properly prepare your workspace will save you time and frustration in the long run. It will also provide a clean and organized area for you to work in, allowing you to focus on the task at hand without worrying about damaging your surroundings.
Once you have prepared your workspace, you are ready to move on to the next step: removing the old paint or finish from the stone fireplace.
Step 3: Remove old paint or finish
If your stone fireplace has been previously painted or finished, you’ll need to remove this layer before applying a new coat. Here’s how to remove old paint or finish from your stone fireplace:
- Start by using a paint scraper to gently scrape away any loose or flaking paint. Be careful not to apply too much pressure, as you don’t want to damage the stone surface underneath.
- Once you have removed the loose paint, use sandpaper or a sanding block to smooth out the remaining paint or finish. This will create a rough surface that will help the new paint or stain adhere properly.
- Continue sanding until the stone surface is smooth and free of old paint or finish. It may take some time and effort, depending on the condition and thickness of the existing layer.
- After sanding, use a damp cloth or sponge to wipe away any dust or debris. This will ensure a clean surface for the next steps.
Note: If your stone fireplace is in good condition and doesn’t have any existing paint or finish, you can skip this step and move on to the next one.
Removing the old paint or finish is an important step as it allows the new paint or stain to adhere properly to the stone surface. By taking the time to properly prepare the fireplace, you’ll ensure a long-lasting and high-quality finish.
Once you have successfully removed the old paint or finish, you’re ready to move on to the next step: cleaning the stone surface.
Step 4: Clean the stone surface
Before applying any primer or paint to your stone fireplace, it’s essential to thoroughly clean the surface. Cleaning will remove any dirt, dust, or grease that could affect the adhesion and overall finish of the new coating. Here’s how to clean the stone surface:
- Mix a mild detergent with water in a bucket according to the manufacturer’s instructions. Avoid using harsh chemicals or abrasive cleaners, as they can damage the stone.
- Dip a clean cloth or sponge into the soapy mixture and gently scrub the stone surface. Pay extra attention to areas with noticeable dirt or stains.
- Rinse the stone surface with clean water to remove any soap residue. A hose or a damp cloth can be used for this step.
- Inspect the stone surface for any remaining dirt or stubborn stains. If necessary, repeat the cleaning process until the surface is free from any noticeable marks.
- Allow the stone surface to dry completely before proceeding to the next steps. This may take several hours or even overnight, depending on the climate and ventilation in the room.
Cleaning the stone surface is crucial as it ensures a clean and receptive base for the primer and paint. Removing any dirt or grease will help the new coating adhere properly and achieve a smooth and professional look.
Once the stone surface is clean and dry, it’s time to move on to the next step: repairing any damaged areas on the stone fireplace.
Read more: How To Put Stone On Fireplace
Step 5: Repair any damaged areas
Before applying a new coat of paint or stain to your stone fireplace, it’s important to assess and repair any damaged areas. Whether it’s chipped or cracked stones, missing mortar, or any other imperfections, addressing these issues will ensure a smooth and even finish. Here’s how to repair damaged areas on your stone fireplace:
- If there are any loose stones, carefully remove them from the fireplace. Clean the area underneath to ensure a solid base for reattachment.
- If you have chipped stones, use a stone repair compound or epoxy filler to fill in the damaged areas. Follow the manufacturer’s instructions for application and drying times.
- If the mortar between the stones is crumbling or missing, use a mortar repair mix to fill in the gaps. Apply the mortar with a small trowel, making sure to press it firmly into place.
- Smooth out the repaired areas with a putty knife or a damp cloth to create an even surface. Allow the repairs to dry completely before proceeding.
- Inspect the repaired areas and touch up any remaining imperfections. Use sandpaper or a sanding block to smooth out any rough edges or excess filler.
Repairing any damaged areas on your stone fireplace will ensure a seamless and visually appealing finish. Take your time and follow the instructions carefully to achieve the best results.
Once all the necessary repairs have been made, you’re ready to move on to the next step: applying a stone primer.
Consider using a high-heat paint specifically designed for fireplaces to give your stone fireplace a fresh new look. Be sure to clean the surface thoroughly and prime it before applying the paint for best results.
Step 6: Apply a stone primer
Applying a stone primer is an essential step in redoing a stone fireplace. The primer acts as a bonding agent between the stone surface and the paint or stain, ensuring better adhesion and a longer-lasting finish. Here’s how to apply a stone primer:
- Start by carefully reading and following the manufacturer’s instructions on the primer can. Different primers may have specific application techniques and drying times.
- Using a paintbrush or roller, apply an even coat of primer to the entire stone surface. Make sure to cover all the nooks, crevices, and edges.
- Allow the primer to dry according to the manufacturer’s instructions. This will typically take several hours or overnight.
- If necessary, apply a second coat of primer for better coverage and adhesion. Again, follow the drying times specified by the manufacturer.
- Once the primer is completely dry, inspect the surface for any uneven areas or missed spots. Touch up any areas as needed.
Applying a stone primer is crucial as it creates a smooth and stable base for the subsequent layers of paint or stain. It helps improve the durability and longevity of the finish, ensuring a professional-looking result.
Once the primer is dry and the surface is adequately prepared, you’re ready to move on to the next step: applying the stone paint or stain.
Step 7: Apply stone paint or stain
Whether you prefer a natural stone look or want to add a pop of color to your fireplace, applying stone paint or stain is the next step in redoing your stone fireplace. Here’s how to apply stone paint or stain:
- Choose the type and shade of stone paint or stain that best fits your desired look and matches the overall aesthetic of your room.
- Stir the paint or stain thoroughly to ensure an even color distribution.
- Using a paintbrush or roller, begin applying the stone paint or stain to the surface of the stone. Work in smooth and even strokes, covering one section at a time.
- If desired, apply additional coats to achieve the desired depth of color. Allow each coat to dry completely before applying subsequent coats.
- While applying the paint or stain, take care to blend the edges and seams to achieve a seamless and natural appearance.
- If there are any intricate or hard-to-reach areas, use a smaller brush or a sponge to ensure thorough coverage.
- Allow the stone paint or stain to dry according to the manufacturer’s instructions. This can take several hours or more depending on the product.
Applying stone paint or stain will transform the look of your stone fireplace, giving it a fresh and updated appearance. It’s important to follow the instructions on the paint or stain can and apply it carefully to achieve the desired result.
Once the paint or stain is dry, it’s time to move on to the next step: adding a protective sealant.
Step 8: Add a protective sealant
Adding a protective sealant is a crucial step in preserving and prolonging the lifespan of your newly refinished stone fireplace. The sealant acts as a barrier, protecting the paint or stain from moisture, stains, and wear and tear. Here’s how to add a protective sealant:
- Choose a sealant specifically designed for stone surfaces. Look for one that is water-resistant and provides long-lasting protection.
- Read and follow the instructions on the sealant container carefully. Different sealants may have different application techniques and drying times.
- Using a paintbrush or sponge, apply an even coat of sealant to the entire surface of the stone fireplace. Make sure to cover all the painted or stained areas as well as the grout lines and crevices.
- Allow the sealant to dry according to the manufacturer’s instructions. This may take several hours or overnight.
- If necessary, apply a second coat of sealant for added protection. Follow the drying times specified by the manufacturer.
- After the sealant is completely dry, inspect the surface for any missed spots or uneven application. Touch up as needed.
Adding a protective sealant will enhance the durability and longevity of your refinished stone fireplace. It will help guard against moisture, stains, and damage, ensuring that your fireplace looks beautiful for years to come.
Once the sealant is dry, you’re ready for the final step: reassembling the fireplace.
Read more: How To Decorate A Stone Fireplace
Step 9: Reassemble the fireplace
After completing all the necessary refinishing steps, it’s time to reassemble your stone fireplace and bring it back to its original glory. Here’s how to reassemble the fireplace:
- Begin by carefully placing back any removed stones or components. Make sure they fit securely into their original positions.
- If you had to remove any hardware such as mantels or doors, reattach them using the appropriate tools and hardware.
- Inspect the fireplace for any loose stones or areas that may need additional adjustment or reinforcement. Make any necessary repairs or adjustments before proceeding.
- Take a step back and evaluate the overall look of your refinished stone fireplace. Make sure the color, finish, and arrangement of the stones are to your liking. If not, consider making any final adjustments or touch-ups.
- Once you are satisfied with the reassembled fireplace, remove any drop cloths or plastic sheets and clean up the surrounding area.
- Enjoy your newly refinished stone fireplace! It will now serve as a beautiful focal point in your room, adding warmth and character to the space.
By following these steps, you have successfully completed the process of redoing your stone fireplace. Your hard work and attention to detail have paid off, resulting in a stunning transformation that enhances the overall aesthetic of your home.
Remember to properly maintain your refinished stone fireplace by regularly cleaning and protecting it. This will help extend its lifespan and keep it looking its best for years to come.
Congratulations on a job well done!
Conclusion
Redoing a stone fireplace can be a rewarding project that refreshes the look and feel of your living space. Whether you want to update the color, restore the natural beauty of the stone, or transform the fireplace with a vibrant tone, following the right steps is crucial to achieving a successful result.
In this comprehensive guide, we have walked you through the process of redoing a stone fireplace from start to finish. We covered everything from gathering the necessary materials and preparing the workspace to removing old paint or finish, cleaning the stone surface, repairing any damaged areas, applying a stone primer, and adding a protective sealant. The final step is reassembling the fireplace to admire the stunning transformation.
Remember to take your time during each step, ensuring proper ventilation and safety precautions are in place. Carefully choose the materials, such as stone paint or stain and sealant, that are specifically designed for use on fireplace surfaces. Follow the manufacturer’s instructions for each product, allowing sufficient drying time between coats and before reassembling.
By redoing your stone fireplace, you can create a captivating centerpiece that adds warmth and character to your room. Whether it’s a cozy rustic charm or a modern focal point, the possibilities are endless. Enjoy the process, be creative, and don’t be afraid to infuse your personal style into the project.
With proper maintenance, your refinished stone fireplace will continue to be a stunning element of your home for years to come. Regular cleaning and upkeep will help preserve its beauty and ensure its longevity.
Now it’s time to gather your materials, put on your gloves, and embark on the journey of transforming your stone fireplace into a showstopping feature that enhances the ambiance of your living space. Happy remodeling!
Frequently Asked Questions about How To Redo A Stone Fireplace
Was this page helpful?
At Storables.com, we guarantee accurate and reliable information. Our content, validated by Expert Board Contributors, is crafted following stringent Editorial Policies. We're committed to providing you with well-researched, expert-backed insights for all your informational needs.


0 thoughts on “How To Redo A Stone Fireplace”