Articles
How To Whitewash A Stone Fireplace
Modified: August 17, 2024
Learn how to transform your fireplace stone with a beautiful whitewash technique. Our articles provide step-by-step instructions and tips for achieving a stunning result.
(Many of the links in this article redirect to a specific reviewed product. Your purchase of these products through affiliate links helps to generate commission for Storables.com, at no extra cost. Learn more)
Introduction
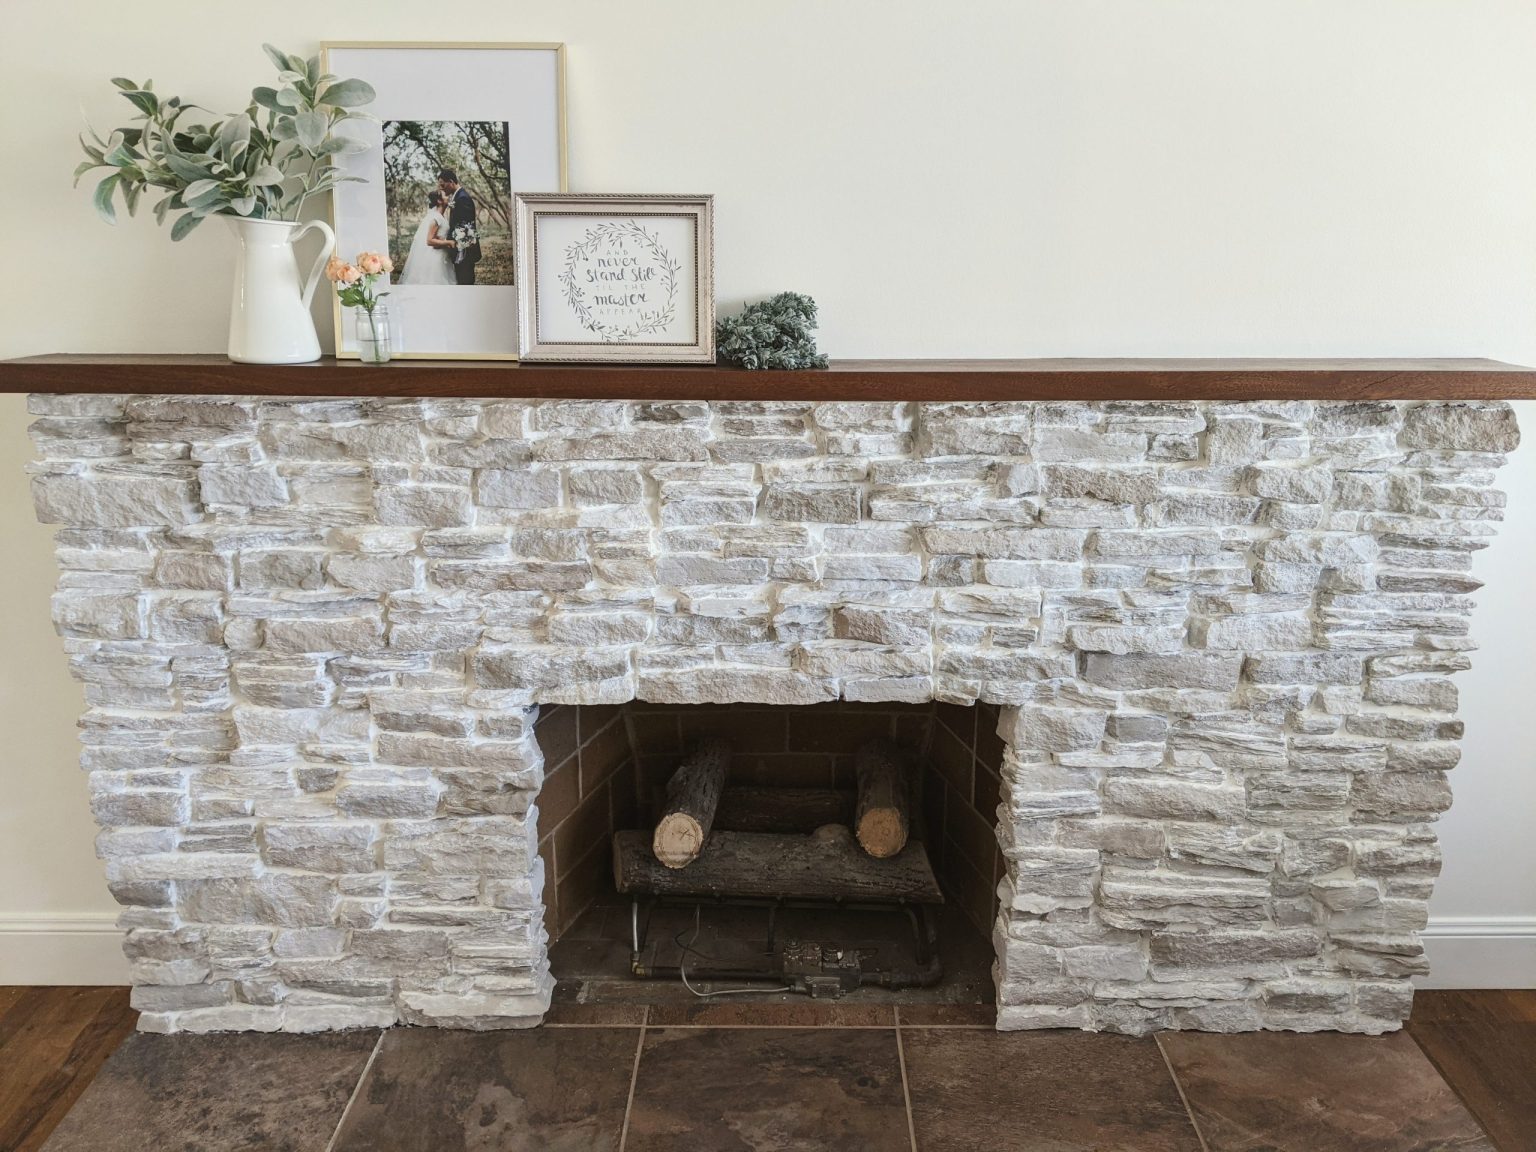
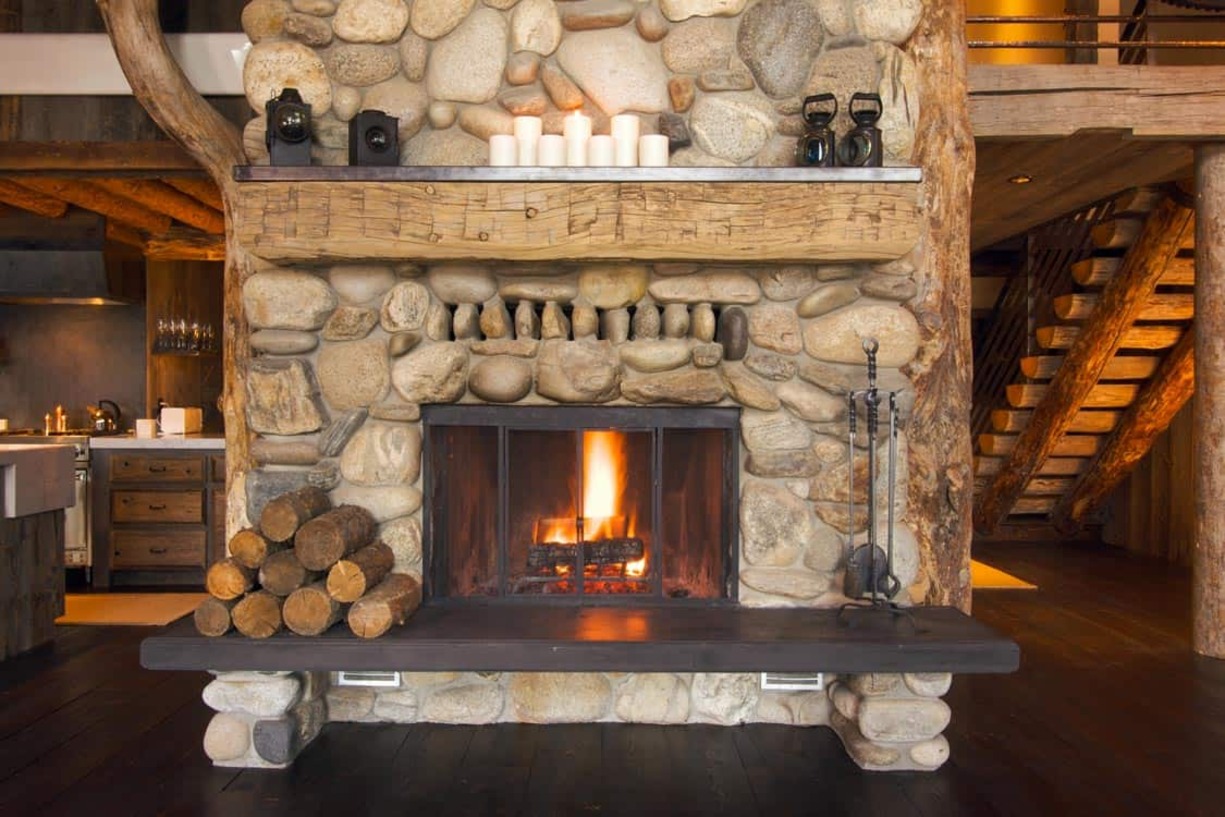
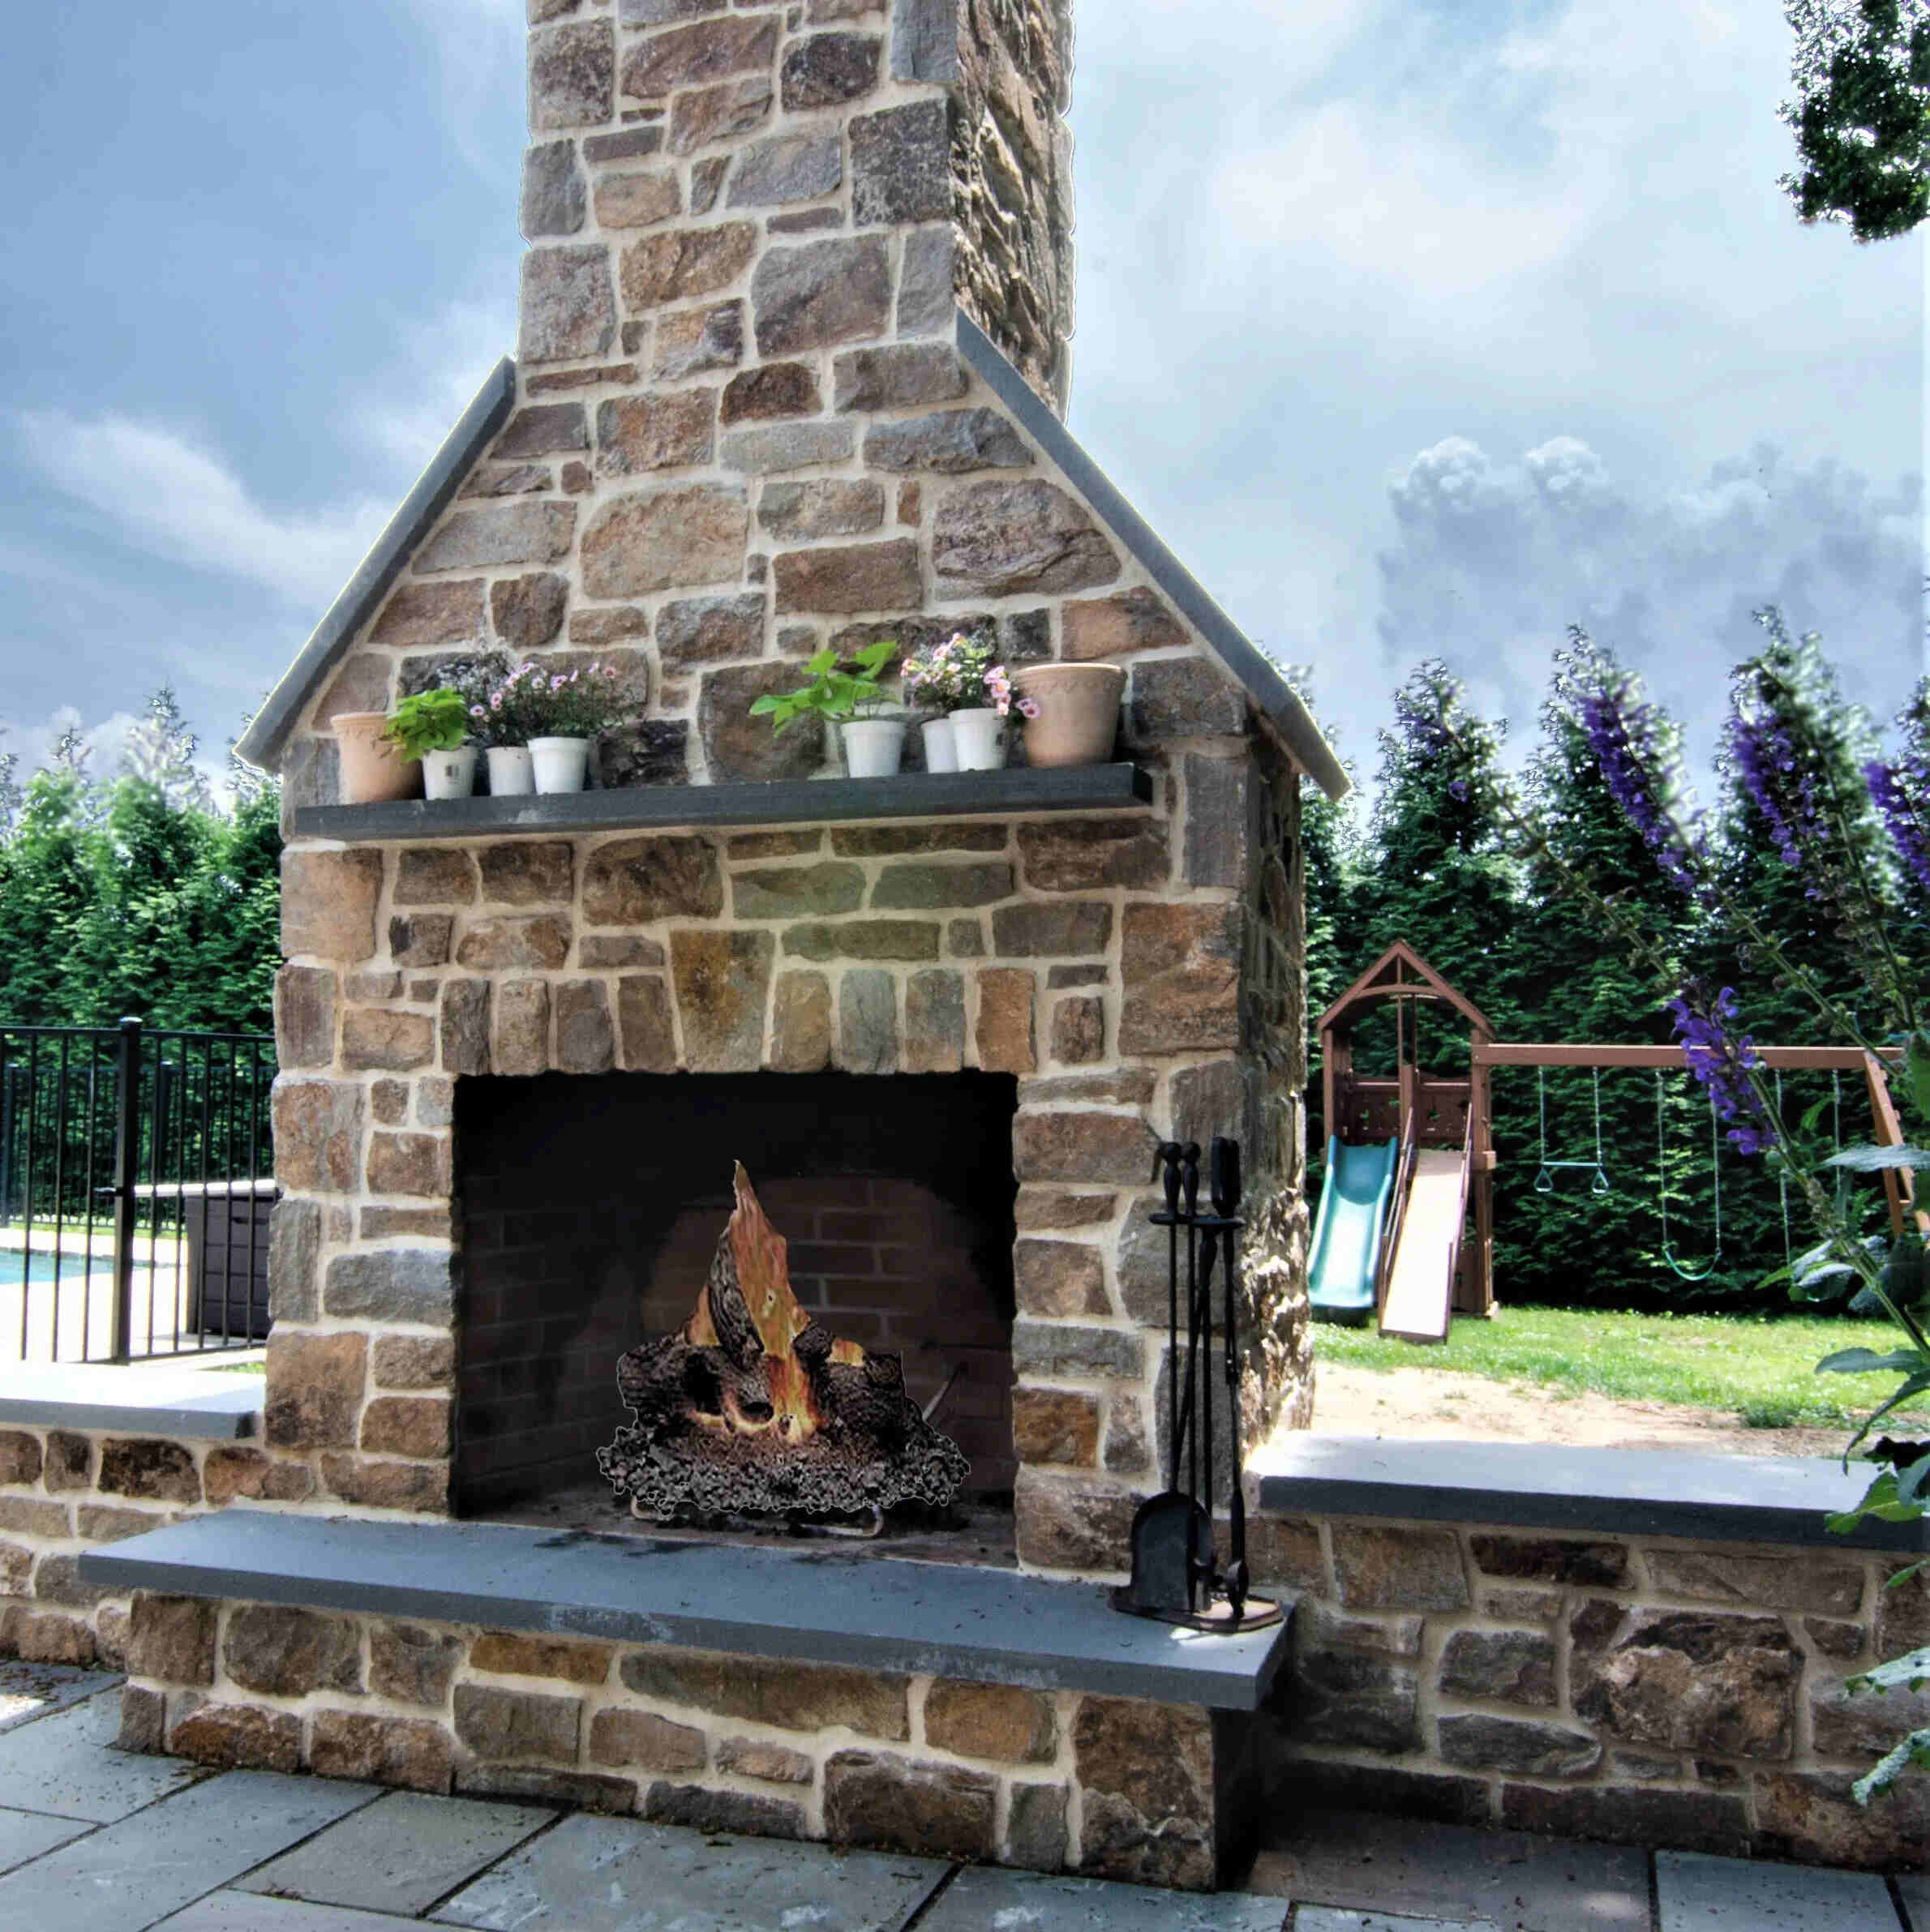
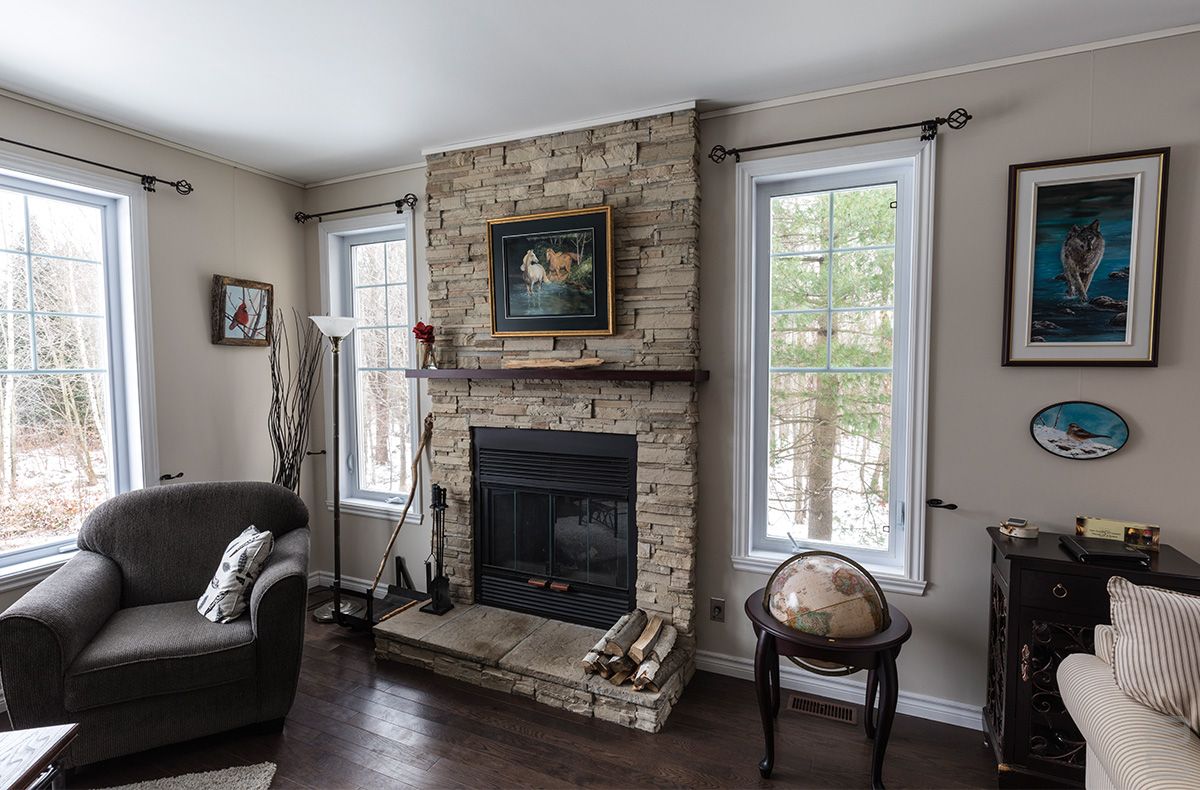
Welcome to this tutorial on how to whitewash your fireplace stone. Whitewashing is a popular technique that can transform the look of a stone fireplace, giving it a fresh and updated appearance. Whether you have a dated brick fireplace or a natural stone one that needs a makeover, whitewashing is an affordable and easy method to consider.
Whitewashing is a technique that involves applying a thin layer of diluted paint or whitewash solution to the surface of the stone. It allows the texture and natural beauty of the stone to show through while providing a soft, muted finish. The end result is a fireplace that looks elegant and rustic, adding charm and character to any space.
In this article, we will guide you through the step-by-step process of whitewashing your fireplace stone. From preparing the fireplace to applying the whitewash and adding the finishing touches, we aim to provide you with all the information you need to achieve a professional-looking result.
Before we begin, let’s take a look at the materials you will need for this project.
Key Takeaways:
- Transform your fireplace with a charming and rustic whitewashed finish, adding elegance and character to your living space. Embrace creativity and personalize the whitewash to suit your style and preferences.
- Enjoy a cost-effective and easy DIY project that instantly updates your home’s ambiance. Whitewashing your fireplace stone creates a stunning centerpiece, complementing your interior design and creating a cozy atmosphere.
Read more: How To Whitewash A Brick Fireplace
Materials Needed
Before starting the whitewashing process, gather the following materials:
- A drop cloth or plastic sheet to protect the surrounding area
- Painter’s tape to protect any adjacent surfaces that you don’t want to get whitewash on
- A sponge or cloth for cleaning the stone surface
- A bucket or container for mixing the whitewash solution
- White latex paint or specialized whitewash paint
- Water for diluting the paint
- A paintbrush or roller for applying the whitewash
- Old rags or paper towels for wiping away excess whitewash
- Protective gloves to keep your hands clean and safe
Make sure you have all these materials on hand before starting the whitewashing process. It’s important to use the right materials to achieve the desired outcome and ensure a smooth application.
Now that you have gathered your materials, let’s move on to the first step of preparing the fireplace.
Step 1: Preparing the Fireplace
The first step in the whitewashing process is to prepare your fireplace by cleaning the stone surface thoroughly. This will ensure that the whitewash adheres properly and the final result is smooth and even.
Start by covering the surrounding area with a drop cloth or a plastic sheet to catch any drips or spills. This will protect your flooring or furniture from getting stained.
Next, use a sponge or cloth to clean the stone surface. Remove any dust, dirt, or soot buildup from the fireplace. You can also use a mild soap and water solution if the stone is particularly dirty.
Once the surface is clean, allow it to dry completely before moving on to the next step.
Now that your fireplace is clean and dry, it’s time to mix the whitewash solution. This will be the base for your whitewashing application.
Proceed to the next step to learn how to mix the whitewash solution and begin the whitewashing process.
Step 2: Mixing the Whitewash Solution
Before applying the whitewash, you need to mix a solution that will create the desired effect on your fireplace stone.
To create the whitewash solution, you have a couple of options. One option is to use white latex paint that has been diluted with water. The ratio of paint to water will depend on the level of transparency you want to achieve. Start with a 50/50 mixture and adjust as needed to achieve your desired result. Alternatively, you can purchase specialized whitewash paint that is specifically formulated for this technique.
In a bucket or container, pour the white latex paint or the specialized whitewash paint. Gradually add water while stirring continuously until you achieve the desired consistency. The whitewash solution should be thin enough to spread easily but not too watery.
It’s always a good idea to test the application and coverage of the whitewash solution on a small, inconspicuous area of the stone before applying it to the entire fireplace. This will help you determine if any adjustments need to be made to the consistency or color.
Once you are satisfied with the whitewash solution, you are ready to move on to the next step: applying the whitewash to your fireplace stone.
Mix equal parts of water and white paint to create a thin whitewash solution. Use a brush to apply the whitewash to the stone, working in small sections. Wipe off excess with a rag for a more natural look.
Step 3: Applying the Whitewash
Now that you have your whitewash solution mixed and ready, it’s time to apply it to the fireplace stone. Follow these steps:
- Start by applying painter’s tape to any adjacent surfaces, such as the walls or mantel, that you don’t want to get whitewash on. This will help protect them from accidental splatters or drips.
- Dip your paintbrush or roller into the whitewash solution, making sure to remove any excess. Begin applying the whitewash to the stone, working in small sections at a time.
- Use long, smooth brushstrokes or roller movements to evenly spread the whitewash over the stone surface. Make sure to get into all the nooks and crevices of the stone to ensure complete coverage.
- If desired, you can vary the intensity of the whitewash by applying multiple coats. Allow each coat to dry before applying the next one.
- Continue applying the whitewash until the entire fireplace stone is covered to your liking.
Remember, you have control over the level of transparency and coverage you want to achieve. If you prefer a more translucent finish, apply a thin layer of the whitewash. If you want a more substantial and opaque look, apply additional coats until you are satisfied.
Once you have finished applying the whitewash, allow it to dry completely before moving on to the next step.
In the next step, we will learn how to remove any excess whitewash to achieve a more natural and textured appearance.
Read more: How To Put Stone On Fireplace
Step 4: Removing Excess Whitewash
After applying the whitewash to your fireplace stone, it’s important to remove any excess to enhance the natural texture and appearance of the stone. Follow these steps to remove excess whitewash:
- Take a clean, damp cloth or sponge and gently wipe over the surface of the whitewashed stone. This will help remove any build-up and create a more subtle, blended effect.
- Pay special attention to the crevices, edges, and corners of the stone, as these areas tend to accumulate more whitewash. Gently wipe away the excess until you achieve the desired look.
- If you accidentally remove too much whitewash in certain areas, don’t worry! You can always touch up those spots by applying a small amount of the whitewash solution with a brush or sponge.
- Continue this process until you are satisfied with the overall look and texture of your whitewashed fireplace.
Remember that the goal of removing excess whitewash is to create a more natural and organic appearance. It’s all about finding the right balance where the stone texture shines through while still enjoying the soft and muted effect of the whitewash.
Once you are happy with the results, allow the whitewash to dry completely before moving on to the final step: adding the finishing touches.
Step 5: Finishing Touches
Now that you have successfully whitewashed your fireplace stone, it’s time to add the finishing touches to complete the transformation. Follow these steps to enhance the overall look:
- Remove the painter’s tape that you placed to protect adjacent surfaces before the whitewashing process.
- Inspect the whitewashed fireplace for any areas that may need touch-ups. If you notice any unevenness or spots where the whitewash is thin, use a brush or sponge to apply a small amount of the whitewash solution to those areas.
- Consider adding a protective topcoat to seal the whitewash and protect it from everyday wear and tear. You can choose a clear matte or satin sealant specifically designed for use on painted surfaces.
- Once the topcoat is dry, carefully clean up any remaining debris or dust around the fireplace to showcase your newly whitewashed stone.
- Finally, step back and enjoy the refreshed and updated look of your fireplace. It will now be a focal point that adds style and elegance to your living space.
Remember that over time, the whitewashed finish may naturally wear off or change. You can always touch up or reapply the whitewash as needed to maintain your desired look.
Congratulations! You have successfully completed the process of whitewashing your fireplace stone. It’s a rewarding DIY project that can dramatically transform the ambiance of your room.
If you enjoyed this tutorial, consider exploring other creative ways to update and personalize your space. From wall paintings to furniture refinishing, there is no limit to the possibilities when it comes to expressing your style and making your living environment truly yours.
Happy whitewashing!
Conclusion
Whitewashing your fireplace stone is a fantastic way to revitalize the look of your living space. With just a few simple steps and some basic materials, you can transform a dull and outdated fireplace into a focal point that adds charm and character to your room.
By preparing the fireplace, mixing the whitewash solution, and applying the whitewash with care, you can achieve a beautiful, soft, and muted finish that still allows the natural texture of the stone to shine through. Removing excess whitewash and adding the finishing touches will further enhance the overall look and ensure a professional and polished result.
Remember to embrace your creativity and customize the whitewash to suit your personal style and preferences. Experiment with different levels of transparency and coverage to achieve the perfect look for your space.
Whitewashing your fireplace stone is a cost-effective and easy technique that can instantly update the appearance of your home. Whether you have a brick fireplace or natural stone, this DIY project allows you to transform it into a stunning centerpiece that complements your interior design and creates a cozy and inviting atmosphere.
So go ahead and embark on your whitewashing journey. Enjoy the process and take pride in the beautiful end result. Your newly whitewashed fireplace stone will undoubtedly become a beloved feature of your home for years to come.
Frequently Asked Questions about How To Whitewash A Stone Fireplace
Was this page helpful?
At Storables.com, we guarantee accurate and reliable information. Our content, validated by Expert Board Contributors, is crafted following stringent Editorial Policies. We're committed to providing you with well-researched, expert-backed insights for all your informational needs.


0 thoughts on “How To Whitewash A Stone Fireplace”