Home>Construction & Tools>Building Materials>How To Refinish A Brick Fireplace With Stone
Building Materials
How To Refinish A Brick Fireplace With Stone
Modified: August 20, 2024
Learn how to transform your brick fireplace with stone using high-quality building materials. Follow our step-by-step guide for a stunning fireplace renovation.
(Many of the links in this article redirect to a specific reviewed product. Your purchase of these products through affiliate links helps to generate commission for Storables.com, at no extra cost. Learn more)
Introduction
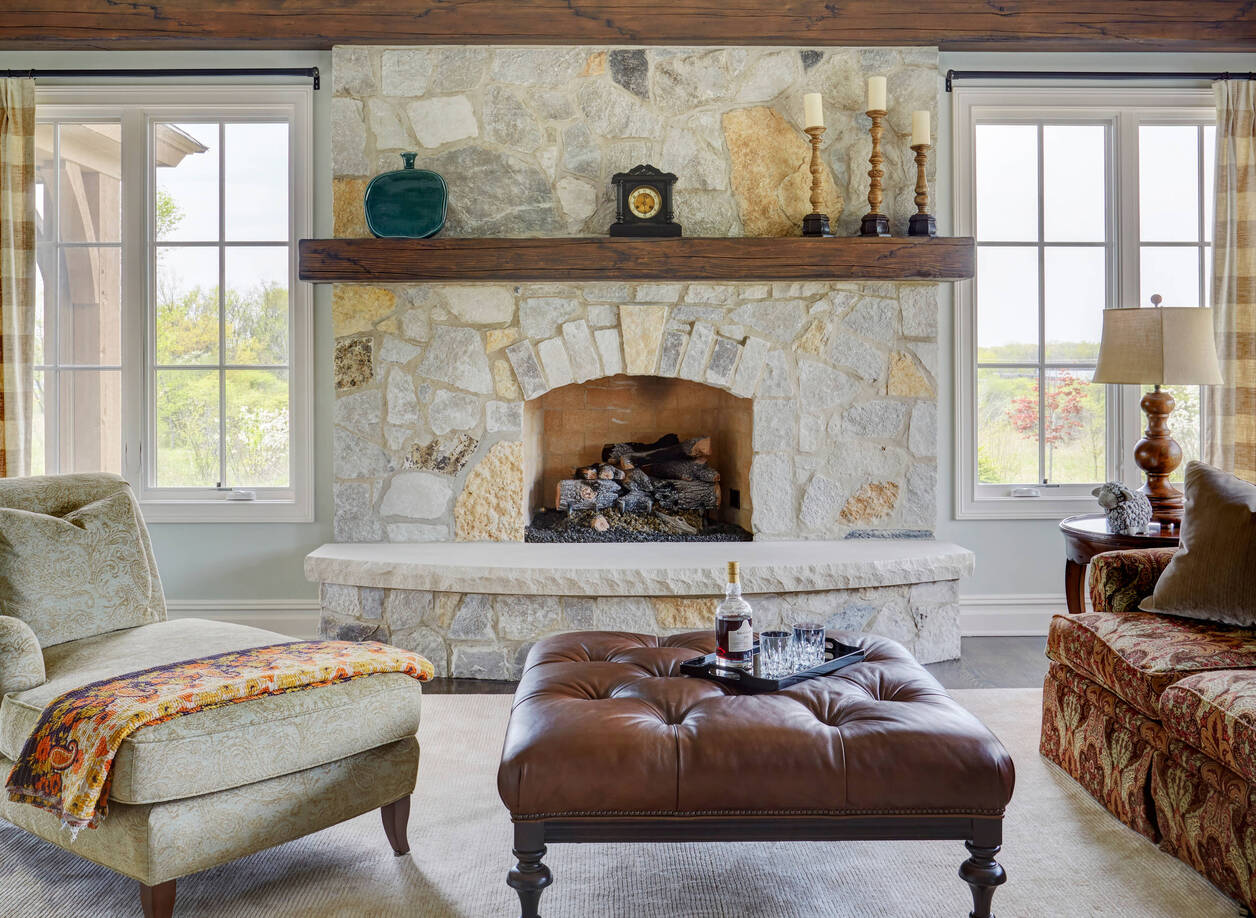
Are you looking to elevate the ambiance of your living space by transforming your outdated brick fireplace into a stunning focal point? Refinishing a brick fireplace with stone veneer can breathe new life into your home, infusing it with warmth, character, and timeless elegance. Whether you seek to create a rustic, traditional, or modern aesthetic, this renovation project offers a remarkable opportunity to revitalize your interior design.
Refinishing a brick fireplace with stone veneer is a rewarding endeavor that not only enhances the visual appeal of your home but also adds value to your property. With the right materials, tools, and guidance, you can embark on this transformational journey and achieve professional-looking results without the need for extensive masonry skills.
In this comprehensive guide, we will walk you through the step-by-step process of refinishing your brick fireplace with stone veneer. From preparing the fireplace surface to applying the stone veneer, grouting, and sealing, we will cover each stage in detail, empowering you to embark on this exciting home improvement project with confidence.
So, roll up your sleeves, unleash your creativity, and let's embark on this transformative journey to revamp your brick fireplace into a captivating focal point that exudes charm and sophistication.
Key Takeaways:
- Transform your outdated brick fireplace into a stunning focal point by refinishing it with stone veneer. Elevate your home’s aesthetic appeal and add value to your property with this rewarding and achievable DIY project.
- With meticulous preparation and attention to detail, you can expertly apply stone veneer, grout, and seal your fireplace, creating a captivating focal point that exudes quality craftsmanship and timeless elegance. Embrace the warmth and charm of your newly transformed fireplace for years to come.
Materials Needed
Before embarking on your fireplace refinishing project, it is essential to gather the necessary materials and tools to ensure a smooth and successful transformation. Here is a comprehensive list of the materials you will need:
- Stone Veneer: Select high-quality stone veneer that complements your interior design style. The quantity will depend on the size of your fireplace.
- Adhesive: Choose a suitable adhesive, such as a polymer-modified mortar, to securely attach the stone veneer to the brick surface.
- Grout: Opt for grout that matches the color of your chosen stone veneer to achieve a cohesive and polished look.
- Primer: Use a high-quality bonding primer to prepare the brick surface for the application of the stone veneer.
- Sealer: Invest in a premium stone sealer to protect the finished project and enhance the natural beauty of the stone.
- Painter’s Tape: Utilize painter’s tape to protect adjacent surfaces and ensure clean, precise edges.
- Protective Gear: Prioritize safety by wearing gloves, safety glasses, and a dust mask during the refinishing process.
- Tools: Gather essential tools such as a trowel, notched trowel, grout float, bucket, sponge, and a wet saw for cutting the stone veneer to size.
- Cleaner: Prepare the fireplace surface by using a suitable cleaner to remove dirt, soot, and any existing sealants.
- Sandpaper: Have sandpaper on hand to smooth any rough areas on the brick surface before priming.
By ensuring that you have all the necessary materials and tools at your disposal, you can approach the refinishing project with confidence and set the stage for a successful and visually captivating transformation.
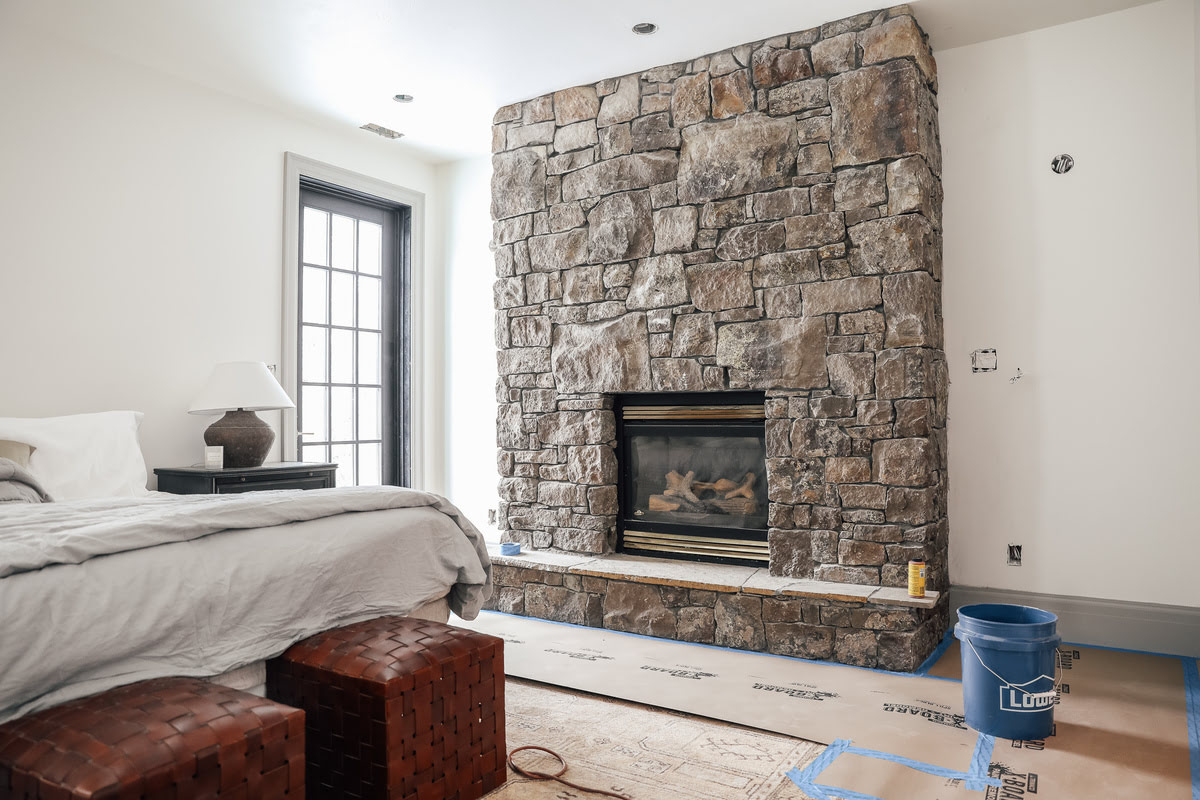
Preparing the Fireplace
Before diving into the application of the stone veneer, it is crucial to prepare the brick fireplace surface meticulously to ensure optimal adhesion and a flawless end result. Follow these essential steps to ready the fireplace for the transformative refinishing process:
- Clean the Surface: Begin by thoroughly cleaning the brick surface using a suitable cleaner to eliminate dirt, soot, and any existing sealants. This step is vital to promote strong adhesion and ensure a smooth application of the stone veneer.
- Inspect and Repair: Carefully inspect the brick surface for any cracks, loose mortar, or imperfections. Address any issues by repairing the mortar and ensuring that the surface is structurally sound and free from defects.
- Smooth Rough Areas: Use sandpaper to smooth any rough or uneven areas on the brick surface. This step is essential for creating a level and uniform base for the application of the stone veneer.
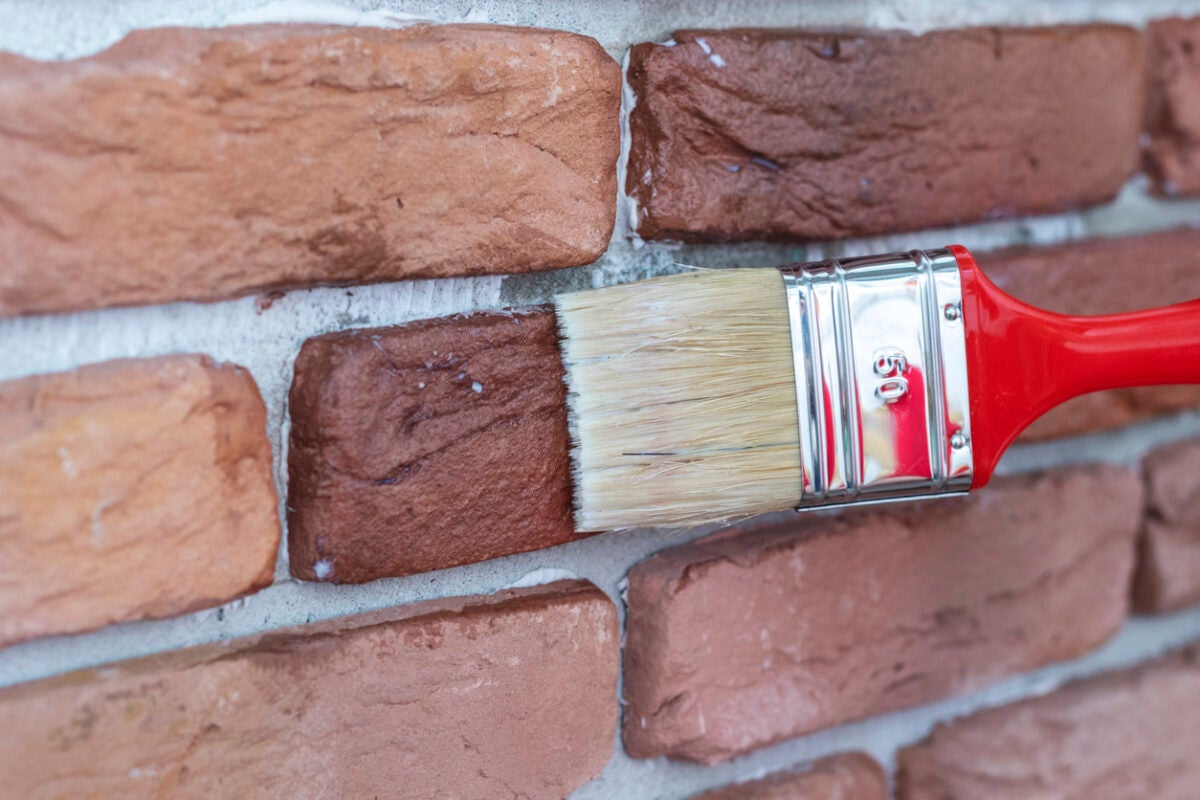
- Apply Bonding Primer: Coat the cleaned and prepped surface with a high-quality bonding primer. The primer enhances adhesion and promotes a strong bond between the brick and the stone veneer, ensuring long-lasting results.
- Protect Surrounding Areas: Use painter’s tape to protect adjacent surfaces, such as walls and flooring, from accidental adhesive or grout spills during the application process.
By meticulously preparing the fireplace surface, you set the stage for a successful and visually stunning refinishing project. The attention to detail during this preparatory phase lays the foundation for a seamless application of the stone veneer, ensuring a professional-looking end result that exudes quality and craftsmanship.
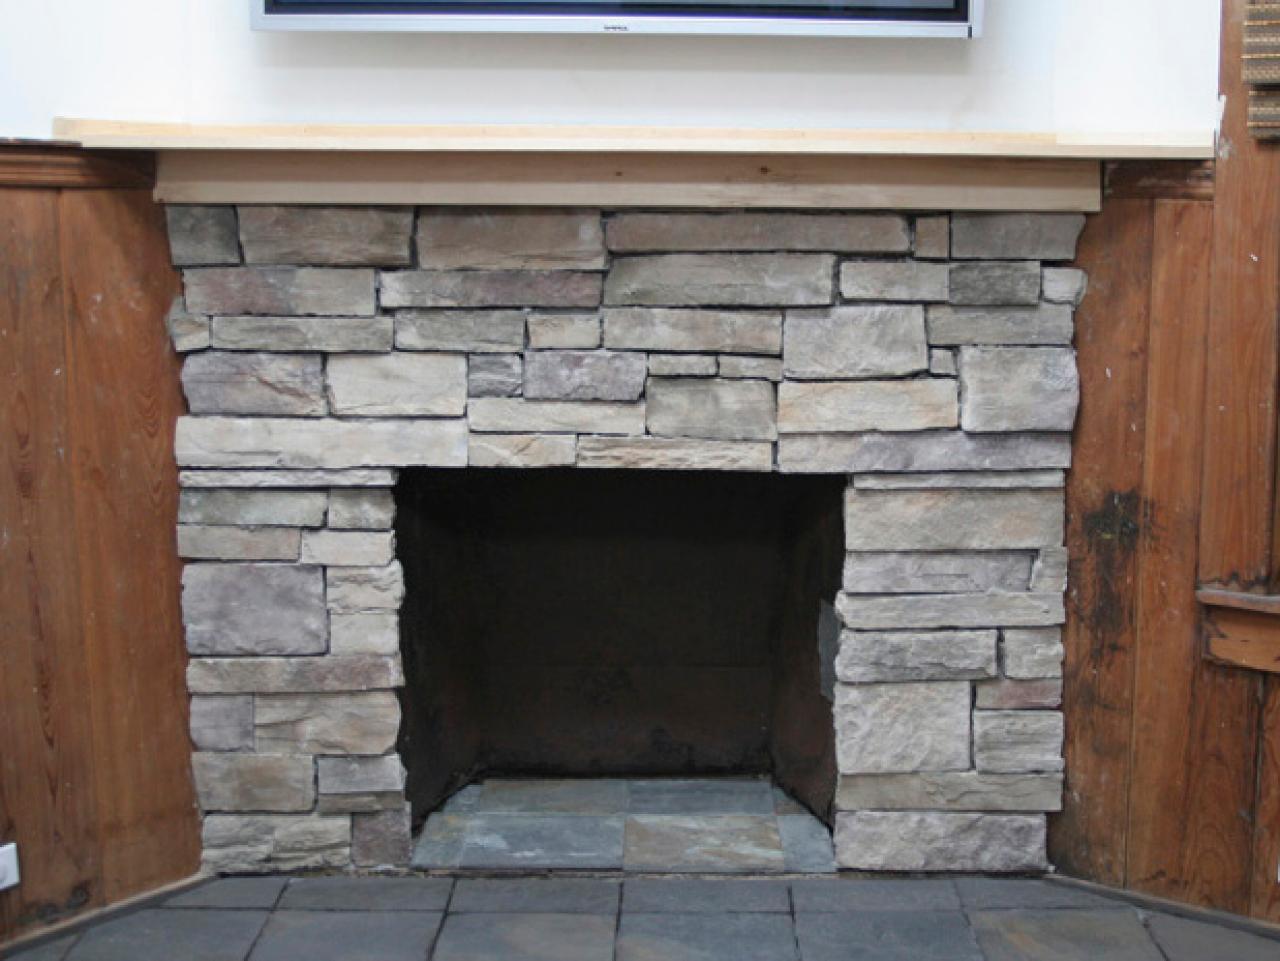
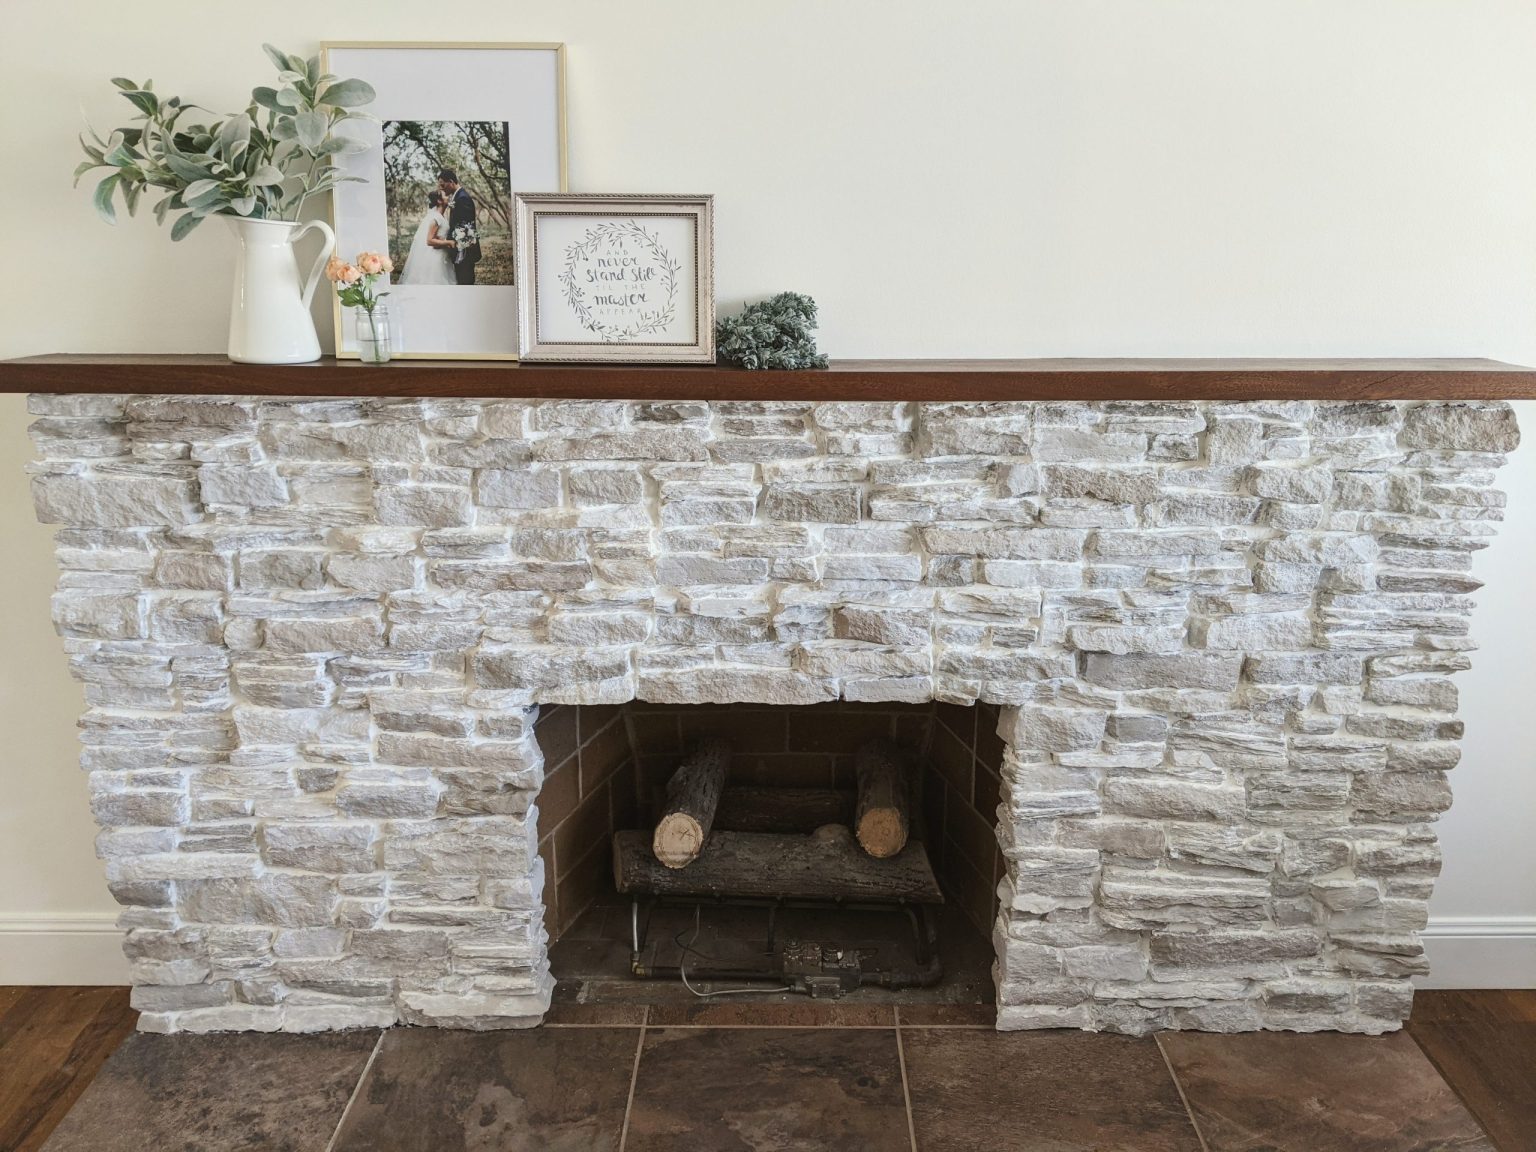
Applying the Stone Veneer
With the fireplace surface meticulously prepared, it’s time to embark on the transformative process of applying the stone veneer. This phase requires precision, patience, and a keen eye for detail to achieve a striking and professional finish. Follow these steps to expertly apply the stone veneer to your fireplace:
- Prepare the Adhesive: Mix the adhesive according to the manufacturer’s instructions, ensuring the proper consistency for optimal adhesion.
- Apply Adhesive to the Brick: Using a trowel, spread a layer of adhesive onto the prepared brick surface. Work in small sections to prevent the adhesive from drying out before the stone veneer is applied.
- Position the Stone Veneer: Carefully place the stone veneer pieces onto the adhesive, ensuring a snug fit and maintaining consistent spacing between the stones for a balanced and visually appealing layout.
- Secure the Veneer: Gently press the stone veneer into the adhesive, ensuring a firm bond with the brick surface. Use a rubber mallet to lightly tap the stones into place, if necessary, to achieve a level and uniform installation.
- Cut and Trim: Utilize a wet saw to cut the stone veneer pieces to the required size, ensuring precise fits around the fireplace opening and corners for a seamless and professional appearance.
- Work Methodically: Progress methodically across the fireplace surface, applying adhesive and affixing the stone veneer in manageable sections to maintain control and achieve consistent results.
As you expertly apply the stone veneer, take the time to step back and assess the progress, ensuring that the layout is visually appealing and harmonizes with your design vision. By approaching this phase with precision and attention to detail, you can achieve a stunning transformation that elevates the aesthetic appeal of your living space.
When refinishing a brick fireplace with stone, make sure to thoroughly clean the surface and apply a bonding agent before adding the stone veneer. This will ensure a strong and durable finish.
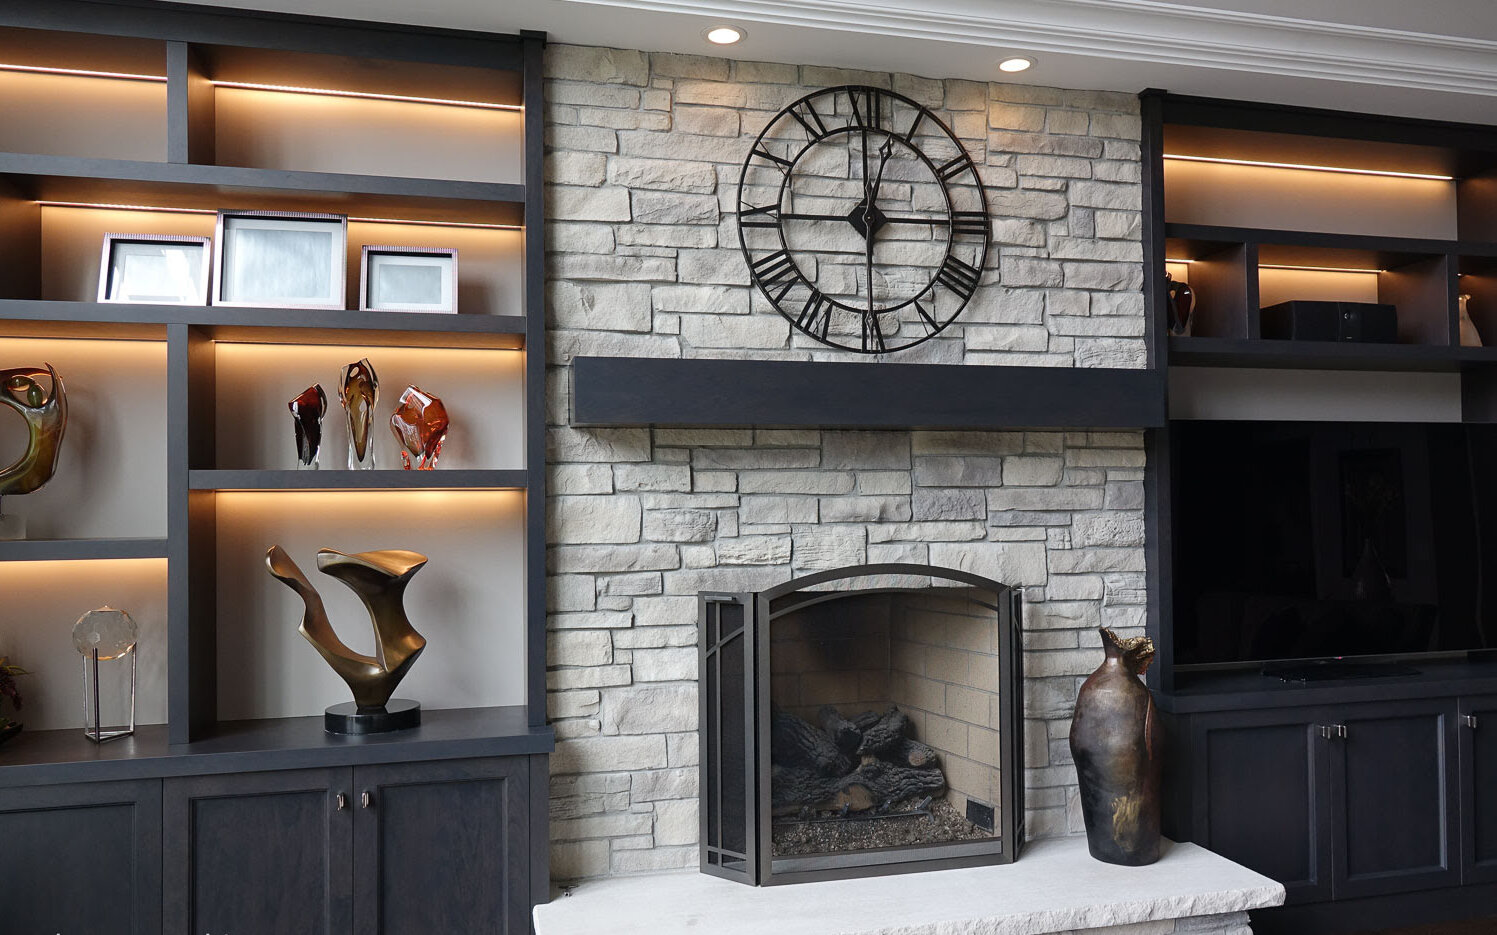
Grouting the Stone
Once the stone veneer is securely in place, the next crucial step in the refinishing process is grouting. Grout not only enhances the visual appeal of the stone but also reinforces the structural integrity of the installation. Follow these steps to expertly grout the stone veneer and achieve a polished and cohesive finish:
- Prepare the Grout: Mix the grout to the desired consistency, ensuring that it is neither too dry nor too runny for optimal application.
- Apply Grout to the Joints: Using a grout float, carefully pack the grout into the joints between the stone veneer pieces, ensuring thorough coverage and a uniform appearance.
- Work in Sections: Grout the stone veneer in manageable sections, preventing the grout from drying out before it can be properly smoothed and finished.
- Remove Excess Grout: After allowing the grout to set for a brief period, use a damp sponge to gently remove excess grout from the stone surfaces while smoothing and shaping the grout lines for a clean and professional look.
- Final Cleaning: Once the grout has set, perform a final cleaning of the stone surface to remove any remaining grout residue and achieve a pristine finish.
By meticulously grouting the stone veneer, you not only enhance the visual impact of the fireplace but also ensure the longevity and durability of the installation. The grouting phase represents the final touch that brings the entire refinishing project together, resulting in a stunning and cohesive transformation that elevates the aesthetic appeal of your living space.
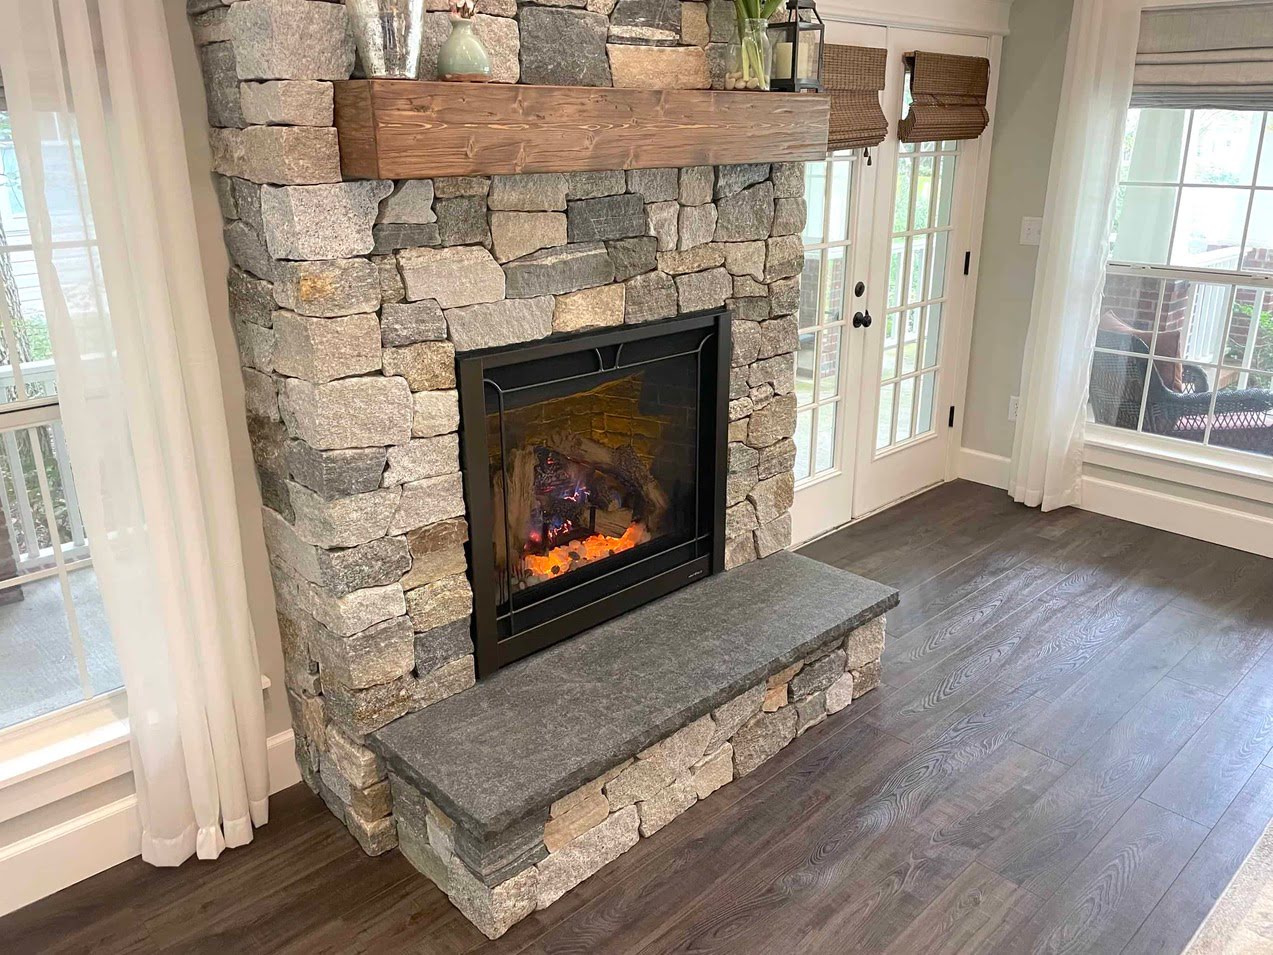
Sealing the Stone
As the refinishing project nears completion, the crucial final step involves sealing the stone veneer to protect and enhance its natural beauty. Sealing the stone not only safeguards it against stains and moisture but also enriches its color and texture, resulting in a lasting and visually captivating finish. Follow these essential steps to expertly seal the stone veneer:
- Select the Appropriate Sealer: Choose a high-quality stone sealer suitable for the specific type of stone veneer used, ensuring compatibility and optimal protection.
- Prepare the Surface: Ensure that the stone veneer surface is clean, dry, and free from any grout residue before applying the sealer.
- Apply the Sealer: Using a brush, roller, or sprayer, evenly apply the sealer to the stone veneer, working in manageable sections to ensure thorough coverage.
- Allow for Absorption: Allow the sealer to penetrate the stone for the recommended time, ensuring that it is absorbed to provide maximum protection and enhancement.
- Remove Excess Sealer: After the absorption period, gently wipe away any excess sealer from the stone surface to prevent a hazy or uneven finish.
- Final Inspection: Once the sealer has fully dried, inspect the stone veneer to ensure that it exhibits the desired enhanced color and texture, as well as a protective seal against potential damage.
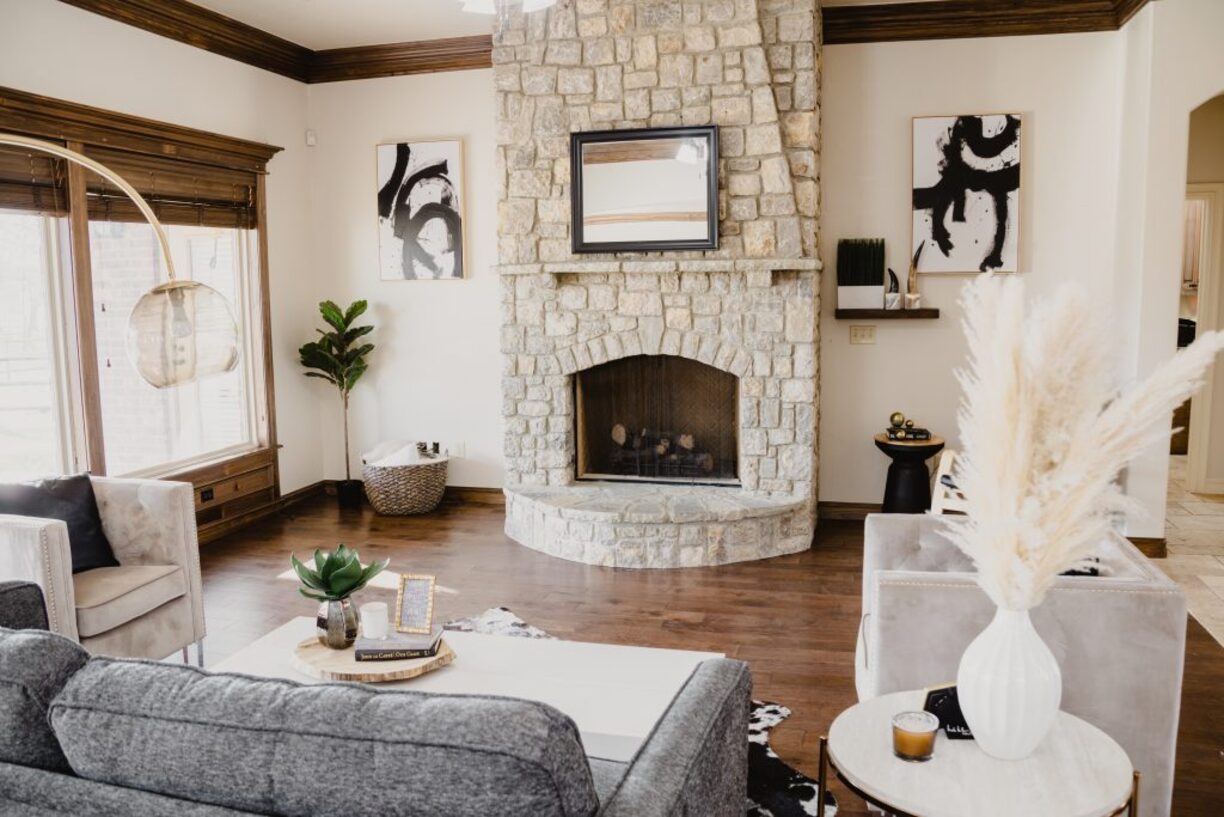
By expertly sealing the stone veneer, you not only safeguard the beauty of your fireplace but also ensure that the refinishing project stands the test of time. The sealing process represents the final touch that preserves and elevates the natural allure of the stone, culminating in a visually striking and enduring enhancement to your living space.
Conclusion
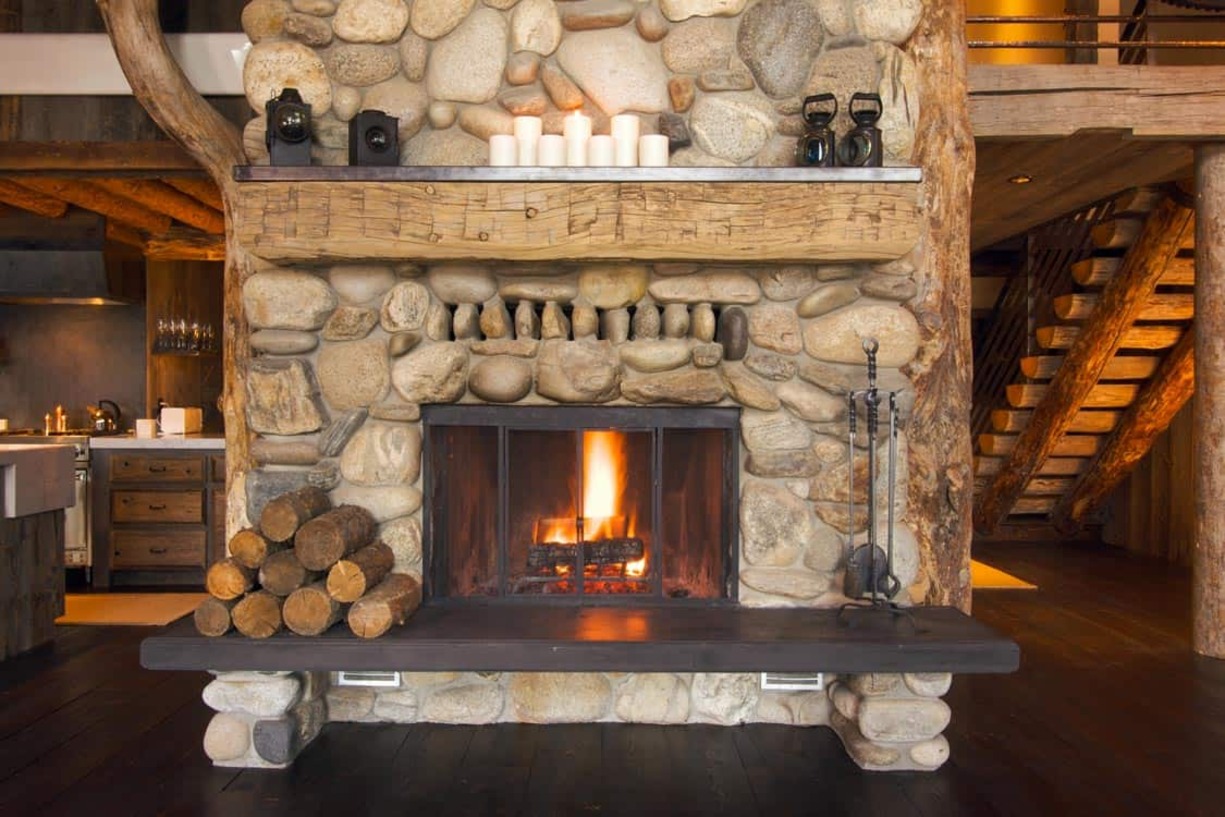
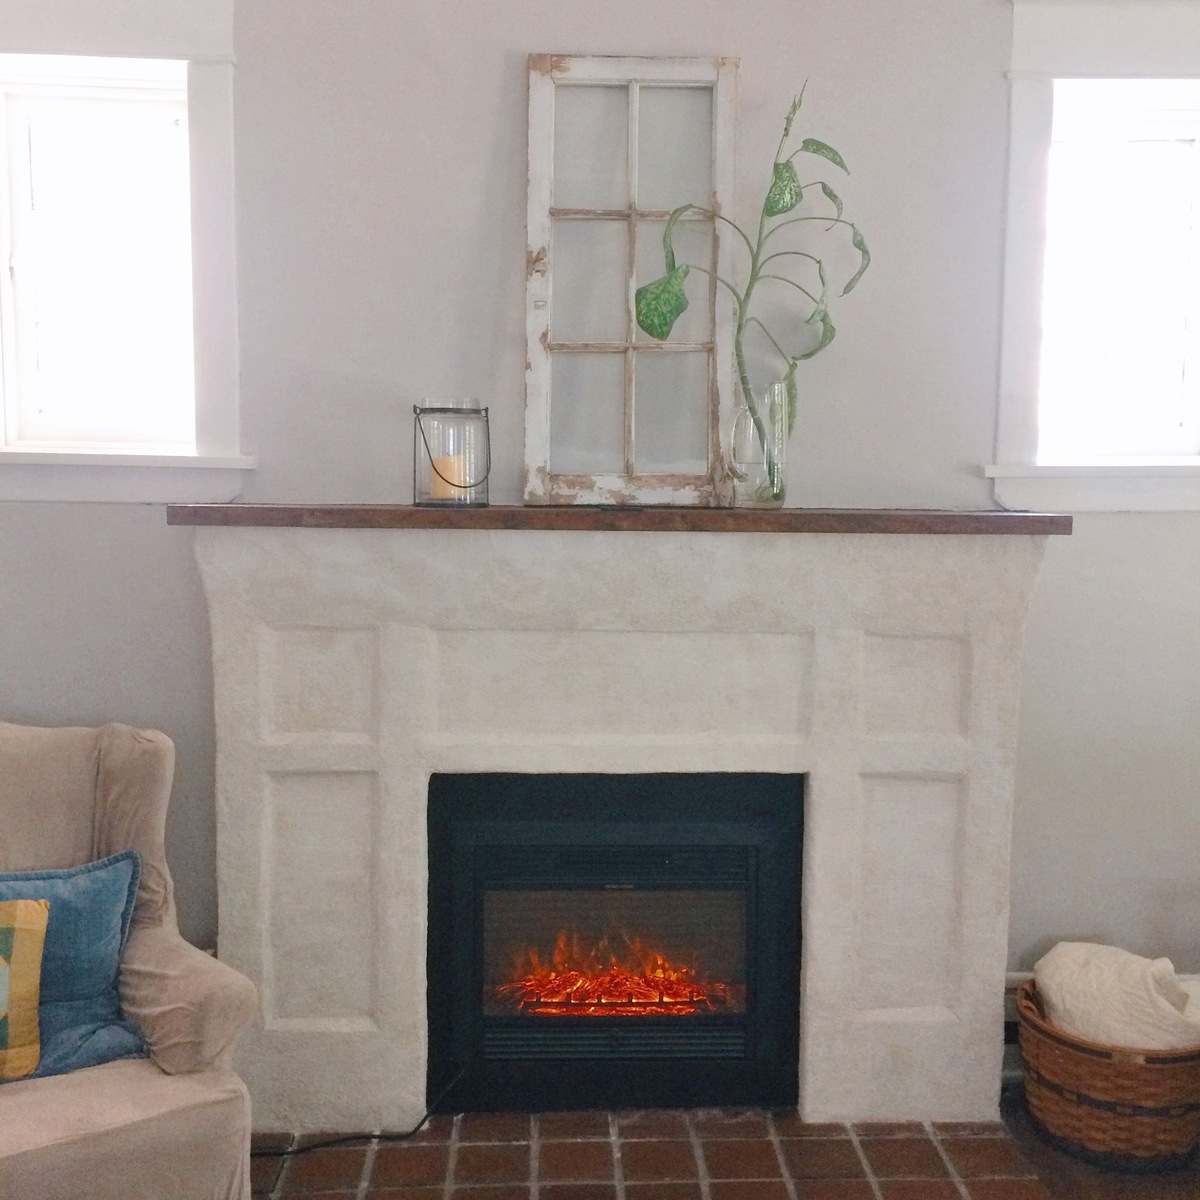
Embarking on the journey to refinish a brick fireplace with stone veneer is a transformative endeavor that can breathe new life into your home, elevating its aesthetic appeal and imparting a sense of warmth and character. By following the comprehensive steps outlined in this guide, you have gained the knowledge and confidence to undertake this rewarding home improvement project and achieve professional-quality results.
Throughout the refinishing process, meticulous preparation, precision in application, and attention to detail are paramount. From preparing the fireplace surface to expertly applying the stone veneer, grouting, and sealing, each phase contributes to the creation of a captivating focal point that exudes quality craftsmanship and timeless elegance.
As you witness the stunning transformation of your brick fireplace into a showcase of natural beauty and sophistication, take pride in the craftsmanship and dedication that have brought this vision to fruition. The newly refinished fireplace serves as a testament to your creativity and commitment to enhancing your living space, leaving a lasting impression on all who gather around its inviting warmth.
With the refinishing project now complete, take a moment to bask in the allure of your revitalized fireplace, knowing that it stands as a testament to your discerning taste and dedication to creating a home that reflects your unique style and personality.
So, embrace the warmth and timeless charm of your newly transformed fireplace, and let it serve as a captivating focal point that enriches the ambiance of your living space for years to come.
Frequently Asked Questions about How To Refinish A Brick Fireplace With Stone
Was this page helpful?
At Storables.com, we guarantee accurate and reliable information. Our content, validated by Expert Board Contributors, is crafted following stringent Editorial Policies. We're committed to providing you with well-researched, expert-backed insights for all your informational needs.


0 thoughts on “How To Refinish A Brick Fireplace With Stone”