Articles
How To Replace Wrought Iron Porch Railing
Modified: May 6, 2024
Learn how to replace wrought iron porch railing with these informative articles. Step-by-step instructions and tips to make the process easier.
(Many of the links in this article redirect to a specific reviewed product. Your purchase of these products through affiliate links helps to generate commission for Storables.com, at no extra cost. Learn more)
Introduction
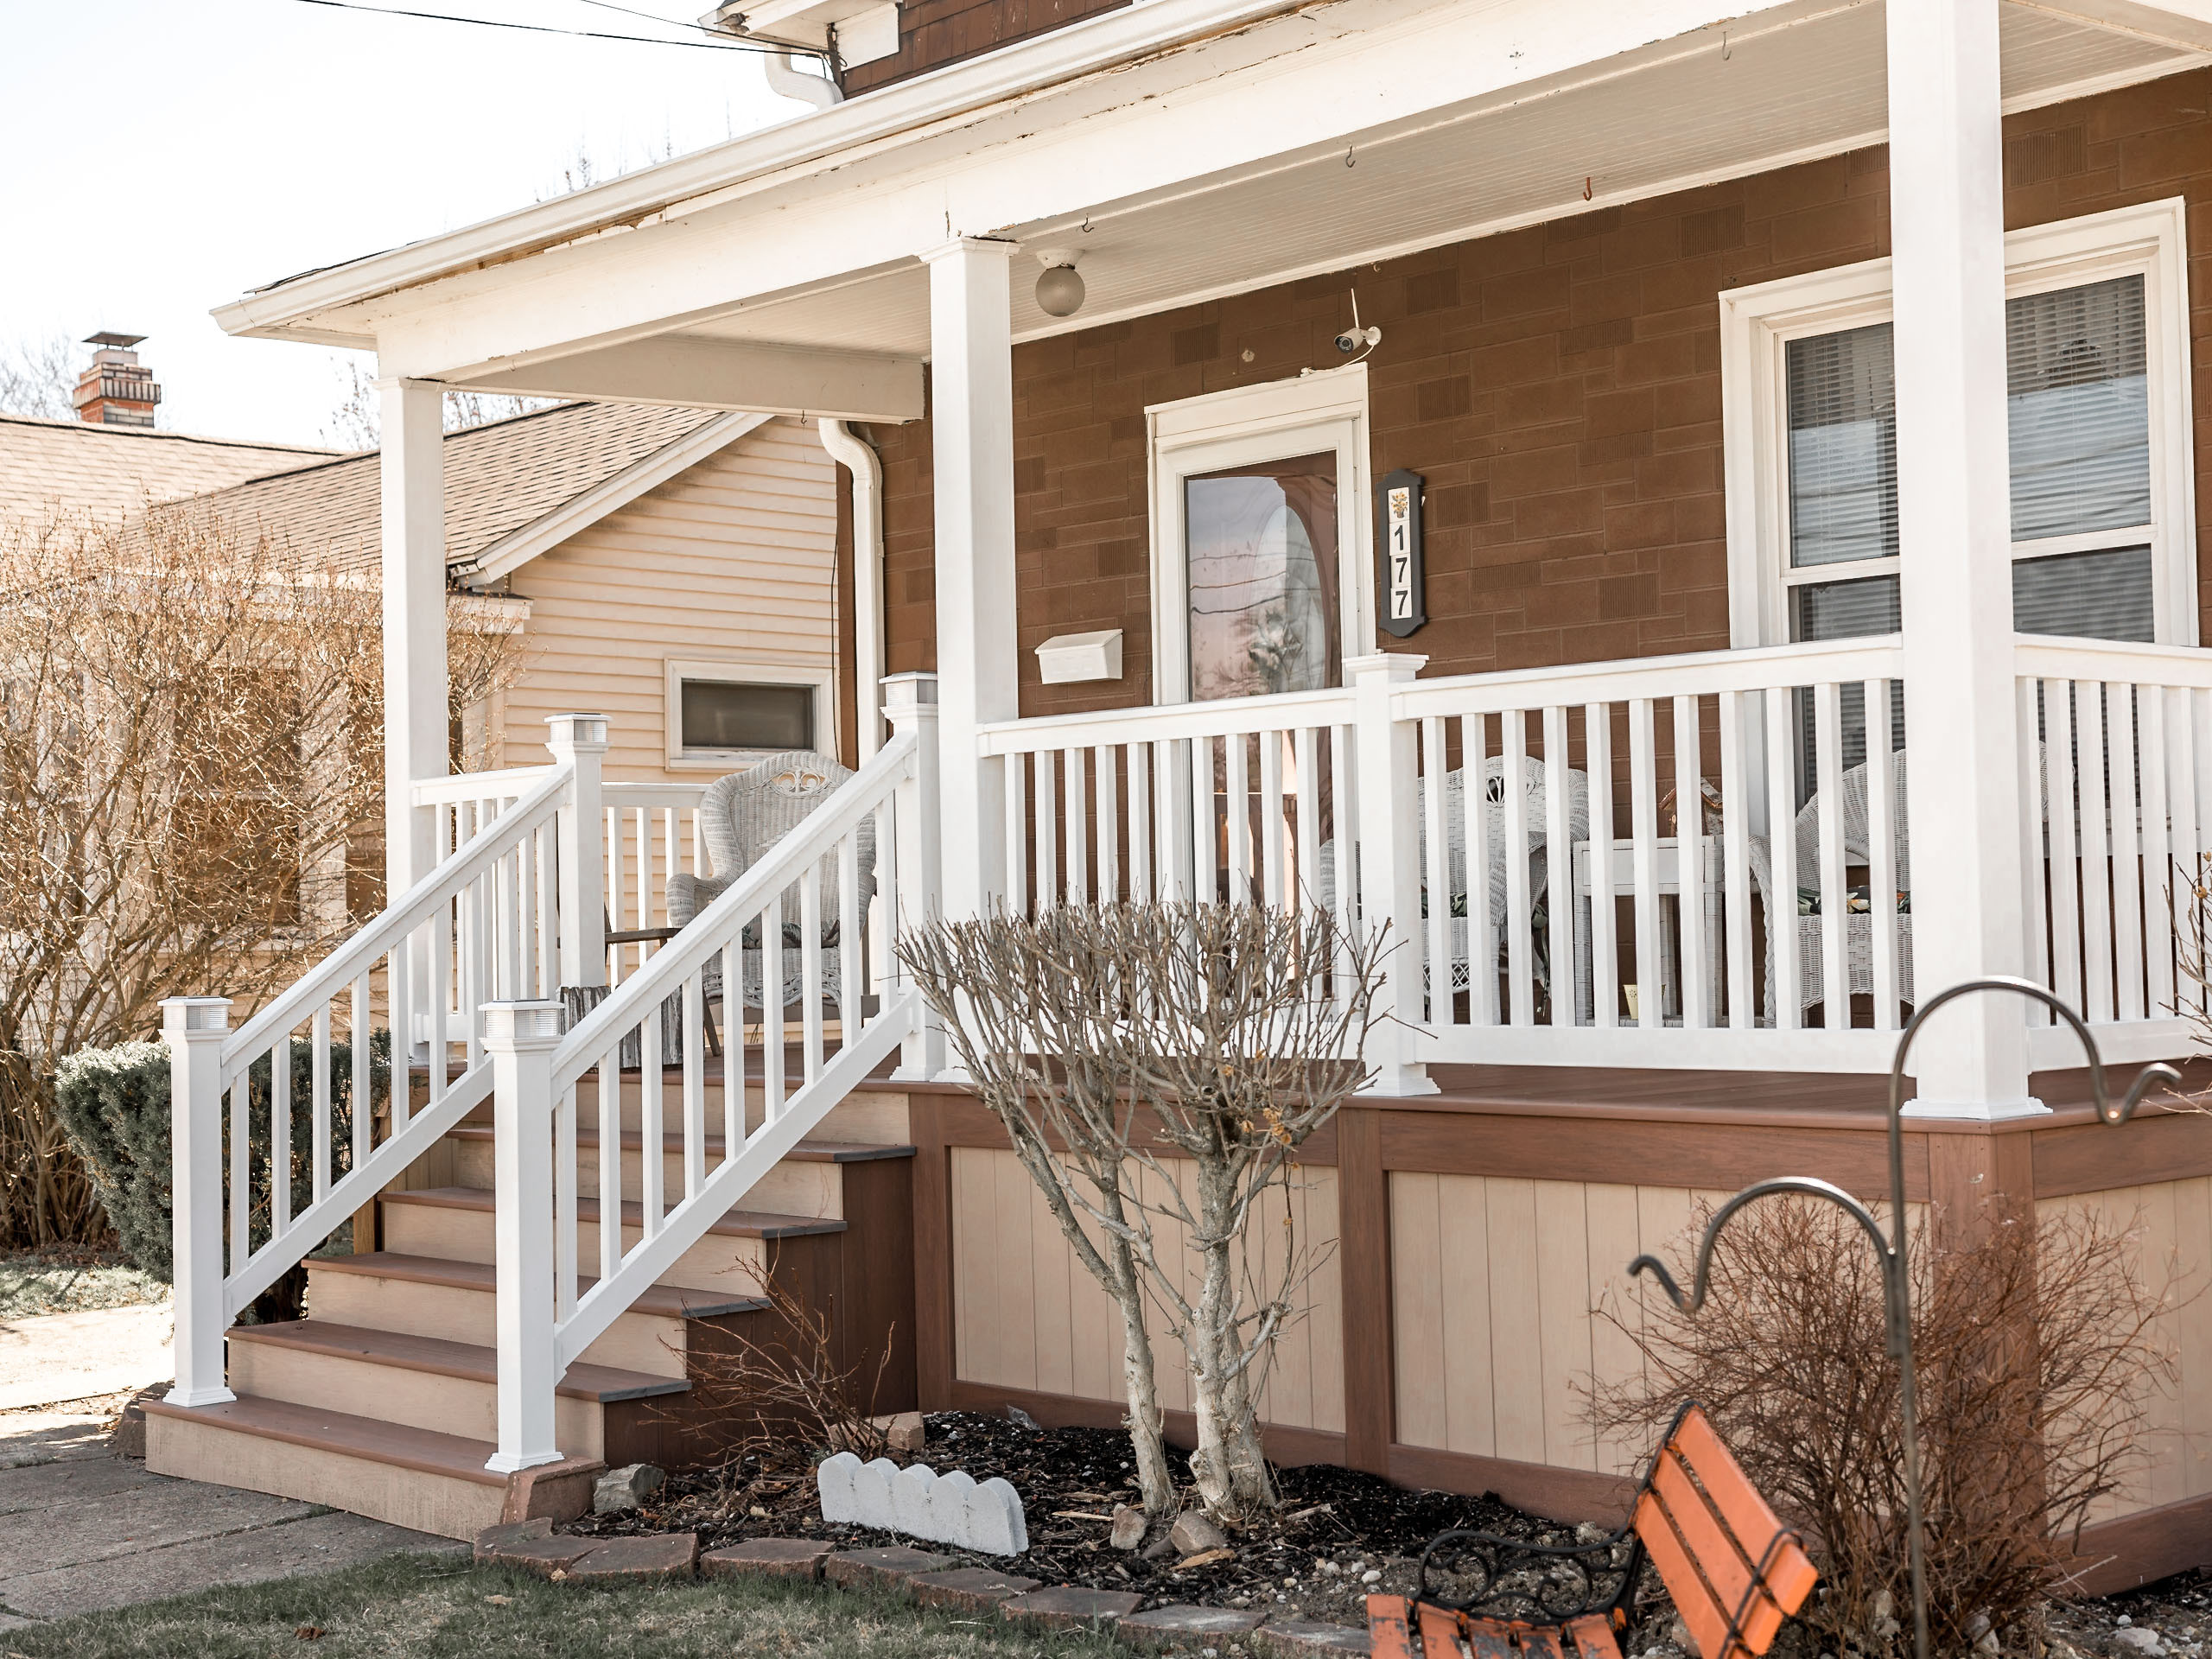
Welcome to our comprehensive guide on how to replace wrought iron porch railing. If you have an old, worn-out railing that needs an upgrade, this step-by-step tutorial will walk you through the process of replacing it with a new and stylish railing design. Whether you’re looking to enhance the curb appeal of your home or simply want to improve the safety and functionality of your porch, replacing the wrought iron railing is a great option.
In this guide, we will cover everything from measuring and preparing the area to removing the old railing, choosing the new railing design, installing the new railing posts, attaching the railing panels, securing the railing system, and adding the finishing touches. By following these steps, you’ll be able to replace your wrought iron porch railing with confidence and achieve a beautiful and functional result.
Before we dive into the details, it’s important to note that replacing a porch railing can vary in complexity depending on the specific design and structure of your porch. It’s always a good idea to consult with a professional if you have any concerns or doubts about your ability to safely complete the project on your own.
Now, let’s get started on transforming your porch by replacing that old wrought iron railing!
Key Takeaways:
- Replacing wrought iron porch railing involves measuring, removing the old railing, choosing a new design, installing posts and panels, securing the system, and adding finishing touches. Prioritize safety and compliance with local regulations for a successful transformation.
- Selecting the right railing design, material, and finishing touches is crucial for achieving the desired aesthetic and functionality. Take time to consider different options, gather inspiration, and make an informed decision that suits your personal style and the architectural style of your home.
Read more: How To Cover Wrought Iron Porch Columns
Step 1: Measure and Prepare
The first step in replacing your wrought iron porch railing is to accurately measure the dimensions of your porch. This will ensure that you choose the right size and length of railing materials for your project. Here’s what you need to do:
- Measure the length: Start by measuring the total length of your porch where the railing will be installed. Use a tape measure to get an accurate measurement from one end to the other. Note down the measurement for reference.
- Measure the height: Next, measure the height from the floor of your porch to the desired height of the railing. This measurement is crucial in determining the length of the posts and panels you will need.
- Check local codes and regulations: Before proceeding with the project, it’s important to check your local building codes and regulations regarding porch railings. Different areas may have specific requirements regarding height, spacing between balusters, and other safety considerations. Make sure to comply with these regulations to ensure a safe and compliant installation.
- Prepare the work area: Clear the porch of any furniture, plants, or obstructions to create a clean and accessible work area. This will make it easier to work and maneuver during the installation process.
Once you have completed these steps, you’re ready to move on to the next stage of replacing your wrought iron porch railing. In the next step, we will guide you through the process of removing the old railing.
Step 2: Remove the Old Railing
Now that you have measured and prepared the area, it’s time to remove the old wrought iron porch railing. Follow these steps to safely dismantle and remove the existing railing:
- Gather the necessary tools: Before you begin, gather the tools you’ll need, like a screwdriver, wrench, and pliers. Having the right tools on hand will make the process much smoother.
- Inspect the railing: Carefully inspect the old railing to determine how it is attached to the porch. Look for screws, bolts, or other fasteners that are securing it in place. Take note of the specific attachment points for later reference.
- Remove the fasteners: Using the appropriate tools, start removing the fasteners that are holding the railing in place. Loosen the screws or bolts and carefully remove them one by one. If there are rusted or stubborn fasteners, use a penetrating lubricant to loosen them before attempting to remove.
- Detach the railing from the porch: Once all the fasteners are removed, gently pull the railing away from the porch. Be cautious of any additional attachments or connections that may require disconnecting.
- Inspect the porch: After removing the old railing, inspect the porch for any damage or existing holes. If necessary, patch or repair any areas before proceeding with the installation of the new railing.
Removing the old railing may require some physical effort and patience, especially if it has been in place for a long time. Take your time and be mindful of any sharp edges or loose parts to ensure your safety during the process.
With the old railing successfully removed, you’re now ready to move on to the exciting part: choosing your new railing design. In the next step, we will explore the various options available and help you select the perfect railing for your porch.
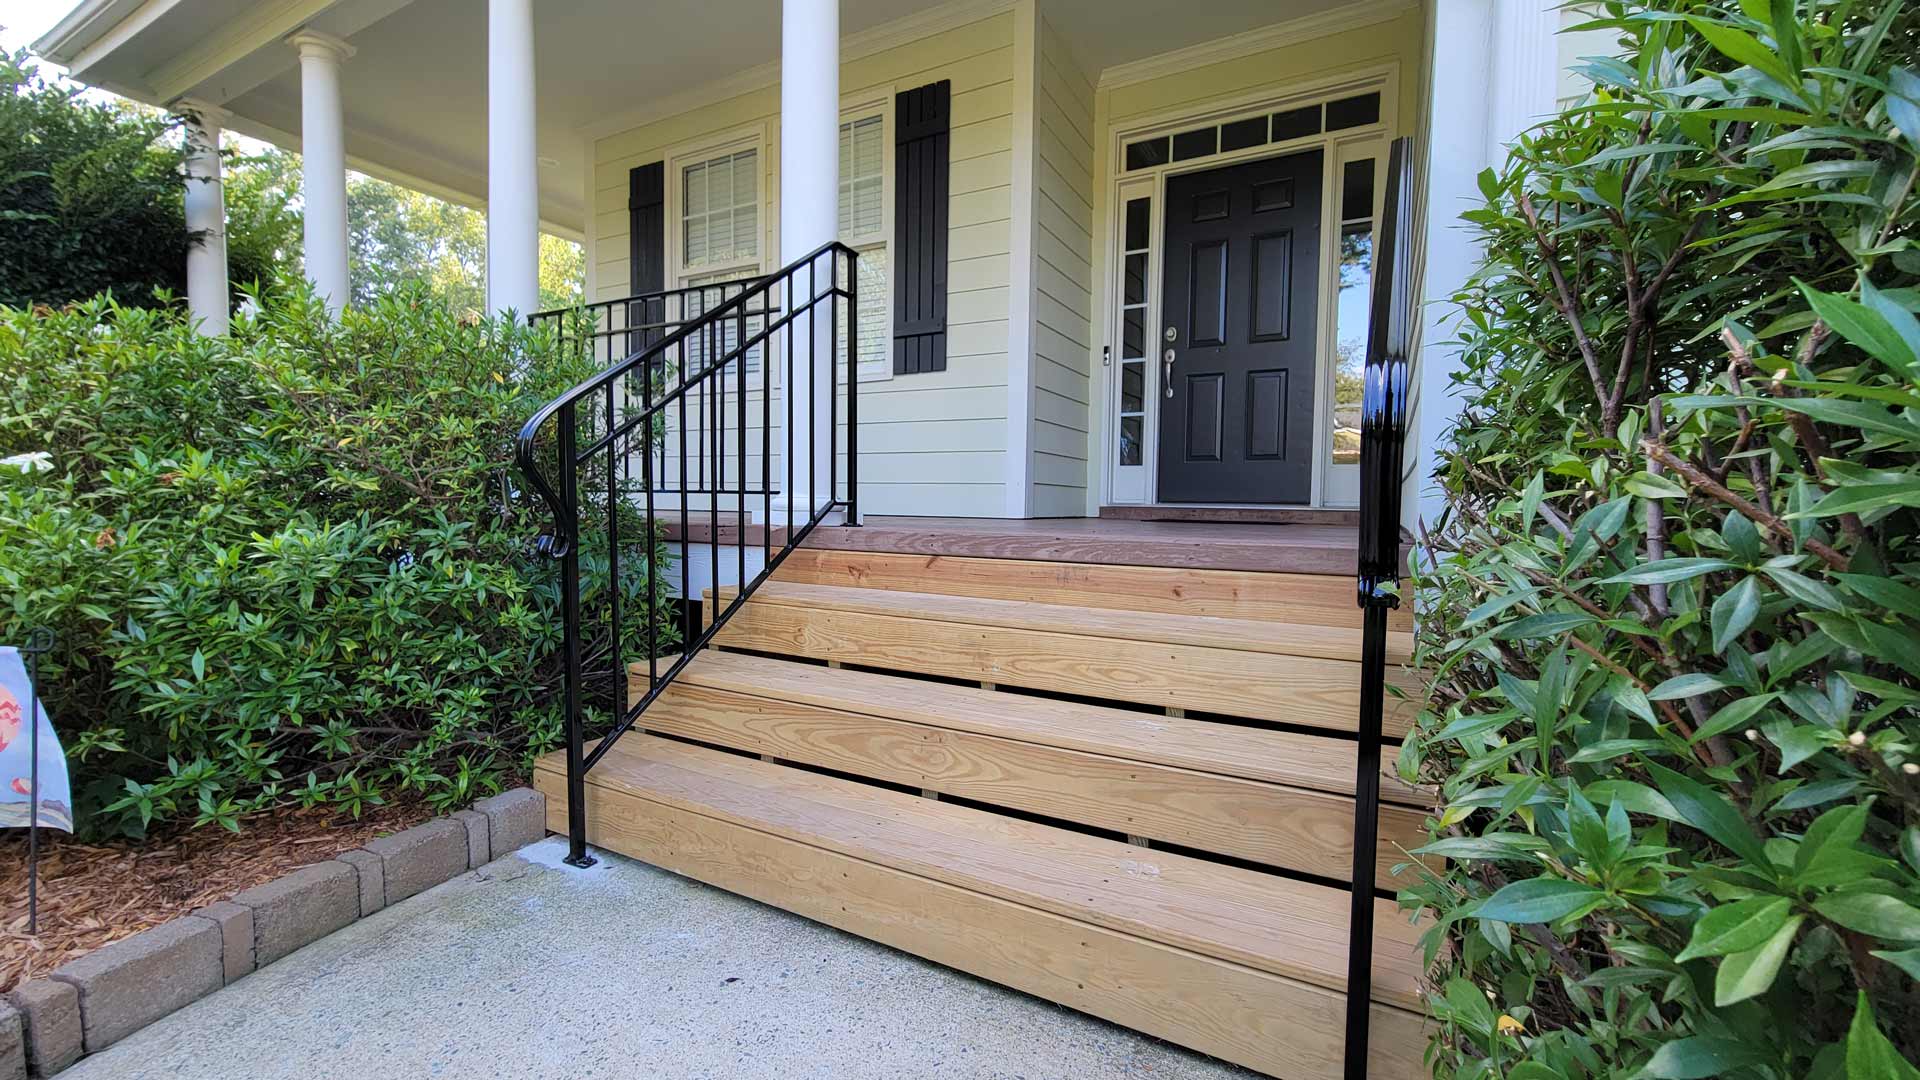
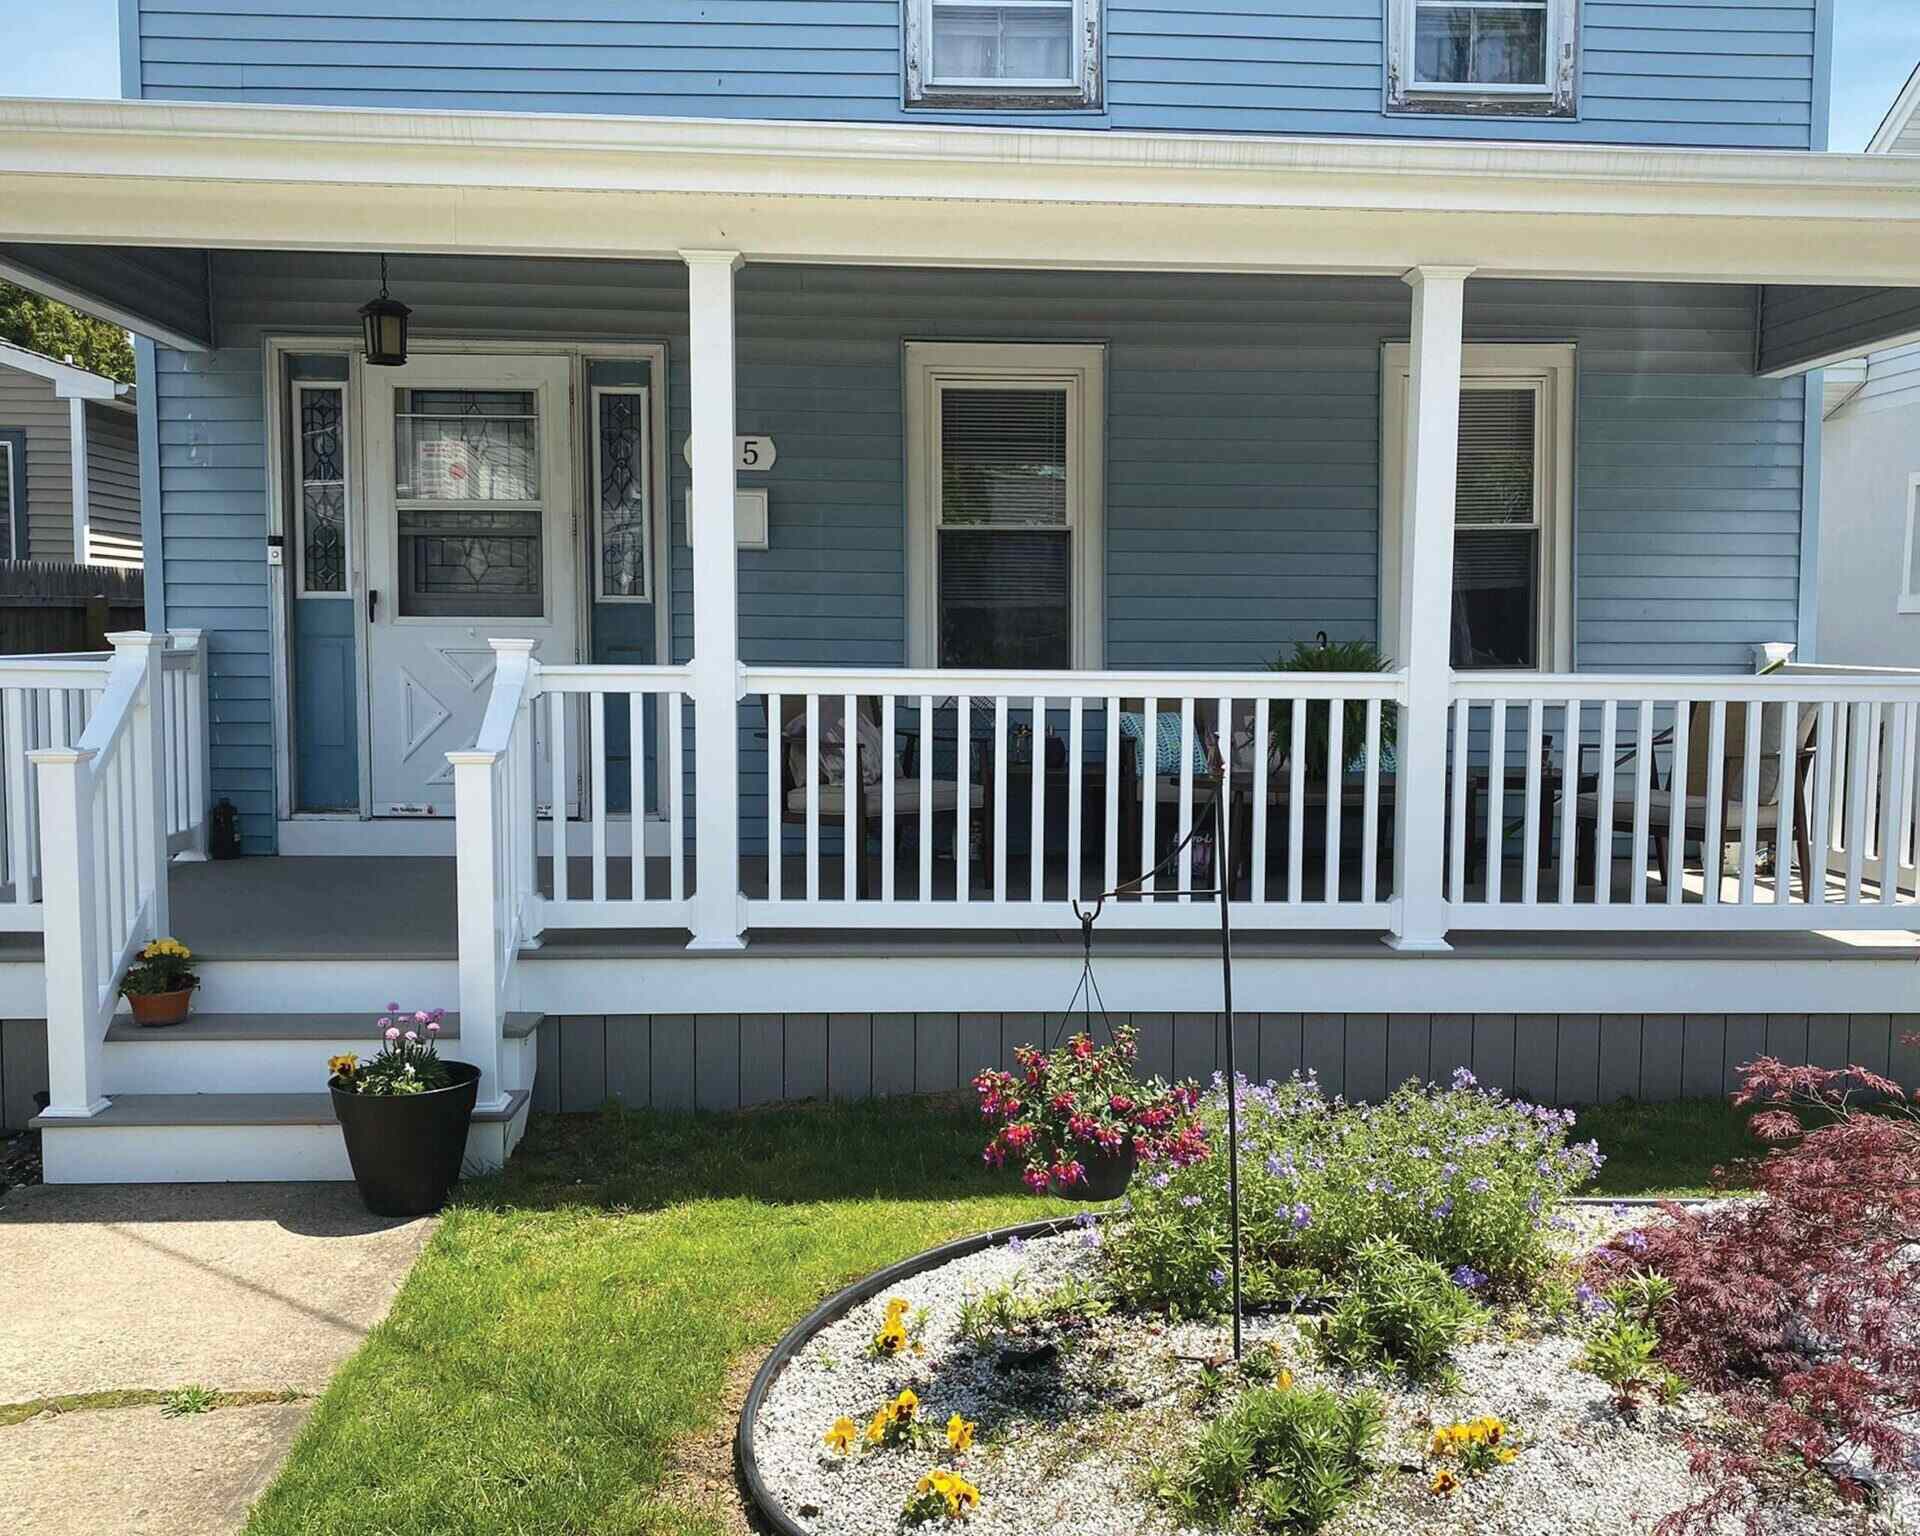
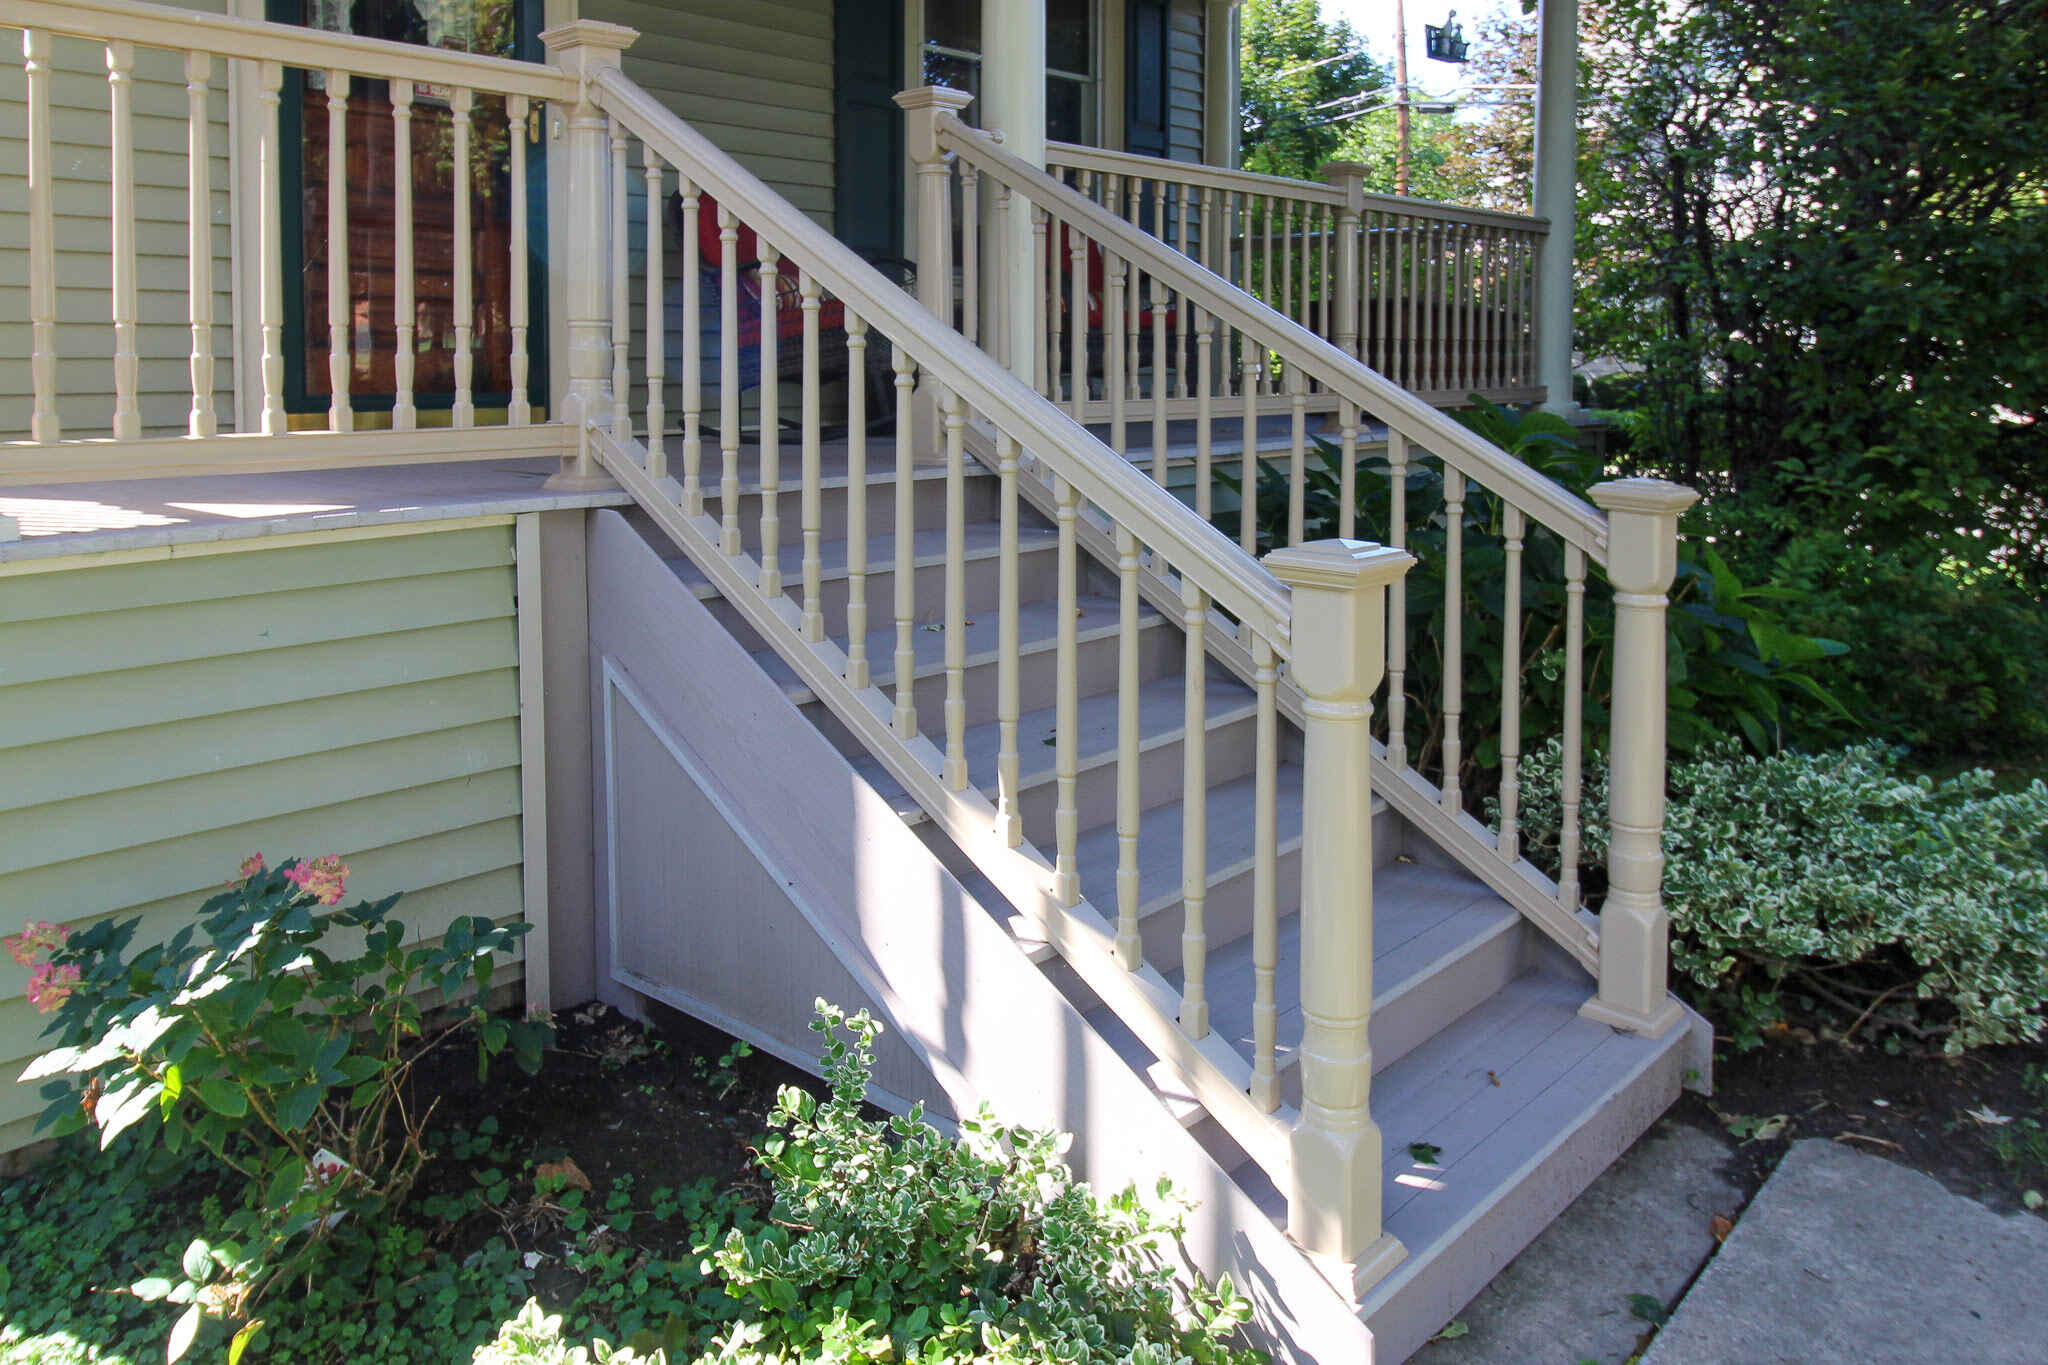
Step 3: Choose the New Railing Design
Now that you have removed the old wrought iron porch railing, it’s time to select a new design that will enhance the aesthetic appeal of your porch. Here are some factors to consider when choosing your new railing:
- Style: Determine the style you want for your porch railing. Consider the architectural style of your home and choose a railing design that complements it. Whether you prefer a traditional, ornate look or a more modern and sleek design, there are plenty of options available.
- Material: Decide on the material you want for your new porch railing. While wrought iron is a classic choice, consider other options such as aluminum, steel, vinyl, or composite materials. Each material has its own advantages in terms of durability, maintenance, and cost.
- Balusters and panels: Choose the type of balusters or panels that will make up your railing. Balusters can be traditional spindles, glass panels, or even decorative designs. Select a style that suits your personal taste while ensuring they comply with local building codes.
- Color and finish: Consider the color and finish of your new railing. Depending on the material you choose, there may be different color options available. Decide whether you want a bold and contrasting color or a more subtle and cohesive tone that matches the exterior of your home.
- Budget: Set a budget for your new porch railing project. Take into account the cost of materials, installation, and any additional accessories or features you may want to include. By having a budget in mind, you can narrow down your options and make a more informed decision.
Take your time to explore different railing designs and materials. Consider browsing through home improvement magazines, websites, or visiting local suppliers for inspiration and to get a better sense of how each option may look on your porch.
Once you have selected the design and materials for your new porch railing, you’re ready to proceed to the next step: installing the new railing posts. We will guide you through this process in detail to ensure a smooth and secure installation.
Step 4: Install the New Railing Posts
With your chosen railing design in mind, it’s time to install the new railing posts. The posts provide support and stability for your porch railing. Follow these steps to install the new railing posts:
- Mark the post locations: Using a measuring tape and a pencil, mark the locations where you will install the new railing posts. Make sure the spacing between the posts is uniform and complies with local building codes.
- Prep the post holes: Dig the post holes in the ground or on the porch surface, depending on your specific installation requirements. The depth of the holes should exceed the frost line or adhere to the recommendations of your local building code.
- Insert the posts: Place the posts into the prepared holes. If necessary, use a level to ensure that they are plumb and vertical. Temporarily brace the posts to keep them in place while you continue with the installation.
- Secure the posts: Depending on the railing design and material, secure the posts to the ground or porch surface. This may involve using brackets, anchors, or concrete to ensure a strong and stable installation. Follow the manufacturer’s instructions for your specific railing system.
- Check for stability: Once the posts are securely installed, check for any wobbling or instability. Make any necessary adjustments or reinforcements to ensure the posts are firmly anchored and able to support the weight of the railing.
Ensure that the new railing posts are properly aligned and securely installed before proceeding to the next step. The stability and strength of the posts are crucial in maintaining the integrity of your porch railing.
Now that the new railing posts are in place, you’re ready to move on to the exciting part: attaching the railing panels! Stay tuned for the next step, where we’ll guide you through the process of connecting the panels to create a visually appealing and functional porch railing.
When replacing wrought iron porch railing, make sure to measure the dimensions accurately before purchasing new railing to ensure a proper fit. Additionally, consider the maintenance requirements of different materials when selecting a replacement.
Read more: How To Replace Rotted Porch Railing
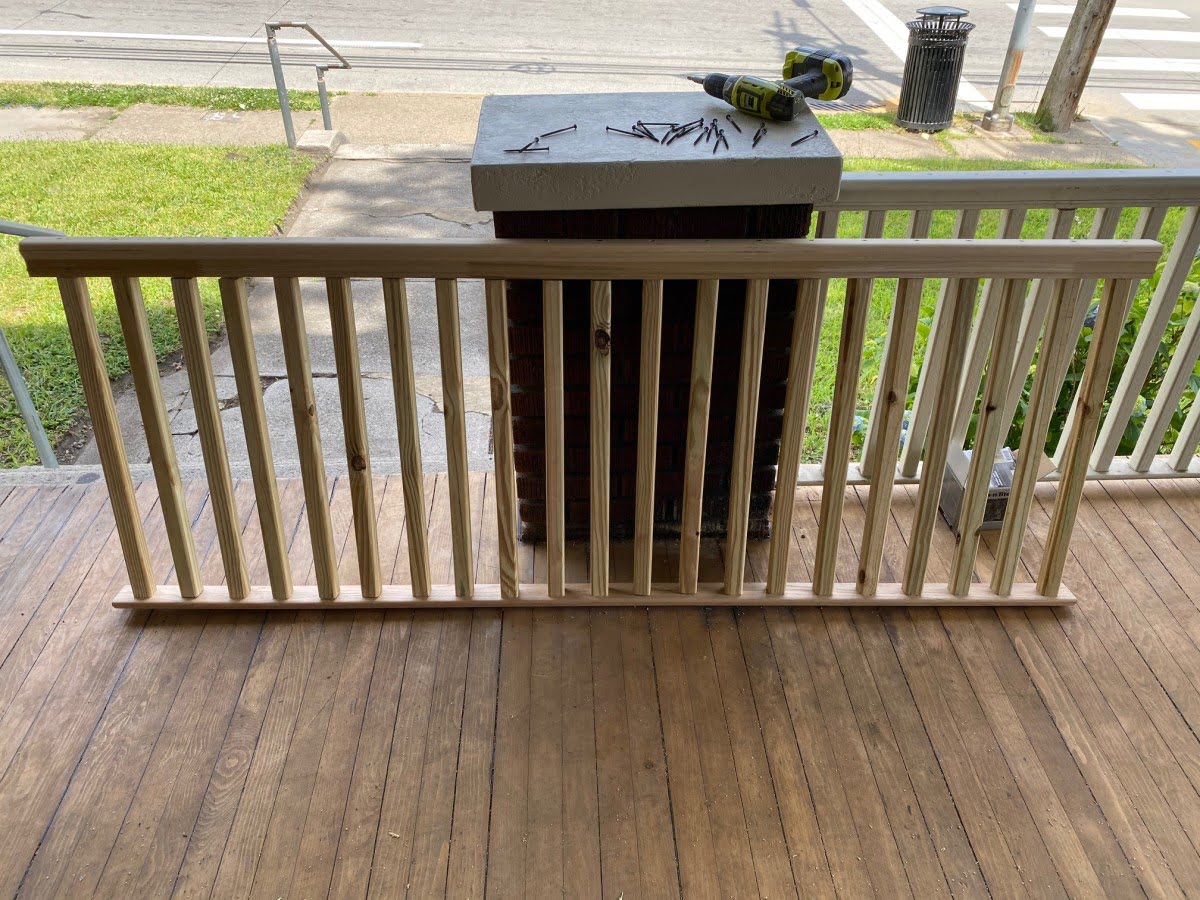
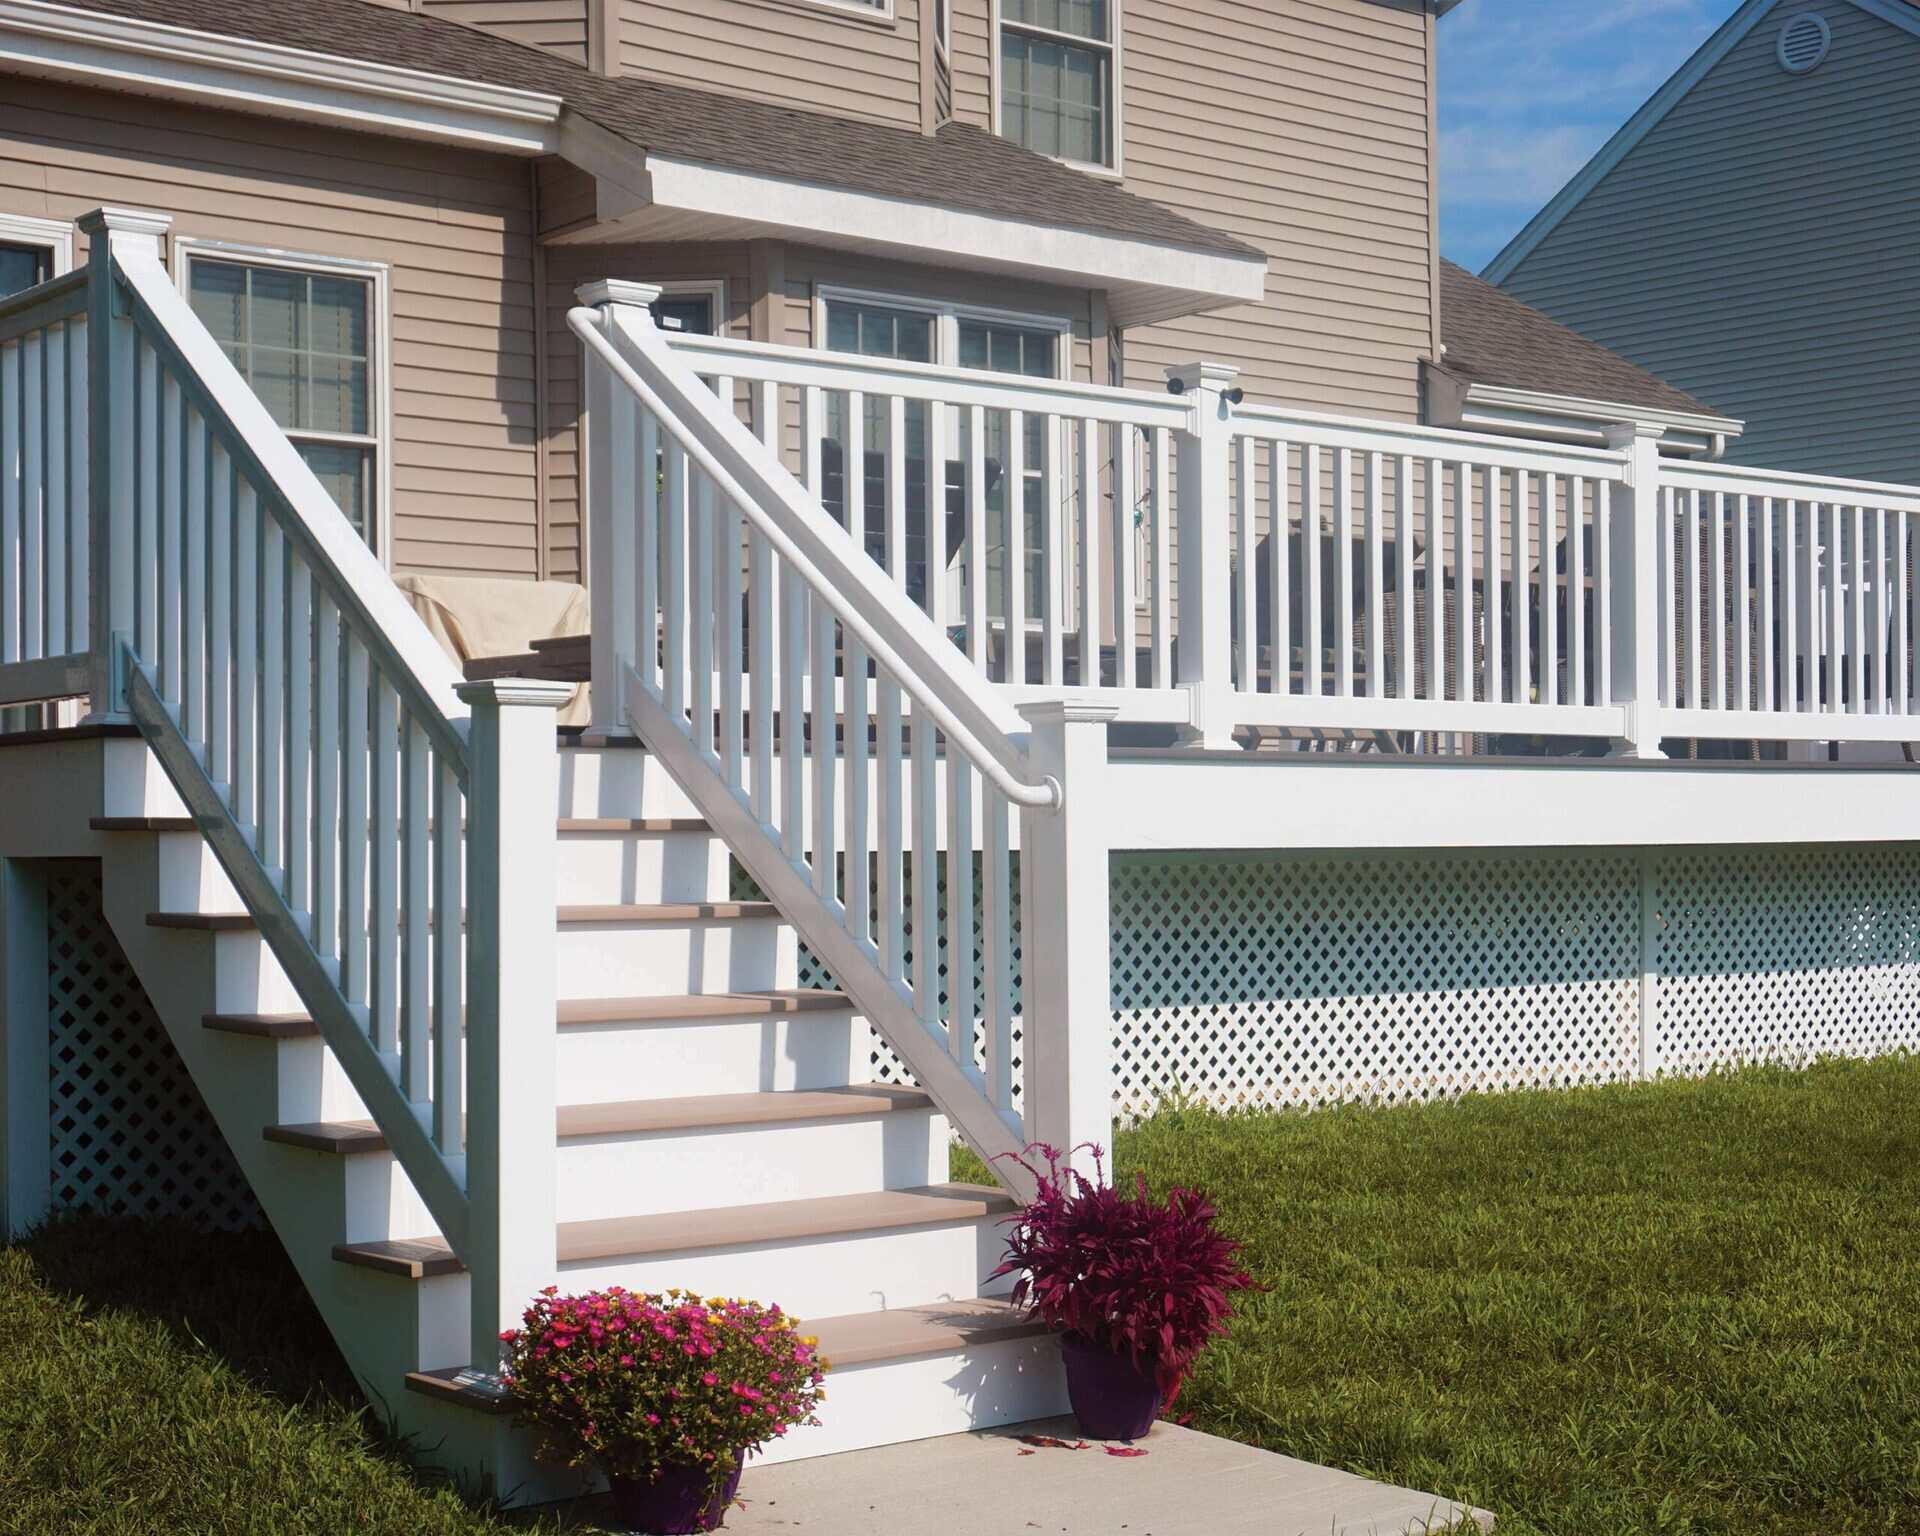
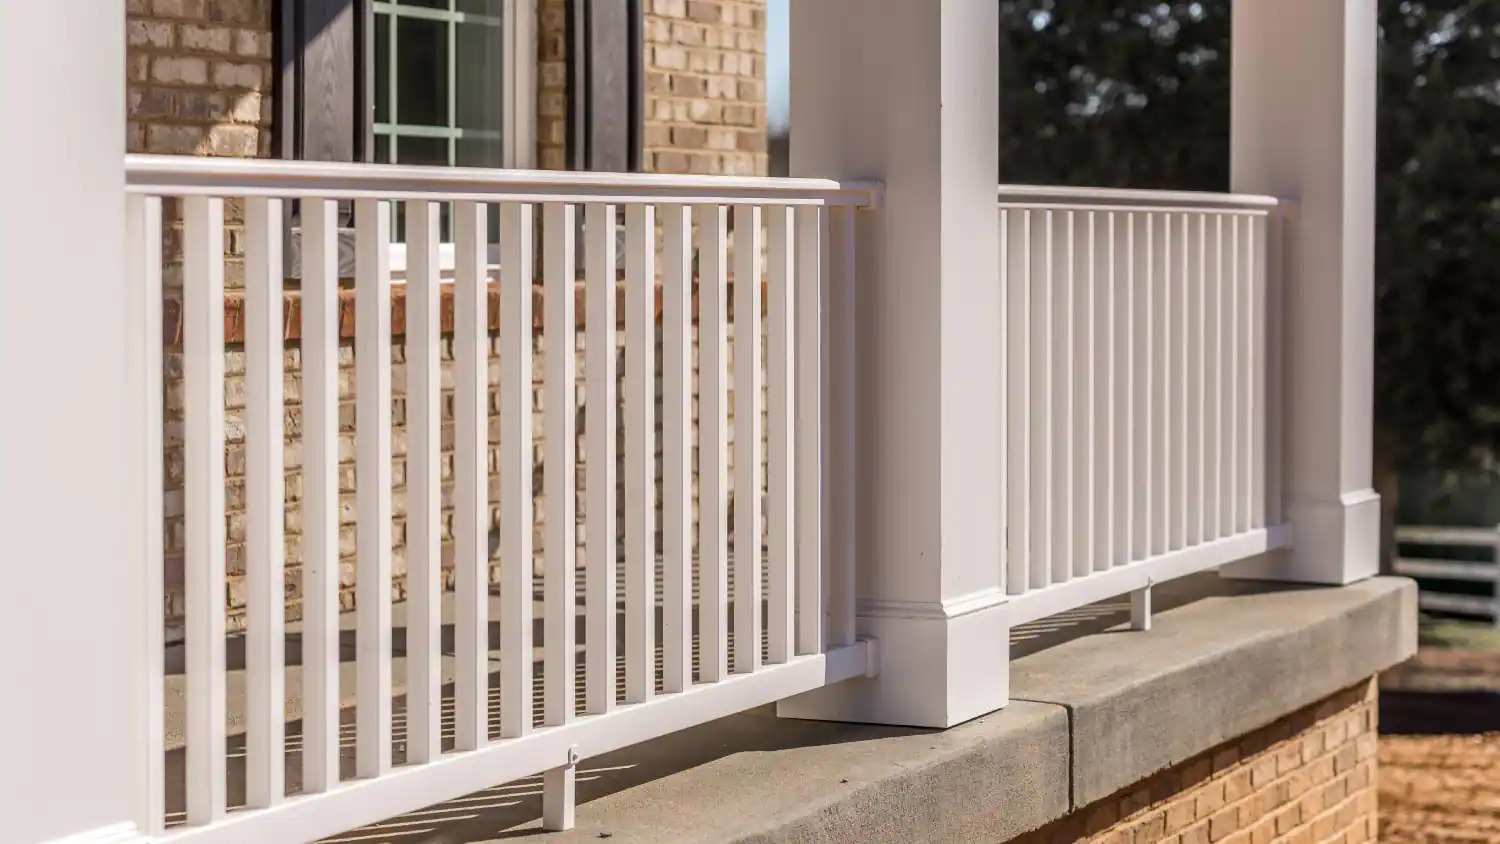
Step 5: Attach the Railing Panels
With the new railing posts securely installed, it’s time to attach the railing panels to create a visually appealing and functional porch railing. Follow these steps to properly attach the railing panels:
- Measure and cut the panels: Measure the distance between the posts to determine the exact length of the railing panels. Use a saw or cutting tool to trim the panels to the appropriate size, ensuring they fit snugly between the posts.
- Prep the panels: If your railing system includes balusters or spindles, attach them to the railing panels according to the manufacturer’s instructions. Make sure they are evenly spaced and securely fastened.
- Position the panels: Position the railing panels between the posts, ensuring they are level and plumb. Use a level to confirm their alignment and make any necessary adjustments.
- Attach the panels: Depending on your railing system, use the appropriate fasteners, brackets, or connectors to attach the panels to the posts. Follow the manufacturer’s instructions for a secure and reliable attachment.
- Check for stability: Once the panels are attached, check for any wobbling or movement. If needed, reinforce the connections or make adjustments to ensure a stable and secure porch railing.
Pay attention to the details during this process to ensure a professional and polished look. Properly installed railing panels will not only enhance the appearance of your porch but also provide the necessary safety and security for you and your guests.
With the railing panels securely attached, we’re almost done! The next step is to secure the entire railing system to ensure its stability and durability. Read on for detailed instructions on how to secure the railing system in place.
Step 6: Secure the Railing System
To ensure the stability and durability of your newly installed porch railing, it’s important to properly secure the entire railing system. Follow these steps to securely fasten the railing system:
- Double-check connections: Before securing the railing system, double-check all the connections, including the posts, railing panels, and any additional components. Ensure everything is properly aligned and tightened.
- Secure the posts: Depending on your railing system, use the appropriate screws, bolts, or brackets to secure the railing posts to their respective attachments. Follow the manufacturer’s instructions to ensure a secure and stable installation.
- Reinforce the connections: Consider reinforcing the connections between the railing panels and posts. This can be done by adding additional screws or brackets for added strength and stability.
- Test for stability: Once the railing system is secured, test for stability. Apply some gentle pressure to different points along the railing to ensure there is no wobbling or movement. Make any necessary adjustments or reinforcements as needed.
- Inspect for any gaps or loose parts: Take a final look at the entire railing system to inspect for any gaps or loose parts. Tighten any loose screws or connections and fill any gaps to ensure a seamless and secure installation.
Properly securing the railing system is crucial to its long-term stability and safety. Spending a little extra time and effort to ensure a secure installation will provide you with peace of mind and a beautiful porch railing that will stand the test of time.
With the railing system securely fastened, we’re almost done! The last step is to add the finishing touches to complete the overall look and functionality of your new porch railing.
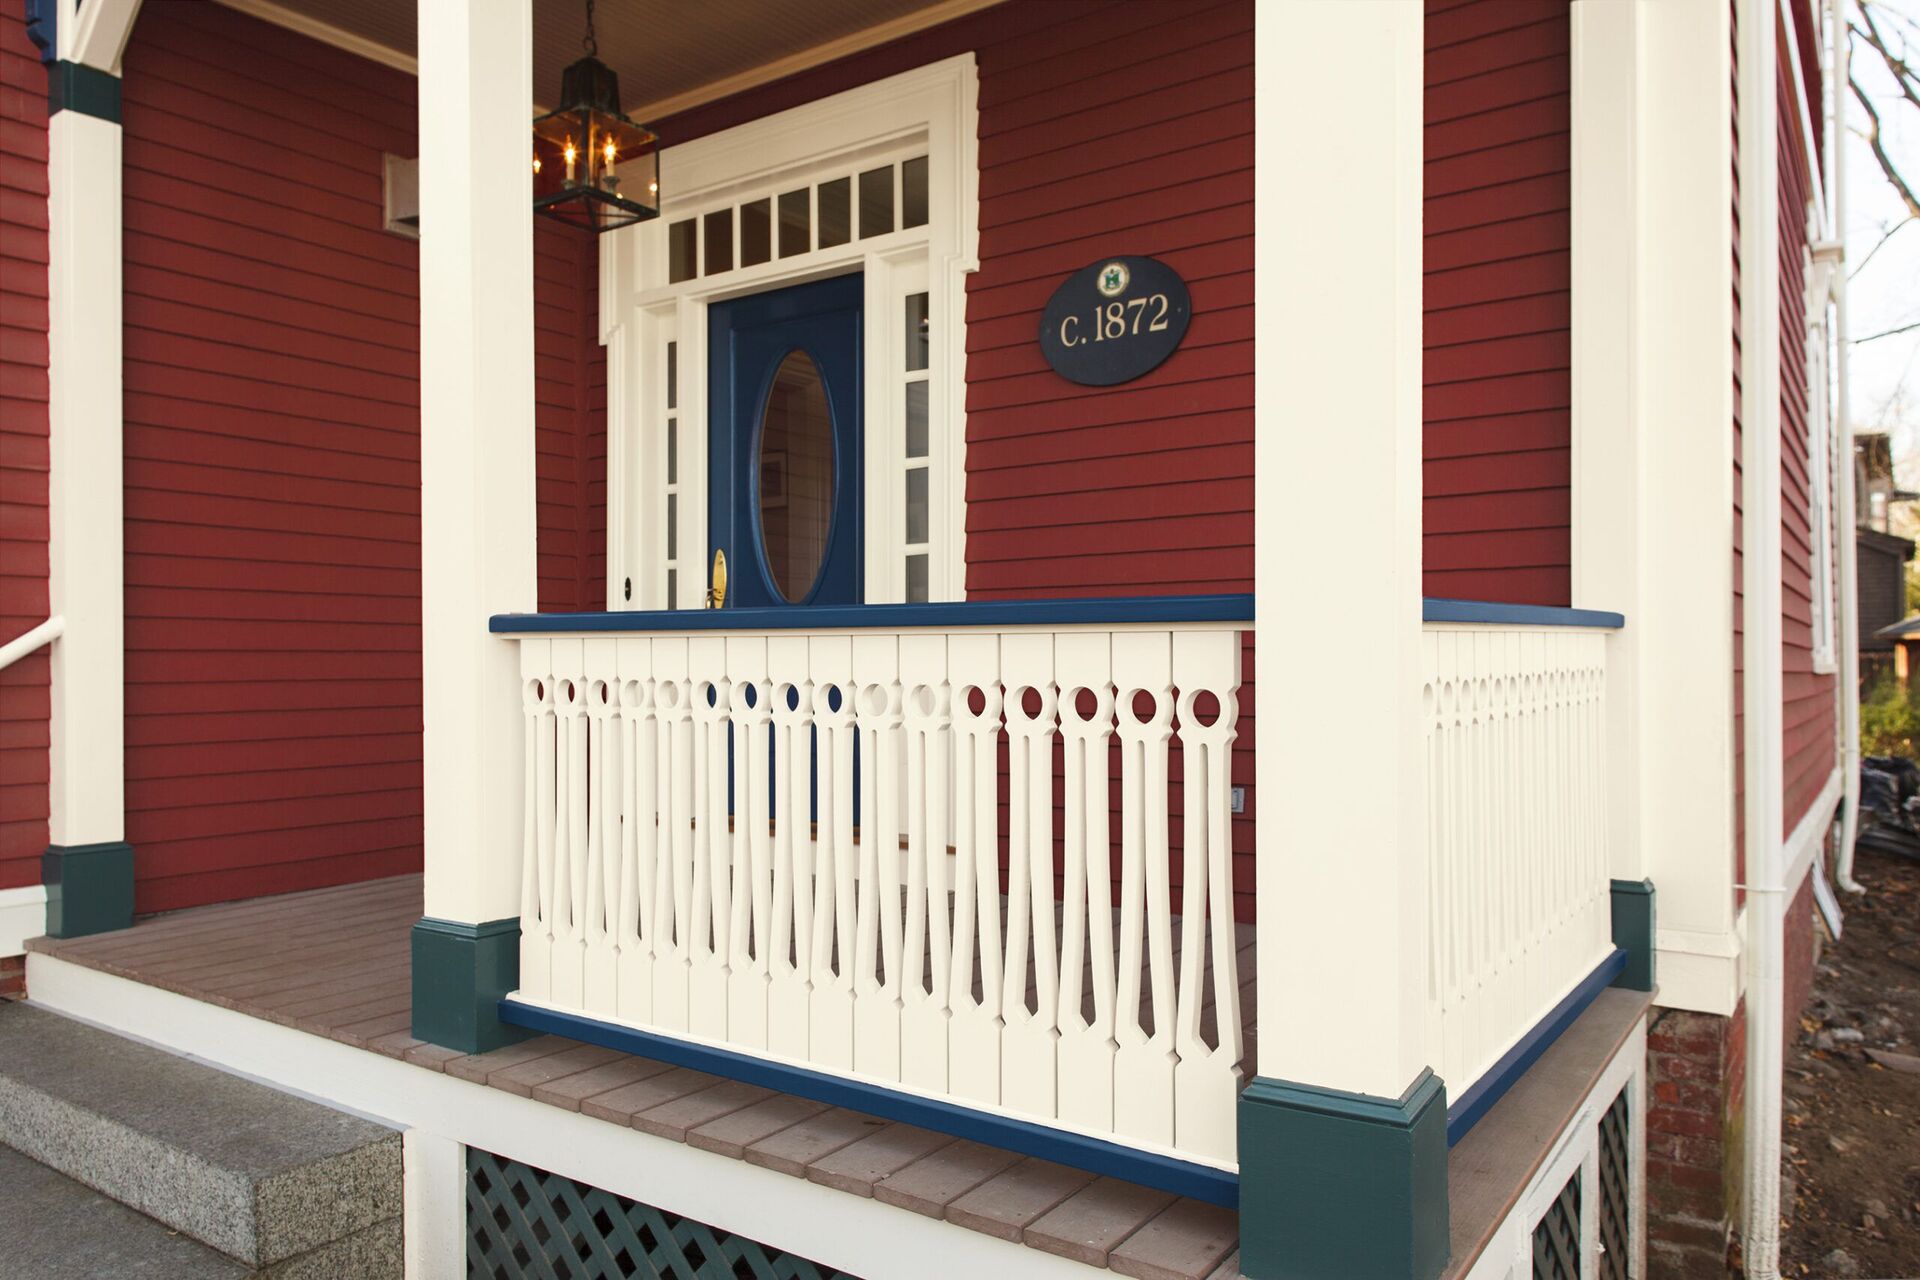
Step 7: Add Finishing Touches
Now that your new porch railing is installed and secure, it’s time to add the finishing touches to complete the overall look and functionality. These final touches will help enhance the appearance and ensure the railing system is fully functional. Follow these steps to add the finishing touches:
- Trim and paint: If necessary, trim any excess railing material and touch up any visible screws or brackets with matching paint to create a seamless and polished look.
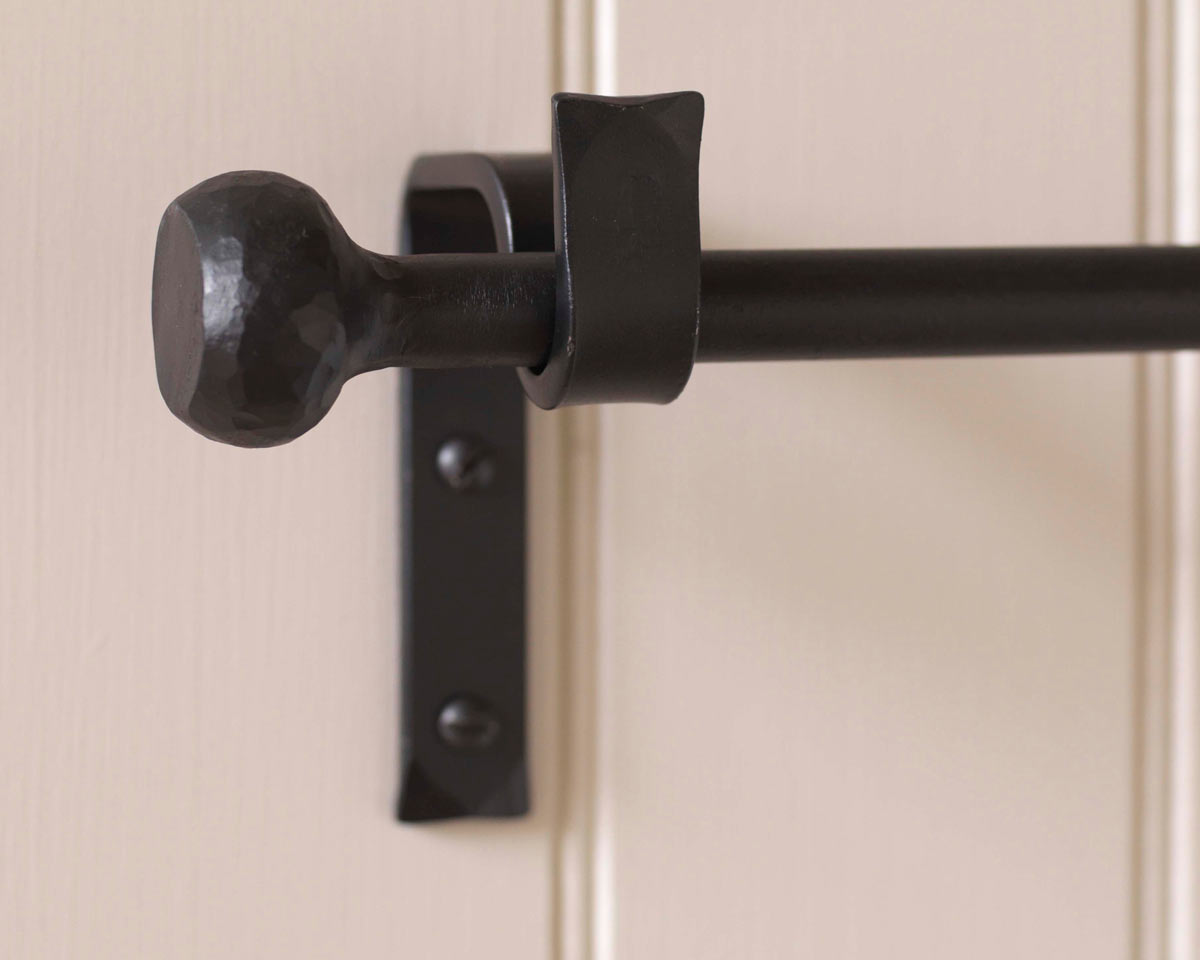
- Install post caps: Consider adding post caps to the top of each railing post. Post caps not only add a decorative element but also help protect the posts from moisture and extend their lifespan.
- Apply protective coating: Depending on the material of your porch railing, apply a protective coating to prevent rust, corrosion, or fading. This will ensure the railing stays in excellent condition for years to come.
- Add lighting: For added safety and ambiance, consider installing lighting along your porch railing. This can be achieved with solar-powered lights, low-voltage LED lights, or even string lights.
- Accessorize: Personalize your porch railing by adding accessories such as hanging planters, decorative hooks, or outdoor artwork. These elements will further enhance the aesthetic appeal and give your porch a unique touch.
Take your time to carefully add these finishing touches, ensuring that they complement your overall design and suit your personal style. They will not only enhance the visual appeal of your porch but also make it more functional and enjoyable for yourself and your guests.
Congratulations! You’ve successfully replaced your wrought iron porch railing and transformed your porch into a beautiful and inviting space. Sit back, relax, and enjoy the fruits of your hard work!
Remember, safety should always be a top priority when working on any home improvement project. If you have any concerns or doubts, don’t hesitate to consult with a professional for guidance and assistance.
Thank you for following our comprehensive guide on how to replace wrought iron porch railing. We hope this step-by-step tutorial has been informative and helpful throughout your railing replacement journey. Enjoy your newly upgraded porch!
Conclusion
Replacing a wrought iron porch railing is a rewarding project that can greatly enhance the appearance and functionality of your porch. By following the steps outlined in this comprehensive guide, you can confidently replace your old railing and create a beautiful and secure space for yourself and your guests. Here’s a recap of the steps:
- Measure and prepare
- Remove the old railing
- Choose the new railing design
- Install the new railing posts
- Attach the railing panels
- Secure the railing system
- Add finishing touches
Throughout the process, it’s important to prioritize safety and comply with local building codes and regulations. If you have any concerns or doubts about your ability to complete the project, consult a professional for assistance.
Remember, selecting the right railing design, material, and finishing touches is vital to achieving the desired aesthetic and functionality. Take the time to consider different options, gather inspiration, and make an informed decision that suits your personal style and the architectural style of your home.
By diligently following each step and paying attention to detail, you can successfully replace your wrought iron porch railing and enjoy a transformed outdoor space. Whether you’re looking to enhance the curb appeal of your home, improve safety, or simply upgrade the overall appearance, a new porch railing can make a significant difference.
Thank you for joining us on this journey and for following our comprehensive guide on how to replace wrought iron porch railing. We hope this article has provided you with valuable insights and guidance. Enjoy your newly upgraded porch, and may it bring you many years of happiness and enjoyment!
Now that you've conquered replacing wrought iron porch railings, why not tackle more home improvement tasks? If you're keen on rolling up your sleeves for more projects, our guide on DIY home projects is just what you need. This guide breaks down various tasks into simple, manageable steps, ensuring you can confidently enhance your living space without needing professional help. Dive into this resource and start transforming your home today!
Frequently Asked Questions about How To Replace Wrought Iron Porch Railing
Was this page helpful?
At Storables.com, we guarantee accurate and reliable information. Our content, validated by Expert Board Contributors, is crafted following stringent Editorial Policies. We're committed to providing you with well-researched, expert-backed insights for all your informational needs.


0 thoughts on “How To Replace Wrought Iron Porch Railing”