Articles
How To Quilt Diamond Pattern
Modified: August 22, 2024
Learn how to quilt a beautiful diamond pattern with our step-by-step articles. Perfect for beginners and experienced quilters alike.
(Many of the links in this article redirect to a specific reviewed product. Your purchase of these products through affiliate links helps to generate commission for Storables.com, at no extra cost. Learn more)
Introduction
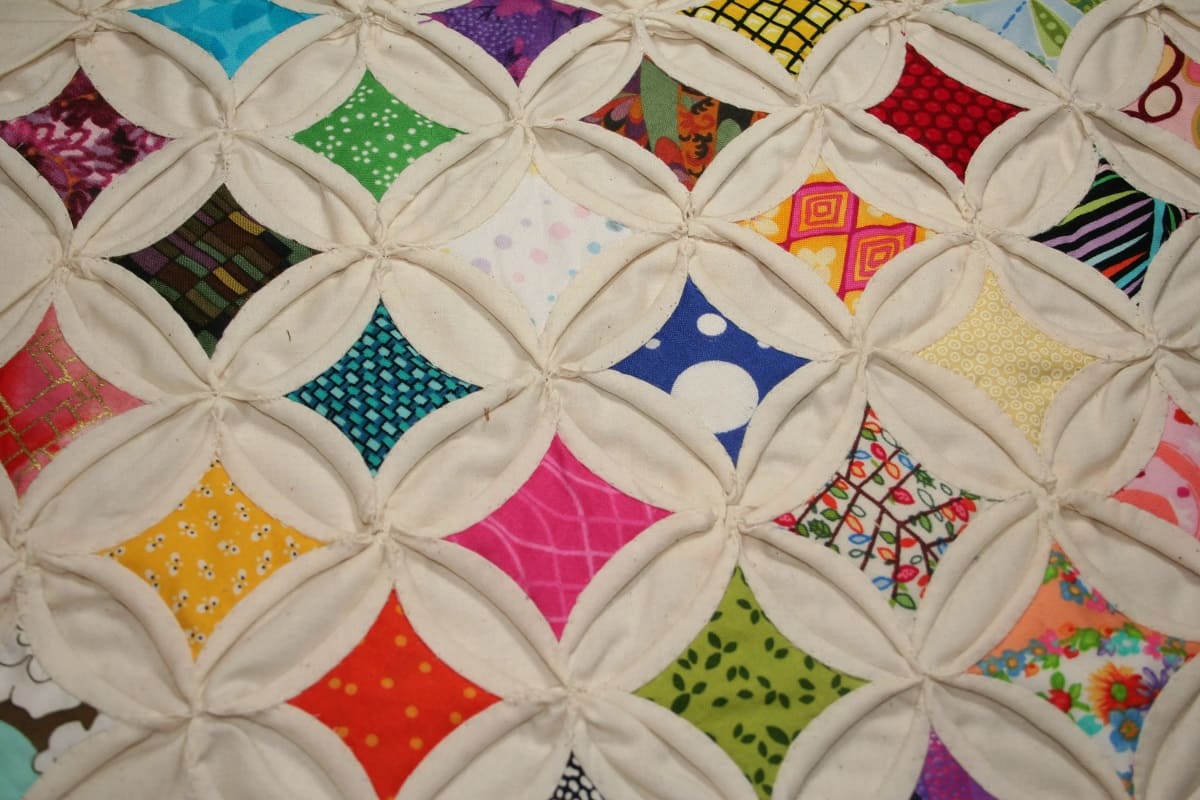
Welcome to the world of quilting, where creativity and craftsmanship come together to create beautiful pieces of art. Quilting has a long and rich history, dating back centuries. From the intricate patchwork of traditional quilts to the modern designs and techniques used today, quilting continues to captivate and inspire people of all ages.
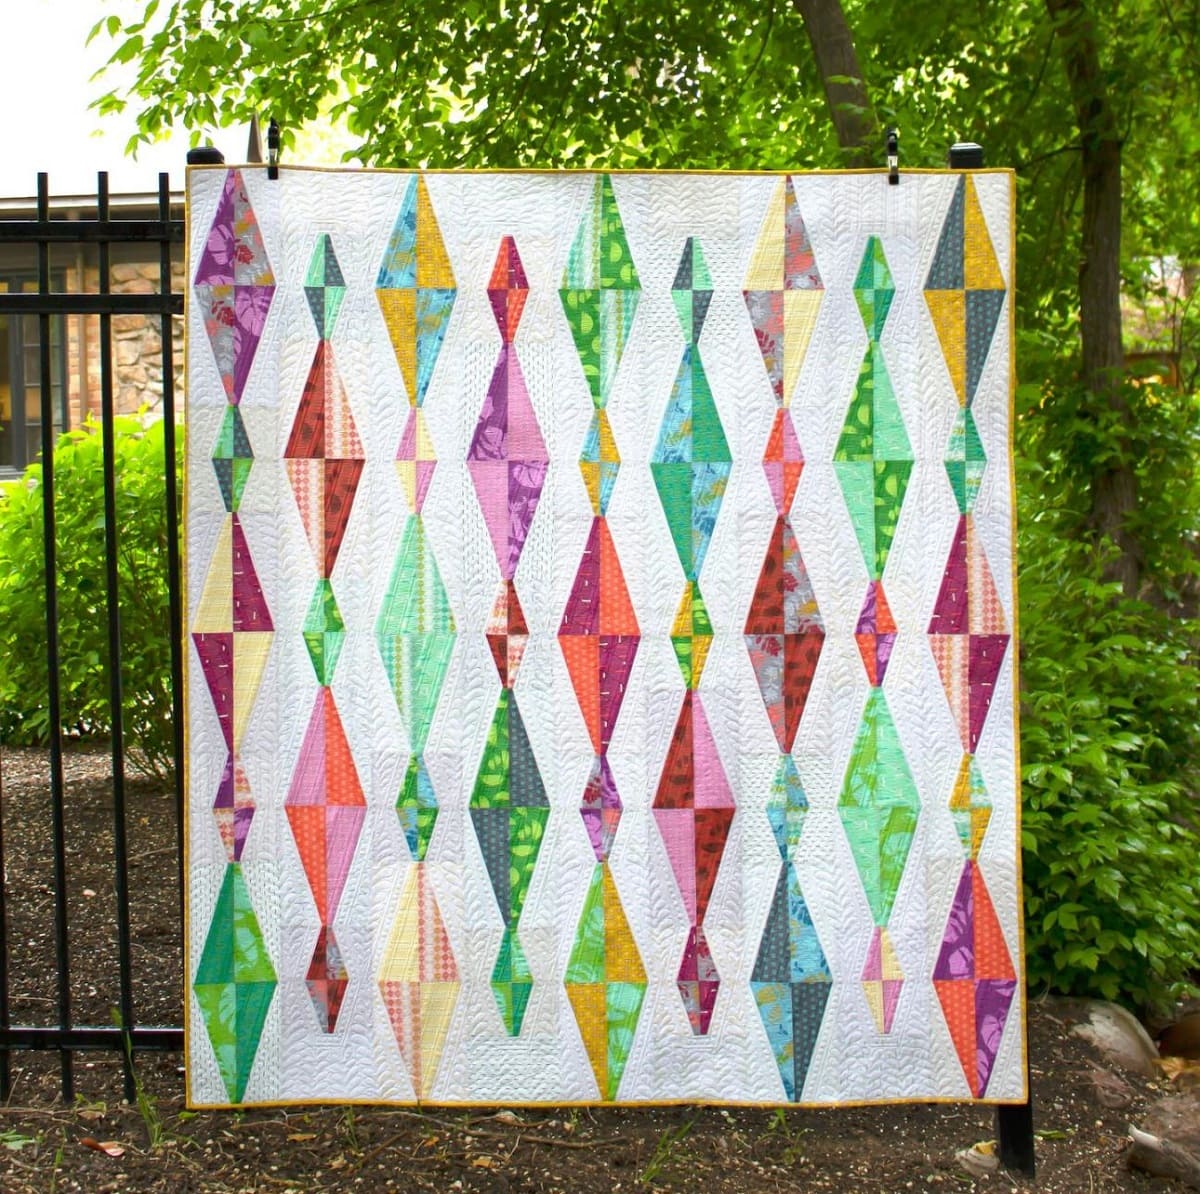
In this article, we will delve into the process of quilting a diamond pattern. This pattern, with its elegant and geometric design, adds a touch of sophistication to any quilt. Whether you are a beginner or an experienced quilter, this step-by-step guide will help you create a stunning diamond pattern quilt that you can be proud of.
Before we dive into the process, let’s talk about some of the materials you will need to get started.
Key Takeaways:
- Quilting a diamond pattern involves selecting fabrics, cutting precise shapes, sewing the diamonds together, adding borders, quilting the pattern, and binding the quilt. It’s a labor of love that requires creativity, patience, and attention to detail.
- The process of quilting a diamond pattern is a journey of creativity and craftsmanship, allowing quilters to express their unique style and passion. Each step, from fabric selection to binding, contributes to the creation of a stunning and cherished piece of art.
Read more: How To Cut Grass In A Diamond Pattern
Materials Needed
Before you embark on your quilting journey, it’s important to gather all the necessary materials. Here’s a list of items you will need to quilt a diamond pattern:
- Fabric: Choose a selection of fabrics in different colors and patterns. You will need enough fabric to create the desired size of your quilt. Consider the color scheme and the overall aesthetic you want to achieve with your diamond pattern.
- Rotary Cutter: This handy tool will make cutting your fabric much easier and more precise. Make sure to have extra blades on hand for when they become dull.
- Cutting Mat: A self-healing cutting mat is essential for protecting your work surface and ensuring accurate cuts.
- Ruler: Invest in a clear, durable quilting ruler to guide your cuts and measurements.
- Thread: Choose a high-quality thread that complements your fabric choices. Opt for a neutral color that will blend well with all the different colors and patterns.
- Sewing Machine: While hand-sewing is an option, having a sewing machine will speed up the process and provide a more consistent stitch.
- Pins: Use pins to hold your fabric pieces together while sewing.
- Iron and Ironing Board: Pressing your fabric and seams is crucial for achieving professional-looking results.
- Quilting Batting: This is the middle layer of your quilt that provides warmth and thickness. Choose a batting that suits your preferences and climate.
- Fabric Scissors: Have a pair of sharp fabric scissors dedicated solely to your quilting projects. These will be used for cutting fabric and thread.
- Quilting Needles: If you prefer to hand-quilt, make sure to have a set of quilting needles in different sizes to accommodate various thread thicknesses.
- Thimble: Protect your fingers and improve your stitching accuracy with a thimble.
- Quilting Frame or Hoop: If you plan to hand-quilt, a quilting frame or hoop will keep your fabric taut and make stitching easier.
- Binding Fabric: Choose a fabric for the binding that complements your quilt design. You will need enough fabric to go all around the edges of your quilt.
- Quilt Pattern: Find or create a diamond pattern that suits your taste and desired quilt size.
Once you have gathered all the necessary materials, you are ready to start quilting the diamond pattern. Let’s move on to the first step: choosing the fabric!
Step 1: Choosing the Fabric
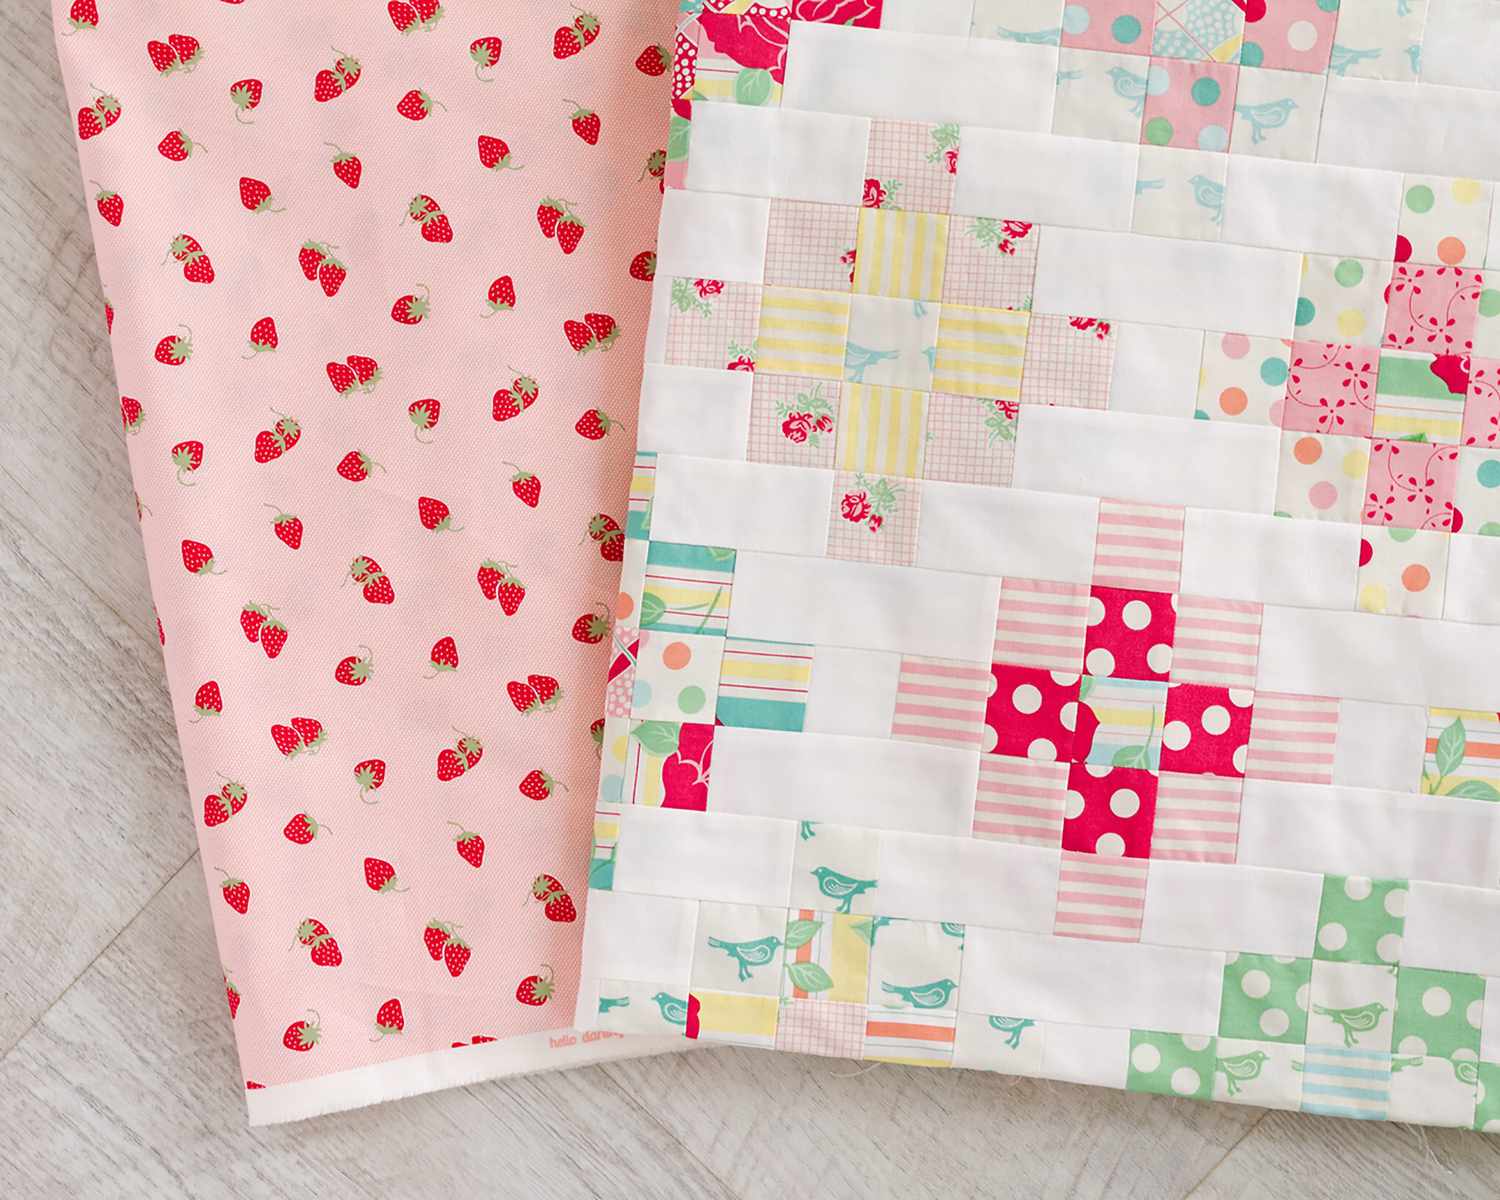
Choosing the right fabric is essential for creating a visually stunning diamond pattern quilt. Consider the color palette, print patterns, and the overall theme or mood you want to achieve. Here are some tips to help you select the perfect fabrics:
- Color Scheme: Decide on a color scheme for your quilt. You can opt for a monochromatic color palette, where different shades of a single color are used, or a complementary color palette, where colors opposite each other on the color wheel are combined for a vibrant and striking effect.
- Prints and Patterns: Choose a variety of prints and patterns for your fabric selection. A mix of solids, florals, geometrics, and stripes can add depth and interest to your diamond pattern. Consider the scale of the prints, ensuring that they work well together and create a cohesive look.
- Texture: Don’t be afraid to incorporate fabrics with different textures, such as velvet, satin, or linen. These can add dimension and tactile appeal to your quilt.
- Contrast: Select fabrics that have a good contrast with each other. This will highlight the diamond pattern and make it visually striking. Dark and light fabrics, or fabrics with high contrast in color or pattern, work well together to create a dynamic design.
- Theme or Mood: Think about the theme or mood you want to convey with your quilt. Are you aiming for a traditional, modern, or eclectic look? Let the fabric choices reflect your desired aesthetic.
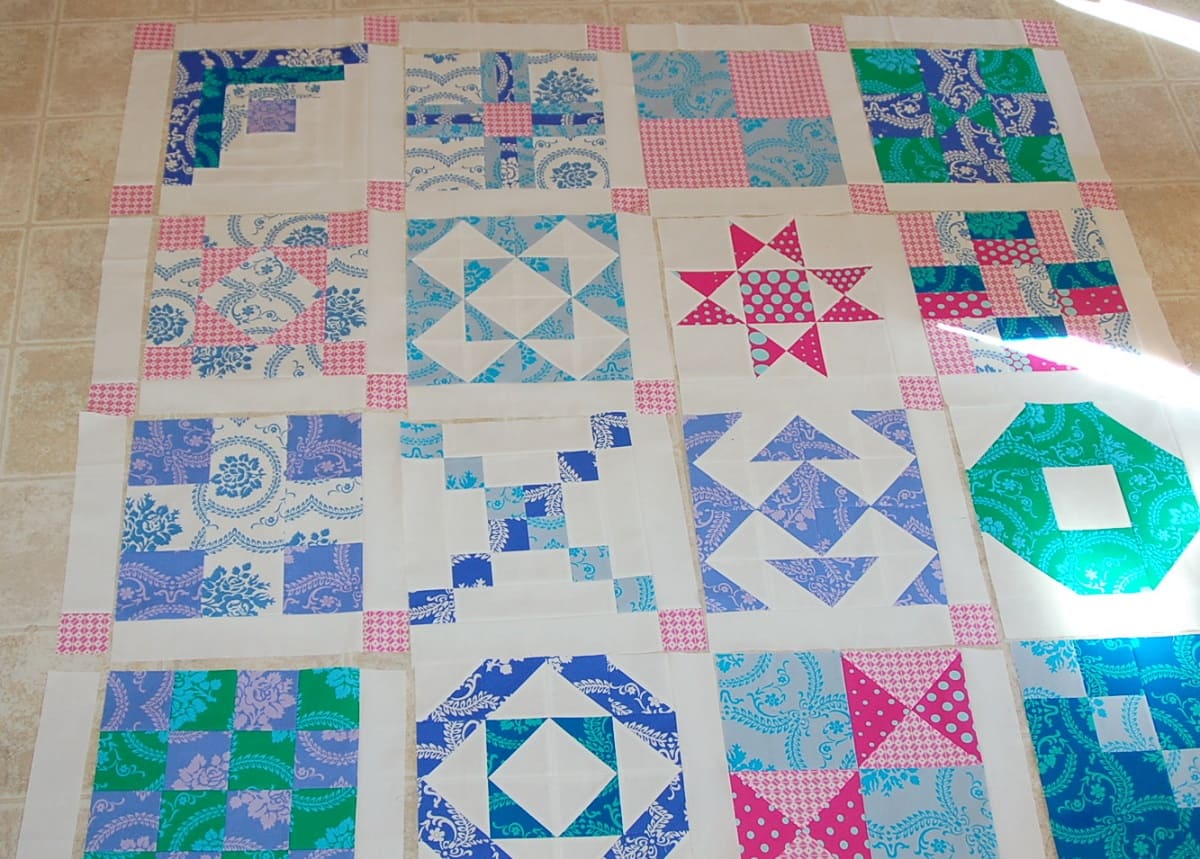
It’s always a good idea to lay out your fabric choices together to visually assess how they work together. Look for a good balance of colors, prints, and textures. Don’t be afraid to make adjustments or swap out fabrics if they don’t fit your vision. Remember, this is your quilt, and you should enjoy the process of selecting fabrics that speak to you.
Once you have chosen your fabrics, it’s time to move on to the next step: cutting the fabric.
Step 2: Cutting the Fabric
Now that you have selected your fabrics, it’s time to cut them into the required shapes and sizes for your diamond pattern quilt. Accurate cutting is essential for achieving precise seams and a cohesive overall design. Follow these steps to cut your fabric:
- Prepare your work surface by laying down a cutting mat. This will protect your table or countertop from cuts and provide a stable cutting surface.
- Measure and mark the dimensions of your diamond shapes on the wrong side of the fabric using a quilting ruler and a fabric marking pen or chalk. Make sure to leave a seam allowance of at least ¼ inch on all sides.
- Using a rotary cutter, cut along the marked lines to create your diamond shapes. Take care to keep the shapes consistent and the edges straight.
- Repeat this process for all the fabrics in your chosen color scheme and print patterns.
It’s important to note that the number of diamonds you cut will depend on the desired size and layout of your quilt. Refer to your quilt pattern for guidance on the number of diamonds needed and any specific measurements.
As you cut your fabric, organize the diamond shapes by color or pattern to keep them easily accessible during the next steps of the quilting process.
Once you have finished cutting the fabric, it’s time to move on to the exciting part: creating the diamond pattern for your quilt!
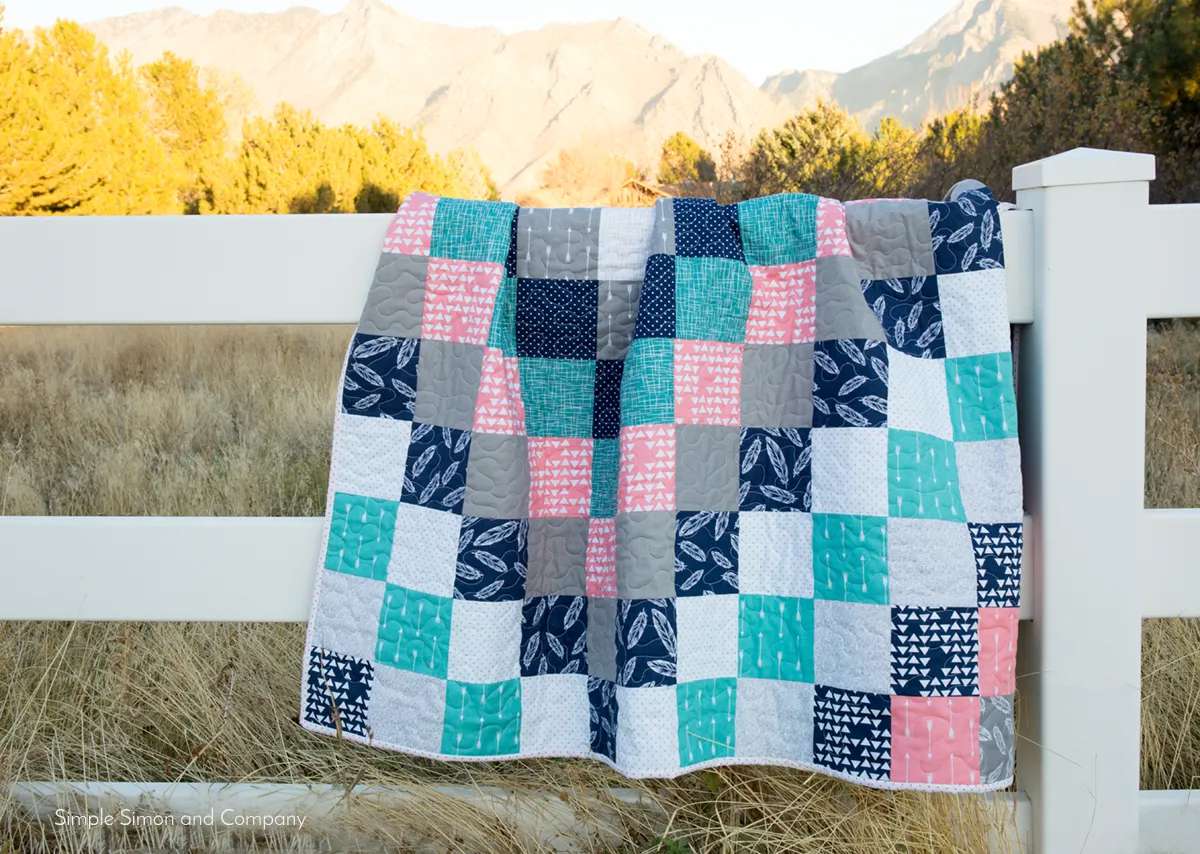
Step 3: Creating the Diamond Pattern
Now that you have your fabric diamonds ready, it’s time to arrange them in a diamond pattern layout. This step will determine the overall design and placement of your quilt’s diamond shapes. Follow these steps to create the diamond pattern:
- Clear a large, flat surface where you can lay out your fabric diamonds. A design wall or a clean floor works well for this purpose.
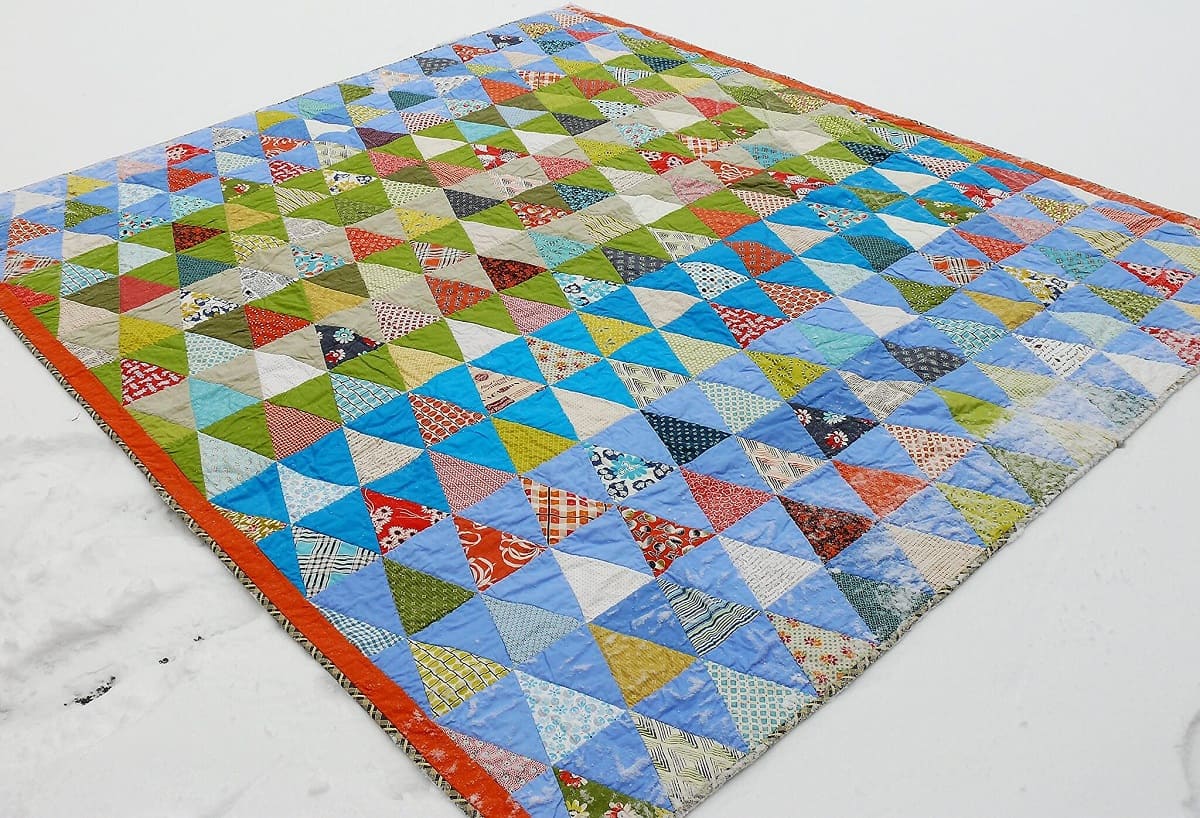
- Begin by laying out a single row of diamonds horizontally. Make sure to alternate the direction of each diamond so that they form a diamond shape when combined.
- Once the first row is arranged to your liking, start the second row by placing a diamond on top of the first row’s diamonds, sandwiching the two together. Again, alternate the direction to create the diamond shape.
- Continue creating rows in this manner until you have completed the desired size and layout of your quilt. Play around with different color combinations and arrangements to achieve the desired visual effect.
- Step back and take a look at your diamond pattern from a distance. Make any adjustments or rearrangements as needed to create a balanced and visually pleasing design.
Remember, the beauty of quilting is the flexibility to create your own unique designs. Feel free to experiment with different diamond patterns, such as offsetting the rows or adding sashing and borders to enhance the overall look.
Once you are satisfied with the diamond pattern layout, it’s time to move on to the next step: sewing the diamonds together.
When quilting a diamond pattern, use a quilting ruler to ensure precise and even lines. Start by quilting the diagonal lines in one direction, then quilt the opposite diagonal lines to create the diamond pattern.
Read more: How To Make A Diamond Quilt Border
Step 4: Sewing the Diamonds Together
Now that you have created your diamond pattern, it’s time to sew the individual diamonds together to form rows and eventually the complete quilt top. Follow these steps to sew the diamonds together:
- Start with the first row of diamonds. Take the first two diamonds in the row and place them right sides together. Align the edges and pin them together to secure.
- Using a ¼ inch seam allowance, sew the diamonds together. Backstitch at the beginning and end of the seam to secure the stitches.
- Continue sewing the remaining diamonds in the row together in the same manner until the entire row is complete.
- Press the seam allowances flat, either to one side or open, depending on your personal preference. This will help the diamonds lie flat and create a neat appearance.
- Repeat the process for each remaining row of diamonds, sewing them together one row at a time.
- Once all the rows are sewn together, press the seam allowances in each row flat.
- Now it’s time to join the rows together. Place the first two rows right sides together, aligning the seams between the diamonds. Pin them together to secure.
- Sew the rows together using a ¼ inch seam allowance, backstitching at the beginning and end to secure the stitches.
- Continue joining the remaining rows together until all the rows are sewn into a complete quilt top.
- Press the seam allowances in the joined rows flat.
Take a step back and admire your progress. The diamond pattern is starting to take shape!
With the diamonds sewn together, you can now move on to the next step: adding borders to frame your quilt.
Step 5: Adding Borders
Adding borders to your quilt not only provides a finished look but also helps frame your diamond pattern and give it a polished appearance. Follow these steps to add borders to your quilt:
- Measure the length and width of your quilt top. This will determine the size of the borders needed.
- Cut fabric strips for the borders according to the measurements you obtained. The width of the border is a matter of personal preference, but a common width is between 2 to 5 inches.
- Place the first border strip right sides together along one side of the quilt top. Align the raw edges and pin it in place.
- Sew the border strip to the quilt top using a ¼ inch seam allowance. Start and end the stitching with backstitches to secure the seam.
- Repeat the process for the remaining sides, adding borders one at a time. Trim off any excess fabric from the border strips as needed.
- Press the seam allowances flat towards the border strips.
- If desired, add additional borders in different colors or patterns to achieve the desired aesthetic. Remember to measure and cut the border strips accordingly.
- Once all the borders are sewn onto the quilt top, press the entire quilt top, including the borders, to ensure it lies flat and has a smooth appearance.
Adding borders not only adds style, but it also helps to stabilize the quilt and provide a neat edge. Take your time with this step to ensure accurate measurements and smooth sewing.
Now that your quilt top has borders, it’s time to move on to the next step: quilting the diamond pattern.
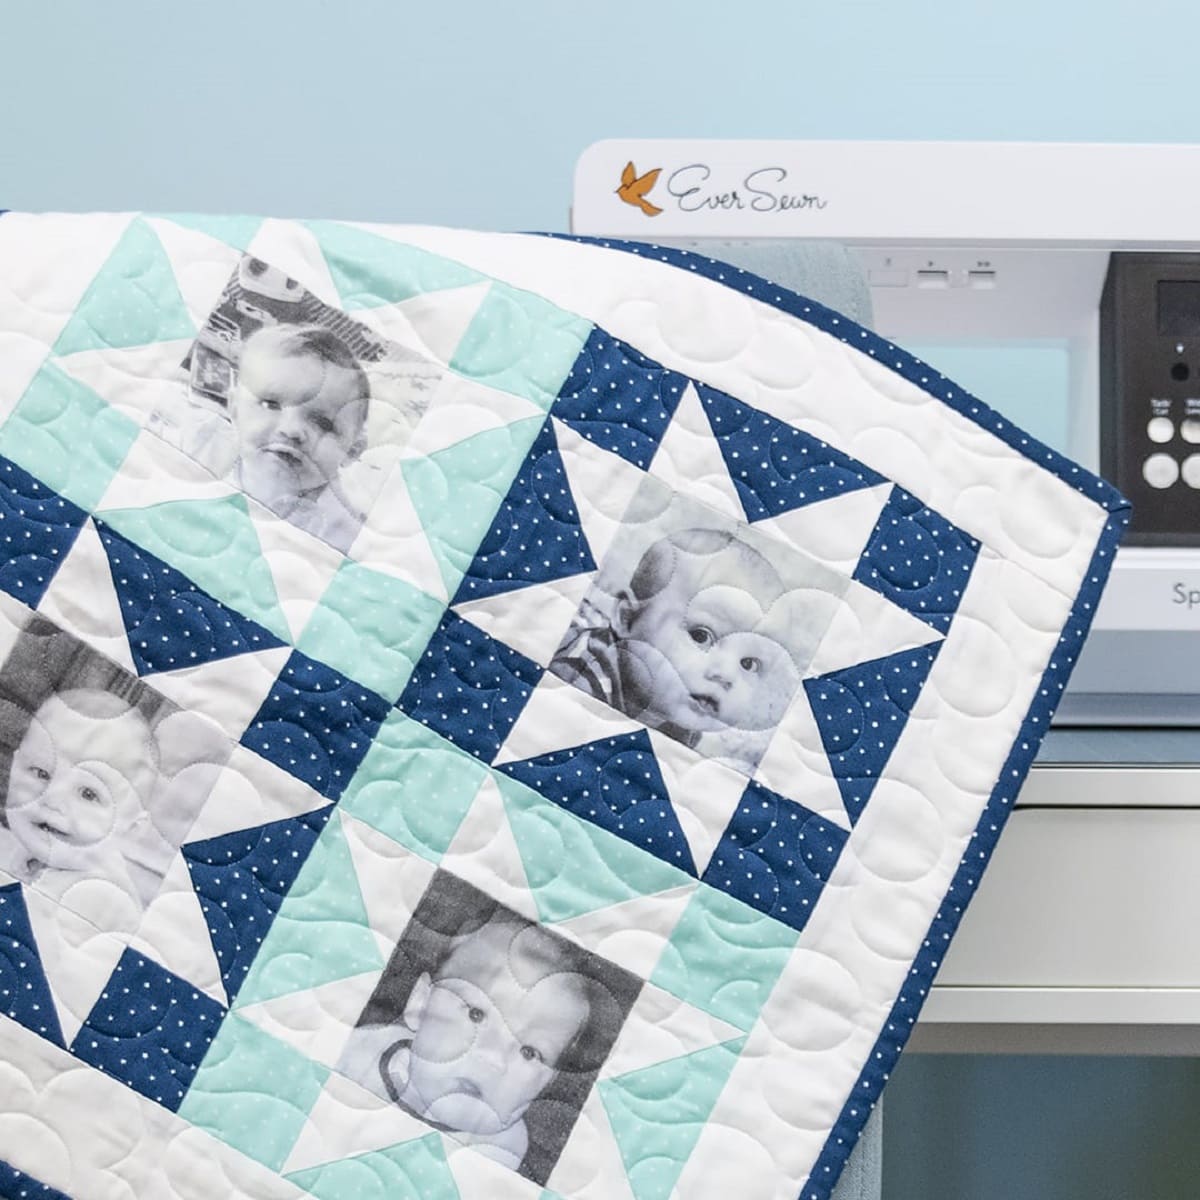
Step 6: Quilting the Diamond Pattern
Quilting the diamond pattern is where the magic happens. This step involves stitching the layers of the quilt together to create a visually appealing texture and secure the quilt’s structure. Here’s how you can quilt the diamond pattern:
- Prepare your quilt sandwich by layering the quilt top, batting, and backing fabric. Ensure that all layers are smooth and free of wrinkles.
- Baste the layers together to hold them in place. You can use safety pins, basting sprays, or hand basting stitches to secure the layers temporarily.
- Decide on the quilting method you want to use. You can opt for hand quilting, machine quilting, or a combination of both. Select a quilting design that complements the diamond pattern and enhances the overall aesthetic of the quilt.
- If you’re hand quilting, thread a quilting needle with a strand of quilting thread. Start quilting from the center of the quilt and work your way outwards, following the lines of the diamond pattern. Use quilting stencils or freehand quilting techniques to create the desired design.
- If you’re machine quilting, attach a walking foot or free motion quilting foot to your sewing machine. Select a quilting thread that contrasts or blends with your fabric, depending on the look you want to achieve. Start quilting from the center or a specific focal point of the quilt and work your way outwards, following the lines of the diamond pattern.
- Take your time as you quilt, ensuring even stitching and smooth lines. You can quilt along the seam lines, create alternate diamond-shaped quilting designs, or experiment with various patterns that complement the diamond pattern.
- Continue quilting until you have covered the entire quilt top with your chosen quilting design. Take breaks when needed to prevent fatigue and maintain accuracy in your stitching.
- Once the quilting is complete, remove any basting stitches or safety pins used to hold the layers together. Trim any excess batting and backing fabric to align with the quilt top.
Quilting is a labor of love, so enjoy the process of adding the finishing touches to your diamond pattern quilt.
With the quilt quilted, it’s now time to bind the edges and bring your diamond pattern quilt to completion.
Step 7: Binding the Quilt
The final step in completing your diamond pattern quilt is to add the binding. Binding not only provides a decorative edge but also helps to secure the layers of the quilt and give it a finished look. Follow these steps to bind your quilt:
- Measure the perimeter of your quilt to determine the length of binding needed. Add a few extra inches to allow for corners and joins.
- Cut fabric strips for the binding according to the measurements you obtained. The width of the binding strip is typically between 2.5 to 3 inches, but you can adjust it based on your preference.
- Join the binding strips together by placing two strips perpendicular to each other, right sides together. Sew diagonally from corner to corner, creating a seam. Trim the excess fabric, leaving a ¼ inch seam allowance.
- Press the binding seams open to reduce bulk.
- Fold the binding strip in half lengthwise, wrong sides together, and press to create a crease.
- Starting in the middle of one side of the quilt, align the raw edges of the binding strip with the raw edges of the quilt. Secure with pins or clips.
- Using a ¼ inch seam allowance, sew the binding to the quilt. Start a few inches from the corner, backstitching to secure the stitches.
- Continue sewing the binding, stopping a few inches before reaching the next corner.
- To create a mitered corner, fold the binding up at a 45-degree angle, creating a neat fold at the corner. Then fold it back down, aligning the raw edges with the next side of the quilt. Secure with pins and continue sewing.
- Repeat the process for all corners until you reach the starting point.
- Trim any excess binding, leaving a ¼ inch seam allowance.
- Fold the binding over to the back of the quilt, covering the raw edges. Secure with pins or clips.
- Using a needle and thread, hand stitch the binding to the back of the quilt using a blind stitch or whip stitch. Take care to hide the stitches within the binding fabric.
- Once the binding is secure, give the quilt a final press to ensure a crisp and professional finish.
With the binding in place, your diamond pattern quilt is now complete and ready to be admired and cherished. Take a moment to appreciate the time and effort you’ve put into creating this beautiful piece of art!
Remember, quilting is an art form that allows for creativity and personal expression. Feel free to experiment with different fabrics, colors, and patterns to make each quilt uniquely yours. Enjoy the process of creating and quilting, and let your diamond pattern quilt be a reflection of your passion and creativity.
Happy quilting!
Read more: How To Quilt Applique Patterns?
Conclusion
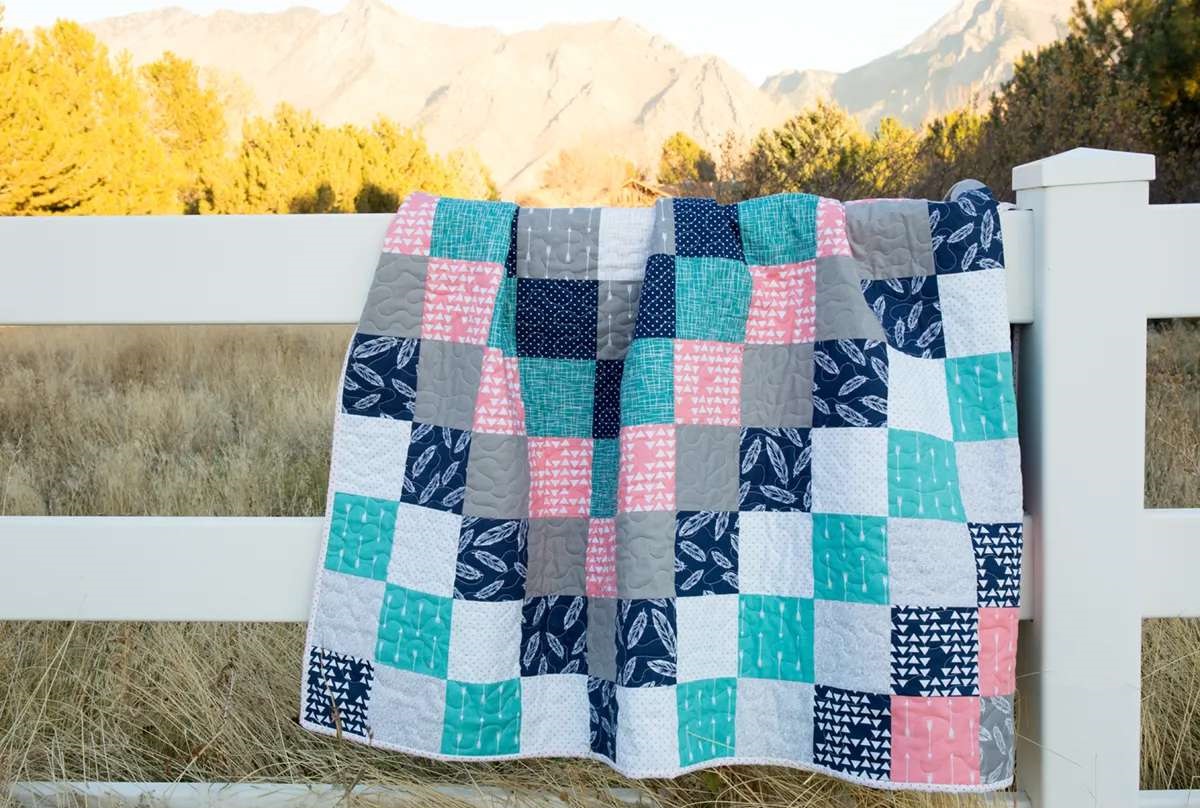
Congratulations on completing your diamond pattern quilt! Throughout this step-by-step guide, we’ve explored the process of quilting a diamond pattern, from selecting the fabric to binding the quilt. By following these steps and infusing your creativity and personal touch, you’ve created a stunning piece of art that showcases your quilting skills.
Quilting is a labor of love that requires patience, attention to detail, and a passion for the craft. As you worked through each step, you gained valuable skills in fabric selection, cutting, pattern creation, sewing, quilting, and binding. This journey allowed you to express your creativity and transform raw materials into a beautiful quilt that can be cherished for years to come.
Remember to enjoy the process of quilting and embrace the imperfections that may arise along the way. Each quilt tells a unique story and holds sentimental value that cannot be replicated. Use this experience as a foundation to continue exploring the world of quilting and expanding your skills.
Whether you gift your quilt to a loved one, use it as a cozy addition to your home decor, or display it as a work of art, your diamond pattern quilt is a testament to your dedication and craftsmanship. It will surely bring warmth, comfort, and joy to those who encounter it.
So gather your materials, unleash your creativity, and embark on your next quilting adventure. With the knowledge and skills you’ve gained, the possibilities are endless. Happy quilting!
Frequently Asked Questions about How To Quilt Diamond Pattern
Was this page helpful?
At Storables.com, we guarantee accurate and reliable information. Our content, validated by Expert Board Contributors, is crafted following stringent Editorial Policies. We're committed to providing you with well-researched, expert-backed insights for all your informational needs.

0 thoughts on “How To Quilt Diamond Pattern”