Home>Articles>How To Make A Quilt – Simple Sampler Quilt Pattern
Articles
How To Make A Quilt – Simple Sampler Quilt Pattern
Modified: August 26, 2024
Learn all about quilting with this simple sampler quilt pattern. Find step-by-step articles on how to make a quilt and create your own masterpiece.
(Many of the links in this article redirect to a specific reviewed product. Your purchase of these products through affiliate links helps to generate commission for Storables.com, at no extra cost. Learn more)
Introduction
Quilting is a cherished craft that allows individuals to showcase their creativity and create beautiful, functional works of art. Making a quilt may seem daunting at first, but with the right guidance and a simple sampler quilt pattern, it can become an enjoyable and rewarding experience.
In this article, we will guide you through the process of making a quilt using a simple sampler quilt pattern. Whether you’re a beginner or an experienced quilter looking for a fun and quick project, this pattern is perfect for you. We’ll cover everything from choosing fabrics to binding the quilt, so you’ll have all the information you need to successfully complete your quilt.
Before we dive into the steps, let’s briefly discuss the materials you’ll need for this project. Having the right tools and supplies on hand will make the quilting process smoother and more enjoyable.
Key Takeaways:
- Making a quilt using a simple sampler quilt pattern is a rewarding and enjoyable experience, from choosing fabrics to piecing blocks, adding borders, quilting the layers, and binding the quilt.
- Quilting is a personal expression of creativity, allowing individuals to showcase their skills and create something truly unique and special. Embrace the journey, enjoy the process, and let your imagination run wild!
Read more: How To Make A Simple Quilt
Materials Required
Before you can begin making your quilt, you’ll need to gather a few essential materials. Here’s a list of what you’ll need:
- Fabric: Choose a variety of fabrics in coordinating colors and patterns. You’ll need enough to create the quilt top, borders, and binding. Consider using different textures and prints to add visual interest to your quilt.
- Quilting ruler: A quilting ruler is a must-have tool for measuring and cutting fabric accurately. Look for one with clear markings and a non-slip surface.
- Rotary cutter: A rotary cutter is a handy tool that allows you to cut fabric quickly and precisely. Make sure to have extra blades on hand as they can dull over time.
- Cutting mat: A self-healing cutting mat is essential for protecting your work surface and ensuring clean cuts. Look for one that’s large enough to accommodate your fabric pieces.
- Thread: Choose a high-quality thread in a color that complements your fabric. Polyester or cotton thread works well for quilting.
- Pins: Straight pins are used to hold fabric layers together while quilting. Opt for fine, sharp pins to minimize damage to the fabric.
- Thimble: If you choose to quilt by hand, a thimble is essential for protecting your finger from the needle. Choose a thimble that fits comfortably.
- Quilting needles: Quilting needles have a small, rounded eye and a sharp point, making them ideal for stitching through multiple layers of fabric.
- Batting: Batting is the middle layer of the quilt sandwich and provides warmth and insulation. Choose a batting that suits your needs, such as cotton, polyester, or wool.
- Backing fabric: The backing fabric is the fabric that will be on the back of the quilt. Choose a fabric that complements the quilt top.
- Quilting hoop or frame: If you’re quilting by hand, a quilting hoop or frame will help keep your fabric taut while you stitch.
- Iron and ironing board: Pressing your fabric is crucial for achieving accurate seams and a polished finish. Make sure you have a functional iron and ironing board.
Having these materials ready before you start will ensure a smooth and organized quilting process. Now that you have everything you need, let’s move on to the first step: choosing fabrics for your quilt.
Step 1: Choosing Fabrics
The fabric you choose for your quilt will greatly impact the overall look and feel of the finished project. When selecting fabrics, consider factors such as color, pattern, texture, and the theme or mood you want your quilt to convey. Here are a few tips to help you choose fabrics for your quilt:
- Color Palette: Decide on a color palette for your quilt. You can go with a monochromatic scheme, where you choose different shades of the same color, or opt for complementary colors that create a contrasting effect. Experiment with different combinations and see what speaks to you.
- Contrast and Balance: Consider the amount of contrast you want in your quilt. High contrast between fabrics can create a bold and dynamic look, while low contrast can give a more subtle and blended appearance. Strive to strike a balance between the two for visual interest.
- Scale and Pattern: Pay attention to the scale of the patterns on your fabrics. Mixing different scales, such as large florals with small geometrics, can add depth and dimension to your quilt. Consider the overall pattern distribution in your quilt as well, ensuring that there is a pleasing balance of different patterns.
- Texture: Experiment with different textured fabrics to add interest and depth to your quilt. Look for fabrics with different finishes, such as matte, shiny, or metallic, to create visual variation.
- Theme and Mood: Determine the theme or mood you want your quilt to evoke. Are you going for a traditional, modern, or whimsical look? Keep this in mind when selecting fabrics to ensure cohesiveness in your design.
As you choose fabrics, try laying them out together to see how they interact and complement each other. Take note of the overall balance, variety, and harmony in the fabric selection.
Remember, there are no hard and fast rules when it comes to choosing fabrics. Trust your instincts and go with what you love. Quilting is a personal expression of your creativity, so embrace your unique style and have fun with the fabric selection process.
Now that you have your fabrics sorted, it’s time to move on to the next step: cutting the fabric.
Step 2: Cutting the Fabric
Once you have chosen your fabrics, it’s time to cut them into the required pieces for your quilt. This step involves cutting the blocks, sashing, and borders. Here’s how you can do it:
Cutting the Blocks:
Begin by determining the dimensions of your quilt blocks. Refer to your quilt pattern or design and measure the desired size for each block. Using a quilting ruler and rotary cutter, carefully measure and cut the fabric pieces for each block. Take note of any specific cutting instructions provided in your pattern.
Read more: How To Make A Strip Quilt Pattern
Cutting the Sashing:
Sashing is the fabric strip that separates the quilt blocks and adds visual interest to the design. Measure and cut the sashing strips according to the width and length specified in your pattern. Take into consideration any seam allowances required for joining the blocks.
Cutting the Borders:
Borders frame the quilt and provide a finished look. Decide on the width of the borders and measure and cut the fabric strips accordingly. Make sure the length of the borders matches the sides of the quilt top after adding the sashing strips, taking into account any seam allowances.
As you cut the fabric, double-check your measurements to ensure accuracy. Use a sharp rotary cutter and a cutting mat to achieve clean and precise cuts. It’s helpful to label and organize your fabric pieces to keep track of which ones belong to each block or section of the quilt.
Remember, accuracy is key in this step as it will affect the piecing and overall appearance of your quilt. Take your time and be mindful of the measurements and cutting instructions provided in your quilt pattern or design.
Now that you have the fabrics cut into the required pieces, you’re ready to move on to the next step: piecing the blocks together.
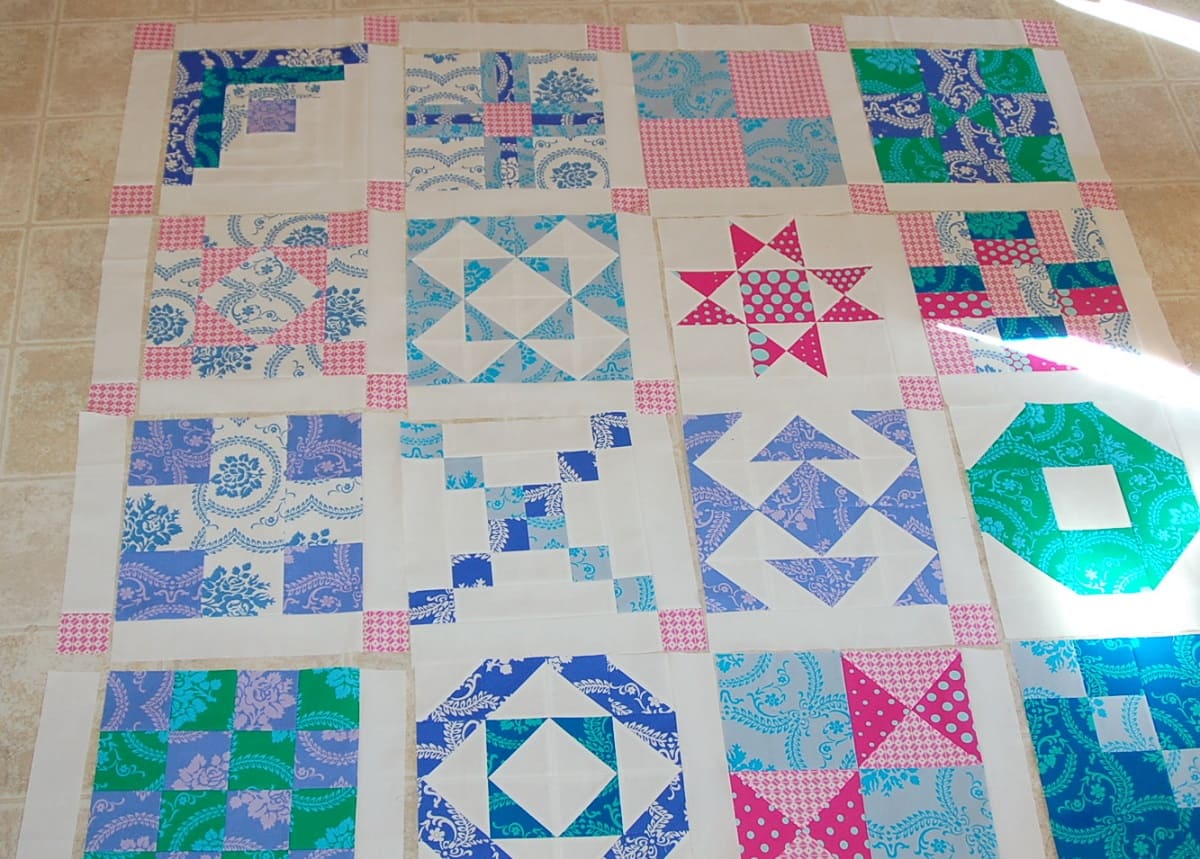
Step 3: Piecing the Blocks
Now that you have all your fabric pieces cut, it’s time to piece them together to create the individual blocks for your quilt. Each block has its own unique design and construction method. Let’s dive into the different blocks:
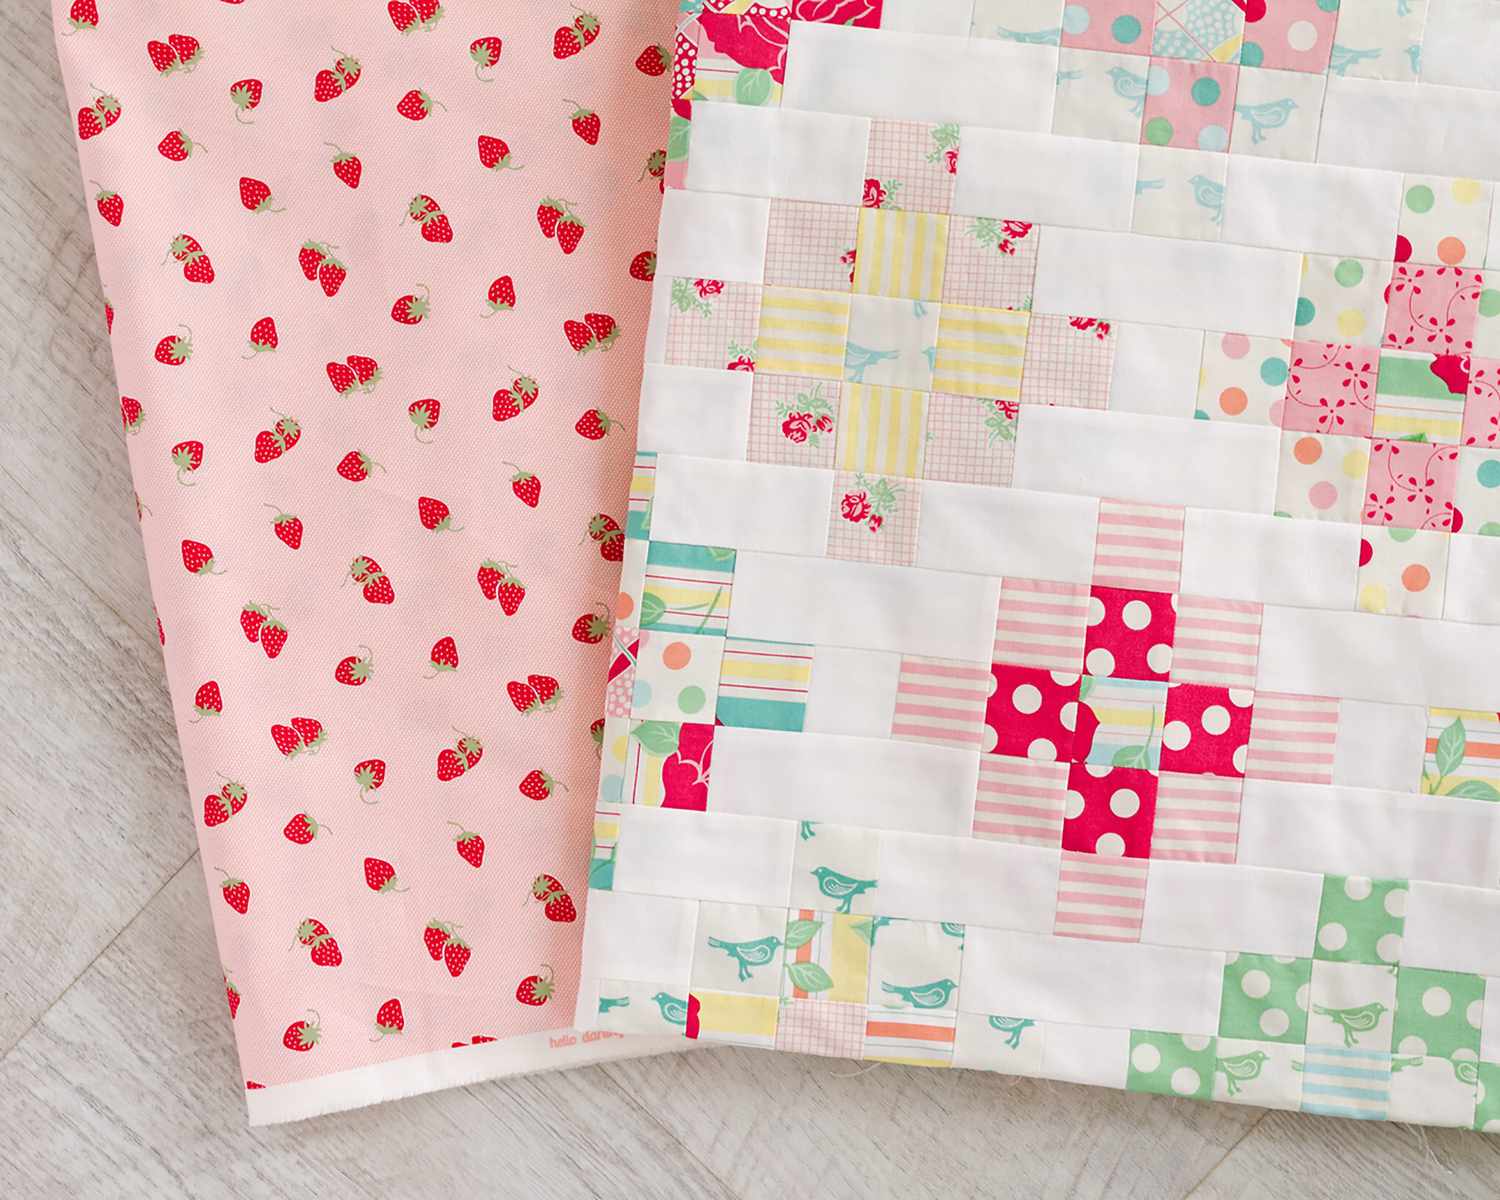
Block 1: Patchwork Square
The patchwork square block is a classic and versatile design that showcases different fabric prints and colors. To create this block, arrange and sew together smaller fabric squares to form a larger square. Press the seams open or to one side for a smooth and flat block.
Read more: How To Make A Simple Scrap Quilt
Block 2: Flying Geese
The flying geese block is a popular design that resembles a flock of geese flying in formation. It consists of a large triangle and two smaller triangles sewn together. Carefully align the smaller triangles on each side of the larger triangle and stitch them together. Press the seams towards the darker fabric for crisp and well-defined geese.
Block 3: Half Square Triangles
Half square triangles (HSTs) are versatile quilt blocks that can be arranged in various patterns to create striking designs. To make HSTs, pair two fabric squares with right sides together, draw a diagonal line from corner to corner, and sew a ¼ inch seam on each side of the drawn line. Cut along the line to create two HSTs and press the seams open or towards the darker fabric.
Block 4: Rail Fence
The rail fence block is a simple and visually appealing design that consists of fabric strips sewn together. Cut strips of equal width from different fabric prints or colors and arrange them in a desired pattern. Sew the strips together, alternating colors, and press the seams in one direction or open for a neat block.
Block 5: Log Cabin
The log cabin block is a timeless design that symbolizes warmth and comfort. It features a central square surrounded by fabric strips, representing the logs of a cabin. Start by sewing a small fabric square in the center and then sew additional strips around it to create a log cabin effect. Press the seams outwards for a smooth block.
As you piece the blocks together, remember to use a ¼ inch seam allowance and backstitch at the beginning and end of each seam for added durability. Take your time aligning the fabric pieces and sewing straight seams to ensure accurate blocks.
Once you have completed piecing all the blocks, give them a final press with an iron to flatten the seams and prepare for assembling the quilt top.
Now that the blocks are pieced together, it’s time to move on to the next step: assembling the quilt top.
Read more: How To Make A Quilt Pattern From A Picture
Step 4: Assembling the Quilt Top
Now that you have pieced all the blocks together, it’s time to assemble the quilt top. This step involves arranging the blocks in a visually pleasing layout and sewing them together to create the main design of your quilt. Here’s how you can do it:
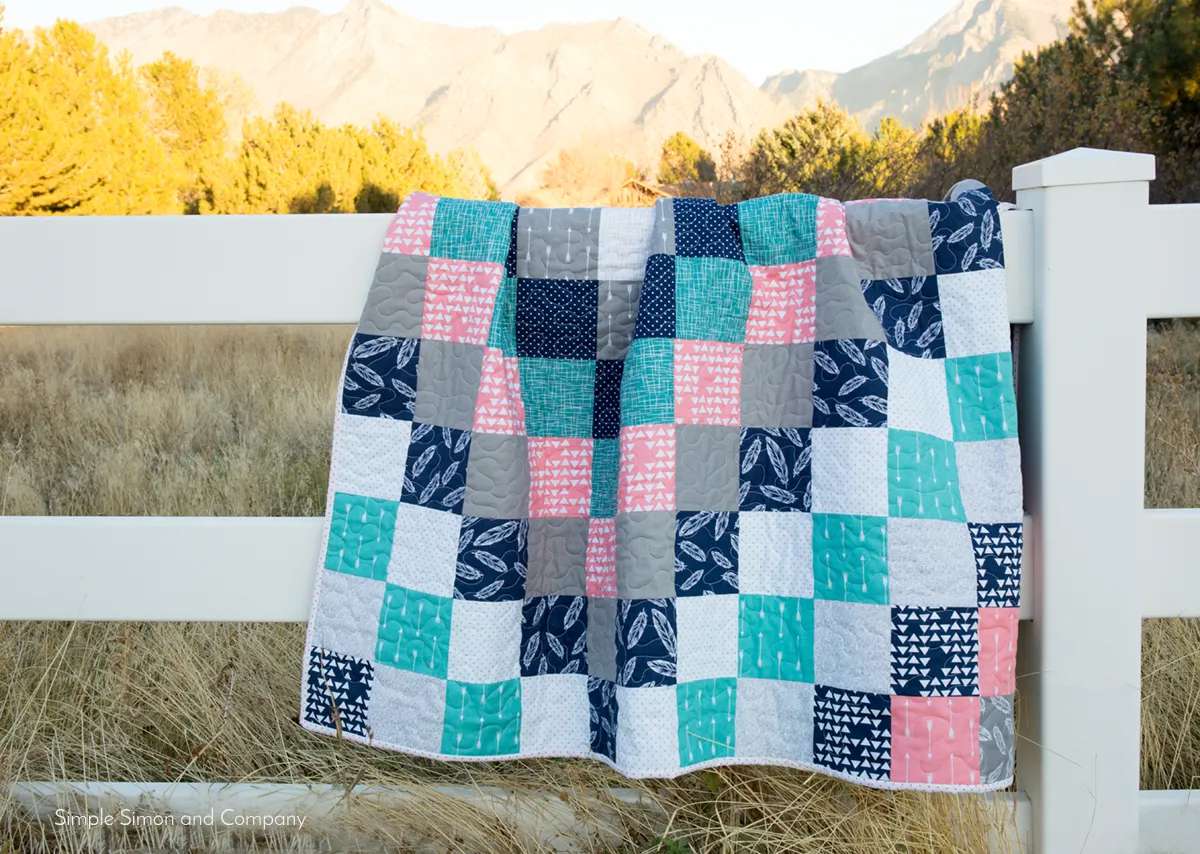
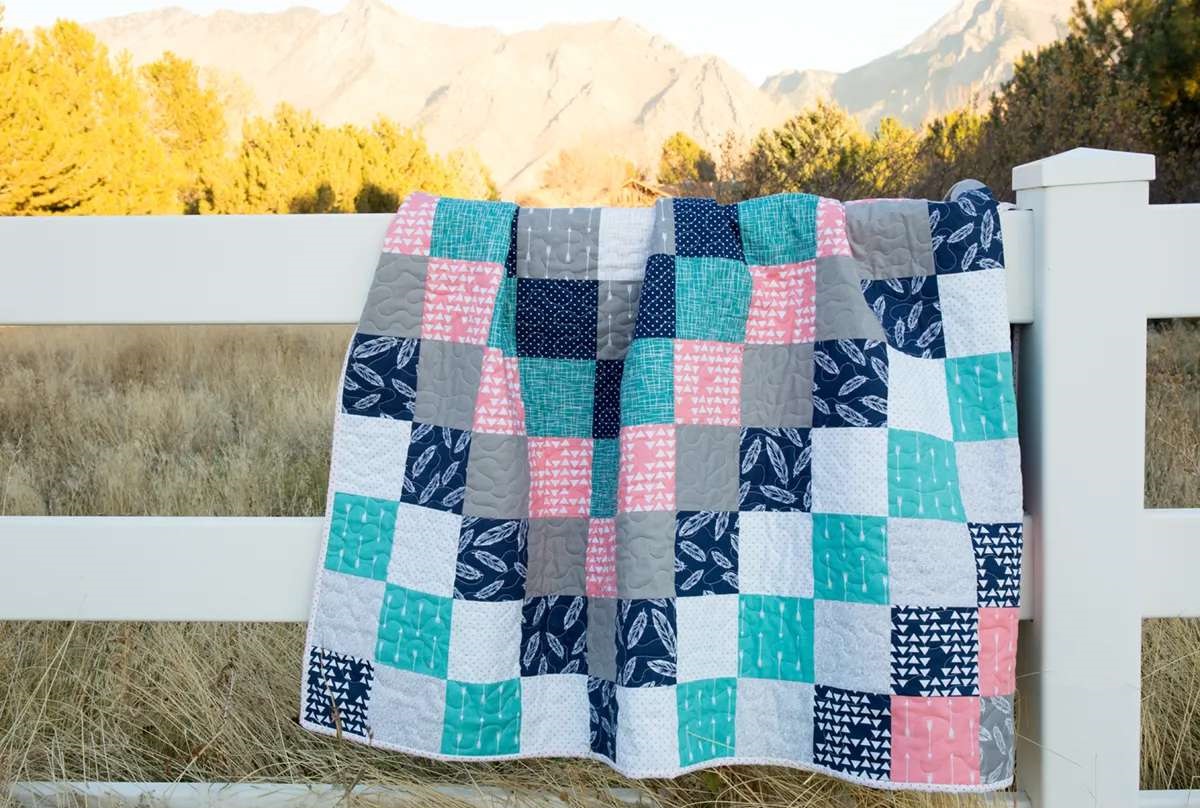
- Layout: Begin by laying out your quilt blocks on a flat surface. Experiment with different arrangements until you find a layout that you’re happy with. Consider color distribution, block rotation, and block placement to create a balanced and visually appealing design.
- Block Placement: Once you’ve finalized the layout, start sewing the blocks together in rows. Align the edges of the blocks carefully, matching seams and corners. Pin the blocks if needed to ensure they stay in place during sewing.
- Row Assembly: Sew the blocks in each row together, using a ¼ inch seam allowance. Press the seams in one direction or open, alternating between rows, to reduce bulk and achieve a flat quilt top.
- Joining Rows: When all the rows are assembled, sew them together to create the final quilt top. Match the seams and corners carefully to maintain the design integrity. Again, use a ¼ inch seam allowance and press the seams in one direction or open.
As you assemble the quilt top, it’s important to ensure that the blocks are aligned properly and the fabric lays flat. Take your time to sew accurate seams and press each seam to create a neat and professional-looking quilt top.
Once you have completed assembling the quilt top, give it a final press with an iron to remove any wrinkles and prepare it for adding borders.
Now that the quilt top is assembled, it’s time to move on to the next step: adding borders to the quilt.
Step 5: Adding Borders
Adding borders to your quilt not only enhances its visual appeal but also helps to frame the quilt and give it a finished look. Borders can be simple or intricate, depending on your design preference. Here’s how you can add borders to your quilt:
- Measurements: Measure the width and length of your quilt top to determine the size of your borders. Take into account the desired width of the borders as well as any seam allowances.
- Fabric Selection: Choose a fabric for your borders that complements the colors and prints in your quilt top. Consider using a fabric that contrasts or coordinates with the blocks to make them stand out.
- Cutting: Cut fabric strips for the borders according to your measurements. Make sure the length of the side borders matches the length of the quilt top after adding the top and bottom borders.
- Attaching Side Borders: Pin and sew the side borders to the quilt top, aligning the raw edges. Use a ¼ inch seam allowance and press the seam towards the border. Trim any excess fabric if necessary.
- Adding Top and Bottom Borders: Measure and cut fabric strips for the top and bottom borders, aligning them with the width of the quilt top. Pin and sew the borders, matching the raw edges and aligning the corners. Again, use a ¼ inch seam allowance and press the seam towards the border.
- Squaring Up: After adding the borders, double-check that your quilt top is squared up. Use a quilting ruler and rotary cutter to trim any excess fabric and ensure the borders are straight and even.
When adding borders, it’s important to sew accurately and press the seams properly. This will result in a flat and well-finished quilt top. Take your time to align the borders, particularly at the corners, to maintain the overall symmetry and balance of your quilt.
Once the borders are added, give your quilt top a final press to ensure the borders lie flat. Now, your quilt top is ready for the next step: quilting the layers.
Step 6: Quilting the Layers
Quilting the layers of your quilt adds both beauty and functionality to your project. It involves stitching through the quilt top, batting, and backing to secure them together. There are various quilting techniques to choose from, including hand quilting and machine quilting. Here’s how you can quilt the layers of your quilt:
Choosing the Quilting Design:
Before you start quilting, decide on the design you want to use. Consider the overall style of your quilt and the effect you want to achieve. Popular quilting designs include straight-line quilting, stippling, free-motion quilting, and quilting in the ditch. Research different designs and choose one that complements your quilt top.
Read more: How To Make A Braid Pattern Quilt Block
Preparing the Layers for Quilting:
Prior to quilting, it is important to prepare the layers of your quilt. Ensure your quilt top is well-pressed and smooth. Place your backing fabric right side down on a flat surface, followed by the batting. Finally, center your quilt top right side up on top of the batting. Baste the layers together using safety pins or basting spray to prevent shifting during quilting.
Quilting the Layers by Hand:
If you choose to quilt your layers by hand, thread a quilting needle with a sturdy thread and tie a knot at the end. Start quilting from the center of the quilt and work your way outward. Use a thimble to protect your fingers and make it easier to stitch through the layers. Choose a quilting stitch, such as the running stitch or the rocking stitch, and quilt along your chosen design or pattern. Be patient, as hand quilting requires time and precision.
Quilting the Layers by Machine:
If you prefer to quilt your layers by machine, attach a walking foot to your sewing machine to ensure even feeding of the layers. Select a quilting thread that coordinates with your quilt. Use a decorative stitch or a straight stitch along your chosen design or pattern. Quilt in straight lines, gentle curves, or free-motion quilt for more intricate designs. Take your time and practice on scrap fabric before quilting on your actual project.
As you quilt, pay attention to the tension of your stitches, ensuring they are neither too loose nor too tight. Take breaks to rest your hands and adjust your grip to maintain comfort and control. Quilting is a labor of love, so enjoy the process and embrace any imperfections as part of the handmade charm of your quilt.
Once you have finished quilting, give your quilt a final press to remove any wrinkles. Now, it’s time to move on to the final step: binding the quilt.
Step 7: Binding the Quilt
The final step in completing your quilt is binding. Binding not only adds a finished edge to your quilt but also helps to secure the layers together and provide durability. Here’s how you can bind your quilt:
- Measure and Cut Binding Strips: Measure the perimeter of your quilt to determine the length of binding you need. Cut fabric strips that are 2.5 to 3 inches wide, joining them end to end with diagonal seams to create a continuous strip.
- Attach Binding to Quilt: Start by leaving a tail of binding and leaving an inch or two unsewn at the beginning. Align the raw edges of the binding strip with the raw edges of the quilt, starting on one side. Use clips or pins to secure the binding in place.
- Sew the Binding: Using a ¼ inch seam allowance, sew along the edge of the binding, attaching it to the quilt. As you approach the corners, stop sewing a ¼ inch away from the corner, pivot the quilt, and continue sewing down the next side. Repeat this process for all four corners.
- Miter the Corners: To create neat and mitered corners, fold the binding up and away from the quilt at a 45-degree angle. Then, fold the binding back down, aligning it with the next side of the quilt. Sew along the edge, starting from the fold, to secure the mitered corner in place. Repeat this process for all four corners.
- Joining the Ends: When you reach the starting point, trim the excess binding so that it overlaps the beginning tail. Fold under the end of the binding, tuck it into the beginning tail, and sew across to join the ends together.
- Finishing the Binding: Finally, fold the binding over the raw edge of the quilt to the backside. Hand stitch the binding in place using a blind stitch or whip stitch, ensuring the stitches are invisible from the front of the quilt.
Take your time and stitch carefully to create a clean and professional-looking binding. Press the binding away from the quilt to create a crisp edge.
Once the binding is attached and secured, give your quilt a final press to remove any wrinkles. Trim any loose threads, and your quilt is now complete and ready to be enjoyed!
Quilting is a labor of love, and binding the quilt is the final touch that brings your project to completion. Step back, admire your handiwork, and celebrate the beautiful quilt you have created.
Congratulations, you have successfully completed all the steps to make a quilt using a simple sampler quilt pattern!
Should we write more articles like this?
Read more: How To Make Cathedral Window Quilt Pattern
Conclusion
Congratulations! You have now completed all the steps to make a quilt using a simple sampler quilt pattern. From choosing fabrics to piecing blocks, adding borders, quilting the layers, and binding the quilt, you have created a beautiful and meaningful work of art.
Making a quilt may seem like a complex task, but with the right guidance and a little patience, anyone can create a stunning quilt. The key is to take your time, enjoy the process, and let your creativity shine through. Remember, quilting is not just about the end result; it’s about the journey and the joy it brings.
Throughout this article, we have covered key aspects such as choosing fabrics that complement each other, cutting the fabric accurately, piecing blocks together to create the quilt top, and adding borders for that final touch. We also discussed quilting techniques such as hand quilting and machine quilting, and how to bind the quilt to give it a finished look.
Quilting is a craft that has been passed down through generations, and it continues to bring warmth, comfort, and beauty to our lives. The process of creating a quilt allows us to express our creativity, showcase our skills, and create something truly unique and special.
So whether you’re new to quilting or an experienced quilter, we hope this article has provided you with useful information and inspiration to embark on your next quilting project. Remember to experiment with different fabrics, colors, and patterns, and most importantly, have fun along the way!
Now go ahead, gather your materials, and let your imagination run wild as you create your own masterpiece. Happy quilting!
Frequently Asked Questions about How To Make A Quilt - Simple Sampler Quilt Pattern
Was this page helpful?
At Storables.com, we guarantee accurate and reliable information. Our content, validated by Expert Board Contributors, is crafted following stringent Editorial Policies. We're committed to providing you with well-researched, expert-backed insights for all your informational needs.

0 thoughts on “How To Make A Quilt – Simple Sampler Quilt Pattern”