Articles
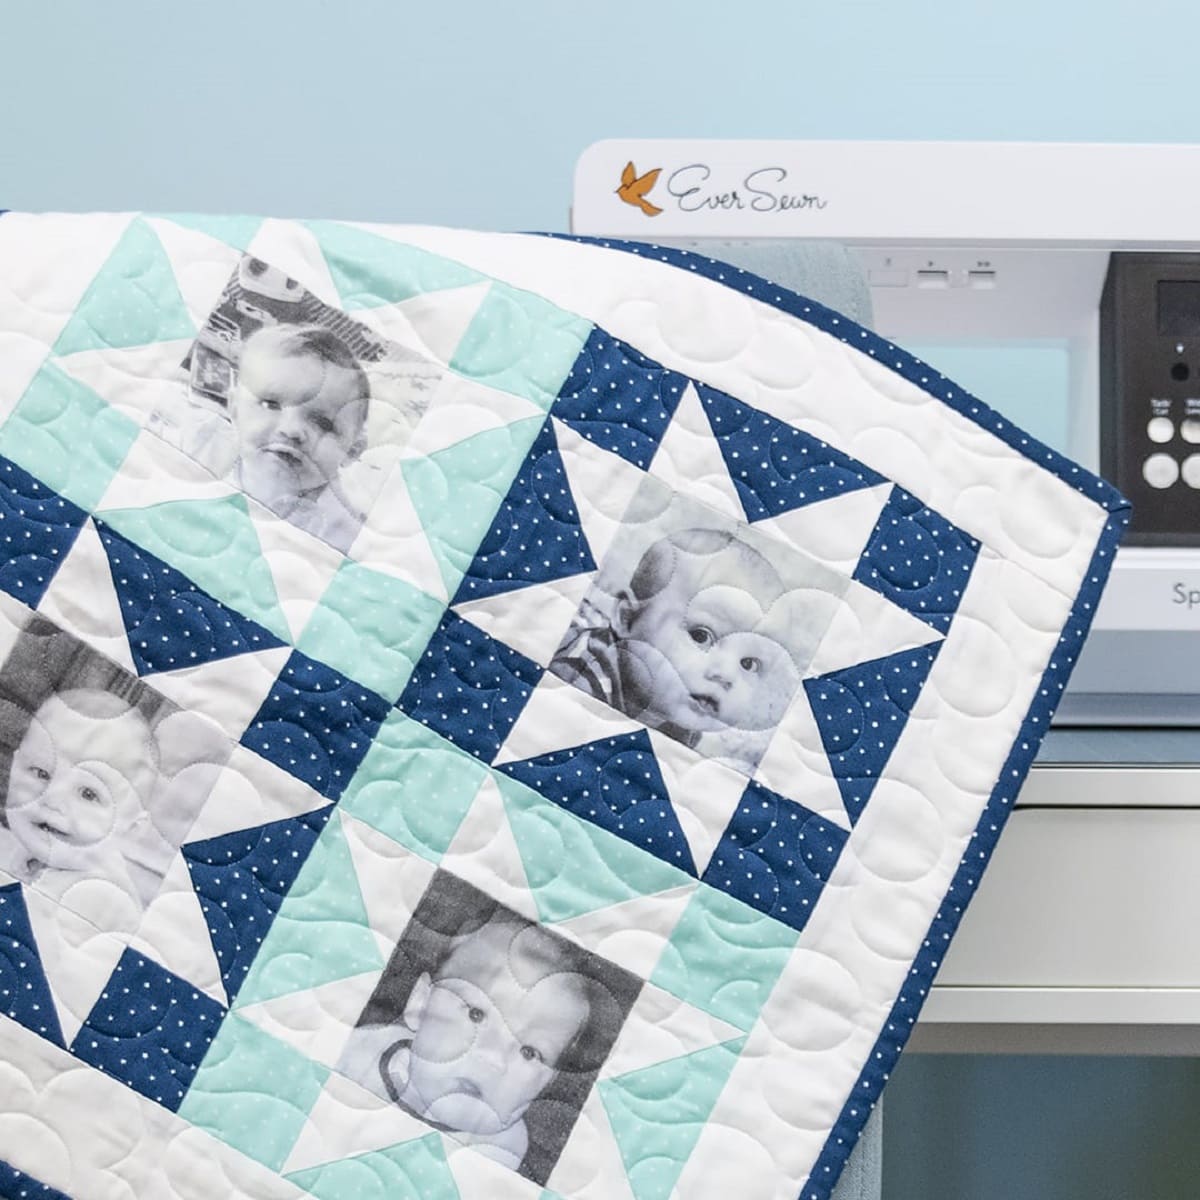
How To Make A Quilt Pattern From A Picture
Modified: January 5, 2024
Learn how to create a unique quilt pattern from any picture with our informative articles. Get step-by-step instructions and inspiration for your next quilting project.
(Many of the links in this article redirect to a specific reviewed product. Your purchase of these products through affiliate links helps to generate commission for Storables.com, at no extra cost. Learn more)
Introduction
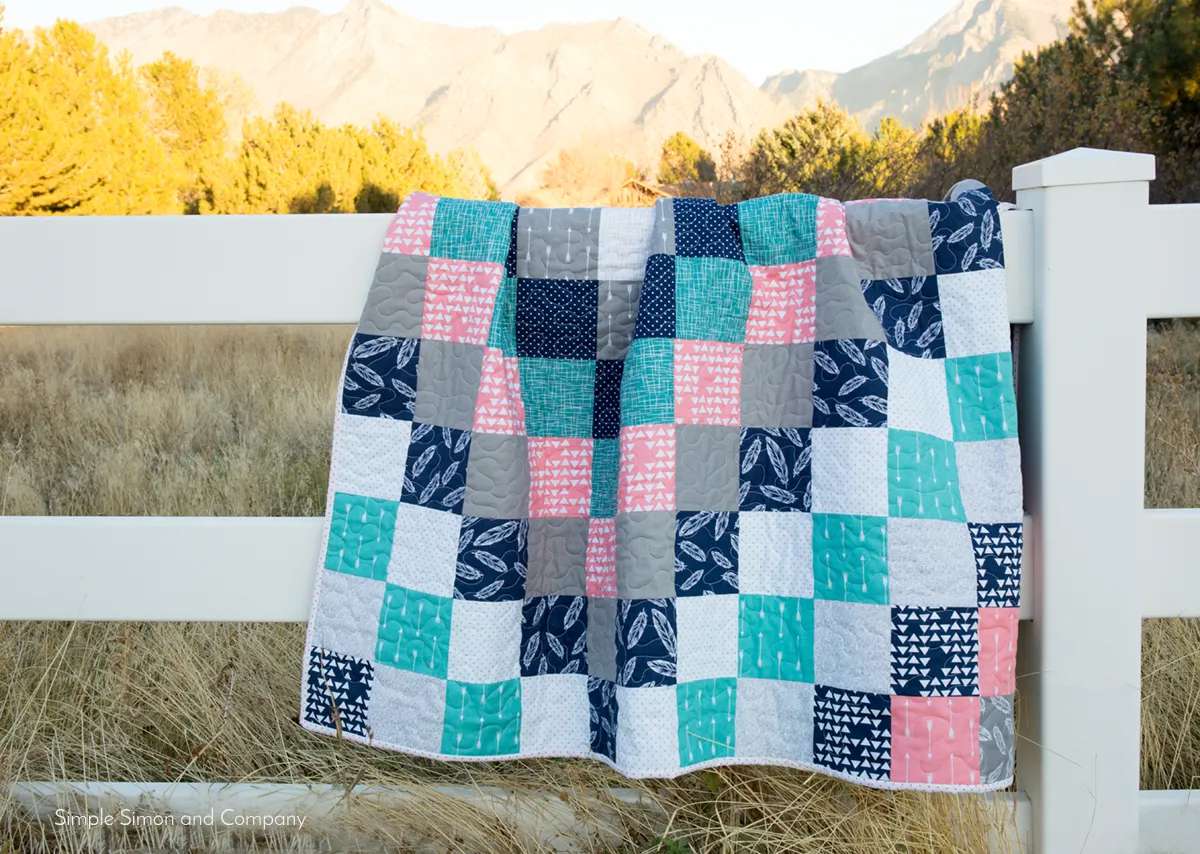
Quilting is a beloved craft that allows individuals to create beautiful and functional works of art. From traditional quilt patterns to modern designs, quilters have the opportunity to showcase their creativity and skill. One popular technique in quilting is creating a quilt pattern from a picture, which allows you to immortalize a meaningful image or capture a stunning scene with fabric.
In this article, we will guide you through the process of making a quilt pattern from a picture. Whether you’re a beginner or an experienced quilter, this step-by-step guide will help you transform any image into a stunning quilt.
Before we dive into the process, it’s important to note that creating a quilt pattern from a picture requires some planning, patience, and attention to detail. However, the end result will be a unique and personalized quilt that holds special meaning to you or the recipient.
So, let’s get started on this exciting quilting journey!
Key Takeaways:
- Transform cherished images into stunning fabric art by following a step-by-step process to create a personalized quilt pattern from a picture. Embrace your unique style and enjoy the creative journey of quilting.
- Careful planning, attention to detail, and experimentation with fabric swatches are essential for refining and finalizing the quilt pattern. Trust your instincts, personalize your design, and bring your picture to life through quilting.
Read more: How To Make A Strip Quilt Pattern
Step 1: Choose a Picture
The first step in creating a quilt pattern from a picture is to choose an image that is important to you or evokes a specific emotion. It could be a photograph of a loved one, a scenic landscape, or even a favorite piece of artwork.
When selecting a picture, keep in mind that the image should have a clear and defined subject. This will make it easier to translate into a quilt pattern. It’s also important to consider the level of detail in the picture. Highly detailed images with intricate patterns may require more skill and patience to reproduce accurately.
Take some time to browse through your personal photo collection or explore online resources for inspiration. You can also consider using a picture you’ve taken yourself or even a public domain image that resonates with you.
Once you’ve chosen a picture, print it out or have the digital image readily accessible for reference throughout the pattern creation process.
Remember, the picture you choose will determine the overall look and feel of your quilt pattern, so select something that speaks to you and sparks your creativity!
Step 2: Select the Desired Quilt Pattern Style
Now that you have chosen a picture, it’s time to determine the quilt pattern style you want to use to bring your image to life. There are several different quilt pattern styles to choose from, each with its own unique characteristics and techniques.
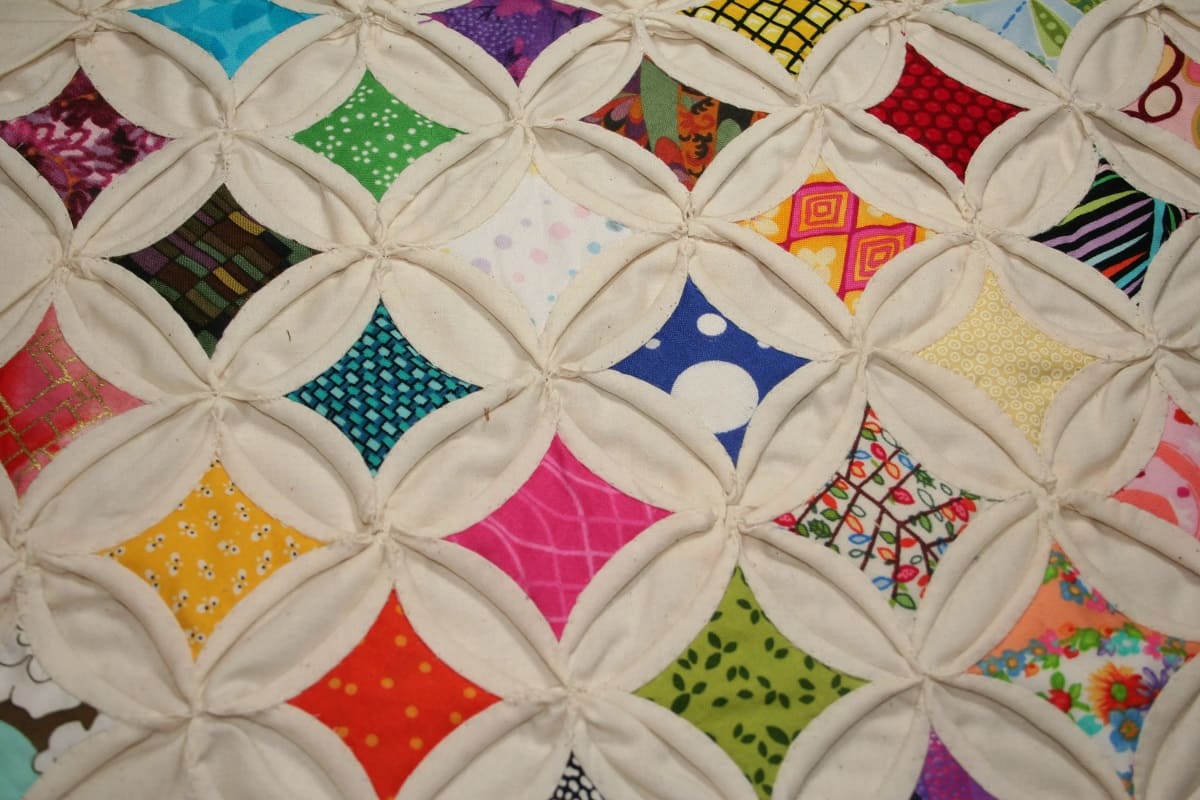
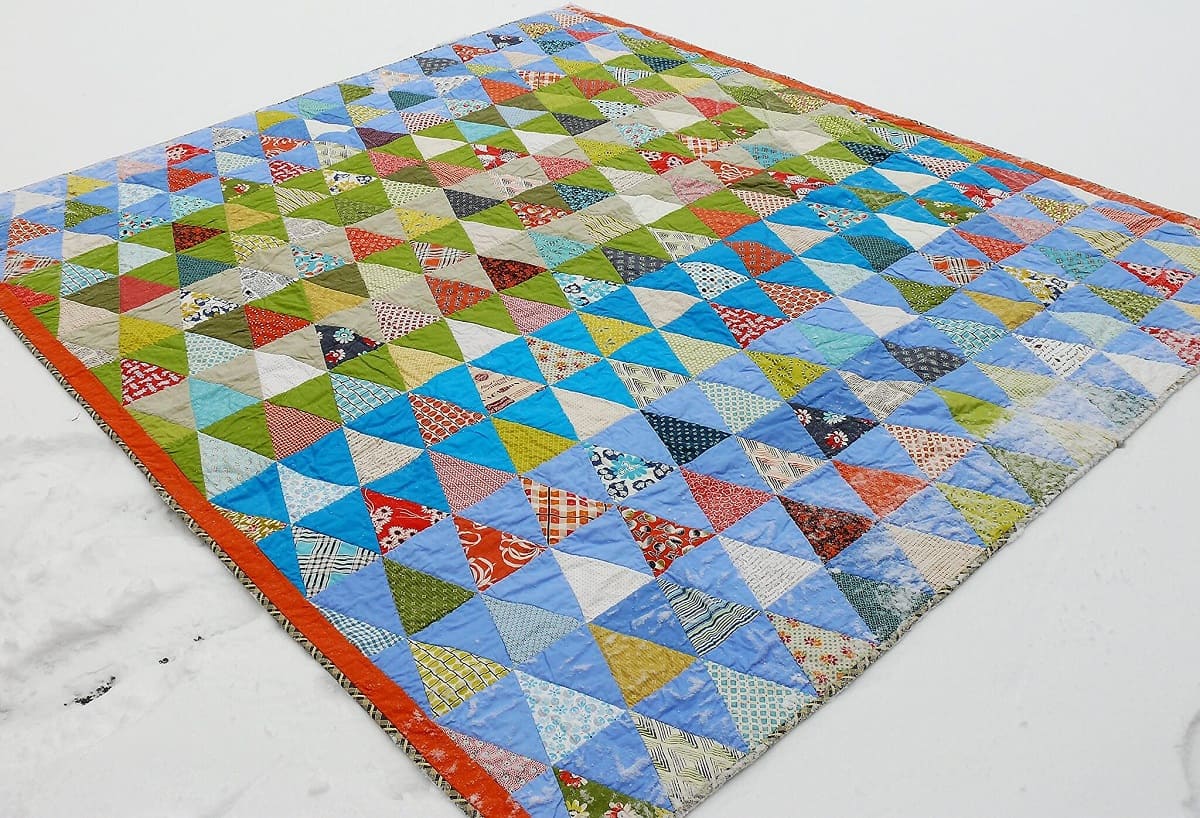
Traditional Quilt Patterns: If you prefer a classic and timeless look, traditional quilt patterns might be the perfect choice. These patterns often feature geometric shapes like squares, triangles, and diamonds arranged in a repeating pattern.
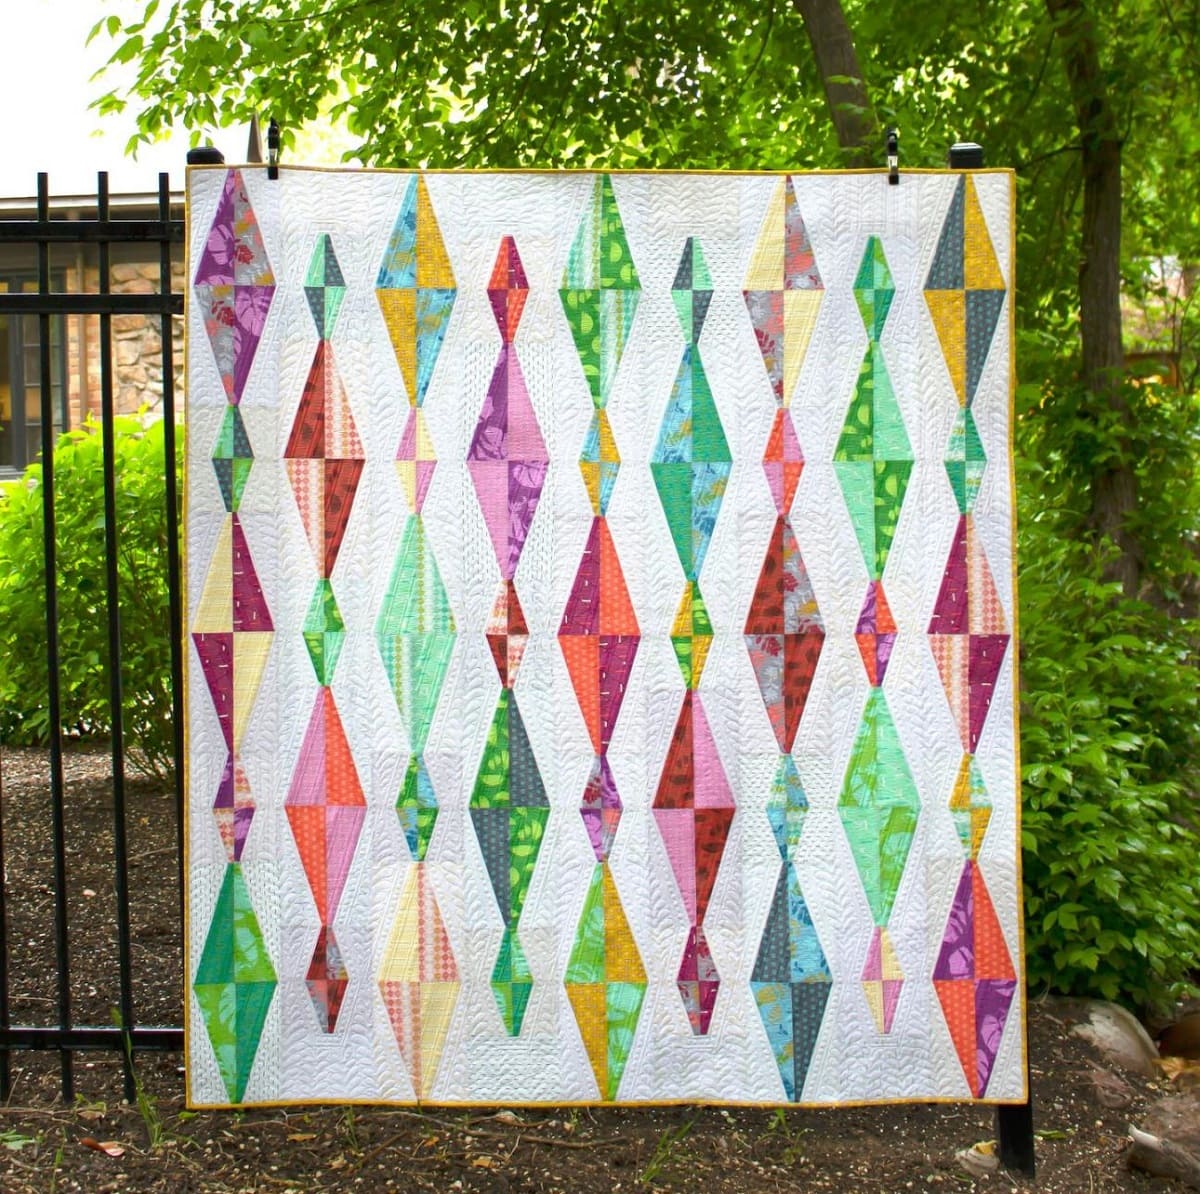
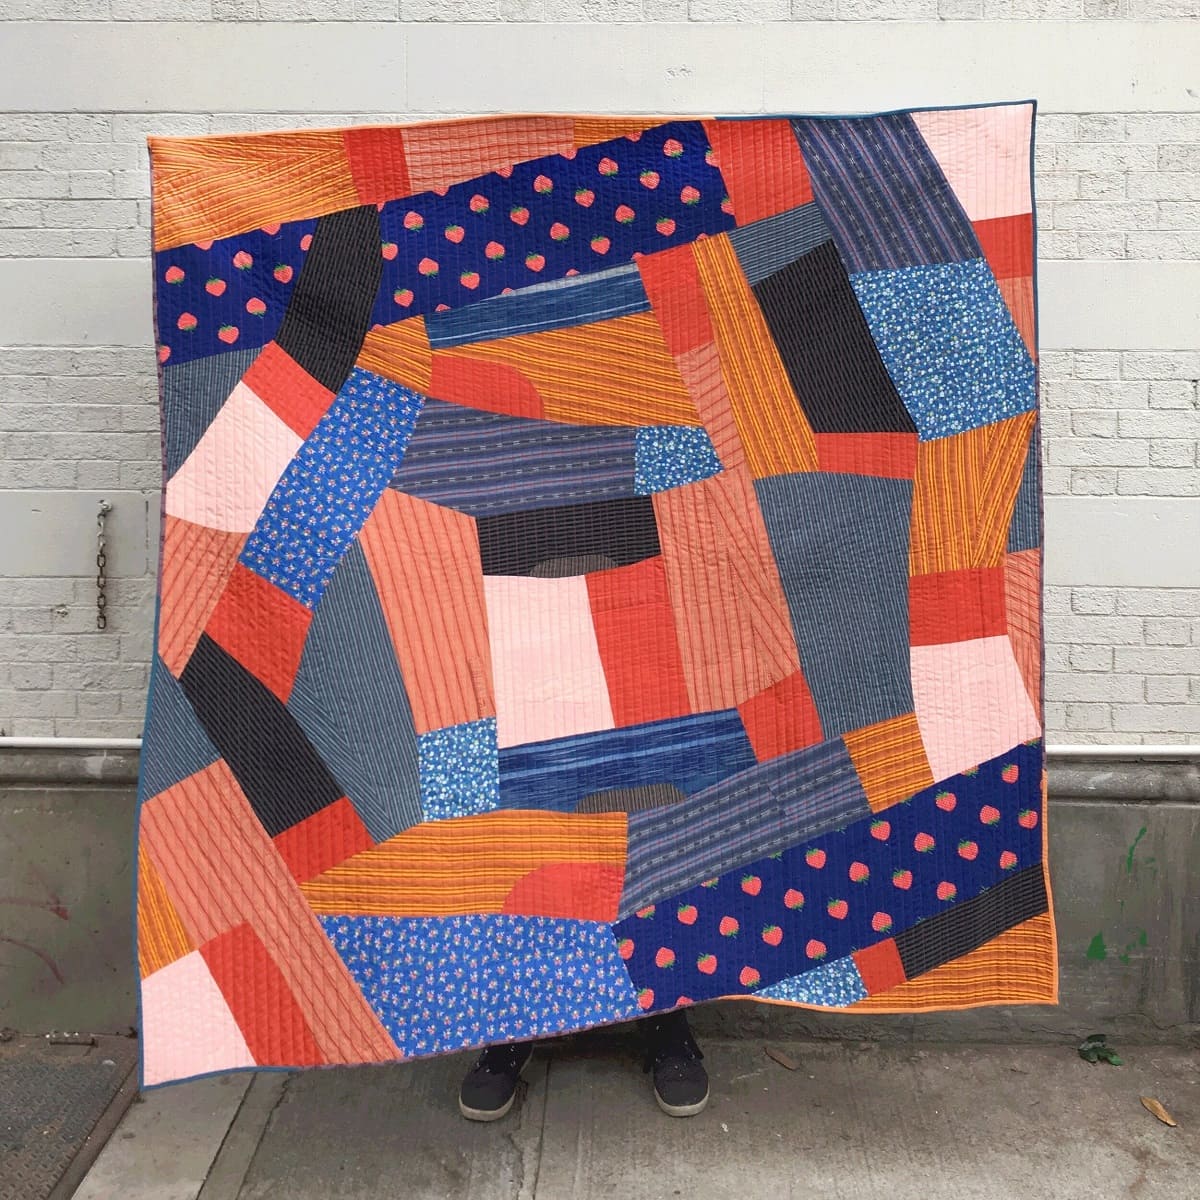
Modern Quilt Patterns: For a more contemporary and abstract interpretation of your picture, consider opting for a modern quilt pattern. These patterns often incorporate asymmetry, bold colors, and unconventional block layouts.
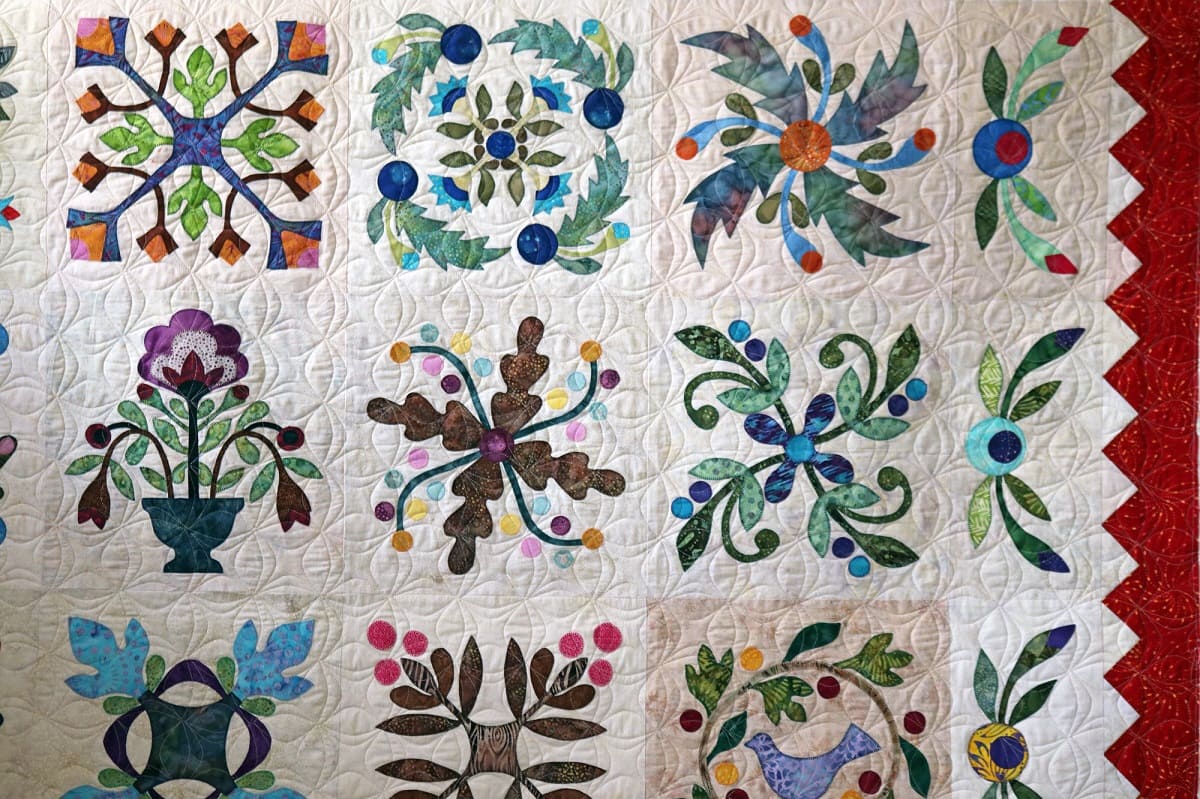
Art Quilts: If you want to create a quilt that truly resembles a work of art, an art quilt pattern may be the way to go. Art quilts allow for more creative freedom and experimentation, often featuring intricate applique, embroidery, or mixed media techniques.
Once you have decided on a quilt pattern style, you can research and gather inspiration from various sources such as quilting books, magazines, online communities, and quilt shows. Look for patterns that not only match your desired style but also complement the subject matter of your picture.
Remember, the quilt pattern style you choose will influence the overall aesthetic and visual impact of your quilt, so take your time and select a style that resonates with you and your chosen picture.
Step 3: Break Down the Picture into Simple Shapes
Now that you have selected a picture and determined the quilt pattern style, it’s time to break down the image into simple shapes and elements. This step will help you visualize how the picture will translate into a quilt pattern.
Begin by examining the picture closely and identifying the basic shapes that make up the image. Look for squares, rectangles, circles, triangles, and any other geometric shapes that are present. Pay attention to the outline of objects, the contours of people or objects, and any repeating patterns or motifs.
Using a pencil and paper, sketch out the shapes and elements that you have identified in the picture. Start with the larger shapes and work your way towards the smaller details. This step is about simplifying the image and breaking it down into its most basic components.
Keep in mind that you don’t need to capture every single detail of the picture in your quilt pattern. Instead, focus on capturing the essence of the image and conveying its overall composition through the use of simple shapes.
For example, if your picture features a landscape with a sun, trees, and a river, you might break it down into a simple circle for the sun, triangles for the trees, and curves for the river.
This process will help you visualize how the quilt pattern will come together and guide the next steps of the pattern creation process. It’s also a great opportunity to experiment with different variations and arrangements of the shapes to find the one that best captures the essence of your picture.
By breaking down the picture into simple shapes, you are laying the foundation for creating a quilt pattern that is both visually appealing and faithful to the original image.
Step 4: Determine the Size of the Quilt Pattern
Once you have broken down the picture into simple shapes and elements, it’s time to determine the size of the quilt pattern. The size of your quilt pattern will depend on several factors, including the intended use of the quilt, the level of detail you want to capture, and your personal preference.
Consider the following when determining the size:
- Intended Use: Are you creating a small wall hanging, a lap quilt, or a bed-sized quilt? The purpose of the quilt will influence its size. For example, a wall hanging may only require a smaller quilt pattern, while a bed quilt will need a larger pattern to cover the entire bed.
- Level of Detail: The level of detail you wish to capture from the original picture will also play a role in determining the size of the quilt pattern. If you want to include intricate details, you may need a larger quilt pattern to accommodate those elements.
- Personal Preference: Ultimately, the size of the quilt pattern should align with your personal preference. Consider the aesthetic you want to achieve and how the size of the pattern will impact the overall design and composition of the quilt.
Take measurements of the area where you plan to display or use the quilt to guide your decision-making process. Additionally, you can refer to standard quilt sizes and measurements for guidance if you’re unsure.
Remember, the size of the quilt pattern will determine the scale of the design and how it fits into the final quilt. Take your time to determine the appropriate size for your project, and consider making a mock-up or sketch to visualize how it will look on the finished quilt.
By carefully considering the intended use, level of detail, and personal preference, you can determine the ideal size for your quilt pattern and move forward with confidence to the next steps of the process.
When creating a quilt pattern from a picture, start by breaking the image into simple shapes and then transfer those shapes onto graph paper to create your pattern.
Step 5: Transfer the Pattern onto Graph Paper or Quilting Software
With the size of the quilt pattern determined, it’s time to transfer the design onto graph paper or utilize quilting software to create a digital representation of your pattern. This step will help you refine and visualize the quilt pattern before bringing it to life with fabric.
If you prefer a traditional approach, gather graph paper that is scaled to match the size of your quilt pattern. Each square on the graph paper will represent a specific measurement, allowing you to accurately recreate the design. Use your sketched shapes from Step 3 as a guide and carefully draw out the quilt pattern on the graph paper, ensuring that each shape is placed correctly in relation to one another.
Alternatively, you can take advantage of technology and use quilting software to create a digital representation of your pattern. Quilting software offers a range of tools and features that make it easier to design and modify quilt patterns. You can recreate the shapes and elements from your sketch directly on the software, adjusting the size, position, and colors as needed. This digital representation will give you a clearer visualization of how the final quilt will look.
During this step, feel free to experiment with color choices and placement of elements to achieve the desired effect. Whether you are using graph paper or quilting software, remember to label each shape or section of the pattern for easy reference later on.
Transferring your quilt pattern onto graph paper or quilt software allows you to refine the design, make adjustments, and ensure that the quilt pattern accurately represents your original picture. It also makes it easier to calculate fabric requirements and create cutting instructions in the following steps.
Once you are satisfied with the transferred pattern, you are one step closer to bringing your quilt design to life.
Step 6: Add Seam Allowances and Cutting Instructions
With your quilt pattern transferred onto graph paper or quilting software, it’s time to add seam allowances and cutting instructions to ensure that your quilt pieces fit together perfectly. This step is crucial for precise and accurate quilting.
Start by determining the desired seam allowance for your quilt pattern. The standard seam allowance is usually 1/4 inch, but you can adjust it based on your personal preference or the instructions of your chosen quilt pattern.
Using a ruler or the features of your quilting software, add the seam allowance to each side of the shapes in your pattern. Be mindful of any intersecting shapes or corners, as they may require special attention to ensure a smooth seam and proper alignment.
Next, it’s time to create cutting instructions for each shape in your pattern. Measure the dimensions of each shape, taking into account the seam allowance you’ve added. Write down these measurements and label them accordingly on your pattern. This step will guide you when cutting the fabric for your quilt.
When adding cutting instructions, make sure to account for any repeats or mirrored shapes in your pattern. Double-check that you have accounted for each shape and its corresponding cutting instructions to avoid any confusion during the quilting process.
If you’re using quilting software, it may have automated tools to add seam allowances and generate cutting instructions. Take advantage of these features to save time and ensure accuracy.
By adding seam allowances and cutting instructions to your quilt pattern, you are setting yourself up for success when it comes to piecing together your quilt. This step will help you achieve precise measurements and ensure that all the shapes fit together seamlessly, resulting in a beautifully constructed quilt.
Step 7: Test the Pattern with Fabric Swatches
Now that you have added seam allowances and cutting instructions to your quilt pattern, it’s time to test the pattern with fabric swatches. This step will allow you to see how the quilt pattern translates from paper to fabric and make any necessary adjustments before cutting into your final fabrics.
Start by selecting a variety of fabric swatches that closely match the colors and textures you envision for your quilt. Using your cutting instructions, carefully cut out the shapes from the fabric swatches, making sure to follow the measurements and seam allowances indicated on your pattern.
Arrange the fabric swatches according to the pattern design, pinning or basting them together to get a sense of how the final quilt will look. This will give you a preview of the colors, textures, and overall composition of your quilt.
Take a step back and evaluate the fabric swatch arrangement. Does it capture the essence of your original picture? Do the colors and shapes work well together? Are there any improvements or adjustments you would like to make?
If you’re not satisfied with how the fabric swatches look or if there are any issues with the pattern alignment, now is the time to make adjustments. You can reposition or replace fabric swatches, adjust color choices, or modify the size or shape of certain elements. Use this opportunity to fine-tune your quilt pattern and ensure that it aligns with your vision.
Remember, testing the pattern with fabric swatches allows you to make changes before committing to cutting the final fabrics. This step saves you time, effort, and potential fabric wastage. Take as much time as needed to get the pattern just right before moving on to the next step.
Once you are satisfied with the arrangement and appearance of the fabric swatches, you’re ready to proceed with confidence to the final steps of bringing your quilt pattern to life.
Step 8: Finalize and Refine the Quilt Pattern
After testing the quilt pattern with fabric swatches, it’s time to finalize and refine the design. This step involves making any necessary adjustments, ensuring the pattern is cohesive and well-balanced, and preparing it for the actual construction of your quilt.
Take a close look at the fabric swatch arrangement and assess if any further modifications are needed. Pay attention to the overall visual appeal, the balance of colors and shapes, and the composition of the pattern as a whole.
If you identify any areas that need improvement, you can make adjustments to the pattern. This may involve repositioning shapes, altering color choices, or resizing certain elements. Continuously refer back to your original picture and make sure the quilt pattern captures the essence and spirit of the image.
Additionally, review the cutting instructions and seam allowances to ensure they are accurate and consistent throughout the pattern. Double-check for any missing or duplicated instructions and make corrections as needed.
At this stage, it’s also helpful to seek feedback or input from other quilters or individuals who have a good eye for design. Their fresh perspective can provide valuable insights and suggestions for further refinement.
Once you are satisfied with the final quilt pattern, take the time to document it. This can be done by creating a master copy on stiff paper or by saving the digital file if you have been using quilting software. Make sure to include all the necessary details such as measurements, cutting instructions, and any additional notes that will assist you during the quilt construction process.
By finalizing and refining your quilt pattern, you are ensuring that it is accurate, visually appealing, and ready to be turned into a beautiful quilt. This step sets the stage for the next phase of quilting: gathering the necessary fabrics, cutting the pieces, and assembling the quilt according to your pattern.
With a well-crafted pattern in hand, you are now fully prepared to embark on the exciting journey of creating your quilt.
Read more: How To Make A Braid Pattern Quilt Block
Conclusion
Creating a quilt pattern from a picture is a fulfilling and creative endeavor that allows you to transform your cherished images into beautiful fabric art. Throughout this step-by-step guide, we have explored the process of making a quilt pattern from start to finish.
From choosing a picture that holds significance to you, to selecting a quilt pattern style that complements the image, breaking down the picture into simple shapes, determining the size of the quilt pattern, transferring the design onto graph paper or quilting software, adding seam allowances and cutting instructions, testing the pattern with fabric swatches, and finally, refining and finalizing the pattern, each step has brought you closer to bringing your quilt design to life.
Keep in mind that the process of creating a quilt pattern from a picture requires careful planning, attention to detail, and an understanding of quilting techniques. It is a journey that allows you to blend your artistic vision with the precision and skill of quilting.
As you embark on this creative journey, remember to embrace your own unique style and personalize your quilt pattern to reflect your individuality. Explore different quilt pattern styles, experiment with color choices and fabric combinations, and have fun bringing your picture to life through quilting.
Throughout the process, take your time, be patient, and don’t be afraid to make adjustments and refine your pattern as needed. Trust your instincts and listen to your creative intuition. And most importantly, enjoy the journey and the satisfaction of creating something truly special with your own hands.
Now that you have the knowledge and tools to make a quilt pattern from a picture, it’s time to gather your materials, bring your pattern to life, and create a quilt that tells a unique story and holds sentimental value.
Happy quilting!
Frequently Asked Questions about How To Make A Quilt Pattern From A Picture
Was this page helpful?
At Storables.com, we guarantee accurate and reliable information. Our content, validated by Expert Board Contributors, is crafted following stringent Editorial Policies. We're committed to providing you with well-researched, expert-backed insights for all your informational needs.

0 thoughts on “How To Make A Quilt Pattern From A Picture”