Articles
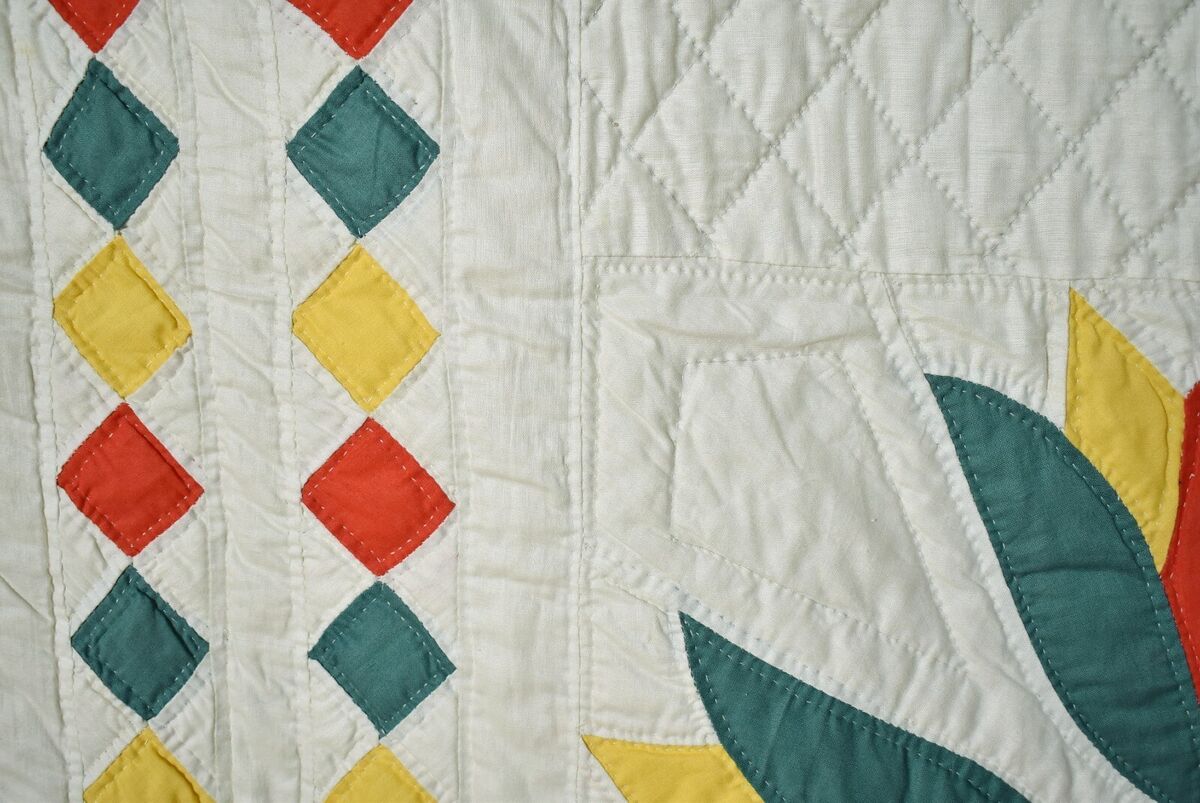
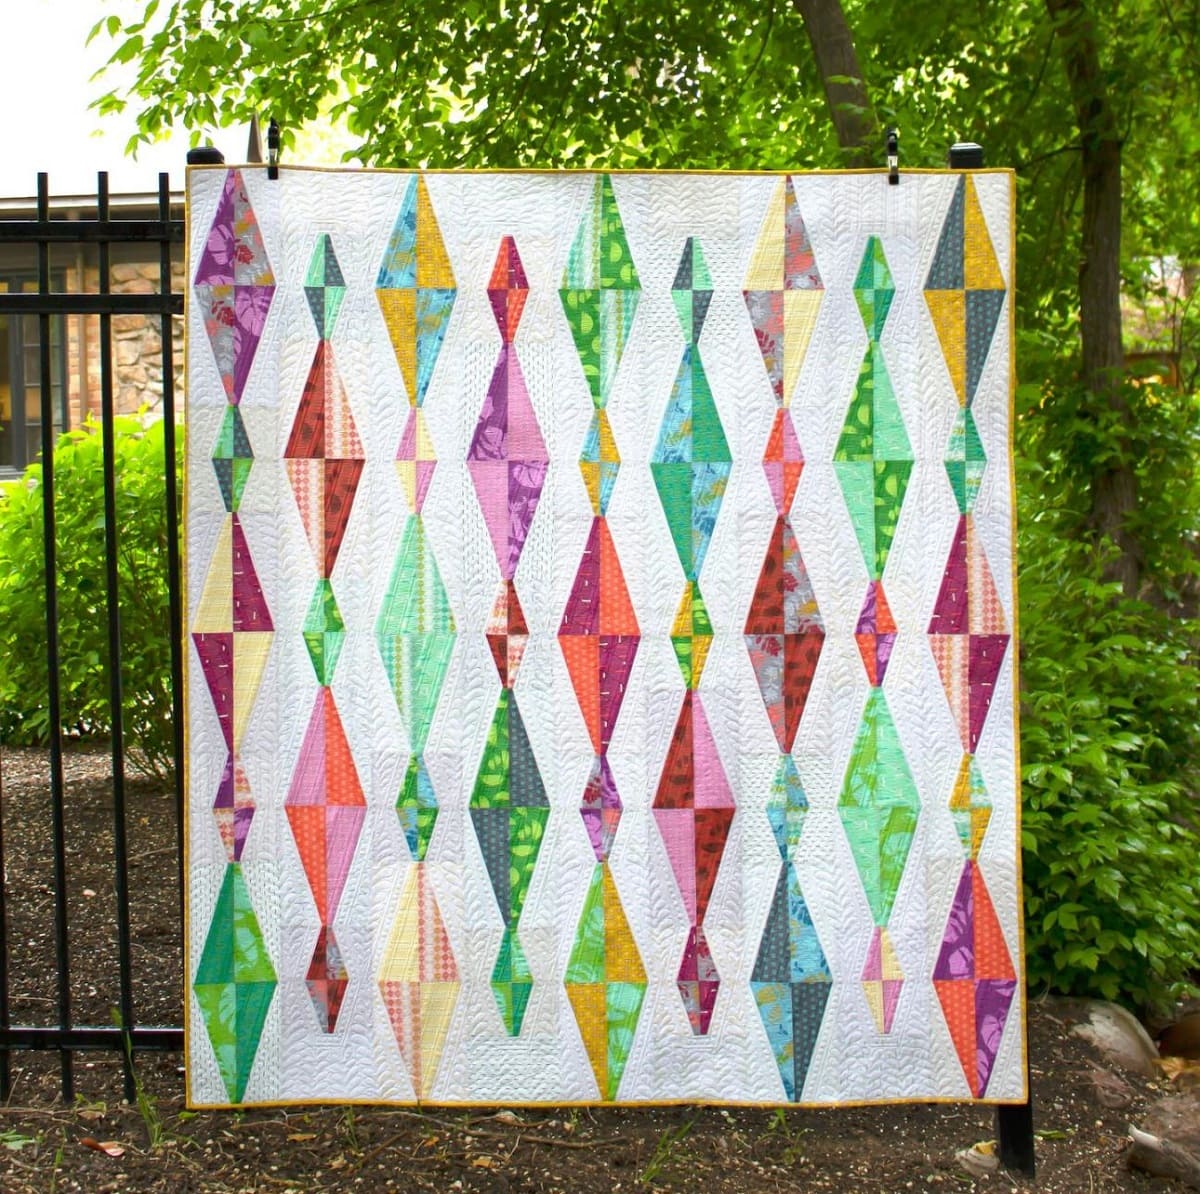
How To Make A Diamond Quilt Border
Modified: August 22, 2024
Learn how to create a stunning diamond quilt border with our informative articles. Find step-by-step instructions and expert tips to elevate your quilting skills.
(Many of the links in this article redirect to a specific reviewed product. Your purchase of these products through affiliate links helps to generate commission for Storables.com, at no extra cost. Learn more)
Introduction
Welcome to the world of quilt making! Quilting is a time-honored tradition that combines artistry and functionality to create beautiful and cozy blankets. One essential aspect of quilt making is the border, which not only adds a finishing touch but also enhances the overall design.
In this article, we will guide you through the process of creating a diamond quilt border. This border style adds a unique and eye-catching element to any quilt, elevating it from ordinary to extraordinary. So, gather your materials and let’s get started!
Before we dive into the step-by-step instructions, it’s important to discuss the materials you will need for this project.
Key Takeaways:
- Elevate your quilt with a stunning diamond border! Follow our step-by-step guide to measure, cut, sew, arrange, and attach the diamonds for a professional and eye-catching finish.
- Unleash your creativity and craft a unique quilt border. Experiment with different designs and techniques to add a personal touch to your quilting projects. Enjoy the journey of quilt making!
Read more: How To Make Borders For A Quilt
Materials Needed
Before you begin crafting your diamond quilt border, here is a list of materials you will need:
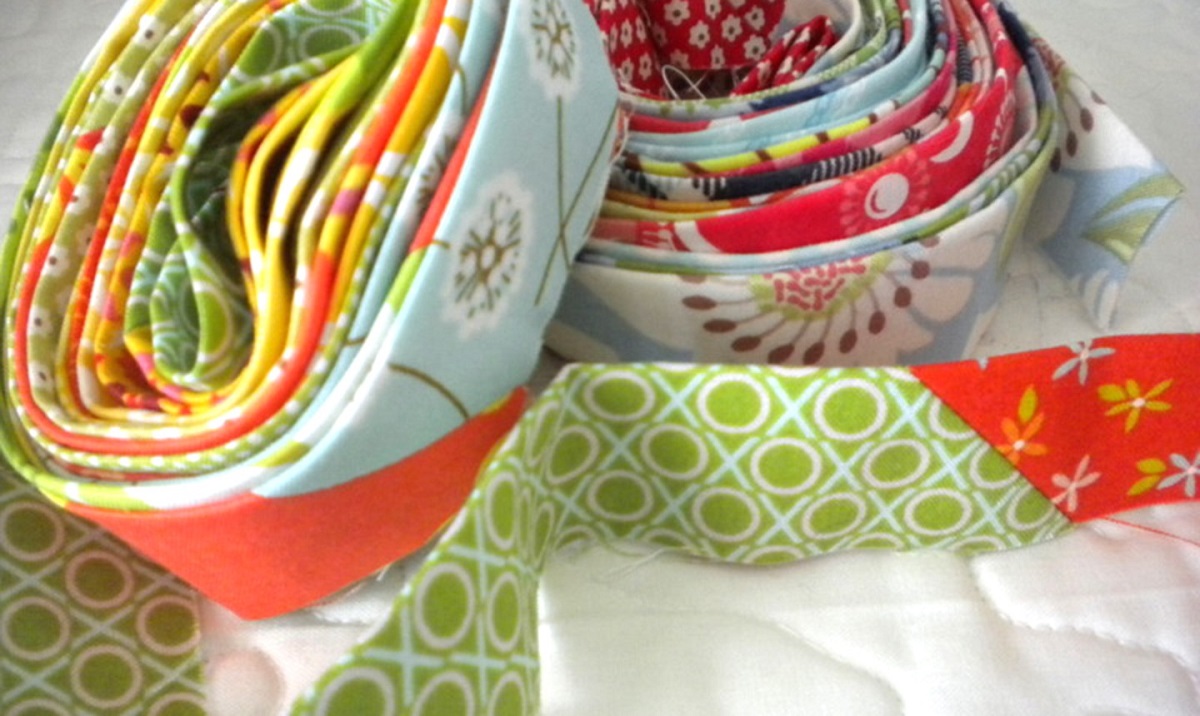
- Fabric: Choose a fabric that complements the colors and theme of your quilt. You will need enough fabric to cut into strips and create the diamond shapes.
- Rotary cutter: A rotary cutter is a handy tool for accurately cutting fabric. Make sure to have a sharp blade for clean cuts.
- Quilting ruler: A quilting ruler helps ensure precise measurements when cutting fabric strips.
- Quilting mat: A self-healing mat is essential for protecting your work surface and providing a cutting surface for the rotary cutter.
- Sewing machine: A sewing machine with a straight stitch setting will be used to sew the fabric strips together.
- Pins: Straight pins will help hold fabric pieces together during the sewing process.
- Iron: An iron is needed to press the fabric and seams, ensuring a crisp and professional finish.
- Thread: Choose a thread color that matches or complements the fabric color for a seamless look.
- Scissors: Have a pair of fabric scissors for trimming excess fabric and loose threads.
Once you have gathered all the necessary supplies, you are ready to start creating your stunning diamond quilt border!
Step 1: Measure and Cut Fabric Strips
The first step in creating a diamond quilt border is to measure and cut the fabric strips that will form the diamonds. The width and length of the fabric strips will depend on the size of your quilt and the desired width of the border.
Follow these steps to measure and cut the fabric strips:
- Measure the length and width of your quilt. Take note of these measurements as they will determine the length and width of your fabric strips.
- Decide on the width of your border. This will depend on your personal preference and the overall design of your quilt. A common border width is around 3-5 inches.
- Add twice the border width to the length and width measurements of your quilt. For example, if your quilt measures 60 inches by 80 inches and you want a 4-inch border, your fabric strips should measure 68 inches by 88 inches.
- Using a rotary cutter, quilting ruler, and mat, cut fabric strips according to the measurements you obtained in the previous step. Make sure the edges are straight and even.
It’s important to note that you will need multiple fabric strips to create the diamonds for your border. The number of strips will depend on the width of your border and the size of the diamonds you want to create. Be sure to cut enough strips to achieve the desired length for your border.
With your fabric strips cut and ready, you can now move on to the next step: sewing the fabric strips into diamonds.
Step 2: Sew the Fabric Strips into Diamonds
Now that you have your fabric strips cut, it’s time to sew them together to form the diamond shapes that will adorn your quilt border. Follow these steps to sew the fabric strips into diamonds:
- Take two fabric strips and place them right sides together, aligning the edges.
- Sew a quarter-inch seam along one of the long edges, securing the strips together. Backstitch at the beginning and end of the seam to reinforce it.
- Repeat this process for the remaining fabric strips until you have a long strip of connected fabric.
- Using a quilting ruler and rotary cutter, cut the connected fabric strip into diamond shapes. The width of the diamonds will depend on the desired size of your border. Ensure that the angles of the diamonds are even and symmetrical.
- Once you have cut out all the diamonds, arrange them in a pleasing pattern. This will give you a preview of how the border will look.
- Join the diamonds together by sewing a quarter-inch seam along the diagonal edges. Be careful to match up the points of the diamonds for a clean and seamless look.
It’s essential to take your time during this step to ensure accuracy and precision. Proper alignment and consistent seam allowances will result in a beautifully crafted diamond quilt border.
Now that your diamond shapes are sewn together, it’s time to move on to the next step: arranging and sewing the diamonds onto the quilt.
When making a diamond quilt border, be sure to accurately measure and cut your fabric pieces to ensure they fit together seamlessly. Precision is key to achieving a polished and professional-looking border.
Step 3: Arrange and Sew the Diamonds onto the Quilt
With your diamond shapes sewn together, it’s time to arrange and attach them onto the quilt. Follow these steps to successfully complete this step:
- Lay your quilt flat on a large work surface. This will allow you to easily visualize the placement of the diamond border.
- Start by arranging the diamond shapes along one edge of the quilt. Play around with different arrangements until you find a pattern that you like. You can choose to have the diamonds all facing in one direction or alternate their direction for a more dynamic look.
- Once you’re satisfied with the arrangement, carefully pin the diamonds in place, ensuring they are securely attached to the quilt.
- Using your sewing machine and a matching thread color, sew along the edges of the diamonds to attach them to the quilt. You can use a straight stitch or a decorative stitch, depending on your preference.
- As you sew, make sure to remove the pins and smooth out any wrinkles or puckers in the fabric. Take your time to sew accurately and evenly, maintaining a consistent seam allowance.
- Continue this process, working your way around the entire quilt, attaching the diamond border to all four edges.
While sewing, it’s important to maintain the desired shape and alignment of the diamonds. Take care to ensure that the corners of the diamonds meet smoothly, creating a seamless and professional appearance.
Once you have sewn all the diamonds onto the quilt, it’s time to move on to the next step: trimming and pressing the quilt border.
Read more: How To Make A Piano Keys Quilt Border
Step 4: Trim and Press the Quilt Border
Now that you have securely attached the diamond border to your quilt, it’s time to trim any excess fabric and give the border a polished look. Follow these steps to trim and press the quilt border:
- Starting at one corner of the quilt, use fabric scissors to carefully trim any excess fabric protruding beyond the border.
- Continue trimming along the entire border, ensuring a clean and even edge. Take your time to make precise cuts, being careful not to cut into the quilt itself.
- Once you have trimmed the border, it’s time to press it. Set your iron to the appropriate heat setting for your fabric, and press the border, smoothing out any wrinkles or creases.
- Pay extra attention to the corners of the quilt, pressing them carefully to maintain crisp edges and sharp angles.
- After pressing the border, flip the quilt over and press the backside as well. This will help ensure that the border lies flat and looks neat from both sides.
Trimming and pressing the quilt border may seem like a small step, but it makes a significant difference in the overall appearance of your quilt. Taking the time to achieve clean edges and properly pressed fabric will give your quilt a professional and finished look.
With the quilt border trimmed and pressed, it’s time for the final step: attaching the border to the quilt.
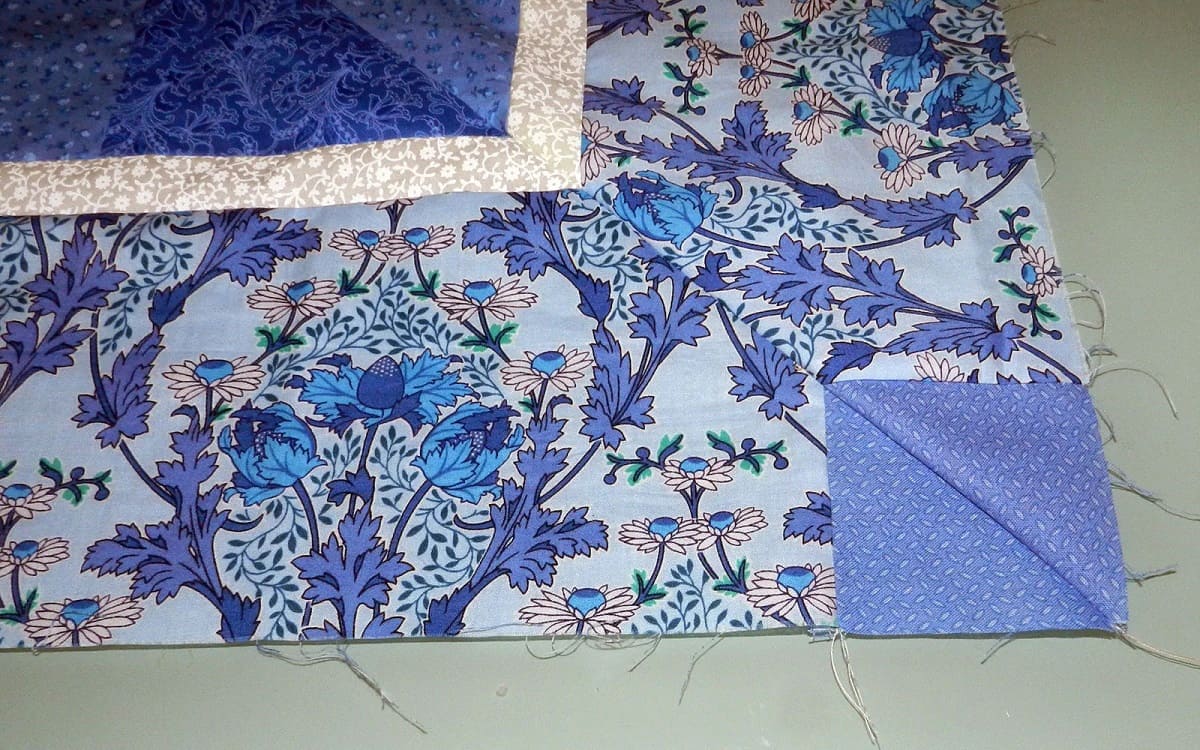
Step 5: Attach the Border to the Quilt
You’re almost done! In this final step, you will attach the diamond quilt border to the main body of the quilt. Follow these steps to successfully complete this process:
- Place the quilt on a flat surface, with the right side facing up.
- Starting at one end of the quilt, align the raw edges of the border with the raw edges of the quilt.
- Pin the border in place, ensuring it is evenly distributed along the edges of the quilt.
- Using your sewing machine and a matching thread color, sew a quarter-inch seam allowance along the border, attaching it to the quilt.
- As you sew, remove the pins and smooth out any wrinkles or puckers in the fabric. Take your time to sew accurately and evenly along the entire border.
- Continue sewing around all four edges of the quilt until the entire border is securely attached.
As you sew, pay attention to the quilt corners, making sure they are neatly folded and sewn to maintain the overall shape of the quilt. Take your time and check your stitches frequently to ensure they are straight and even.
Once you have sewn the border to the quilt, carefully examine your work to make sure everything looks neat and well-finished. Trim any loose threads, give the quilt a final press to smooth out any wrinkles, and voila! Your diamond quilt border is complete!
Congratulations on creating a stunning quilt with a beautiful diamond border. Admire your handiwork and enjoy the cozy comfort it will bring. Quilt making is a true labor of love, and your attention to detail has resulted in a truly remarkable piece of art.
We hope you enjoyed this tutorial and that it inspired you to continue exploring the world of quilting. Happy quilting!
Conclusion
Quilt making is a wonderful blend of creativity, craftsmanship, and comfort, and adding a diamond quilt border can elevate your quilt to a whole new level. By following the step-by-step instructions in this article, you have learned how to create a beautiful and eye-catching diamond quilt border.
Throughout this process, you measured and cut fabric strips, sewed them together to form diamond shapes, arranged and sewed the diamonds onto the quilt, trimmed and pressed the quilt border, and finally attached the border to the quilt. Each step has contributed to the overall beauty and professionalism of your finished quilt.
Remember, quilting is a journey, and every quilt you create is a unique expression of your creativity and skill. As you continue to explore different quilt designs and techniques, don’t be afraid to experiment and make each quilt your own. The diamond quilt border is just one of many border options available, so feel free to explore other ideas and designs to add a personal touch to your future quilting projects.
We hope that this tutorial has inspired you to embark on new quilting adventures and has given you the confidence to create stunning quilts with captivating borders. The satisfaction of completing a quilt and seeing your hard work come to life is truly rewarding.
So gather your materials, unleash your creativity, and let your imagination soar as you create your own diamond quilt borders. Happy quilting!
Frequently Asked Questions about How To Make A Diamond Quilt Border
Was this page helpful?
At Storables.com, we guarantee accurate and reliable information. Our content, validated by Expert Board Contributors, is crafted following stringent Editorial Policies. We're committed to providing you with well-researched, expert-backed insights for all your informational needs.


0 thoughts on “How To Make A Diamond Quilt Border”