Articles
How To Refill Water Dispenser Bottle
Modified: August 27, 2024
Learn the step-by-step process of refilling your water dispenser bottle with our informative articles. Ensure a steady supply of clean drinking water at home.
(Many of the links in this article redirect to a specific reviewed product. Your purchase of these products through affiliate links helps to generate commission for Storables.com, at no extra cost. Learn more)
Introduction
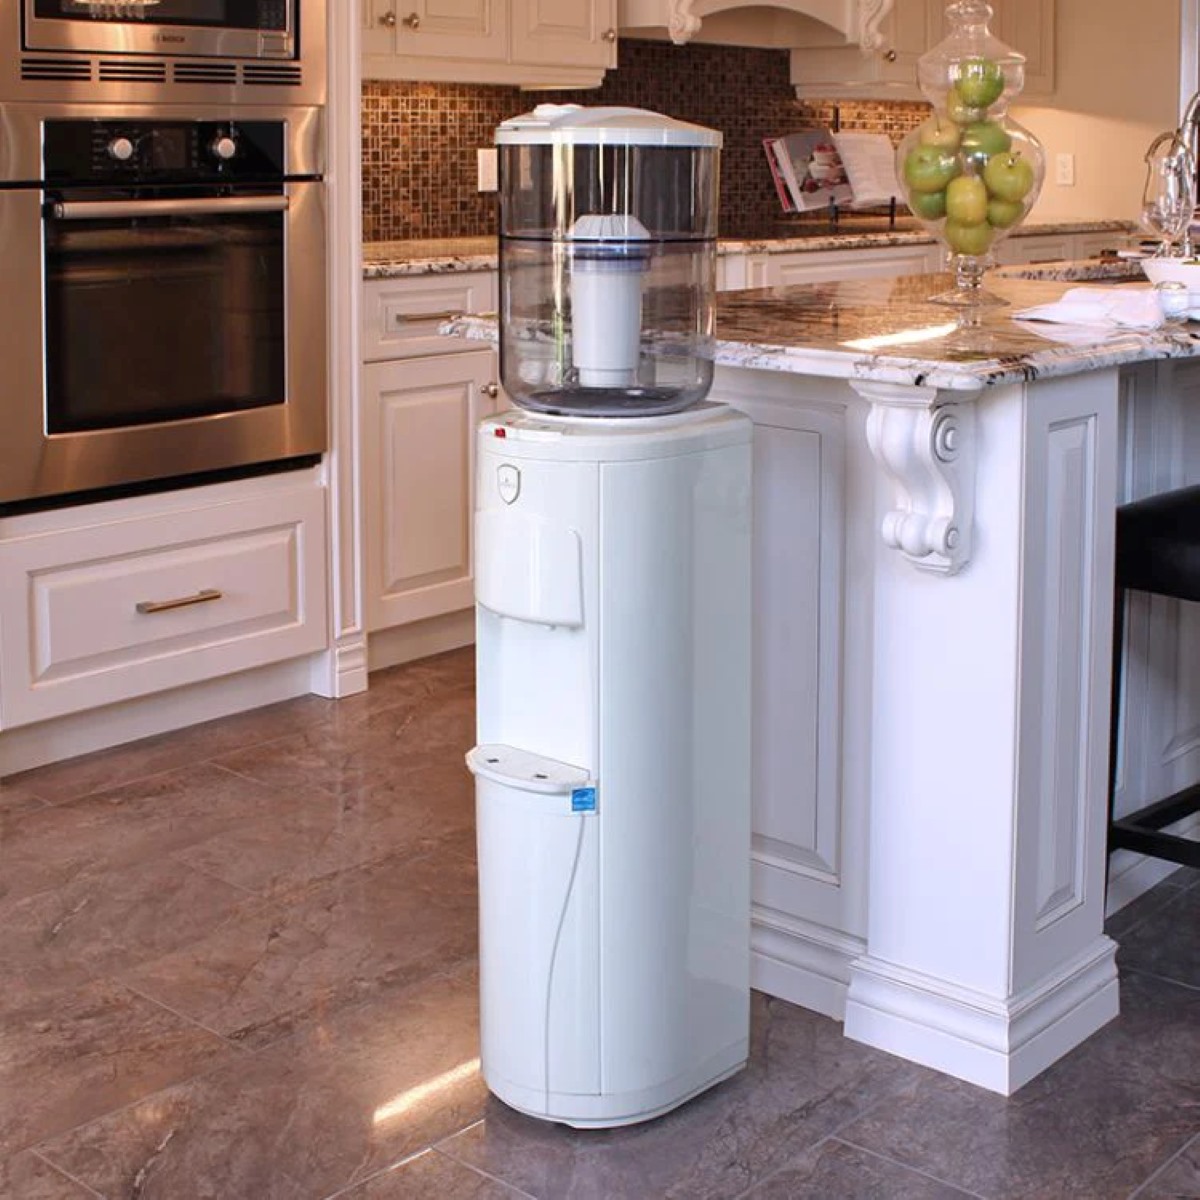
Welcome to our guide on how to refill a water dispenser bottle. Having access to clean drinking water is essential for maintaining good health and staying hydrated. Many households and offices rely on water dispensers to provide a constant supply of refreshing water. However, knowing how to properly refill the water dispenser bottle is necessary to ensure hygienic and efficient water distribution.
In this article, we will walk you through the step-by-step process of refilling a water dispenser bottle. Whether you are replacing an empty bottle or cleaning and refilling an existing one, our instructions will help you do it with ease. We will provide you with valuable tips and tricks to make the process more efficient and ensure the water dispenser functions smoothly.
Before we delve into the steps, it’s important to note that different types of water dispensers may have specific instructions. Therefore, it’s always recommended to refer to the manufacturer’s guidelines for your specific model. However, the general instructions provided in this guide will give you a good starting point.
Now, let’s gather the necessary supplies and get started with refilling your water dispenser bottle!
Key Takeaways:
- Properly cleaning and preparing the water dispenser bottle, positioning it securely, and testing the dispenser are crucial steps for ensuring clean and efficient water refilling.
- Regular maintenance and adherence to manufacturer’s guidelines are essential for prolonging the lifespan of the water dispenser and maintaining water quality.
Read also: 14 Best Bottled Water Dispenser for 2025
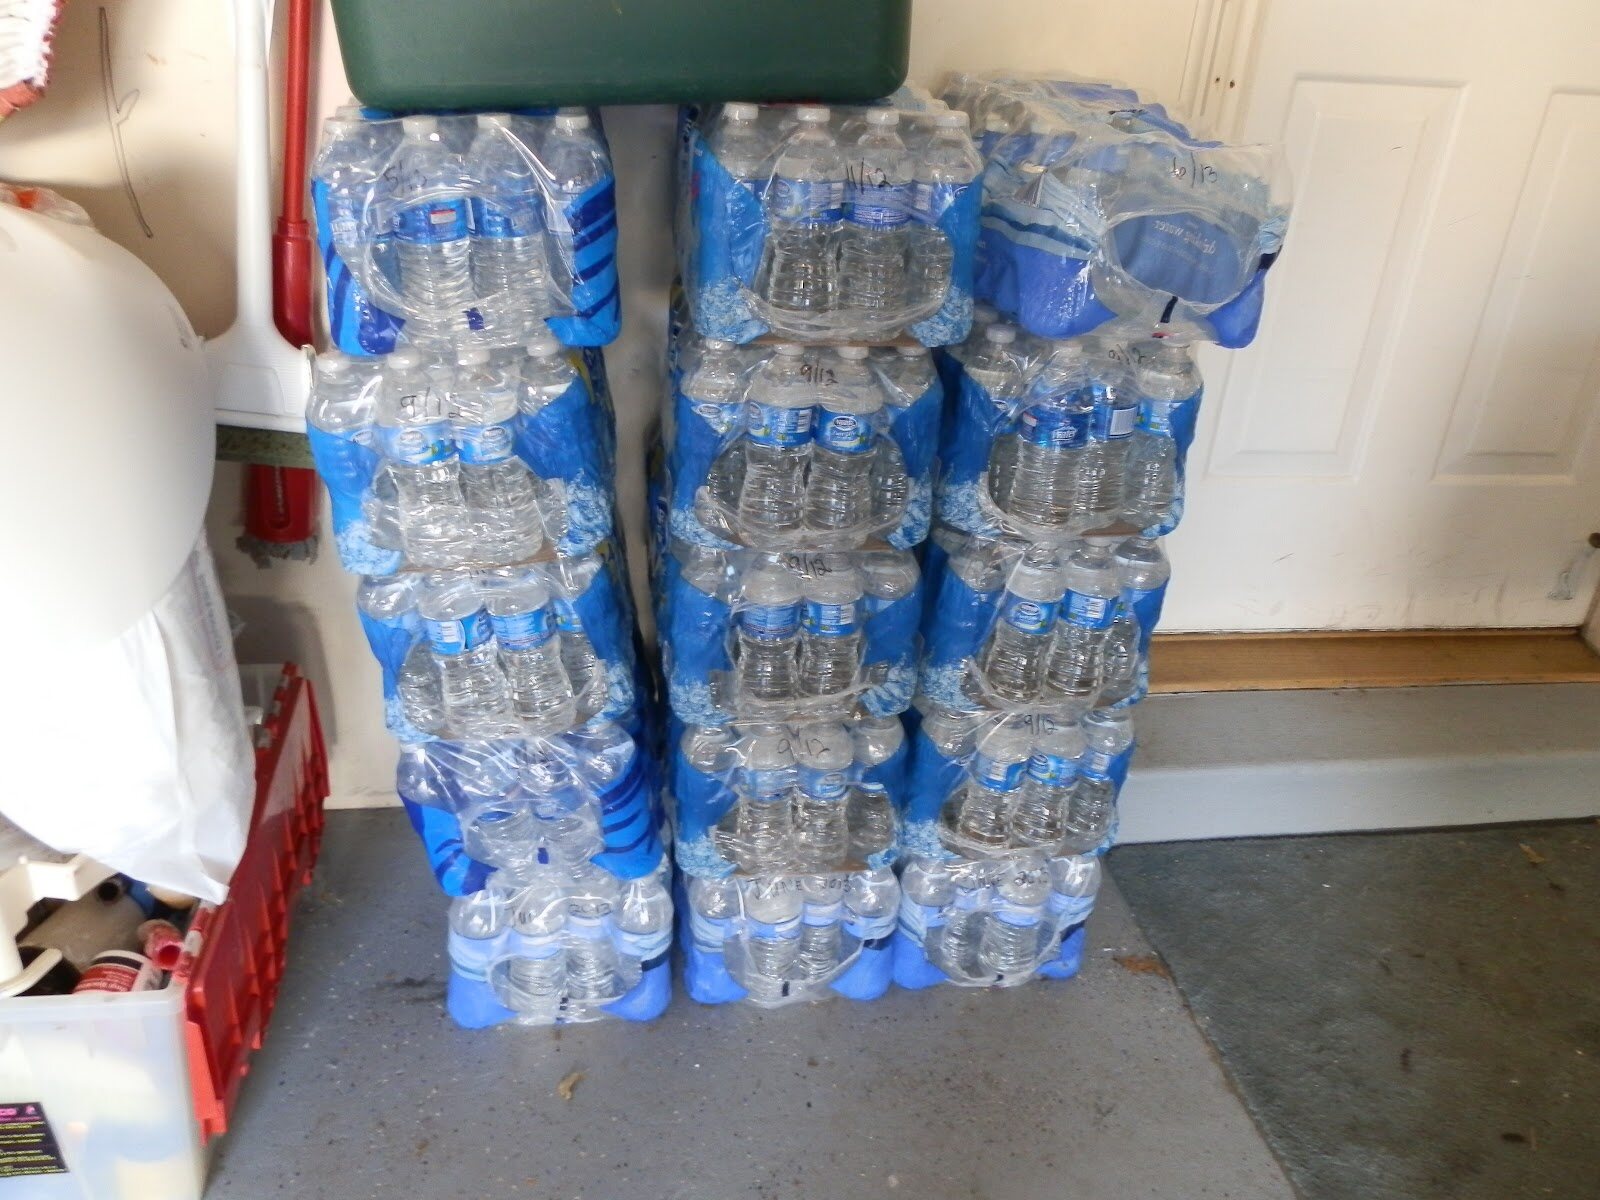
Step 1: Gather the necessary supplies
Before you begin refilling your water dispenser bottle, it’s important to gather all the necessary supplies. This will help ensure a smooth and efficient process. Here’s what you’ll need:
- A clean water dispenser bottle: Ensure that the bottle you are using is clean and free from any residue or contaminants. If you’re using a new bottle, remove any seals or protective packaging.
- Water source: You’ll need access to a reliable water source for filling the bottle. This can be a tap or filtered water source. Make sure the water is safe for drinking.
- Funnel or pitcher: To make pouring the water into the bottle easier, it’s helpful to have a funnel or a pitcher with a spout. This will prevent spills and make the process more efficient.
- Cleaning supplies: If your water dispenser bottle requires cleaning before refilling, gather cleaning supplies such as a mild detergent or vinegar, a brush or sponge, and clean water for rinsing.
Having these supplies ready before you start will save you time and prevent any interruptions during the refilling process. Once you have everything you need, move on to the next step to clean the water dispenser bottle (if necessary).
Step 2: Clean the water dispenser bottle
Before refilling the water dispenser bottle, it’s crucial to ensure that it is clean and free from any residue or contaminants. Cleaning the bottle regularly helps maintain the quality of the water and prevents the growth of bacteria or molds. Here’s how you can clean the water dispenser bottle:
- Empty the bottle: If there is any remaining water in the bottle, pour it out and dispose of it properly.
- Prepare a cleaning solution: Depending on the instructions provided by the manufacturer or your personal preference, mix a mild detergent with warm water or create a solution of equal parts water and white vinegar. Both options effectively remove dirt and eliminate odors.
- Use a brush or sponge: Dip a clean brush or sponge into the cleaning solution and scrub the inside of the bottle thoroughly. Pay close attention to the bottom and the sides, as this is where contaminants usually accumulate.
- Rinse thoroughly: After scrubbing, rinse the bottle with clean water multiple times to remove any traces of the cleaning solution.
- Air dry the bottle: Allow the bottle to air dry completely before proceeding to the next step. Placing the bottle upside down on a clean towel or drying rack will help ensure proper drying.
It’s important to note that some water dispenser bottles may have specific cleaning instructions provided by the manufacturer. Be sure to consult the user manual or manufacturer’s website if you have any doubts about how to clean your specific bottle.
Once the bottle is clean and dry, you are ready to move on to the next step of preparing the water for filling.
Step 3: Prepare the water for filling
Before you can refill the water dispenser bottle, it’s important to ensure that the water you are using is safe and suitable for drinking. Here are some steps to follow in order to prepare the water for filling:
- Check the water source: Ensure that the water source you are using is safe and clean. If you are using tap water, make sure it meets the drinking water standards set by your local health authorities. If you prefer filtered water, ensure that your filtration system is working properly and replace any necessary filters.
- Allow the water to run: If you haven’t used the tap water for a while, let it run for a few seconds to flush out any stagnant water from the pipes.
- Consider additional purification: If you are concerned about the quality of your tap water, you may choose to further purify it by using a water purifier or boiling it. These additional purification methods can help remove impurities and ensure the water is safe for drinking.
- Let the water reach room temperature: It’s best to use water at room temperature for refilling the water dispenser bottle. This will prevent any temperature shock to the dispenser and help maintain its stability.
By following these steps, you can ensure that the water you are using to refill the bottle is clean and suitable for consumption. Once you have prepared the water, it’s time to move on to the next step of positioning the bottle correctly.
Step 4: Position the bottle correctly
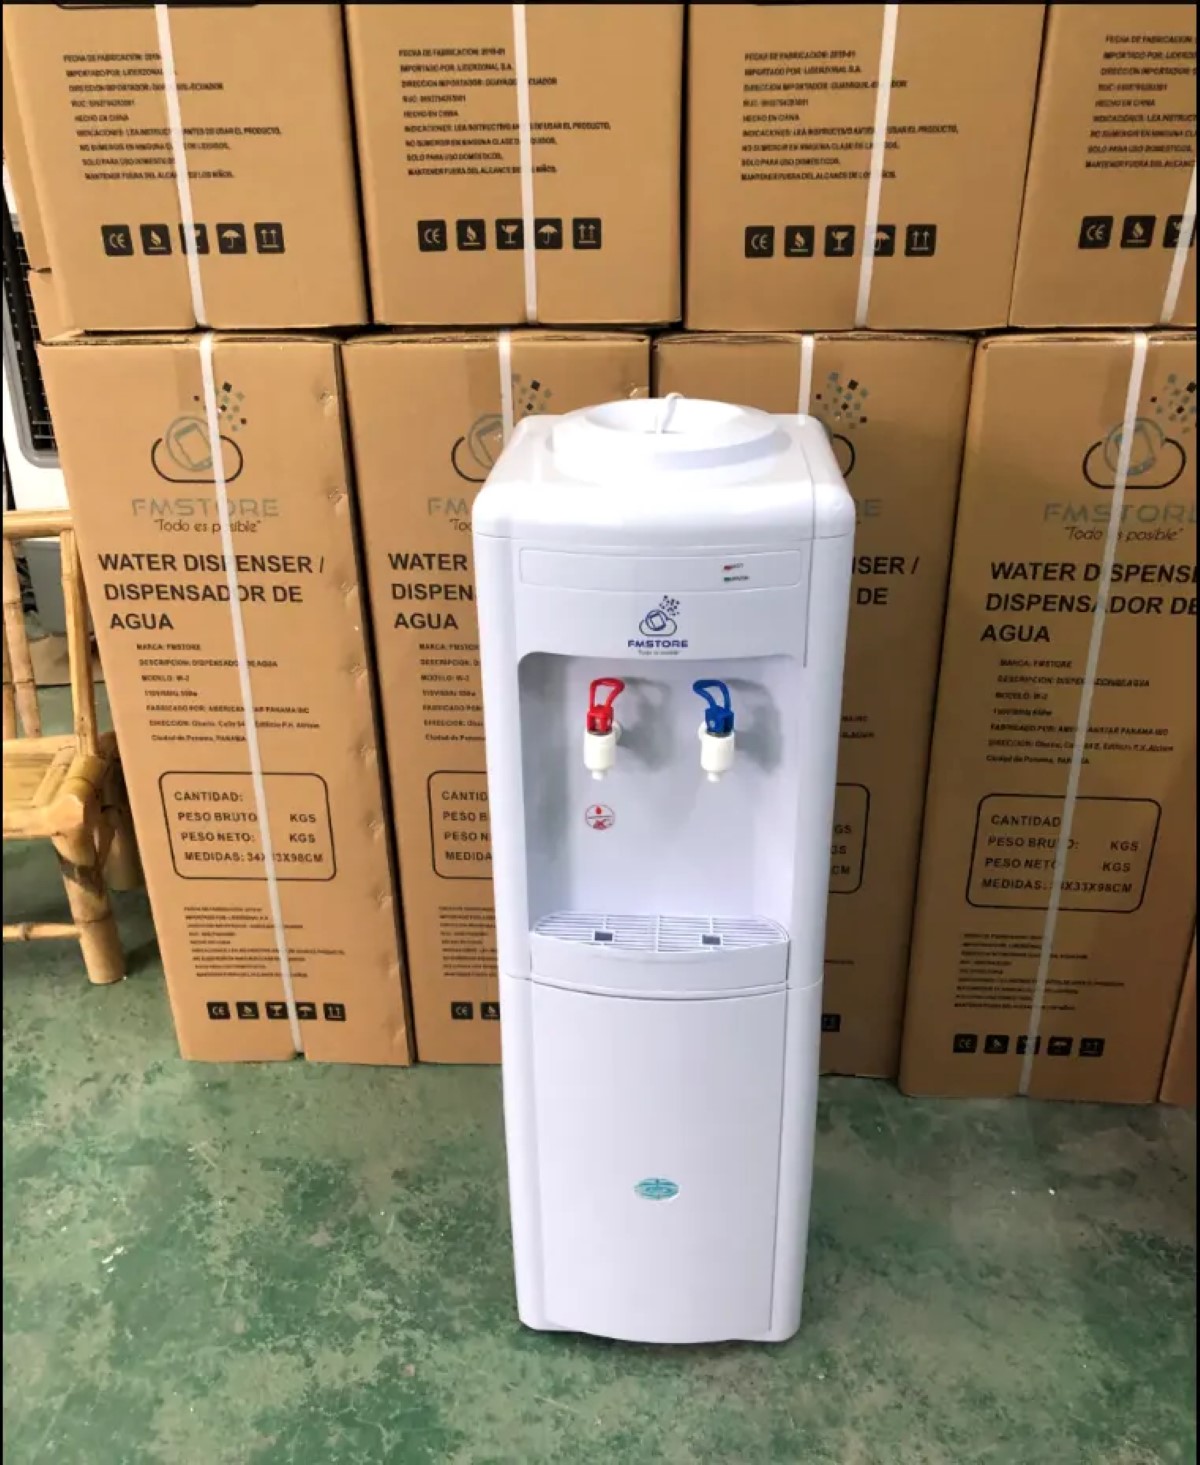
Properly positioning the water dispenser bottle is crucial to ensure a secure and efficient refill. Here are the steps to follow when positioning the bottle:
- Ensure stability: Place the water dispenser on a stable and level surface. This will prevent any accidents or spills during the refill process.
- Remove the cap or lid: Depending on your water dispenser model, you may need to remove the cap or lid from the top of the dispenser. This will allow you to access the opening where the bottle will be placed.
- Check the bottle cap: Prior to positioning the bottle, ensure that the cap of the water dispenser bottle is clean and in good condition. If the cap is damaged or shows signs of wear, it’s best to replace it with a new one to ensure a secure seal.
- Align the bottle properly: Lift the water dispenser bottle and align it with the opening of the dispenser. Make sure that the bottle is centered and positioned in a way that will allow for a smooth and easy refill.
- Lower the bottle slowly: Slowly lower the bottle onto the dispenser while maintaining a secure grip. Take care not to drop the bottle or apply excessive force that could damage the dispenser or cause spills.
By following these steps, you can ensure that the water dispenser bottle is positioned correctly and securely. This will make the refilling process much easier and reduce the risk of any mishaps. Now that the bottle is in position, it’s time to move on to the next step and actually refill the water dispenser bottle.
When refilling a water dispenser bottle, make sure to clean the bottle and dispenser before refilling to prevent contamination. Use a funnel to avoid spills and make sure the bottle is securely in place before dispensing.
Read more: How To Refill A Water Heater
Step 5: Refill the water dispenser bottle
Now that the water dispenser bottle is positioned correctly, it’s time to refill it with water. Follow these steps to ensure a smooth and efficient refill:
- Use a funnel or pitcher: To prevent spills and make pouring easier, place a funnel or use a pitcher with a spout on top of the water dispenser bottle’s opening. This will help direct the flow of water into the bottle and minimize any mess.
- Pour the water slowly: Start pouring the water into the bottle slowly and steadily. Avoid pouring too fast, as this can create splashes and cause water to spill over the sides of the bottle.
- Monitor the water level: Keep an eye on the water level inside the bottle as you fill it. Most water dispenser bottles have a fill line indicator to help you gauge the appropriate level. Do not overfill the bottle, as this may cause overflow when the bottle is placed back on the dispenser.
- Fill to the appropriate level: Once you have reached the desired water level, stop pouring and remove the funnel or pitcher from the bottle. Take care not to spill any water while doing so.
It’s important to note that different water dispenser models may have varying capacities. Follow the manufacturer’s recommendations for the maximum water capacity for your specific dispenser to avoid any potential issues.
By following these steps, you can successfully refill the water dispenser bottle with water without any spills or overfilling. With the bottle filled, it’s time to move on to the next step and securely seal it.
Step 6: Securely seal the bottle
After refilling the water dispenser bottle, it’s important to securely seal it to prevent any leakage or contamination. Follow these steps to ensure a proper seal:
- Inspect the cap: Before sealing the bottle, check the cap or lid for any dirt or debris. Wipe it clean if necessary to ensure a proper seal.
- Align the cap: Align the threads of the cap with the corresponding threads on the bottle opening. Make sure the cap is positioned straight to ensure a tight seal.
- Twist the cap clockwise: Gently twist the cap clockwise to tighten it onto the bottle. Apply enough pressure to create a secure seal, but be careful not to overtighten, as this could damage the cap or the bottle threads.
- Test the seal: To ensure that the bottle is properly sealed, carefully tilt the bottle and check for any signs of leakage. If you notice any leaks, remove the cap and reseal the bottle, making sure it is tightly secured.
It’s important to note that some water dispenser bottles may have different types of seals, such as snap-on caps or push-on lids. Follow the manufacturer’s instructions for your specific bottle to ensure a proper seal.
By following these steps, you can securely seal the water dispenser bottle and prevent any leakage or contamination. With the bottle sealed, it’s time to move on to the final step of placing it back on the dispenser.
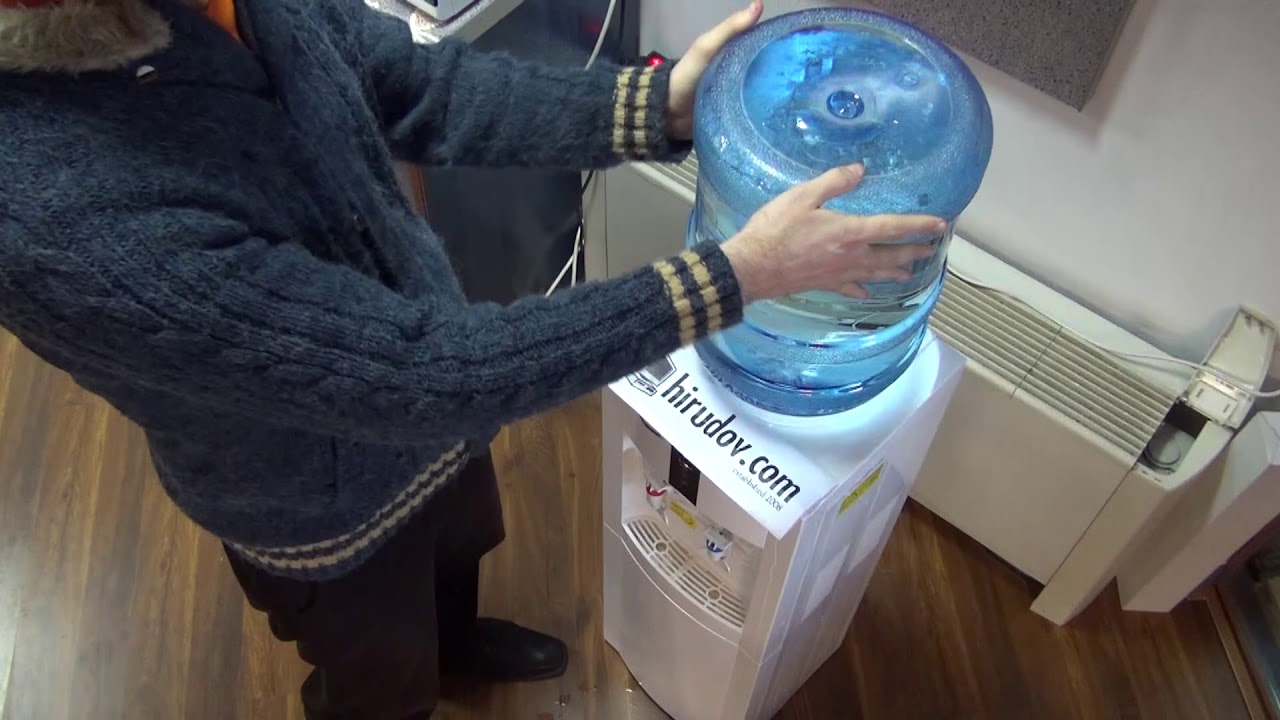
Step 7: Place the bottle back on the dispenser
Now that the water dispenser bottle is filled and securely sealed, it’s time to place it back on the dispenser. Follow these steps to ensure a proper placement:
- Ensure stability: Before placing the bottle on the dispenser, make sure the dispenser is still sitting on a stable and level surface. This will prevent any accidents or spills during the process.
- Remove the old bottle (if applicable): If you’re replacing an existing bottle, carefully lift it off the dispenser and set it aside.
- Position the filled bottle: Lift the filled water dispenser bottle using both hands, one on each side, and carefully position it on top of the dispenser. Ensure that the bottle is aligned with the opening and sits securely in place.
- Press down firmly: While holding the bottle steady, press down firmly to create a tight connection between the bottle and the dispenser. This will ensure a proper flow of water without any air gaps or leakage.
It’s important to note that different dispenser models may have varying mechanisms for securing the bottle in place. Follow the manufacturer’s instructions for your specific dispenser to ensure a proper fit.
Once the filled bottle is securely placed on the dispenser, it’s time to move on to the final step and test the water dispenser.
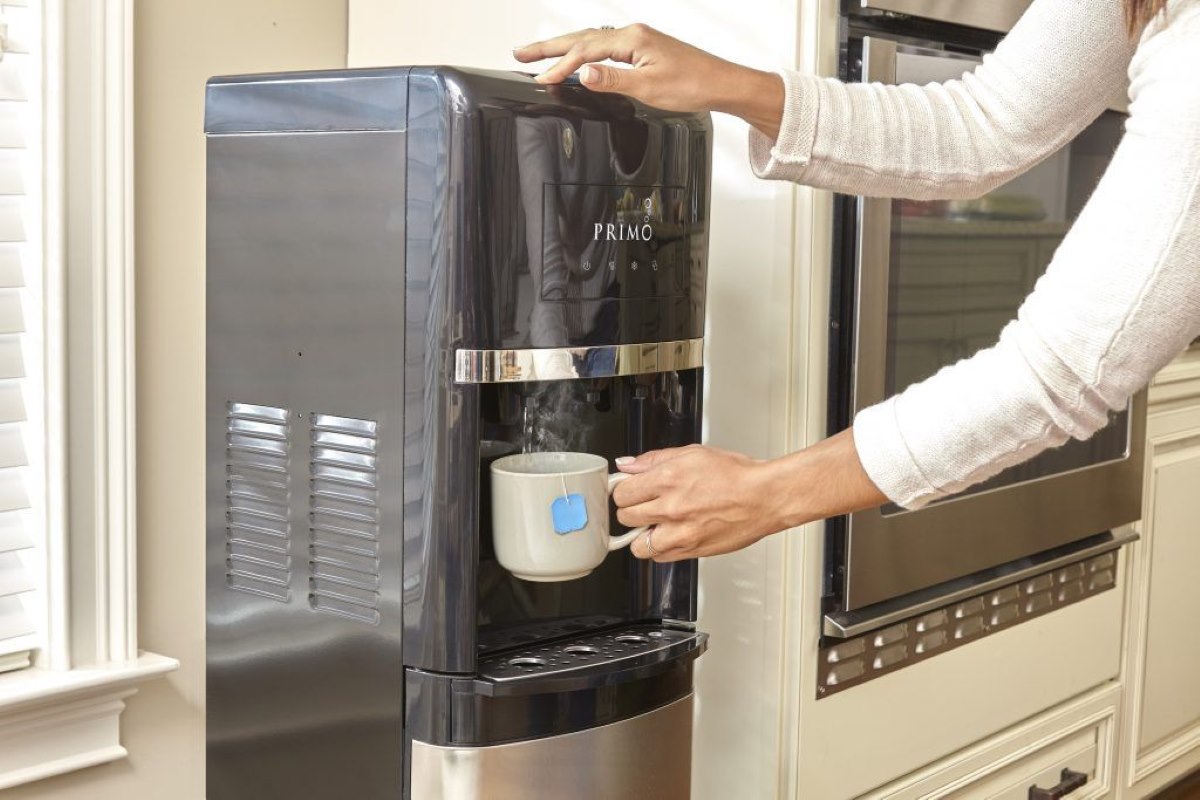
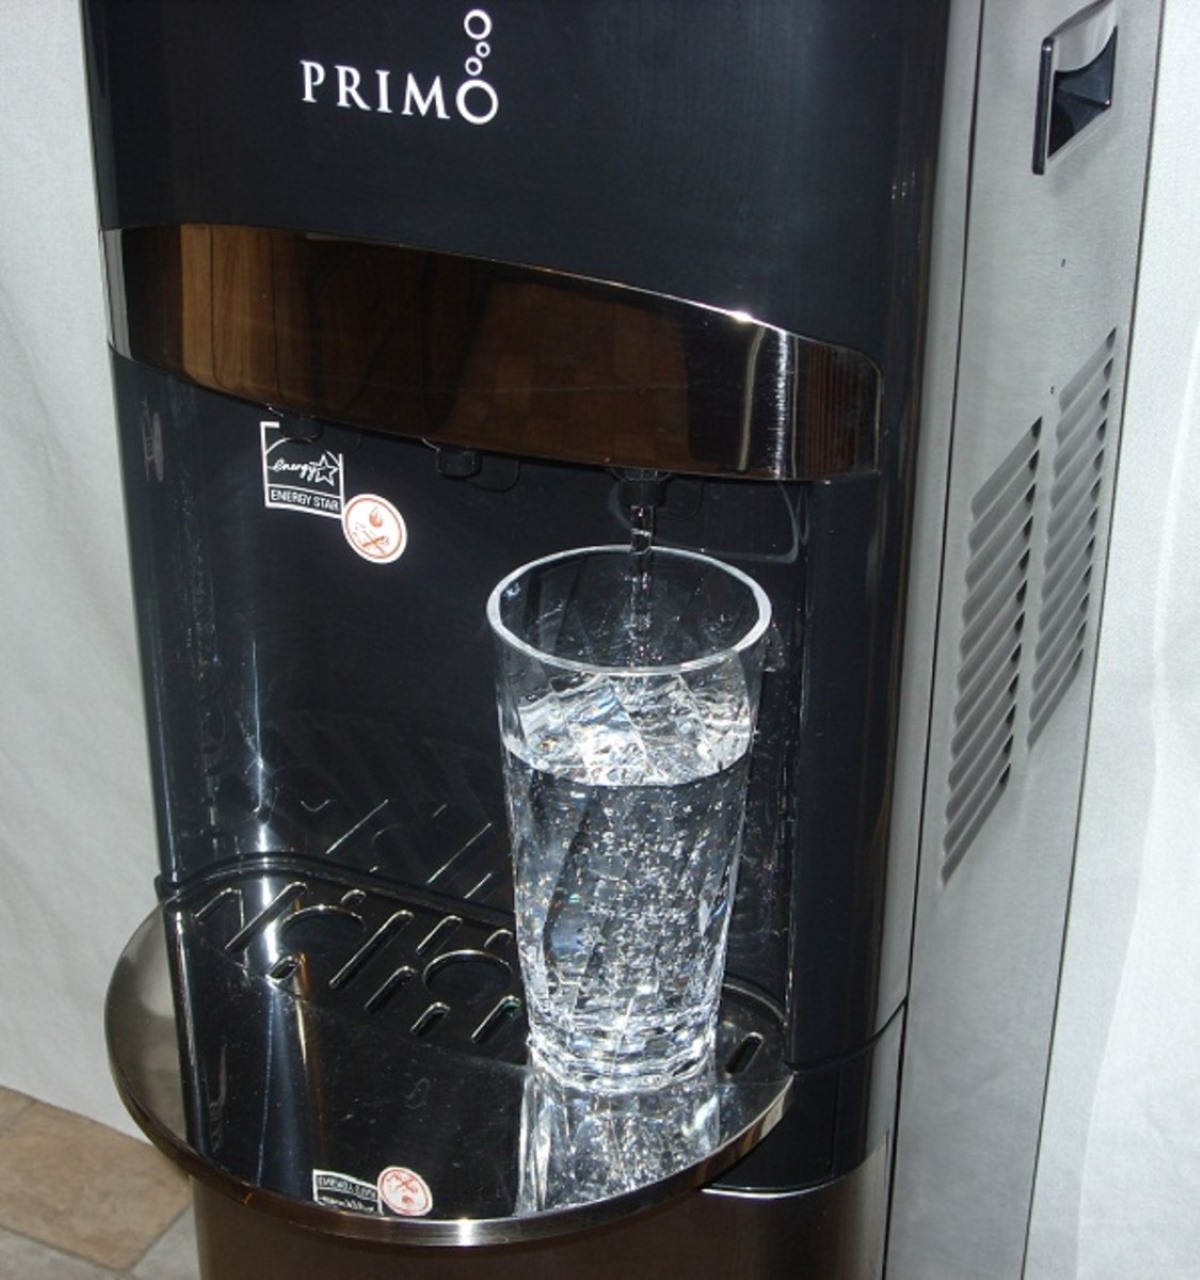
Step 8: Test the water dispenser
After refilling the water dispenser bottle and placing it back on the dispenser, it’s important to test the dispenser to ensure everything is functioning correctly. Follow these steps to test the water dispenser:
- Check the power source: Ensure that the water dispenser is properly connected to a power source, if applicable. Some dispensers may require electricity to operate, while others may function manually.
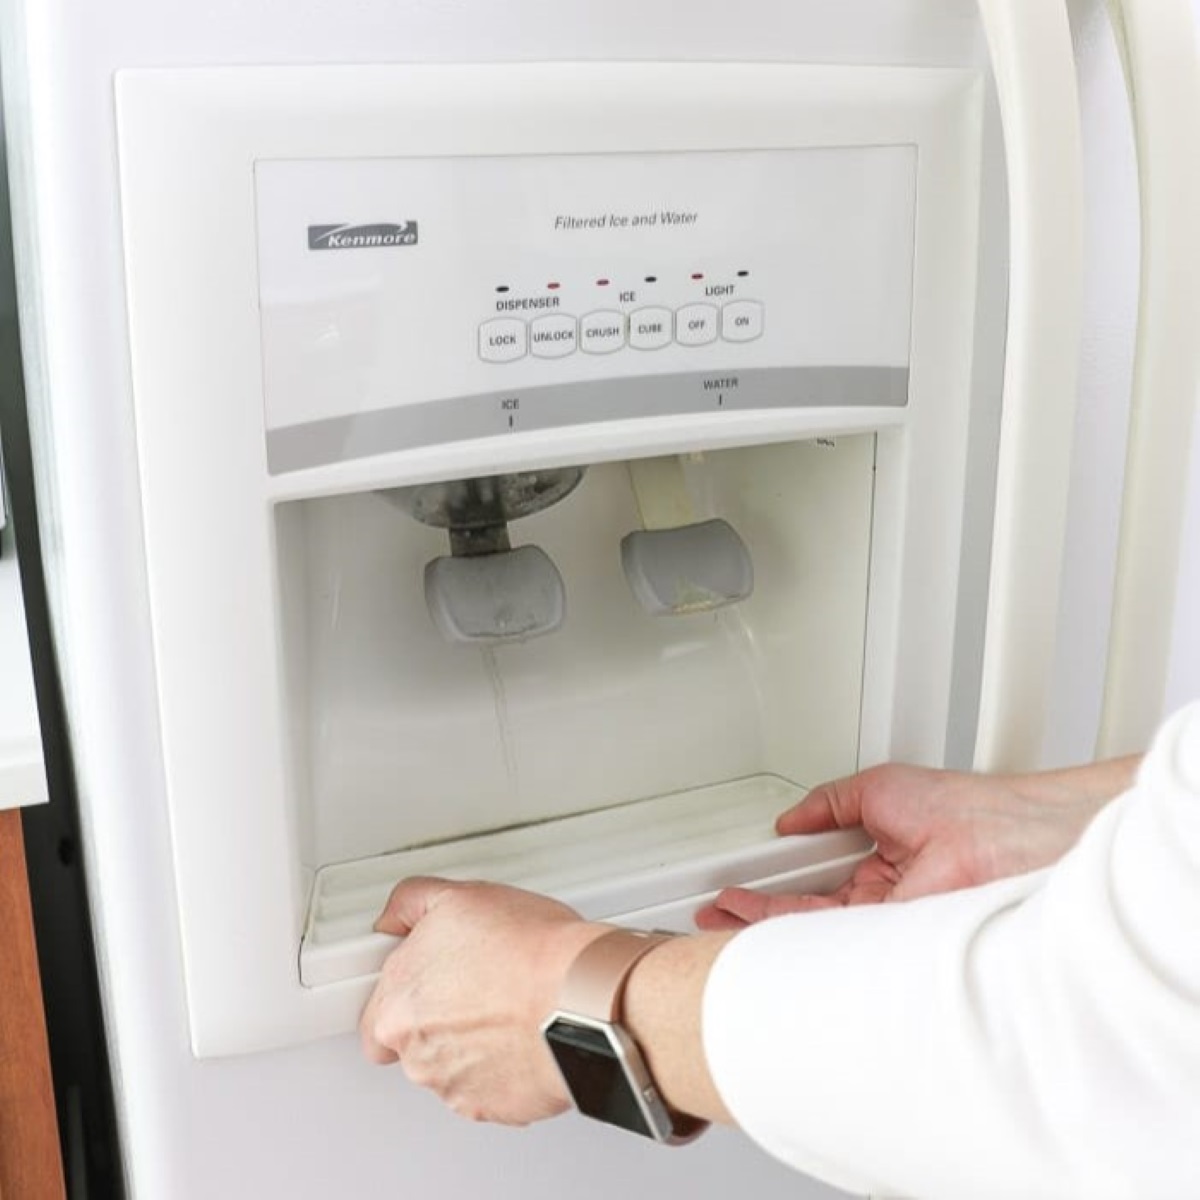
- Dispense water: Press the appropriate button or lever to dispense water from the dispenser. Depending on your dispenser model, there may be separate buttons for hot and cold water, or a single button for room temperature water. Start with room temperature water for the initial test.
- Observe the flow: Watch how the water flows from the dispenser. It should flow steadily and smoothly without any signs of blockages or irregularities.
- Check for leaks: While the water is dispensing, carefully inspect the dispenser and the bottle connection for any signs of leakage. If you notice any leaks, stop using the dispenser and address the issue before continuing.
- Test the temperature: If your dispenser has different temperature options (hot and cold), test each option to ensure they are functioning properly. Check the hot water temperature to ensure it is adequately heated but not scalding, and check the cold water temperature to ensure it is suitably chilled.
If you notice any issues during the testing process, consult the manufacturer’s instructions or contact customer support for assistance. It’s important to address any problems to ensure the proper functioning and safety of the water dispenser.
Once you have tested the water dispenser and ensured that everything is working correctly, congratulations! You have successfully refilled and tested your water dispenser bottle. Enjoy the refreshing and clean drinking water from your dispenser!
Remember, it’s important to regularly clean and maintain your water dispenser to ensure the longevity of the equipment and the quality of the water it dispenses. Refer to the manufacturer’s instructions for specific maintenance guidelines and recommended cleaning intervals.
Thank you for following our guide on how to refill a water dispenser bottle. We hope this information has been helpful to you.
Read more: How To Refill A Joseph Joseph Soap Dispenser
Conclusion
Refilling a water dispenser bottle may seem like a simple task, but it’s important to follow the proper steps to ensure a hygienic and efficient process. By gathering the necessary supplies, cleaning the bottle, preparing the water, positioning the bottle correctly, refilling it, securely sealing it, placing it back on the dispenser, and testing the dispenser, you can enjoy clean and refreshing drinking water at your convenience.
Remember to always consult the manufacturer’s instructions for your specific water dispenser model, as different dispensers may have specific guidelines and requirements. Regularly cleaning and maintaining your water dispenser bottle will ensure the longevity of the equipment and the continued quality of the water it dispenses.
We hope this guide has provided you with valuable insights and instructions on how to refill a water dispenser bottle. By following these steps, you can confidently maintain your water dispenser and enjoy a constant supply of clean and refreshing water for yourself, your family, or your office. Stay hydrated and cheers to a healthy lifestyle!
Frequently Asked Questions about How To Refill Water Dispenser Bottle
Was this page helpful?
At Storables.com, we guarantee accurate and reliable information. Our content, validated by Expert Board Contributors, is crafted following stringent Editorial Policies. We're committed to providing you with well-researched, expert-backed insights for all your informational needs.

0 thoughts on “How To Refill Water Dispenser Bottle”