Articles
How To Repair Water Dispenser Not Cooling
Modified: October 20, 2024
Learn how to fix a water dispenser that is not cooling with our helpful articles. Find step-by-step guides and troubleshooting tips to get your dispenser working efficiently.
(Many of the links in this article redirect to a specific reviewed product. Your purchase of these products through affiliate links helps to generate commission for Storables.com, at no extra cost. Learn more)
Introduction
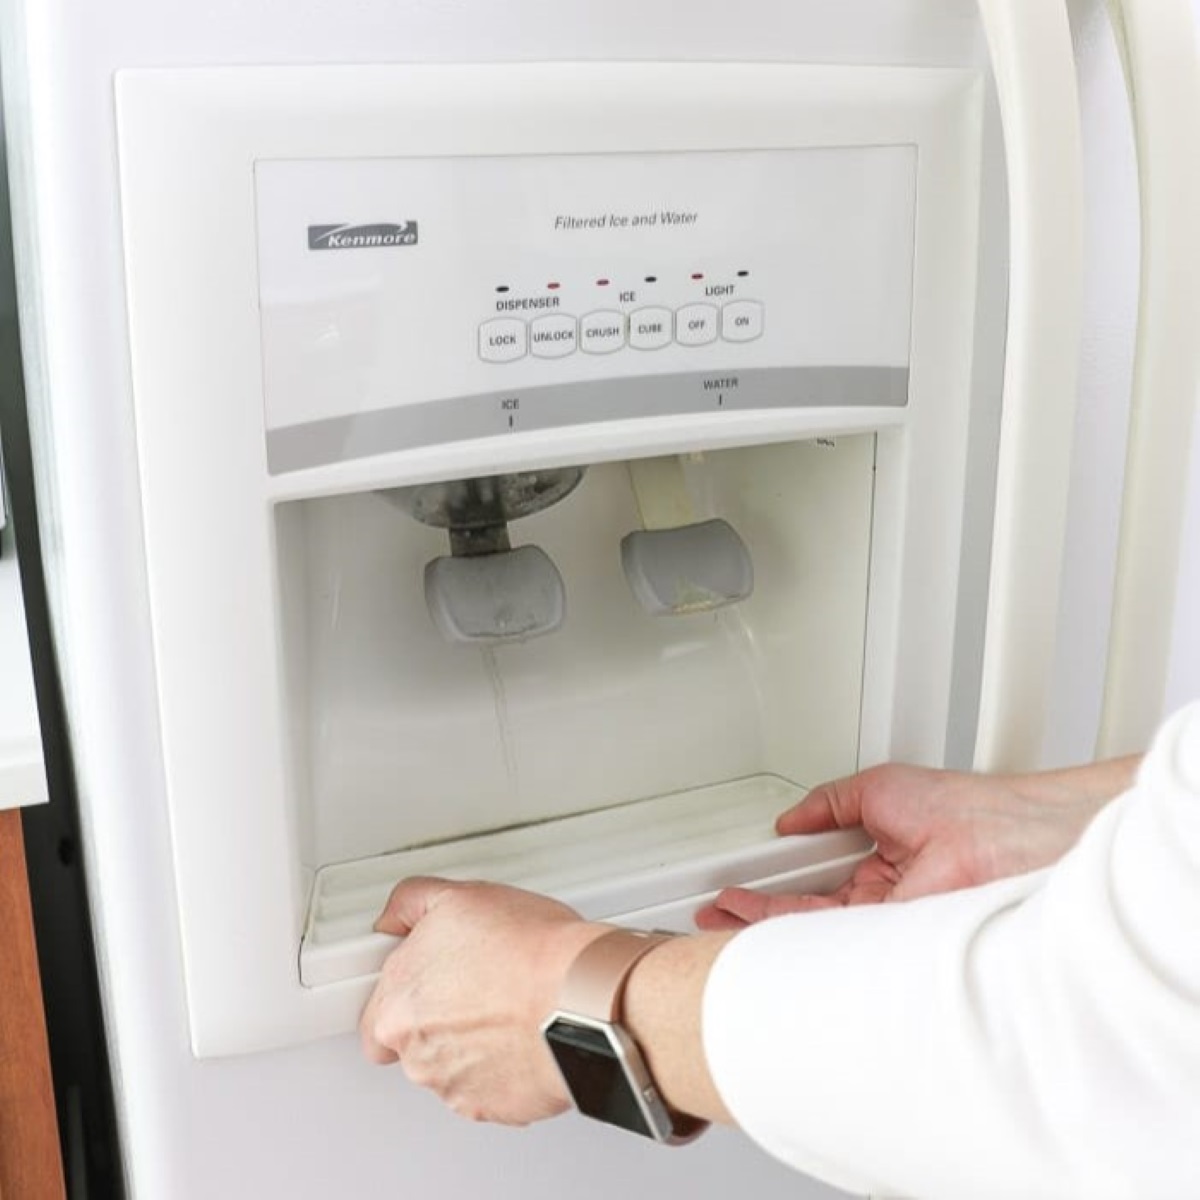
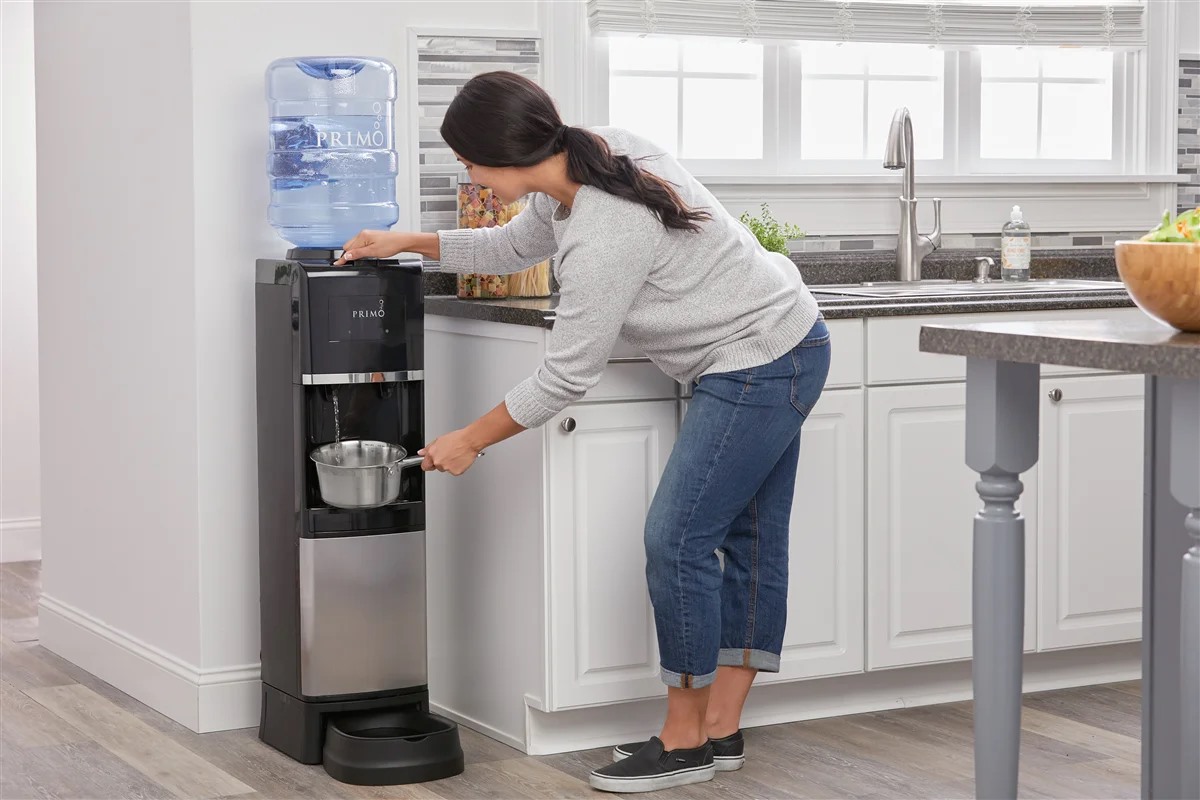
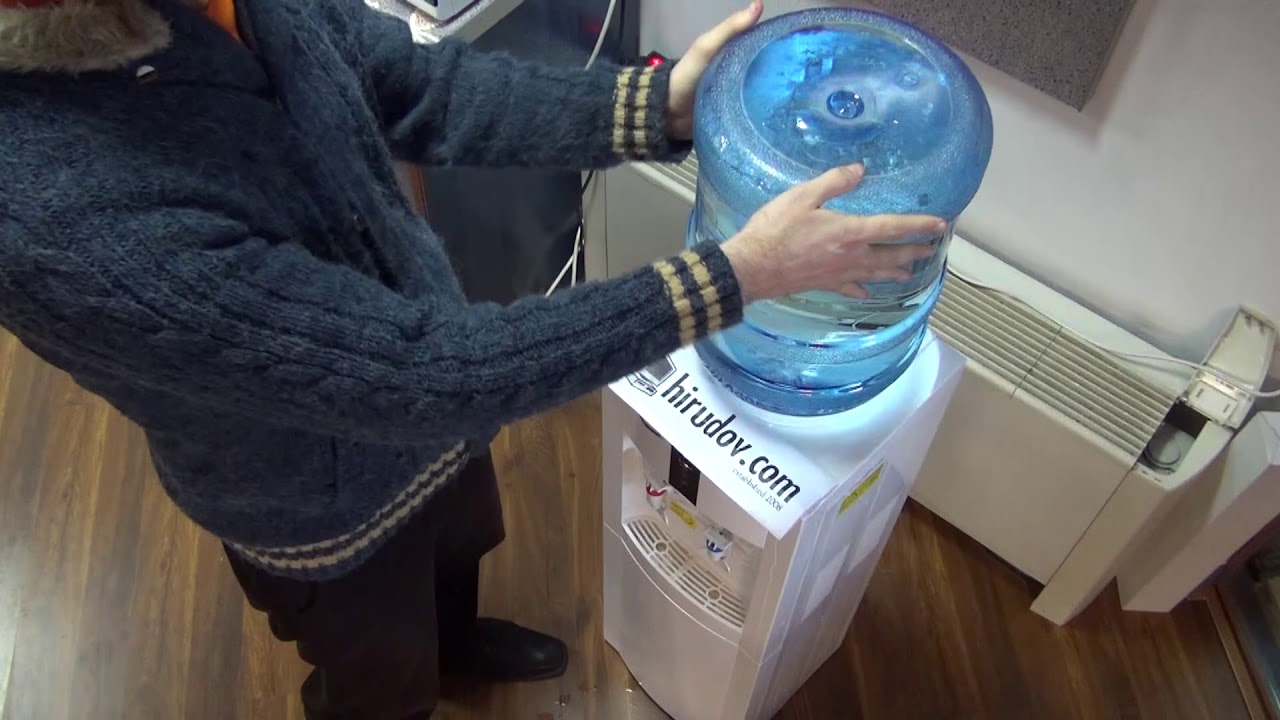
Welcome to the comprehensive guide on how to repair a water dispenser that is not cooling. A water dispenser is a convenient appliance that provides access to cold water, making it a popular addition to homes and offices. However, if you find that your water dispenser is no longer cooling the water, it can be quite frustrating. Fortunately, in many cases, this issue can be resolved with some troubleshooting and basic repairs.
In this article, we will take you through a step-by-step process to identify and fix the problem causing your water dispenser to stop cooling. Before we get started, it’s important to note that safety should always be a priority when working with electrical appliances. Ensure that the water dispenser is unplugged before attempting any repairs and if you are unsure or uncomfortable with any step, it’s best to consult a professional technician.
Now, let’s dive into the troubleshooting process to bring back the cooling power to your water dispenser.
Key Takeaways:
- Troubleshoot and repair a non-cooling water dispenser by checking power supply, evaluating thermostat, and inspecting condenser coils. Addressing these common issues can restore optimal cooling functionality.
- Regular maintenance, including cleaning condenser coils and testing components like the start relay and temperature control board, can prevent and resolve cooling issues in water dispensers. Professional help may be needed for complex repairs.
Read more: What Is A Water Dispenser
Checking the Power Supply
The first step in troubleshooting a water dispenser that is not cooling is to check the power supply. Make sure that the dispenser is securely plugged into a functioning power outlet. Sometimes, loose connections or a power outage can interrupt the cooling functionality of the appliance. If the dispenser is plugged in properly and there is power in the outlet, move on to the next step.
Next, inspect the power cord for any damage or frayed wires. A damaged power cord can prevent the water dispenser from receiving the necessary power to cool the water. If you notice any signs of damage, such as exposed wires or melted insulation, it is crucial to replace the power cord to ensure safe operation. If the power cord appears to be in good condition, proceed to the next troubleshooting step.
Check the circuit breaker or fuse box to ensure that the circuit that powers the water dispenser has not tripped or blown a fuse. If the circuit breaker has tripped or a fuse has blown, reset the breaker or replace the fuse and test the water dispenser again. If the breaker continues to trip or the fuse blows repeatedly, it may indicate a more serious electrical issue that requires professional attention.
If you have verified that the power supply is not the cause of the problem, move on to evaluating the thermostat.
Evaluating the Thermostat
The thermostat plays a crucial role in regulating the temperature of a water dispenser. If the thermostat is not functioning correctly, it can prevent the dispenser from cooling the water to the desired temperature.
Start by adjusting the thermostat settings to the coldest possible setting and wait for a few minutes to see if the dispenser starts cooling. If the water remains at room temperature, it could indicate a malfunctioning thermostat. In this case, you will need to replace the thermostat to restore the cooling functionality.
An easy way to test the thermostat is by using a multimeter. Set the multimeter to the ohms setting and place the probes on the thermostat terminals. The multimeter should display a reading close to zero ohms if the thermostat is working correctly. If the reading is significantly higher or there is no reading at all, it means that the thermostat is faulty and needs to be replaced. Refer to the user manual or contact the manufacturer for specific instructions on how to replace the thermostat.
If the thermostat appears to be in working condition, proceed to inspect the condenser coils.
Inspecting the Condenser Coils
The condenser coils are responsible for releasing heat from the water dispenser, allowing it to cool down. Over time, dust, dirt, and debris can accumulate on the coils, hampering their ability to dissipate heat effectively. This can result in a water dispenser that is not cooling properly.
Start by locating the condenser coils. In most water dispensers, they are located at the back or bottom of the unit. Once you have found them, visually inspect them for any visible signs of dirt or debris buildup. If you notice a significant amount of dust, it’s time to clean the coils.
Before cleaning the coils, make sure to disconnect the water dispenser from the power source to avoid any electrical accidents. You can use a soft brush, vacuum cleaner with a brush attachment, or compressed air to remove the dirt and debris from the coils. Ensure that you clean both the front and back of the coils thoroughly.
Take extra care not to damage or bend the fragile fins of the condenser coils during the cleaning process, as this can obstruct airflow and reduce cooling efficiency. If the coils are severely damaged or bent, it may be necessary to replace them. Consult the user manual or contact the manufacturer for guidance on replacing the condenser coils.
Once the coils are clean, reassemble the water dispenser and plug it back into the power source. Test the unit to see if the cleaning of the condenser coils has improved the cooling performance. If the issue persists, move on to the next troubleshooting step.
Cleaning the Condenser Coils
Cleaning the condenser coils is an essential step in maintaining the optimal performance of a water dispenser. Over time, the coils can accumulate debris, dust, and dirt, reducing their ability to dissipate heat effectively. This can result in inefficient cooling and a water dispenser that is not cooling properly.
Before you begin cleaning the condenser coils, make sure to disconnect the water dispenser from the power source to prevent any electrical accidents. Once the unit is unplugged, you can proceed with the cleaning process.
Start by locating the condenser coils. In most water dispensers, they are located on the back or bottom of the unit. Once you have found them, examine them for any visible signs of dirt or debris buildup.
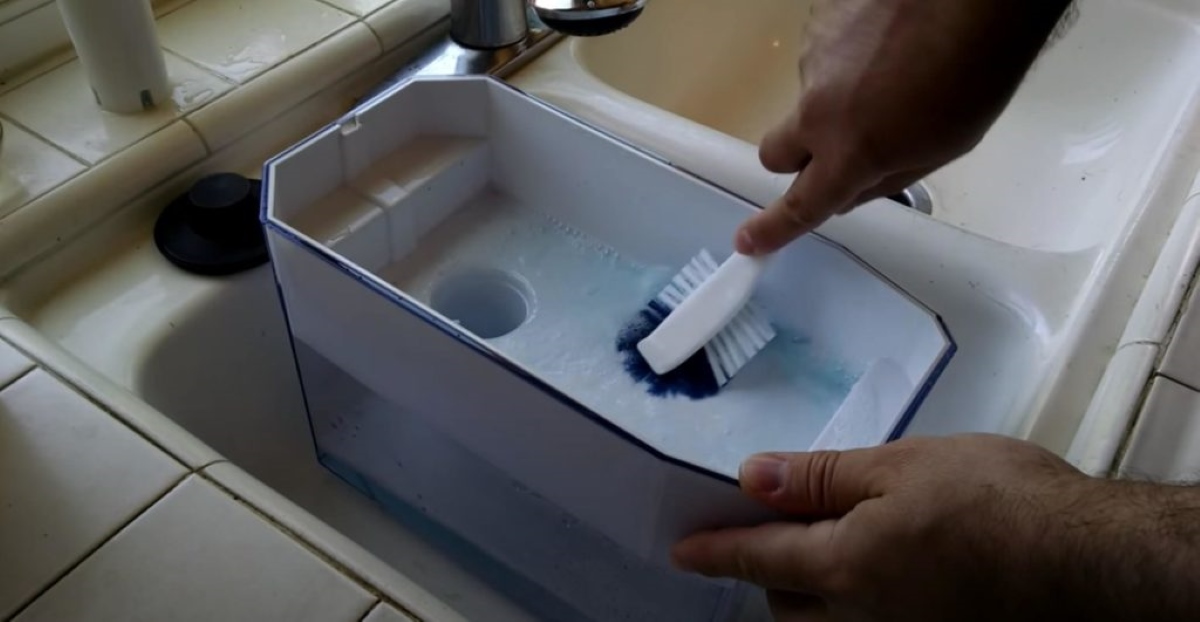
Use a soft brush, such as a toothbrush or a coil brush, to gently remove any loose dirt or dust from the coils. Avoid using sharp or abrasive tools, as they can damage the delicate fins of the coils. Brush in the direction of the fins to prevent bending or damaging them.
If the debris is stubborn and not easily removed with a brush, you can use a vacuum cleaner with a brush attachment to gently suction away the dirt from the coils. Ensure that you clean both the front and back of the coils thoroughly, as debris can accumulate on either side.
In some cases, the buildup on the condenser coils may require a more thorough cleaning. You can use a coil cleaning solution specifically designed for cleaning HVAC coils or a homemade solution of mild detergent and warm water. Apply the cleaning solution to the coils and let it sit for a few minutes to loosen the dirt. Then, rinse the coils with water to remove the cleaning solution and any remaining debris.
Once the condenser coils are clean, allow them to dry completely before reassembling the water dispenser and plugging it back into the power source. The cleaning of the condenser coils should improve the cooling performance of the water dispenser. If the issue persists, further troubleshooting may be required.
Read more: How Hot Is Water From Water Dispenser
Examining the Evaporator Fan Motor
The evaporator fan motor plays a crucial role in circulating air inside the water dispenser, aiding in the cooling process. If the fan motor is not functioning properly, it can hinder the cooling ability of the appliance. To determine if the evaporator fan motor is the cause of the cooling issue, you need to examine it closely.
Start by locating the evaporator fan motor. It is usually located inside the water dispenser, near the evaporator coils. Access to the fan motor may require removing the back or bottom panel of the unit, depending on the model.
Inspect the fan blades for any signs of damage or obstruction. Over time, debris can accumulate on the blades, affecting the air circulation. If you notice any obstructions, carefully remove them to improve the airflow.
Next, check the fan motor for any unusual noises or vibrations. A faulty motor can result in a lack of cooling and may need to be replaced. If the fan motor appears to be damaged or malfunctioning, consult the user manual or contact the manufacturer for instructions on how to replace it.
Additionally, ensure that the fan motor is receiving power. Check the electrical connections and make sure they are secure. If the connections are loose or damaged, it can prevent the motor from operating properly. Tighten any loose connections or replace damaged wires as needed.
If the fan motor and its components seem to be in good condition, move on to testing the start relay.
Check the power source and make sure it’s plugged in. Clean the condenser coils to improve cooling efficiency. If the problem persists, consult a professional technician.
Testing the Start Relay
The start relay is a component responsible for providing power to the compressor in a water dispenser. If the start relay is defective or malfunctioning, it can prevent the compressor from functioning properly, leading to a lack of cooling. Testing the start relay can help determine if this component is causing the cooling issue.
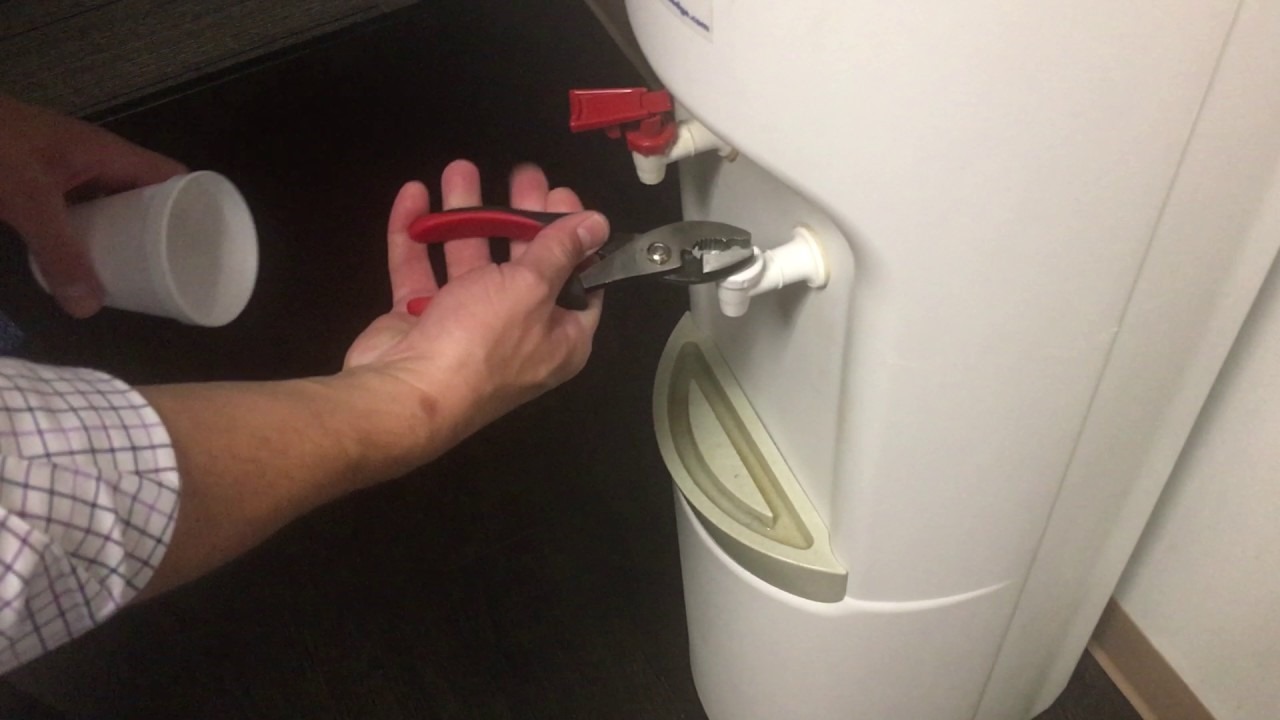
To test the start relay, you will need a multimeter. Start by ensuring that the water dispenser is unplugged from the power source to avoid any electrical accidents. Locate the start relay, which is usually found near the compressor at the back of the unit.
Remove the start relay from its housing by gently pulling it away from the compressor. Carefully inspect the start relay for any signs of damage or burn marks. If the start relay appears to be physically damaged, it will need to be replaced with a new one.
To test the functionality of the start relay, set your multimeter to the ohms setting. Place one probe on the common terminal of the start relay and the other probe on the start terminal. The multimeter should display a reading close to zero ohms, indicating continuity. If the reading is significantly different or the multimeter displays no continuity, it means that the start relay is faulty and needs to be replaced.
If the start relay proves to be in good condition, you may need to examine the temperature control board.
Verifying the Temperature Control Board
The temperature control board, also known as the control module or thermostat control board, is an important component in regulating the temperature of a water dispenser. If the temperature control board is malfunctioning, it can disrupt the cooling cycle and prevent the water dispenser from cooling properly. Verifying the functionality of the temperature control board can help determine if it is the cause of the cooling issue.
Start by locating the temperature control board, which is typically found on the back, inside the control panel of the water dispenser. Depending on the model, you may need to remove the control panel or access it from the rear of the unit.
Visually inspect the temperature control board for any visible signs of damage, such as burnt or charred components. If you notice any physical damage, it is likely that the temperature control board needs to be replaced to restore proper cooling functionality.
After verifying the physical condition of the temperature control board, you can perform further testing using a multimeter. First, disconnect the power supply from the water dispenser to prevent any electrical accidents.
Set your multimeter to the voltage setting and test the voltage at the control board’s power supply terminals. Follow the manufacturer’s specifications for the expected voltage range. If the voltage reading is significantly different or there is no voltage detected, it indicates a problem with the power supply to the control board.
Next, test the functionality of the temperature control board itself. Set your multimeter to the ohms setting and touch the probes to the appropriate terminals on the control board. The multimeter should display a resistance reading within the expected range as specified by the manufacturer. If the reading is outside the expected range, it suggests a faulty temperature control board that needs to be replaced.
If the temperature control board is not the culprit, it’s time to move on to checking for refrigerant leaks.
Checking for Refrigerant Leaks
Refrigerant leaks can be a common cause of a water dispenser not cooling properly. Refrigerant is the substance responsible for absorbing and dissipating heat, allowing the water dispenser to cool down the water. If there is a leak in the refrigerant system, it can result in a loss of cooling capacity and inadequate cooling performance.
Begin by visually inspecting the refrigerant lines and components for any signs of leakage. Look for oil stains or residue, which can indicate the presence of a refrigerant leak. Pay close attention to joints, connections, and valves, as these areas are more prone to leaks.
If you suspect a refrigerant leak, it is recommended to contact a professional technician who is certified to handle refrigerant systems. They will have the necessary tools and expertise to accurately detect and repair the leak. It’s important to note that handling refrigerant can be hazardous, and it’s best left to trained professionals.
The technician will use specialized equipment, such as a refrigerant leak detector or ultrasonic leak detector, to locate the source of the leak. Once the leak is detected, they will proceed with repairing or replacing the affected component, followed by recharging the refrigerant to the appropriate level.
It’s crucial to address refrigerant leaks promptly, as operating a water dispenser with a leak can lead to further damage to the compressor and other components of the cooling system. Regular maintenance and inspections can help prevent and detect refrigerant leaks early, ensuring optimal cooling performance.
If the refrigerant system is intact and no leaks are found, it’s time to explore other possible causes for the water dispenser not cooling properly.
Read more: How To Clean Pur Water Dispenser
Troubleshooting other Possible Causes
If you have gone through the previous steps and the water dispenser is still not cooling properly, there are a few other possible causes that you can troubleshoot to pinpoint the issue.
1. Compressor Issues: The compressor is responsible for circulating refrigerant through the system. If the compressor is faulty or not functioning correctly, it can result in inadequate cooling. Check for any unusual noises coming from the compressor, such as clicking or buzzing sounds. If you suspect a problem with the compressor, it is best to contact a professional technician for further inspection and possible replacement.
2. Insufficient Airflow: Poor airflow can hinder the cooling process in a water dispenser. Ensure that there is enough space around the unit for proper ventilation. Clear any obstructions near the vents or condenser coils that may restrict airflow. Additionally, check the condition of the air filter, if applicable, and clean or replace it if it is dirty or clogged.
3. Faulty Cold Water Thermostat: If your water dispenser has a separate thermostat for cold water, it is possible that this thermostat is not functioning correctly. Test the cold water thermostat using a multimeter to ensure it is providing the proper signal to the cooling system. If it is defective, replacing the thermostat may be necessary.
4. Environmental Factors: External environmental factors can also impact the cooling performance of a water dispenser. Ensure that the room temperature is within the recommended range for proper cooling. Extremely high ambient temperatures can put additional strain on the cooling system and affect its performance. Consider relocating the water dispenser to a cooler area if necessary.
5. Age and Wear: Over time, the components of a water dispenser may wear out or deteriorate, resulting in decreased cooling efficiency. If your water dispenser is significantly old and has been in use for many years, it’s possible that it is nearing the end of its lifespan. In such cases, replacing the unit may be the most viable solution.
If you have exhausted all troubleshooting steps and the water dispenser still does not cool properly, it is advisable to seek professional help from a qualified technician. They can perform a thorough diagnosis and provide the necessary repairs or recommendations to resolve the issue.
Remember to always prioritize safety when dealing with electrical appliances, and if you are unsure about any step or uncomfortable with performing repairs, it is best to consult a professional technician for assistance.
Conclusion
Repairing a water dispenser that is not cooling properly can be a frustrating task, but with some troubleshooting and basic repairs, you can often resolve the issue and restore optimal cooling performance. By following the steps outlined in this comprehensive guide, you can identify and address the most common causes of a water dispenser not cooling.
Starting with checking the power supply and evaluating the thermostat, you can rule out any basic issues that may be affecting the cooling functionality. Inspecting and cleaning the condenser coils, as well as examining the evaporator fan motor and testing the start relay, are vital steps in ensuring proper airflow and component functionality.
If these steps do not resolve the issue, it is important to verify the condition of the temperature control board and check for any refrigerant leaks. These components can have a significant impact on the cooling performance of the water dispenser, and addressing any issues is vital for optimal cooling functionality.
In the troubleshooting process, it is also important to consider other factors such as compressor issues, airflow, cold water thermostat functionality, environmental factors, and the age and wear of the water dispenser. These factors can contribute to inadequate cooling and may require professional inspection and assistance.
Remember, safety should always be a priority when dealing with electrical appliances. If you are unsure or uncomfortable with any steps or repairs, it is best to consult a professional technician who has the skills and knowledge to handle the repairs safely and effectively.
By following the steps outlined in this guide and seeking professional help when needed, you can restore the cooling functionality of your water dispenser and once again enjoy the convenience of cold water whenever you need it.
Frequently Asked Questions about How To Repair Water Dispenser Not Cooling
Was this page helpful?
At Storables.com, we guarantee accurate and reliable information. Our content, validated by Expert Board Contributors, is crafted following stringent Editorial Policies. We're committed to providing you with well-researched, expert-backed insights for all your informational needs.


0 thoughts on “How To Repair Water Dispenser Not Cooling”