Articles
How To Clean Pur Water Dispenser
Modified: January 6, 2024
Looking for articles on how to clean your Pur water dispenser? Discover the best methods and tips in our comprehensive guide.
(Many of the links in this article redirect to a specific reviewed product. Your purchase of these products through affiliate links helps to generate commission for Storables.com, at no extra cost. Learn more)
Introduction
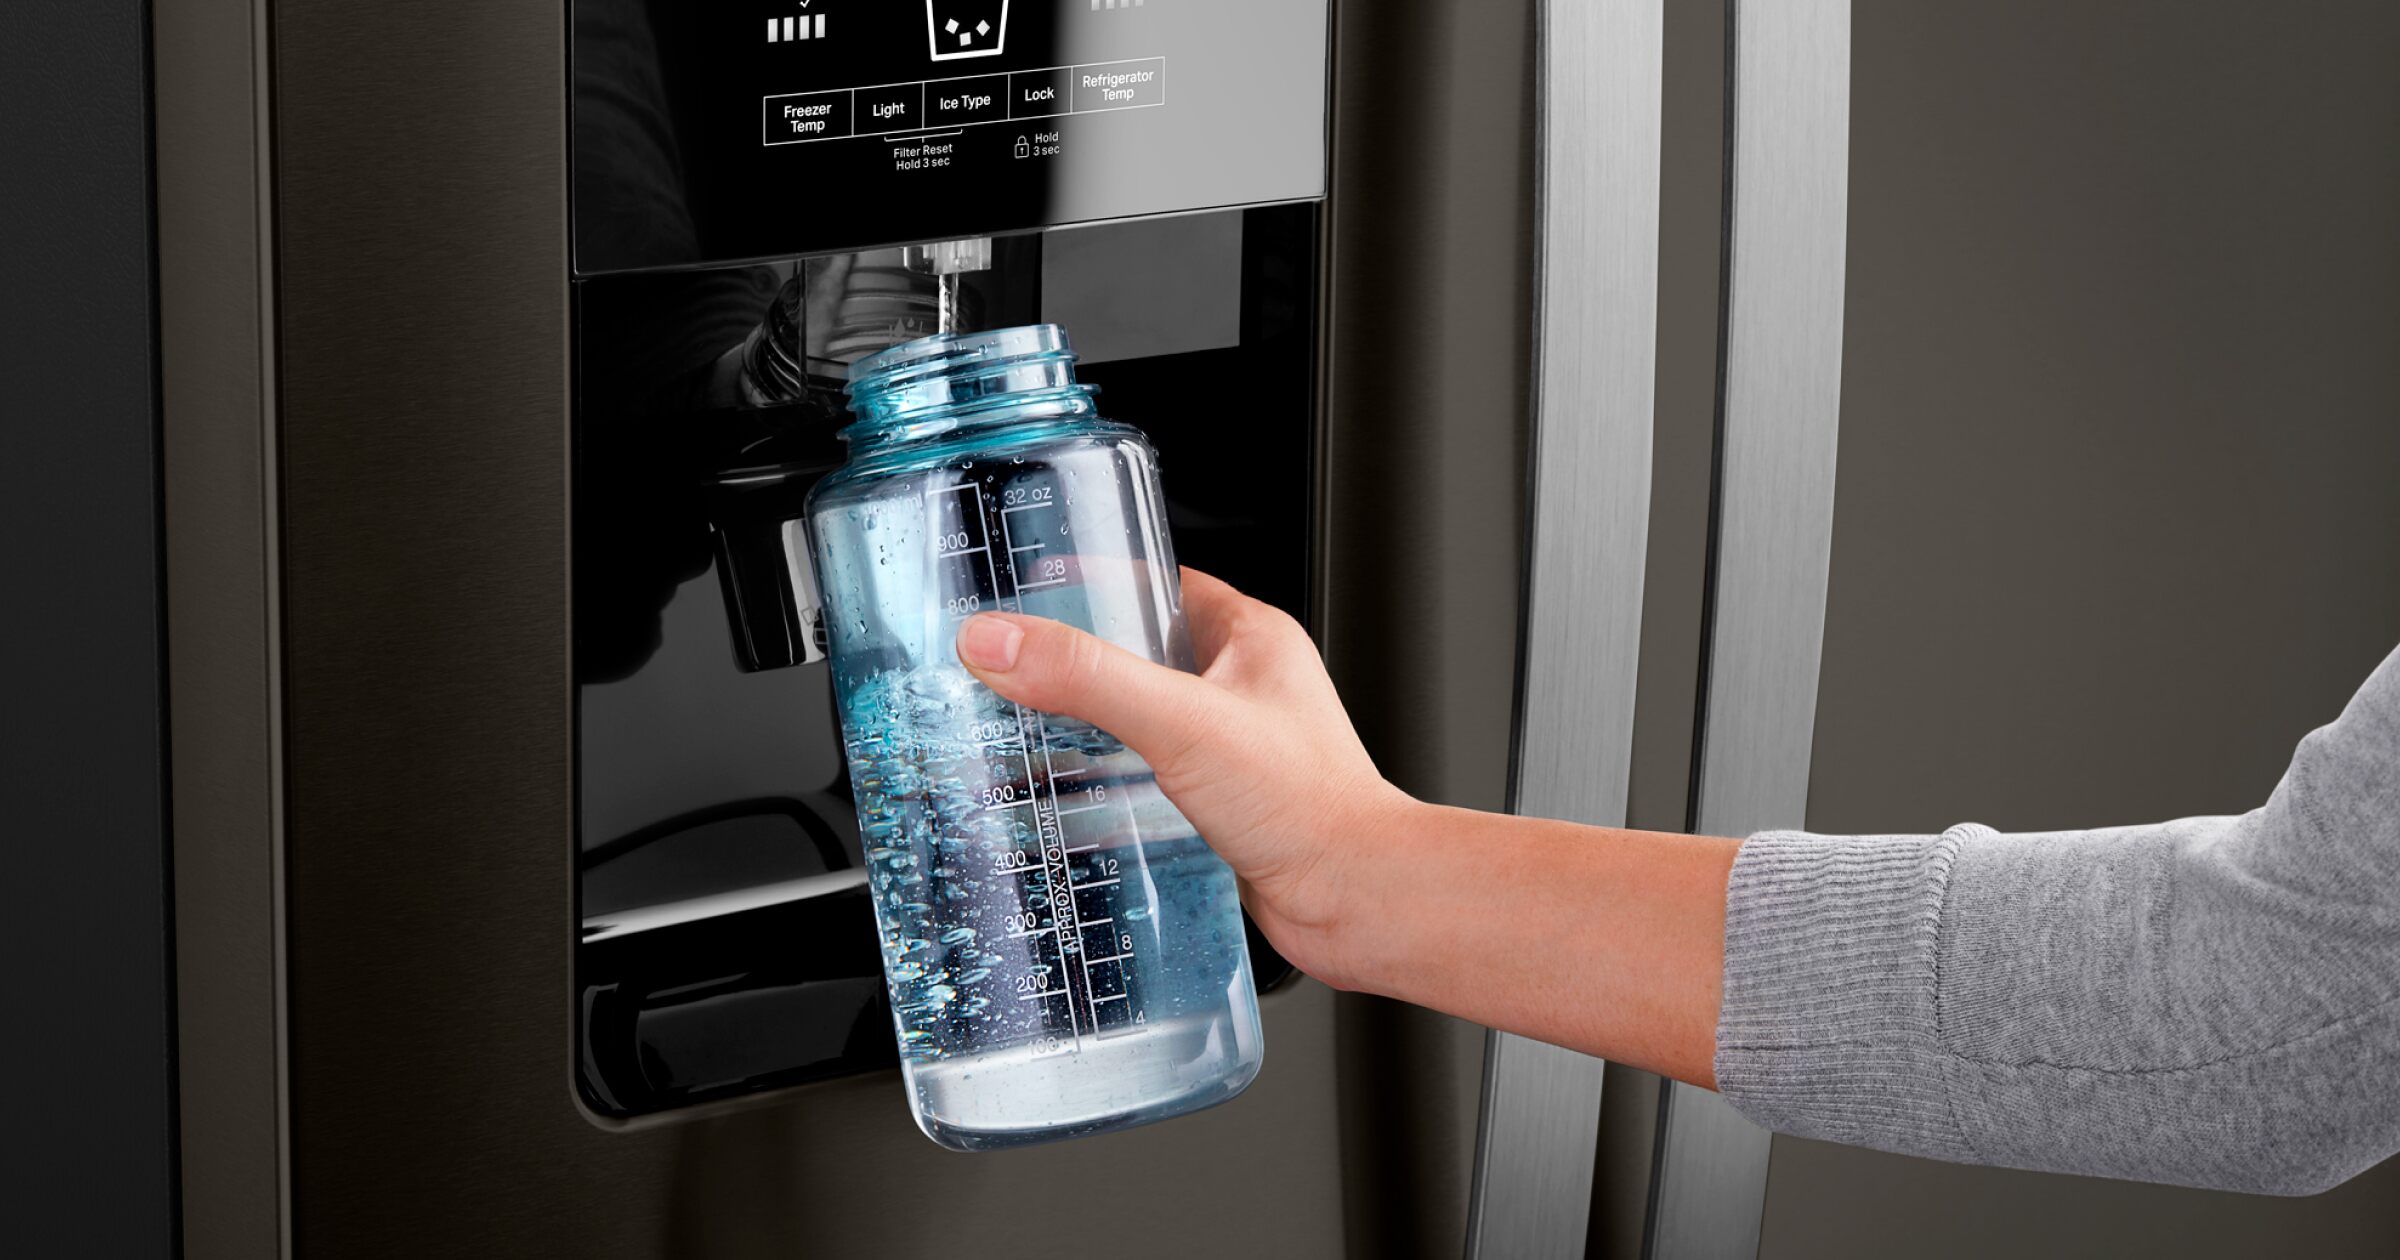
Having a clean and functioning water dispenser is essential for maintaining good health and ensuring access to fresh drinking water. Over time, mineral deposits, bacteria, and other impurities can build up inside the dispenser, affecting its performance and compromising the quality of the water it dispenses. Regularly cleaning your Pur water dispenser is crucial to keep it running efficiently and providing clean, safe water.
In this article, we will guide you through the step-by-step process of cleaning your Pur water dispenser to ensure it remains in tiptop condition. Remember to follow all safety precautions while cleaning and turn off the power supply before starting the cleaning process.
Cleanliness and hygiene are vital when handling water dispensers, as they come into direct contact with the water that you consume. By regularly cleaning your Pur water dispenser, you can remove any potential contaminants and maintain the quality of the water it dispenses, ensuring the health and well-being of everyone who uses it.
Remember, before starting to clean your Pur water dispenser, it’s important to consult the manufacturer’s instructions for specific cleaning guidelines tailored to your model. Now, let’s begin with the necessary safety precautions you should follow.
Key Takeaways:
- Regularly cleaning your Pur water dispenser is crucial for maintaining clean, safe water and ensuring the health and well-being of everyone who uses it.
- Prioritize safety by following specific manufacturer instructions, gathering necessary supplies, and thoroughly cleaning and reassembling your Pur water dispenser for optimal performance and longevity.
Read also: 14 Best Pur Water Dispenser for 2025
Safety Precautions
Before you start cleaning your Pur water dispenser, it is crucial to take some safety precautions to protect yourself and ensure a successful cleaning process. Here are some important safety measures to keep in mind:
- Turn off the power supply: Before you begin cleaning, make sure to unplug the water dispenser from the power source. This will prevent any electrical accidents or mishaps during the cleaning process.
- Wear protective gloves: It is advisable to wear rubber or latex gloves to protect your hands from any chemicals or potential contaminants that may be present during the cleaning process.
- Work in a well-ventilated area: Ensure that the area where you are cleaning the water dispenser is well-ventilated to avoid inhaling any fumes or cleaning solution vapors.
- Read and follow instructions: Take the time to thoroughly read and understand the instructions provided by the manufacturer for cleaning your specific model of the Pur water dispenser. Following these instructions will help you avoid any damage to the unit and ensure effective cleaning.
- Use recommended cleaning products: Stick to the recommended cleaning products specified by the manufacturer to prevent any potential damage to the dispenser. Avoid using bleach or abrasive cleaners that can cause deterioration or scratches.
- Allow proper drying time: After completing the cleaning process, allow sufficient time for all parts to dry completely before reassembling and using the dispenser again. Moisture can lead to mold or bacterial growth if not properly dried.
- Keep children and pets away: When cleaning the water dispenser, ensure that children and pets are kept at a safe distance to prevent accidents or ingestion of any cleaning solutions.
- Dispose of cleaning solutions properly: When disposing of any cleaning solution or wastewater, make sure to follow local regulations and guidelines to protect the environment and prevent pollution.
By following these safety precautions, you can ensure a safe and effective cleaning process for your Pur water dispenser. Now, let’s move on to gathering the necessary supplies for cleaning.
Gather Necessary Supplies
Before you begin the cleaning process, it’s important to gather all the necessary supplies. Having everything you need on hand will make the process more efficient and save you time. Here is a list of the supplies you will need to clean your Pur water dispenser:
- Mild dish soap: Look for a gentle, non-abrasive dish soap that will effectively remove dirt and grime without damaging the dispenser.
- Clean, lint-free cloth: Choose a soft cloth that will not leave any fibers or residues behind. Avoid using paper towels or rough materials that can scratch the surface of the dispenser.
- Soft-bristle brush: A small brush with soft bristles will help you clean hard-to-reach areas and remove any stubborn deposits from the dispenser.
- Vinegar or lemon juice: Vinegar or lemon juice can be used as natural cleaning agents to remove mineral deposits and stains from the interior components of the water dispenser.
- Water: Clean, fresh water will be required to rinse and flush out the dispenser thoroughly.
- Cleaning gloves: Protect your hands by wearing gloves while cleaning to avoid direct contact with cleaning solutions.
- Container or bucket: To collect and dispose of any contaminated water or cleaning solutions, have a container or bucket ready.
- Toothpicks or cotton swabs: These small tools will help you clean tiny crevices and remove any buildup of dirt or residue.
- Owner’s manual: Refer to the owner’s manual provided by the manufacturer for any specific cleaning instructions or recommendations for your particular model of the Pur water dispenser.
Once you have gathered all the necessary supplies, you are ready to begin the cleaning process. Make sure you have a clear workspace and all the items are within reach. Let’s move on to the step-by-step instructions on how to clean your Pur water dispenser.
Step 1: Unplug the Water Dispenser
Before you start the cleaning process, it is important to ensure your safety by unplugging the water dispenser from the power source. This step will prevent any potential electrical accidents or mishaps while you are working on the dispenser.
Locate the power cord at the back or bottom of the water dispenser and gently unplug it from the electrical outlet. Ensure that the cord is fully disconnected to avoid any accidental contact with electricity.
Unplugging the water dispenser will not only protect you from electrical hazards but also allow you to clean the dispenser more effectively without any interference.
Remember, safety should always be your top priority when handling any electrical appliances. By unplugging the water dispenser, you eliminate the risk of electric shock or damage to the unit while cleaning.
Once you have successfully unplugged the water dispenser, you can proceed to the next step – removing the water bottle from the dispenser.
Note: It is essential to consult the owner’s manual or any specific instructions provided by the manufacturer for your pur water dispenser model. Different models may have different methods for disconnecting the power supply.
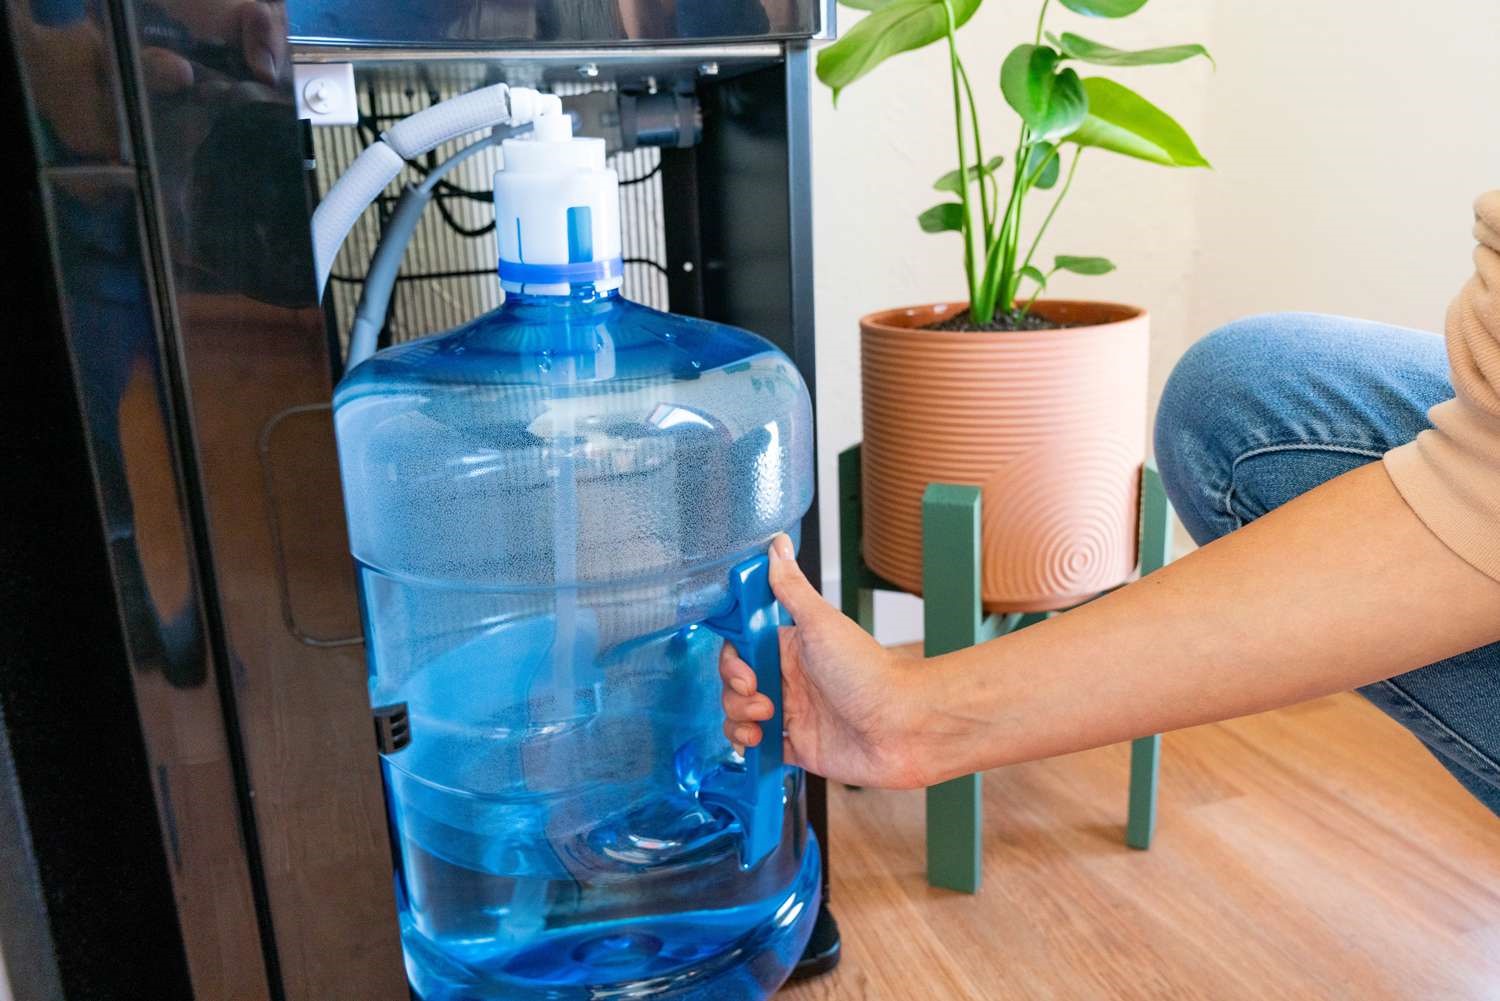
Step 2: Remove the Water Bottle
With the water dispenser unplugged, the next step in the cleaning process is to remove the water bottle. This step ensures that you have easy access to the interior components of the dispenser and allows you to clean it thoroughly.
Follow these steps to safely remove the water bottle from your Pur water dispenser:
- Locate the water bottle: The water bottle is usually placed on top of the dispenser. It may be secured by a cap or collar.
- Check for any clips or locks: Some water bottles have clips or locks that hold them securely in place. If your bottle has these, unlock or unclip them before proceeding to the next step.
- Twist or lift the water bottle: Depending on the design of your dispenser, twist or lift the water bottle to detach it from the dispenser. Be careful not to spill any water while doing this.
- Set the water bottle aside: Once the water bottle is detached, carefully set it aside in a safe location away from the cleaning area.
Removing the water bottle ensures that you have a clear workspace to clean the interior components of the dispenser properly. It also allows you to inspect the bottle for any signs of contamination or residue that may require further cleaning or replacement.
Remember, it is important to handle the water bottle with care to avoid spillage or breakage. Treat it as you would any other delicate or heavy object to prevent injury or damage.
Now that you have successfully removed the water bottle, we can move on to the next step – emptying and cleaning the reservoir.
Read more: How To Clean A Vitapur Water Dispenser
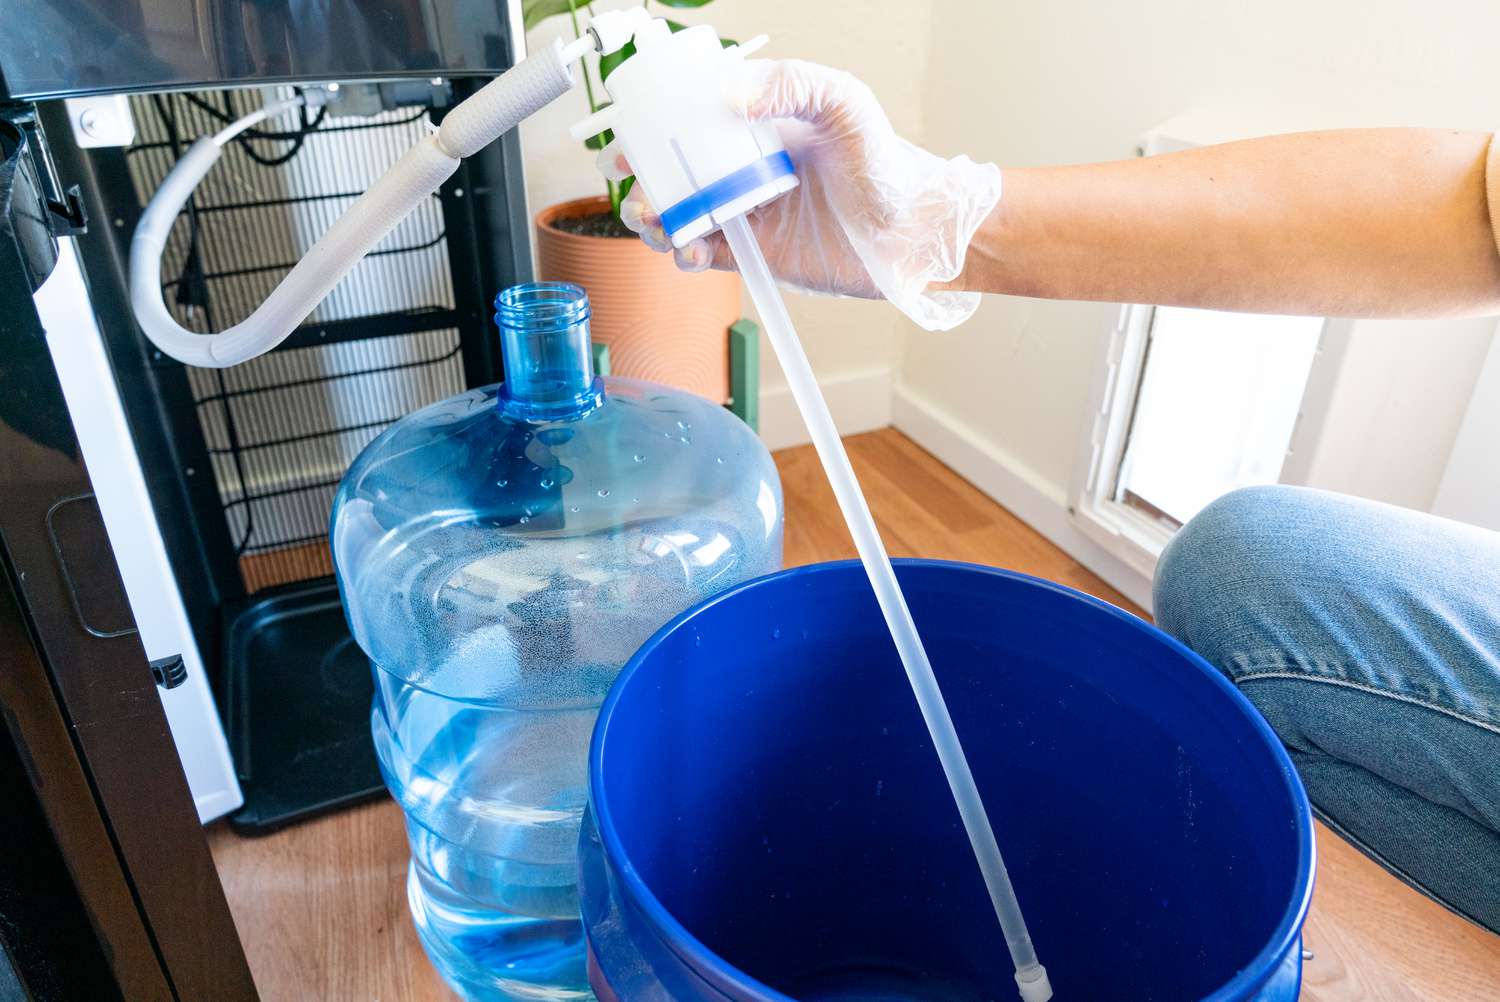
Step 3: Empty and Clean the Reservoir
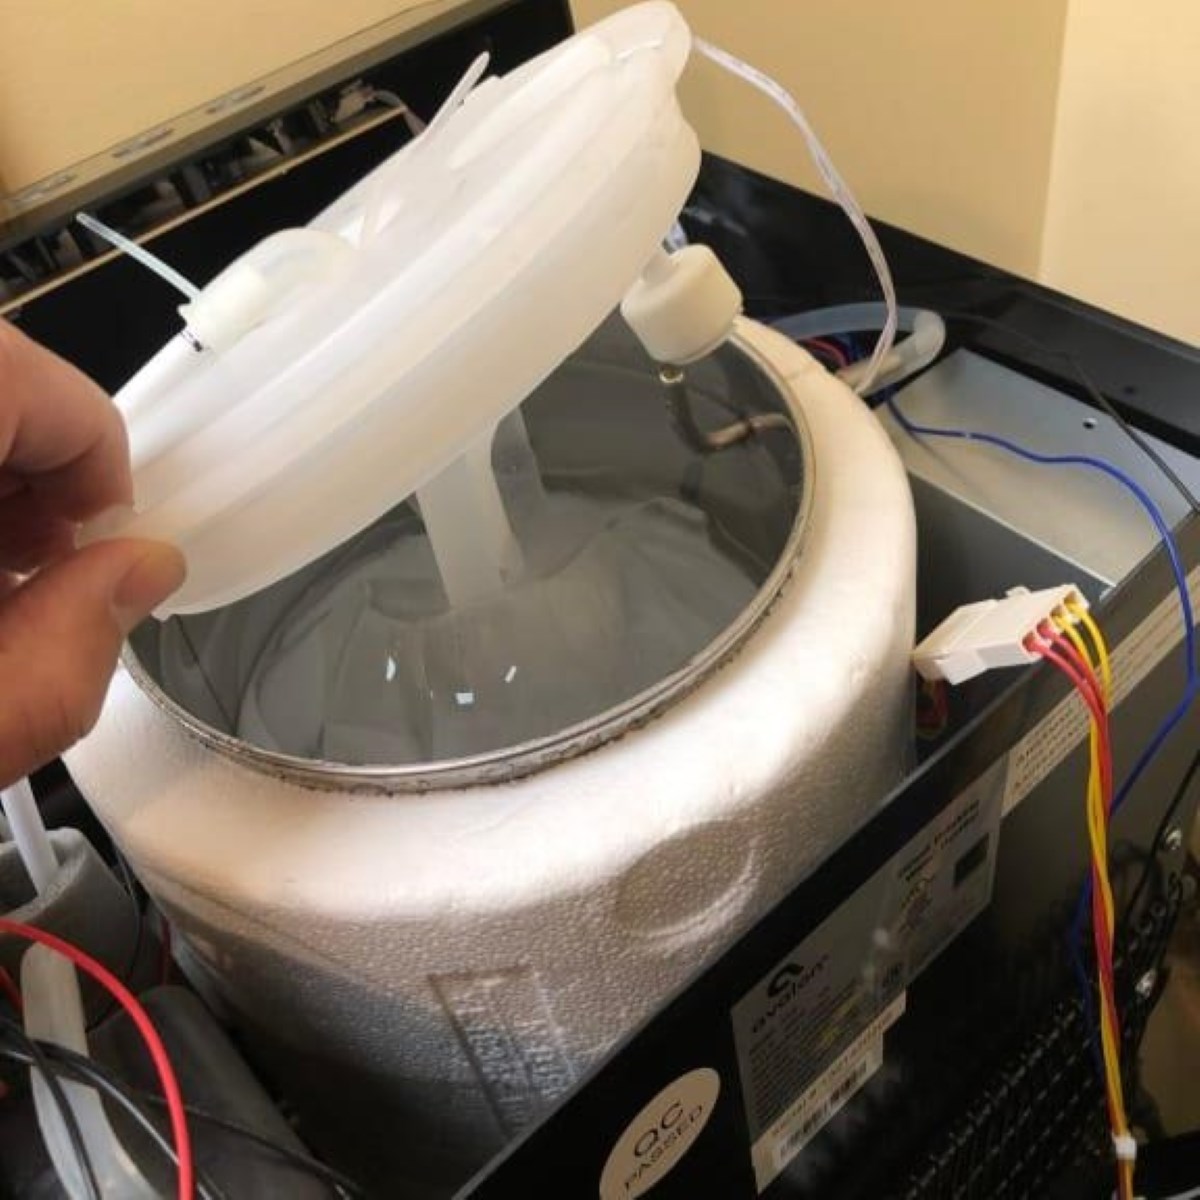
Once you have removed the water bottle from your Pur water dispenser, it’s time to empty and clean the reservoir. This step is crucial for removing any built-up impurities, bacteria, or mineral deposits that may affect the dispenser’s performance and the quality of the water it dispenses.
Follow these steps to effectively empty and clean the reservoir of your water dispenser:
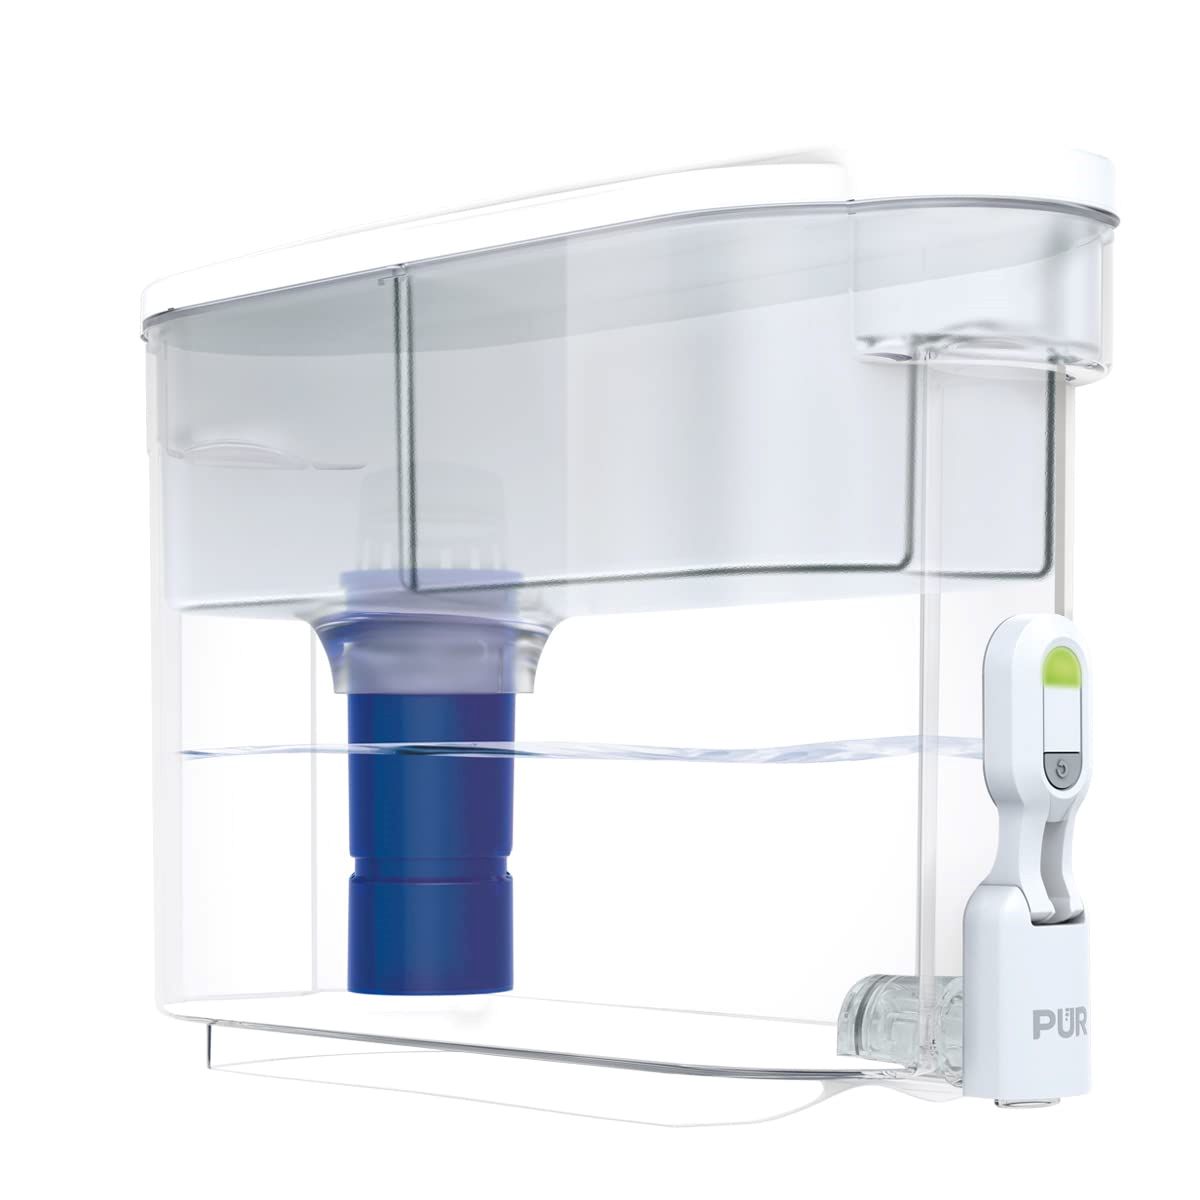
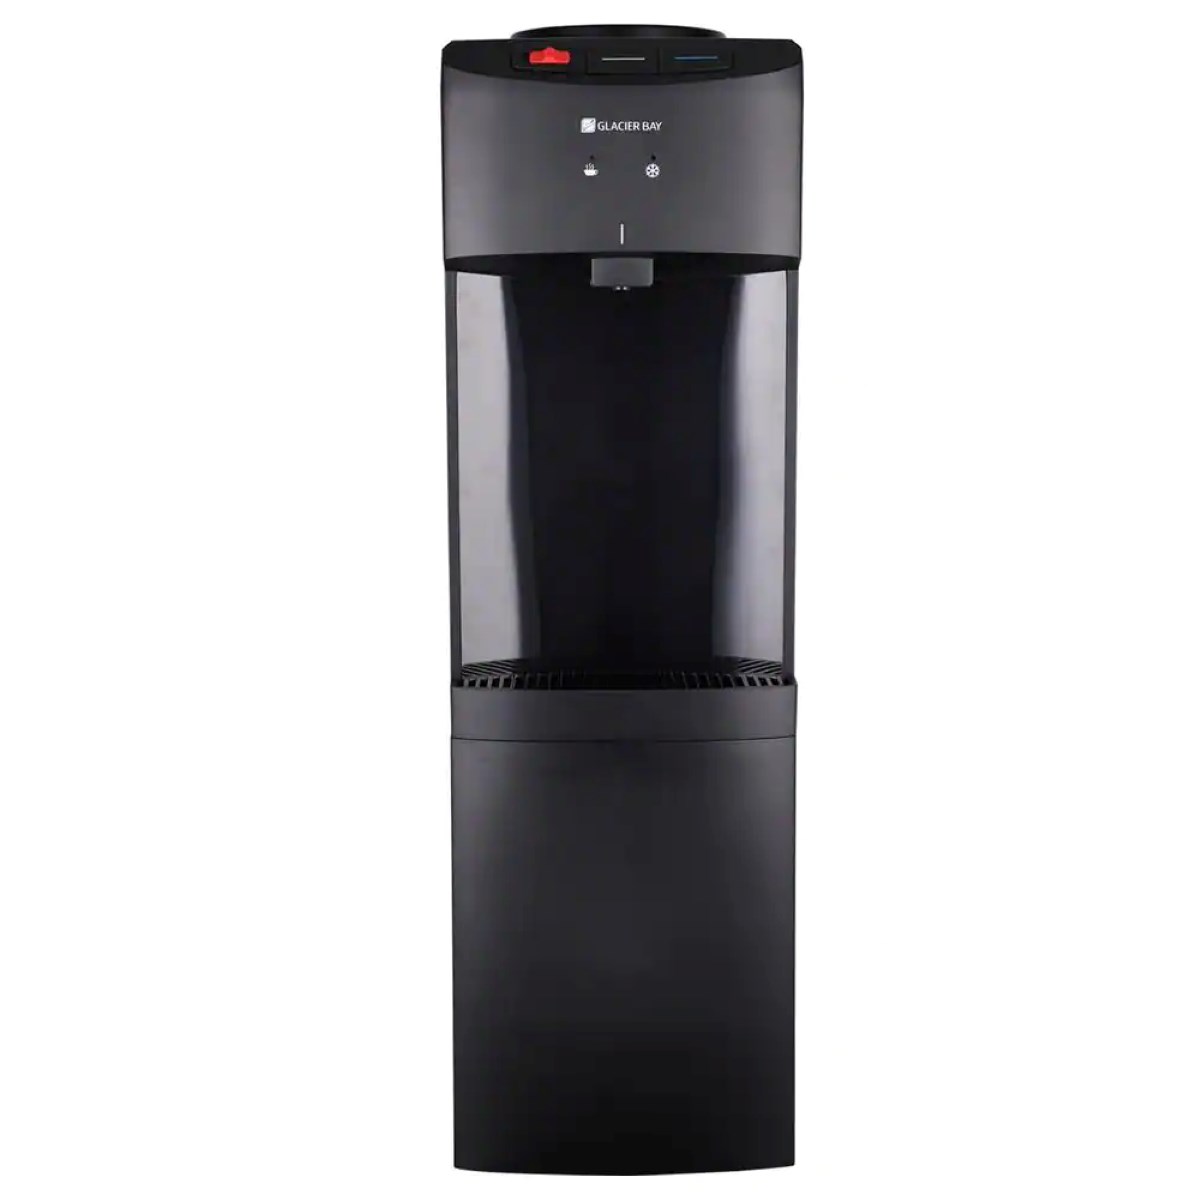
- Locate the reservoir: The reservoir is the main storage area where the water is held inside the dispenser. It is usually located behind the water spout or inside the dispenser unit.
- Empty the reservoir: To empty the reservoir, carefully tilt the dispenser over a sink or suitable drainage area. Allow the water to flow out completely. You can also use a small cup or container to scoop out any remaining water.
- Prepare a cleaning solution: Fill a bucket or basin with warm water and add a small amount of mild dish soap. Mix the solution well to create a soapy mixture.
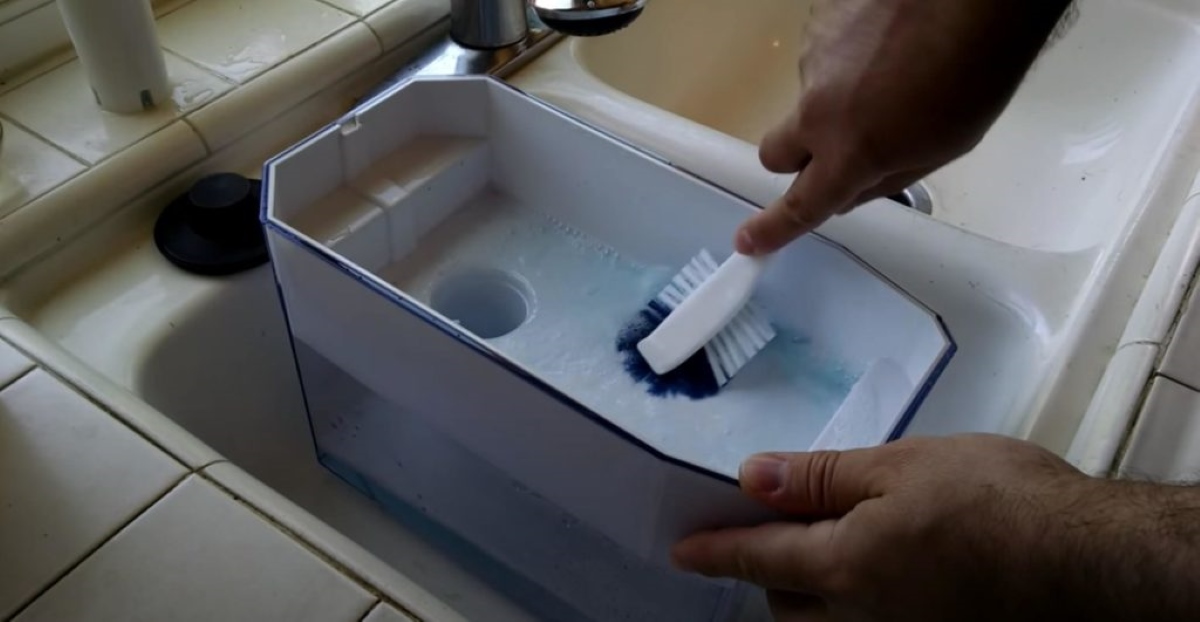
- Clean the reservoir: Dip a clean, lint-free cloth into the soapy solution and gently wipe the interior walls of the reservoir. Pay attention to any visible stains, mineral deposits, or bacterial growth. Use a soft-bristle brush or a toothpick/cotton swab for hard-to-reach areas.
- Rinse the reservoir: After cleaning, rinse the reservoir thoroughly with clean, fresh water. Ensure that all traces of soap or residue are removed.
- Dry the reservoir: Use a clean, dry cloth to wipe the interior of the reservoir and remove any excess moisture. Allow the reservoir to air dry completely before reassembling the dispenser.
Properly cleaning the reservoir is essential for maintaining the cleanliness and functionality of your water dispenser. Regularly removing any impurities or deposits will ensure that the water dispensed remains fresh, pure, and safe for consumption.
Once you have completed cleaning the reservoir, you can move on to the next step – cleaning the drip tray.
To clean a PUR water dispenser, first, unplug it and remove the filter. Wash the reservoir and lid with warm, soapy water. Use a brush to clean the inside of the dispenser. Rinse thoroughly and let it air dry before reassembling.
Step 4: Clean the Drip Tray
The drip tray of your Pur water dispenser is responsible for collecting any spilled or overflowed water, preventing it from reaching your countertop or the floor. Cleaning the drip tray is crucial to maintain hygiene and prevent any potential buildup of bacteria or residue.
Follow these steps to effectively clean the drip tray of your water dispenser:
- Remove the drip tray: Most drip trays can be easily removed by sliding or lifting them out of the dispenser. Check your dispenser’s manual or instructions to determine the proper method for removing the drip tray.
- Empty the drip tray: Carefully empty any accumulated water or debris from the drip tray into a sink or appropriate disposal area.
- Prepare a cleaning solution: Fill a basin or bucket with warm water and add a small amount of mild dish soap. Stir the solution to create a soapy mixture.
- Clean the drip tray: Dip a clean, lint-free cloth or sponge into the soapy solution and wipe down the drip tray thoroughly. Pay attention to any stains or residue on the surface. For stubborn stains, use a soft-bristle brush or a toothpick/cotton swab to gently scrub the area.
- Rinse the drip tray: Once you have cleaned the drip tray, rinse it with clean water to remove any soap or residue. Make sure to thoroughly rinse away all traces of soap.
- Dry the drip tray: Use a clean, dry cloth to wipe the drip tray and remove any excess moisture. Allow the drip tray to air dry completely before reassembling it back into the water dispenser.
Regularly cleaning the drip tray will prevent any unpleasant odors, mold growth, or bacterial contamination. It will also ensure that the water dispenser remains clean and hygienic for everyday use.
Once you have finished cleaning the drip tray, you can move on to the next step – cleaning the exterior of the water dispenser.
Step 5: Clean the Exterior
Keeping the exterior of your Pur water dispenser clean is just as important as cleaning the interior components. Regular cleaning of the exterior not only enhances the overall appearance but also eliminates dust, dirt, and other debris that may accumulate on the surface over time.
Follow these steps to effectively clean the exterior of your water dispenser:
- Prepare a cleaning solution: Fill a bucket or basin with warm water and add a small amount of mild dish soap. Stir the solution to create a soapy mixture.
- Dampen a clean cloth: Dip a clean cloth into the soapy solution and wring out any excess liquid. The cloth should be damp but not dripping.
- Wipe down the exterior: Gently wipe down the exterior surfaces of the water dispenser with the damp cloth. Pay attention to any stains or visible dirt. For stubborn stains, you may need to use a soft-bristle brush or a toothbrush to scrub the area.
- Dry the exterior: Use a dry, lint-free cloth to thoroughly dry the exterior surfaces of the water dispenser. This will prevent water spots or streaks from forming.
- Shine the surfaces (optional): If you want to give your water dispenser a polished look, you can use a separate clean cloth with a small amount of vinegar or glass cleaner to wipe down the exterior surfaces. This will leave them shiny and free of streaks.
Remember to take extra care when cleaning any electronic components or displays on the water dispenser. Use a slightly damp cloth to wipe these areas, and avoid applying excessive moisture.
Regularly cleaning the exterior of your water dispenser not only maintains its aesthetic appeal but also ensures that it is free from dust and dirt that can affect its overall performance and longevity.
Now that you have successfully cleaned the exterior of the water dispenser, you can proceed to the next step – reassembling the dispenser.
Step 6: Reassemble the Water Dispenser
After thoroughly cleaning the interior and exterior components of your Pur water dispenser, it’s time to reassemble the unit. Proper reassembly ensures that all parts are securely in place and the dispenser functions optimally. Follow these steps to reassemble your water dispenser:
- Ensure all parts are dry: Before reassembling, make sure that all the cleaned parts, including the reservoir, drip tray, and exterior surfaces, are completely dry. This helps prevent any moisture-related issues, such as mold or rust.
- Place the reservoir back in position: Carefully position the dried reservoir back into its designated spot inside the dispenser. Make sure it fits snugly and securely.
- Reinsert the drip tray: Slide or place the clean drip tray back into its original position beneath the spout. Ensure that it is properly aligned and sits level.
- Check other removable parts: If there are any other removable parts, such as covers or panels, ensure that they are clean and in good condition before attaching them back onto the dispenser.
- Tighten or secure any fasteners: If there are any clips, locks, or fasteners that were previously removed, secure them back into place according to the manufacturer’s instructions. This helps to keep all parts in position and prevent any issues during use.
- Inspect the power cord: Ensure that the power cord is undamaged and securely connected to the dispenser. Check for any signs of wear or fraying, and if necessary, replace the cord or seek professional assistance.
By following these steps, you can ensure that all the components of your water dispenser are properly reassembled, minimizing the risk of any leaks, malfunctions, or safety issues.
Once you have successfully reassembled the water dispenser, it is time to move on to the final step – plugging in and testing the dispenser.
Read more: How To Clean Samsung Water Dispenser
Step 7: Plug in and Test the Dispenser
After reassembling your Pur water dispenser, the final step is to plug it back into the power source and test its functionality. This step ensures that everything is in working order before you start using the dispenser again.
- Position the water dispenser: Place the reassembled water dispenser in its designated location, ensuring that it is on a stable and level surface.
- Plug in the power cord: Connect the power cord to a suitable electrical outlet. Make sure the cord is fully inserted and secured in place.
- Turn on the dispenser: Depending on your specific model, locate the power switch or button and turn the dispenser on. Some dispensers may have a built-in delay before the water starts flowing.
- Check for proper operation: Once the dispenser is turned on, observe its operation. Listen for any unusual noises, such as buzzing or grinding sounds. Ensure that the water flows smoothly from the spout and that all other features, such as temperature control or filtration, are functioning as expected.
- Let the water run: Allow the water to run for a few minutes to flush out any air bubbles or residual cleaning solution that may still be present in the system. This ensures that you have fresh, clean water ready for consumption.
- Verify water quality: Take a moment to taste the water and check for any unusual tastes or odors. If you notice any issues with the water quality, repeat the cleaning process or consult the manufacturer for further assistance.
- Regularly maintain and clean: Remember to regularly maintain and clean your Pur water dispenser according to the manufacturer’s recommendations. This will help ensure the longevity of the dispenser and the quality of the water it dispenses.
By plugging in and testing the dispenser, you confirm that it is in proper working condition and ready to provide clean, refreshing water whenever needed. Regularly monitoring and maintaining your water dispenser will keep it in optimal condition and ensure a continuous supply of clean drinking water.
With these steps completed, you have successfully cleaned and reassembled your Pur water dispenser. Enjoy the convenience and peace of mind that comes with a clean and well-maintained water dispenser!
Remember, it is essential to refer to the owner’s manual or any specific instructions provided by the manufacturer for your Pur water dispenser model. Different models may have variations in the cleaning and reassembly process.
Conclusion
Cleaning your Pur water dispenser is an important task that ensures the longevity, performance, and cleanliness of the unit. Regular maintenance and cleaning help eliminate impurities, bacteria, and mineral deposits that can affect the quality of the water it dispenses. By following the step-by-step process outlined in this article, you can effectively clean and maintain your water dispenser.
Remember to prioritize safety by unplugging the dispenser and taking necessary precautions before beginning the cleaning process. Gather all the necessary supplies and follow the specific instructions provided by the manufacturer for your model of the Pur water dispenser.
Starting with unplugging the dispenser, removing the water bottle, and emptying and cleaning the reservoir, each step is essential to ensure a thorough cleaning. Cleaning the drip tray, the exterior of the dispenser, and reassembling the unit completes the process, preparing it for use again. Finally, testing the dispenser and verifying the quality of the water ensures a successful cleaning outcome.
Regularly cleaning and maintaining your Pur water dispenser not only ensures the health and safety of everyone who uses it but also helps to prolong its lifespan. By keeping your dispenser clean, you can enjoy fresh and pure water for drinking, cooking, and other daily needs.
Always refer to the owner’s manual or specific instructions provided by the manufacturer for your Pur water dispenser model to ensure that you are following the recommended cleaning processes and using appropriate supplies.
Investing the time and effort into properly cleaning your Pur water dispenser will pay off in the long run, providing you with a reliable source of clean and refreshing water for years to come.
Frequently Asked Questions about How To Clean Pur Water Dispenser
Was this page helpful?
At Storables.com, we guarantee accurate and reliable information. Our content, validated by Expert Board Contributors, is crafted following stringent Editorial Policies. We're committed to providing you with well-researched, expert-backed insights for all your informational needs.


0 thoughts on “How To Clean Pur Water Dispenser”