
Articles
How To Clean Brio Water Dispenser
Modified: August 25, 2024
Learn effective ways to clean your Brio water dispenser with our informative articles. Keep your dispenser germ-free and well-maintained for pure and refreshing water.
(Many of the links in this article redirect to a specific reviewed product. Your purchase of these products through affiliate links helps to generate commission for Storables.com, at no extra cost. Learn more)
Introduction
Welcome to our comprehensive guide on how to clean a Brio water dispenser. Having a water dispenser at home or in the office is a convenient way to stay hydrated and have access to clean drinking water. However, it is crucial to regularly clean and maintain your water dispenser to ensure optimal performance and prevent the buildup of bacteria and mineral deposits.
In this article, we will take you through a step-by-step process, highlighting the necessary safety precautions, tools and materials required, and the various cleaning steps involved in keeping your Brio water dispenser in pristine condition. By following these instructions, you can ensure that your water is fresh, clean, and safe to consume.
So, let’s dive in and learn how to effectively clean your Brio water dispenser!
Key Takeaways:
- Regularly cleaning your Brio water dispenser with mild solutions like vinegar and dish soap ensures safe, refreshing, and odor-free drinking water for you and your family or colleagues.
- Prioritizing safety, proper tools, and step-by-step cleaning instructions help maintain optimal hygiene and performance of your Brio water dispenser, ensuring a convenient and reliable source of clean drinking water.
Read more: How To Set Up Brio Water Dispenser
Safety Precautions
Before you begin the cleaning process, it’s important to take certain safety precautions to ensure your well-being. Follow these guidelines to minimize any potential risks:
- Unplug the dispenser: Before you start cleaning, make sure to unplug the water dispenser from the power source. This will prevent any electrical accidents during the cleaning process.
- Wear protective gloves: To protect your hands from any potentially harmful chemicals or bacteria, it’s advisable to wear a pair of disposable gloves while cleaning the water dispenser.
- Read the manufacturer’s instructions: Familiarize yourself with the specific instructions provided by the manufacturer for cleaning and maintenance. This will ensure you follow any specific guidelines and recommendations they have provided for your Brio water dispenser.
- Use gentle cleaning solutions: Avoid using harsh chemicals, bleach, or abrasive cleaners when cleaning your water dispenser. Opt for mild, non-toxic cleaning solutions that are safe for food contact surfaces. This will prevent any chemical residue from contaminating the water and affecting its taste and quality.
- Allow proper ventilation: Ensure that the area where you are cleaning the water dispenser is well-ventilated. This will help dissipate any odors or fumes from the cleaning products and create a pleasant environment for the cleaning process.
- Follow recommended cleaning frequencies: Refer to the manufacturer’s guidelines or user manual to determine the recommended frequency for cleaning your Brio water dispenser. Regular cleaning intervals will help maintain its functionality and prevent the buildup of bacteria or impurities.
By following these safety precautions, you can ensure a safe and effective cleaning process for your Brio water dispenser. Now, let’s move on to the tools and materials you will need for cleaning.
Tools and Materials Required
Before you begin cleaning your Brio water dispenser, gather the following tools and materials to ensure a thorough and efficient cleaning process:
- Clean, lint-free cloth: You will need a soft, lint-free cloth to wipe down and dry the exterior of the water dispenser.
- Warm water: Warm water will be used for rinsing and cleaning various parts of the dispenser.
- Mild dish soap: Choose a gentle dish soap that is free of harsh chemicals and fragrances. This will be used to clean the removable parts of the water dispenser.
- Vinegar: White vinegar is an effective natural cleaning agent that helps remove mineral deposits and kill bacteria. It will be used in the cleaning solution for disinfecting the water dispenser.
- Toothbrush or small brush: A toothbrush or a small cleaning brush will be handy for scrubbing hard-to-reach corners, crevices, and small parts of the dispenser.
- Cotton swabs: Cotton swabs can be used to clean the dispensing nozzle and other narrow areas that are difficult to reach with a cloth or brush.
- Bucket or basin: Use a bucket or basin to hold the cleaning solution and warm water while cleaning the various components of the water dispenser.
- Towel or drying rack: After cleaning, you will need a towel or a drying rack to air-dry the parts of the water dispenser before reassembly.
Having these tools and materials ready will make the cleaning process smoother and more efficient. Now that you have everything you need, let’s proceed to the step-by-step cleaning instructions for your Brio water dispenser!
Step 1: Unplug the Water Dispenser
To ensure your safety during the cleaning process, the first step is to unplug the water dispenser from the power source. This will prevent any potential electrical accidents or damage while handling water and cleaning solutions.
Locate the power cord at the back or bottom of the water dispenser and disconnect it from the wall outlet. Make sure to handle the cord carefully and avoid any tugging or pulling that could damage the wiring or connectors.
Once the water dispenser is unplugged, you can proceed to the next steps of the cleaning process with peace of mind, knowing that there is no risk of electric shock or short circuits.
Keep the water dispenser unplugged throughout the entire cleaning process until you have fully reassembled it and are ready to use it again. This will ensure that the internal parts and electrical components are not affected by moisture or cleaning solutions.
With the water dispenser safely unplugged, you can move on to the next step, which involves removing the water bottle. This will allow for easier access to the different parts that need to be cleaned.
Note: Always exercise caution when handling electrical appliances and ensure they are properly disconnected from power sources before performing any maintenance or cleaning tasks.
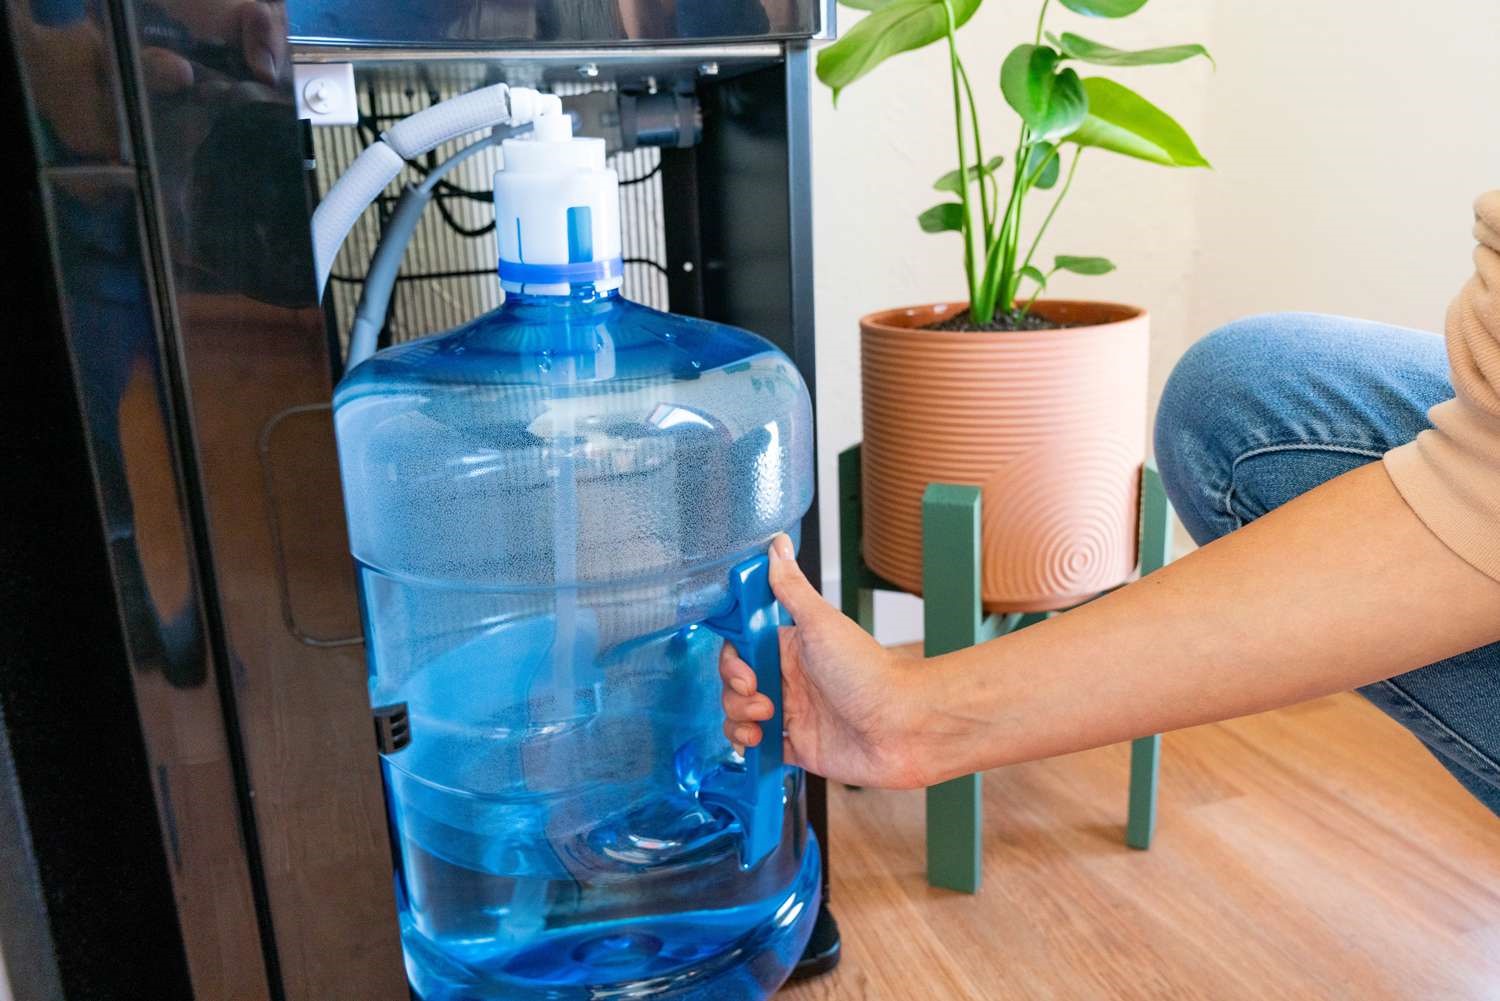
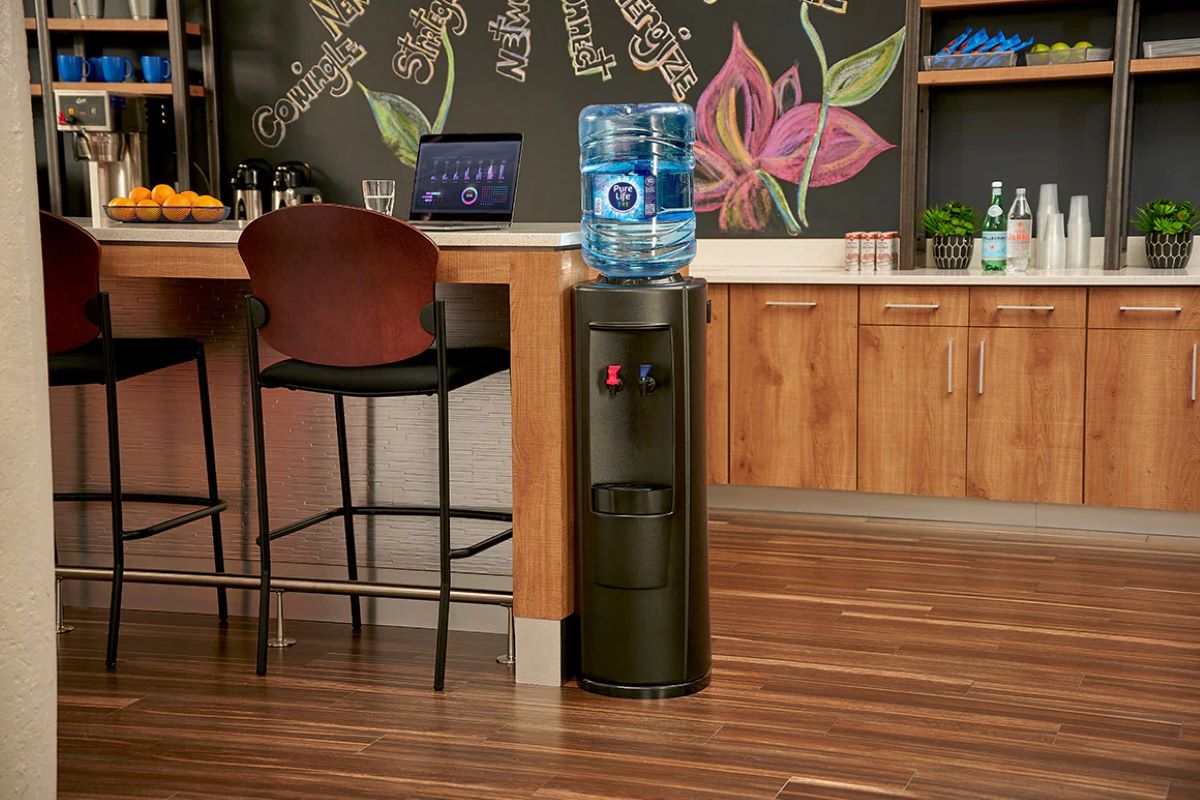
Step 2: Remove the Water Bottle
Now that the water dispenser is unplugged, it’s time to remove the water bottle. This step will give you better access to the different components that require cleaning.
Start by carefully lifting the water bottle off the top of the dispenser. Depending on the model of your Brio water dispenser, the water bottle may either be positioned on top of the unit or inserted into a designated slot.
If the water bottle is sealed with a cap or lid, remove it before lifting the bottle. Be cautious as some bottles can be heavy, especially if they are filled with water.
Place the water bottle aside in a clean and safe location, where it will not be in the way during the cleaning process.
By removing the water bottle, you can easily access the various parts of the water dispenser that need cleaning, such as the water reservoir, drip tray, and dispensing nozzle. This will allow you to thoroughly clean these areas and ensure the removal of any accumulation of dirt, bacteria, or mineral deposits.
With the water bottle safely removed, you are ready to move on to the next step, which involves emptying and rinsing the water reservoir. This step is crucial to eliminate any stagnant water or impurities that may have accumulated over time.
Read more: How To Clean A Vitapur Water Dispenser
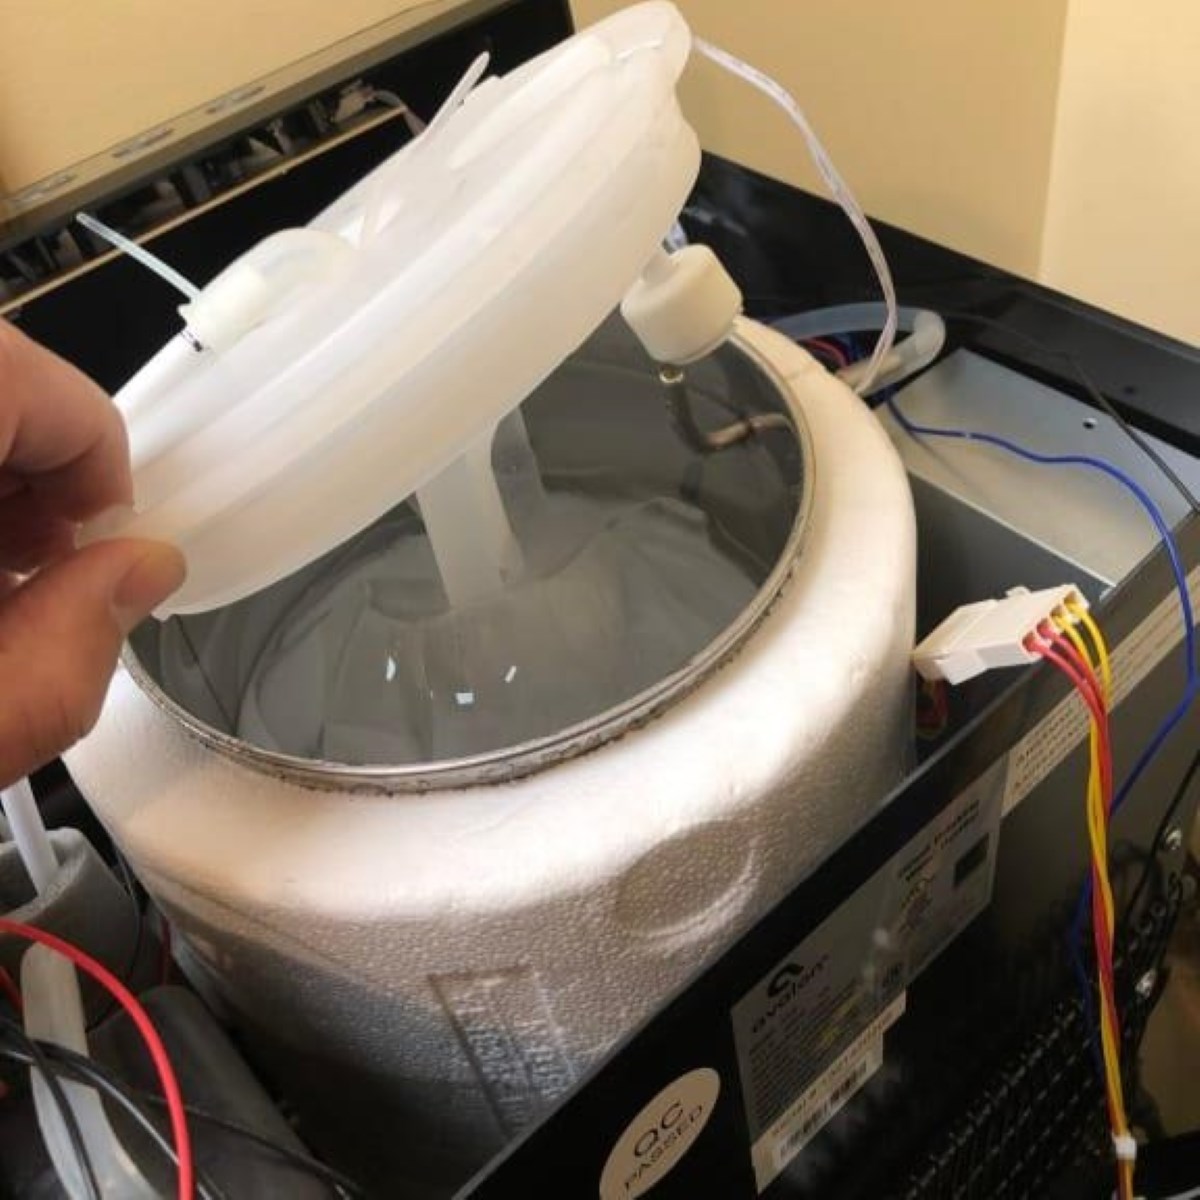
Step 3: Empty and Rinse the Water Reservoir
Now that the water bottle has been removed, it’s time to empty and rinse the water reservoir of your Brio water dispenser. This step is essential to remove any remaining water and potential impurities or residue that may have accumulated.
Follow these steps to empty and rinse the water reservoir:
- Open the drain valve (if applicable): Some Brio water dispensers are equipped with a drain valve located at the bottom. If your dispenser has one, open the valve to allow any remaining water to drain out. Use a bucket or basin to catch the water.
- If there is no drain valve: In cases where your water dispenser does not have a drain valve, carefully tilt the dispenser over a sink or a container to pour out the remaining water. Ensure that you support the dispenser securely to prevent any accidents or damage.
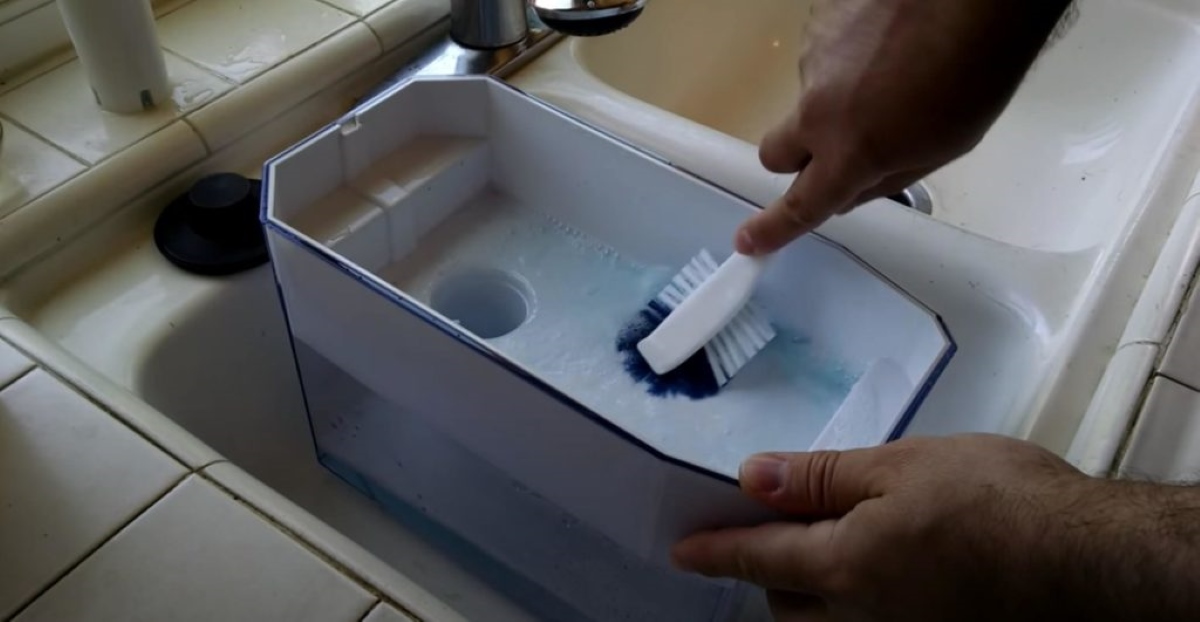
- Rinse with warm water: After emptying the water reservoir, rinse it with warm water to remove any residual debris or contaminants. Use a clean cloth, sponge, or gentle brush to wipe down the interior surfaces of the reservoir to ensure a thorough cleaning.
- Pay attention to the spigot area: The spigot or faucet area of the water dispenser is prone to build-up or mold growth. Use a toothbrush or cotton swab dipped in warm, soapy water to scrub this area gently. Ensure you clean all the nooks and crevices to remove any accumulations.
- Rinse again: Once you have wiped down the reservoir, rinse it again with warm water to ensure that all cleaning residue has been removed. This will help maintain the integrity and taste of the water dispensed from your Brio dispenser.
By emptying and rinsing the water reservoir, you are effectively removing any stagnant water, impurities, or residue that may affect the taste and quality of the water. This step is a crucial part of the cleaning process, ensuring that your water dispenser is ready to provide clean and fresh water.
With the water reservoir thoroughly rinsed, you can now proceed to the next step, which involves cleaning the drip tray and dispensing nozzle.
To clean a Brio water dispenser, mix equal parts water and white vinegar, then run the solution through the system. Follow up with a few cycles of clean water to rinse. Wipe down the exterior with a damp cloth.
Step 4: Clean the Drip Tray and Dispensing Nozzle
Now that the water reservoir is clean, it’s time to focus on cleaning the drip tray and dispensing nozzle of your Brio water dispenser. These components are susceptible to accumulating dirt, grime, and bacteria, so regular cleaning is essential to maintain optimal hygiene.
- Remove the drip tray: Most Brio water dispensers have a removable drip tray located below the dispensing nozzle. Carefully detach the drip tray from the dispenser. If there is any excess water in the tray, empty it into a sink or basin.
- Wash the drip tray: Take the drip tray to a sink or basin and give it a thorough wash with warm soapy water. Use a sponge, cloth, or brush to scrub off any built-up residue or stains. Rinse the tray with warm water and set it aside to dry.
- Clean the dispensing nozzle: The dispensing nozzle of your Brio water dispenser can accumulate dirt and minerals over time. Use a toothbrush or a cotton swab dipped in warm soapy water to clean the nozzle. Gently scrub the nozzle to remove any debris and deposits.
- Use vinegar for stubborn deposits: If there are stubborn mineral deposits on the dispensing nozzle, you can use white vinegar to break them down. Dip a toothbrush or cotton swab in vinegar and scrub the affected area. Rinse thoroughly with warm water afterward to remove any vinegar residue.
- Dry the components: Once you have finished cleaning the drip tray and dispensing nozzle, make sure to dry them thoroughly before reassembling them back into the water dispenser. Use a clean towel or allow them to air dry on a drying rack.
By cleaning the drip tray and dispensing nozzle, you are maintaining proper hygiene and preventing the accumulation of bacteria or impurities in these areas. Clean and well-maintained components will contribute to the overall longevity and performance of your Brio water dispenser.
With the drip tray and dispensing nozzle cleaned, you are now ready to move on to the next step, which involves cleaning the water bottle itself.
Step 5: Clean the Water Bottle
Cleaning the water bottle is an important step in maintaining the cleanliness and quality of your Brio water dispenser. Over time, the water bottle can accumulate residue, bacteria, and unpleasant odors, so regular cleaning is necessary to ensure clean and fresh-tasting water.
- Empty the water bottle: Begin by emptying any remaining water from the water bottle. Pour out the water into a sink or basin.
- Wash with warm, soapy water: Fill the sink or basin with warm water and add a few drops of mild dish soap. Submerge the water bottle in the soapy water and use a bottle brush or sponge to clean the interior and exterior surfaces.
- Pay attention to the cap/lid: Remove the cap or lid of the water bottle and clean it separately. Scrub the cap/lid with a brush or sponge to remove any residue or odor-causing bacteria.
- Rinse thoroughly: After washing, thoroughly rinse the water bottle with clean water to remove any soap residue. Make sure to rinse the cap/lid as well.
- Sanitize with vinegar: To sanitize the water bottle, prepare a mixture of equal parts water and white vinegar. Fill the water bottle with the vinegar solution and let it sit for about 10-15 minutes. The vinegar will help kill any remaining bacteria or odors. Afterward, rinse the water bottle with clean water to remove the vinegar smell.
- Air dry: Place the water bottle upside down on a drying rack or clean towel to air dry completely. Make sure it is completely dry before reassembling it with the water dispenser.
By regularly cleaning the water bottle, you ensure that your Brio water dispenser continues to dispense clean, fresh, and odor-free water. Remember to clean the water bottle periodically, ideally every few weeks, to maintain optimal hygiene.
With the water bottle cleaned and dried, you are now ready to move on to the next step, which involves sanitizing the water dispenser as a whole.
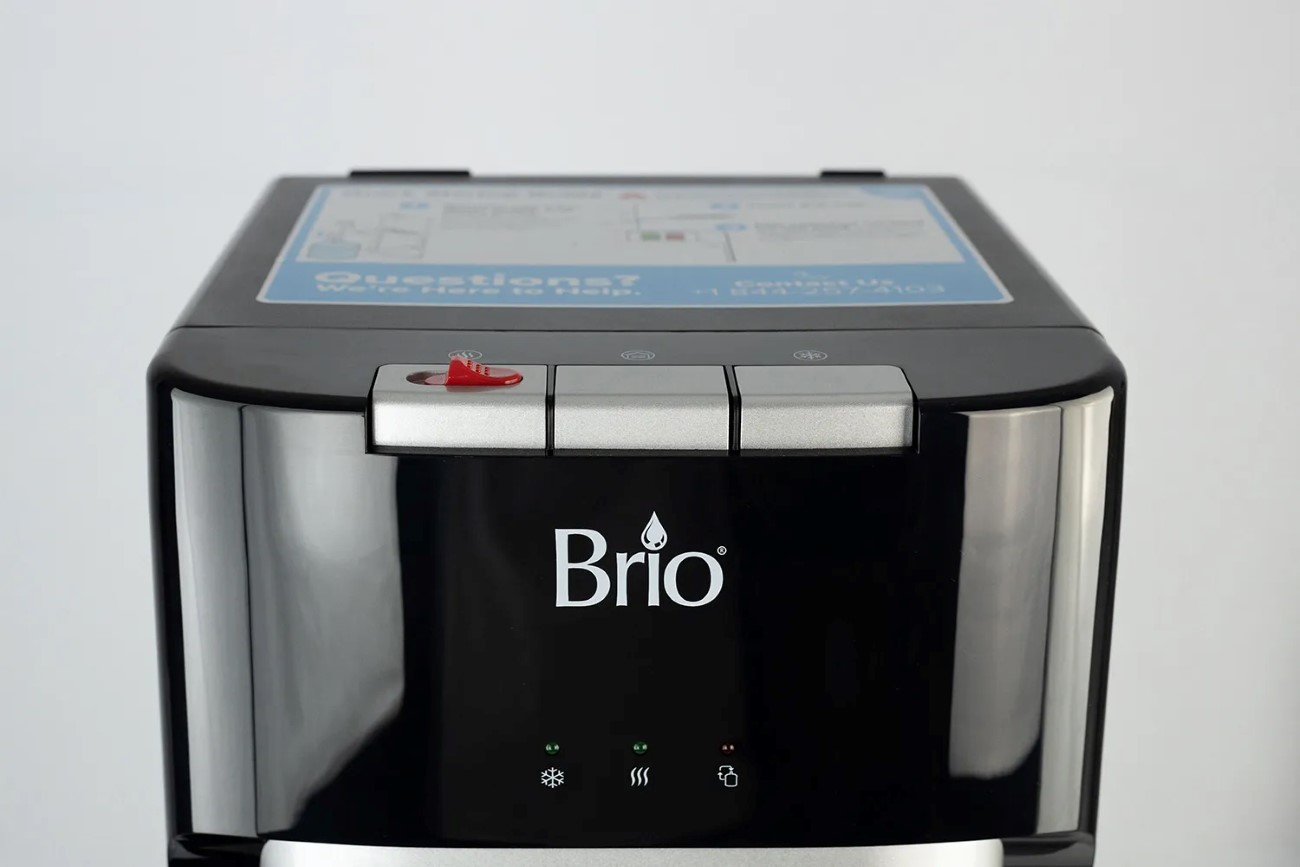
Step 6: Sanitize the Water Dispenser
Sanitizing your Brio water dispenser is a crucial step to eliminate any remaining bacteria, germs, or odors that may have developed over time. This step ensures that the water dispensed from your appliance is clean, safe, and free from any contaminants that could affect its quality.
- Prepare a sanitizing solution: Mix a solution of 1 part white vinegar to 3 parts water in a bucket or basin. This solution will act as a natural sanitizer to disinfect the water dispenser.
- Wipe down the exterior surfaces: Dip a clean cloth or sponge into the sanitizing solution and thoroughly wipe down the exterior surfaces of the water dispenser, including the sides, top, and front panel. Pay close attention to areas that are frequently touched, such as buttons or levers.
- Soak removable parts: If there are any removable parts, such as the drip tray or dispensing nozzle, soak them in the sanitizing solution for approximately 10-15 minutes. This will help eliminate any bacteria or residue that may have collected on these components.
- Sanitize the water reservoir: Pour the sanitizing solution into the water reservoir of your Brio water dispenser. Let it sit for about 10-15 minutes to allow the vinegar to effectively kill any bacteria or germs.
- Flush with clean water: After the sanitizing solution has had time to work, drain the solution from the water reservoir. Rinse the reservoir thoroughly with clean water, ensuring that all traces of the vinegar solution are removed.
- Allow to dry: After rinsing, allow the water dispenser and its components to air dry completely. This will help prevent any moisture buildup that could lead to the growth of mold or mildew.
By regularly sanitizing your water dispenser, you maintain a clean and safe environment for the water to flow and prevent the growth of harmful bacteria. This step is essential for maintaining the overall hygiene and performance of your Brio water dispenser.
With the water dispenser thoroughly sanitized, you are ready for the final step, which involves reassembling and plugging in the appliance.
Read more: How To Clean Pur Water Dispenser
Step 7: Reassemble and Plug in the Water Dispenser
After completing the cleaning and sanitizing process, it’s time to reassemble your Brio water dispenser and get it ready for use.
- Ensure all components are dry: Before reassembling the water dispenser, make sure that all the cleaned components, including the water bottle, drip tray, and dispensing nozzle, are completely dry. This will prevent any moisture from causing mold or mildew growth.
- Place the water bottle: Carefully place the water bottle back onto the top of the dispenser. Make sure it is securely positioned and properly aligned.
- Reattach the drip tray: If you removed the drip tray during the cleaning process, slide it back into its designated slot below the dispensing nozzle. Ensure that it is properly aligned and snaps into place.
- Plug in the water dispenser: Once you have reassembled all the components, plug the water dispenser back into the power source. Ensure that the power cord is securely connected.
- Allow the dispenser to cool down: After plugging in the water dispenser, give it a few minutes to cool down before using. This allows the appliance to reach the optimal temperature for dispensing water.
- Test the dispenser: To ensure that everything is working properly, test the water dispenser by pushing the dispensing lever or button. Check for any leaks or irregularities in the water flow. If you notice any issues, double-check the assembly and consult the manufacturer’s instructions.
By reassembling and plugging in your Brio water dispenser, you are now ready to enjoy clean, fresh, and reliably dispensed water. Remember to follow the manufacturer’s instructions for recommended usage and maintenance to ensure the longevity and optimal performance of your water dispenser.
Congratulations! You have successfully cleaned, sanitized, and reassembled your Brio water dispenser. By following these steps regularly, you can maintain a clean and hygienic water dispenser that provides you with safe and refreshing drinking water.
As a final reminder, always prioritize safety during the cleaning process and refer to the manufacturer’s instructions for any specific recommendations or guidelines for your particular Brio water dispenser model.
Conclusion
Cleaning and maintaining your Brio water dispenser is essential for ensuring clean, refreshing, and safe drinking water. By following the step-by-step guide outlined in this article, you can effectively clean your water dispenser and prevent the buildup of bacteria, mineral deposits, and unpleasant odors.
We began by discussing the importance of safety precautions, such as unplugging the water dispenser and wearing protective gloves. These measures help protect you from potential electrical accidents and exposure to harmful cleaning agents.
We then outlined the tools and materials required for the cleaning process, including a clean cloth, warm water, mild dish soap, vinegar, and various brushes for scrubbing hard-to-reach areas. These tools will assist you in achieving a thorough and efficient cleaning process.
We walked you through each step of the cleaning process, including removing the water bottle, emptying and rinsing the water reservoir, cleaning the drip tray and dispensing nozzle, and sanitizing the water dispenser as a whole.
After completing the cleaning process, we guided you on reassembling the water dispenser and plugging it back in. It is important to ensure that all components are dry and properly aligned before use.
Regularly cleaning your Brio water dispenser not only maintains its performance but also ensures that you and your family or colleagues have access to clean and safe drinking water. You can enjoy the convenience and peace of mind that comes with a well-maintained water dispenser.
Remember, always refer to the manufacturer’s instructions for detailed cleaning recommendations specific to your Brio water dispenser model. Additionally, adopting good hygiene practices and a regular cleaning routine will help ensure that your water dispenser remains in optimal condition.
So, take the time to clean and maintain your Brio water dispenser regularly, and enjoy the benefits of refreshing, high-quality drinking water whenever you need it!
Frequently Asked Questions about How To Clean Brio Water Dispenser
Was this page helpful?
At Storables.com, we guarantee accurate and reliable information. Our content, validated by Expert Board Contributors, is crafted following stringent Editorial Policies. We're committed to providing you with well-researched, expert-backed insights for all your informational needs.


0 thoughts on “How To Clean Brio Water Dispenser”