Articles
How To Use Primo Water Dispenser
Modified: August 27, 2024
Looking for articles on how to use a Primo water dispenser? Discover step-by-step guides and helpful tips to master your water dispenser in no time.
(Many of the links in this article redirect to a specific reviewed product. Your purchase of these products through affiliate links helps to generate commission for Storables.com, at no extra cost. Learn more)
Introduction
Having a Primo water dispenser in your home or office can be a convenient and eco-friendly way to enjoy crisp, refreshing water at your fingertips. Whether you’re looking to hydrate, brew a cup of tea, or simply enjoy a glass of water, the Primo water dispenser is designed to provide you with instant access to clean, filtered water. In this article, we will guide you through the process of setting up, using, and maintaining your Primo water dispenser.
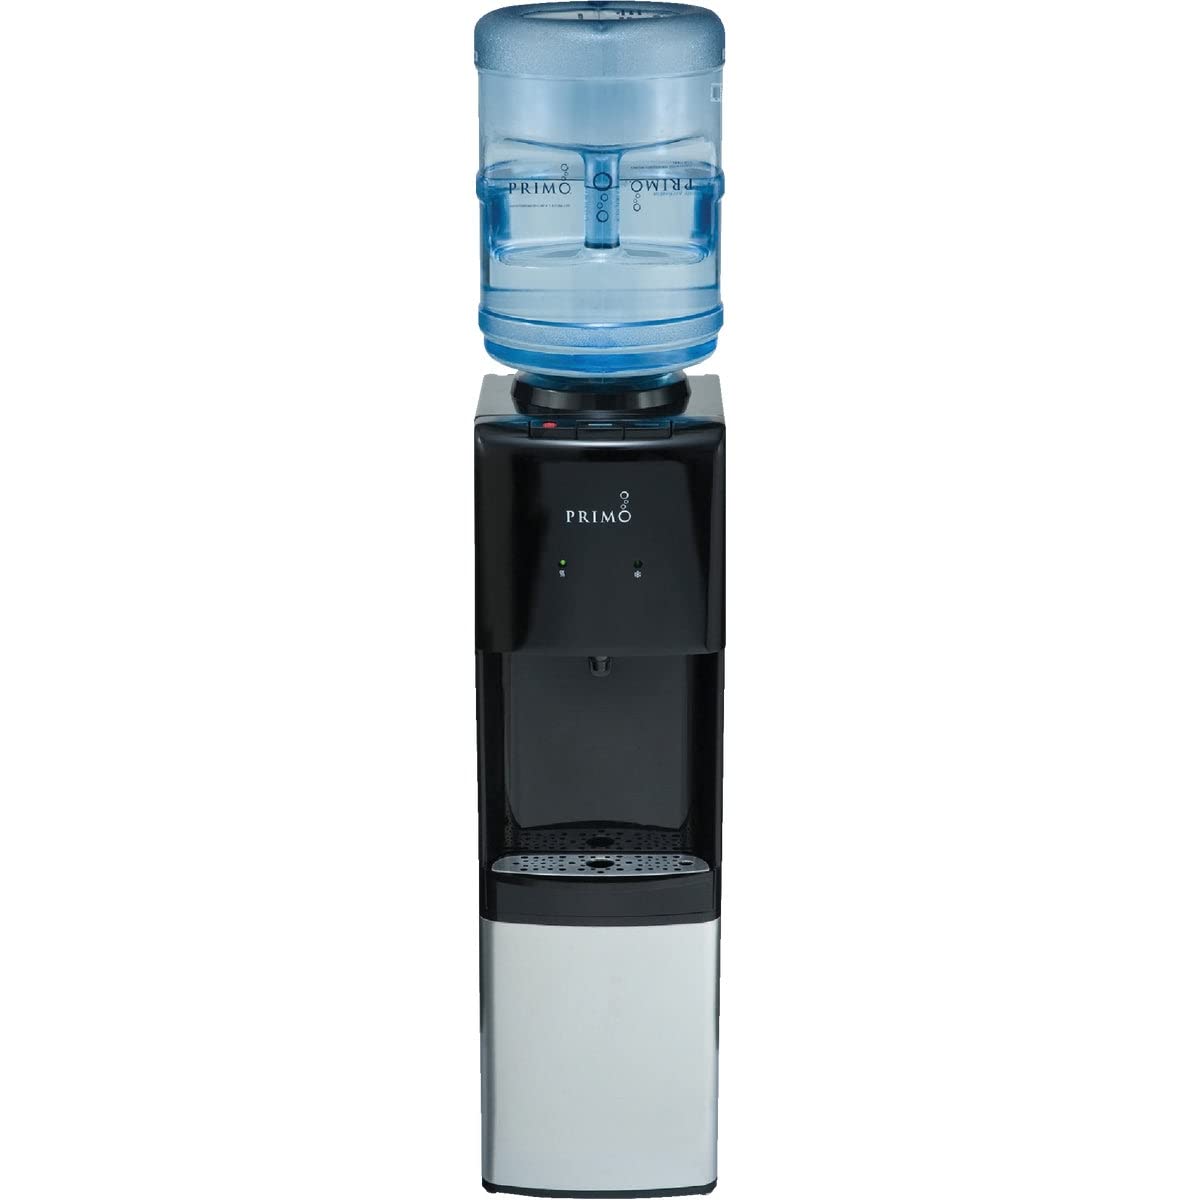
Before we dive into the details, it’s important to note that the Primo water dispenser comes in different models, including top-loading and bottom-loading options. The setup and usage may vary slightly depending on the model you have. However, the general steps and principles remain the same.
So, whether you’re a new owner of a Primo water dispenser or simply looking to brush up on your knowledge, let’s get started with the setup process.
Key Takeaways:
- Enjoy hassle-free access to clean, refreshing water with your Primo water dispenser by following simple setup, usage, and maintenance steps. Stay hydrated and eco-friendly with this convenient appliance.
- Troubleshoot common issues and maintain optimal performance of your Primo water dispenser with easy-to-follow guidelines. Access on-demand hydration and hot or cold water for a healthy, sustainable lifestyle.
Read more: How To Clean Out A Primo Water Dispenser
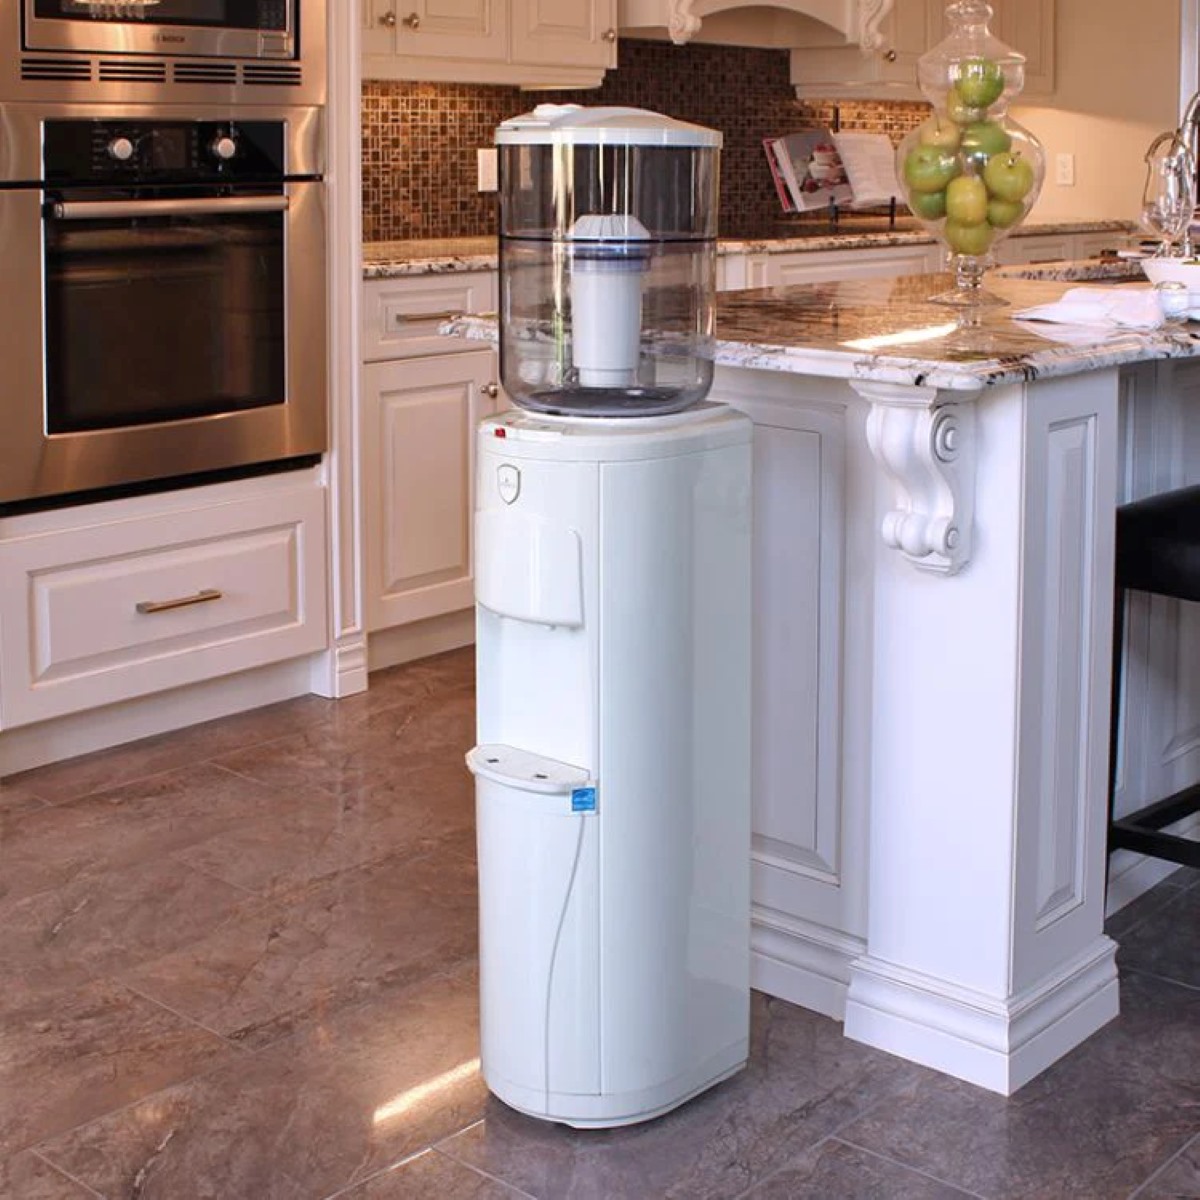
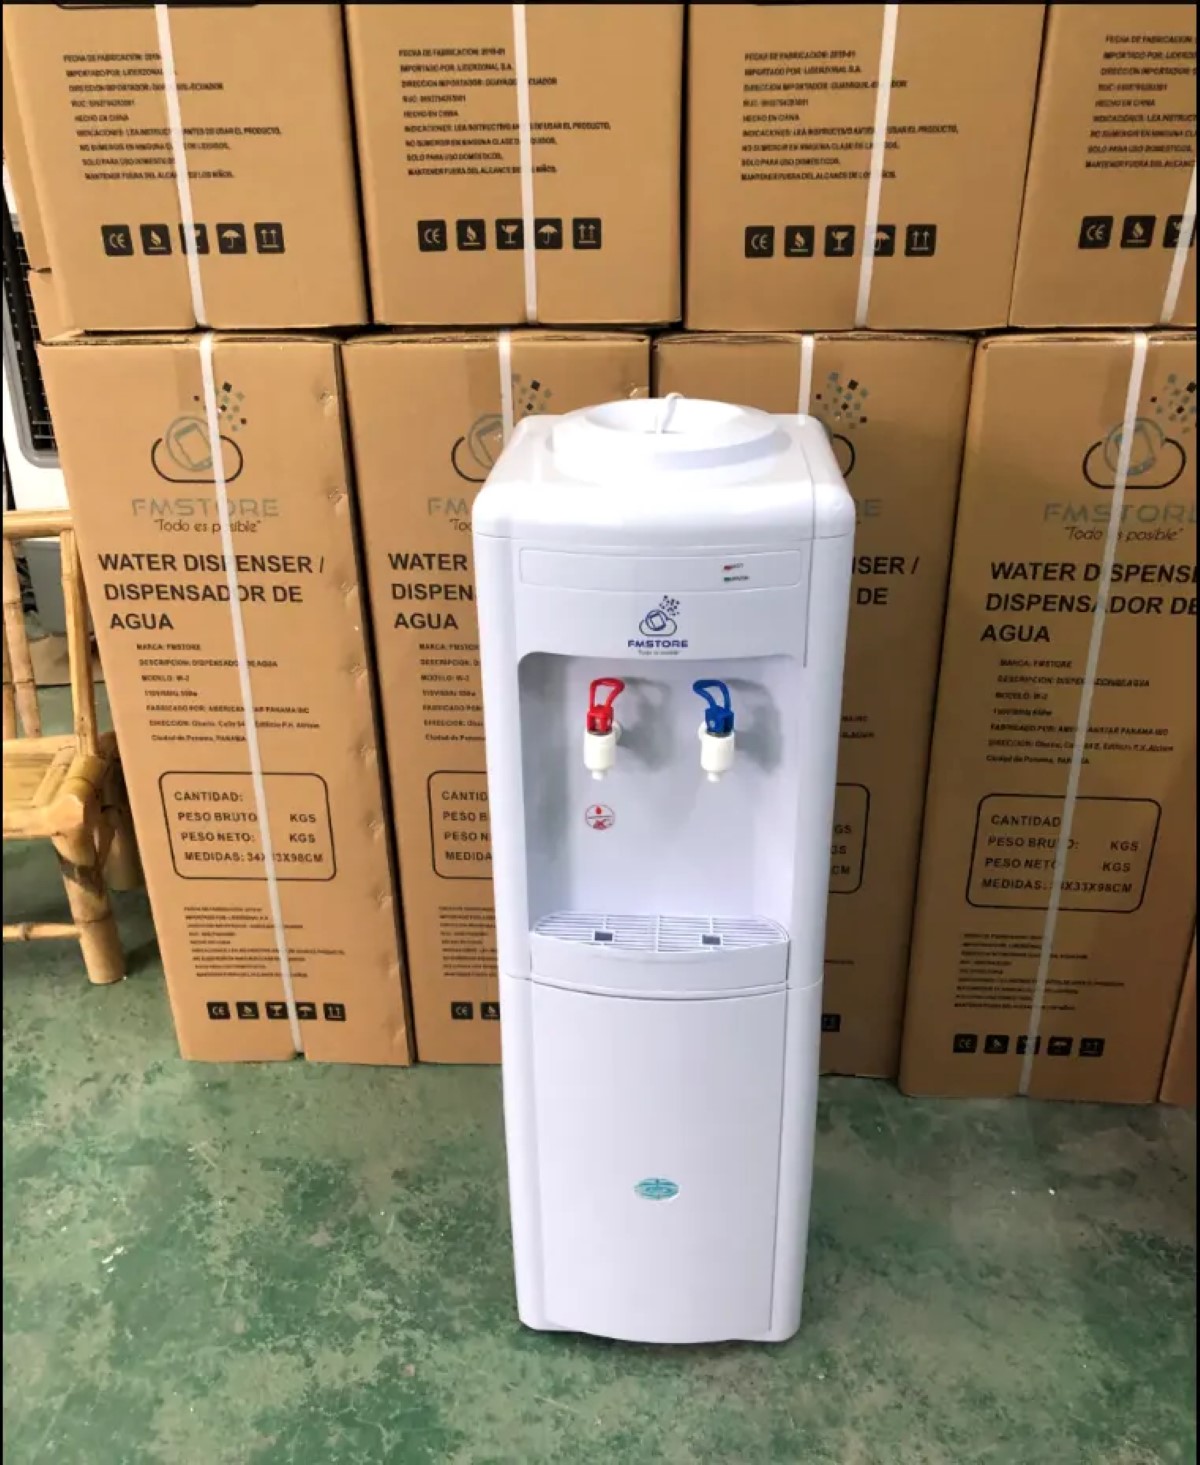
Step 1: Setting up the Primo Water Dispenser
Setting up your Primo water dispenser is a straightforward process. Here are the steps to follow:
- Choose a suitable location: Select a flat and stable surface for your water dispenser. Make sure it is near an electrical outlet and has enough clearance to accommodate the height of the water bottle.
- Unpack and inspect: Carefully unpack your Primo water dispenser and remove any packaging material. Inspect the unit for any visible damage or defects. If you notice any issues, contact Primo customer service for assistance.
- Clean the water dispenser: Before using your Primo water dispenser, it’s important to give it a thorough cleaning. Start by removing the water bottle and the drip tray. Wash the drip tray with warm, soapy water and dry it thoroughly. Wipe down the exterior and interior surfaces of the dispenser using a mild detergent and a soft cloth. Rinse off any residue and allow the dispenser to air dry.
- Install the drip tray: Once the dispenser is clean and dry, reattach the drip tray by sliding it into the designated slots. Ensure that it is securely in place.
- Connect the power cord: Locate the power cord on the back of the water dispenser and plug it into a nearby electrical outlet. Make sure the cord is properly connected and not damaged.
- Allow the unit to cool: After plugging in the dispenser, it’s recommended to wait at least 30 minutes for the unit to cool down before proceeding to the next step.
With these simple steps, your Primo water dispenser will be ready for use. Now let’s move on to loading the water bottle.
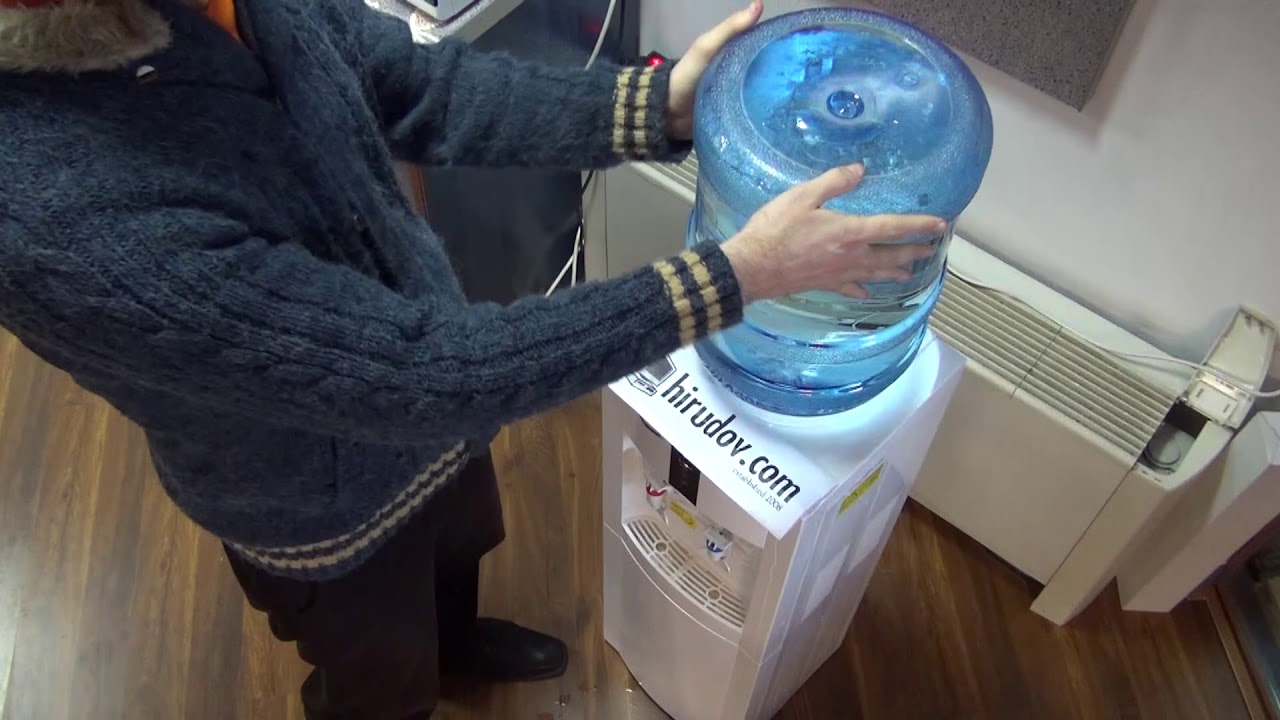
Step 2: Loading the Primo Water Bottle
Once you have set up your Primo water dispenser, the next step is to load the water bottle. Here’s how you can do it:
- Remove the cap: Start by removing the cap from the top of the Primo water bottle. Ensure that the seal on the bottle is intact and not tampered with.
- Position the bottle: Lift the water bottle and position it on top of the dispenser. For top-loading models, align the protruding collar on the bottle with the opening on the dispenser. For bottom-loading models, securely place the bottle in the designated slot or place according to the manufacturer’s instructions.
- Insert the probe: In top-loading models, there will be a probe attached to the dispenser. Insert the probe into the opening of the water bottle. Push it down firmly to ensure it is securely in place.
- Secure the bottle: If you have a bottom-loading model, follow the manufacturer’s instructions to securely attach the water bottle to the reservoir. This usually involves sliding the bottle into the designated tray or using a bottle holder mechanism.
- Check for leaks: Once the bottle is in place, inspect the area around the probe or the bottom of the bottle (for bottom-loading models) to ensure there are no leaks. If you notice any leaks, check if the probe is inserted correctly or if the bottle is securely attached. Tighten any loose connections if necessary.
With the water bottle loaded onto your Primo water dispenser, you are ready to start enjoying refreshing, filtered water. In the next step, we will guide you through the process of dispensing water from your Primo water dispenser.
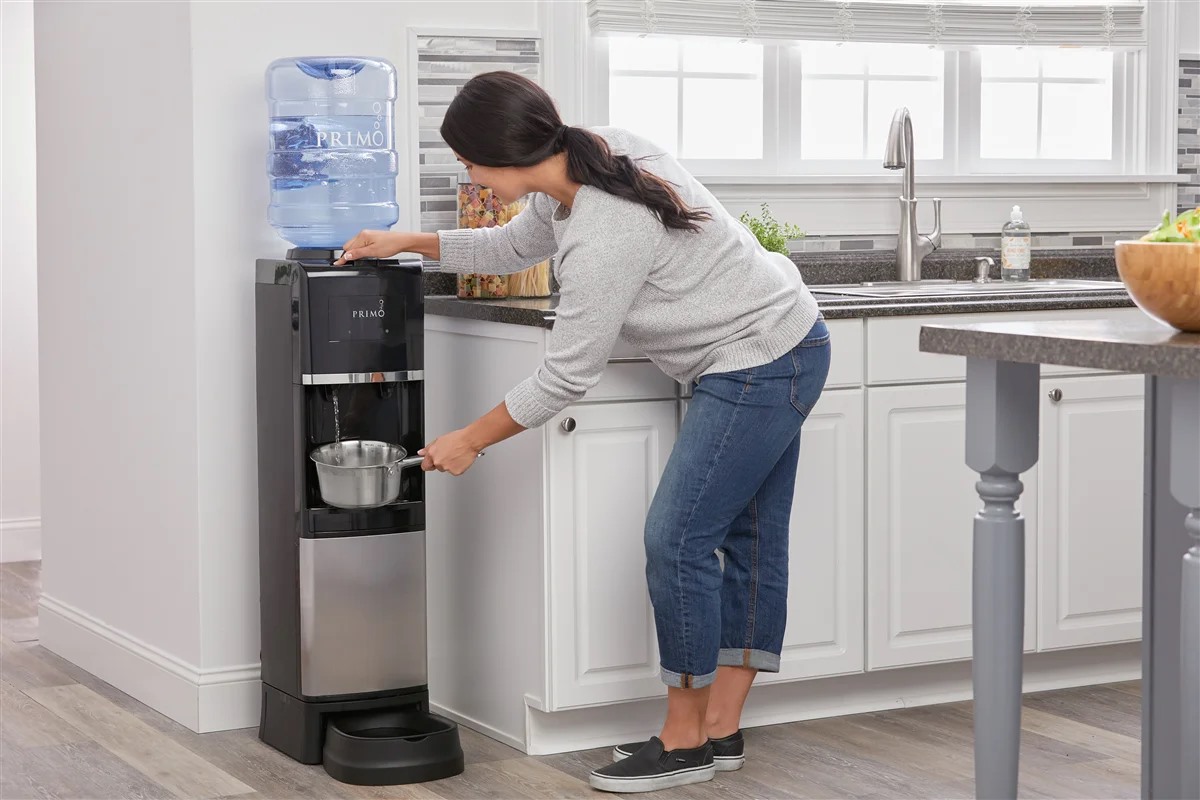
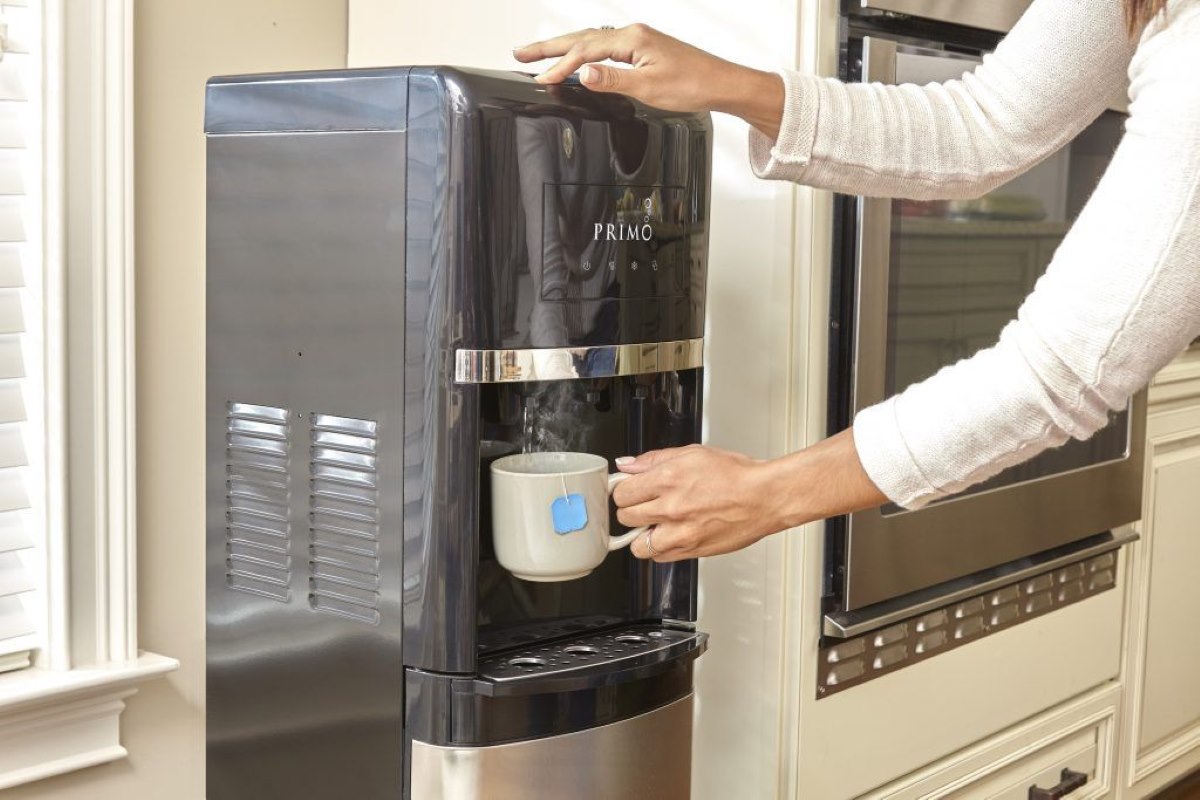
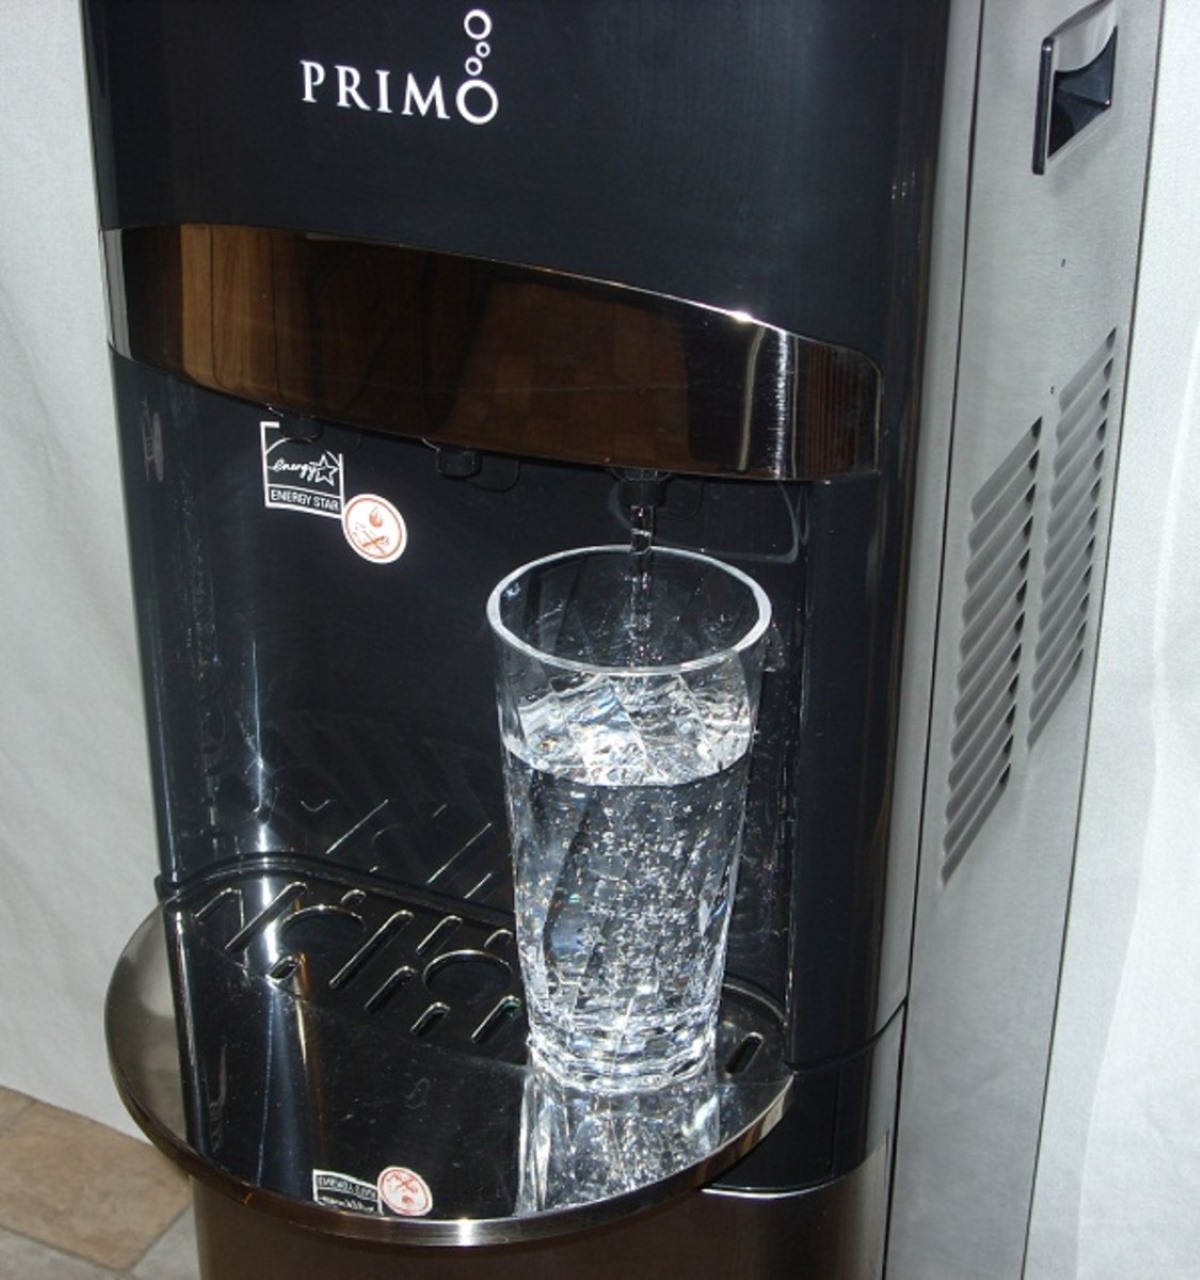
Step 3: Dispensing Water from the Primo Water Dispenser
Now that your Primo water bottle is loaded onto the dispenser, it’s time to learn how to conveniently dispense water. Follow the steps below:
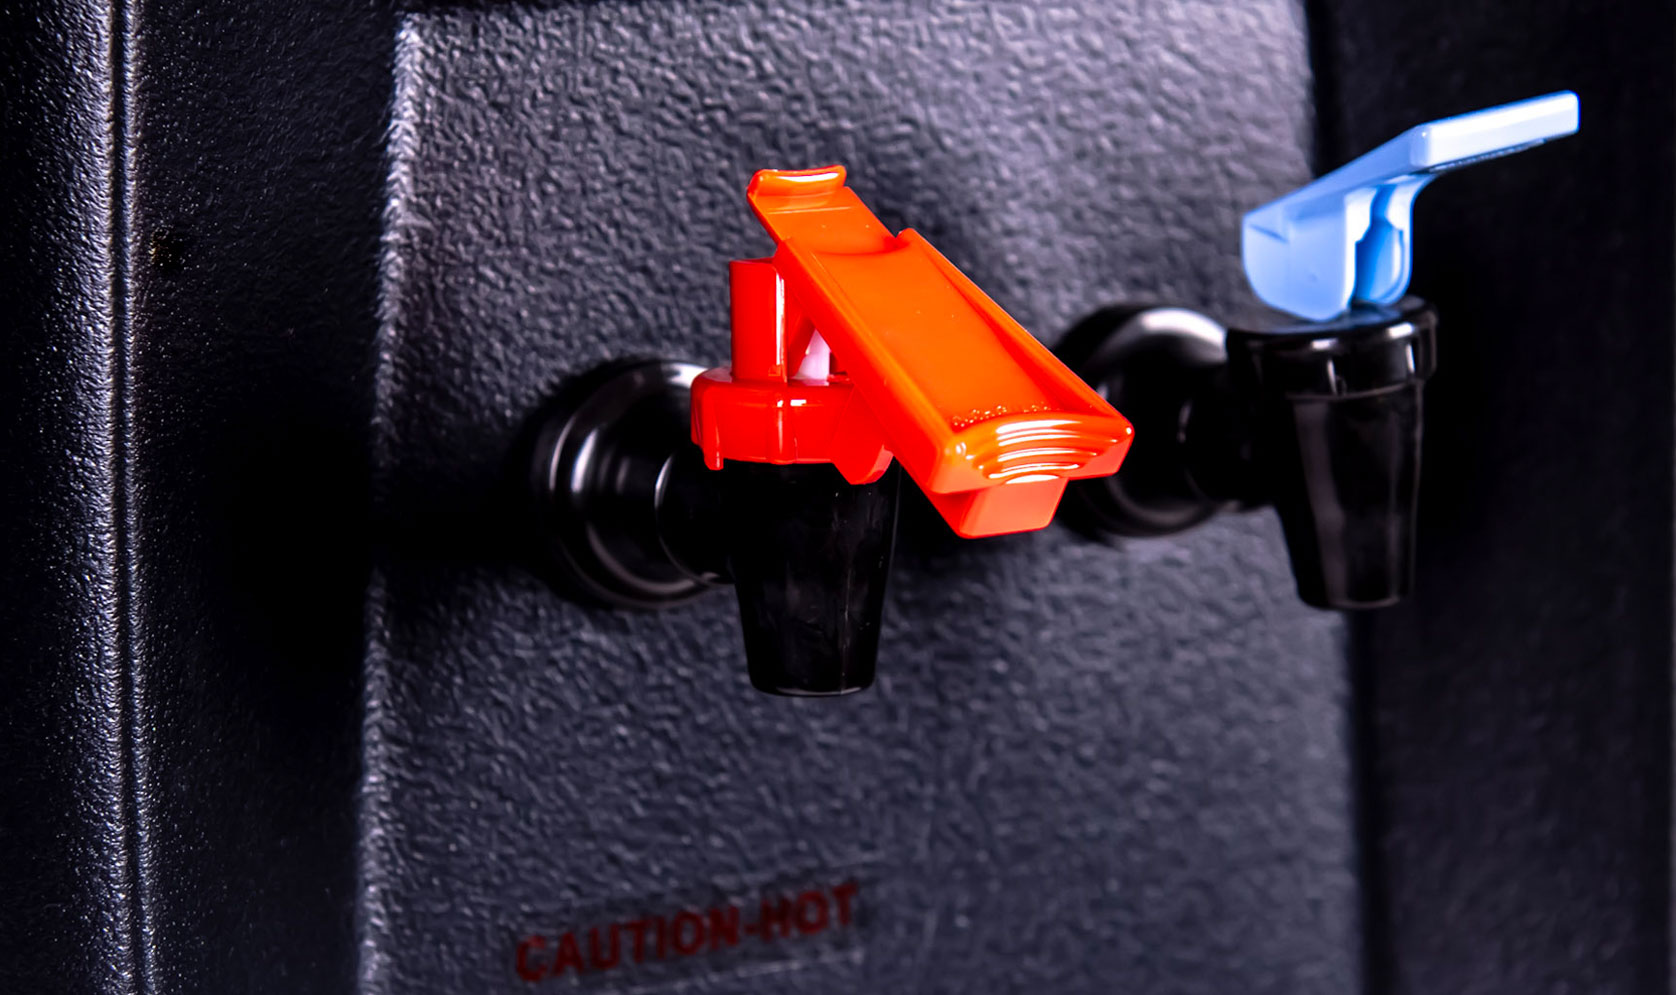
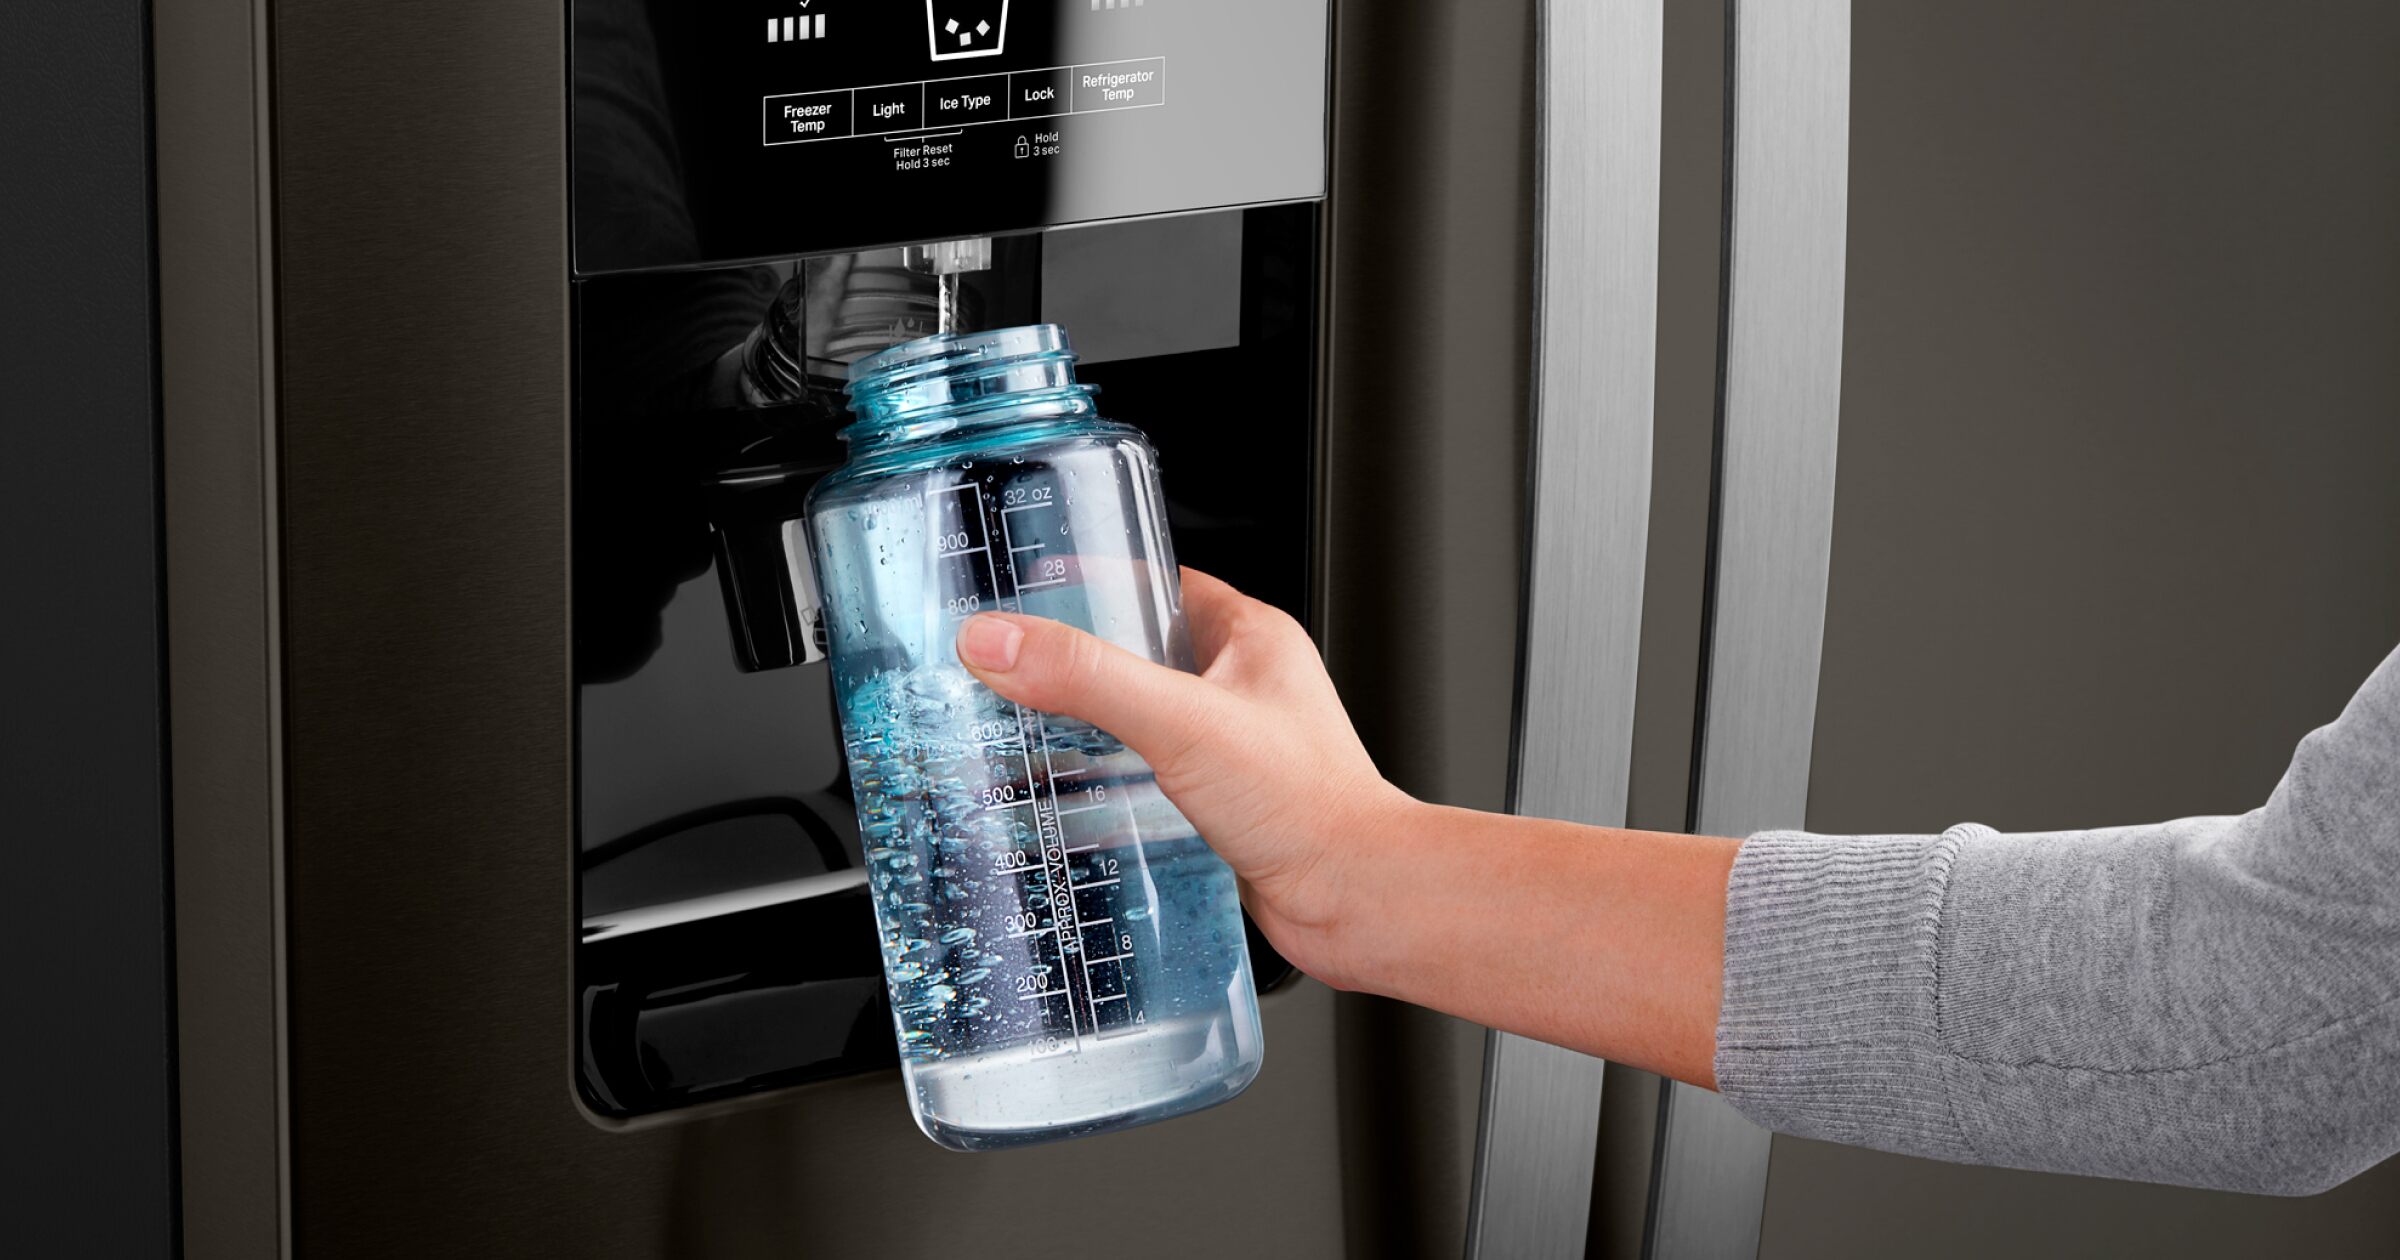
- Decide on the water temperature: Most Primo water dispensers offer both hot and cold water options. Determine whether you need hot, cold, or room temperature water for your specific needs.
- Locate the dispensing buttons: On the front of the dispenser, you will find separate buttons or faucets for hot and cold water. Some models may also have a separate indicator light to indicate when the water is ready.
- Dispense hot water: If you need hot water, press the hot water button or faucet. Be cautious when dispensing hot water, as it can cause burns. Avoid touching the hot water spout and keep children away from it.
- Dispense cold water: For cold water, press the cold water button or faucet. Wait for a few seconds for the water to cool down before using it. It’s a good idea to run the cold water for a few seconds to ensure you are getting the coldest water available.
- Collect the water: Position your glass, cup, or bottle under the appropriate spout and collect the water as it dispenses. Be careful not to overfill the container to prevent spills.
- Adjust the water flow: Some Primo water dispensers offer adjustable water flow settings. If your dispenser has this feature, experiment with the settings to find your preferred flow rate.
With these simple steps, you can easily dispense water from your Primo water dispenser. Now, let’s move on to the next step, which involves the maintenance and cleaning of your dispenser to ensure its optimal performance.
When using a Primo water dispenser, always make sure to clean and sanitize the water reservoir and dispenser nozzle regularly to maintain water quality and prevent bacterial growth.
Step 4: Maintaining and Cleaning the Primo Water Dispenser
To keep your Primo water dispenser in excellent working condition and ensure the quality of the water you dispense, regular maintenance and cleaning are essential. Follow these steps to maintain and clean your dispenser:
- Regularly clean the drip tray: The drip tray collects any spilled water, keeping the area clean and preventing it from dripping onto the floor. Remove the drip tray and clean it with warm, soapy water. Rinse thoroughly and dry before reattaching it to the dispenser.
- Clean the exterior: Use a mild detergent and a soft cloth to clean the exterior surfaces of your Primo water dispenser. Wipe it down regularly to remove any dust, dirt, or fingerprints that may accumulate over time.
- Clean the water reservoir: Every few months, it’s important to clean the water reservoir to prevent the buildup of bacteria or algae. Refer to the manufacturer’s instructions for specific steps on how to clean the reservoir. Typically, this involves removing the water bottle, draining any remaining water, and using a mixture of vinegar and warm water to clean the reservoir. Rinse thoroughly and allow it to air dry before using again.
- Replace the water bottle: When the water bottle is empty, replace it with a new one. It is recommended to change the bottle every 2-4 weeks, depending on your water consumption. Ensure the new bottle is properly sealed and free from any damages or leaks.
- Check the filters: Primo water dispensers often have built-in filters to ensure clean and filtered water. Check the manufacturer’s guidelines on when to replace the filters. Follow the instructions provided to replace the filters as needed.
By following these maintenance and cleaning steps, your Primo water dispenser will continue to provide you with clean and refreshing water. However, if you encounter any issues or problems with your dispenser, don’t worry – we have a troubleshooting guide for you in the next step!
Read more: Why Is My Primo Water Dispenser Not Working
Step 5: Troubleshooting Common Issues with the Primo Water Dispenser
While the Primo water dispenser is designed to be reliable and user-friendly, occasional issues may arise. Here are some common problems you may encounter and how to troubleshoot them:
- No water flow: If you’re experiencing a lack of water flow, check if the water bottle is empty or improperly connected. Ensure that the water bottle is securely positioned on the dispenser and that the probe is inserted correctly. If the issue persists, check if the water dispenser is properly plugged in and that the power is switched on.
- Water leaks: If you notice any water leaks, first check if the water bottle is properly sealed and not damaged. Ensure that the probe or connection between the bottle and dispenser is securely tightened. If the leak continues, inspect the dispenser for any cracks or loose connections. Contact Primo customer service for further assistance.
- Unusual taste or odor: If the water from your Primo dispenser has an unusual taste or odor, it may indicate a need to change the water bottle or replace the filter. Ensure that the water bottle is fresh and properly sealed. If you have a filter, check if it’s time for a replacement and follow the manufacturer’s instructions to change it.
- Hot water not heating: If the hot water is not heating, ensure that the dispenser is properly plugged in and switched on. Allow sufficient time for the water to heat up, as it may take a few minutes. If the issue persists, contact Primo customer service for assistance.
- Dispenser not working at all: If your Primo water dispenser is not working at all, ensure that the power cord is securely plugged in and that the outlet is functioning properly. Check if the power switch on the dispenser is turned on. If it still doesn’t work, contact Primo customer service for further guidance.
If you encounter any other issues or have specific questions about your Primo water dispenser, it’s best to consult the user manual or reach out to Primo customer service for assistance. They will be able to provide you with personalized support and solutions.
Congratulations! You’ve now learned how to set up, use, and maintain your Primo water dispenser. By following these steps and guidelines, you can enjoy clean and refreshing water at any time. Cheers to a hydrated and healthy lifestyle!
Conclusion
Having a Primo water dispenser provides a convenient and efficient way to access clean and refreshing water. By following the steps outlined in this article, you can confidently set up, use, and maintain your Primo water dispenser to ensure its optimal performance and longevity.
From setting up the dispenser to loading the water bottle, dispensing water, and maintaining and cleaning the unit, each step is crucial in ensuring a hassle-free experience. Regularly cleaning the drip tray, wiping down the exterior surfaces, and checking and replacing filters when necessary are essential for maintaining the quality of the water and the overall performance of your dispenser.
While troubleshooting common issues may be necessary from time to time, it’s reassuring to know that Primo customer service is readily available to assist you with any technical difficulties or concerns you may have.
With your Primo water dispenser, you can enjoy the convenience of on-demand hydration, hot beverages, and refreshing cold water. Whether in your home or office, the Primo water dispenser provides an eco-friendly alternative to single-use plastic bottles.
Remember, staying hydrated is important for your overall well-being. With your Primo water dispenser, you have the means to easily access clean and filtered water, helping you stay refreshed and healthy.
So, take the time to set up your Primo water dispenser correctly, follow the proper maintenance and cleaning practices, and troubleshoot any issues that may arise. Enjoy the convenience and benefits that come with having a reliable and efficient Primo water dispenser in your life.
Cheers to a hydrated and sustainable lifestyle!
Frequently Asked Questions about How To Use Primo Water Dispenser
Was this page helpful?
At Storables.com, we guarantee accurate and reliable information. Our content, validated by Expert Board Contributors, is crafted following stringent Editorial Policies. We're committed to providing you with well-researched, expert-backed insights for all your informational needs.


0 thoughts on “How To Use Primo Water Dispenser”