Articles
How To Install Fridge With Water Dispenser
Modified: August 27, 2024
Learn how to install a fridge with a convenient water dispenser with our helpful articles. Gain valuable insights and step-by-step instructions for a successful installation.
(Many of the links in this article redirect to a specific reviewed product. Your purchase of these products through affiliate links helps to generate commission for Storables.com, at no extra cost. Learn more)
Introduction
Welcome to our comprehensive guide on how to install a fridge with a water dispenser. Having a fridge with a water dispenser not only adds convenience to your daily routine but also provides you with instant access to clean and refreshing water. Whether you’re upgrading from a regular fridge or installing a new one, we’re here to help you through the process step by step.
Installing a fridge with a water dispenser may seem like a daunting task, but rest assured, it is a manageable DIY project. Before you begin, make sure you have the necessary tools and materials at hand. In this guide, we will walk you through the entire installation process, from choosing the perfect location for your fridge to securing it in place.
Before we dive into the installation process, it’s important to note that every fridge model is different, so always refer to the manufacturer’s instructions that came with your appliance. Now, let’s get started!
Key Takeaways:
- Enjoy the convenience of installing a fridge with a water dispenser by following our step-by-step guide. From choosing the perfect location to testing the water dispenser, you’ll have refreshing water at your fingertips in no time!
- Ensure a successful installation by gathering the necessary tools, preparing the water supply, and securing the fridge in its designated place. With our comprehensive guide, you’ll have a reliable and convenient water dispenser ready to use!
Step 1: Gather the necessary tools and materials
Before you begin the installation process, it’s crucial to gather all the necessary tools and materials. Here’s a list of what you’ll need:
- Adjustable wrench
- Teflon tape
- Drill
- Plumbing tape
- Waterline kit (includes a water line, valve, and fittings)
- Pliers
- Measuring tape
Make sure you have these items readily available before you start the installation. It’s also a good idea to read through the manufacturer’s instructions to see if any additional tools or materials are required for your specific fridge model.
Once you have all the tools and materials in place, you can move on to the next step of the installation process.
Step 2: Choose the perfect location for your fridge
The next step in installing a fridge with a water dispenser is choosing the ideal location for your appliance. Here are some factors to consider:
- Accessibility: Place your fridge in a location that is easily accessible for fetching chilled water. It should be within reach of your kitchen or dining area.
- Level surface: Ensure that the floor where you plan to install the fridge is level. This will prevent any water dispenser leaks or problems with the fridge’s overall stability.
- Proximity to water supply: Depending on the model of your fridge with a water dispenser, you will need to connect it to a water supply. Position your fridge near a water line or ensure you can easily run a water line to the desired location.
- Away from heat sources: Keep the fridge away from direct sunlight, ovens, or other heat-emitting appliances. Excessive heat can affect the efficiency of the fridge and the performance of the water dispenser.
- Clearance space: Leave ample space around the fridge for proper ventilation. Most manufacturers recommend at least 2 inches of clearance around the sides and back of the fridge.
- Electrical outlet: Make sure there is an accessible electrical outlet nearby to plug in your fridge.
Once you have identified the perfect location for your fridge, you can move on to the next step of preparing the water supply.
Step 3: Prepare the water supply
Now that you’ve chosen the ideal location for your fridge with a water dispenser, it’s time to prepare the water supply. Follow these steps:
- Shut off the water: Locate the main water supply valve for your home and shut it off. This will prevent any water from flowing while you work on the installation.
- Drain the pipes: Turn on a faucet in your home to drain any remaining water from the pipes. This will help minimize any potential leaks during the installation process.
- Find a suitable water source: Determine where you will be connecting the water line to your fridge. It could be a water line under the sink, a nearby cold water pipe, or even a dedicated water line specifically for the fridge.
- Measure and cut the water line: Use a measuring tape to determine the length of water line you’ll need. Cut the water line to the appropriate length, ensuring it reaches from the water source to the back of the fridge.
- Apply Teflon tape: Wrap Teflon tape around the threads of the water line and the water valve connection. This will create a tight seal and prevent any leaks.
- Attach the water line to the water source: Using a wrench, carefully connect one end of the water line to the water source. Ensure it is tightly secured to prevent any water leakage.
- Route the water line: Plan the path for the water line to avoid any obstacles or sharp bends that could restrict water flow. Use clips or clamps to secure the water line along the chosen route.
With the water supply prepared, you’re ready to move on to the next step of installing the water filter (if needed).
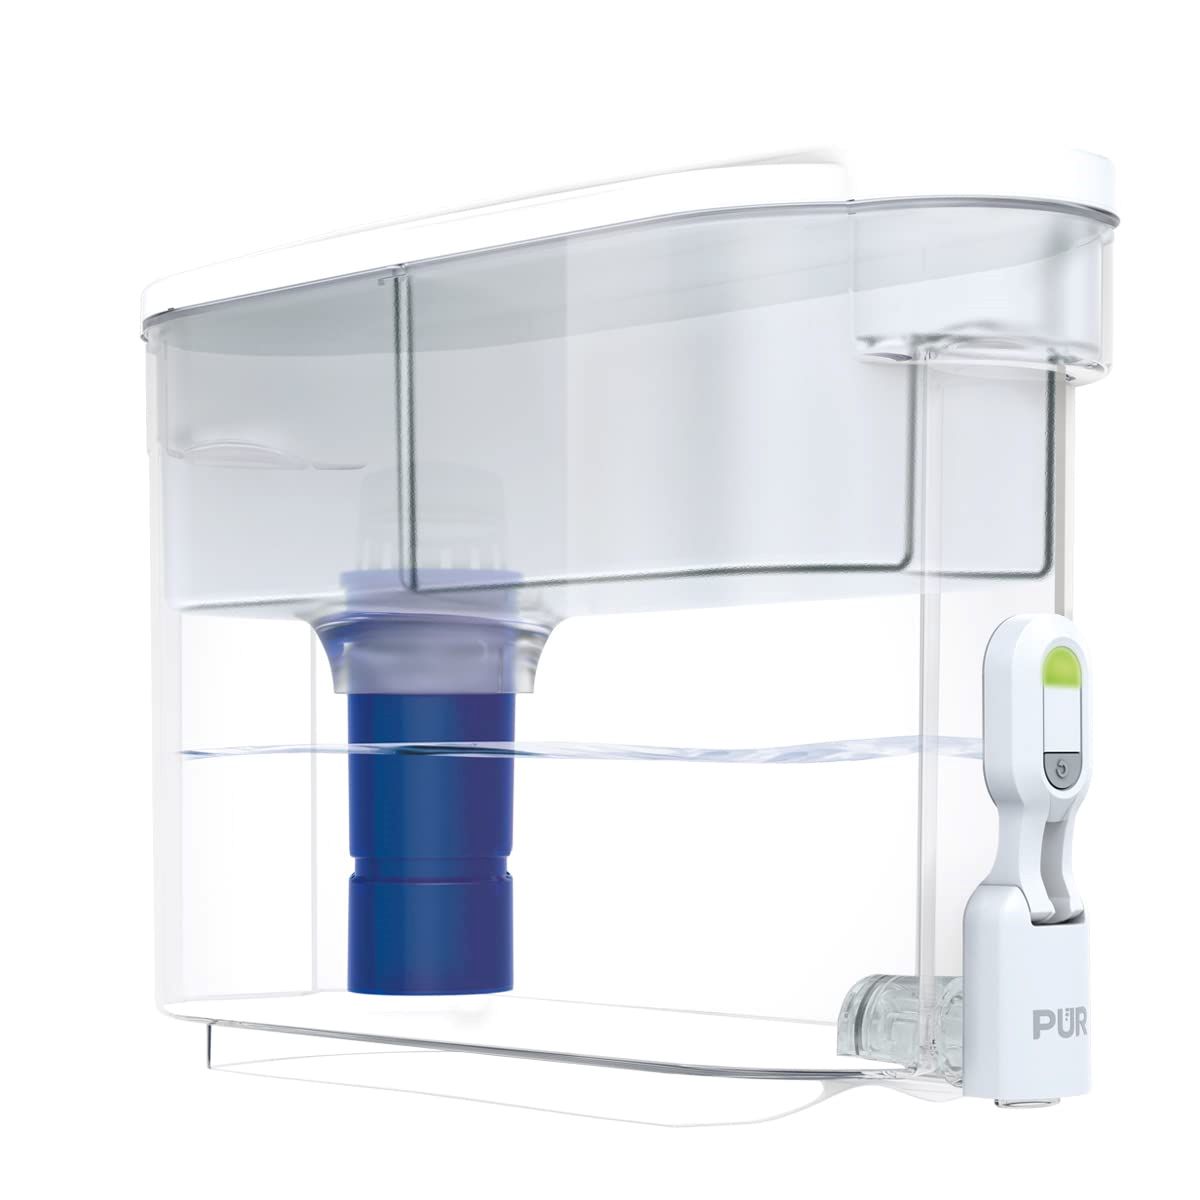
Step 4: Install the water filter (if needed)
If your fridge with a water dispenser requires a water filter, it’s important to install it properly. Follow these steps:
- Check the manufacturer’s instructions: Refer to the user manual or installation guide provided by the fridge manufacturer to locate the designated filter area.
- Prepare the filter: Remove the filter from its packaging and remove any protective caps or seals. Some filters may require soaking in water before installation, so be sure to follow the manufacturer’s instructions.
- Align and insert the filter: Align the filter with the designated slot or compartment in the fridge. Insert it firmly, ensuring it is properly seated and securely in place.
- Follow any additional instructions: Depending on the specific model of your fridge, there may be additional steps to complete the installation. This could include twisting or turning the filter to lock it in place or resetting any filter indicator lights or timers.
- Flush the filter: After installing the water filter, it’s recommended to flush it with water for a few minutes to remove any carbon fines or residue. This will ensure clean and fresh-tasting water.
- Close the filter housing: If the filter has a housing or cover, ensure it is properly closed and sealed to prevent any leaks or damage.
With the water filter installed, you’re ready to move on to the next step of connecting the water line to the fridge.
When installing a fridge with a water dispenser, make sure to connect the water line properly to avoid leaks. Follow the manufacturer’s instructions carefully to ensure proper installation.
Read more: Why Is Water Dispenser On Fridge Not Working
Step 5: Connect the water line
With the water supply prepared and the water filter (if needed) installed, it’s time to connect the water line to your fridge. Follow these steps:
- Locate the water line connection: Check the back of your fridge for a designated water line connection point. It is usually located near the bottom of the appliance.
- Prepare the water line for connection: Ensure the water line is cut to the appropriate length and that the end is clean and free from any debris or obstructions.
- Attach the water line to the fridge: Carefully insert the end of the water line into the water line connection point on the fridge. Push it in firmly until you feel it lock into place.
- Tighten the connection: Use pliers or an adjustable wrench to secure the connection. Be careful not to overtighten, as it may damage the fittings or cause leaks.
- Turn on the water supply: Slowly turn the main water supply valve back on. This will allow water to flow through the newly installed water line.
- Check for leaks: Inspect the connection between the water line and the fridge for any signs of leakage. If you spot any leaks, tighten the connection further or consider using plumbing tape to create a better seal.
- Clear air from the line: To ensure a steady flow of water, dispense a few cups of water through the dispenser to clear any air bubbles or trapped air in the line.
With the water line securely connected, you’re ready to move on to the next step of installing the water dispenser.
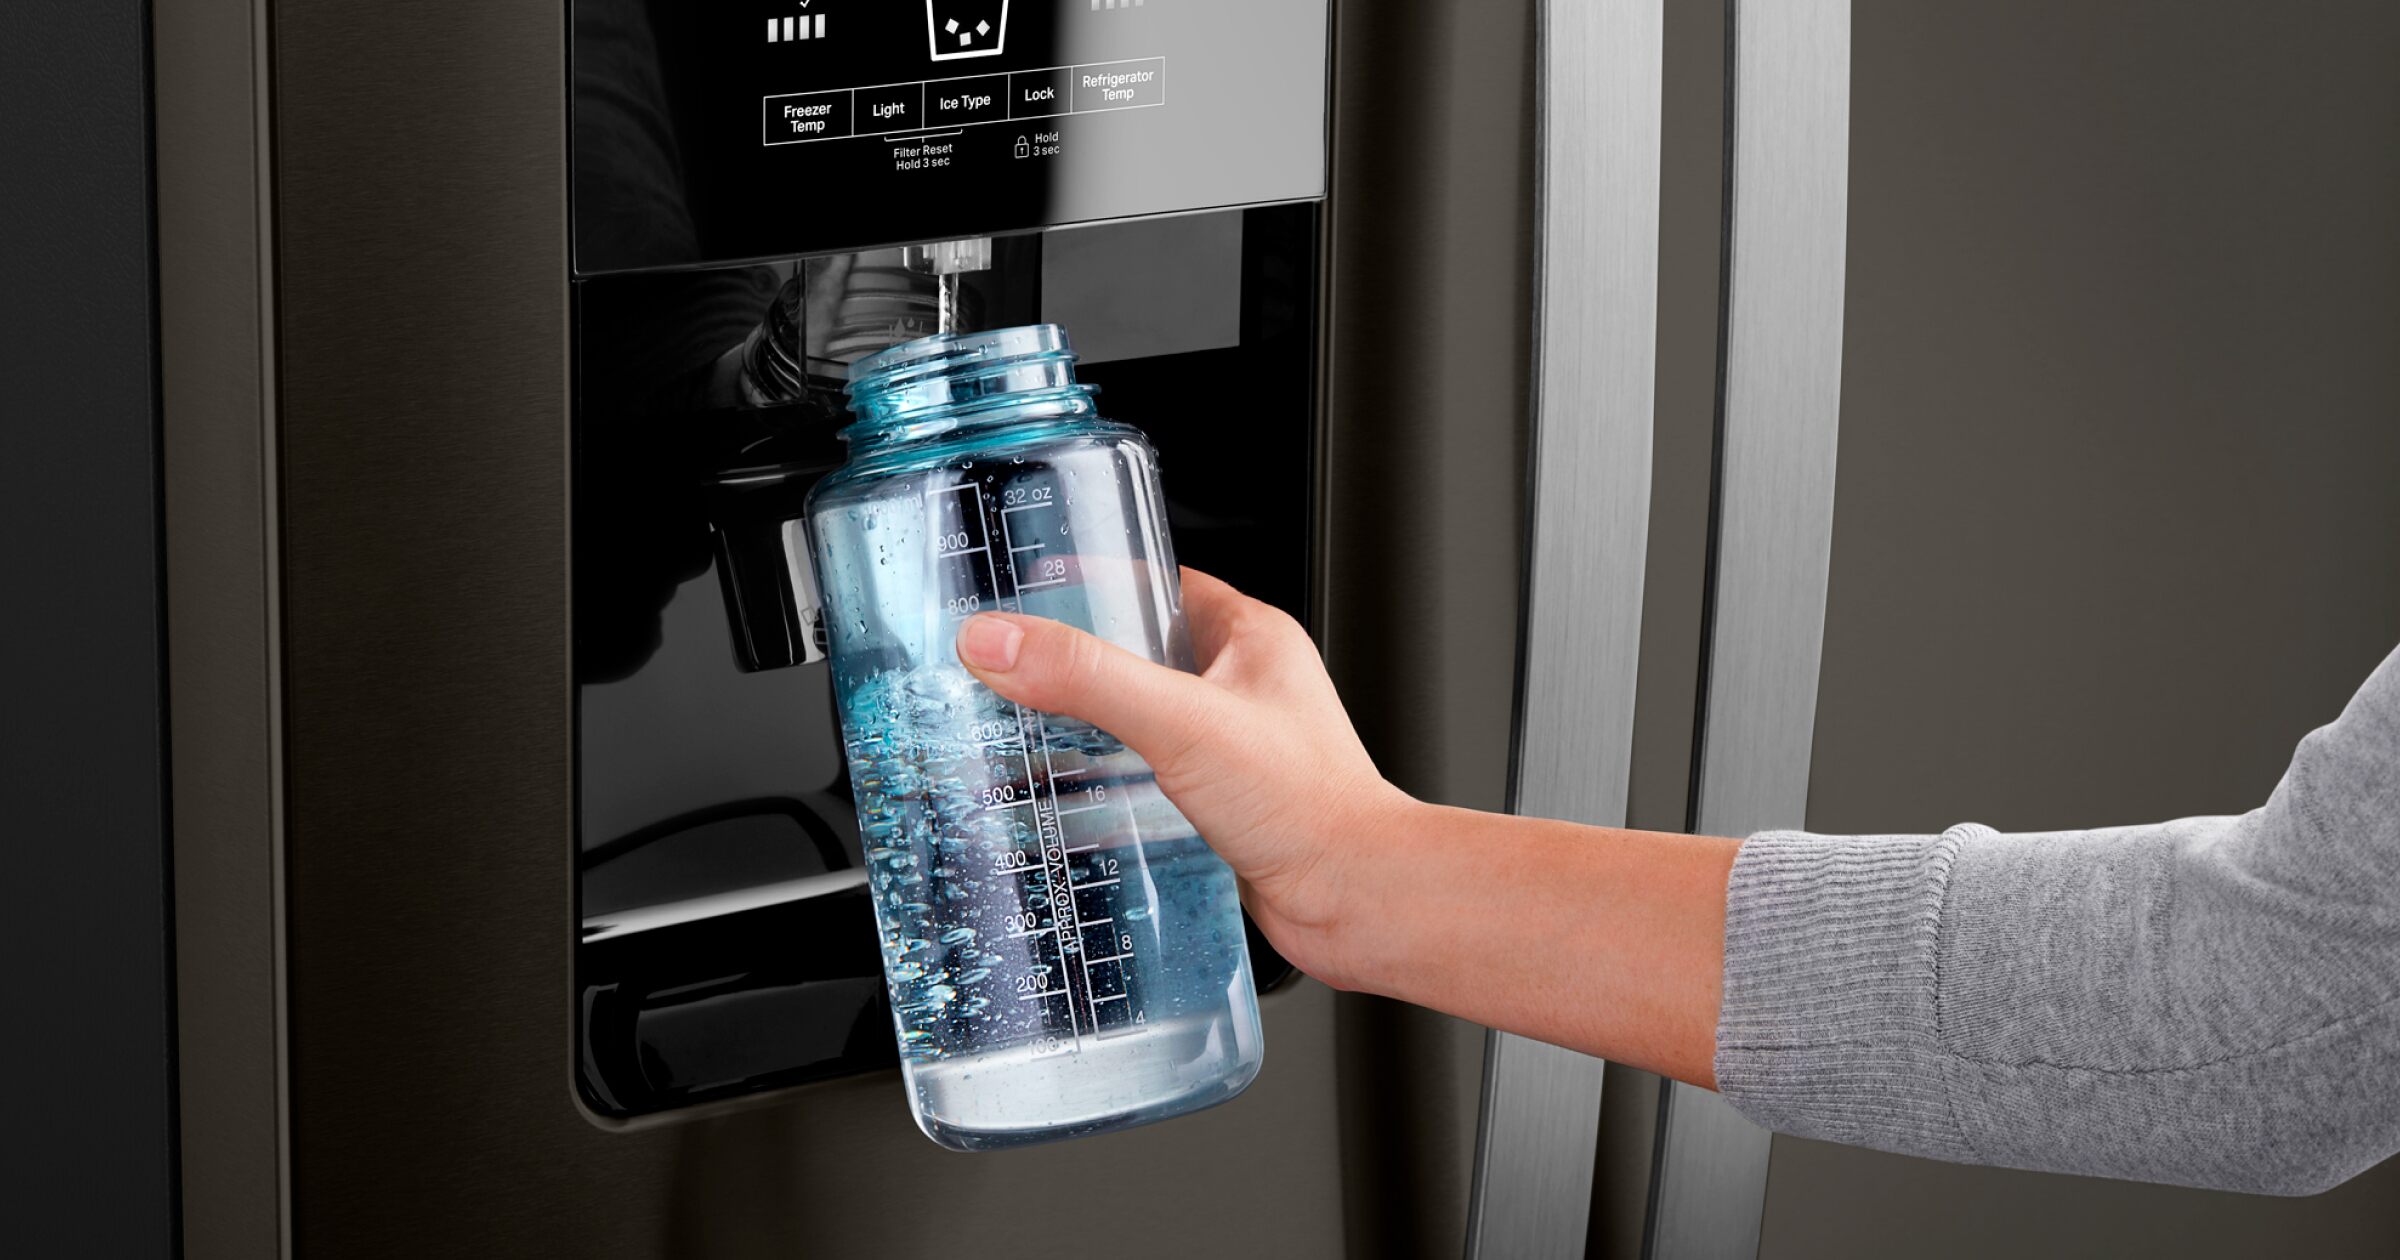
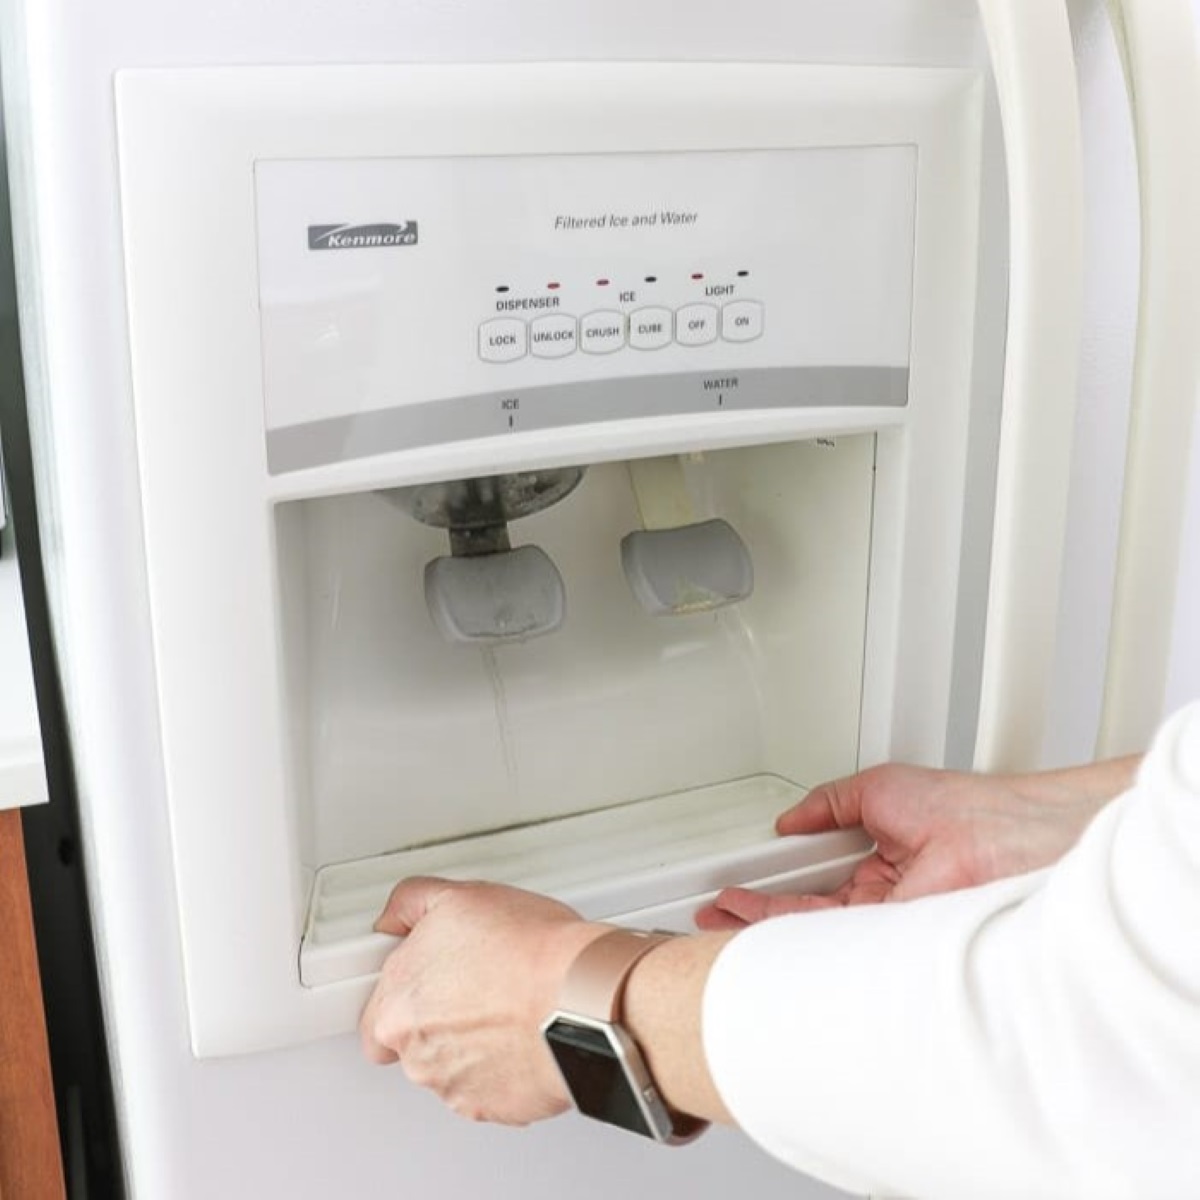
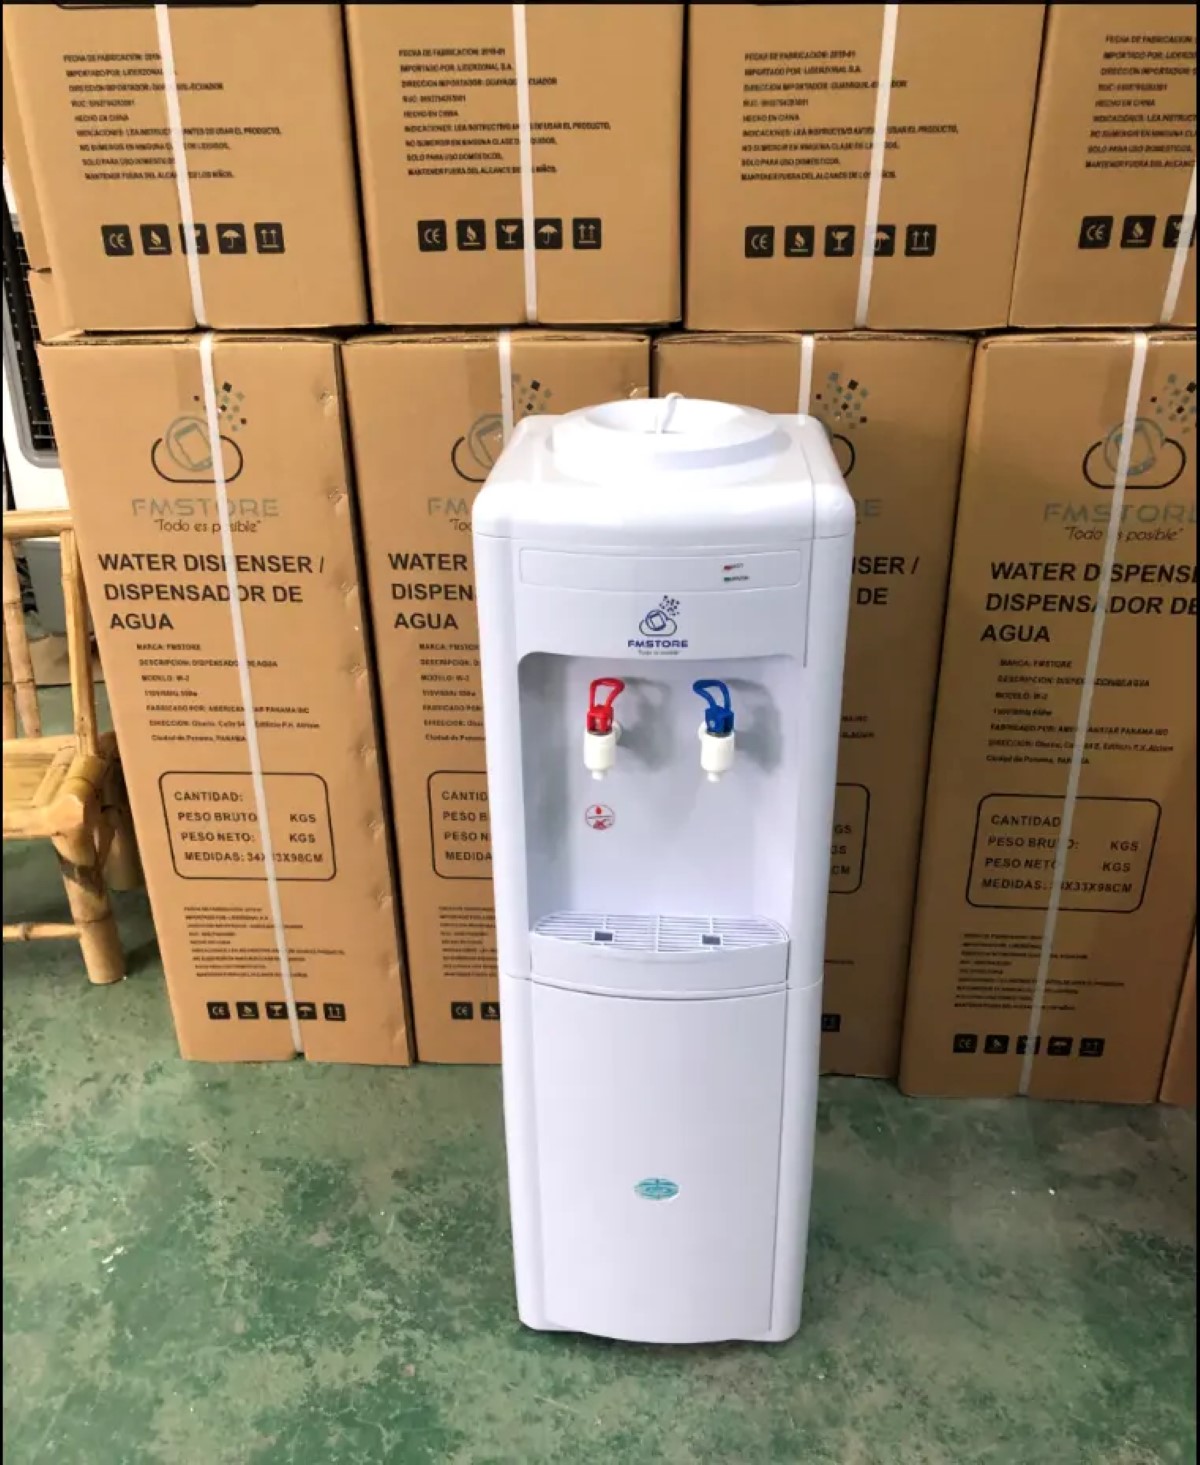
Step 6: Install the water dispenser
Installing the water dispenser is an essential step in setting up your fridge with a water dispenser. Follow these steps:
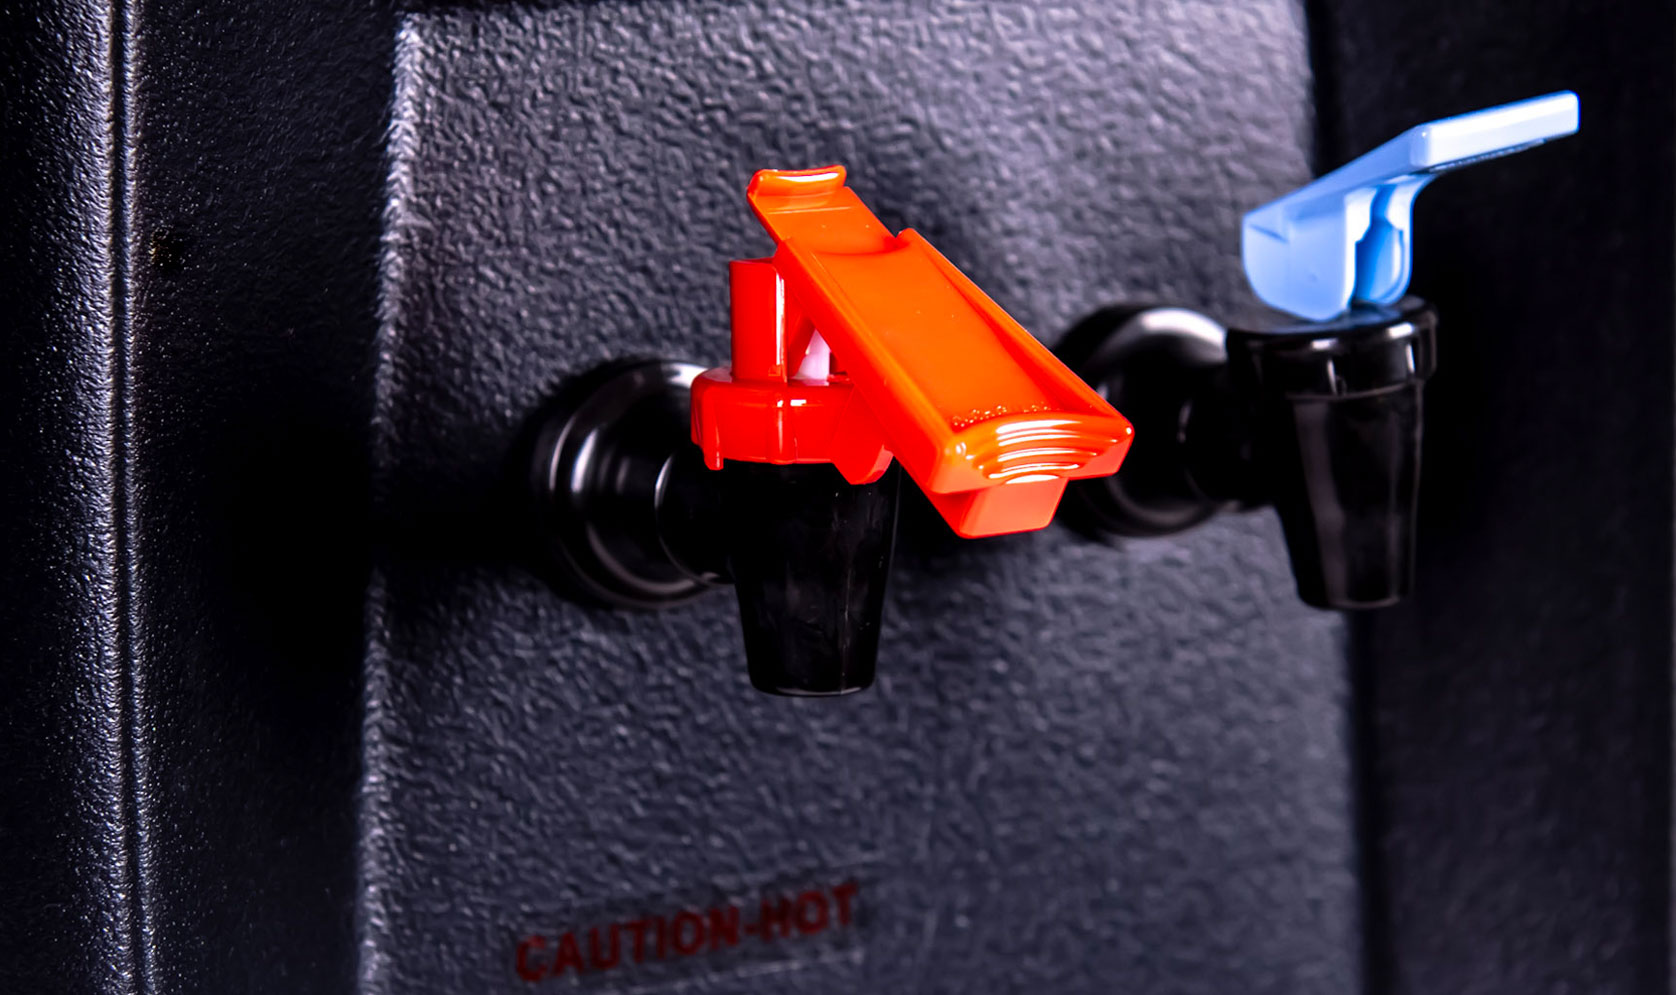
- Locate the water dispenser: Identify the location on the front of your fridge where the water dispenser is located. It is typically a small panel or dispenser area with a control panel.
- Remove any protective covers: If there are any protective covers or films on the water dispenser area, remove them carefully to ensure a clear and functional dispenser.
- Attach the drip tray: If your fridge came with a separate drip tray, position it under the water dispenser area. This tray will collect any dripping water and prevent messes.
- Turn on the dispenser: Locate the dispenser control panel and turn it on. Follow the manufacturer’s instructions to ensure proper functionality.
- Allow water to flow: Press the water dispenser lever or button and wait for the water to start flowing. This will help purge any remaining air from the line and ensure a steady stream of water.
- Check for leaks: While the water is flowing, inspect the connections between the dispenser and the fridge for any signs of leaks. If any leaks are present, tighten the connections or seek assistance from a professional if needed.
- Adjust the settings: If your water dispenser has temperature or volume controls, adjust them according to your preferences. This will customize your water dispense experience.
With the water dispenser installed and functional, you’re almost finished with the installation process. The next step involves securing the fridge in its designated place.
Step 7: Test the water dispenser
Testing the water dispenser is the final step in ensuring that your fridge with a water dispenser is fully functional. Follow these steps:
- Prepare a glass or container: Grab a clean glass or container that can hold at least a few cups of water. This will be used to collect the water from the dispenser.
- Purge the initial water: Press and hold the water dispenser lever or button for a few seconds to purge any initial air or residual water from the line. This will ensure that you get a clean and uninterrupted flow of water.
- Fill the glass: Position the glass or container under the water dispenser and release the lever or button. Allow the water to flow into the glass until it’s filled to your desired level.
- Inspect the water: Take a close look at the water to ensure it appears clear and free from any debris. If you notice any unusual discoloration or particles, it may indicate a problem with the water filtration system or the water supply itself.
- Taste the water: Take a sip of the water to ensure it tastes fresh and clean. If there is any odd taste or odor, it may indicate the need for further inspection or troubleshooting.
- Repeat the process: Repeat the testing process a few more times to ensure consistent water quality and dispenser functionality. If everything looks and tastes satisfactory, you can move on to the final step.
If you encounter any issues during the testing process, refer to your fridge’s user manual or contact the manufacturer for troubleshooting assistance. It’s better to address any concerns early on to ensure optimal performance of your fridge with a water dispenser.
With the water dispenser successfully tested and functioning properly, you’re ready to secure the fridge in its designated place.
Step 8: Secure the fridge in its place
Securing your fridge in its designated place is crucial for its stability and safety. Follow these steps to ensure a secure installation:
- Level the fridge: Use a leveling tool or a carpenter’s level to check if your fridge is sitting level on the floor. Adjust the fridge’s feet or use shims if necessary to make it perfectly level.
- Anchor the fridge: To prevent the fridge from tipping over, especially during earthquakes or accidental bumps, secure it to the wall or floor using anti-tip brackets or straps. Follow the manufacturer’s instructions for proper anchoring.
- Check the door alignment: Ensure that the fridge doors align properly and close securely. Adjust the door hinges or latches if needed to ensure a tight seal.
- Inspect the water line: Double-check the water line connections to ensure they are secure and free from any leaks. Tighten any connections if necessary and use plumbing tape for added sealing.
- Clean the area: Clean the surrounding area of the fridge, removing any debris, dust, or objects that may obstruct the airflow or cause damage to the fridge or water dispenser.
- Final test: Perform a final test of the water dispenser to ensure it is still functioning properly after securing the fridge. Dispense water into the glass and check for any leaks or abnormalities.
- Regular maintenance: Regularly inspect and maintain your fridge with a water dispenser to ensure optimal performance. Follow the manufacturer’s guidelines for filter replacement, cleaning, and any other recommended maintenance tasks.
By following these steps, you can secure your fridge with a water dispenser in its designated place, ensuring a safe and reliable installation.
Congratulations! You have successfully installed your fridge with a water dispenser. Enjoy the convenience of fresh and cold water at your fingertips!
Read also: 9 Best Fridge Water Dispenser for 2025
Conclusion
Congratulations on successfully installing your fridge with a water dispenser! By following our comprehensive guide, you have ensured convenience and easy access to refreshing water right from your kitchen. Installing a fridge with a water dispenser may have seemed like a daunting task at first, but with the right tools and step-by-step instructions, you were able to complete the process smoothly.
Remember to refer to the manufacturer’s instructions specific to your fridge model during the installation process. These instructions will provide additional details and guidance tailored to your appliance.
Throughout the installation, you learned how to gather the necessary tools and materials, choose the perfect location for your fridge, prepare the water supply, install the water filter (if needed), connect the water line, install the water dispenser, test its functionality, and secure the fridge in its designated place. Each step was crucial in ensuring a successful installation and optimal performance of your fridge with a water dispenser.
It’s important to regularly maintain and clean your fridge to keep the water dispenser functioning properly. Adhere to the manufacturer’s guidelines for filter replacement, cleaning, and other maintenance tasks to ensure that your fridge continues to provide clean and refreshing water for years to come.
We hope this guide has been informative and helpful in your journey to install a fridge with a water dispenser. By following the steps outlined in this guide, you can enjoy the convenience and benefits of having chilled water readily available in your home. Cheers to a job well done!
Frequently Asked Questions about How To Install Fridge With Water Dispenser
Was this page helpful?
At Storables.com, we guarantee accurate and reliable information. Our content, validated by Expert Board Contributors, is crafted following stringent Editorial Policies. We're committed to providing you with well-researched, expert-backed insights for all your informational needs.


0 thoughts on “How To Install Fridge With Water Dispenser”